
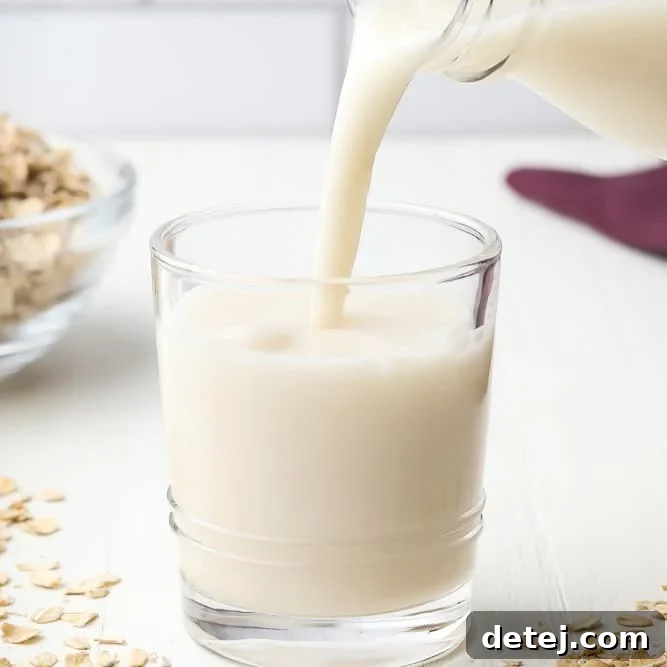
Unlock the secret to effortlessly making homemade oat milk in just 5 minutes! Forget store-bought options when you can create your own creamy, smooth, nut-free, soy-free, and utterly delicious plant-based milk right in your kitchen.
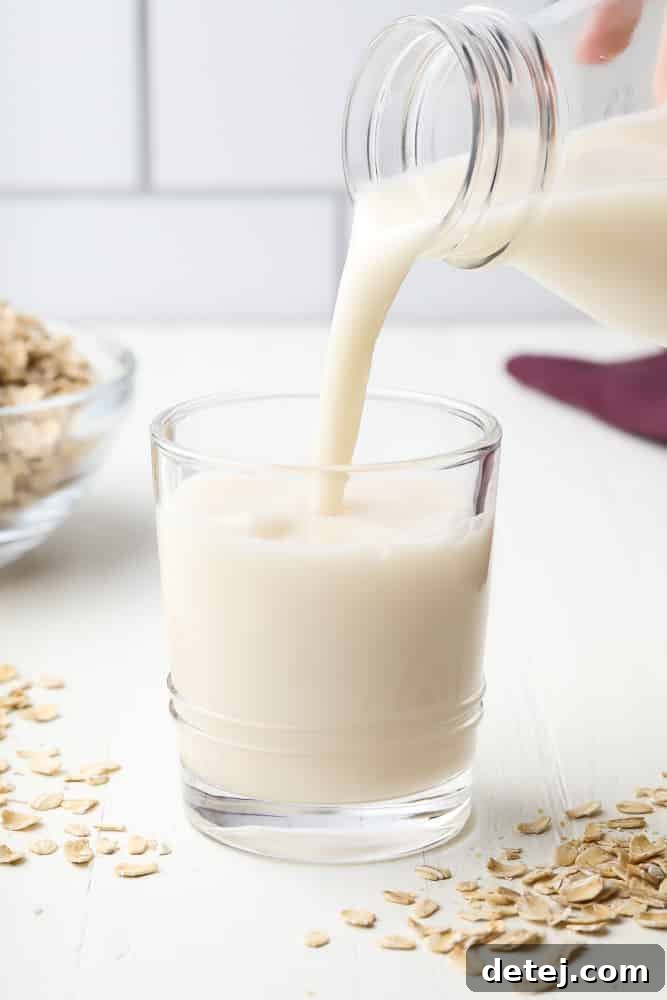
Master Homemade Oat Milk: Your 5-Minute Guide to Creamy, Dairy-Free Perfection
In recent years, oat milk has soared in popularity, transforming from a niche product to a household staple. And for good reason! Its naturally creamy texture and mild, slightly sweet flavor make it an incredibly versatile dairy-free alternative that shines in everything from your morning coffee and cereal to baking and savory dishes. What if we told you that achieving this liquid gold at home is not only incredibly simple but also remarkably quick and cost-effective?
This comprehensive guide will walk you through crafting your own perfect homemade oat milk in under 5 minutes. Say goodbye to expensive cartons and hello to a fresh, wholesome, and customizable plant-based milk that caters to your dietary needs and taste preferences.
Why Embrace Homemade Oat Milk? The Ultimate Plant-Based Alternative
There’s more to love about oat milk than just its delightful taste and texture. Opting for homemade oat milk offers a myriad of benefits that span health, environment, and your wallet.
A Delight for Your Taste Buds and Well-Being
- Creamy Texture: Oat milk is celebrated for its incredibly smooth and rich consistency, making it an ideal substitute for dairy milk in lattes, smoothies, and baked goods. It froths beautifully, giving your coffee shop favorites a plant-based twist.
- Versatile Flavor Profile: With its neutral yet subtly sweet flavor, oat milk complements a wide range of dishes without overpowering other ingredients. It’s delicious on its own, with cereal, or for dipping your favorite vegan chocolate chip cookies.
- Allergy-Friendly: For those navigating dietary restrictions, homemade oat milk is a true blessing. It’s naturally nut-free and soy-free, making it a safe and delicious option for individuals with common allergies to almond milk or cashew milk. If gluten is a concern, simply use certified gluten-free rolled oats.
The Eco-Conscious Choice: Sustainability Matters
Beyond personal benefits, homemade oat milk stands out as a highly sustainable plant-based option. While I’m no environmental expert, extensive research suggests that oat cultivation generally has a lower environmental footprint compared to other popular plant-based milks. Oats require significantly less water to grow than almonds and produce fewer greenhouse gas emissions than dairy farming. By choosing to make your own oat milk, you’re not only reducing your reliance on animal products but also minimizing the carbon footprint associated with transportation and packaging of store-bought alternatives. It’s a small step that contributes to a healthier planet.
Economical and Accessible: Save Money, Live Better
One of the most compelling reasons to make oat milk at home is the substantial cost savings. Oats are an incredibly affordable pantry staple, and when combined with water, they produce a rich and creamy milk that costs a fraction of what you’d pay for a store-bought carton. This accessibility makes homemade oat milk a fantastic option for anyone looking to enjoy plant-based living on a budget. All you need are basic ingredients and a blender, making it an easy addition to your routine.
Crafting Your Own Oat Milk: A Simple 5-Minute Recipe
Making homemade oat milk is surprisingly straightforward and requires minimal ingredients and equipment. Once you try it, you’ll wonder why you ever bought it from the store!
Essential Ingredients & Equipment
The beauty of this recipe lies in its simplicity. You’ll need just two core ingredients, with a few optional additions to enhance the flavor:
- Rolled Oats: Opt for old-fashioned rolled oats. Quick oats can sometimes produce a slimier texture, and steel-cut oats are too tough for this method. If you require gluten-free, ensure your oats are certified as such.
- COLD Water: This is crucial! Using ice-cold water helps prevent the enzymes in the oats from breaking down too quickly, which is the main culprit behind a slimy texture.
- Optional Sweetener: A touch of pure maple syrup, agave, or a pitted date can add a lovely sweetness. Adjust to your personal taste.
- Optional Vanilla: A splash of pure vanilla extract elevates the flavor, giving your oat milk a delightful aroma and taste.
For equipment, you’ll need:
- High-Powered Blender: A good blender is essential for thoroughly pulverizing the oats and water into a smooth liquid.
- Fine-Mesh Nut Milk Bag or Thin Dish Towel: This is used for straining the milk to achieve a silky-smooth consistency, free from oat particles. A clean, thin cheesecloth or a dedicated nut milk bag works perfectly.
Step-by-Step Guide to Silky Smoothness
Follow these simple steps to make your own creamy oat milk in no time:
- Combine Ingredients: Add the rolled oats, COLD water, and any optional sweetener or vanilla to your high-powered blender. Using cold water is paramount here; it’s your best defense against a slimy final product.
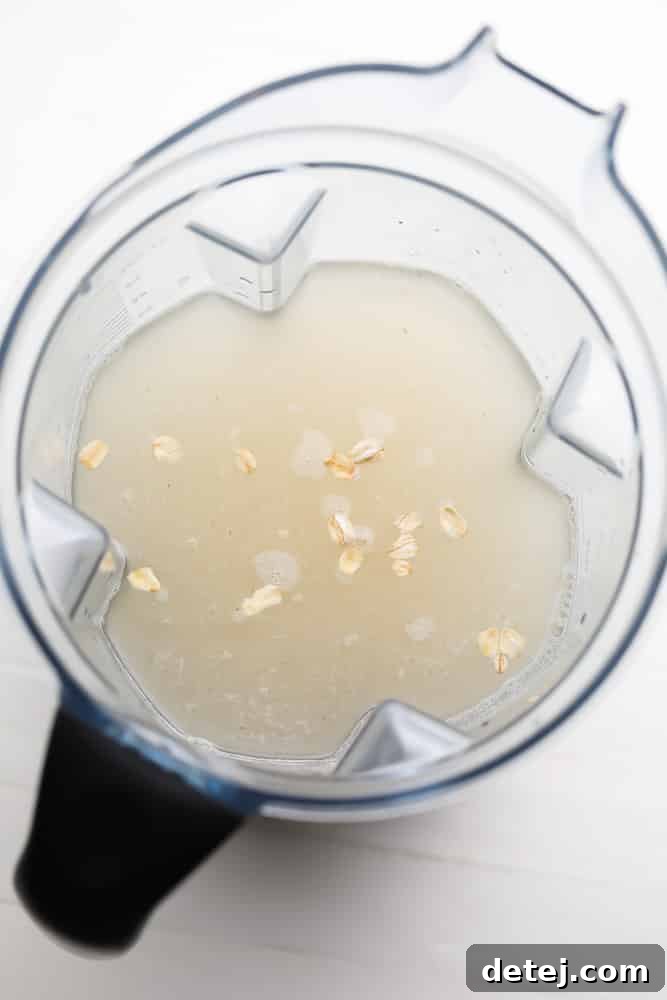
- Blend Briefly: Blend on high for precisely 30 seconds, and absolutely no longer. Over-blending generates heat and over-processes the oats, leading to that undesirable slimy texture. We want quick, efficient blending to extract the goodness without the goo.
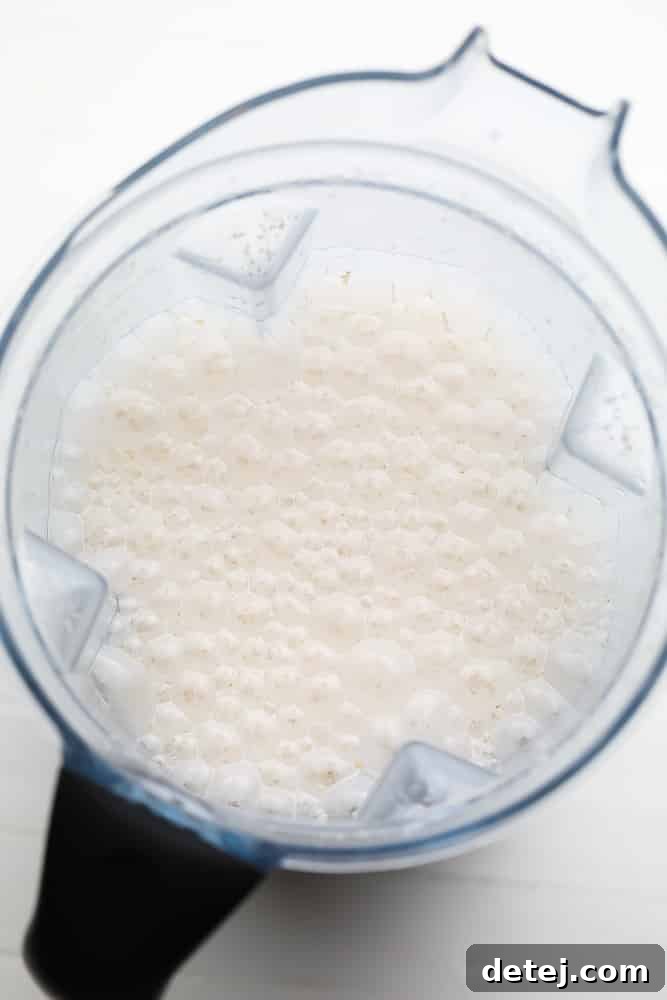
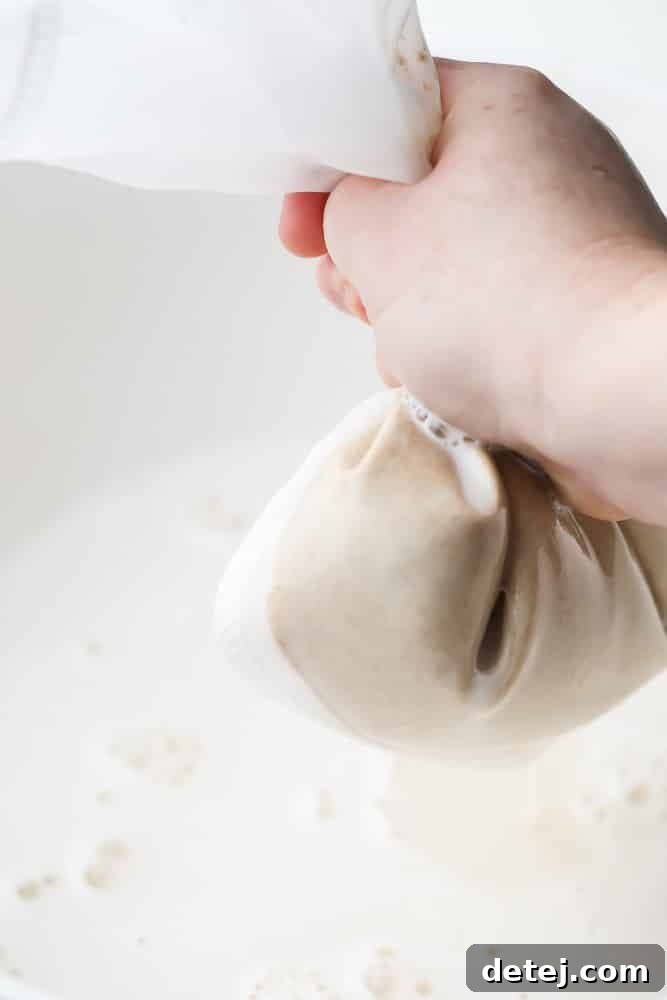
- Strain Gently: Place a nut milk bag or thin dish towel over a large bowl and pour the blended mixture into it. Gently squeeze the bag or towel to extract the milk. Unlike making almond milk, where vigorous squeezing is common, for oat milk, a gentle squeeze is key. Too much pressure can force fine oat particles through the bag, resulting in a gritty or slimier texture. If you notice a significant amount of sediment after the first strain, you can strain it a second time for extra smoothness.
Troubleshooting Common Oat Milk Challenges
While homemade oat milk is simple, a couple of common issues can arise. Here’s how to avoid them:
Banishing the Slimy Texture
The dreaded sliminess is the most frequent complaint about homemade oat milk. It typically stems from two factors: over-blending and using warm water. To ensure a perfectly smooth, non-slimy consistency:
- Always Use Cold Water: As mentioned, cold water inhibits the release of starches that cause sliminess.
- Do Not Over-Blend: Stick to the 30-second rule. Blending longer heats the mixture and breaks down the oats too much.
- Avoid Soaking Oats: Soaking oats before blending can also contribute to sliminess by initiating starch release. Skip this step for oat milk.
Achieving Grittiness-Free Results
If your oat milk feels a bit gritty, it means some fine oat particles have made their way through your straining bag. Here’s what to do:
- Use a Fine-Mesh Bag: Ensure your nut milk bag or towel has a very fine weave.
- Strain Twice: If necessary, strain the milk through the bag a second time. This can significantly reduce any lingering grittiness.
- Be Gentle: Remember, minimal squeezing helps keep fine particles from being forced through.
Maximizing Freshness: Storing Your Homemade Oat Milk
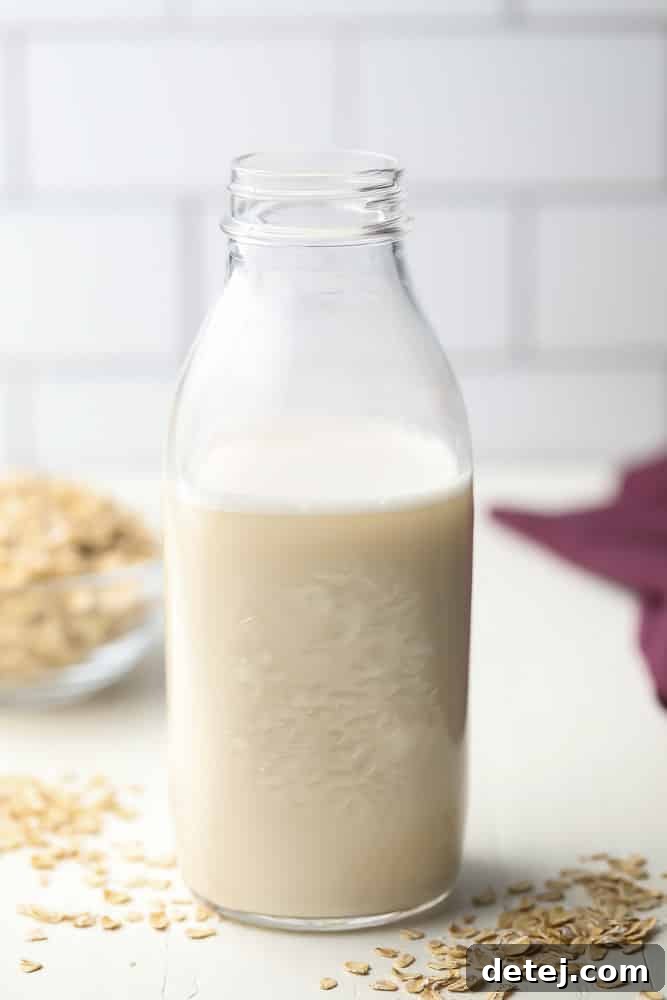
Proper storage is essential to enjoy your homemade oat milk for as long as possible. I personally find that these larger glass containers and smaller milk jugs are perfect for keeping plant-based milks fresh.
- Refrigeration: Homemade oat milk will stay fresh in an airtight container in the refrigerator for about 5-6 days. It’s perfectly normal for the milk to separate into layers; simply give it a good shake before each use to recombine the solids and liquids.
- Freezing: While you can freeze oat milk, be aware that its texture might become a little grainy or slightly altered after thawing. If you plan to use it in a smoothie, for baking, or in cooked dishes where texture is less critical, freezing is a viable option. Freeze in ice cube trays for convenient portioning, then transfer to a freezer-safe bag.
Get Creative! Delicious Oat Milk Variations & Uses
Once you’ve mastered the basic recipe, the possibilities for customization are endless. Experiment with different flavors and discover new ways to incorporate your homemade oat milk into your daily routine.
Flavorful Twists
- Chocolate Milk: For a decadent treat, add 3 tablespoons of cocoa powder and adjust sweetener to taste during the blending stage.
- Strawberry Milk: Blend in 1 cup of freeze-dried strawberries (or 1-2 cups of fresh strawberries) and a bit more sweetener for a naturally vibrant and fruity milk.
- Vanilla Oat Milk: The recipe already includes vanilla as an optional ingredient, but you can increase the amount slightly for a more prominent vanilla flavor.
- Spiced Oat Milk: Add a pinch of cinnamon, nutmeg, or cardamom during blending for a cozy, warming flavor, perfect for fall and winter beverages.
Beyond the Glass: Culinary Applications
Oat milk isn’t just for drinking! Its creamy texture makes it an excellent ingredient in various recipes:
- Smoothies: A fantastic base for any fruit or green smoothie.
- Baking: Substitute for dairy milk in cakes, muffins, pancakes, and waffles.
- Coffee & Tea: Perfect for lattes, cappuccinos, and chai teas, thanks to its frothing capabilities.
- Savory Dishes: Use it in creamy soups, sauces, mashed potatoes, or even mac and cheese for a dairy-free twist.
- Oatmeal & Cereal: An obvious but delicious pairing, enhancing the oatiness of your breakfast.
Explore More Plant-Based Milks
If you’re eager to expand your homemade plant milk repertoire, be sure to check out these other easy recipes:
- How to Make Almond Milk
- How to Make Cashew Milk
- How to Make Hemp Milk
The Ultimate Homemade Oat Milk Recipe
Learn how to make homemade oat milk in 5 minutes! No need to buy oat milk at the store when it’s so easy to make at home. It’s creamy, smooth, nut-free, soy-free and delicious!
Prep Time: 5 mins
Total Time: 5 mins
Servings: 8 servings
Ingredients
Main Ingredients
- 1 cup rolled oats
- 4 cups cold water
Optional Ingredients
- 2 tablespoons pure maple syrup, or more to taste
- 1/2 teaspoon pure vanilla extract
Instructions
- To a high-powered blender, add the rolled oats, cold water, and optional sweetener and vanilla. Blend on high for 30 seconds, not longer, or your milk may become slimy.
- Gently strain the oat milk through a nut milk bag or thin towel over a large bowl. Don’t squeeze too much; a gentle squeeze is best. If there is still quite a bit of oat sediment in the bowl, strain it once more.
- Pour into containers and store in the refrigerator for 5-6 days. Separation is natural, so shake before using. It can also be frozen, if needed.
Notes
- Use organic rolled oats if possible, and certified gluten-free if needed.
- For storage, larger glass milk jugs or smaller glass containers work well.
- Chocolate milk: Add 3 tablespoons cocoa powder and more sweetener, to taste. So good!
- Strawberry milk: Add 1 cup of freeze-dried strawberries (or 1-2 cups fresh strawberries) and increase the sweetener, to taste.
Nutrition
Serving: 1 of 8 servings | Calories: 53kcal | Carbohydrates: 10g | Protein: 1g | Fat: 1g | Saturated Fat: 1g | Sodium: 1mg | Potassium: 48mg | Fiber: 1g | Sugar: 3g | Calcium: 11mg | Iron: 1mg
Course: Drinks
Cuisine: American
Author: Nora Taylor