
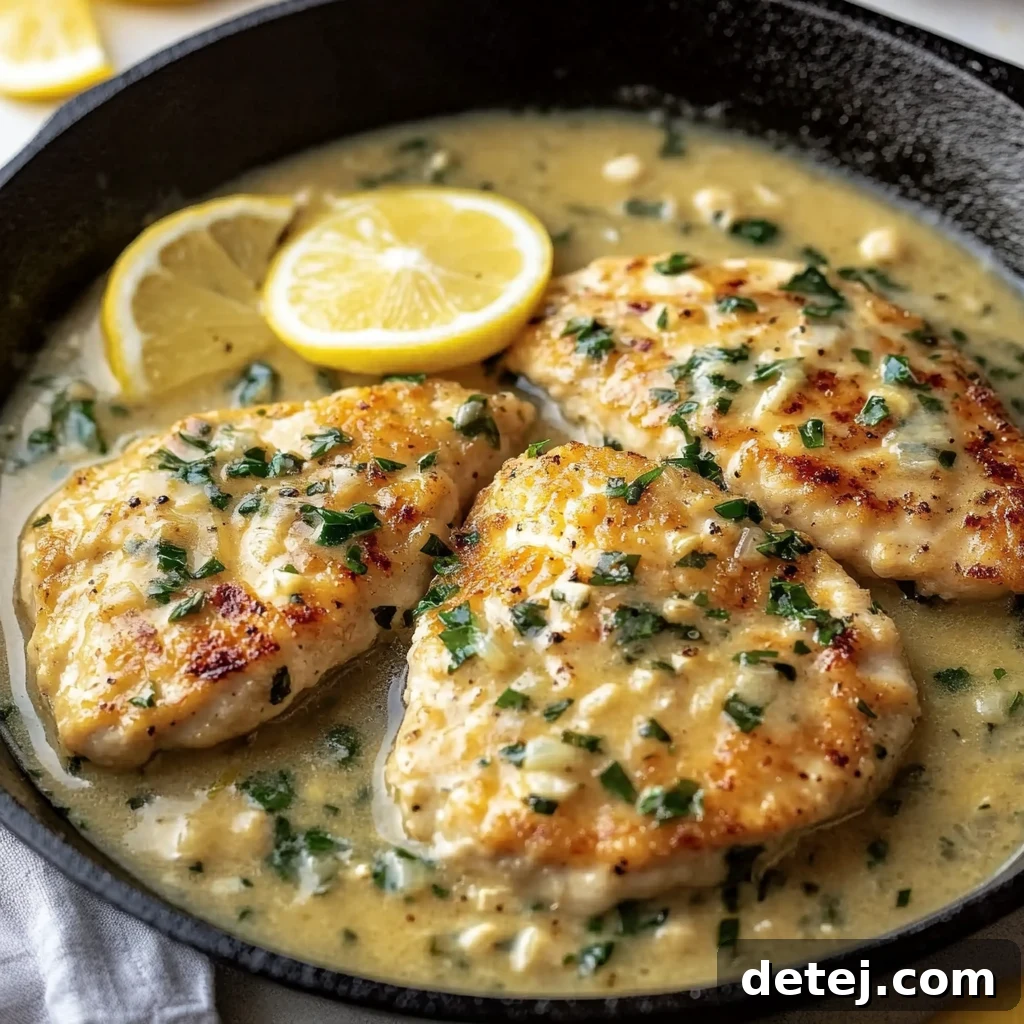
Creamy Lemon Chicken Piccata: An Irresistible Italian Classic
Discover the Allure of Chicken Piccata
Welcome to a culinary journey that promises to tantalize your taste buds and impress your dinner guests! Today, we’re diving into one of Italy’s most cherished and flavorful dishes: Chicken Piccata. But we’re not just making the classic; we’re elevating it with a luscious creamy lemon sauce that adds an extra layer of richness and sophistication. This dish beautifully marries the bright, zesty kick of fresh lemon with the tender succulence of perfectly cooked chicken cutlets, all embraced by a delicate golden crust. It’s a symphony of flavors that manages to be both profoundly comforting and delightfully vibrant. Whether you’re a seasoned chef or a home cook looking for an exciting new recipe, this creamy lemon chicken piccata is designed to deliver an unforgettable dining experience with surprisingly simple steps.
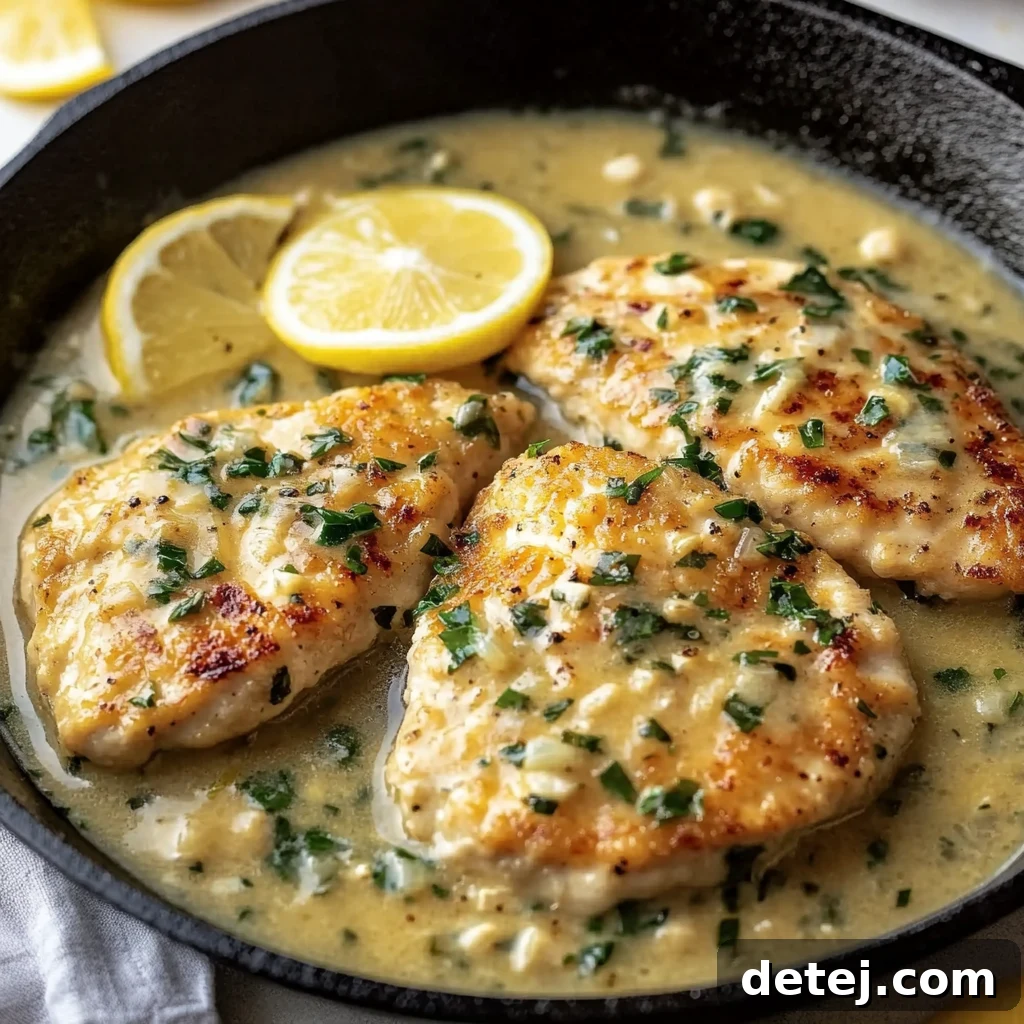
Why This Creamy Lemon Piccata is a Must-Try:
- Elegant Simplicity: Despite its gourmet appeal, this recipe uses straightforward ingredients and techniques accessible to all skill levels.
- Flavor Harmony: The balance of tangy lemon, savory chicken, and a rich, creamy sauce creates a perfectly harmonious flavor profile.
- Weeknight or Weekend Wonder: Quick enough for a satisfying weeknight meal, yet elegant enough for a special occasion dinner.
- Crowd-Pleaser: Its universal appeal ensures it will be a hit with family and friends alike.
- Nutrient-Rich: Lean chicken breast provides a great source of protein, complemented by the fresh flavors of lemon and herbs.
Essential Ingredients for Your Culinary Masterpiece
The magic of an exceptional dish often lies in the quality and freshness of its ingredients. For this creamy lemon chicken piccata, each component plays a vital role in building its signature flavor and texture. Focusing on fresh, high-quality items will undoubtedly elevate your final result, transforming simple components into a culinary masterpiece. Let’s take a closer look at the stars of our show:
- Boneless, Skinless Chicken Breasts: The foundation of our dish. Pounding them thin ensures quick, even cooking and maximizes tenderness, allowing them to absorb the wonderful flavors of the sauce.
- All-Purpose Flour: Essential for creating that desirable golden-brown crust. It also helps to thicken our luxurious lemon-butter sauce. For a gluten-free alternative, rice flour or almond flour can be used effectively.
- Grated Parmesan Cheese: Infused into the flour dredge, Parmesan adds a layer of savory depth and a beautiful crispness to the chicken’s exterior.
- Fresh Lemon Juice: The undisputed star of piccata! Freshly squeezed lemon juice provides that signature bright, tangy zest that cuts through the richness of the sauce, offering a delightful contrast. Avoid bottled lemon juice for the best flavor.
- Chicken Broth: Forms the liquid base of our sauce, lending savory notes and helping to deglaze the pan, capturing all the flavorful browned bits.
- Capers: These small, briny flower buds are non-negotiable for traditional piccata. They add a pungent, salty burst that perfectly complements the lemon and enhances the overall complexity of the dish.
- Salted Butter & Olive Oil: The dynamic duo for cooking the chicken and building the sauce. Olive oil provides a high smoke point for searing, while butter adds rich flavor and helps create a velvety sauce.
- Minced Garlic & Fresh Parsley: Garlic infuses the sauce with aromatic depth, and fresh parsley provides a vibrant, peppery finish and a pop of color.
- Egg Substitute (or Eggs): Used as a binding agent in the dredging process, it helps the flour mixture adhere to the chicken, creating a more substantial crust.
- Hot Sauce (Optional): A tiny dash can add a subtle, intriguing warmth without making the dish spicy.
Mastering the Art of Chicken Preparation
The secret to tender, juicy chicken piccata begins long before it hits the skillet. Proper preparation of the chicken cutlets is paramount for achieving that melt-in-your-mouth texture and even cooking. Start by placing your boneless, skinless chicken breast halves between two sheets of plastic wrap or in a large zip-top bag. Using a meat mallet or the flat side of a heavy pan, gently pound them to an even 1/4-inch thickness. This step is not just about making them thin; it ensures that each piece cooks uniformly and prevents drier, thicker parts from overcooking while thinner sections remain perfectly tender. Aim for a consistent thickness across all pieces.
After pounding, pat the chicken dry with paper towels. Removing excess moisture is a critical step often overlooked; it helps the flour coating adhere better and promotes a crispier, more beautiful golden-brown sear, rather than steaming the chicken.
Crafting the Perfect Flour Dredge
The flour mixture is more than just a coating; it’s what gives our chicken its irresistible crust and contributes to the richness of the sauce. In a shallow bowl, whisk together your all-purpose flour, grated Parmesan cheese, and a generous pinch of salt and freshly ground black pepper. This seasoned flour blend is key to building layers of flavor. Carefully dredge each chicken cutlet in the flour mixture, ensuring it’s evenly coated on all sides. After the first coating, give it a quick dip in the egg wash (a simple blend of egg substitute or whisked eggs, a splash of broth, lemon juice, garlic, and hot sauce). Finally, return it to the flour mixture for a second, thorough coating. Remember to shake off any excess flour after each step; we want a light, crisp shell, not a heavy, doughy one. This double-dredging technique helps create a robust crust that stands up beautifully to the luscious lemon sauce.
Achieving Golden Perfection: Searing Your Chicken
Now, for the exhilarating part: cooking the chicken to exquisite perfection! The goal here is to achieve a stunning golden-brown crust that locks in the chicken’s natural juices, ensuring every bite is moist and flavorful. Choose a large, heavy-bottomed skillet, such as a cast iron or a high-quality nonstick pan, which distributes heat evenly. Heat 1 1/2 teaspoons of olive oil over medium-high heat until it shimmers but isn’t smoking. This is the ideal temperature for searing, initiating the Maillard reaction that creates those delightful browned bits (fond) in the pan, which are crucial for our sauce.
Carefully place 3-4 chicken cutlets into the hot skillet, being mindful not to overcrowd the pan. Overcrowding lowers the pan’s temperature, leading to steaming instead of searing, which means a less crispy crust. Cook each side for approximately 3-5 minutes, or until it develops a deep, golden-brown color and the chicken is cooked through. For ultimate accuracy, an instant-read thermometer inserted into the thickest part of the chicken should register 165°F (74°C). If you don’t have a thermometer, observe the juices running clear when pierced, and the chicken should feel firm to the touch yet still slightly springy. Once cooked, transfer the chicken to a warm plate and cover loosely with foil while you cook the remaining cutlets. This keeps them warm and allows the juices to redistribute, ensuring maximum tenderness.
The Heart of the Dish: Whisking the Creamy Lemon Sauce
With your perfectly seared chicken resting, it’s time to create the star of the show: the rich, creamy lemon sauce. This sauce isn’t just a topping; it’s an integral component that ties all the flavors together. Using the same skillet where you cooked the chicken is essential, as the browned bits (fond) stuck to the bottom are packed with incredible flavor. Do not clean the pan!
Reduce the heat to medium-low. Add 2 tablespoons of salted butter to the pan. Once melted, pour in the remaining chicken broth and fresh lemon juice. This step is where the magic of deglazing happens; as the liquids hit the warm pan, use a wooden spoon to gently scrape up all those flavorful browned bits from the bottom. These bits will dissolve into the liquid, lending an unparalleled depth of flavor to your sauce. Bring the mixture to a gentle simmer and let it reduce by about a quarter, which should take 3-5 minutes. This reduction concentrates the flavors and slightly thickens the sauce. Taste and adjust the seasoning as needed. If you desire a thicker, creamier sauce, this is the moment to whisk in a splash of heavy cream or a cornstarch slurry (1 tsp cornstarch mixed with 1 tbsp cold water). Finally, stir in the capers, allowing their briny tang to meld beautifully with the lemon and butter. This harmonious blend of savory, tart, and creamy will transform your chicken into an extraordinary culinary delight.
Serving Suggestions & Perfect Pairings
Once your creamy lemon chicken piccata is ready, the presentation and accompanying sides can truly elevate the meal into a memorable dining experience. The bright, tangy notes of the piccata pair wonderfully with a variety of side dishes that can soak up the luscious sauce. Consider serving it alongside a bed of al dente pasta, such as linguine or angel hair, for a classic Italian pairing. Creamy mashed potatoes or fluffy rice are also excellent choices, providing a comforting counterpoint to the vibrant sauce. For a lighter touch, steamed or roasted green vegetables like asparagus, broccoli, or green beans tossed with a hint of garlic make fantastic companions. A simple garden salad with a light vinaigrette offers a refreshing contrast.
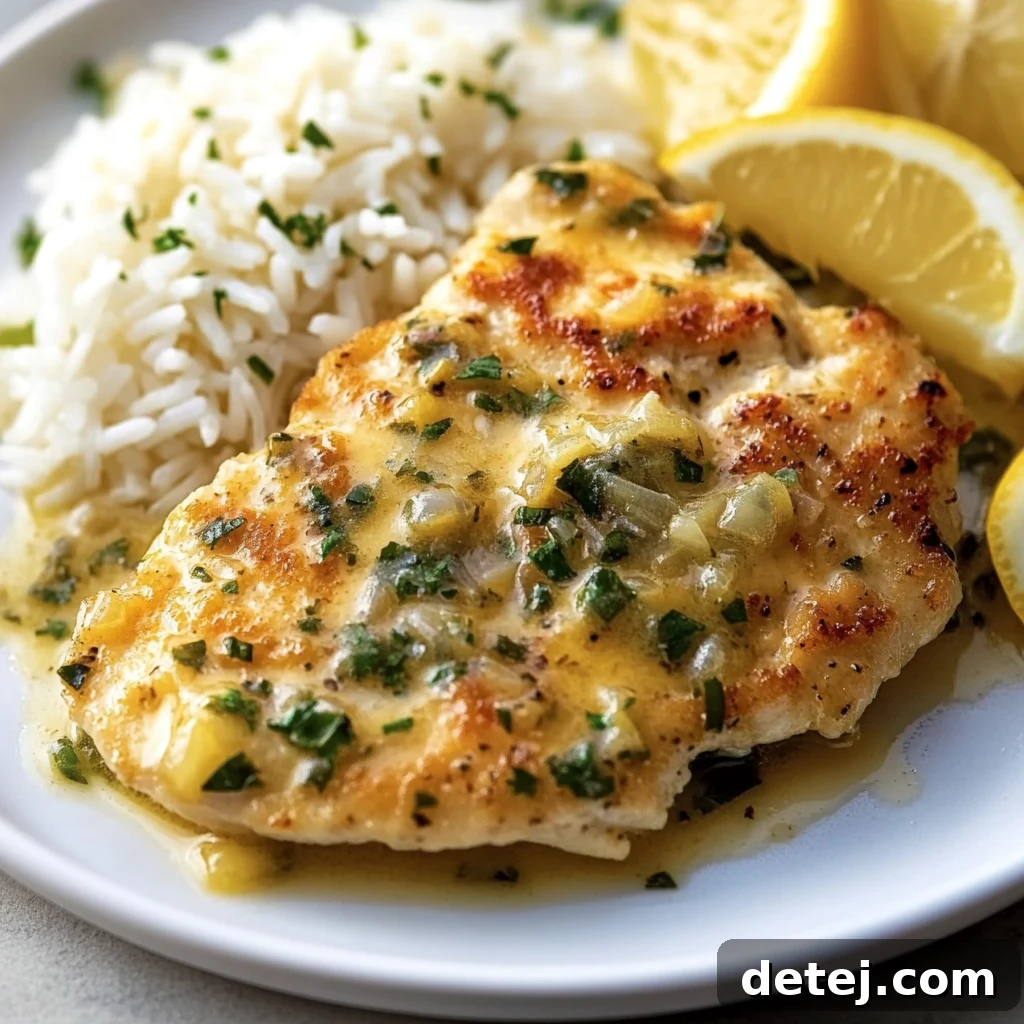
To complete your meal, select a dry white wine that complements the dish’s acidity and richness. A crisp Sauvignon Blanc or a light Pinot Grigio would be excellent choices, enhancing the lemon notes without overpowering the delicate flavors of the chicken. A glass of sparkling water with a slice of lemon offers a non-alcoholic alternative that is equally refreshing.
Elevating Your Dish with Fresh Garnishes
Garnishing is the final flourish that takes your chicken piccata from delicious to truly exquisite. It’s not merely for aesthetics; fresh garnishes add crucial bursts of flavor and aroma. A generous sprinkle of freshly minced parsley provides a vibrant green color and a clean, peppery freshness that brightens every bite. For an intensified lemon aroma and flavor, grate a little fresh lemon zest directly over the dish just before serving. This awakens the senses and adds a concentrated citrus essence. Don’t forget a few thin slices of fresh lemon, artfully arranged on the plate, not only for visual appeal but also for guests to add an extra squeeze if they desire more tang. For those who enjoy a little extra depth, a final sprinkle of grated Parmesan cheese or a scattering of additional capers can add a sophisticated touch and enhance the texture and saltiness of the dish.
Storage and Reheating Tips
Should you be fortunate enough to have leftovers, proper storage ensures you can enjoy this delightful dish again. Allow the chicken piccata to cool completely before transferring it to an airtight container. It can be safely stored in the refrigerator for up to 3-4 days. When you’re ready to reheat, gently warm it on the stovetop over medium-low heat. Adding a splash of chicken broth or water can help revive the sauce and prevent the chicken from drying out. You can also reheat it in the microwave, though the stovetop method often yields better texture. Avoid over-reheating, as this can make the chicken tough.
Expert Tips for Piccata Perfection
To ensure your creamy lemon chicken piccata turns out perfectly every time, keep these expert tips in mind:
- Pound Uniformly: Even thickness is key to preventing dry spots and ensuring all chicken cooks through at the same rate.
- Don’t Skimp on Fresh Lemon: Bottled lemon juice simply doesn’t compare to the bright, nuanced flavor of fresh lemons. It makes a significant difference.
- Heat Management: Begin with medium-high heat for searing to achieve a beautiful crust, then reduce to medium or medium-low when making the sauce to prevent burning the fond.
- Don’t Overcrowd the Pan: Cook chicken in batches if necessary. Giving each cutlet space allows for proper searing and browning.
- Scrape the Fond: Those browned bits at the bottom of the pan are flavor gold. Deglaze thoroughly to incorporate them into your sauce for maximum richness.
- Taste and Adjust: Always taste your sauce before serving. Adjust salt, pepper, or lemon juice to your preference. A little heavy cream can temper too much tanginess.
Variations and Customizations
While the classic creamy lemon chicken piccata is undoubtedly delicious, this versatile dish lends itself beautifully to various customizations. Feel free to experiment and make it your own!
- Different Proteins: Substitute chicken with veal cutlets for a traditional Veal Piccata, or try thin slices of turkey breast. For a seafood twist, firm white fish like cod or halibut can also be prepared piccata style. For a vegetarian option, large portobello mushroom caps make an excellent substitute, offering a meaty texture that absorbs the sauce wonderfully.
- Add More Herbs: Beyond parsley, consider fresh thyme or oregano incorporated into the sauce for a different aromatic profile.
- Spicy Kick: If you love heat, increase the amount of hot sauce or add a pinch of red pepper flakes to the sauce for an extra fiery dimension.
- Cheesy Boost: For an even richer sauce, stir in a tablespoon or two of cream cheese or mascarpone at the end, allowing it to melt gently for an extra creamy consistency.
- Vegetable Infusion: Sauté some finely chopped shallots or mushrooms with the garlic before adding the liquids for the sauce, adding more texture and earthy notes.
Frequently Asked Questions (FAQ)
What exactly is Chicken Piccata?
Chicken Piccata is a classic Italian-American dish consisting of thinly sliced chicken cutlets (usually breast) that are dredged in flour, pan-fried until golden, and then served with a sauce made from lemon juice, chicken broth, capers, and butter. Our version adds a creamy element for extra richness.
Can I make Chicken Piccata gluten-free?
Absolutely! To make this dish gluten-free, simply substitute the all-purpose flour with a gluten-free all-purpose flour blend, rice flour, or almond flour for dredging the chicken. The rest of the ingredients are naturally gluten-free.
How do I prevent the chicken from drying out?
Several factors contribute to juicy chicken: pounding the cutlets to a uniform 1/4-inch thickness, not overcrowding the pan during searing, and cooking just until the internal temperature reaches 165°F (74°C). Avoid overcooking at all costs, as thin cutlets cook very quickly.
Can I use a different protein for Piccata?
Yes, piccata is traditionally made with veal (Veal Piccata) and can also be made with thin slices of turkey breast or even firm white fish. For a vegetarian option, large slices of portobello mushrooms are a popular and delicious choice.
What is the role of capers in Chicken Piccata?
Capers are small, pickled flower buds that add a distinct briny, salty, and slightly tart flavor to the piccata sauce. They provide a crucial counterpoint to the rich butter and tangy lemon, balancing the overall flavor profile of the dish and making it authentically piccata.
Essential Kitchen Tools for This Recipe
Having the right tools can make your cooking experience smoother and more enjoyable. Here are some kitchen essentials that will be particularly helpful for preparing this creamy lemon chicken piccata:
- General Kitchen Essentials: Explore a curated list of my favorite kitchen tools and spices.
- Large Skillet (e.g., Le Creuset 10.25″): A heavy-bottomed skillet ensures even heat distribution for perfect searing and sauce making.
- Microplane Zester: Ideal for finely grating Parmesan cheese and zesting lemons, enhancing flavor and presentation.
- Chef’s Knife: A sharp chef’s knife is indispensable for preparing chicken and mincing herbs and garlic.
- Instant-Read Thermometer: Your best friend for ensuring chicken is cooked to a safe internal temperature of 165°F without overcooking.
- Cutting Board: A sturdy cutting board is essential for safe and efficient ingredient preparation.
- Meat Mallet/Tenderizer: Used for pounding chicken breasts to an even thickness, ensuring tenderness and uniform cooking.
Creamy Lemon Chicken Piccata Recipe
This recipe delivers tender chicken cutlets coated in a golden crust, generously drizzled with a rich and tangy lemon-butter sauce. A true crowd-pleaser that’s surprisingly simple to make and perfect for any occasion!
Chicken Piccata with Lemon Sauce
Yields: 8 servings
Prep time: 25 mins | Cook time: 25 mins | Total time: 50 mins
Author: Krystel
Ingredients
- 8 boneless, skinless chicken breast halves, pounded to 1/4-inch thickness
- 1/2 cup egg substitute (or 2 large eggs, whisked)
- 1/2 cup all-purpose flour
- 1/2 cup grated Parmesan cheese
- 1/4 cup plus 2 tablespoons chicken broth, divided
- 1/4 cup minced fresh parsley, plus more for garnish
- 5 tablespoons fresh lemon juice, divided
- 2 tablespoons salted butter
- 3 teaspoons olive oil, divided
- 1 teaspoon minced garlic
- 1/2 teaspoon salt, or to taste
- 1/8 teaspoon hot sauce (optional, for a subtle kick)
- Optional: 2 tablespoons capers, drained
- Optional: Fresh lemon slices for garnish
Instructions
- Prepare the Chicken: If not already thin, place chicken breast halves between two sheets of plastic wrap and pound them to an even 1/4-inch thickness using a meat mallet. Pat dry with paper towels.
- Set Up Dredging Stations: In a shallow bowl, whisk together the egg substitute (or eggs), 2 tablespoons of chicken broth, 2 tablespoons of lemon juice, minced garlic, and hot sauce (if using). In a separate shallow bowl, combine the all-purpose flour, grated Parmesan cheese, and 1/2 teaspoon of salt.
- Coat the Chicken: Dredge each chicken cutlet first in the seasoned flour mixture, shaking off any excess. Then, dip it into the egg mixture, ensuring it’s fully coated. Finally, dredge it a second time in the flour mixture, pressing gently to adhere. Set aside on a plate or wire rack.
- Sear the Chicken: Heat 1 1/2 teaspoons of olive oil in a large nonstick skillet or cast-iron skillet over medium-high heat until shimmering. Carefully add 3-4 chicken cutlets to the pan, ensuring not to overcrowd. Cook for 3-5 minutes per side, until deeply golden brown and cooked through (internal temperature reaches 165°F / 74°C). Transfer the cooked chicken to a plate and keep warm, loosely covered with foil. Repeat with the remaining chicken and another 1 1/2 teaspoons of olive oil.
- Prepare the Sauce: Using the same skillet (do not clean it), reduce the heat to medium-low. Add the 2 tablespoons of salted butter. Once melted, stir in the remaining chicken broth (1/4 cup) and lemon juice (3 tablespoons). Bring to a gentle simmer, scraping up any browned bits (fond) from the bottom of the pan with a wooden spoon.
- Reduce the Sauce: Allow the sauce to simmer for 3-5 minutes, or until it has reduced by about a quarter and slightly thickened. Taste and adjust seasoning with salt, pepper, or more lemon juice if desired. If using, stir in the drained capers now.
- Combine and Serve: Return the cooked chicken cutlets to the skillet, spooning the luscious lemon-butter sauce generously over them. Garnish with fresh minced parsley and fresh lemon slices. Serve immediately with your favorite side dishes.
I sincerely hope you enjoy creating and savoring this exquisite Creamy Lemon Chicken Piccata. It’s a dish that effortlessly blends the comfort of home cooking with the elegance of Italian cuisine. Share your culinary successes and tips with our community of food lovers. Happy cooking!