
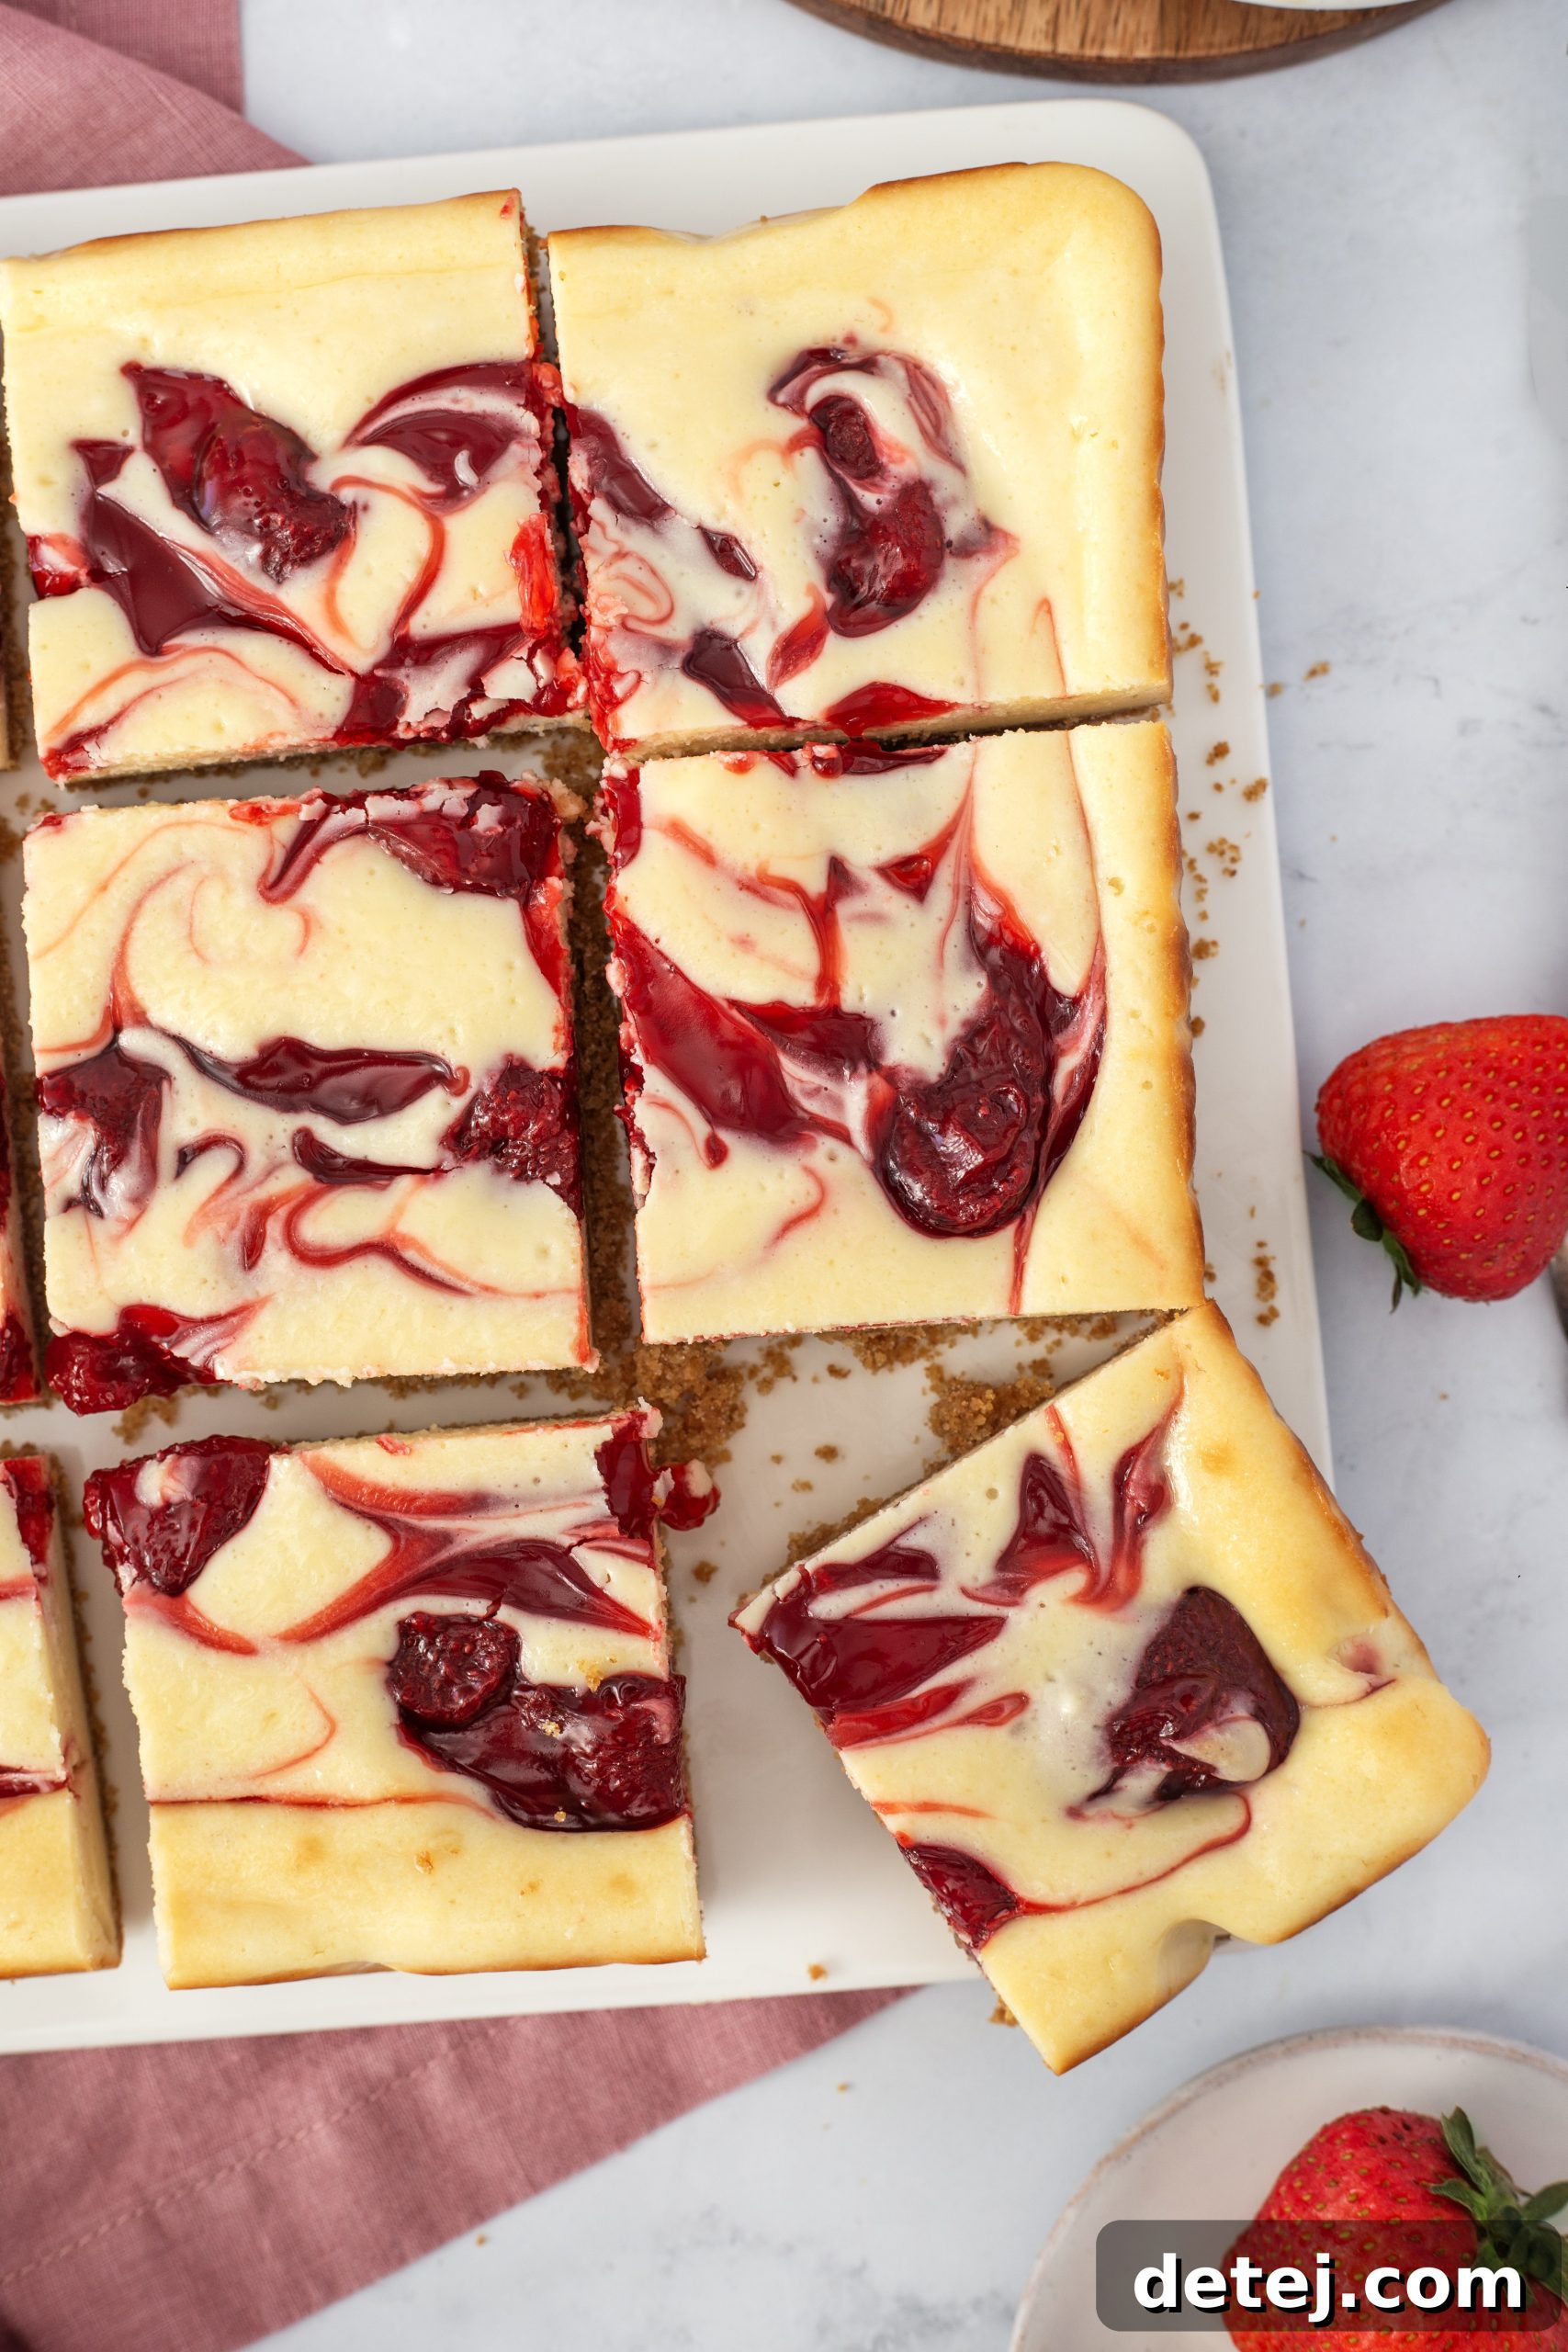
Swirls of Summer: Crafting Irresistible Strawberry Swirl Cheesecake Bars
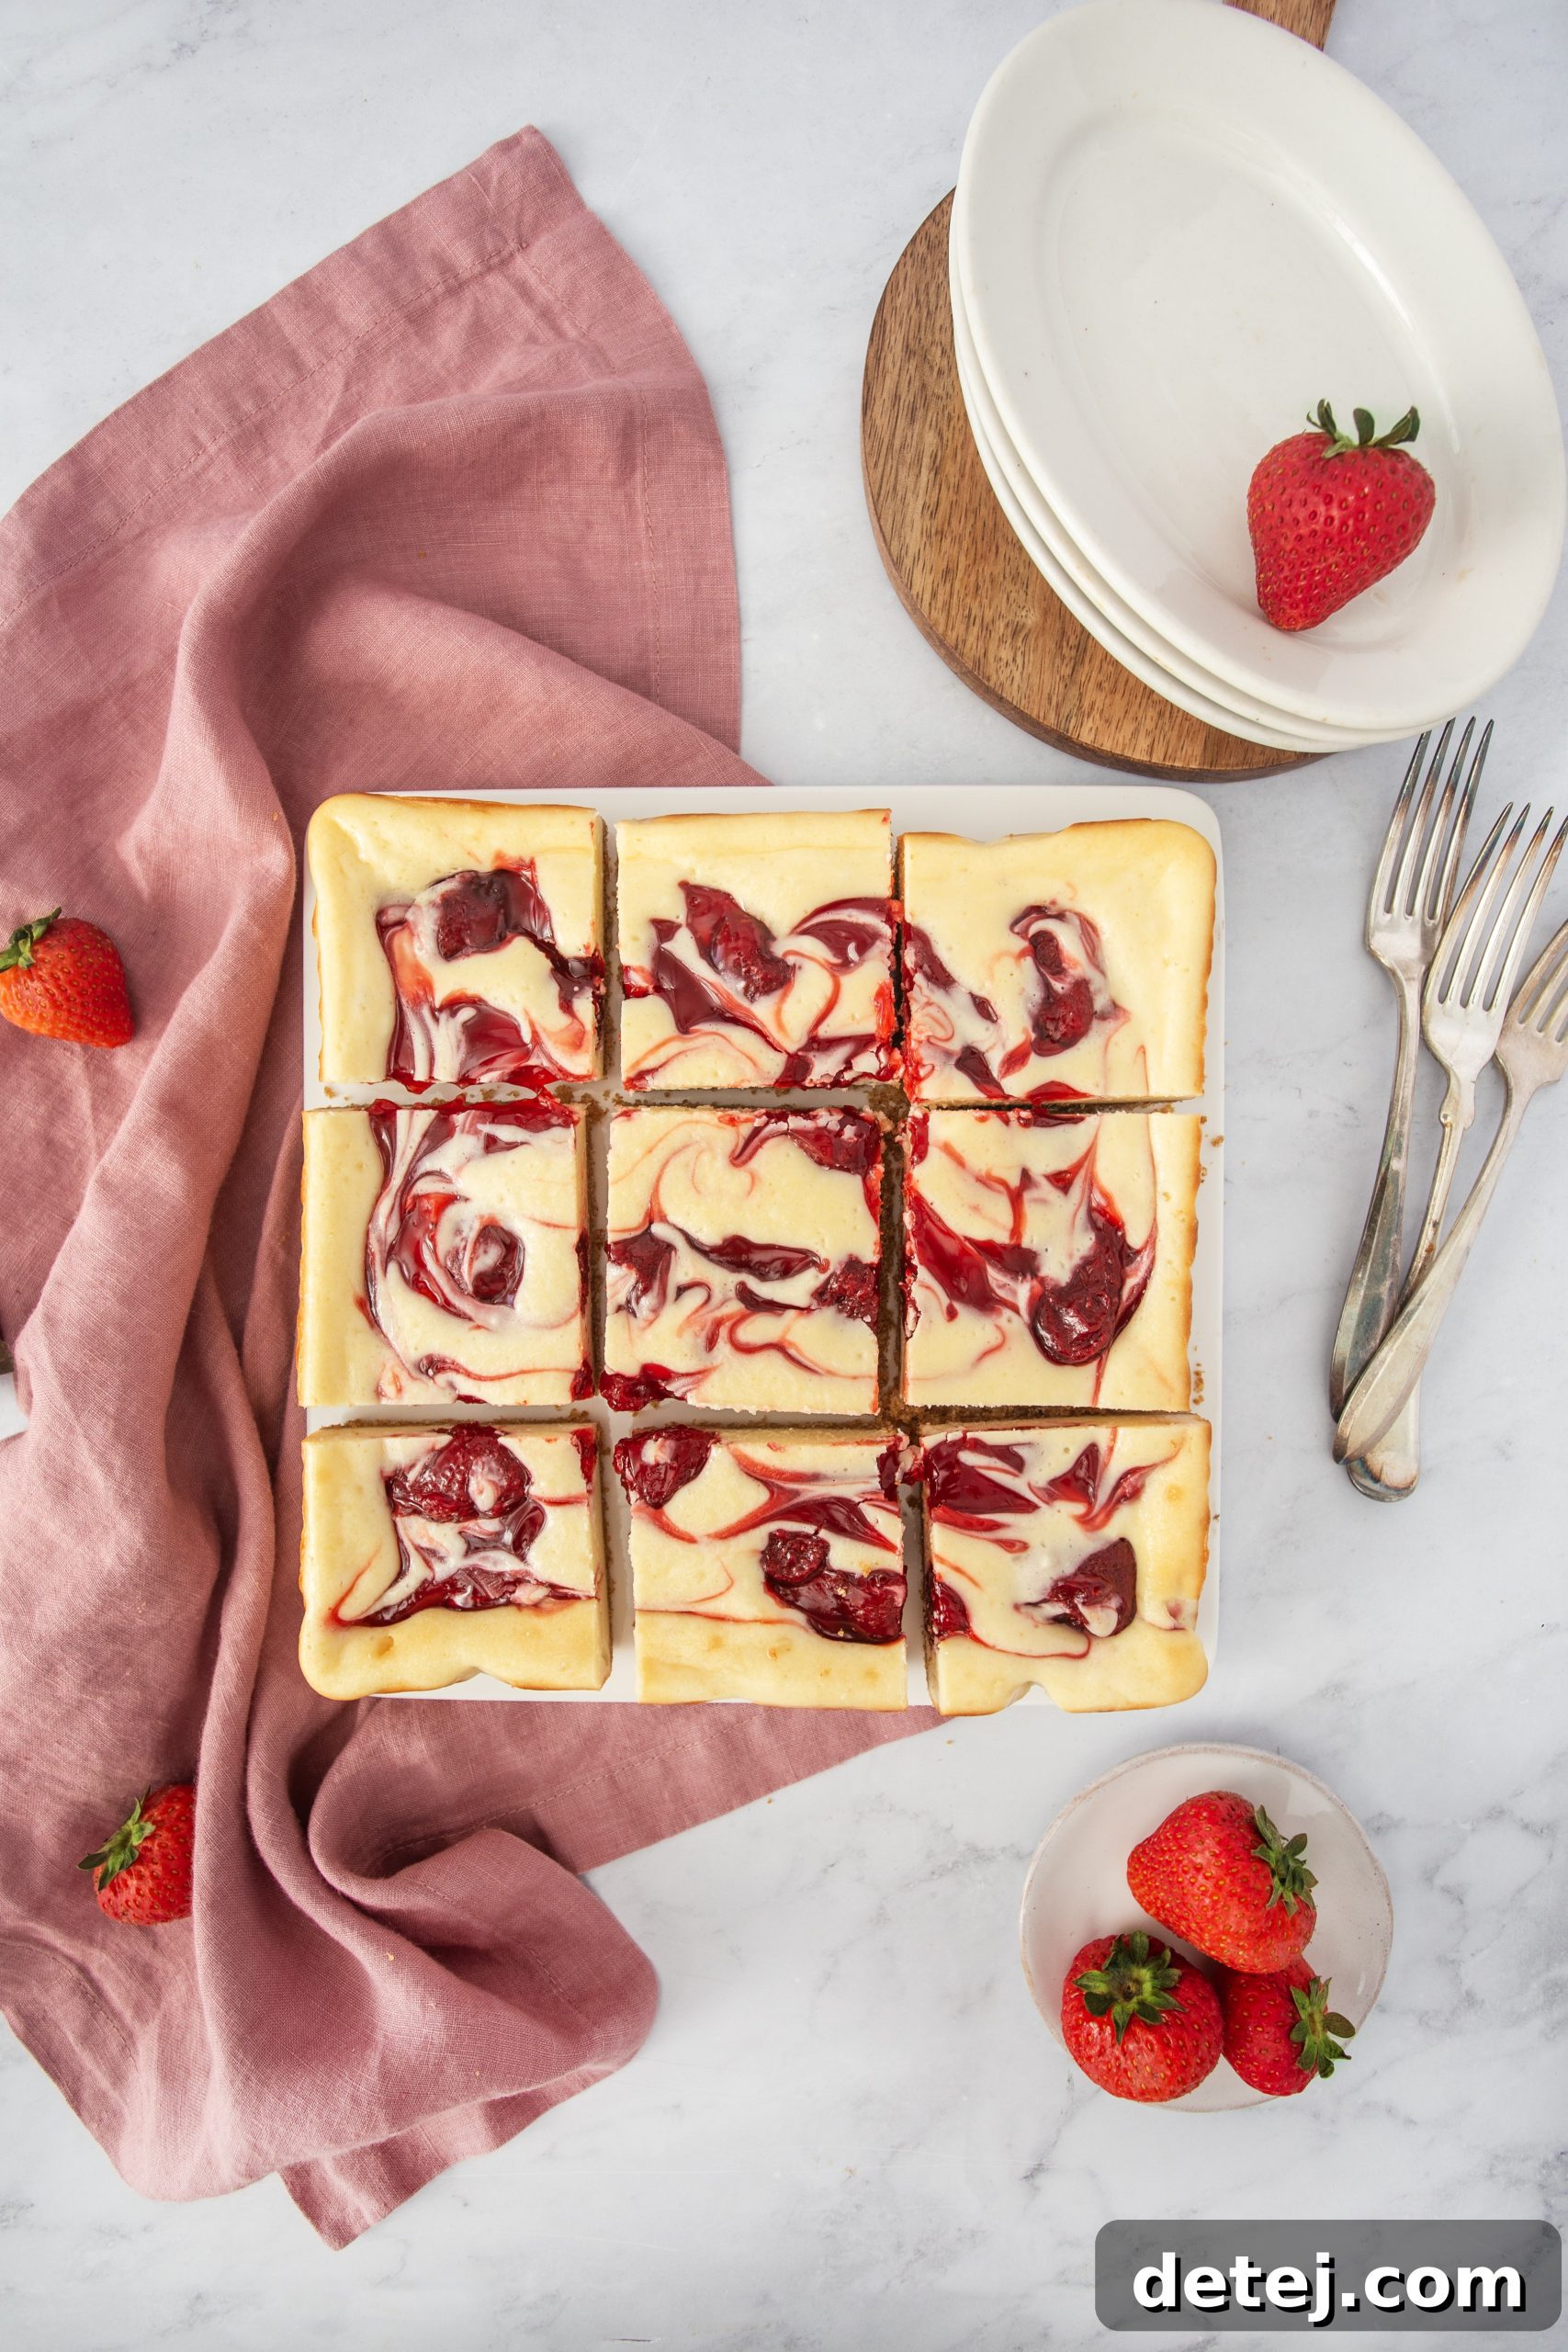
Welcome to the delightful world of summer desserts! There’s an undeniable magic in the air when the sun shines bright, and what better way to celebrate than with a treat that captures the essence of the season? Today, we’re diving into my absolute favorite: Strawberry Swirl Cheesecake Bars. These aren’t just any dessert; they’re a creamy, fruity symphony that perfectly embodies the joy of warmer days. Imagine a buttery, golden-brown graham cracker crust, a velvety smooth cream cheese filling, all adorned with vibrant, jammy swirls of sweet strawberries. Each bite is a miniature vacation, a harmonious blend of textures and flavors that will transport you straight to a summer picnic or a relaxed evening on the porch.
Whether you’re a seasoned baker looking for your next showstopper or a beginner eager to impress, this recipe is designed for you. It simplifies the process, transforming a seemingly intricate dessert into an enjoyable baking adventure. Using readily available ingredients, you’ll craft a treat that looks as stunning as it tastes. These cheesecake bars are the epitome of effortless elegance, making them ideal for potlucks, family gatherings, or simply a sweet indulgence for yourself. Get ready to create a dessert that will undoubtedly become a cherished summer tradition and a new favorite among friends and family.
Why Strawberry Swirl Cheesecake Bars are Your Perfect Summer Dessert
There are countless reasons why these Strawberry Swirl Cheesecake Bars stand out in the realm of summer confections. Firstly, they perfectly balance richness with refreshing fruitiness. The tang of cream cheese beautifully complements the sweetness of the strawberries, while the crunchy crust adds a satisfying contrast to the creamy filling. Secondly, their bar form makes them incredibly convenient for serving. Unlike a traditional cheesecake that requires careful slicing and plating, these bars are inherently portioned, making them ideal for casual get-togethers, picnics, or barbecues where finger foods are preferred.
Moreover, the visual appeal of the strawberry swirls is simply captivating. Each bar is a unique work of art, with ruby-red ribbons weaving through the pristine white cheesecake. This makes them not just a dessert, but a centerpiece. They offer a taste of nostalgia, reminiscent of classic cheesecake, but with a vibrant, summery twist. Plus, the preparation, while detailed, is straightforward, allowing even novice bakers to achieve professional-looking results. They require no fancy equipment beyond a hand mixer and a baking pan, proving that exceptional flavor and presentation don’t have to come with complexity. These bars are truly the quintessential summer delight: beautiful, delicious, and wonderfully easy to enjoy.
Gathering Your Essential Ingredients
Before we embark on this delightful baking journey, let’s ensure our kitchen is stocked with all the necessary components for these exquisite Strawberry Swirl Cheesecake Bars. The success of any great dessert hinges on the quality and preparation of its ingredients. Pay close attention to details like temperature, as they can significantly impact the final texture and consistency of your cheesecake.
- For the Irresistible Crust: The foundation of our cheesecake bars is a classic graham cracker crust. You will need:
- 1 ½ cups graham cracker crumbs: You can crush whole graham crackers yourself or buy pre-crushed crumbs for convenience.
- 6 tablespoons melted butter: Unsalted butter is preferred to control the overall saltiness, but salted will work in a pinch.
- ½ cup granulated sugar: Adds a touch of sweetness to balance the buttery crumbs.
- For the Velvety Filling: This is where the magic happens, so meticulous preparation is key:
- Two 8-ounce packages Philadelphia cream cheese: Crucially, ensure your cream cheese is at room temperature. This is non-negotiable for a lump-free, silky-smooth filling.
- 2 large eggs: Like the cream cheese, these should also be at room temperature. Room temperature eggs emulsify better with the cream cheese, preventing a curdled texture.
- ½ cup granulated sugar: Sweetens the creamy base perfectly.
- 3 tablespoons all-purpose flour: A small amount of flour helps stabilize the cheesecake, preventing cracks and giving it a firmer texture, especially important for bars.
- 1 ½ teaspoons vanilla extract: A good quality vanilla extract enhances the overall flavor profile.
- ¼ teaspoon kosher salt: A pinch of salt is vital for balancing sweetness and brightening all the other flavors.
- 1 cup strawberry pie filling: This provides the vibrant, jammy swirls. While store-bought works wonderfully for ease, you could also use a homemade strawberry compote for an extra personal touch.
Having all these ingredients measured and ready before you begin will make the baking process smoother and more enjoyable. Grab your mixing bowls and a trusty hand mixer, and let’s get ready to create some summer bliss!
Preparing Your Baking Pan for Success
A well-prepared baking pan is the unsung hero of many successful baking endeavors, and our Strawberry Swirl Cheesecake Bars are no exception. For perfectly formed and easily removable bars, the right pan preparation is crucial. I highly recommend using a 9×9-inch baking pan, as this size yields beautifully proportioned bars – not too thin, not too thick. The real secret weapon here, however, is parchment paper.
To ensure your delicious cheesecake bars lift out effortlessly without any sticking, cut a piece of parchment paper generously sized to cover the bottom of the pan and extend over two opposite sides. These extended edges act as “slings” or “handles,” allowing you to gently lift the entire baked and chilled cheesecake block out of the pan in one piece. This simple technique transforms the cutting and serving process from a potential struggle into a seamless experience. Without this step, you risk leaving precious bits of that delectable crust stuck to the pan. Trust me, investing a minute or two in this preparation will save you time and frustration later, guaranteeing that picture-perfect presentation of your golden-brown squares.
Crafting the Perfect Graham Cracker Crust
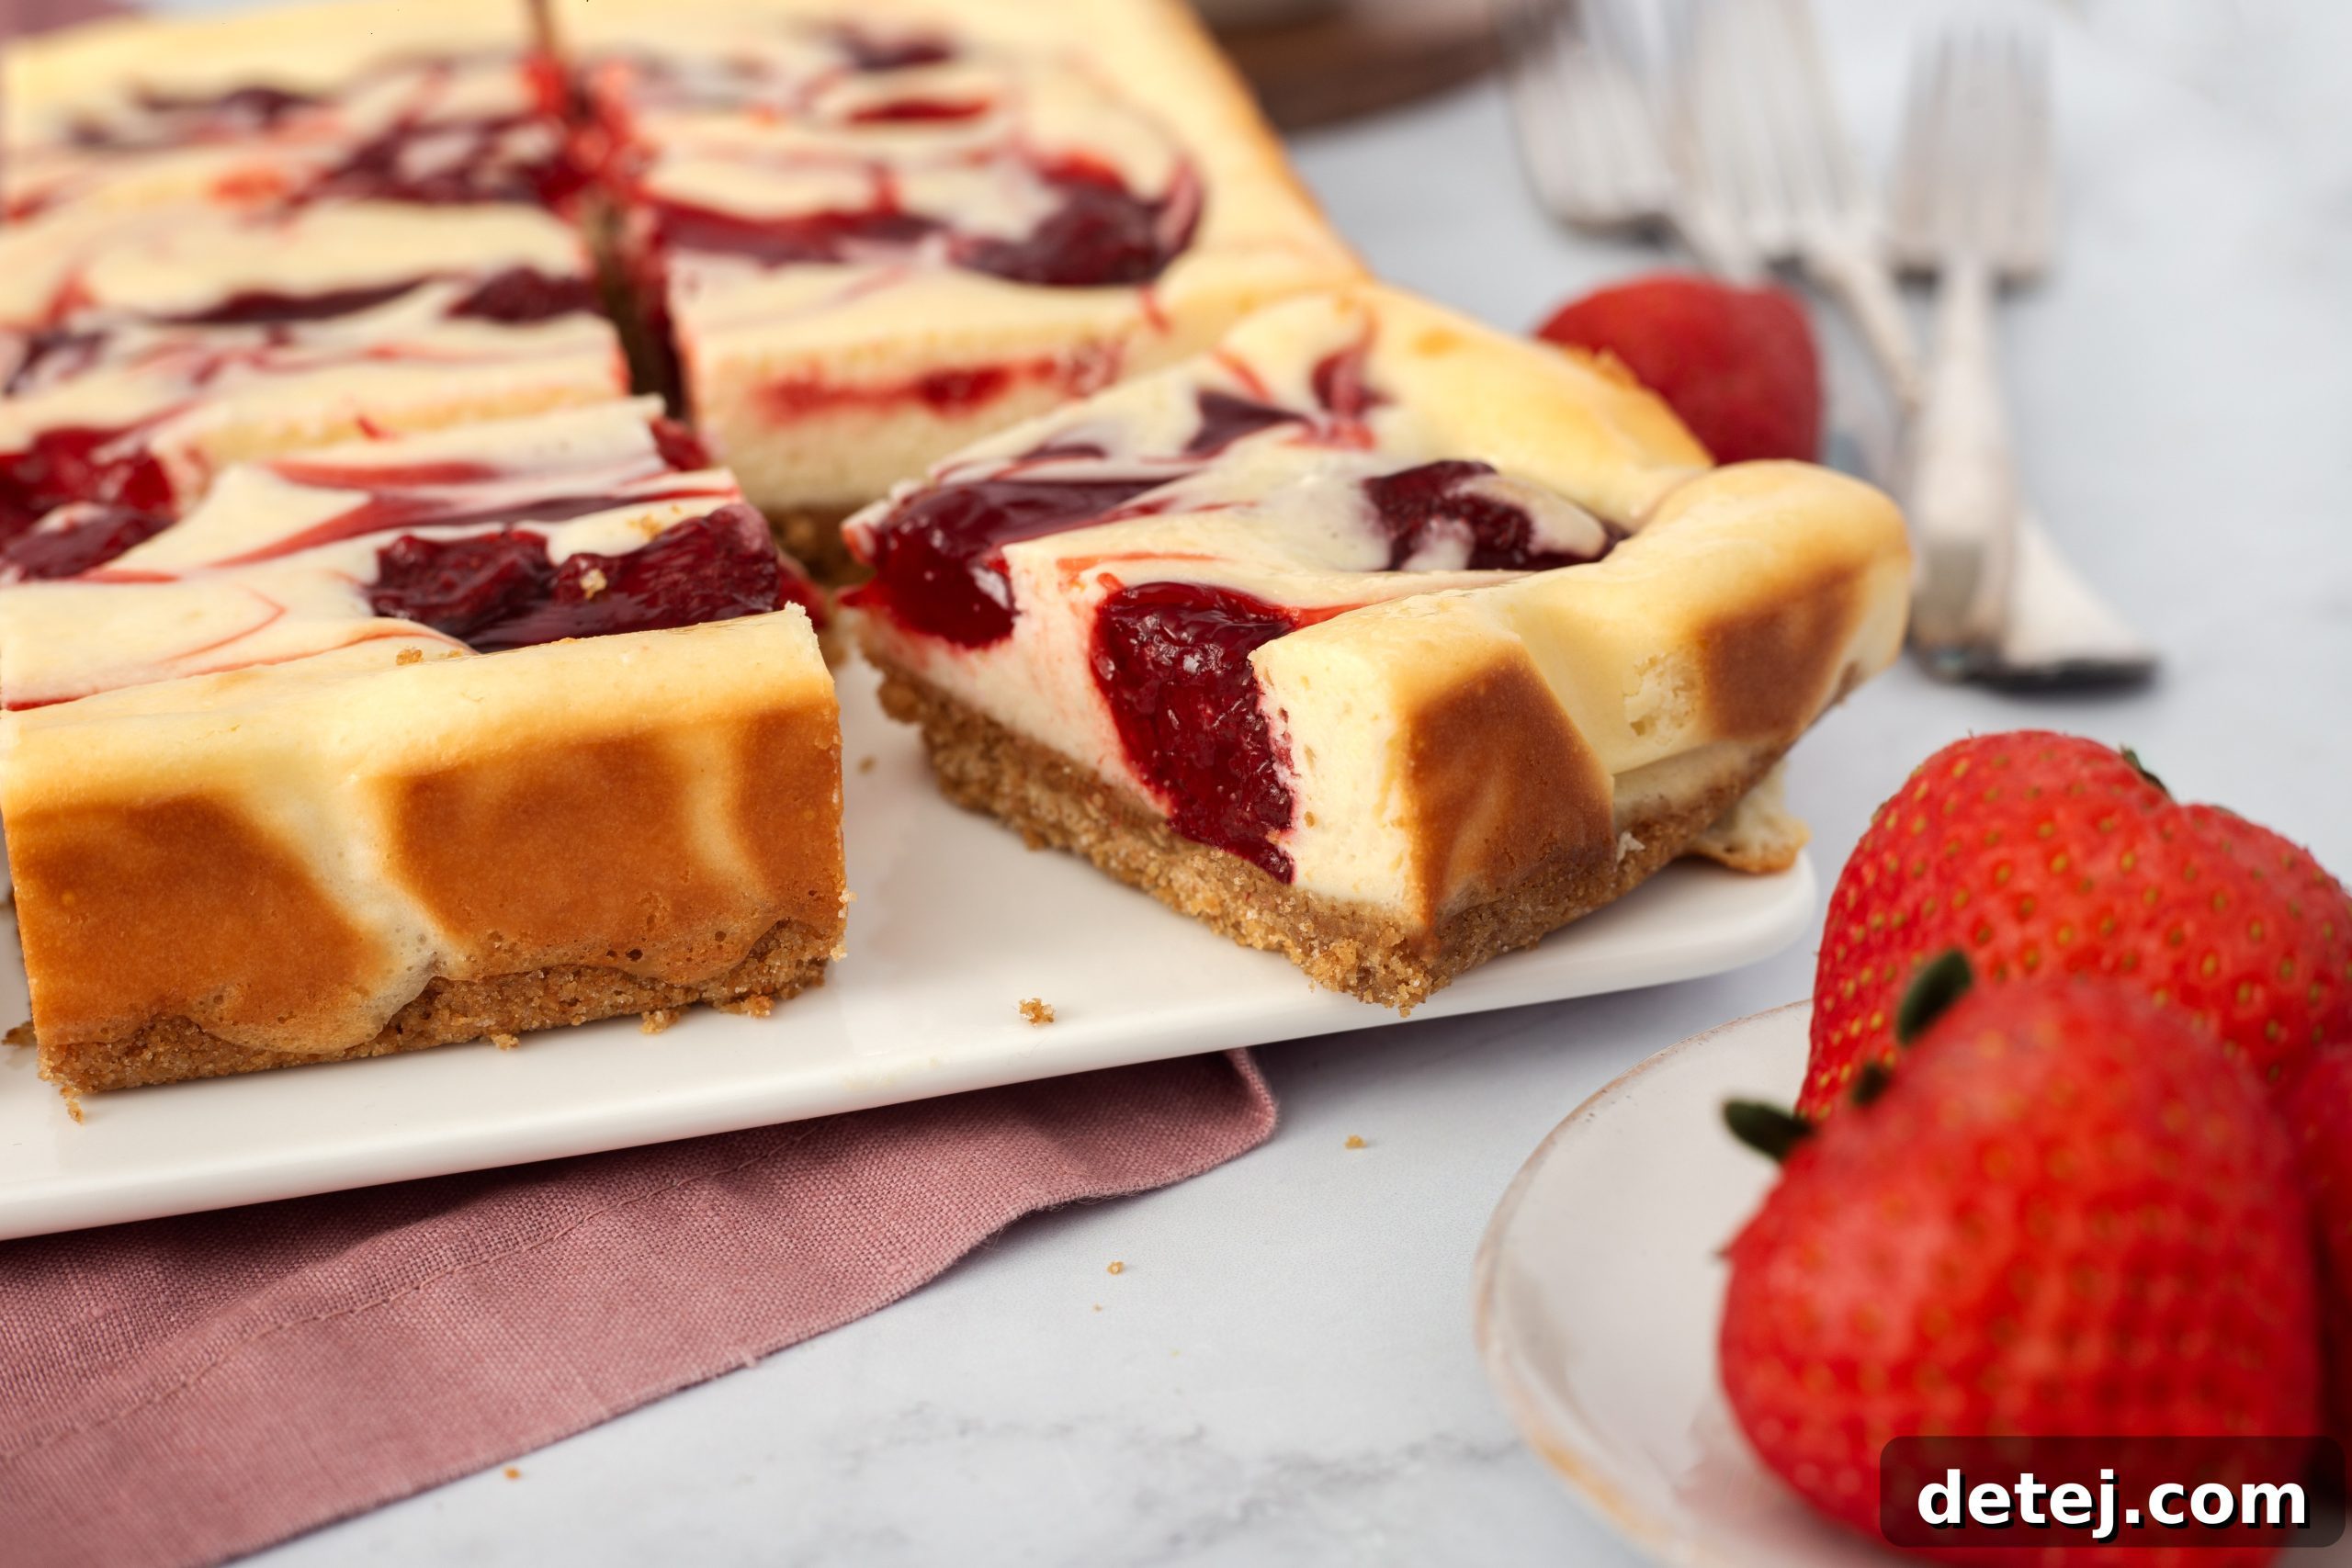
The foundation of any great cheesecake bar lies in its crust. For our Strawberry Swirl Cheesecake Bars, we’re building a sturdy, buttery graham cracker base that provides the perfect contrast to the creamy filling. This isn’t just any crust; it’s a harmonious blend of crunchy texture and sweet, warm flavor that truly elevates the entire dessert. To begin, gather your graham cracker crumbs. You can achieve these by crushing whole graham crackers in a food processor or a Ziploc bag with a rolling pin until fine, or simply use store-bought crumbs.
In a medium-sized bowl, combine the graham cracker crumbs with your granulated sugar. Then, drizzle in the melted butter. The butter acts as a binder, transforming the dry crumbs into a moist, cohesive mixture that resembles damp sand. Using a fork or your hands, mix thoroughly until every crumb is evenly coated. This ensures a consistent texture and flavor throughout the crust. Once combined, transfer this mixture into your prepared 9×9-inch baking pan, which you’ve thoughtfully lined with parchment paper. Using the bottom of a flat glass or your fingers, press the mixture firmly and evenly into the bottom of the pan. The key here is to compact it well, creating a solid base that won’t crumble when sliced. Bake this crust in your preheated 350°F oven for just 8 minutes. This brief bake time helps to set the crust, making it even more stable and imparting a toasted flavor that adds depth to the overall dessert.
Creating the Velvety Cheesecake Filling
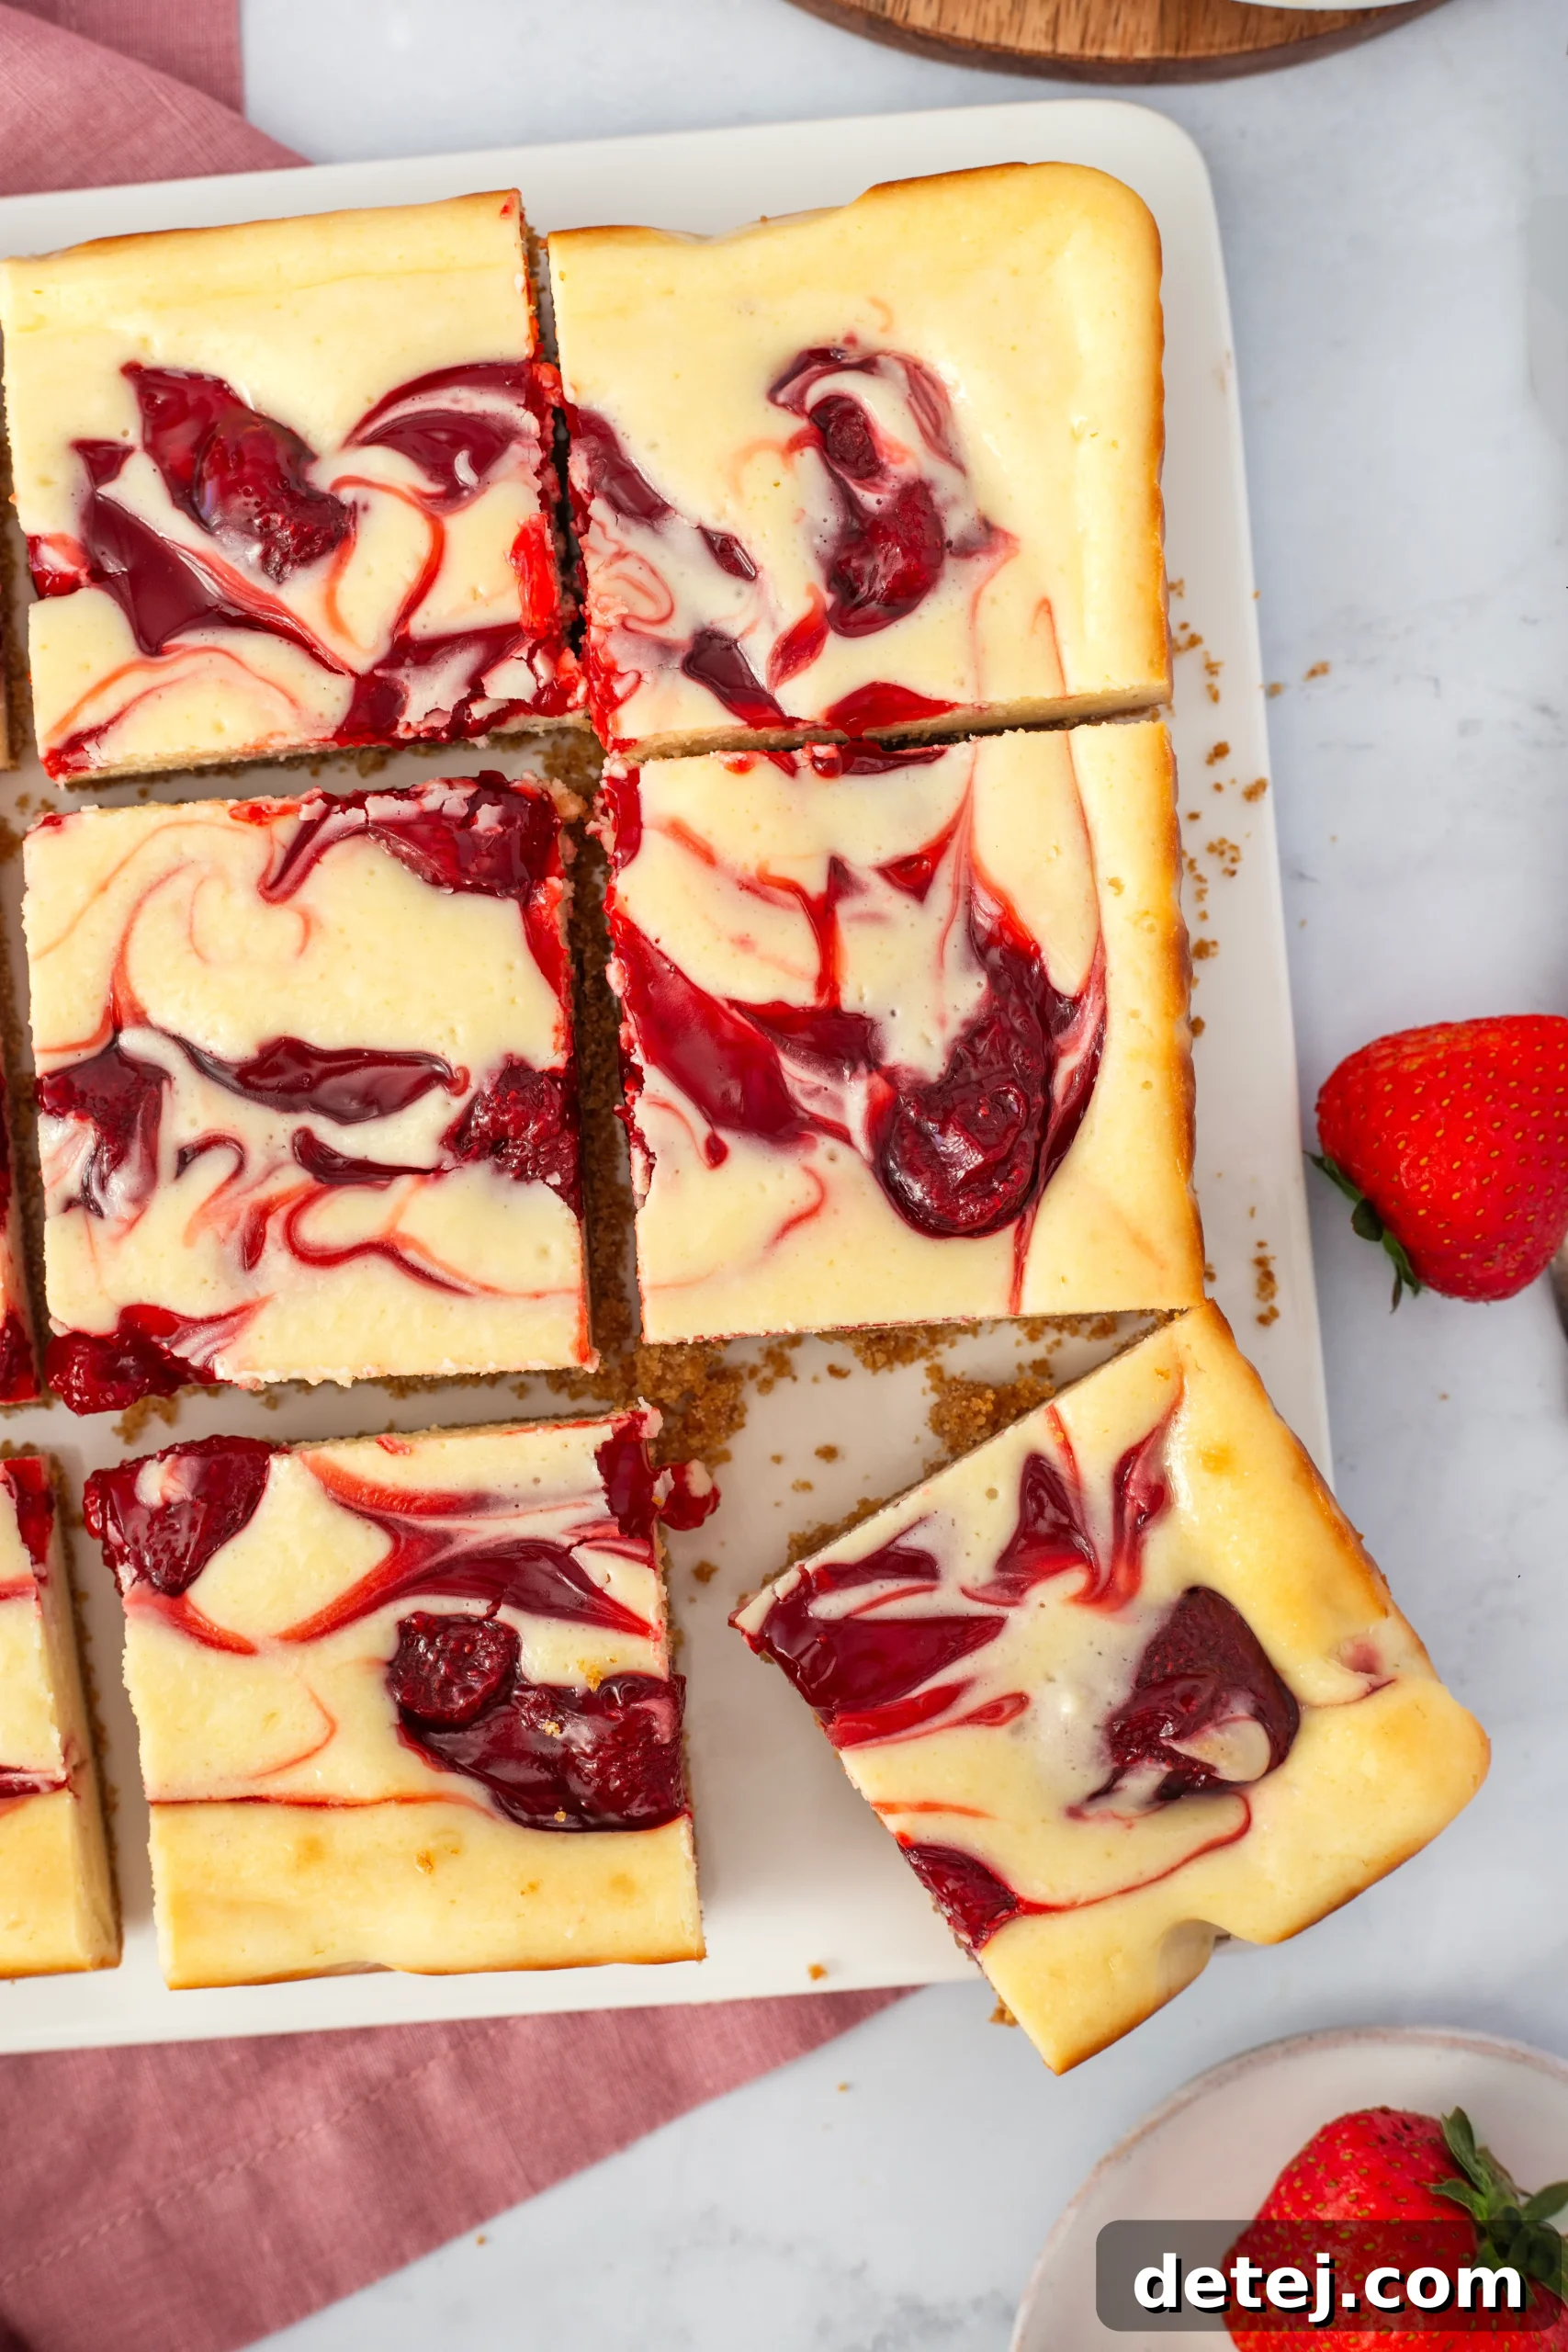
Now for the heart of our Strawberry Swirl Cheesecake Bars: the incredibly rich and creamy cheesecake filling. Achieving that signature smooth, luxurious texture is surprisingly simple, especially when you follow a few crucial steps. The first, and perhaps most important, is ensuring your ingredients are at room temperature. This isn’t just a suggestion; it’s a golden rule for cheesecake making. Room temperature cream cheese and eggs blend together seamlessly, creating a uniform, lump-free batter. Cold ingredients, on the other hand, can lead to a lumpy filling and an overmixed batter, which can introduce too much air and cause cracks during baking.
Begin by placing your softened cream cheese in a large mixing bowl. Using a hand mixer or stand mixer fitted with the paddle attachment, beat the cream cheese on medium speed until it’s perfectly smooth and creamy, with no visible lumps. This usually takes a couple of minutes. Next, gradually add the granulated sugar, beating until just combined and fluffy. Then, incorporate the eggs, one at a time, mixing on low speed only until each egg is barely incorporated. Overmixing after adding the eggs can introduce excess air, which can cause the cheesecake to puff up too much in the oven and then fall and crack as it cools. Finally, gently mix in the all-purpose flour, vanilla extract, and kosher salt until the batter is just smooth and homogeneous. The result should be a beautiful, velvety smooth cheesecake batter, ready to be poured over your perfectly baked graham cracker crust. This creamy concoction promises to be the star of your favorite summer dessert.
Infusing the Vibrant Strawberry Swirl
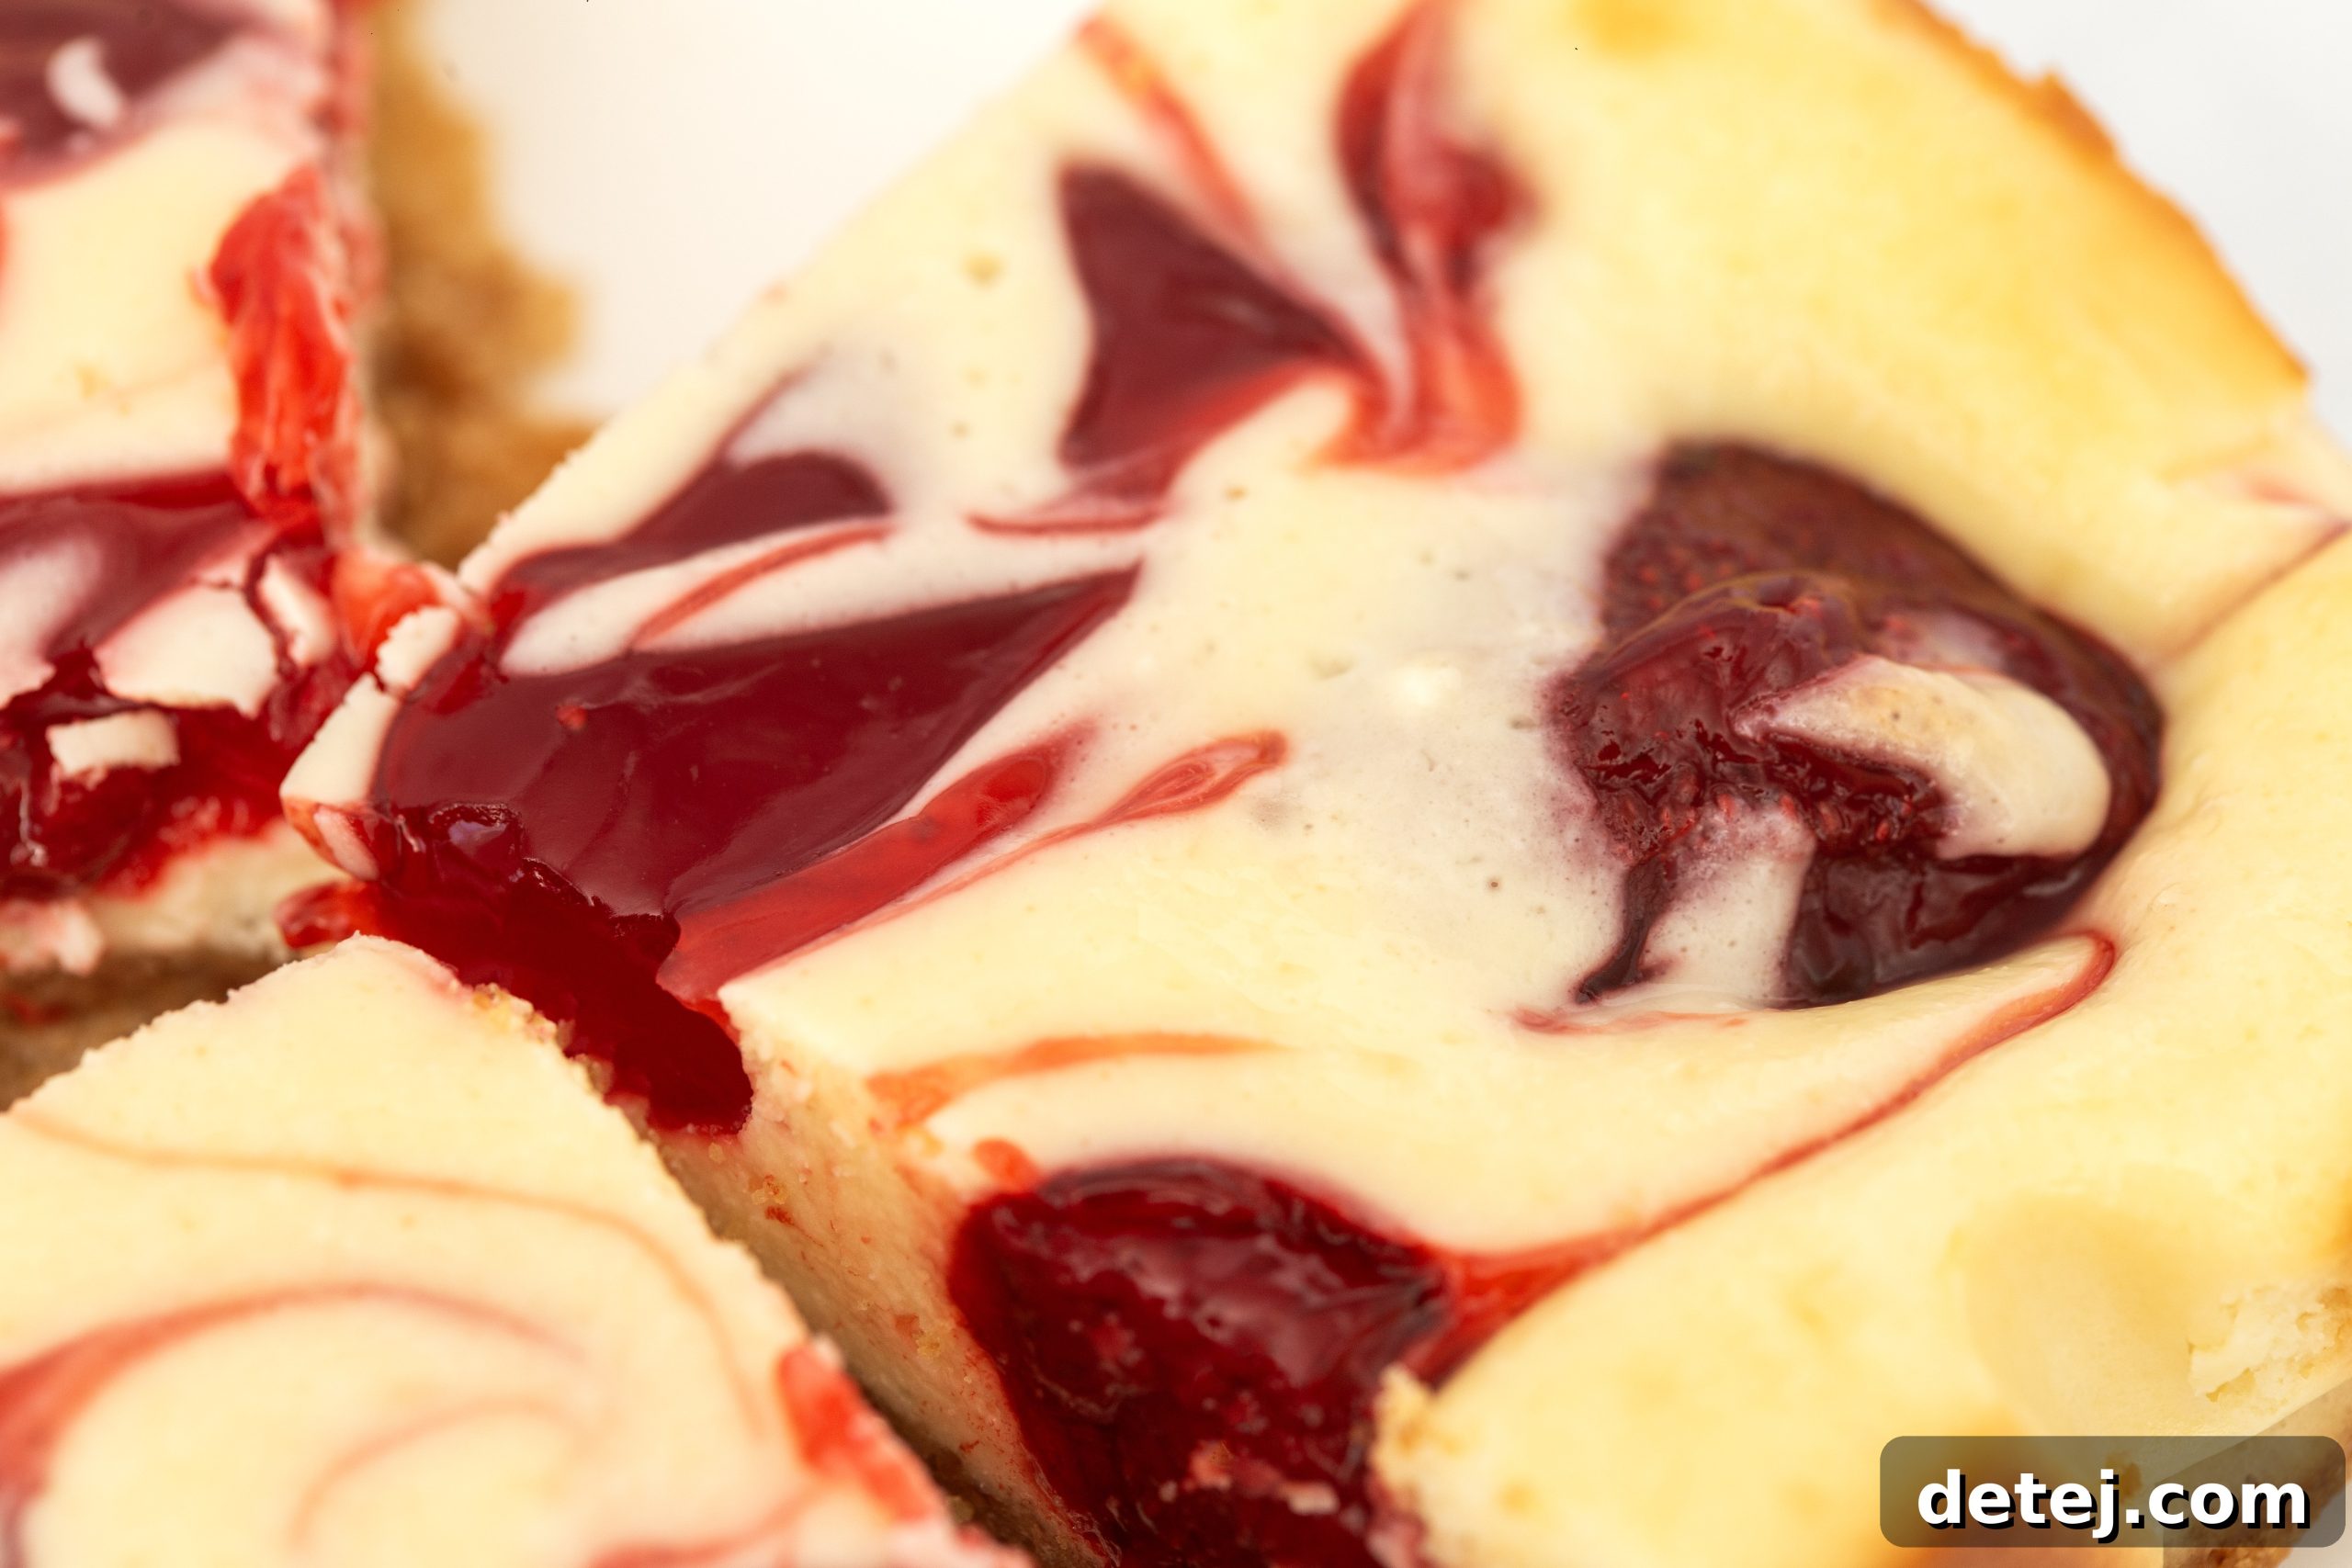
This is where our Strawberry Swirl Cheesecake Bars truly come alive, showcasing the artistic touch that transforms a simple cheesecake into a visually stunning masterpiece. With your smooth, creamy cheesecake filling ready, carefully pour it over the pre-baked graham cracker crust in your lined baking pan. Using an offset spatula or the back of a spoon, gently spread the filling into an even layer, ensuring it reaches all corners and creates a uniform base for the strawberry component. Think of this pristine white surface as your canvas, eagerly awaiting its vibrant splash of color.
Now for the exciting part: adding the strawberry swirl. Take your strawberry pie filling and drop small, evenly spaced dollops across the surface of the cheesecake batter. Don’t be afraid to be a little generous, ensuring enough strawberry goodness in every bite. Once the dollops are in place, grab a butter knife, a wooden skewer, or even a toothpick. Gently drag the tip through the strawberry dollops and into the cheesecake filling, creating beautiful, flowing patterns. You can go in straight lines, create S-shapes, or make random swirls – the goal is to marble the strawberry filling into the cheesecake layer without fully mixing it. Each swirl will be unique, creating a delightful visual effect that hints at the juicy sweetness within. This step is not only functional, ensuring the strawberry flavor is distributed, but it’s also incredibly satisfying to watch those vivid red streaks emerge. It’s this creative flourish that makes these bars so incredibly appealing and promises a burst of sweet strawberry in every creamy mouthful.
Baking to Golden Perfection
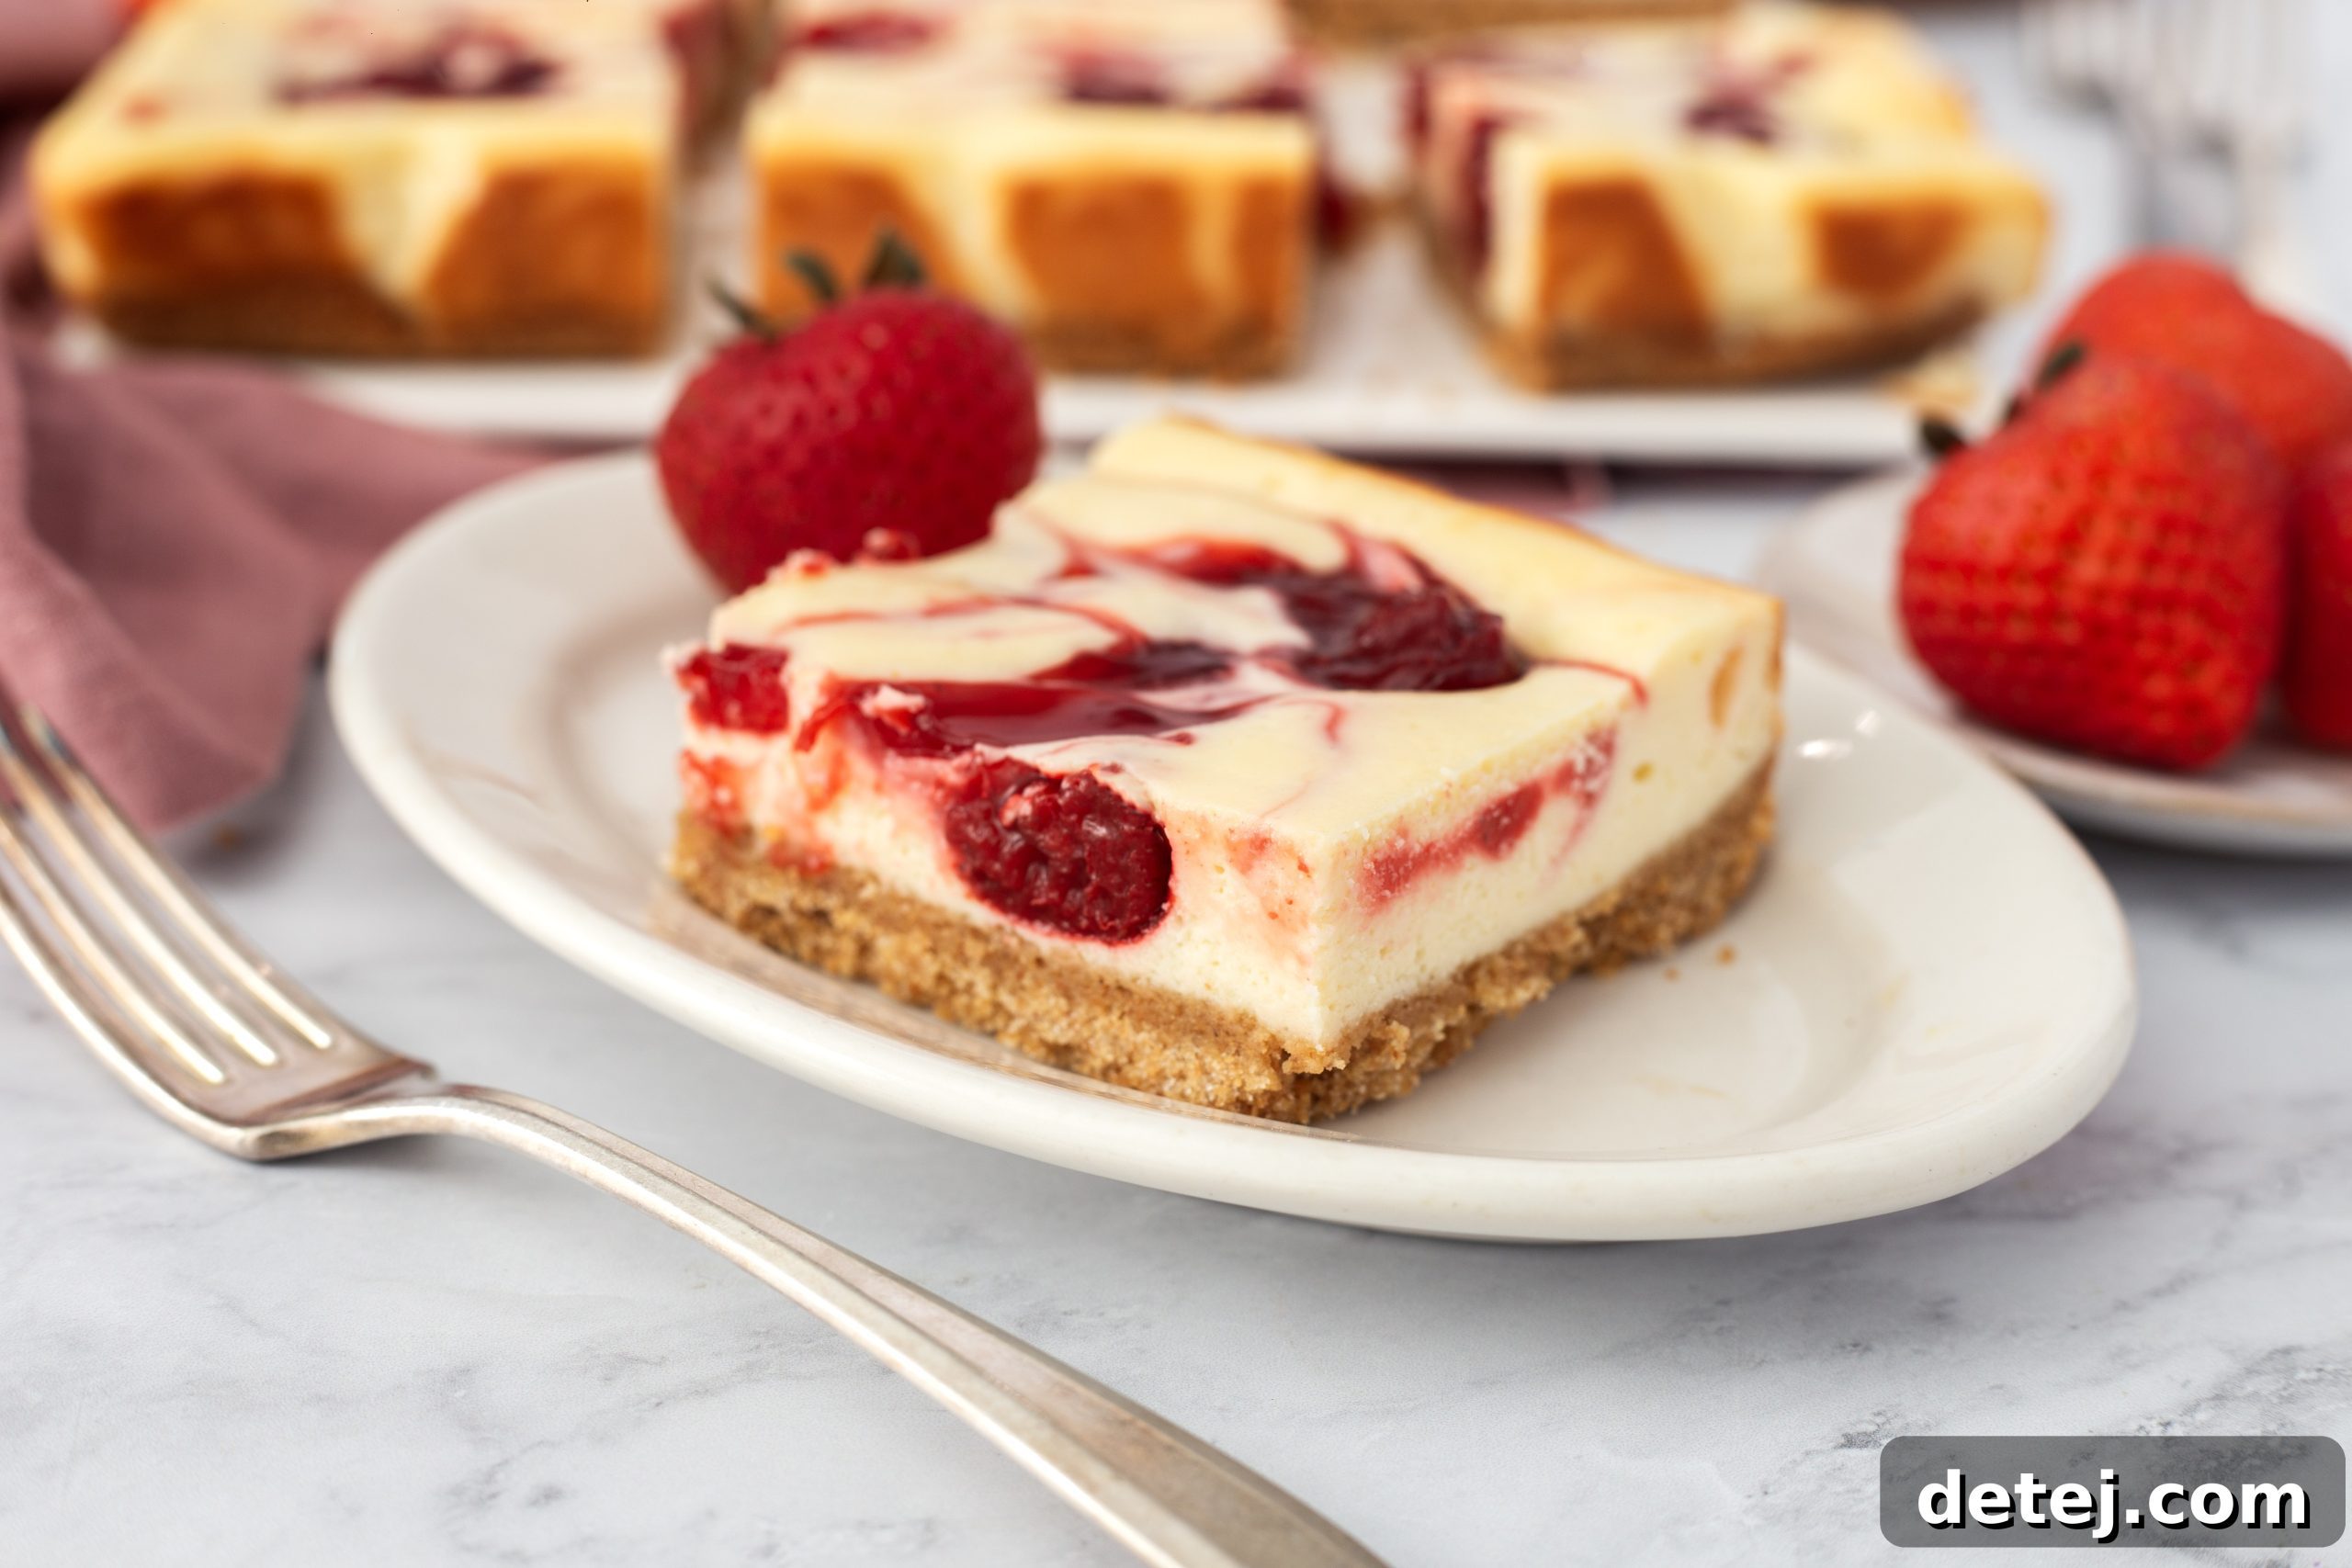
With the crust baked and the stunning strawberry swirl in place, it’s time to send our cheesecake bars into the oven to achieve that perfect creamy texture and golden finish. Preheat your oven to a precise 350°F (175°C). This temperature is ideal for baking cheesecake, allowing it to cook through evenly without drying out or cracking excessively. Carefully transfer your baking pan to the preheated oven.
The baking time for these beauties is approximately 35 to 40 minutes. However, oven temperatures can vary, so it’s crucial to rely on visual cues rather than strict adherence to the timer alone. You’ll know your cheesecake bars are perfectly baked when the edges appear set and slightly golden brown, while the center still has a slight, gentle wobble when you lightly shake the pan. It shouldn’t be liquid, but a little jiggle indicates it’s cooked through without being overbaked. Overbaking can lead to a dry, cracked cheesecake, which we definitely want to avoid. Once it reaches this point, carefully remove the pan from the oven. The aroma filling your kitchen will be absolutely divine, a testament to the deliciousness to come. Place the entire pan on a wire rack to begin the cooling process, a vital step that we’ll explore in detail next.
The Crucial Cooling and Chilling Process
While the tempting aroma of freshly baked Strawberry Swirl Cheesecake Bars might make you want to dive right in, patience is truly a virtue when it comes to cheesecake. The cooling and chilling process is absolutely critical for achieving the ideal texture, preventing cracks, and allowing the flavors to fully meld and deepen. Rushing this step can result in a less-than-perfect dessert, and we want nothing but perfection for your hard work.
First, once your cheesecake bars are out of the oven, leave them on a wire rack at room temperature to cool completely. This gradual cooling is essential. Rapid temperature changes – like moving them directly from a hot oven to a cold refrigerator – can shock the cheesecake, causing it to contract too quickly and develop unsightly cracks. Allow them to cool for at least one hour, or until the pan feels cool to the touch. During this time, the residual heat will continue to set the cheesecake, and the internal structure will stabilize.
After they’ve reached room temperature, it’s time for the chill session. Loosely cover the pan with plastic wrap or aluminum foil to protect the cheesecake from absorbing any refrigerator odors. Then, carefully transfer the pan to the refrigerator. The bars need to chill for a minimum of one hour, but for the absolute best results – the firmest texture, the cleanest cuts, and the most vibrant flavor development – I recommend chilling them for at least 3-4 hours, or even overnight. This extended chilling period allows the cream cheese filling to fully set, becoming dense and smooth, and ensures the strawberry swirls are perfectly firm. It also intensifies all the individual flavors, letting them harmonize into a truly irresistible treat. Trust this step; it’s the secret to those perfectly refreshing, sliceable cheesecake bars.
Effortless Cutting and Elegant Serving
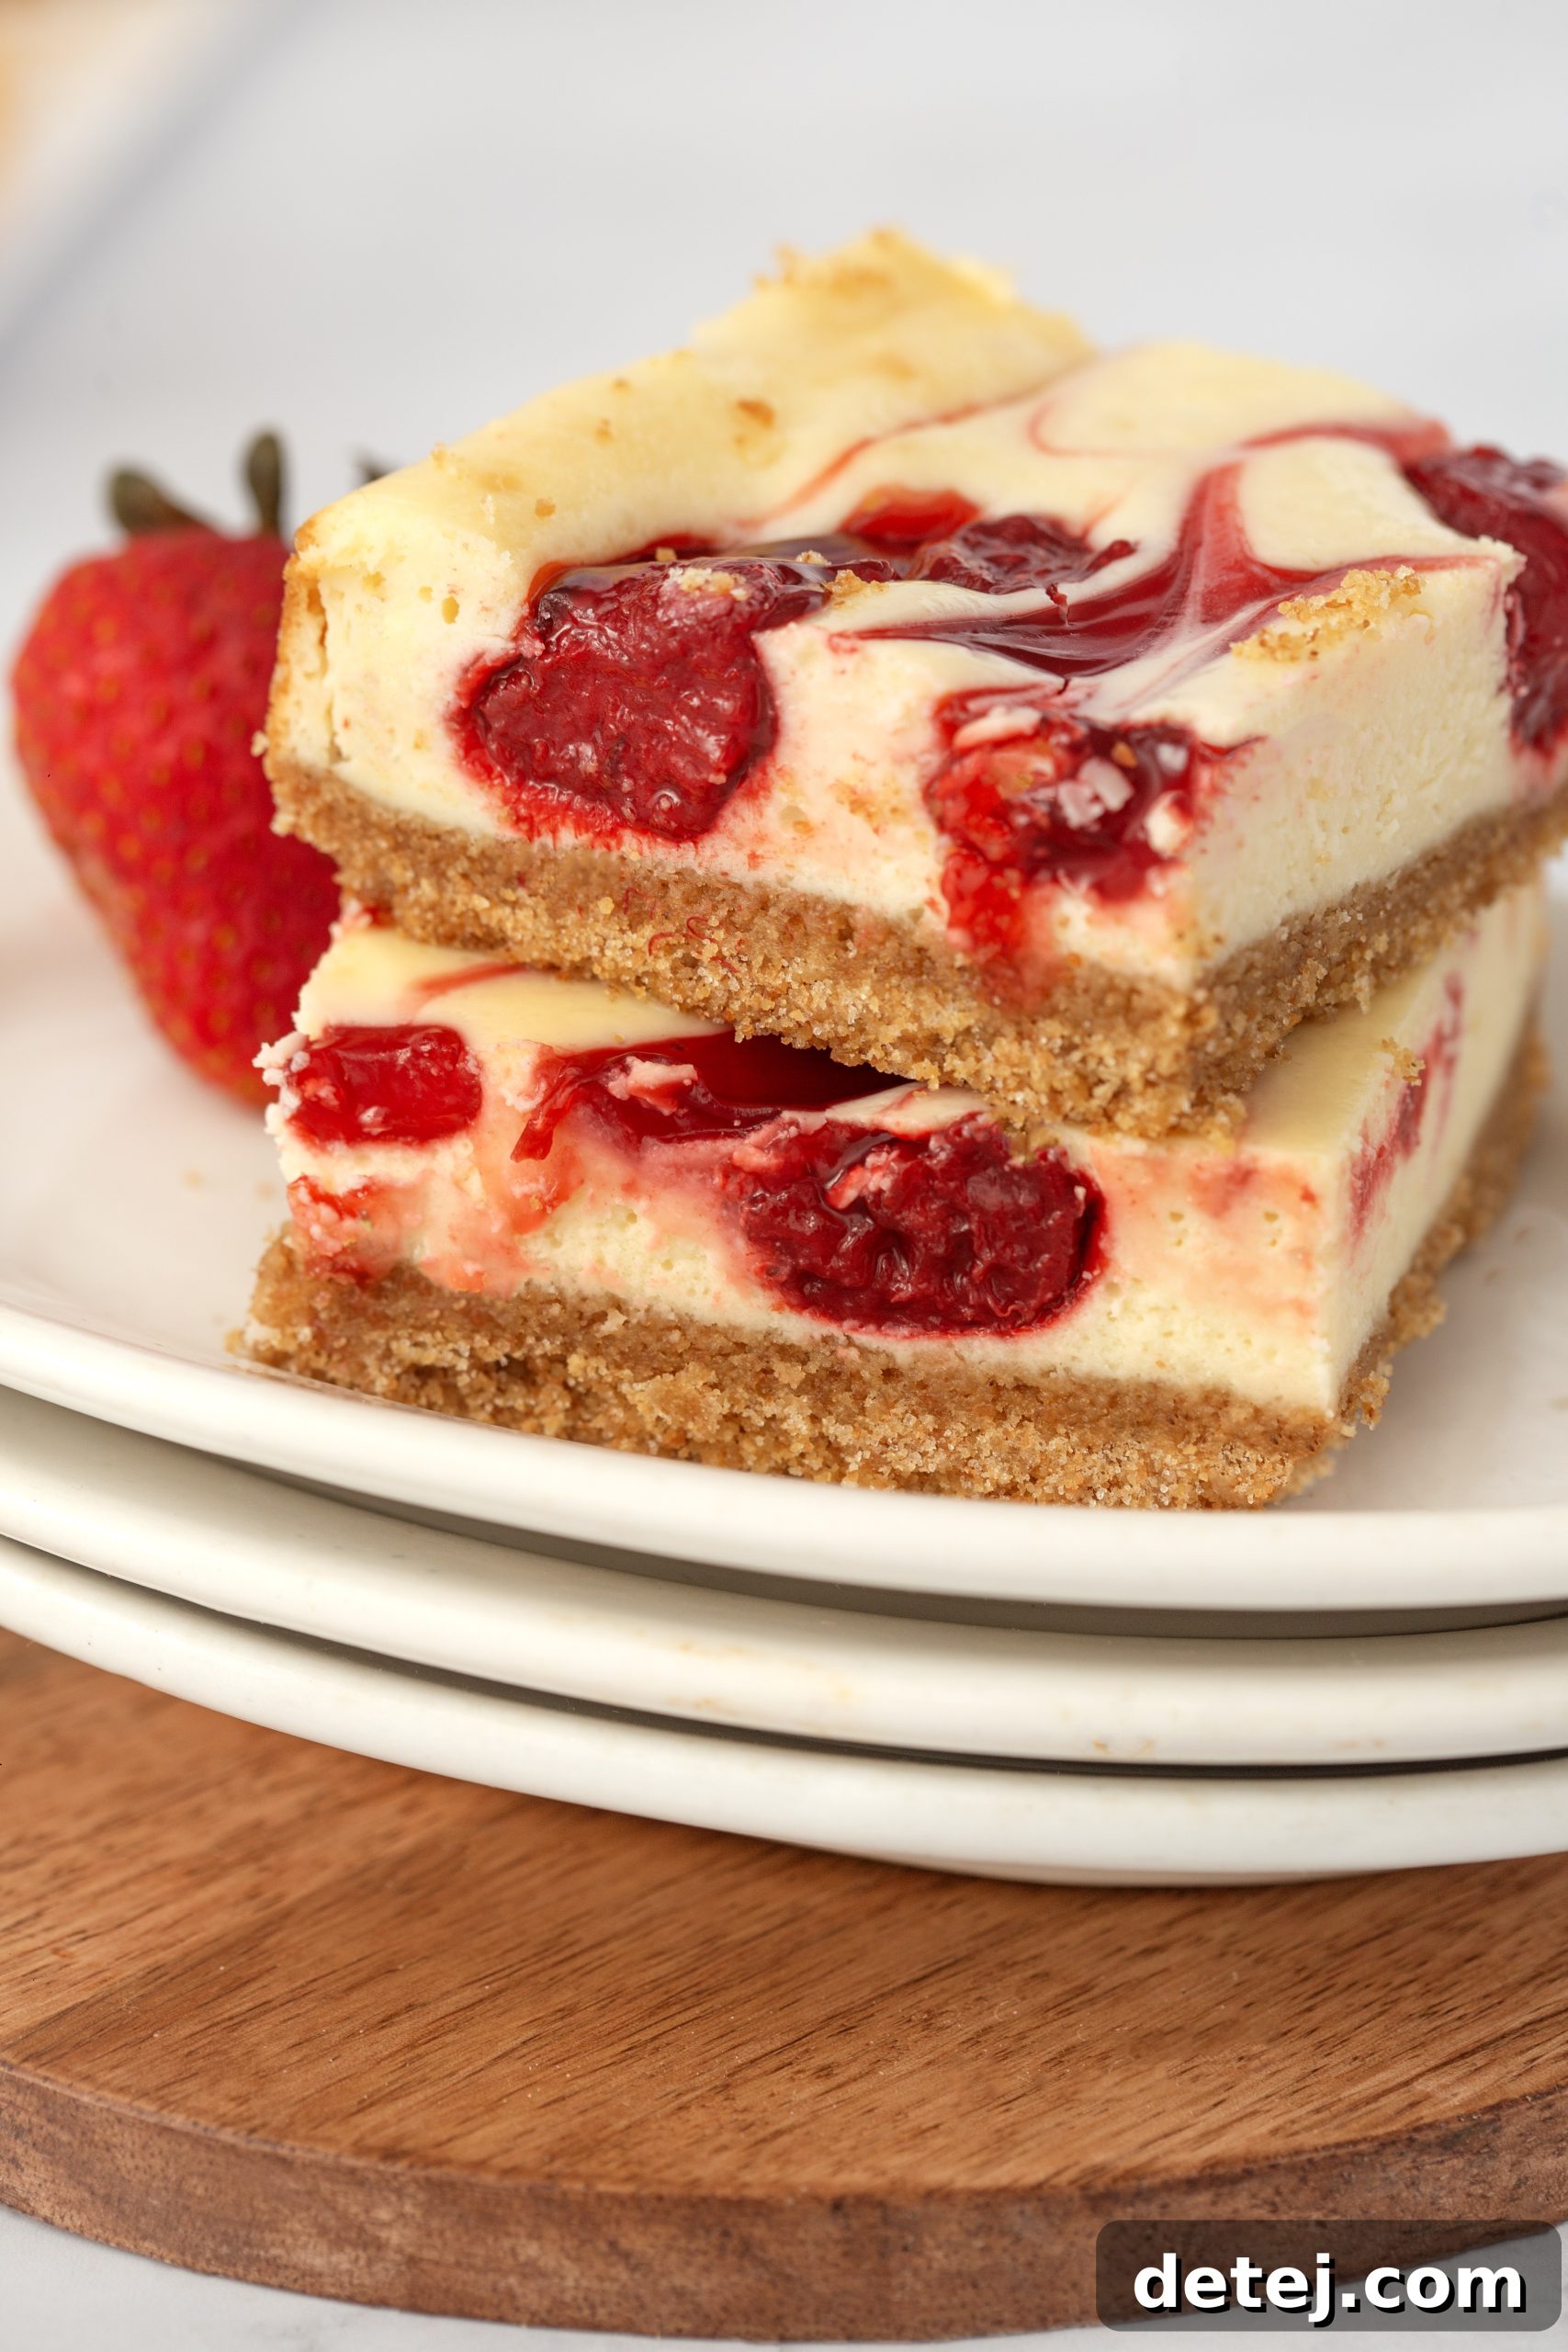
The moment of truth has arrived! After the patient waiting through cooling and chilling, it’s time to transform your beautiful pan of Strawberry Swirl Cheesecake Bars into individual, mouth-watering treats. This step is incredibly satisfying, as you finally get to see the fruits of your labor and appreciate the stunning strawberry swirls you created. First, remove the chilled cheesecake from the refrigerator. Thanks to our clever parchment paper sling, this next part is a breeze: gently lift the entire set cheesecake block out of the baking pan and transfer it onto a clean cutting board.
For clean, precise cuts that showcase the elegant layers, use a sharp, thin-bladed knife. A little trick I swear by: dip your knife in hot water and wipe it clean between each cut. This technique helps the knife glide smoothly through the creamy cheesecake and jammy strawberries, preventing dragging and ensuring each bar has a pristine edge. Decide on your preferred bar size – I usually aim for a 3×3 grid in a 9×9-inch pan, yielding nine generously sized bars. Cut carefully and methodically. Once sliced, you can transfer these creamy cheesecake bars to a serving platter. For an extra touch of sophistication and fresh flavor, consider garnishing them. Fresh berries like whole strawberries, raspberries, or blueberries make a beautiful complement. A light dusting of powdered sugar adds a delicate sweetness and a professional finish. Serve these delectable bars chilled, and watch them disappear! Each bite offers the perfect balance of crunchy crust, smooth cream cheese, and sweet, tangy strawberry – a truly impressive and delightful summer dessert that will earn you rave reviews.
Smart Storage for Lasting Freshness
You’ve poured your heart into crafting these luscious Strawberry Swirl Cheesecake Bars, and it’s only natural to want to savor every single bite, ensuring they remain as fresh and delicious as when they first emerged from the oven. Proper storage is paramount to maintaining their creamy texture and vibrant strawberry flavor for as long as possible. The key principle here is protection from air and moisture, which can quickly dry out cheesecake or cause it to absorb undesirable refrigerator odors.
Once your cheesecake bars are completely cooled and chilled, the best way to store them is in an airtight container. This simple but effective method creates a protective barrier, locking in their exquisite flavors and preventing them from drying out or becoming stale. You can arrange the bars in a single layer within the container, or if stacking, place a sheet of parchment paper between layers to prevent them from sticking together. Stored correctly in the refrigerator, these delightful bars will maintain their peak quality for up to five days. This means you can enjoy the fruits of your labor throughout the week, pulling out a perfect dessert whenever a craving strikes or an unexpected guest arrives. For longer storage, cheesecake bars can also be frozen for up to a month. Wrap individual bars tightly in plastic wrap, then place them in a freezer-safe airtight container. Thaw them in the refrigerator overnight before serving for a delicious treat anytime.
Every Last Bite: Savoring Strawberry Swirl Cheesecake Bars
As our culinary journey with these delightful Strawberry Swirl Cheesecake Bars comes to a sweet close, it’s worth taking a moment to appreciate the simple joy and profound satisfaction they bring. This isn’t just a recipe; it’s an invitation to experience the pure bliss of summer encapsulated in a single, perfect bite. From the initial crunch of the buttery graham cracker crust to the luxurious embrace of the creamy cheesecake filling, and finally, the bright, sweet burst of the strawberry swirls, every element works in concert to create an unforgettable dessert.
The process of crafting these bars, from meticulously measuring ingredients to the artistic flourish of creating the swirls, is a testament to the magic that happens in the kitchen. It’s about transforming humble ingredients into something extraordinary, a testament to passion and patience. You’ve mastered the art of achieving that flawless, lump-free filling and learned the importance of cooling and chilling to yield a dessert that is not only visually stunning but also exquisitely textured. Each step, from preheating your oven to the careful slicing, contributes to the ultimate enjoyment of these bars.
So, I warmly encourage you to revel in every last morsel of your homemade Strawberry Swirl Cheesecake Bars. Serve them chilled, perhaps with an extra dollop of whipped cream, a few fresh mint leaves, or a sprinkling of fresh berries to enhance their natural charm. Whether shared with loved ones on a warm evening or enjoyed solo as a quiet indulgence, these bars are more than just food; they are an experience, a slice of summer joy you’ve brought to life with your own hands. Here’s to making every bite count, cherishing the flavors, and creating delicious memories with this truly magnificent summer treat!
Strawberry Swirl Cheesecake Bars Recipe
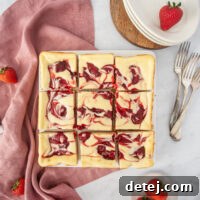
Rich and creamy Strawberry Swirl Cheesecake Bars, easy to make, a perfect dessert and sweet treat everyone will love!
Recipe Details
- Servings: 9 bars
- Prep Time: 15 minutes
- Cook Time: 45 minutes
- Author: Krystel
Ingredients
Crust
- 1 ½ cups graham cracker crumbs
- 6 tablespoons butter, melted
- ½ cup granulated sugar
Filling
- Two 8-ounce packages Philadelphia cream cheese, room temperature
- 2 large eggs, room temperature
- ½ cup granulated sugar
- 3 tablespoons all-purpose flour
- 1 ½ teaspoons vanilla extract
- ¼ teaspoon kosher salt
- 1 cup strawberry pie filling (about half a can)
Instructions
- Preheat your oven to 350°F (175°C). Line a 9×9-inch baking pan with parchment paper, allowing the paper to overhang on two opposite sides for easy lifting.
- In a medium bowl, combine the graham cracker crumbs, melted butter, and ½ cup granulated sugar. Stir until the mixture resembles damp sand. Press this mixture firmly and evenly into the bottom of the prepared pan to form the crust. Bake for 8 minutes, then remove from oven and set aside.
- In a large mixing bowl, beat the softened cream cheese with a hand mixer on medium speed until smooth and creamy, about 2 minutes.
- Gradually add the remaining ½ cup granulated sugar to the cream cheese, beating until well combined.
- Add the eggs, one at a time, mixing on low speed until just incorporated after each addition. Be careful not to overmix.
- Stir in the all-purpose flour, vanilla extract, and kosher salt until the filling is smooth and free of lumps.
- Pour the cheesecake filling evenly over the pre-baked graham cracker crust in the pan.
- Drop spoonfuls of strawberry pie filling randomly across the top of the cheesecake batter. Using a butter knife or a skewer, gently swirl the strawberry filling into the cheesecake layer to create a marbled effect.
- Bake for 35–40 minutes, or until the edges are set and lightly golden, and the center still has a slight jiggle.
- Remove the pan from the oven and place it on a wire rack to cool completely at room temperature (about 1 hour).
- Once cooled, cover the pan loosely with plastic wrap and refrigerate for at least 1 hour, or preferably 3-4 hours, until thoroughly chilled and set.
- Using the parchment paper overhangs, lift the entire cheesecake block out of the pan onto a cutting board. Dip a sharp knife in hot water and wipe it clean between each cut to slice the cheesecake into even bars.
- Serve cold, garnished with fresh berries or a dusting of powdered sugar, if desired. Enjoy!