
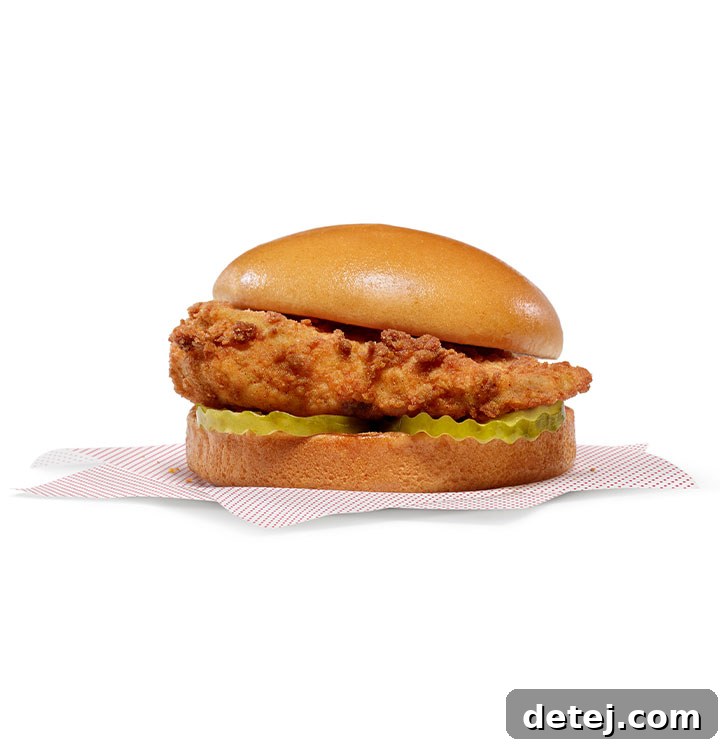
Mastering the Reheat: Reviving Your Chick-fil-A Sandwich to Perfection
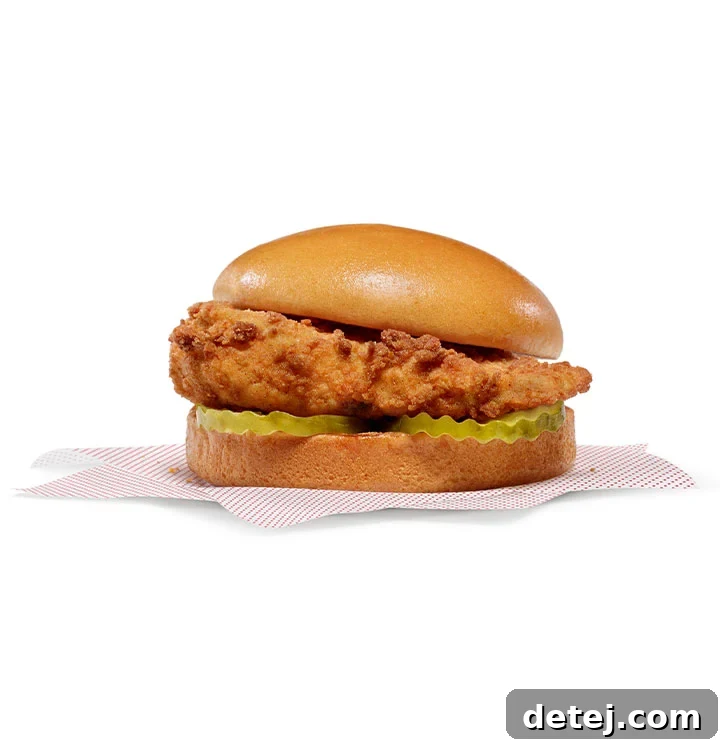
There’s an undeniable magic in that first bite of a fresh Chick-fil-A sandwich. It’s the harmonious blend of a perfectly crisp and juicy chicken fillet, nestled within a soft, buttery bun, complemented by the delightful crunch of two dill pickle slices. This iconic fast-food favorite holds a special place in the hearts (and stomachs) of many. But what happens when your craving strikes, and all you have is a leftover sandwich from yesterday’s indulgence, tucked away in the fridge? The good news is, you don’t have to settle for a cold, sad imitation of its former glory. This guide is your secret weapon, transforming that chilled leftover into a delicious, restaurant-quality meal, almost as if it just came out of the Chick-fil-A kitchen. Get ready to embark on a culinary journey to revive your Chick-fil-A sandwich, ensuring it retains that mouth-watering taste and tantalizing texture that captivated you from the very beginning.
- Restaurant-Quality Revival: Learn the techniques to bring back the authentic taste and texture of a fresh Chick-fil-A sandwich.
- Smart Savings & Satisfaction: Discover how to enjoy your beloved sandwich again, saving money and reducing food waste while satisfying cravings.
- Optimal Reheating Methods: Gain insights into the best strategies and tools for reheating each component to achieve peak deliciousness.
Why Bother Reviving Your Leftover Chick-fil-A Sandwich?
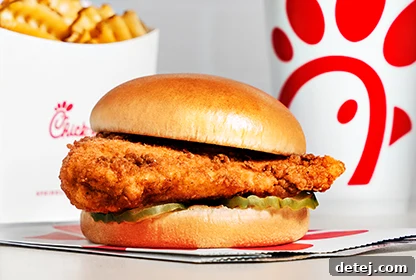
The thought of a day-old Chick-fil-A sandwich might not immediately spark excitement, but imagine being able to enjoy it with the same delicious taste and signature crispy texture as when it was first served. Reviving your leftover sandwich is more than just a matter of convenience; it’s an art form that offers multiple benefits. Firstly, it’s a fantastic way to combat food waste, ensuring no delicious bite goes uneaten. Secondly, it saves you time and money, allowing you to indulge in your favorite fast-food craving without the need for another trip to the drive-thru. But perhaps most importantly, it’s about recreating that unparalleled dining experience right in your own home. By mastering the proper reheating process, you’re not just warming up food; you’re meticulously bringing back to life every juicy chicken bite and perfectly toasted bun. It’s an effortless way to satisfy those sudden cravings, turning a simple leftover into a delightful meal that rivals its fresh counterpart. So, the next time you find yourself with an extra Chick-fil-A sandwich, remember that the right reheating method truly makes all the difference in enjoying it “fresh” all over again.
Before You Begin: Essential Preparation Steps
Before we embark on the delightful mission of resurrecting your beloved Chick-fil-A sandwich, a little preparation goes a long way. Think of this as setting the stage for culinary success – or, as chefs call it, “mise en place.” These initial steps are crucial for ensuring an even reheat, preserving flavor, and achieving that sought-after texture.
Bringing Your Sandwich to Room Temperature
This might seem like a small detail, but it’s a game-changer. Gently allow your Chick-fil-A sandwich to come to room temperature for about 15-30 minutes before reheating. This critical step ensures that the sandwich components heat more evenly throughout, preventing cold spots or overcooked edges. Attempting to reheat a sandwich straight from the fridge often leads to uneven heating, leaving some parts lukewarm while others become rubbery or dry. By starting at room temperature, you significantly improve your chances of a perfectly delicious outcome, safeguarding that juicy chicken and soft bun texture we all adore.
Gathering Your Reheating Arsenal
Now, let’s assemble the tools for this culinary magic. You won’t need a wizard’s wand, but having the right kitchen implements on hand will make the process smooth and effective. Depending on your preferred method, you’ll want to have one or more of the following at the ready:
- Microwave: For quick initial heating of the chicken.
- Toaster Oven: Excellent for toasting buns and adding crispness to the chicken.
- Conventional Oven: A great option for even heating and multiple items, like fries or nuggets.
- Air Fryer: Ideal for achieving unparalleled crispness on the chicken.
- Non-Stick Pan or Cast-Iron Skillet: Perfect for a stovetop reheat, especially for the chicken and buns.
- Baking Sheet: Essential for oven and toaster oven methods, ideally lined with parchment paper or aluminum foil.
- Microwave-Safe Plate: For safe and easy microwaving.
- Aluminum Foil: Used for wrapping components to retain moisture or assist with oven heating.
- Damp Paper Towel: A secret weapon for keeping chicken moist in the microwave.
These tools form your “best methods brigade,” ready to tackle any leftover sandwich challenge and help you achieve the best possible results.
The Disassembly: A Strategic Approach
To truly revive your Chick-fil-A sandwich, disassembling it is a crucial step that allows each component to be reheated optimally. This isn’t just about pulling it apart; it’s a strategic move to address the different heating needs of the bun, chicken, and pickles, ensuring each piece achieves its ideal temperature and texture. Here’s how I approach this vital stage, always keeping that scrumptious taste and texture in mind:
- Handle the Bread with Care: Begin by carefully separating the top and bottom buns. The goal here is to achieve toasty buns, reminiscent of what you’d get straight from the fast-food chain. Heating them separately prevents sogginess and allows for an even, golden crisp.
- The Star: The Chicken Fillet: Gently remove the chicken fillet. This main ingredient requires specific attention to ensure it heats evenly without drying out, preserving its inherent juiciness and preventing a rubbery texture. Place it on a separate surface for individual reheating.
- The Crisp Counterpart: The Pickles: This might come as a surprise to some, but the pickles should be left as they are, at room temperature. Their cool, crisp bite provides a refreshing contrast to the warm chicken and bun, and reheating them would compromise their texture and flavor. Set them aside for later reassembly.
- Any Extra Toppings or Sauces: If your sandwich originally came with additional toppings (like cheese, lettuce, or tomato) or sauce packets, remove them now. Fresh toppings can be added later, and sauces should always be kept separate until the final assembly to maintain their integrity and avoid becoming hot or soggy.
Handling these components with this level of care not only makes the reheating process more effective but also ensures you’re a significant step closer to indulging in that favorite Chick-fil-A taste experience once more.
Reheating Each Component to Perfection
This is where the magic truly happens. I’ve found that tackling each component of your Chick-fil-A sandwich with its own unique, tailored method yields the absolute best results. Each part has different needs to regain its original glory.
The Bun: Achieving Golden, Buttery Softness
The bun is the foundation of your sandwich, and it needs to be warm, soft, and slightly toasted, not dry or soggy.
- Toaster Oven Method: For a perfect balance of warmth and crispness, a toaster oven works wonders. Place the separated buns directly on the rack or on a small baking sheet. Set it to a low-medium heat (around 250-300°F or 120-150°C) and toast for 1-2 minutes. Keep a close eye on them; you want them lightly golden and warm, not burnt or overly crunchy. This method gives them that delightful lightly crispy, warm texture without drying them out.
- Conventional Oven Method: If you’re reheating multiple sandwiches or prefer a gentler warmth, preheat your oven to 300°F (150°C). Place the buns on a baking sheet, optionally wrapped loosely in aluminum foil to retain moisture. Heat for 3-5 minutes. The foil helps keep them soft, while direct exposure for a minute or two can add a slight crispness.
- Skillet/Pan Method: For a quick and even toast, you can also use a non-stick pan or skillet over medium-low heat. Place the buns cut-side down directly on the dry pan for 30-60 seconds, or until lightly golden. No oil needed here – we’re just looking for gentle warmth and a slight char.
The goal is to bring back that delightful buttery softness and a hint of toastiness that complements the chicken.
The Chicken Fillet: Juicy and Crispy Once More
The chicken is the star, and the challenge is to make it juicy inside and crispy outside, avoiding the dreaded rubbery texture.
- Microwave Method (with a secret weapon): Place the chicken fillet on a microwave-safe plate and cover it with a slightly damp paper towel. This humble addition is your secret to preventing dryness! The steam generated by the damp towel keeps the chicken incredibly moist while heating. Microwave on high heat for about 45 seconds to 1 minute. Check the internal temperature to ensure it’s thoroughly heated (165°F/74°C). This flips the script on what you might expect from microwaved chicken, keeping it surprisingly juicy and tender.
- Air Fryer Method (for ultimate crispness): If you own an air fryer, this is arguably the best method for restoring the chicken’s crispy exterior. Place the chicken fillet in the air fryer basket in a single layer. Set the temperature to 350°F (175°C) and cook for 4-6 minutes, flipping halfway through. This method will bring back an impressive level of crispiness without drying out the interior.
- Conventional Oven Method: Place the chicken fillet on a baking sheet lined with parchment paper. Preheat your oven to 350°F (175°C). Heat for 8-12 minutes. For extra crispness, uncover it for the last few minutes. If you want to maintain more moisture, you can cover it loosely with foil for the first half of the heating time.
- Stovetop/Pan Method: For a quick and tasty reheat, heat a non-stick pan over medium heat with a tiny bit of neutral oil (like canola or vegetable oil), or a pat of butter. Once hot, place the chicken fillet in the pan and cook for 2-3 minutes per side, or until heated through and a nice golden crust appears. This method adds a lovely crispy edge that many adore.
Always ensure the chicken reaches an internal temperature of 165°F (74°C) for food safety.
The Pickles: The Essential Crisp Counterpoint
For those tangy dill pickles, the instructions are simple: leave them be at room temperature. Tossing them onto the sandwich right before you eat ensures they maintain their crisp bite, offering a wonderful, cool contrast to the warm, soft bread and juicy chicken. Reheating them would make them limp and diminish their refreshing crunch.
By meticulously reheating each component, you’re building a foundation for a sandwich that truly stands up to its fresh counterpart.
Reassembling Your Masterpiece
Once every piece of your Chick-fil-A treasure has been revived to its nearly original splendor, it’s time to bring everything back together. This reassembly isn’t just about stacking; it’s about creating a balanced flavor and texture profile with every bite. Here’s the best way that I’ve found to reassemble, keeping in mind both the best results and food safety.
First, let’s talk about the bread – it’s likely toasty warm now, giving off that delightful aroma reminiscent of your favorite Chick-fil-A restaurant. Place the bottom bun on your plate, acting as a sturdy foundation. Next, carefully position those perfectly reheated, juicy chicken fillets on the bottom bun. The warmth from the chicken will gently permeate the bun, creating a cozy embrace of flavors. Placing the chicken first ensures an even distribution of warmth throughout the sandwich.
Then come those pickles – cold, crispy, and tangy. They sit atop the chicken, offering a simple yet intriguing secret to that delicious taste we all crave. Their cool crunch provides a vital contrast to the warm, tender chicken and soft bun, elevating the overall experience. If you’ve gone the extra step and have any other condiments, like a dollop of Chick-fil-A sauce, or perhaps some fresh lettuce and tomato you decided to add, now’s the time to carefully layer them. Ensure every layer melds together harmoniously, adding your preferred flavors without overwhelming the classic taste.
Finally, cap it off with the toasted top bun. Gently press down to secure all the layers. And voilà, your sandwich is reassembled, promising a bite that’s as close to fresh from the fast-food chain as possible. Each component, carefully reheated and thoughtfully arranged, contributes to a symphony of flavors and textures, making your revived sandwich a truly satisfying meal.
The Final Touch: The Power of a Sandwich Bag (or Foil)
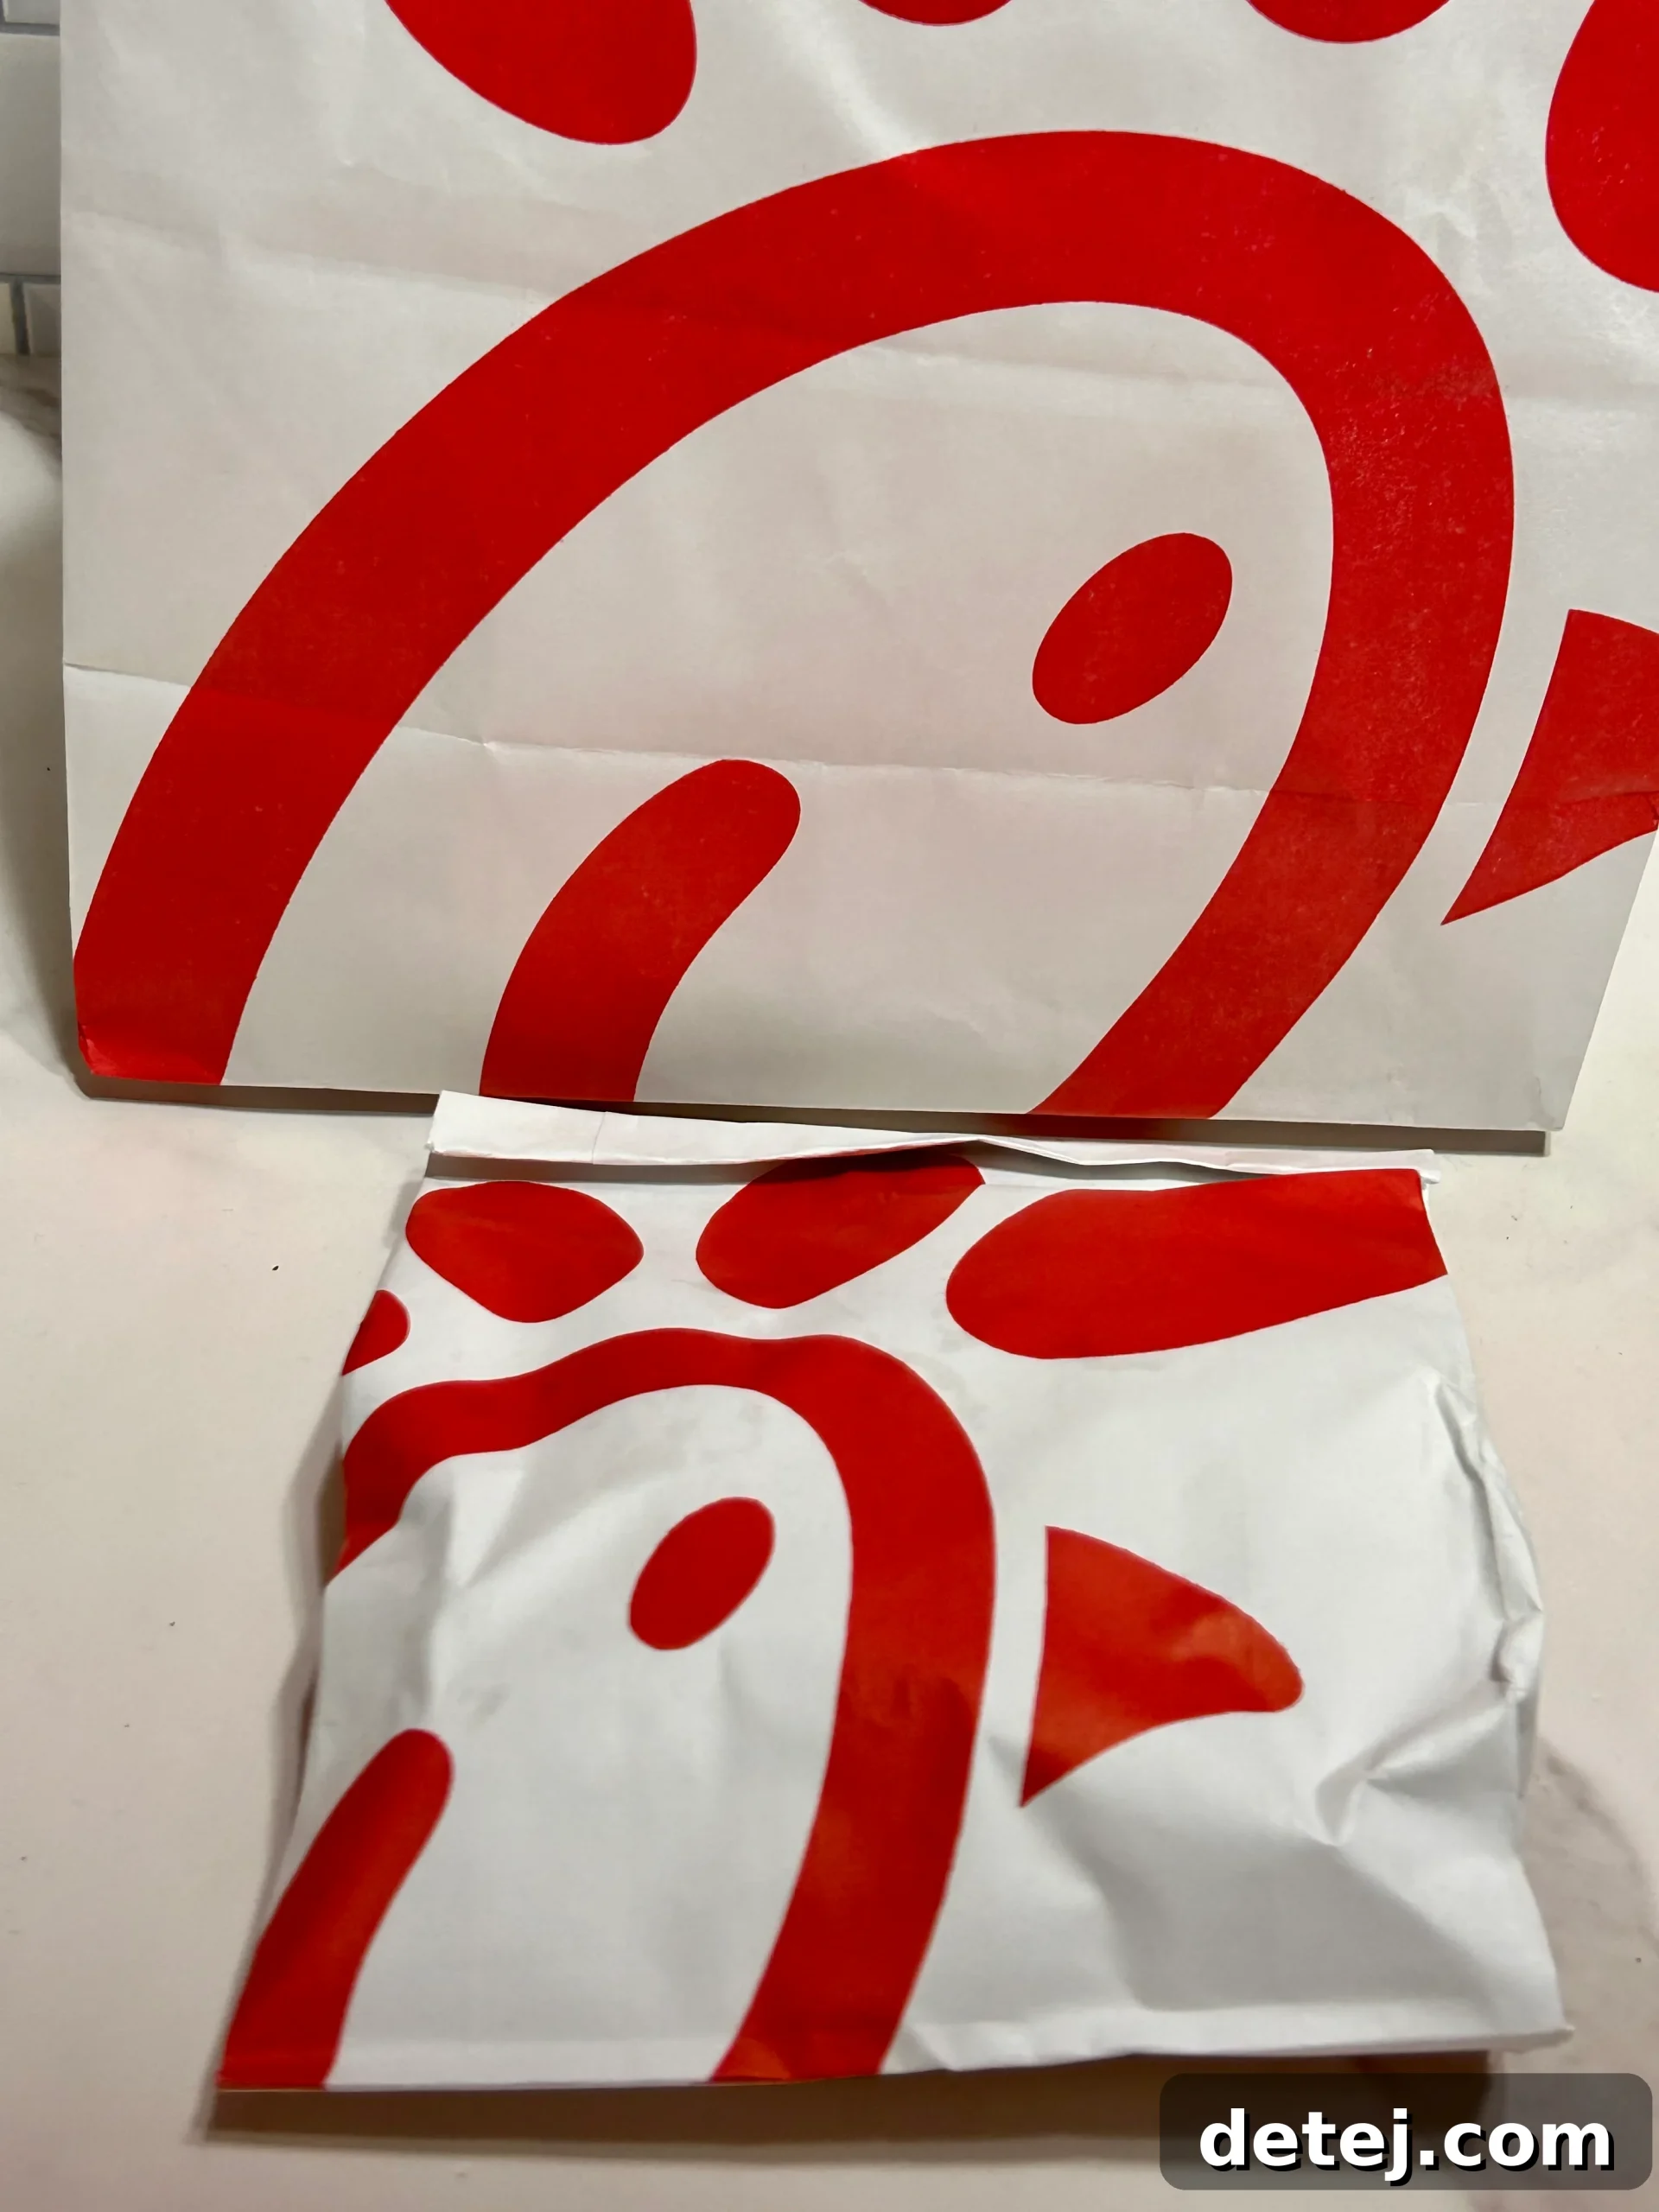
And here’s the real secret sauce to making your Chick-fil-A sandwich taste like it’s straight from the fast-food chain again – it’s all about giving it that final, tender hug in a foil-lined sandwich bag or tightly wrapped aluminum foil. I know, you might think, “A sandwich bag? Really, is it that simple?” Yes, it absolutely is, and it makes a significant difference.
After you’ve lovingly disassembled, reheated, and reassembled your sandwich, slipping it into that sandwich bag or snugly wrapping it in aluminum foil isn’t just about keeping it warm. It’s a fantastic way to ensure the heat snuggles evenly into every nook and cranny, allowing the flavors to meld beautifully back together and keeping the crucial moisture locked in. The trapped steam and residual heat work together to gently soften the bun further, re-moisturize the chicken, and allow all the elements to harmonize.
Just let your reassembled sandwich rest, wrapped, for about 5-10 minutes. This brief “steam bath” period is transformative. You’ll open the bag or unwrap the foil to find a sandwich that’s uniformly warm, soft, juicy, and radiating that beloved Chick-fil-A essence we all can’t seem to get enough of. Trust me, taking this extra step is a game-changer for enjoying your next-day’s delightful treat, elevating it from merely “reheated” to truly “revived.”
Variations: Exploring Different Reheating Methods
If you’re looking for alternatives to the microwave or want to experiment with different textures, there are several fantastic ways to revive your delicious Chick-fil-A sandwich without compromising its crispy texture and juicy chicken. We all have our preferences, and having options is always a plus! So, gather your leftover chicken sandwiches and let’s explore some creative heating approaches.
The Air Fryer Method: For Unmatched Crispness
The air fryer has become a kitchen MVP for a reason, and reheating chicken sandwiches is one of its shining moments. Its circulating hot air is perfect for restoring crispness. After disassembling, place your chicken fillet in the air fryer basket, ensuring it’s not overcrowded for hot air to circulate freely. You can also place the buns in for a quick toast. Set the air fryer to a medium-high heat, typically around 350-375°F (175-190°C), and cook the chicken for about 5-8 minutes, flipping halfway. The buns will only need 1-2 minutes. This method delivers an incredibly crispy chicken exterior while keeping the chicken breast wonderfully juicy inside. It’s perfect for achieving that fresh-from-the-fryer feel.
The Oven Revival: Even Heating and Great for Multiple Items
For those who prefer a more traditional approach or are reheating multiple sandwiches, the conventional oven is an excellent choice. Preheat your oven to a medium-high heat setting, usually around 350-375°F (175-190°C). Lay out your separated sandwich components on a baking sheet lined with parchment paper for the chicken and aluminum foil for the bread. The parchment helps prevent sticking, while the foil can help keep the buns soft or slightly crisp them, depending on how you use it.
Bake the chicken fillet for about 10-15 minutes, or until heated through and crispy. You can uncover it for the last few minutes for extra browning. The buns will only need about 3-5 minutes, keeping a close watch to prevent burning. This method might take a bit longer, but it’s a great way to achieve evenly heated and consistently crispy results, especially if you’re also reheating leftover Chick-fil-A fries or chicken nuggets alongside your sandwich. It’s a reliable way to make your sandwich feel and taste like it’s straight from the beloved Chick-fil-A fast-food chain, minus the wait.
Tips for Storing Your Chick-fil-A Sandwich for Best Reheat Results
The success of reheating your Chick-fil-A sandwich largely depends on how you store it initially. Proper storage is key to preserving its quality and ensuring a delicious revival.
- Separate Components (Ideally): If you anticipate having leftovers, it’s best to disassemble the sandwich before storing. Place the chicken fillet, bun, and pickles in separate airtight containers or zip-top bags. This prevents the bun from becoming soggy from the chicken’s moisture and keeps the pickles crisp.
- Airtight is Key: Whether you disassemble or store it whole, always place your sandwich in an airtight container or wrap it tightly in plastic wrap. This minimizes exposure to air, which can dry out the chicken and bun, and prevents it from absorbing odors from other foods in your refrigerator.
- Refrigerate Promptly: To ensure food safety, refrigerate any leftovers within two hours of purchase. Never leave perishable food out at room temperature for extended periods.
- Duration: A Chick-fil-A sandwich can be safely stored in the refrigerator for 2-3 days. While it’s best reheated within a day for optimal quality, it will still be safe to eat within this timeframe.
By following these storage tips, you set yourself up for the most successful and delicious reheating experience, ensuring that your future self thanks you for the foresight!
Common Mistakes to Avoid When Reheating Your Chick-fil-A Sandwich
While reviving your Chick-fil-A sandwich is straightforward, a few common pitfalls can hinder your success. Being aware of these mistakes will help you achieve the perfect reheat every time.
- Not Disassembling the Sandwich: This is perhaps the biggest mistake. Reheating a whole sandwich almost guarantees a soggy bun and unevenly heated chicken. Different components require different heating methods and times. Always separate them!
- Over-Microwaving the Chicken: While the microwave is quick, overdoing it will turn your juicy chicken fillet into a rubbery, dry disappointment. Use the damp paper towel trick and stick to short bursts of heat, checking frequently.
- Reheating the Pickles: Hot pickles lose their crispness and become limp and less appealing. Always remove them and add them back cold for that essential tangy crunch.
- Over-Toasting the Bun: A slightly warm, soft bun with a hint of crispness is ideal. Over-toasting can make it dry and crumbly, detracting from the overall sandwich experience. Watch it carefully, especially in a toaster oven.
- Not Allowing Components to Reach Room Temperature: As mentioned earlier, trying to reheat cold components directly from the fridge leads to uneven heating. Patience for 15-30 minutes can significantly improve results.
- Ignoring Food Safety: Always ensure the chicken reaches an internal temperature of 165°F (74°C) to eliminate any potential bacteria. A food thermometer is your best friend here.
By avoiding these common errors, you’re well on your way to mastering the art of the perfect Chick-fil-A sandwich revival.
Savoring That First Bite Again: The Ultimate Reward
Now, with your Chick-fil-A sandwich expertly revived and steaming gently in your hands, it’s time to savor that first glorious bite again. This moment is the culmination of your careful preparation and precise reheating, truly making it feel like you’re reliving the joy of biting into your favorite fast-food meal. But this time, you’ve brought the delicious taste of the restaurant right into your own kitchen, all thanks to your efforts.
Every component, from the perfectly toasted buns that cradle the ingredients, to the juicy chicken fillet that has regained its tenderness and a satisfying hint of crispness, and finally, the cool, tangy crunch of the pickles—each plays its integral part in recreating that special Chick-fil-A experience. Enjoy the delicious fruits of your labor, knowing you’ve not only mastered a great way to reduce waste and save money but also perfected the art of cherishing these delightful moments, any time of day. This isn’t just a reheated sandwich; it’s a testament to good taste and smart living, ensuring that no Chick-fil-A craving goes unsatisfied.
If you’re a fan of chicken sandwiches and enjoyed this guide, you will love exploring my Chicken and Waffles Sandwich recipe for another unique and delicious chicken creation!