
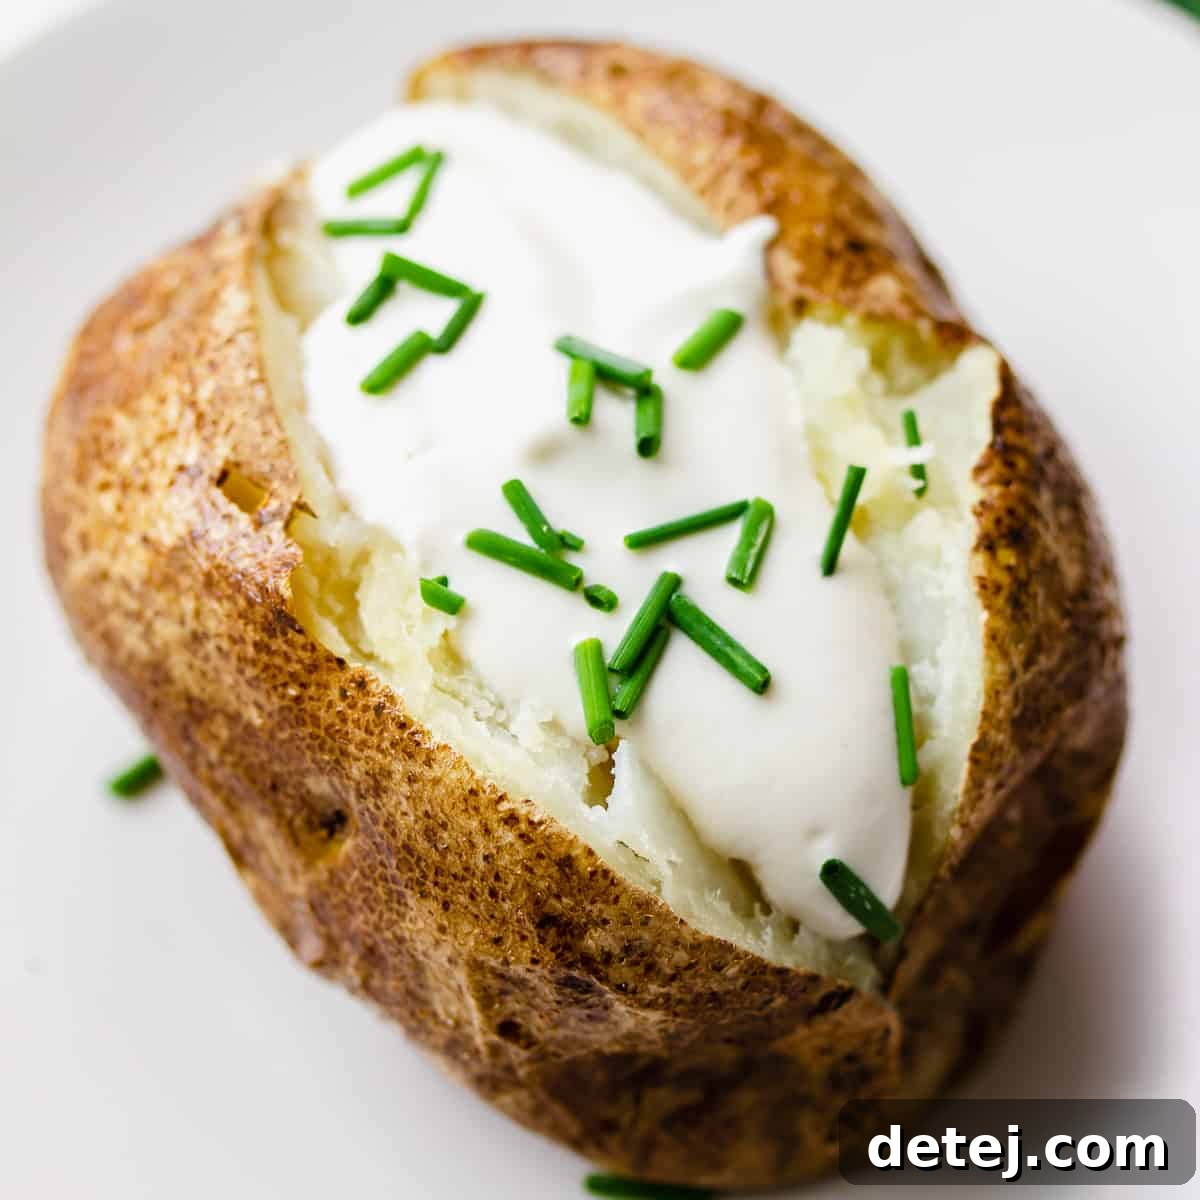
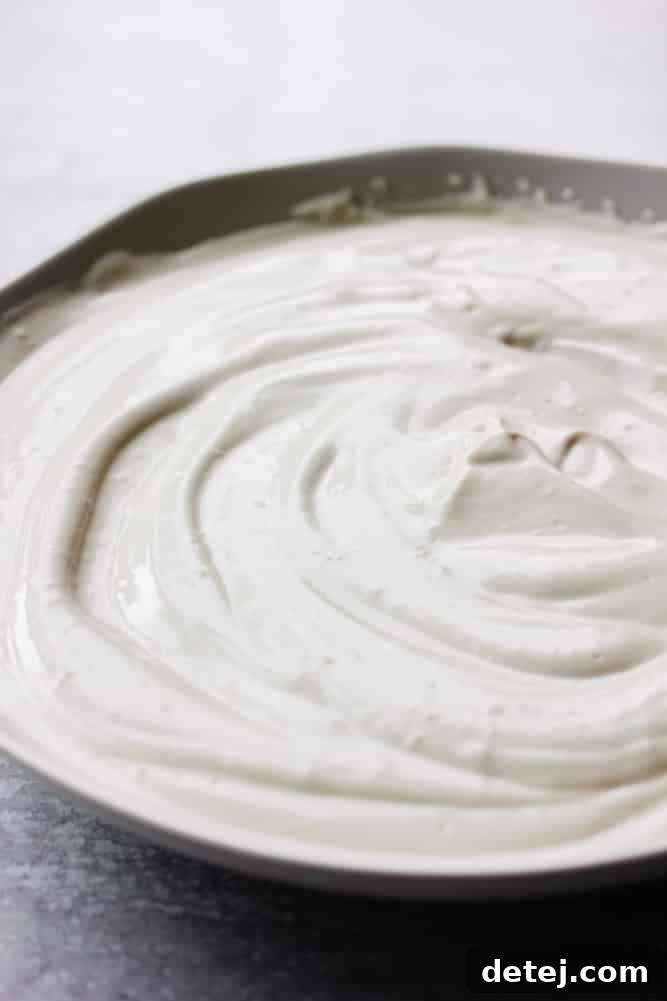
Indulge in the rich, tangy goodness of homemade Vegan Sour Cream! Crafted with just 4 simple ingredients in under 5 minutes, this creamy, luscious substitute for traditional dairy sour cream is an absolute game-changer. Get ready to elevate your favorite dishes with its irresistible flavor and perfect texture!
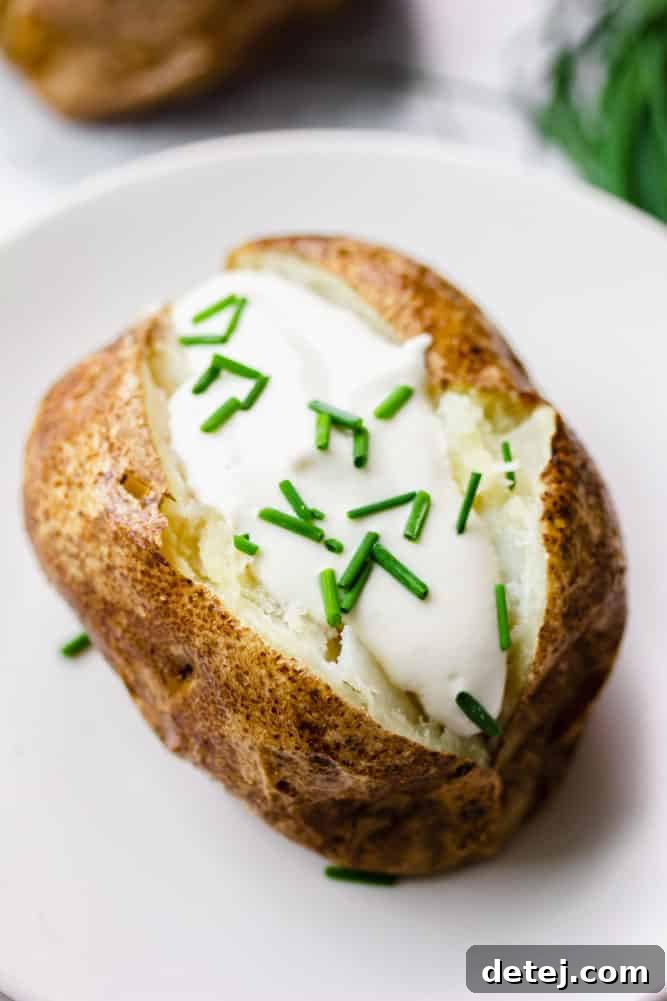
Are you a sour cream enthusiast who’s embraced a vegan lifestyle? Or perhaps you’re simply looking for a delicious, healthier alternative to dairy. If you’ve been missing that familiar dollop of cool, tangy creaminess on your tacos, baked potatoes, or chilis, then prepare to be delighted! Moving to a plant-based diet doesn’t mean sacrificing your favorite flavors, especially when you can whip up an incredible dairy-free sour cream that truly rivals the original.
This recipe isn’t just good; it’s astonishingly easy. With just four basic ingredients and a mere few minutes of your time, you’ll create a thick, rich, and wonderfully tangy sour cream alternative that will transform your culinary creations. It’s so straightforward, it’ll quickly become a staple in your refrigerator, much like other essential vegan swaps such as Heavy Whipping Cream Substitute, Vegan Butter, Vegan Condensed Milk, and Shreddable Vegan Mozzarella Cheese. This homemade version offers unparalleled taste and texture, giving you complete control over what goes into your food.
Why Choose Homemade Vegan Sour Cream?
While the market for plant-based products has expanded significantly, offering numerous vegan sour cream brands, there’s a unique satisfaction and superior quality that comes with making your own. Homemade vegan sour cream often surpasses store-bought versions in several key areas:
- Unmatched Flavor & Texture: Our homemade recipe delivers a distinct freshness and a perfectly balanced tang that many commercial products struggle to achieve. The texture is luxuriously thick and smooth, replicating the mouthfeel of traditional sour cream more accurately.
- Control Over Ingredients: When you make it yourself, you know exactly what’s in it. This means no artificial flavors, preservatives, or unnecessary additives. You can choose organic ingredients and adjust the salt or tanginess to your personal preference.
- Cost-Effective: Buying specialized vegan products can add up. Making your own from simple, whole ingredients like cashews is often far more economical in the long run.
- Dietary Customization: If you have specific dietary needs beyond being vegan, like avoiding soy or certain oils, making it from scratch allows for complete customization.
While I’ve tried various store-bought brands like Tofutti, Kite Hill, Simple Truth, Forager, Follow Your Heart, and Good Karma, none quite capture the essence and quality of this simple homemade recipe. If you have the ingredients and a few minutes, I highly recommend making this version – your taste buds will thank you!
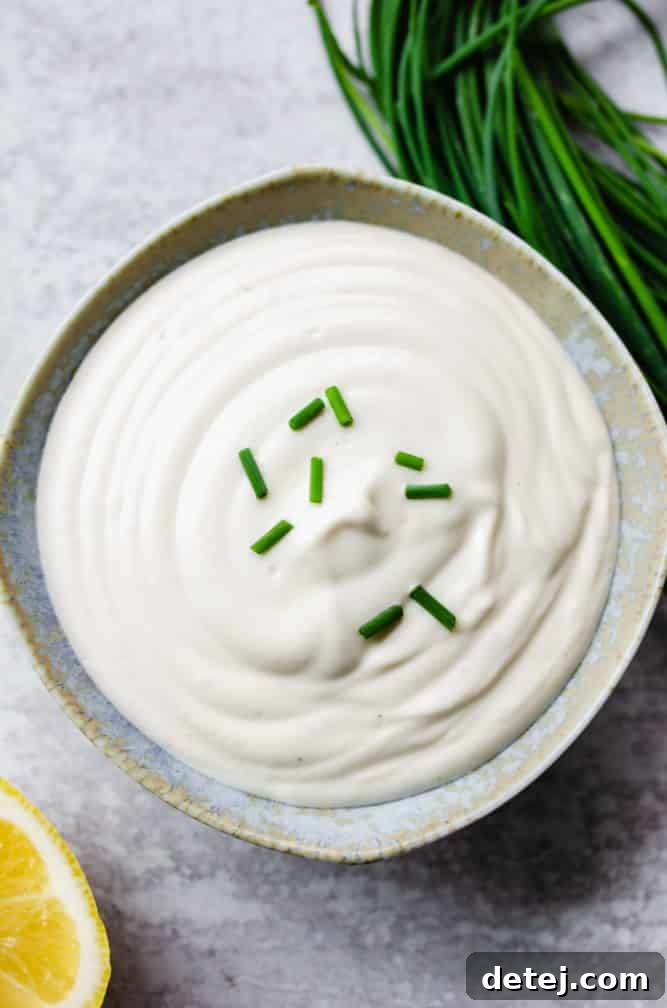
Essential Ingredients for Your Dairy-Free Sour Cream
Creating this rich and creamy vegan sour cream requires only a handful of ingredients, each playing a crucial role in achieving that perfect balance of flavor and texture. Here’s what you’ll need:
- Raw Cashews: These are the star of our show, providing the rich, creamy base that mimics dairy so perfectly. When soaked and blended, cashews create an incredibly smooth and luxurious texture without imparting a strong nutty flavor. Their high-fat content contributes to the desired richness. If you have a cashew allergy, slivered almonds can be a decent substitute for creaminess, though they may alter the flavor slightly. For a completely nut-free option, consider exploring a tofu-based sour cream or a coconut milk sour cream, although these will have different flavor profiles and textures.
- Apple Cider Vinegar: This ingredient is vital for introducing the characteristic “tang” of sour cream. Its natural acidity helps to mimic the fermentation process of dairy. White vinegar can be used as an alternative if apple cider vinegar is unavailable, or you can simply increase the amount of fresh lemon juice for acidity.
- Fresh Lemon Juice: Complementing the vinegar, fresh lemon juice adds a bright, zesty tang that elevates the overall flavor. Always opt for fresh juice over bottled for the best taste. For an even more authentic “sour cream” flavor, you can use 1 teaspoon of lactic acid powder, which is a vegan-friendly ingredient used to replicate the tartness found in dairy products.
- Salt: A pinch of salt is essential to balance the flavors, enhancing the tanginess and richness of the cashews.
- Optional: Unsweetened Dairy-Free Yogurt: This is my secret weapon for taking this vegan sour cream to the next level. Adding unsweetened non-dairy yogurt (I prefer Kite Hill brand unsweetened almond yogurt for its neutral flavor and thick consistency) introduces an extra layer of creaminess and a more complex, fermented tang. It also helps achieve a lighter, airier texture, making it even more akin to traditional sour cream. While optional, I highly recommend including it for the ultimate experience.
Crafting Your Perfect Vegan Sour Cream: A Step-by-Step Guide
Making this dairy-free sour cream is surprisingly simple, primarily involving a quick soak and a blend. Here’s how to achieve that thick, creamy, and tangy perfection:
Find the complete recipe with precise measurements in the recipe card below.
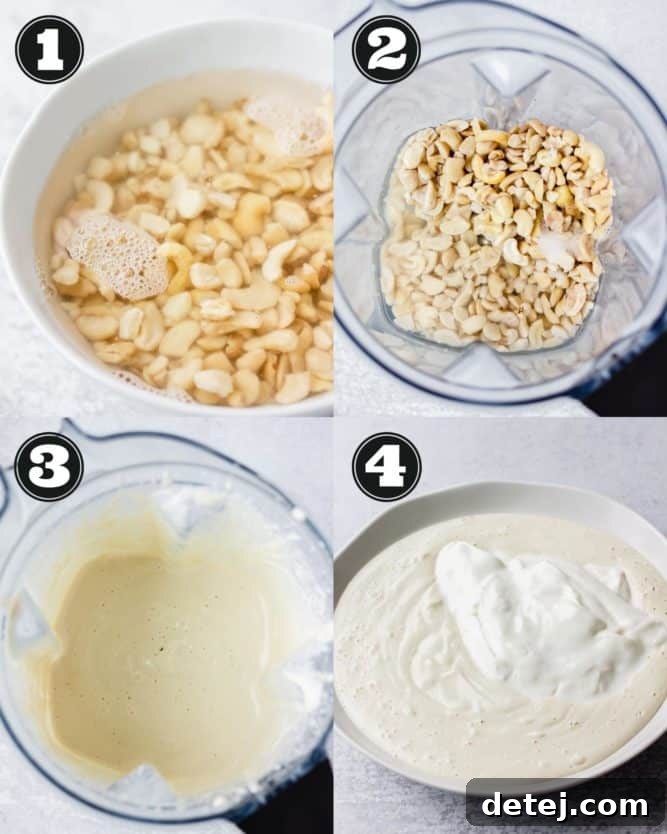
- Prepare Your Cashews with a Quick Soak: The first crucial step is softening your cashews. I achieve this efficiently by pouring boiling hot water (freshly boiled from my tea kettle) over the raw cashews in a heat-proof bowl or measuring cup. Let them soak for about 5-10 minutes. This quick soak method works wonders, especially if you have a high-powered blender. If you’re using a standard blender or food processor, I highly recommend extending the soaking time to at least an hour, or even overnight (simply cover with cool water and refrigerate). The softer the cashews, the smoother your sour cream will be, with absolutely no grainy texture.
- Combine Ingredients in a High-Speed Blender: Once your cashews are adequately softened, drain them thoroughly. Transfer the soaked cashews to a high-speed blender. Add 3/4 cup of fresh, clean water, the apple cider vinegar, fresh lemon juice, and salt. A high-speed blender (like a Vitamix) is truly ideal here, as it breaks down the cashews into an incredibly smooth, silky consistency. While a food processor might work, it generally won’t yield the same level of creaminess, often resulting in a slightly coarser texture.
- Blend Until Velvety Smooth: Secure the lid on your blender and begin blending on a low setting, gradually increasing the speed to high. Blend until the mixture is completely smooth and creamy. You’ll want to pause and scrape down the sides of the blender jar occasionally to ensure all cashew pieces are incorporated and no lumps remain. Continue blending until you achieve a uniform, velvety texture without any detectable nut fragments. This might take 1-3 minutes depending on your blender’s power.
- (Optional) Incorporate Dairy-Free Yogurt for Enhanced Texture and Tang: For an exceptional result that truly mimics the lightness and complex tang of traditional sour cream, transfer the cashew mixture into a bowl. Gently stir in 1 cup of unsweetened non-dairy yogurt. This step is optional but highly recommended. The yogurt introduces beneficial cultures, adds an extra layer of creaminess, and gives the sour cream a lighter, more authentic texture and a deeper, more pronounced tanginess. Mix until well combined.
- Chill and Serve: Your vegan sour cream is ready to be enjoyed immediately! However, for the best results, transfer it to an airtight container and refrigerate for at least an hour. As it chills, it will thicken further, developing a firmer, more scoopable consistency. This homemade sour cream will keep beautifully in the refrigerator for up to one week.
Achieving Smoothness: Blending Without a High-Speed Blender
While a high-speed blender (like my beloved Vitamix, which I consider an invaluable investment for any vegan cook) offers the smoothest, most effortlessly creamy results, it is absolutely possible to make delicious vegan sour cream with a standard blender or even a food processor. The key is in the preparation:
If you’re working with less powerful equipment, significantly extend the cashew soaking time. Instead of the quick 5-minute boil, soak your cashews in hot water for at least an hour, or even longer – up to several hours or overnight in cool water. The goal is to make them as soft as possible, almost mushy, before blending. This extra soaking will help your blender or food processor break them down more effectively.
When blending, be patient. You might need to stop frequently to scrape down the sides of the container and push the cashew mixture back towards the blades. If the mixture seems too thick to blend properly, add an extra tablespoon or two of fresh water, one at a time, until it starts to move freely. Blend in shorter bursts to prevent overheating your appliance, and continue until you’ve achieved the smoothest consistency possible. It might not be as perfectly velvety as a high-speed blender can produce, but it will still be wonderfully creamy and delicious.
Delicious Variations to Customize Your Vegan Sour Cream
One of the joys of making your own vegan sour cream is the ability to customize its flavor profile to perfectly complement any dish. Here are a few exciting variations to get you started:
- Green Chile Sour Cream: For a mild, smoky heat, add a small can of diced green chiles (drained) to your blender along with the other ingredients. This variation is fantastic on tacos, burritos, or as a dip for chips.
- Sriracha Sour Cream: If you love a spicy kick, stir in a teaspoon or two of Sriracha hot sauce (or more, to taste) after blending. This fiery version is incredible drizzled over nourish bowls, chili, or anything that needs a vibrant punch of flavor.
- Cheesy Sour Cream: Transform your sour cream into a savory, cheesy topping by adding about 1/4 cup of nutritional yeast to the blender. Nutritional yeast provides a distinct umami and cheese-like flavor. For an extra layer of savory depth, consider adding a pinch of onion powder and/or garlic powder. This cheesy variant is divine on nachos or baked potatoes.
- Herbed Sour Cream: For a fresh, aromatic touch, blend in a handful of fresh herbs like chives, dill, parsley, or cilantro. This is perfect for topping soups, salads, or serving alongside roasted vegetables.
- Roasted Garlic Sour Cream: Roast a few cloves of garlic until soft and caramelized, then add them to your blender. The sweet, mellow garlic flavor adds incredible depth, making this perfect for spreads or rich savory dishes.
Frequently Asked Questions About Homemade Vegan Sour Cream
Here are answers to some common questions you might have about making and storing your dairy-free sour cream:
- What brand of non-dairy yogurt should I use for the optional step?
I personally love and recommend Kite Hill brand unsweetened almond yogurt for this recipe. Its neutral flavor and wonderfully thick, creamy texture are ideal for achieving the perfect consistency and tang in the sour cream. It also has a very white color, which helps the finished product look just like traditional sour cream. When choosing a non-dairy yogurt, always opt for unsweetened and plain varieties to avoid unwanted sweetness or flavors. Other good options include unsweetened soy or oat yogurts, as long as they have a good, thick consistency.
- How long will homemade cashew sour cream stay fresh?
When stored in an airtight container in the refrigerator, your homemade vegan sour cream will keep beautifully for approximately 1 week. The recipe makes a generous amount, so if you don’t anticipate using it all within that timeframe, consider freezing a portion (see the next question!). Always use clean utensils when serving to maintain freshness.
- Can I freeze vegan sour cream?
Absolutely! This cashew-based sour cream freezes exceptionally well. I regularly freeze various cashew-based sauces and dressings without any issues. To freeze, simply transfer the sour cream to a freezer-safe container, leaving a little headspace for expansion. For convenient single-serving portions, you can also pour the sour cream into an ice cube tray. Once frozen solid, pop the cubes out and transfer them to a freezer bag. When you’re ready to use it, thaw the desired amount in the refrigerator overnight. After thawing, the texture might be slightly different, so give it a good whisk or even a quick re-blend to restore its original creaminess.
- Is this recipe nut-free?
No, this recipe relies on cashews, which are tree nuts, for its creamy base. If you have a nut allergy, please refer to the ingredient section for alternatives like tofu or coconut milk-based sour cream recipes. Always exercise caution and ensure all ingredients are safe for your dietary needs.
Perfect Pairings: What to Serve with Your Vegan Sour Cream
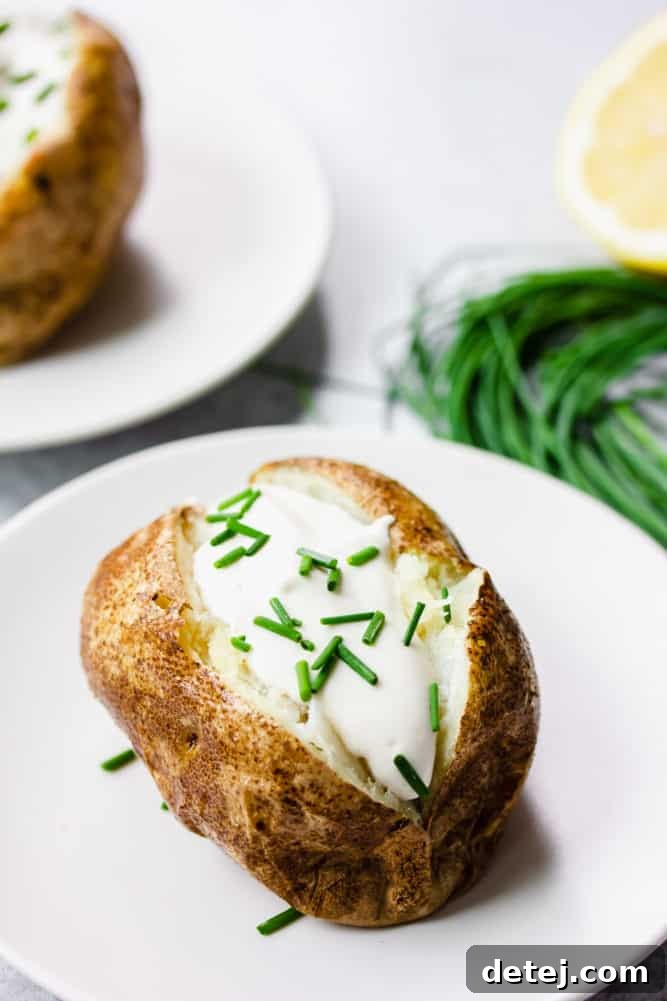
This versatile dairy-free sour cream can be used anywhere you would typically enjoy regular sour cream. Its creamy texture and tangy flavor make it the ultimate topping or accompaniment for an endless array of vegan dishes. From adding a cooling contrast to spicy Mexican fare to enriching hearty soups and stews, the possibilities are truly limitless. Drizzle it, dollop it, or swirl it into any of the following delicious recipes and more:
Beyond these, think burritos, enchiladas, tacos, buddha bowls, chilis, soups, baked potatoes, and even as a base for creamy salad dressings. Its versatility makes it an indispensable condiment in any plant-based kitchen!

Vegan Sour Cream
Pin
Comment
SaveSaved
Ingredients
- 1 1/2 cups raw cashews
- 3/4 cup water
- 2 tablespoons apple cider vinegar
- 1 tablespoon fresh lemon juice
- 1/2 teaspoon salt
- OPTIONAL: 1 cup unsweetened non-dairy yogurt
Instructions
-
Quick soak the cashews: Bring a few cups of water to a rolling boil (I use my tea kettle for this). Add 1 1/2 cups raw cashews to a measuring cup or small bowl and pour the boiling hot water on top, ensuring they are fully submerged. Let them soak for 5-10 minutes. If you do not have a high-powered blender, extend the soaking time to 1 hour for optimal softness. Alternatively, you can soak cashews overnight in cool water if preferred.
-
Drain the softened cashews thoroughly and transfer them to a high-powered blender. Now, add 3/4 cup fresh water, 2 tablespoons apple cider vinegar, 1 tablespoon fresh lemon juice, and 1/2 teaspoon salt. Blend on high speed until the mixture is exceptionally smooth and creamy. Stop periodically to scrape down the sides of the blender to ensure all cashews are fully incorporated, and continue blending until no grainy texture remains.
-
(Optional) Pour the smooth cashew mixture into a clean bowl. Stir in 1 cup of unsweetened non-dairy yogurt (such as Kite Hill almond yogurt). This step significantly enhances the texture and flavor, making the sour cream lighter and more tangy, closely resembling traditional dairy sour cream. Mix well until fully combined.
-
Your homemade vegan sour cream is now ready to be enjoyed! For the best consistency and flavor, transfer it to a small, airtight covered container and refrigerate for at least an hour. It will continue to thicken as it chills. This delicious sour cream will keep fresh in the refrigerator for about a week. You may also freeze portions if desired for longer storage. Enjoy this versatile and creamy condiment!
Notes
- For maximum convenience, you may also soak the cashews overnight in cool water. Simply drain thoroughly before blending. The quick soak method (boiling water) is perfect for when you’re short on time.
- If you are using a regular blender or food processor instead of a high-powered one (like a Vitamix), it is highly recommended to soak the cashews for a longer duration – at least an hour in hot water, or overnight. This ensures they soften sufficiently to achieve a very smooth, non-grainy cream. You may also need to blend in smaller batches and add an extra tablespoon or two of water if the mixture is too thick.
- Get creative with flavor! Add a small can of drained green chiles to the blender to make a delicious green chile sour cream. For a spicy kick, stir in 1-2 teaspoons of Sriracha hot sauce after blending for a vibrant Sriracha sour cream. You can also add 1/4 cup nutritional yeast for a cheesy version, or fresh herbs for an herbed sour cream.
- The consistency of the sour cream will naturally thicken as it chills in the refrigerator. If you prefer a thinner consistency for dressings, simply whisk in a tablespoon or two of water or plant-based milk until desired thinness is reached.