
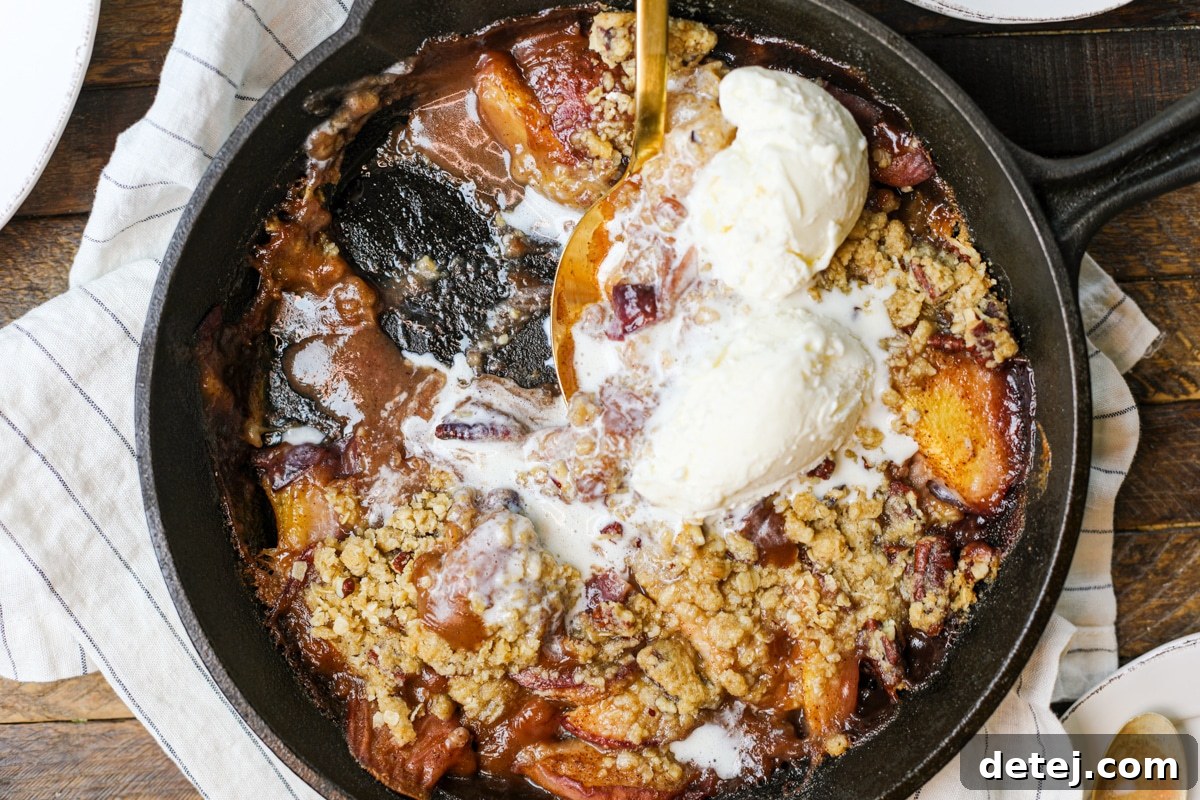
Easy Peach Crisp: A Taste of Summer in Every Spoonful
This easy Peach Crisp recipe tastes like summer in a skillet. The juicy yellow peaches taste so good with the crisp, buttery crumble on top. Finish this delightful crisp with a generous dollop of vanilla ice cream for the ultimate summer dessert experience. This simple yet incredibly satisfying crisp is so delicious, your family will surely ask for this easy dessert recipe on repeat.
Looking for more dessert inspiration? Dive into my Grilled Banana Split or explore the flavors of this Peachberry Crisp.
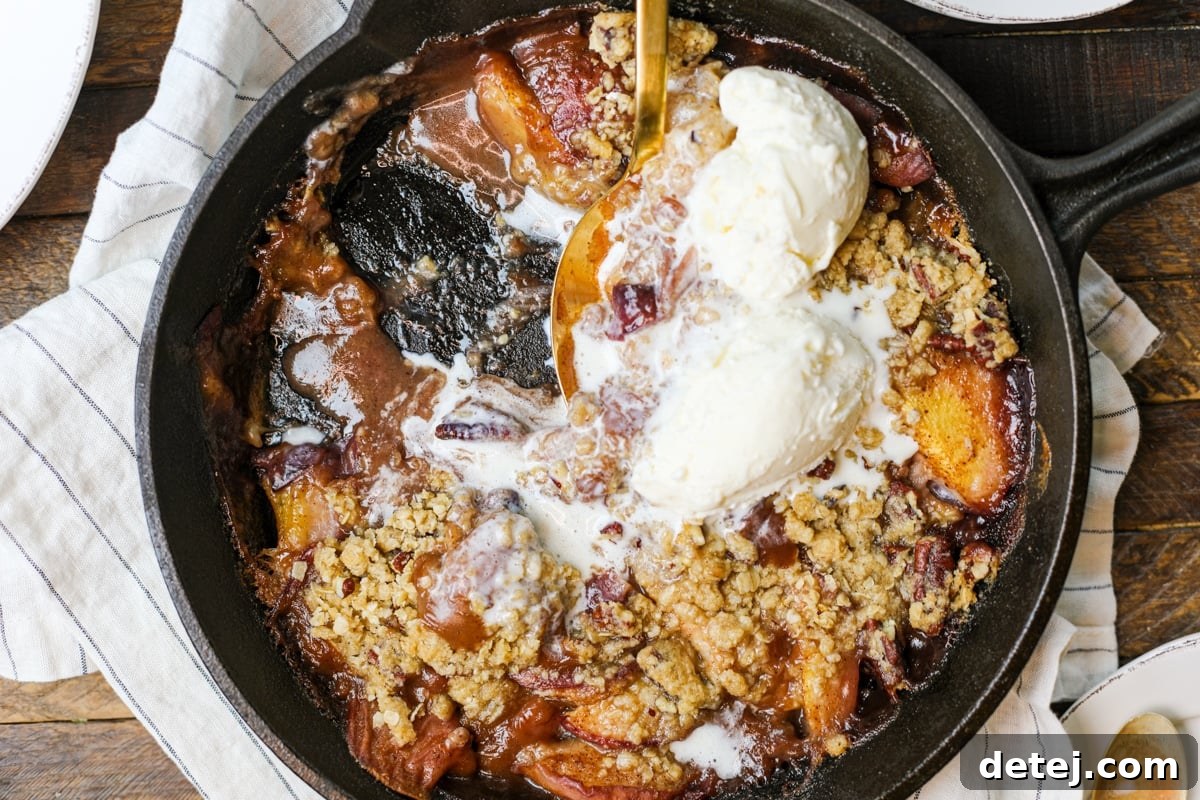
Why You’ll Love This Easy Peach Crisp
There are countless reasons why this homemade peach crisp will become a staple in your summer dessert rotation. It’s more than just a sweet treat; it’s an experience that captures the essence of peak peach season in every bite.
- Effortless Preparation: Forget complicated techniques and endless steps. This recipe calls for just a few simple, fresh ingredients and straightforward instructions. You don’t need to be a seasoned baker to achieve a beautifully crisp topping and perfectly tender peach filling. It’s ideal for busy weeknights or impromptu gatherings when you need a show-stopping dessert without the stress.
- Celebration of Seasonal Flavors: When peaches are ripe and in season, their natural sweetness and vibrant aroma are unparalleled. This crisp truly highlights the best of these summer stone fruits, allowing their juicy flavor to shine through. The warm, soft peaches beautifully complement the golden-brown, buttery oat crumble, creating a harmonious blend of textures and tastes that perfectly encapsulates the joy of summer.
- Perfect for Any Gathering: Whether you’re hosting a backyard barbecue, a family dinner, or simply looking for a comforting treat to share, this peach crisp is incredibly versatile. It’s designed to be easily shared directly from the skillet, making it a wonderful communal dessert. Just add a scoop of vanilla ice cream, and watch as everyone digs in for a delightful experience. Its rustic charm and irresistible aroma make it a guaranteed crowd-pleaser.
- Incredibly Versatile & Customizable: While this recipe focuses on classic peach crisp, its foundation is incredibly adaptable. You can easily experiment with different spices, add a mix of other berries like raspberries or blueberries (creating a delightful peachberry crisp!), or even swap out pecans for walnuts or almonds in the topping. This flexibility means you can tailor it to your personal preferences or what you have on hand, making it a dessert that never gets old.
- Warm, Comforting Dessert: Few things are as comforting as a warm, fruity crisp straight from the oven. The inviting aroma that fills your kitchen as it bakes is just the beginning. Each spoonful delivers a comforting warmth, a burst of sweet peach, and a satisfying crunch from the topping. It’s the kind of dessert that feels like a warm hug, perfect for winding down a summer evening or bringing a smile to any occasion.
Key Ingredients for Your Perfect Peach Crisp
Creating an extraordinary peach crisp begins with selecting the right ingredients and understanding their role in the overall flavor and texture. Here’s a closer look at what you’ll need and why each component is essential for this delightful summer treat.
-
For the Crisp Topping: This is what gives the dessert its signature “crisp” texture, providing a beautiful contrast to the soft fruit filling.
- All-Purpose Flour: Acts as the base for our crumble, helping to bind the ingredients and create a tender, crisp texture when baked.
- Cane Sugar: Adds sweetness to the topping and contributes to that desirable golden-brown color and slight caramelization during baking.
- Cold Cubed Unsalted Butter: This is crucial! Cold butter prevents overmixing and ensures a flaky, crumbly topping. As it melts in the oven, it creates pockets of steam that result in a light, crisp texture. Make sure it’s very cold and cut into small pieces for best results.
- Rolled Oats: Provide a wonderful chewy texture and a wholesome, nutty flavor that pairs perfectly with the peaches. They also add to the rustic appeal of the crisp.
- Lightly Toasted Pecan Pieces: Gently toasted pecans introduce a fantastic crunch and a rich, buttery flavor that complements the peaches beautifully. Ensure they are completely cool before folding them into the topping mixture to prevent the butter from melting prematurely.
-
For the Juicy Peach Filling: The heart of the crisp, where sweet peaches meet a flavorful, syrupy sauce.
- Ripe Yellow Peaches: The star of the show! You’ll need about 6 medium-sized yellow peaches. Yellow peaches are preferred for their vibrant color, higher acidity (which balances sweetness), and robust peachy flavor that holds up wonderfully during baking. Look for peaches that yield slightly to gentle pressure but aren’t too soft.
- All-Purpose Flour (or Cornstarch): This acts as a thickening agent for the peach juices, transforming them into a luscious, syrupy sauce that coats the fruit. You can adjust the amount based on your preferred sauce thickness.
- Light Brown Sugar: Offers a deeper, more complex sweetness than white sugar, with subtle molasses notes that enhance the fruit’s natural flavor and create a rich, golden syrup.
- Fresh Squeezed Lemon Juice: A splash of lemon juice is essential. It brightens the flavor of the peaches, prevents the filling from becoming overly sweet, and helps to activate the pectin in the fruit, contributing to the filling’s texture.
- Almond Extract: This is a secret weapon that truly elevates the peach flavor. Almond extract has a magical ability to enhance stone fruit notes, adding a depth and complexity that vanilla extract, while also good, can’t quite match.
- Warm Water: Helps dissolve the sugar and flour, creating a smooth, syrupy base for the peach filling before it even hits the oven.
- Ground Cinnamon & Nutmeg: These warm spices are classic companions to peaches, adding a cozy, inviting aroma and flavor that ties the entire dessert together.
- Pinch of Kosher Salt: Don’t skip the salt! It’s a flavor enhancer, balancing the sweetness and making all the other flavors pop.
- Butter: A small amount of butter melted into the skillet before adding the peaches adds richness and helps create a beautifully caramelized bottom crust for the filling.
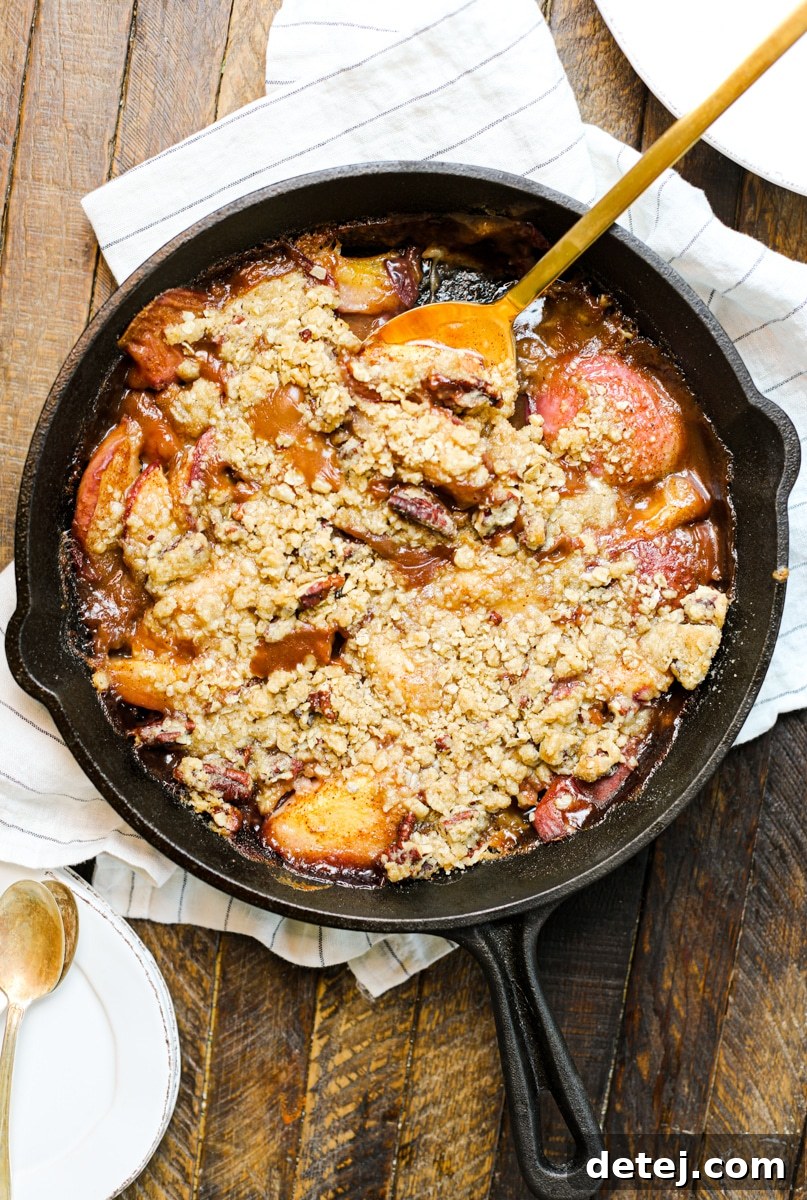
White vs. Yellow Peaches: Choosing the Best for Baking
When it comes to baking a perfect peach crisp, the choice between white and yellow peaches can significantly impact the final flavor and texture. For this specific recipe, I wholeheartedly recommend using fresh yellow peaches, and here’s why:
Yellow peaches are generally renowned for their robust, classic “peachy” flavor. They boast a higher acidity level compared to white peaches, which gives them a delightful tang that beautifully balances their sweetness. This acidity is crucial in baking, as it prevents the dessert from tasting cloyingly sweet and adds a vibrant, fresh dimension to the fruit filling. Furthermore, yellow peaches tend to have a firmer flesh that holds up well under heat, softening to a tender, juicy consistency without becoming mushy. Their vibrant golden-orange hue also lends a more traditional and appealing color to your crisp.
White peaches, on the other hand, are typically sweeter and less acidic, offering a milder, more floral flavor profile. While they are wonderfully refreshing for eating fresh or grilling (where their delicate sweetness can truly shine), their lower acidity means they can sometimes produce a less complex flavor when baked. Their flesh is often softer and can break down more easily in the oven, potentially leading to a less structured filling. So, while you *could* use white peaches in a pinch, for that quintessential, flavorful peach crisp experience, yellow peaches are undeniably the superior choice. Always opt for ripe, fragrant yellow peaches to ensure the most delicious results.
Expert Tips for a Flawless Peach Crisp
Achieving the perfect peach crisp is simple with a few insider tricks. Follow these expert tips to ensure your dessert turns out incredibly delicious, with a perfectly cooked filling and a delightfully crisp topping every single time.
-
Select Perfectly Ripe Peaches: This is perhaps the most critical tip. The ripeness of your peaches directly impacts the crisp’s texture and flavor.
- Avoid underripe peaches: If peaches are very firm or hard, they will take an excessively long time to soften in the oven, risking a burnt sauce before the fruit is tender.
- Avoid overripe peaches: Conversely, peaches that are too soft or mushy will become soggy and fall apart during baking, resulting in a watery, undesirable filling.
- The sweet spot: You want peaches that are slightly firm to the touch but still yield gently when pressed, and smell wonderfully fragrant. This ensures they soften beautifully and release just the right amount of juice to create a luscious, syrupy filling.
- Keep Your Butter Cold for the Topping: The secret to a truly crumbly and crispy topping is cold butter. When you cut cold butter into the flour and sugar mixture, it creates small pockets that melt slowly in the oven, producing steam and separating the dry ingredients into distinct, flaky crumbles. If your butter is too warm, it will incorporate too much into the flour, resulting in a dense, cookie-like topping instead of a light, crisp one.
- Do Not Overwork the Crisp Mixture: Once the butter is cut into the flour, sugar, and oats, resist the urge to overmix. Overworking develops the gluten in the flour, making the topping tough rather than tender and crumbly. Mix just enough until the ingredients are combined and resemble coarse crumbs with pea-sized pieces of butter still visible.
- Utilize a 9-inch Cast Iron Skillet: While other baking dishes can work, a 9-inch cast iron skillet is truly ideal for this recipe. Cast iron provides excellent, even heat distribution, ensuring the peaches cook uniformly and the bottom crust caramelizes beautifully. It also retains heat exceptionally well, keeping your crisp warm for longer, and lends a rustic, inviting presentation that’s perfect for serving straight from the oven to the table.
- Allow for Resting Time: It’s tempting to dig in immediately, but letting the crisp rest for 10-15 minutes after baking is crucial. This allows the fruit filling to cool slightly and thicken, preventing it from being too runny. It also gives the topping a chance to set and become even crisper.
- Serving Suggestions Beyond Vanilla Ice Cream: While a scoop of vanilla ice cream is a classic and highly recommended accompaniment, don’t limit yourself! A dollop of freshly whipped cream, a drizzle of warm caramel sauce, or a sprinkle of toasted nuts can also elevate your peach crisp experience. The contrast of the warm crisp with a cold topping is always a winner.
- Optional: Peel Your Peaches for a Smoother Texture: While not strictly necessary, peeling your peaches will result in a smoother, more refined filling without any chewy skin bits. A quick and easy way to peel them is to blanch them in boiling water for 30-60 seconds, then immediately transfer them to an ice bath. The skins will then slip right off.
How to Master Your Homemade Peach Crisp
Crafting this delicious peach crisp is a straightforward process, broken down into a few easy steps. Follow these instructions carefully, and you’ll have a warm, bubbling, and irresistible dessert ready to enjoy.
Step 1: Preheat the Oven
- Preheat your oven to 350°F (175°C). This allows the oven to reach the correct temperature, ensuring even baking from the moment your crisp goes in.
Step 2: Prepare the Crisp Topping
The topping is essential for that signature crunchy contrast. Careful preparation here will yield the best results.
- In a large mixing bowl, combine the all-purpose flour, cane sugar, cold cubed unsalted butter, and rolled oats.
- Using a fork, a pastry blender, or even your fingertips, cut the cold unsalted butter into the mixture. Work quickly to prevent the butter from warming too much. Continue until the mixture resembles coarse crumbs with some pea-sized pieces of butter still visible. The key here is to NOT overwork the crisp mixture. Overmixing will develop the gluten in the flour and melt the butter, resulting in a tough, doughy topping rather than a light, crumbly one.
- As a final step, gently fold in the lightly toasted pecan pieces into the crisp mixture. It’s crucial that the pecans are completely cool before adding them. If they are warm, they will melt the cold butter in the mixture, negatively impacting the texture of your crisp.
Step 3: Prepare the Peach Filling
This is where the magic happens, as the fresh peaches are coated in a flavorful, aromatic syrup.
- In a separate large mixing bowl, combine the sliced peaches, all-purpose flour (or cornstarch for thickening), ground cinnamon, nutmeg, light brown sugar, fresh squeezed lemon juice, almond extract, and a pinch of kosher salt and warm water.
- Toss all the ingredients gently until the peaches are well combined and evenly coated with the flour and spice mixture.
- Melt 2 tablespoons of butter in your 9-inch cast iron skillet over medium heat on the stovetop. Once melted, carefully pour the peach filling into the skillet. Spread it out evenly across the pan, ensuring a consistent layer for baking.
Step 4: Assemble and Bake
Bringing it all together for the final bake.
- Evenly distribute the prepared crisp topping over the peach filling in the skillet. Ensure good coverage so every bite gets a taste of that delicious crumble.
- Bake for 20-25 minutes, or until the crisp topping is golden brown and the peach filling is bubbling around the edges and visibly thickened. You should see a rich, syrupy sauce mingling with the tender peaches.
- Once baked, remove the skillet from the oven and let it rest for 10-15 minutes before serving. This resting period allows the filling to set and thicken further, and the topping to become even crisper.
- Serve warm, ideally with a generous scoop of vanilla ice cream. Enjoy every delightful bite!
Storage and Reheating
- Store any leftover peach crisp in an airtight container in the refrigerator for 2-3 days.
- To reheat, simply warm individual servings in the microwave until heated through. For a crisper topping, you can gently warm larger portions in the oven at a low temperature (around 300°F / 150°C) for 10-15 minutes.
- It’s best to keep the ice cream on the side when storing, so that you can enjoy any leftover crisp without it becoming soggy from melted ice cream.
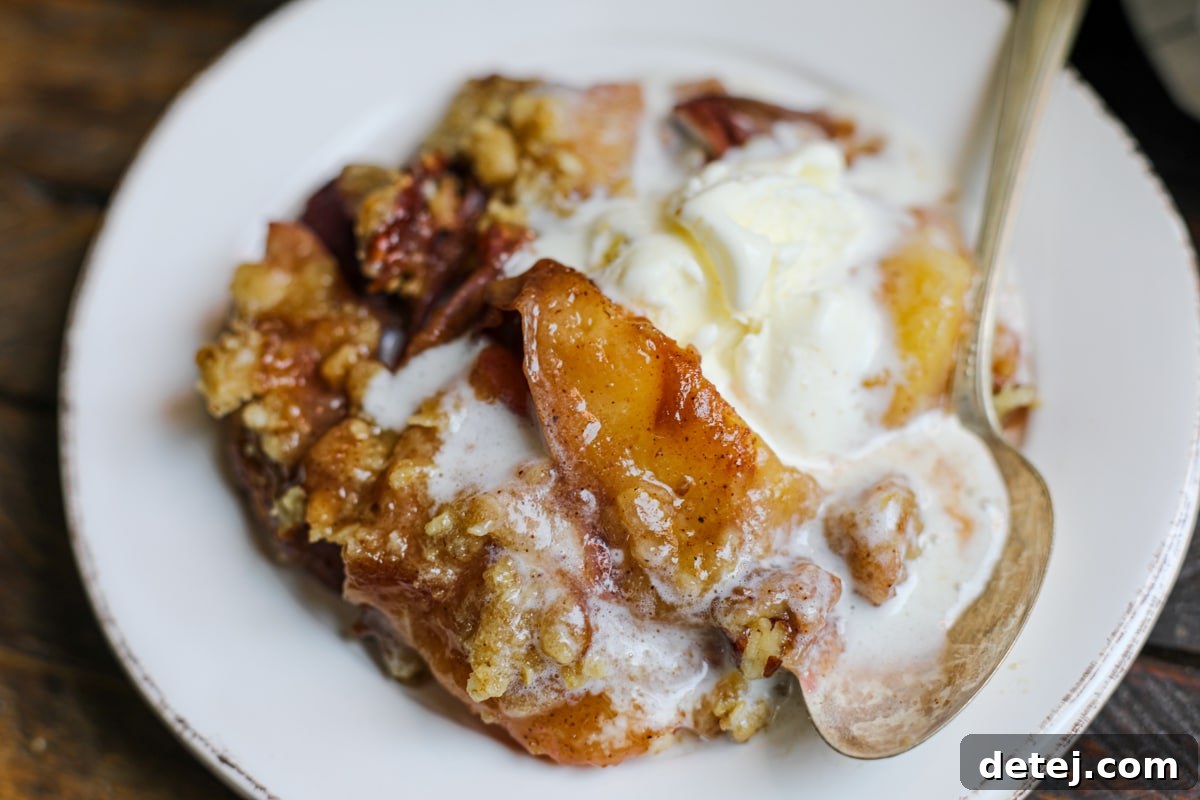
Frequently Asked Questions
Here are some common questions about making peach crisp, along with helpful answers to ensure your baking success.
Yes, you absolutely can! You can prepare the peach filling and the crisp topping separately and store them in the refrigerator. Assemble and bake just before serving for the freshest taste and best texture. While it’s best enjoyed hot from the oven, leftovers are still delicious. Alternatively, you can bake the entire crisp ahead of time and gently reheat it in the oven (covered with foil to prevent over-browning, then uncovered for the last few minutes) when you’re ready to serve.
Certainly! This recipe is wonderfully versatile. Berries like blueberries, raspberries, or blackberries pair exceptionally well with peaches, creating a “peachberry” crisp. However, be mindful that different fruits release varying amounts of liquid, which might impact the sauce thickness. If adding fruits with high water content, you might need to slightly increase the amount of flour or cornstarch in the filling by an extra half teaspoon to a teaspoon to maintain the desired consistency.
Yes, you can use frozen peaches. There’s no need to thaw them beforehand; simply add them directly to the mixing bowl with the other filling ingredients. Keep in mind that frozen peaches tend to release more liquid than fresh ones. To account for this, you may want to increase the amount of all-purpose flour in the filling by an additional 1/2 to 1 tablespoon to ensure the sauce thickens properly. The baking time might also be slightly longer.
You’ll know your peach crisp is perfectly baked when the topping is a beautiful golden brown and the fruit filling is visibly bubbling around the edges of the skillet. The bubbling indicates that the fruit juices have thickened to a luscious, syrupy consistency. If the topping is browning too quickly, you can loosely cover it with aluminum foil for the remaining bake time.
Absolutely! To make this peach crisp gluten-free, simply substitute the all-purpose flour in both the crisp topping and the peach filling with a 1:1 gluten-free baking flour blend that contains xanthan gum. Ensure the rolled oats you use are certified gluten-free, as some oats can be processed in facilities that also handle wheat. The rest of the ingredients are naturally gluten-free.
If you prefer a crisp with no peach skins, a simple blanching method works wonders. Score a small ‘X’ at the bottom of each peach. Bring a pot of water to a rolling boil, then carefully submerge the peaches for 30-60 seconds. Immediately transfer them to an ice bath to stop the cooking process. Once cooled, the skins should easily peel away with your fingers or a paring knife. This step is optional but creates a very smooth filling.
Other Delicious Dessert Recipes to Explore
If you loved this peach crisp, you might enjoy exploring these other delightful dessert recipes:
- Peachberry Crisp
- Classic Chocolate Chip Cookies
- Flourless Peanut Butter Oatmeal Cookies
- Peanut Butter Banana Cookies (Plant-Based)

Peach Crisp
Sarah Thomas-Drawbaugh
5 servings
15 mins
30 mins
45 mins
This easy Peach Crisp recipe is a delightful taste of summer, featuring juicy yellow peaches baked under a crisp, buttery oat crumble. Perfect served warm with vanilla ice cream.
Pin Recipe
Equipment
- 1 9-inch cast-iron skillet
- 1 mixing bowl
Ingredients
Crisp Topping
- 6 tablespoons rolled oats
- ¼ cup AP flour, all-purpose
- ¼ cup cane sugar
- ¼ cup unsalted butter, cold, cubed into small pieces
- ¼ cup chopped pecans, toasted and cooled
Peach Filling
- 6 medium yellow peaches, ripe, sliced into wedges (about 4 cups)
- 1 – 1.5 tablespoons AP flour, all-purpose, depending on preferred thickness
- 3 tablespoons warm water
- 2 tablespoons light brown sugar
- 1 tablespoon lemon juice, fresh squeezed
- 1 teaspoon almond extract (vanilla will work too, but almond is best)
- ½ teaspoon ground cinnamon
- ¼ teaspoon nutmeg
- Pinch kosher salt
- 2 tablespoons butter
Instructions
- Preheat your oven to 350°F (175°C).
-
Prepare the Crisp Topping
- Combine AP flour, cane sugar, cold cubed unsalted butter, and rolled oats in a mixing bowl. Use a fork or knife to cut the unsalted butter into the mixture until it resembles coarse crumbs. DO NOT overwork the crisp mixture; otherwise, it will form a dough ball instead of being crumbly and crispy.
- As a final step, gently fold in the lightly toasted pecan pieces into the crisp mixture. Ensure the pecans are completely cool before folding them in to prevent them from melting the butter and impacting the crisp’s texture.
-
Prepare the Peach Filling
- In a large mixing bowl, combine the sliced peaches, flour, cinnamon, nutmeg, brown sugar, lemon juice, almond extract, pinch of kosher salt, and water. Toss gently until all ingredients are well combined and the peaches are evenly coated.
- Add the remaining 2 tablespoons of butter to the cast iron skillet. Once melted, pour in the peach filling and spread it evenly across the pan.
-
Assemble and Bake
- Top the peach filling with the crisp topping, ensuring an even layer.
- Bake for 20-25 minutes, or until the crisp is golden brown on top and the sauce is bubbling and thickened.
- Let the crisp rest for 10-15 minutes before serving. This allows the filling to set and prevents it from being too runny.
- Serve warm with a scoop of vanilla ice cream and enjoy!
Notes
Store any leftover peach crisp in an airtight container in the refrigerator for two to three days. Reheat individual servings in the microwave, or larger portions in a low oven for a crisper topping.
Nutrition
Serving: 1 serving,
Calories: 351 kcal,
Carbohydrates: 45g,
Protein: 4g,
Fat: 19g,
Saturated Fat: 9g,
Polyunsaturated Fat: 2g,
Monounsaturated Fat: 6g,
Trans Fat: 1g,
Cholesterol: 36mg,
Sodium: 63mg,
Potassium: 292mg,
Fiber: 4g,
Sugar: 30g,
Vitamin A: 1014IU,
Vitamin C: 9mg,
Calcium: 27mg,
Iron: 1mg
Dessert
American
351
Sarah Thomas-Drawbaugh