
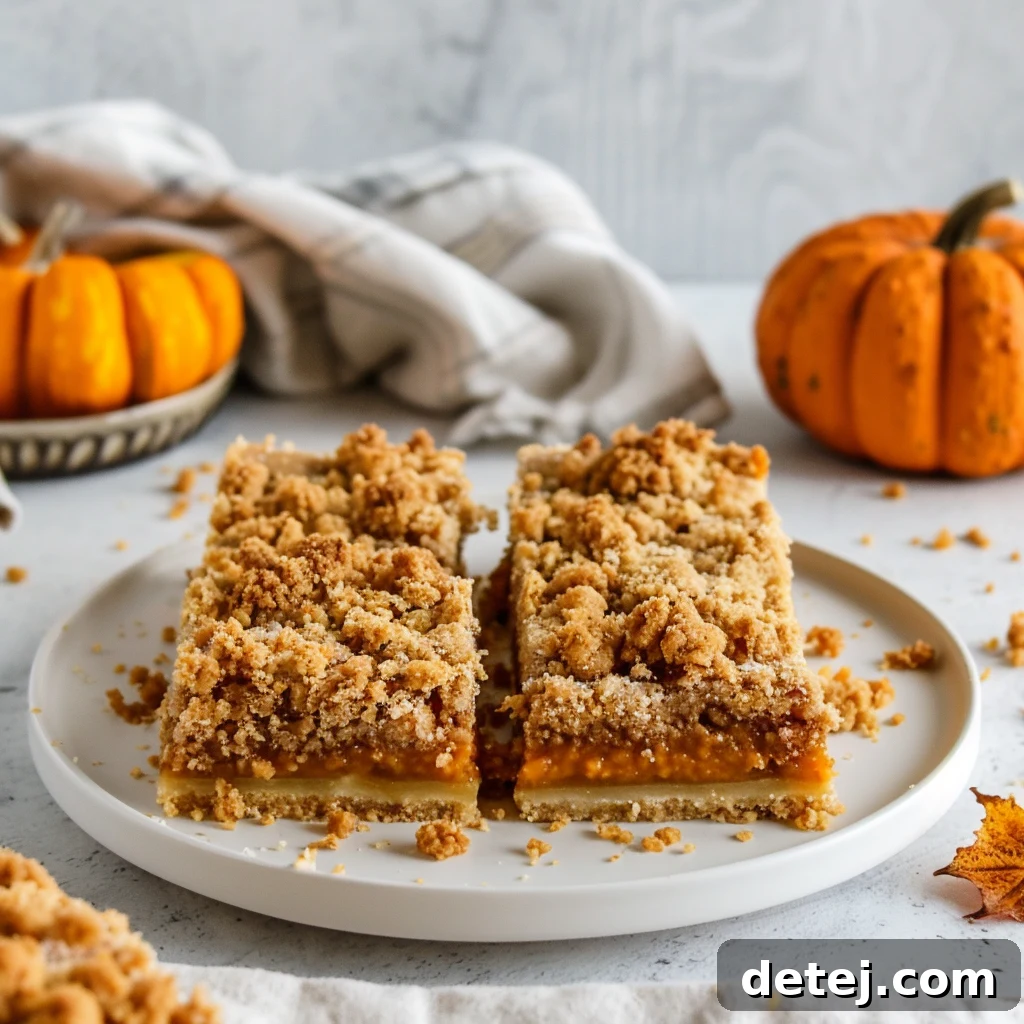
Easy Pumpkin Pie Bars: Your Ultimate Fall Dessert Recipe
Introduction: Embrace the Flavors of Fall with Effortless Pumpkin Pie Bars
As the leaves begin to turn vibrant hues and a crisp chill fills the air, there’s an undeniable magic that beckons us into the kitchen. Fall is synonymous with warm spices, cozy gatherings, and, of course, the beloved pumpkin. While traditional pumpkin pie holds a special place in our hearts, these easy pumpkin pie bars offer a delightful, convenient twist that makes them an instant crowd-pleaser and a seasonal baking sensation. Imagine all the rich, creamy goodness of classic pumpkin pie, perfectly portioned into handheld bars, nestled atop a buttery shortbread crust, and crowned with a delicate, spiced crumble.
Whether you’re a seasoned baker looking for a quick and impressive dessert, or a novice eager to explore the world of autumn treats, this recipe is designed for simplicity without sacrificing flavor. With their harmonious blend of smooth pumpkin filling and a subtly spiced, tender crust, these bars embody the very essence of fall nostalgia. They’re not just a dessert; they’re a comforting embrace, a slice of seasonal joy, and a perfect addition to any fall feast or cozy evening at home. Get ready to transform your kitchen into a haven of aromatic warmth as we embark on this sweet journey together.
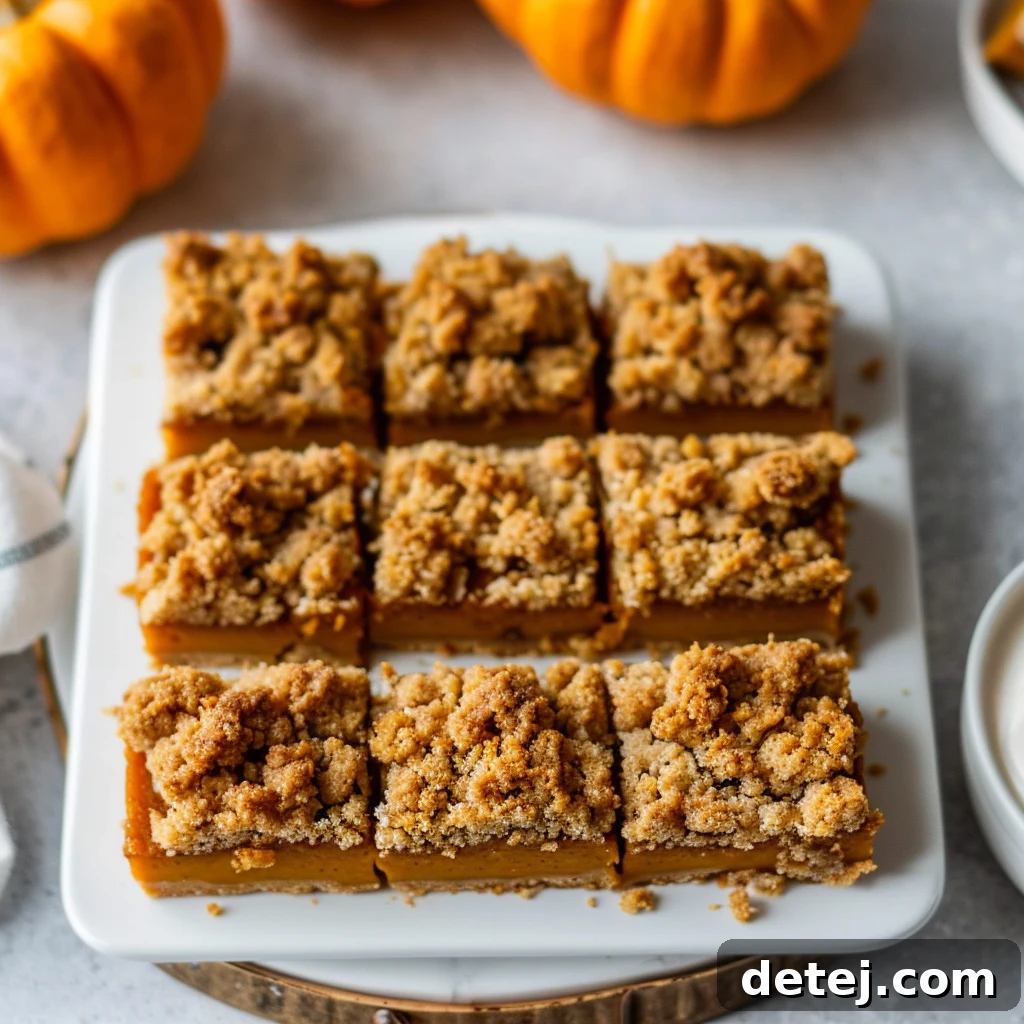
Key Takeaways:
- Effortless Fall Baking: A streamlined recipe offering the rich taste of pumpkin pie in an easy-to-serve bar format.
- Versatile Appeal: Suitable for bakers of all skill levels, from beginners to experienced home cooks.
- Perfect Flavor Profile: Combines a smooth, creamy pumpkin filling with a delightfully buttery and crumbly shortbread crust, infused with warm autumn spices.
- Ideal for Gatherings: These bars are easy to transport and share, making them a fantastic addition to potlucks, parties, or family dinners.
Gathering Your Ingredients for the Perfect Fall Treat
The secret to any truly delicious dessert lies in its ingredients, and these easy pumpkin pie bars are no exception. We’re aiming for a symphony of fall flavors, so let’s ensure we have everything ready for both the irresistible crust and the luscious filling. Think of this as your autumn pantry checklist, curated for maximum coziness and taste.
For the essential crust and topping, you’ll need:
- Unsalted Butter: Melted to perfection, providing that rich, tender base. Using unsalted butter allows you to control the overall saltiness of the dish.
- Light Brown Sugar: Adds a delicate sweetness and a hint of molasses, contributing to the crust’s depth of flavor and tender texture.
- All-Purpose Flour: The structural backbone of our shortbread crust, ensuring a perfect crumbly texture.
- Baking Soda and Baking Powder: Just a touch of each to give the crust a light lift and tender crumb.
- Salt: A crucial flavor enhancer, balancing the sweetness and intensifying the spices.
- Warm Spices: A generous pinch of ground cinnamon and a whisper of ground cloves infuse the crust with that quintessential fall aroma and taste. For an even richer spice profile, consider adding a dash of nutmeg or ginger.
Now, for the heart of these bars – the creamy, spiced pumpkin filling:
- Pumpkin Puree: This is the star of the show. Ensure you’re using pure pumpkin puree, not pumpkin pie filling, unless the recipe specifies it (and if so, adjust other spices and sugars accordingly, as pumpkin pie filling is pre-sweetened and spiced). Opt for a high-quality brand for the best flavor and texture.
- Large Egg: Acts as a binder, giving the filling its smooth, custard-like consistency and helping it set beautifully.
- Pure Vanilla Extract: A splash of vanilla elevates all the other flavors, adding a comforting aromatic note. Don’t skip this!
- Additional Spices (for filling): While pumpkin puree often comes with some natural sweetness, adding a bit more ground cinnamon, nutmeg, and a pinch of ginger and allspice will deepen the fall character of your filling. Adjust to your personal preference for spice intensity.
Choosing high-quality ingredients truly makes a difference in the final taste and experience. If you’re exploring dietary alternatives, feel free to substitute with options like almond flour for a gluten-free crust, or vegan butter and egg substitutes to make these bars vegan-friendly. The beauty of baking is its flexibility; let’s create a dessert that brings joy to every palate and celebrates the warmth of autumn.
Preparing Your Baking Pan: The Foundation for Flawless Bars
Often overlooked, properly prepping your baking pan is a foundational step that can make or break your baking experience, especially when it comes to delicate desserts like these easy pumpkin pie bars. For optimal results, I strongly recommend a 13-inch x 9-inch baking dish. This size is ideal for achieving the perfect crust-to-filling ratio, ensuring that each bar is uniformly thick and cooks evenly. A glass or light-colored metal pan works best for even heat distribution, preventing the edges from over-browning before the center is cooked through.
The true game-changer, however, is parchment paper. Don’t just grease and flour; line your pan generously with parchment paper, leaving an overhang on two opposite sides. This simple technique transforms the cleanup process and makes serving incredibly easy. After your bars have cooled, you can effortlessly lift the entire slab out of the pan using the parchment paper handles. This not only allows for clean, precise slicing but also means virtually no sticky residue left in your pan, saving you precious time and effort. A quick spray of baking spray or a smear of butter on the bottom of the pan before laying the parchment down can help it adhere, preventing it from shifting as you press in the crust. This meticulous preparation ensures your delicious fall treat emerges beautifully, ready to be enjoyed.
Crafting the Buttery Shortbread Crust: The Irresistible Base
The foundation of our easy pumpkin pie bars is a simple yet incredibly satisfying shortbread crust, which doubles as a delightful crumble topping. This crust provides the perfect contrast to the creamy pumpkin filling, offering a tender, buttery crunch in every bite. Begin by combining your dry ingredients in a spacious mixing bowl: the all-purpose flour, light brown sugar, baking soda, baking powder, salt, ground cinnamon, and ground cloves. Give them a good whisk to ensure all the spices and leavening agents are evenly distributed. This initial step is vital for a uniformly flavored crust.
Next, the magic happens with the melted unsalted butter. Pour the cooled melted butter over the dry mixture. Using your fingertips or a fork, gently work the butter into the flour mixture until a crumbly dough forms. The texture should resemble coarse sand with some pea-sized crumbs. It’s important not to overmix, as this can develop the gluten too much, leading to a tough crust. The goal is a light, tender crumb. Once you’ve achieved this ideal consistency, reserve about ¾ cup of this glorious crumble mixture for the topping later. This reserved portion will create a wonderful textural element and visual appeal on top of our finished bars.
Press the remaining dough firmly and evenly into the bottom of your prepared 13×9-inch baking pan. Ensure it forms a compact, uniform layer from edge to edge. A flat-bottomed measuring cup or the palm of your hand can help you achieve this. This even layer is crucial for consistent baking and ensures that every piece of your pumpkin pie bars will have that perfect buttery shortbread base. As your oven preheats and the aroma of butter and spices begins to fill your kitchen, you’ll know you’re well on your way to a truly special fall dessert.
Mixing the Silky Pumpkin Filling: The Heart of the Bars
With our crust patiently waiting, it’s time to bring the star of the show to life: the rich, creamy pumpkin filling. This layer is what truly transforms these bars into a quintessential fall dessert, delivering that classic pumpkin pie flavor we all adore. Grab a large mixing bowl; this is where the luscious transformation will occur. Start by adding 1 ½ cups of pure pumpkin puree. Make sure it’s 100% pumpkin, not pumpkin pie filling, unless you’re confident about adjusting for its pre-added sugars and spices. Pure pumpkin allows you full control over the flavor profile.
Crack in one large egg, which acts as a crucial binder, helping the filling set beautifully and contributing to its silky-smooth texture. Then, add ½ teaspoon of pure vanilla extract – a simple addition that enhances the overall depth and warmth of the pumpkin and spices. To further elevate the fall essence, consider adding a balanced blend of traditional pumpkin pie spices: an additional ½ teaspoon of ground cinnamon, ¼ teaspoon of ground nutmeg, a pinch of ground ginger, and a tiny dash of allspice. Adjust these according to your preferred spice level, always tasting (before adding the egg, of course!) and adjusting as needed.
With a whisk or a rubber spatula, gently combine all these ingredients until they are thoroughly mixed and smooth. Pay attention to any lumps of pumpkin puree and break them down, ensuring a homogeneous mixture. The goal is a velvety, uniform consistency that promises a dreamy, melt-in-your-mouth experience with every bite. Taking your time during this mixing stage is key to achieving that perfectly creamy, spiced pumpkin layer that distinguishes truly exceptional pumpkin pie bars.
Assembling the Bars: Layering Fall Flavors
With your fragrant, buttery shortbread crust pressed firmly into the pan and your silky pumpkin filling perfectly mixed, we’ve reached one of the most satisfying stages: assembling these delightful pumpkin pie bars. This is where all your preparations come together to create a harmonious dessert that’s as beautiful to behold as it is delicious to eat.
Carefully pour the creamy pumpkin filling over the prepared crust in your baking pan. Use the back of a spoon or a flexible spatula to gently spread the filling into an even layer, ensuring it reaches all the way to the edges of the crust. The aim here is a smooth, uniform surface, which will ensure consistent baking and a picture-perfect presentation once sliced. The vibrant orange hue of the pumpkin against the golden-brown crust is already a feast for the eyes, promising the warmth of autumn in every spoonful.
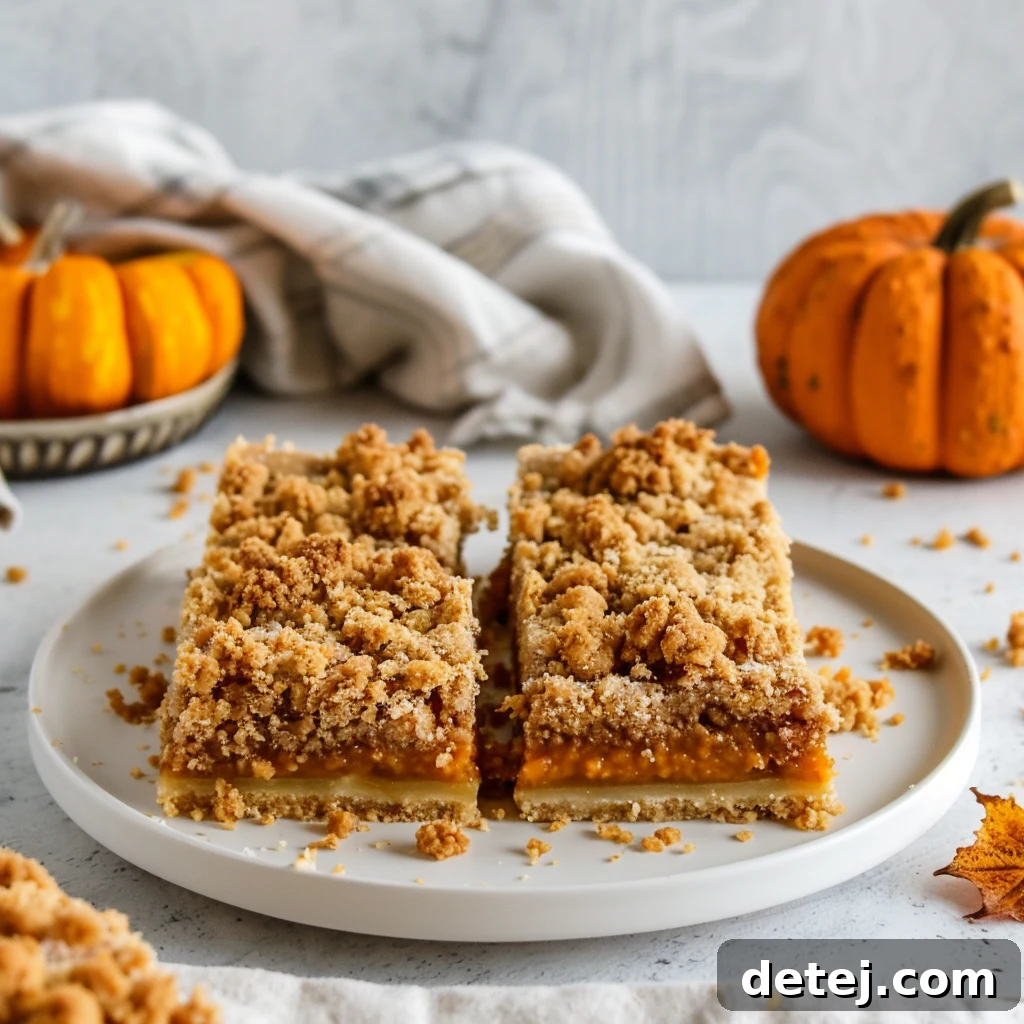
But we’re not quite finished yet! Remember that ¾ cup of crumbly shortbread mixture you wisely set aside earlier? Now is its time to shine. Take this reserved crumble and sprinkle it generously and evenly over the top of the pumpkin filling. This isn’t just for show; this crumbly topping will bake into a wonderfully crisp, golden-brown layer, adding an essential textural contrast to the smooth filling beneath. It introduces another dimension of flavor and provides that extra hint of buttery goodness that makes these bars so irresistible.
Once everything is layered to perfection, take a moment to admire your handiwork. Each component plays a vital role, and their thoughtful assembly contributes to the overall success of the dessert. Ensuring an even spread of both filling and topping is crucial for uniform baking and makes every bite a balanced symphony of flavor and texture. With the assembly complete, these easy pumpkin pie bars are now poised to enter the oven, ready to emerge as a truly spectacular fall treat.
Baking to Perfection: Achieving Golden-Brown Delight
The final step before indulging in your magnificent creation is baking, and achieving perfection in this stage is all about precision and a watchful eye. First, ensure your oven is accurately preheated to 375°F (190°C). An oven that is at the correct temperature from the start is crucial for proper crust setting and even cooking of the pumpkin filling. Uneven temperatures can lead to a raw center or an overcooked crust, so take a moment to verify your oven’s accuracy, perhaps with an oven thermometer if you suspect it runs hot or cold.
Carefully place your assembled baking dish onto the center rack of the preheated oven. Baking on the center rack ensures optimal heat circulation around the pan, promoting even cooking and browning. Now, the waiting game begins, but it’s a short one. These delightful pumpkin pie bars typically require 28 to 32 minutes of baking time. However, every oven is unique, so it’s wise to begin checking on your bars around the 25-minute mark. You want to avoid overbaking, which can lead to a dry filling and a hard crust.
So, how do you know when your easy pumpkin pie bars are perfectly done? The tell-tale sign is the topping: it should transform into a beautiful, appealing golden brown. This golden hue indicates that the crumbly shortbread has baked to a crisp, buttery perfection, offering a delightful textural counterpoint to the creamy filling. Additionally, you can gently jiggle the pan; the center of the pumpkin filling should be mostly set with only a slight wobble. If it’s too liquid, give it a few more minutes. Once you see that gorgeous golden-brown topping and feel a firm set, it’s time to carefully remove them from the oven.
Resist the urge to cut into them immediately! Allowing the pumpkin pie bars to cool completely in the pan is paramount. As they cool, the filling will continue to set and firm up, making them much easier to slice cleanly. Patience truly is a virtue here, leading to perfectly structured, irresistible bars. Once cooled, you can lift them out of the pan using the parchment paper overhang and slice them into neat squares, ready to be served and savored.
Serving and Storage: Enjoying Your Fall Pumpkin Bars
Once your kitchen is filled with the enchanting aroma of warm spices and your easy pumpkin pie bars have cooled to perfection, it’s time for the best part: serving and savoring them. These bars are a versatile dessert, equally at home as a casual snack or a star attraction at a festive fall gathering.
For an elevated presentation and an extra touch of indulgence, consider serving each bar with a generous dollop of freshly whipped cream. The light, airy cream provides a beautiful contrast to the rich, dense pumpkin filling. A sprinkle of additional pumpkin pie spice or a dusting of ground cinnamon on top of the whipped cream adds visual appeal and reinforces those delightful fall flavors. For those with a sweet tooth, a drizzle of caramel sauce or a scoop of vanilla bean ice cream can take these bars to an entirely new level of deliciousness, turning them into a truly decadent dessert experience.
When it comes to keeping your delectable squares fresh, proper storage is key. If you have any leftovers (a rare occurrence with these!), transfer them to an airtight container. This prevents them from drying out and helps maintain their wonderful texture and flavor. For those who prefer their pumpkin desserts chilled, storing the bars in the refrigerator is an excellent option. The cool temperature can sometimes even enhance the creaminess of the filling and firm up the crust slightly, making them a refreshing treat. If you prefer them closer to room temperature, they will keep well on the countertop for a day or two, provided they are securely wrapped in plastic wrap or kept in an airtight container to protect them from air exposure.
No matter how you choose to serve or store them, these easy pumpkin pie bars are designed to be enjoyed and shared. They’re a testament to the simple joys of fall baking, providing comfort and sweetness long after the last leaf has fallen.
A Sweet Ending to Your Fall Feast: The Enduring Charm of Pumpkin Pie Bars
As the days grow shorter and the air crisp, there’s a unique comfort in the ritual of fall baking. And among all the seasonal delights, these easy pumpkin pie bars stand out as a true embodiment of autumn’s charm. Pulling a tray of these golden-brown beauties from the oven, filling your home with the intoxicating scent of cinnamon, cloves, and sweet pumpkin, is more than just making a dessert – it’s creating a moment, a memory, a warm slice of home on a cool day.
These bars perfectly encapsulate all the best elements of a classic pumpkin pie, yet they offer an inviting twist that makes them wonderfully accessible and endlessly appealing. The harmonious marriage of a tender, buttery shortbread crust with a silky, warmly spiced pumpkin puree filling is simply irresistible. Each bite delivers a comforting blend of textures and tastes, reminding you why fall is arguably the most delicious season of all. The subtle sweetness, combined with the earthy notes of pumpkin and the vibrant kick of spices, creates a truly balanced and satisfying treat that caters to all palates.
Beyond their deliciousness, these pumpkin pie bars possess an inherent ability to bring people together. Whether arranged elegantly on a platter for a festive family gathering, carefully packed as thoughtful gifts for neighbors and friends, or simply enjoyed with a mug of hot cider by the fireplace, they spark joy and facilitate those precious moments of connection we cherish. They are a conversation starter, a comforting presence, and a sweet gesture all rolled into one.
So, I warmly invite you to embrace the spirit of the season with this recipe. Take the ingredients, follow the steps, and bake a batch of these easy pumpkin pie bars. Share them generously, savor them slowly, and allow them to weave their way into your own fall traditions. Who knows? This simple recipe might just become a beloved staple in your home, creating new, sweet memories for you and your loved ones to look back on for years to come. Happy baking, and happy fall!
Easy Pumpkin Pie Bars
Servings: 9
Prep Time: 10 mins
Cook Time: 28-32 mins
Total Time: Approx. 38-42 mins
Author: Krystel
Ingredients
Crust and Topping:
- 1 ½ cup all-purpose flour
- ½ cup unsalted butter, melted
- ½ cup light brown sugar
- ½ teaspoon ground cinnamon
- ½ teaspoon baking powder
- ½ teaspoon baking soda
- ¼ teaspoon ground cloves
- ¼ teaspoon salt (not explicitly listed in ingredients section but mentioned in instructions, important for balance)
For the Filling:
- 1 ½ cups pumpkin puree (not “pumpkin pie filling” as original text implies but consistency with article content suggests puree)
- 1 large egg
- ½ teaspoon pure vanilla extract
- ½ teaspoon ground cinnamon (additional for filling)
- ¼ teaspoon ground nutmeg (optional, for enhanced flavor)
- Pinch of ground ginger (optional, for enhanced flavor)
Instructions
- Preheat your oven to 375°F (190°C). Grease the bottom and sides of a 13×9-inch baking pan and line it with parchment paper, leaving an overhang on the longer sides for easy removal. Set aside. Allow your ½ cup of melted unsalted butter to cool to room temperature.
- In a medium mixing bowl, combine 1 ½ cups of all-purpose flour, ½ cup of light brown sugar, ½ teaspoon each of baking soda and baking powder, 1 teaspoon of ground cinnamon (combining crust spices), ¼ teaspoon of ground cloves, and ¼ teaspoon of salt. Add the cooled melted butter and mix until a crumbly dough forms, resembling coarse crumbs.
- Reserve about ¾ cup of this crumbly mixture for the topping. Press the remaining dough evenly and firmly into the bottom of the prepared pan to form the crust.
- In a large mixing bowl, combine 1 ½ cups of pumpkin puree, 1 large egg, and ½ teaspoon of pure vanilla extract. Add an additional ½ teaspoon of ground cinnamon (and optional nutmeg/ginger if using) and mix thoroughly until the mixture is smooth and well-combined.
- Pour the pumpkin filling mixture evenly over the pressed crust in the pan. Sprinkle the reserved ¾ cup of crumbly mixture over the top of the pumpkin filling.
- Bake for 28 to 32 minutes, or until the crumb topping is golden brown and the pumpkin filling is set with only a slight wobble in the center.
- Remove from the oven and let it cool completely in the pan on a wire rack before lifting out with the parchment paper and cutting into squares.