
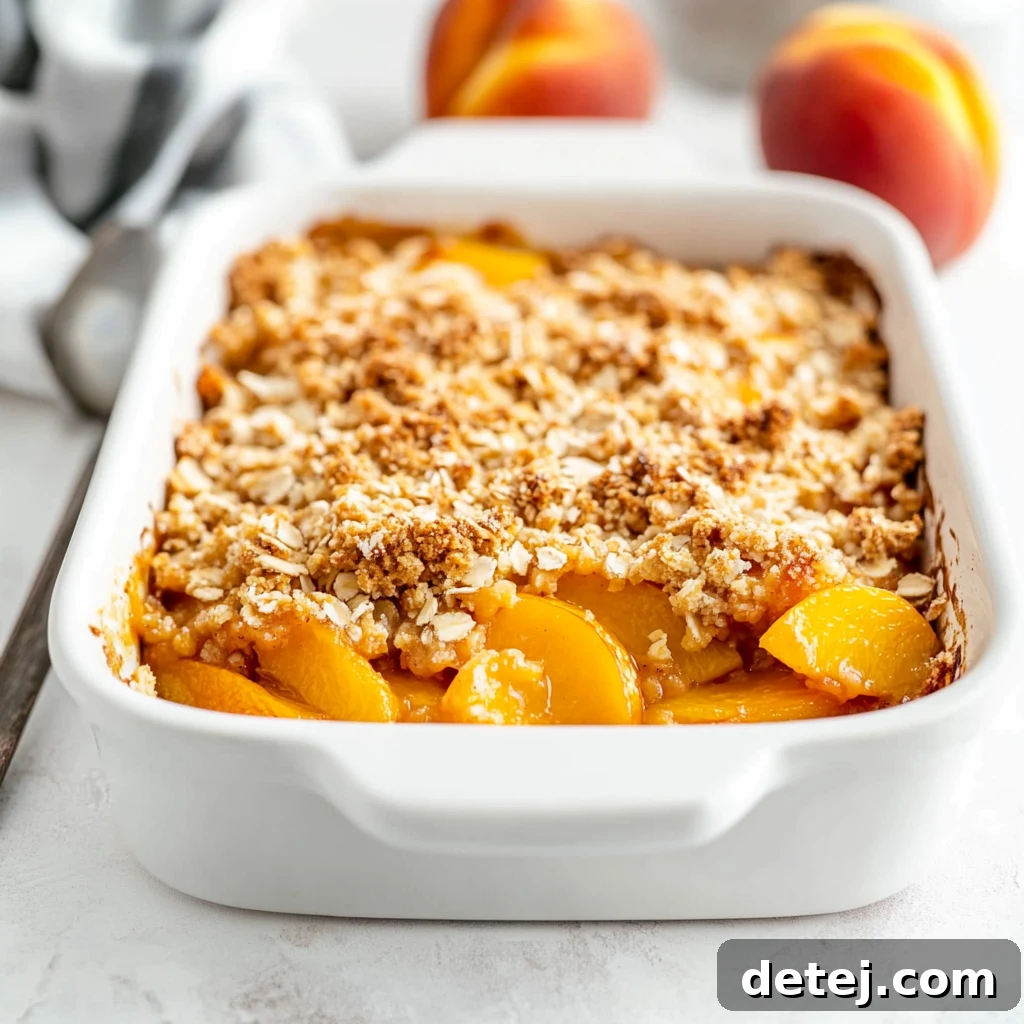
Effortless Sweetness: Your Guide to a Perfect Easy Canned Peach Crisp
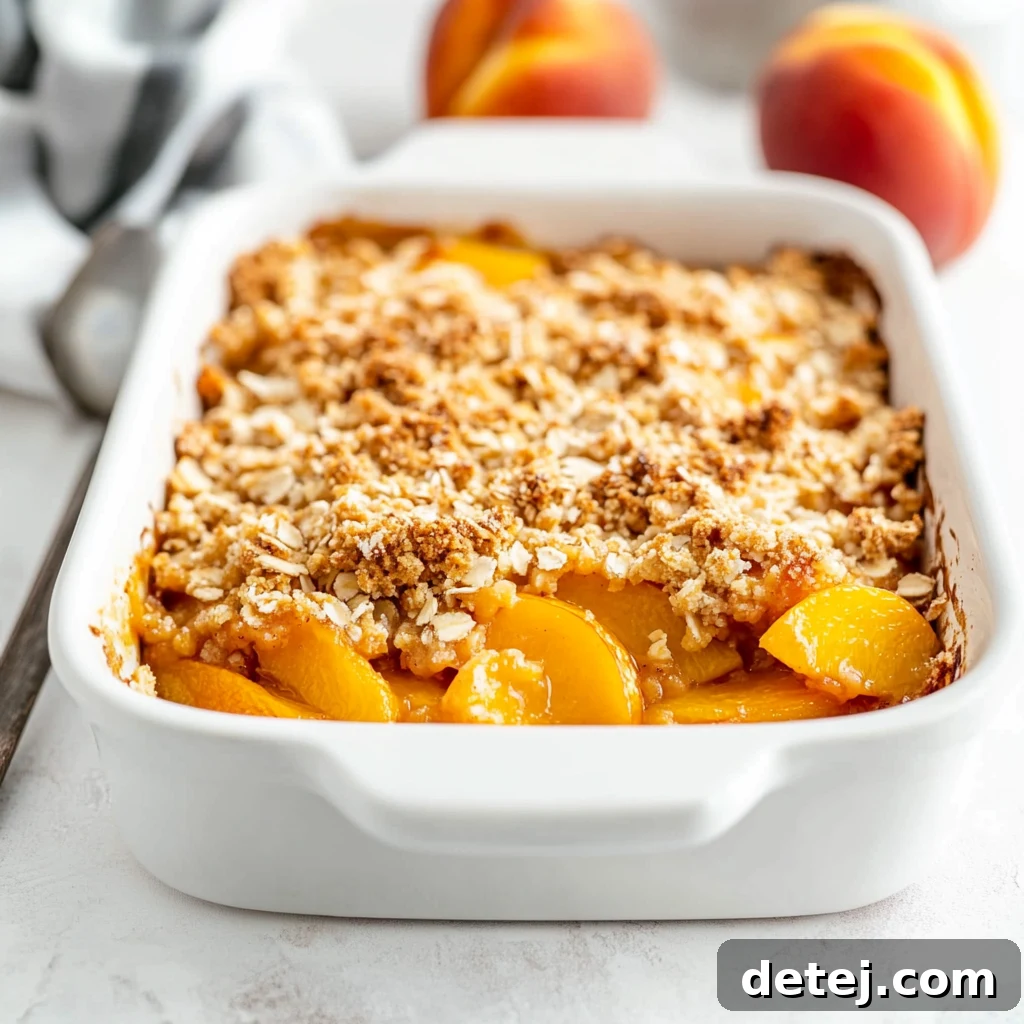
Welcome, fellow dessert enthusiasts! Today, we’re embarking on a journey to create something truly special yet incredibly simple: an easy canned peach crisp. This delightful dessert is a testament to the fact that you don’t need fancy ingredients or complex techniques to achieve pure culinary bliss. Whether you’re craving the warmth of a homemade treat on a chilly evening or a light, fruity indulgence for a summer gathering, this peach crisp hits all the right notes. Its charm lies in its accessibility and speed, making it a go-to recipe for any occasion. Imagine tender, juicy peaches bathed in a subtly spiced syrup, crowned with a golden-brown, buttery, and irresistibly crunchy oat topping. It’s a harmonious blend of textures and flavors that promises to captivate your taste buds with every spoonful. So, let’s gather our simple ingredients and dive into making this timeless classic that embodies comfort and joy.
Key Highlights of This Recipe:
- Effortlessly Delicious: This canned peach crisp is a simple yet incredibly flavorful dessert, perfect for satisfying sweet cravings without a fuss.
- Year-Round Enjoyment: Utilizing readily available canned peaches ensures this delightful treat can be whipped up and savored no matter the season.
- Quick Preparation: Designed for speed and ease, it’s an ideal solution for last-minute dessert ideas or when you’re short on time.
- Customizable Comfort: Easily adaptable with various spices or topping additions, allowing you to personalize it to your taste.
The Unrivaled Convenience of Canned Peaches
When it comes to crafting a genuinely easy peach crisp, canned peaches are truly a game-changer. They are the secret weapon for bringing the vibrant taste of summer into your kitchen, any time of year, without the seasonal limitations or the tedious prep work. Forget about peeling, pitting, and slicing fresh peaches; canned varieties come perfectly prepared, ready to be transformed into a delectable dessert in minutes.
One of the most significant advantages of using canned peaches is their remarkable consistency in taste and texture. Each can delivers uniformly ripe, sweet, and tender peach slices, ensuring that every bite of your easy peach crisp is as consistently delicious as the last. This reliability is something fresh produce, which can vary greatly in ripeness and sweetness, often can’t guarantee. Furthermore, canned peaches are incredibly budget-friendly, making them an economical choice that allows you to keep your pantry stocked for a quick dessert whenever the inspiration strikes.
But here’s a little secret that truly elevates this dessert: the natural juice from canned peaches. This flavorful liquid isn’t just for draining; it’s a hidden gem that adds an extra layer of authentic peachy goodness to the filling. By reserving and incorporating some of this peach juice, you infuse the crisp with a depth of flavor that fresh or even frozen peaches often lack without additional sweeteners or liquids. This simple twist not only makes for a truly simple peach crisp but also enhances its complexity, turning everyday simple ingredients into an extraordinary peach dessert that’s both comforting and incredibly satisfying. It’s a testament to how practical pantry staples can create culinary magic.
Essential Ingredients for Your Perfect Peach Crisp
Just as every memorable story begins with compelling characters, every delicious dessert starts with carefully selected ingredients. For our easy canned peach crisp, we rely on a collection of simple, accessible items that likely already reside in your kitchen. This minimalist approach ensures that the natural sweetness of the peaches and the comforting crunch of the topping shine through. Let’s explore what you’ll need to gather to create this delightful treat.
For the Luscious Peach Filling:
- Canned Peaches: The star of our show! Opt for large cans of peaches, preferably in light syrup or even heavy syrup if you prefer a sweeter base. The convenience of canned peaches means no peeling or pitting, making this dessert truly effortless. Remember to reserve a portion of the peach juice—it’s essential for enhancing the flavor and moisture of your filling.
- Warm Spices: A touch of ground cinnamon and nutmeg adds a cozy, aromatic depth that complements the peaches beautifully. These spices evoke a sense of warmth and can instantly elevate the fruit’s natural sweetness.
- Pinch of Salt: A small amount of salt is crucial for balancing the sweetness and enhancing all the other flavors, preventing the crisp from tasting one-dimensional.
- Vanilla Extract: Just a teaspoon of vanilla extract introduces a rich, creamy undertone that harmonizes perfectly with the peaches and spices, rounding out the flavor profile.
For the Irresistibly Crunchy Crisp Topping:
- All-Purpose Flour: The foundation of our crisp, providing structure and contributing to that desirable golden-brown crust.
- Rolled Oats: Whether you choose quick oats for a finer texture or old-fashioned oats for a heartier, chewier crumble, oats are indispensable for that classic crisp character. They add nutty flavor and a satisfying chew.
- Brown Sugar: Dark or light brown sugar brings a deep, molasses-like sweetness and moisture to the topping, creating a richer flavor profile than white sugar alone.
- Cold Unsalted Butter: This is the secret weapon for an unbelievably flaky and crisp topping. Cold butter, cut into cubes, is essential for achieving the perfect crumbly texture that melts beautifully as it bakes.
- Ground Cinnamon (optional): An additional hint of cinnamon in the topping can tie the flavors of the filling and crisp together seamlessly, enhancing the overall aromatic experience.
Tips for Success: When measuring your dry ingredients like flour and sugar, a simple trick for best results is to use the back of a flat knife or a straight edge to level off the measuring cups. This prevents over-measuring, which can make your topping too dense or dry. And for those feeling a little adventurous, consider stirring in a handful of chopped pecans or walnuts into your crisp topping for an added layer of crunch and nutty flavor. These small adjustments can truly personalize your dessert, making the cooking process all the more enjoyable and yielding a result that’s uniquely yours.
Preparing Your Baking Dish for Perfection
The success of a perfectly baked easy canned peach crisp begins even before the ingredients come together: with the proper preparation of your baking dish. This seemingly minor step is, in fact, a crucial detail that ensures your crisp achieves that coveted golden-brown, bubbly perfection without any sticky surprises. Let’s delve into how to get your dish ready for its sweet cargo.
First and foremost, greasing your baking dish is non-negotiable. This creates a non-stick barrier, preventing the sweet, bubbling peach filling and the buttery crisp topping from adhering to the sides and bottom. You have a couple of excellent options for this: a light coating of unsalted butter, which imparts a subtle richness, or a trusty nonstick cooking spray for maximum convenience. Whichever you choose, ensure every nook and cranny of the dish’s interior is thoroughly covered. This meticulous step guarantees an effortless serving experience and simplifies cleanup.
When selecting your baking vessel, you have choices that can influence both the baking process and presentation. If ease of cleanup is your top priority, especially when preparing this dessert for a potluck or picnic, disposable aluminum foil pans are your new best friend. They offer the ultimate convenience, allowing you to simply discard them after use. However, for a more elegant presentation at home or a special occasion, a beautiful glass dish or ceramic bakeware elevates the entire experience. Glass dishes also allow you to visually monitor the bubbling edges of the peach filling, giving you a clear indication of when your crisp is perfectly baked.
Consider the depth of your baking dish as well. A shallower dish will result in a crisp with a higher topping-to-filling ratio and a quicker baking time. Conversely, a deeper dish, while accommodating more peach mixture, might require a few extra minutes in the oven to ensure that the center is thoroughly cooked and bubbly. Regardless of your choice, a standard 8×8 or 9×9-inch square baking dish or a similarly sized oval dish typically works best for most peach crisp recipes. Keep a keen eye on your crisp as it bakes; the ultimate goal is a beautiful, golden-brown crumble topping and a visibly bubbling fruit filling. This visual cue confirms it’s ready to be pulled from the oven, ready to be devoured, ideally served warm with a generous scoop of cold vanilla ice cream on top. Adjusting the cooking time based on your dish’s dimensions and your oven’s temperament makes all the difference for that perfect, irresistible bite.
Crafting the Irresistible Peach Filling
The heart of our easy canned peach crisp lies in its vibrant, juicy, and perfectly spiced peach filling. This section guides you through creating a filling that is both simple to prepare and bursting with peachy flavor. The beauty of using canned peaches truly shines here, streamlining the process while delivering consistent, delicious results.
- Drain the Canned Peaches, Reserving Juice: Begin by carefully draining your canned peaches. This step is crucial, but don’t discard all the liquid! Make sure to reserve about 1/4 cup of the peach juice. This reserved juice is a key component, as it will later enhance the flavor and moisture of the peach filling, making it irresistibly tasty and preventing it from becoming too dry during baking.
- Combine Peaches with Spices: Transfer the drained peach slices into a large mixing bowl. Now, it’s time to introduce the aromatic elements that will give our peaches warmth and depth. Sprinkle in half a teaspoon of ground cinnamon and a quarter teaspoon of ground nutmeg. Add a small pinch of salt—this seemingly minor addition is vital for balancing the sweetness and brightening all the flavors in the filling. Gently toss the peaches to ensure they are evenly coated with the spices.
- Add Vanilla Extract and Reserved Peach Juice: Pour in one teaspoon of vanilla extract, which adds a lovely, rich undertone that complements the peaches beautifully. Then, add the reserved 1/4 cup of peach juice to the bowl. Stir all the ingredients gently but thoroughly to combine. The vanilla enhances the natural sweetness of the peaches, while the reserved peach juice ensures the filling remains moist, syrupy, and incredibly flavorful as it bakes.
- Taste and Adjust: Before pouring the filling into your baking dish, take a small taste. This is your opportunity to personalize the flavor. Do you prefer a little more spice? Add another pinch of cinnamon or nutmeg. Want it slightly sweeter? A touch of brown sugar could be stirred in. Remember, this is your peach crisp, so adjust the spices and sweetness according to your personal preference. Once you’re happy with the flavor, your luscious peach filling is ready for the next step.
This simple yet effective method ensures your peach filling is perfectly seasoned and ready to create a wonderfully gooey and flavorful layer beneath the crisp topping.
Crafting the Perfect Golden Crisp Topping
The contrast between the soft, warm peach filling and a wonderfully crunchy topping is what makes a peach crisp truly divine. Creating this irresistible crisp topping is surprisingly straightforward, and with a few simple techniques, you’ll achieve that coveted golden-brown, buttery crumb every time. When I say making a crumble topping is as easy as pie, I truly mean it. It’s all about bringing together the right ingredients in the right way.
First off, gather your dry ingredients: the all-purpose flour and the rolled oats. For this recipe, quick oats work wonderfully, providing a slightly finer, more uniform crumble. If you prefer a heartier texture and more chew, old-fashioned oats are an excellent choice. Now, here’s a little trick that I’ve found makes all the difference: always use cold butter. Yes, you read that right! Take your unsalted butter straight from the refrigerator and cut it into small, perfect cubes. Why cold butter, you ask? Because it prevents the butter from fully integrating into the dry ingredients too quickly. As the crisp bakes, these tiny pockets of cold butter slowly melt, releasing steam and creating those delightful airy spaces that result in a truly flaky and crisp texture we all adore in a crumble.
- Combine Dry Ingredients and Butter: In a separate medium-sized bowl, whisk together your all-purpose flour, rolled oats, and brown sugar. If you choose to add an extra dash of ground cinnamon to the topping, incorporate it now. Once these dry ingredients are combined, add your cold, cubed unsalted butter to the mixture.
- Achieve the Perfect Crumbly Texture: Now, using a pastry cutter is highly recommended for this step, as it helps incorporate the butter without overworking the dough or melting the butter with the warmth of your hands. If you don’t have a pastry cutter, two knives or even your fingertips (working quickly!) can do the trick. Blend the ingredients until the mixture resembles chunky, sandy pebbles, with visible pea-sized pieces of butter still present. This is the ideal consistency for that desired crispiness. Don’t overmix; lumps of butter are your friends here.
- Spread Over Peaches: Once your perfect crisp topping is ready, generously sprinkle and spread this mixture evenly over the juicy peach mixture that’s patiently waiting in your prepared baking dish. Ensure the peaches are completely covered from edge to edge. This blanket of crumble will transform into a glorious golden brown and delicious crust during baking.
And that, my friends, is how you master the perfect crisp topping. The key takeaways are to keep your butter cold and work the mixture gently for the best, most satisfying crumble you’ve ever had. This topping is not just an adornment; it’s an integral part of the peach crisp experience, delivering texture, flavor, and a comforting aroma that fills your home.
Recommended Tools For This Recipe
Baking Dish Set
Buy Now →
Glass Measuring Cups Set
Buy Now →
Measuring Cups
Buy Now →
Mixing Bowl
Buy Now →
Pastry Cutter
Buy Now →
Baking Your Perfect Peach Crisp to Golden Perfection
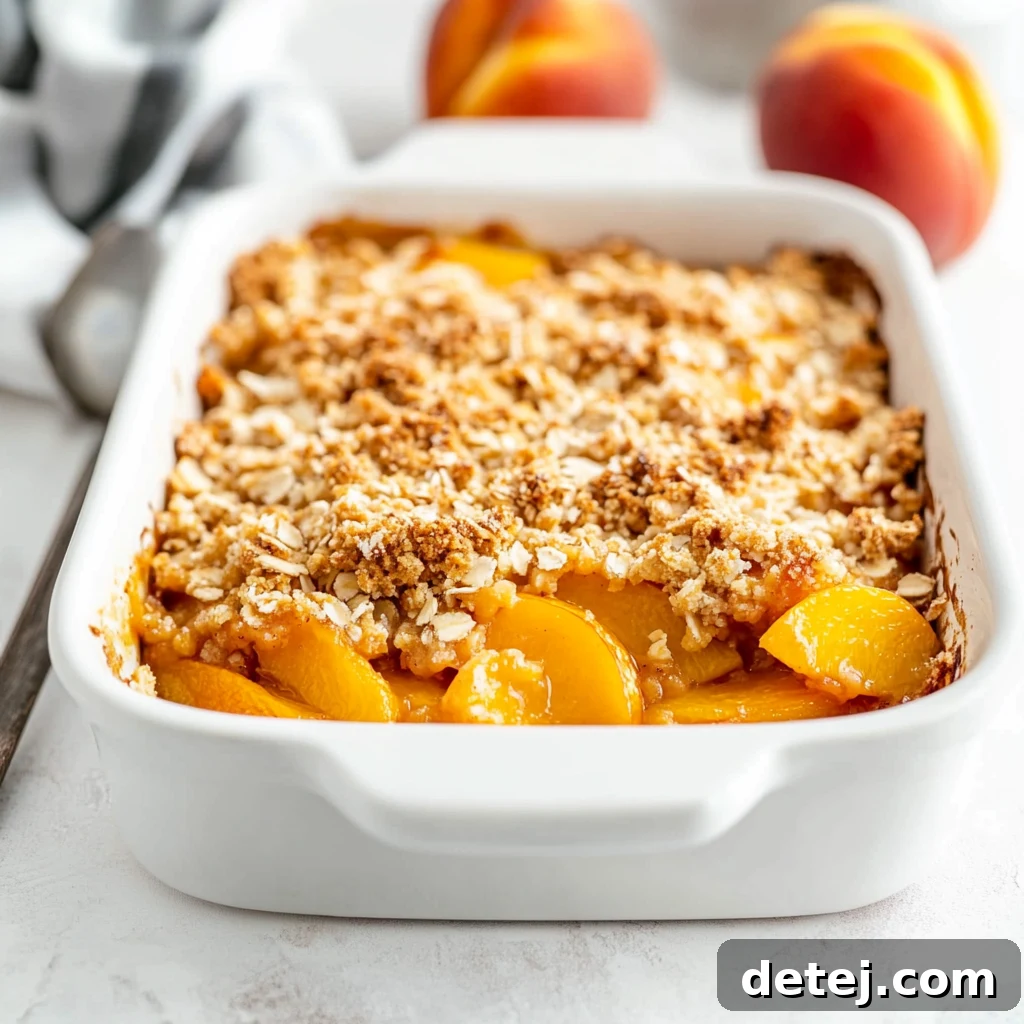
The moment of truth is upon us – it’s time to bake your easy canned peach crisp and watch it transform into a fragrant, bubbling masterpiece. This final step brings all your carefully prepared components together, culminating in a dessert that’s as delightful to behold as it is to taste. Achieving that perfect balance of a crunchy topping and a tender, warm fruit filling is simpler than you might think with a few key pointers.
First things first, preheat your oven to a steady 350°F (175°C). A consistently heated oven is vital for even baking and for the topping to achieve that beautiful golden hue. While your oven is coming to temperature, take your prepared baking dish, now generously filled with the spiced peach mixture, and lovingly blanket it with your crumbly crisp topping. Ensure the topping is spread evenly from edge to edge, completely covering the peaches. This protective layer is what will bake up into that irresistible, crunchy crust that complements the soft fruit below. Think of it as tucking your peaches into a cozy, delicious bed!
Once your oven is preheated and your crisp is assembled, carefully place the baking dish into the oven. The crucial baking time is typically between 30 to 35 minutes. However, here’s a little tip from my kitchen to yours: always trust your senses more than the clock. As your peach crisp approaches the 30-minute mark, keep a keen eye on it. We are aiming for that glorious golden-brown crust – a visual cue that signals the topping has achieved its optimal crispiness and flavor. This is the rewarding sight you’ve been working towards!
Another tell-tale sign of doneness, and arguably the best part, is observing the edges of the crisp. You’ll notice them beginning to bubble gently with that sweet peach juice. This bubbling indicates that the fruit filling beneath the topping is hot, tender, and perfectly cooked, melding all the delicious flavors together. When you see this bubbling activity, alongside the golden-brown topping, that’s your cue! It’s like the crisp itself is enthusiastically telling you, “I’m ready!” Trust me, learning to recognize these visual cues makes all the difference in achieving a flawlessly baked crisp every single time.
Once your easy peach crisp is baked to perfection, carefully remove it from the oven. The aroma filling your kitchen will be utterly intoxicating. Allow it to cool for a few minutes before serving to let the filling set slightly and prevent any scalding. This simple step ensures that every spoonful offers the perfect blend of warmth, sweetness, and satisfying crunch. So go on, make this delightful dessert your next kitchen adventure. It’s truly like bottling up a piece of summer, ready to be enjoyed no matter the time of year, offering comfort and joy in every delicious bite.
Serving Your Delightful Peach Crisp and Smart Storage Tips
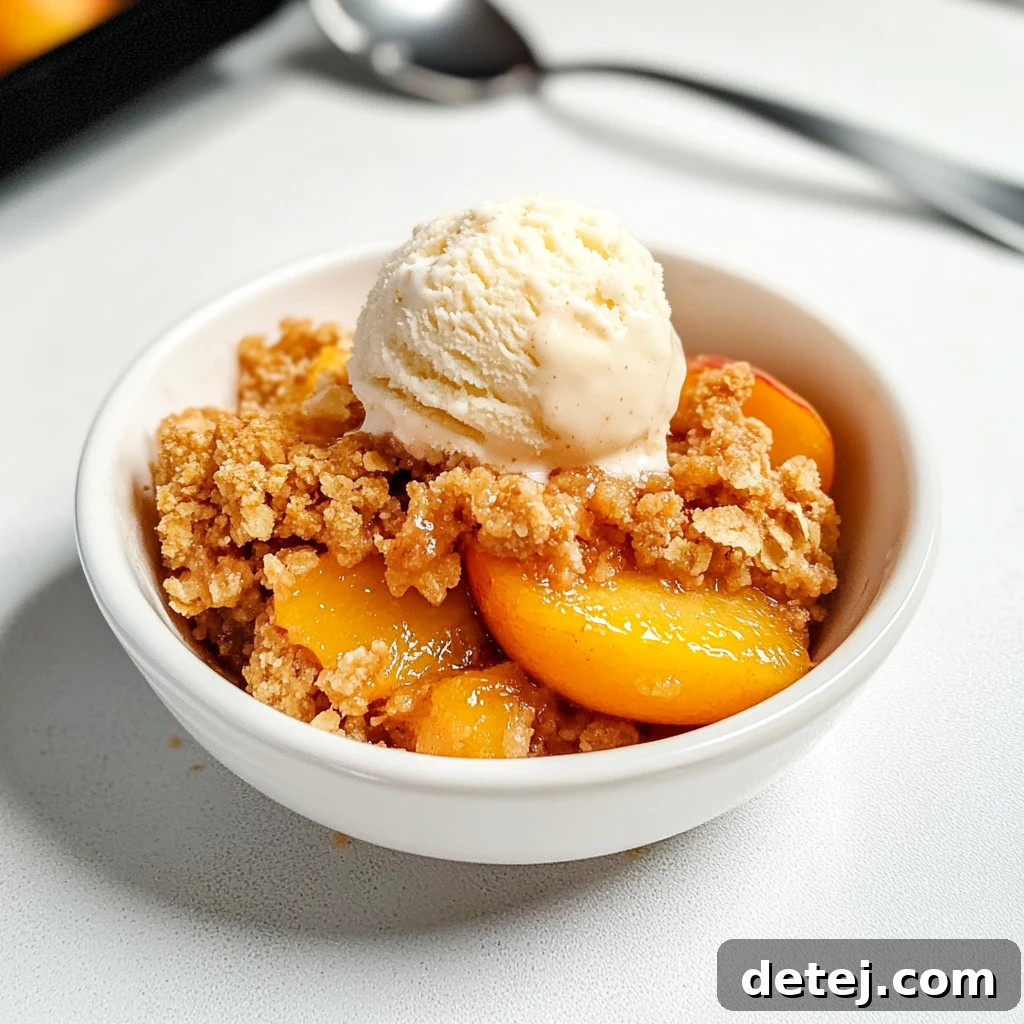
After the wonderful aromas have filled your kitchen and your easy canned peach crisp has baked to that perfect golden brown, the most anticipated moment arrives: serving and savoring this magnificent dessert. There’s truly nothing quite like scooping out a generous portion of the warm, bubbling peach crisp, with its tender fruit and crunchy topping, and topping it with a lavish scoop of cold vanilla ice cream. The delightful contrast between the warm fruit and the melting, creamy ice cream creates a melt-in-your-mouth experience that is simply unparalleled, bringing out the sweet peach and crisp topping flavors in perfect harmony. The vanilla ice cream slowly cascades into the warm fruit, creating a luscious sauce that elevates every bite.
While the goal is often to devour the entire crisp in one sitting, I understand that sometimes we have delicious leftovers. And fear not, this peach crisp stores beautifully, allowing you to extend its enjoyment. To properly store any remaining crisp, first ensure it has cooled completely to room temperature. Then, securely wrap your baking dish tightly with either plastic wrap or aluminum foil. This airtight seal is crucial for maintaining freshness and preventing the crisp from drying out. Once wrapped, pop it into the refrigerator, where it will keep wonderfully for up to 3 days. This makes it an excellent make-ahead dessert for entertaining or a delightful treat to enjoy throughout the week.
When you’re ready for round two, reheating this peach crisp is a breeze, bringing it back to its glorious, warm, and comforting state. For a quick individual serving, a brief zap in the microwave can revive it, though the topping might lose some of its crispness. However, for the best results and to restore that irresistible crunchy topping, I highly recommend reheating it in the oven. Simply place the desired portion (or the entire dish) in a preheated oven at 300°F (150°C) for about 10-15 minutes, or until it’s warmed through and the topping has regained its crisp texture. This method ensures that every subsequent serving is as close to freshly baked as possible, making it a fabulous last-minute dessert option anytime the craving strikes. Trust me, the joy of a warm, re-crisped peach crisp, perhaps with another scoop of ice cream, is a simple pleasure that tastes like summer any day of the week, proving that deliciousness truly endures.
Discover the Endless Joy and Creativity of Easy Peach Desserts
As we wrap up our delightful journey through the creation of the easy canned peach crisp, I can’t help but feel a profound sense of satisfaction – and I hope you do too! This recipe isn’t just about mixing ingredients and baking; it’s a celebration of simplicity, a testament to how humble pantry staples can be transformed into a dessert that truly warms the soul. This Easy Canned Peach Crisp, my friends, transcends being merely a recipe; it’s an invitation, a blank canvas awaiting your culinary creativity and personal touch.
Imagine the endless possibilities that stem from this foundational crisp. While canned peaches are our go-to for convenience and year-round appeal, consider how effortlessly you could adapt this recipe. Perhaps in the fall, you might swap out some peaches for apples or pears, creating a delightful autumnal crisp. Or, for a tropical twist, pineapple chunks could make an unexpected, yet delicious, substitution. The crisp topping itself is ripe for innovation: think about adding a handful of shredded coconut for exotic flair, a sprinkle of ginger for a spicy kick, or even a different type of sugar, like turbinado, for an extra coarse crunch. A dash of lemon juice in the peach filling can brighten the flavors, offering a zesty counterpoint to the sweetness. These small tweaks not only keep the recipe fresh and exciting but also allow you to explore your inner chef and discover new flavor combinations.
And let’s not forget, sharing our culinary triumphs and experiments is one of the greatest joys of cooking and baking. I’m always eager to hear how you’ve made this peach crisp your own, how you’ve infused it with your unique personality and preferences. Did you experiment with different varieties of quick oats or old-fashioned oats? Did you sneak in a bit of almond extract alongside the vanilla, or perhaps a secret blend of your favorite spices? Every kitchen tale, every innovative addition, and every personal anecdote adds a rich layer of flavor to our collective love for homemade desserts. Please, don’t hesitate to share your favorite peach dessert tales, your innovative twists, or any questions you might have. Let’s continue to weave these sweet stories together, one delightful, easy peach crisp at a time. Because at the end of the day, isn’t it all about cherishing the warmth of a shared meal, the sweetness of a perfect dessert, and the genuine smiles that follow?
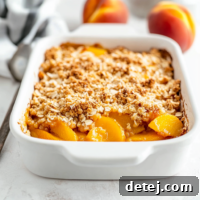
Easy Canned Peach Crisp
Pin
Rate
Ingredients
- Filling:
- 1 15 oz can of peaches in heavy syrup, drain but reserve 1/4 cup of liquid
- ½ teaspoon of cinnamon
- ¼ teaspoon of nutmeg
- Pinch of salt
- 1 teaspoon of vanilla extract
- Crumble Topping
- 1 cup all-purpose flour
- 1/2 cup rolled oats
- 3/4 cup brown sugar
- 1/2 teaspoon ground cinnamon
- 1/2 cup butter cold and cubed
Instructions
-
Preheat your oven to 350°F (175°C) and lightly grease a 9×9-inch baking dish.
-
In a large bowl, combine the canned peaches with 1/4 cup canned peach liquid, cinnamon, nutmeg, and vanilla extract, stirring until evenly coated. Pour the mixture, along with any juices, into the prepared baking dish.
-
In a separate bowl, whisk together the all-purpose flour, oats, brown sugar, and cinnamon. Add the cold, cubed butter and blend using a pastry cutter until the mixture forms a crumbly texture with small butter pieces throughout.
-
Evenly distribute the crumble topping over the peaches, ensuring full coverage.
-
Bake for 30-35 minutes, or until the topping turns golden brown and the peach filling starts to bubble. Serve warm.