
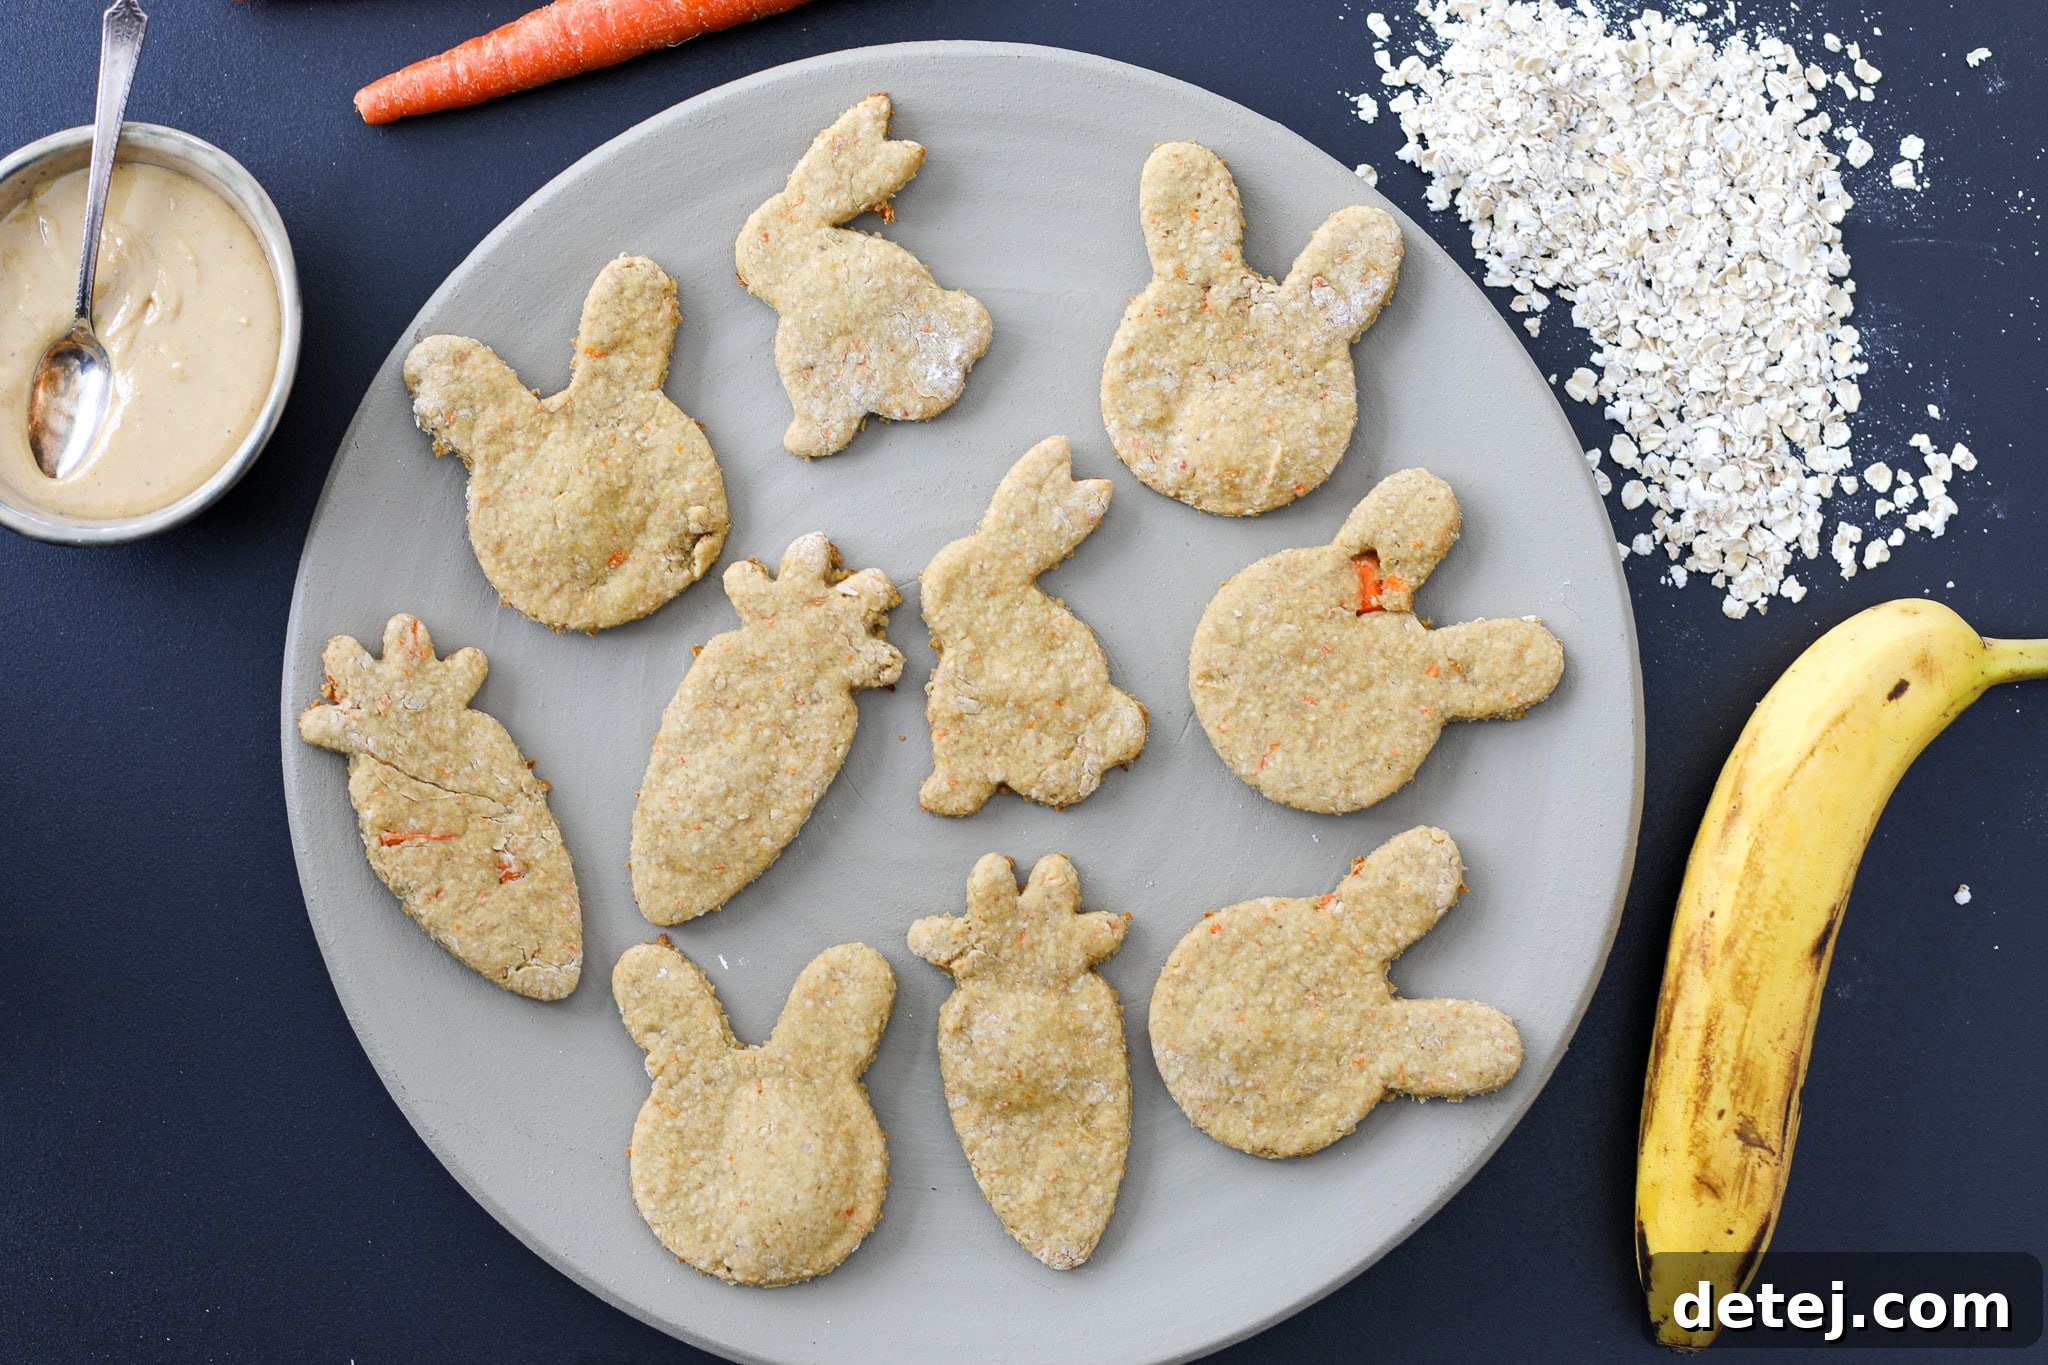
Welcome, fellow pet parents! In a world increasingly conscious of what we feed ourselves, it’s only natural that we extend that same care to our beloved canine companions. These Healthy Homemade Dog Treats are crafted with love and simplicity, using just four wholesome ingredients. They are the perfect way to show your pup some extra affection while ensuring they receive only the best, most nutritious goodness.
Gone are the days of deciphering lengthy ingredient lists on store-bought treats, often laden with artificial flavors, preservatives, and fillers that can be detrimental to your dog’s health. With this easy-to-follow recipe, you’ll feel completely confident and proud feeding your dog(s) these delightful homemade treats, knowing that every single ingredient is simple, clean, and beneficial. It’s not just a treat; it’s a gesture of profound care and love for your furry family member.
Beyond the health benefits, making your own dog treats is a rewarding experience that strengthens the bond between you and your pet. Imagine the joy on their face when they realize these delicious, custom-made snacks are just for them! Plus, it’s a fantastic way to manage any dietary sensitivities or allergies your dog might have, giving you complete control over what goes into their bowl. Whether you’re looking for an everyday reward, a training aid, or a special occasion indulgence, these treats hit all the right notes.
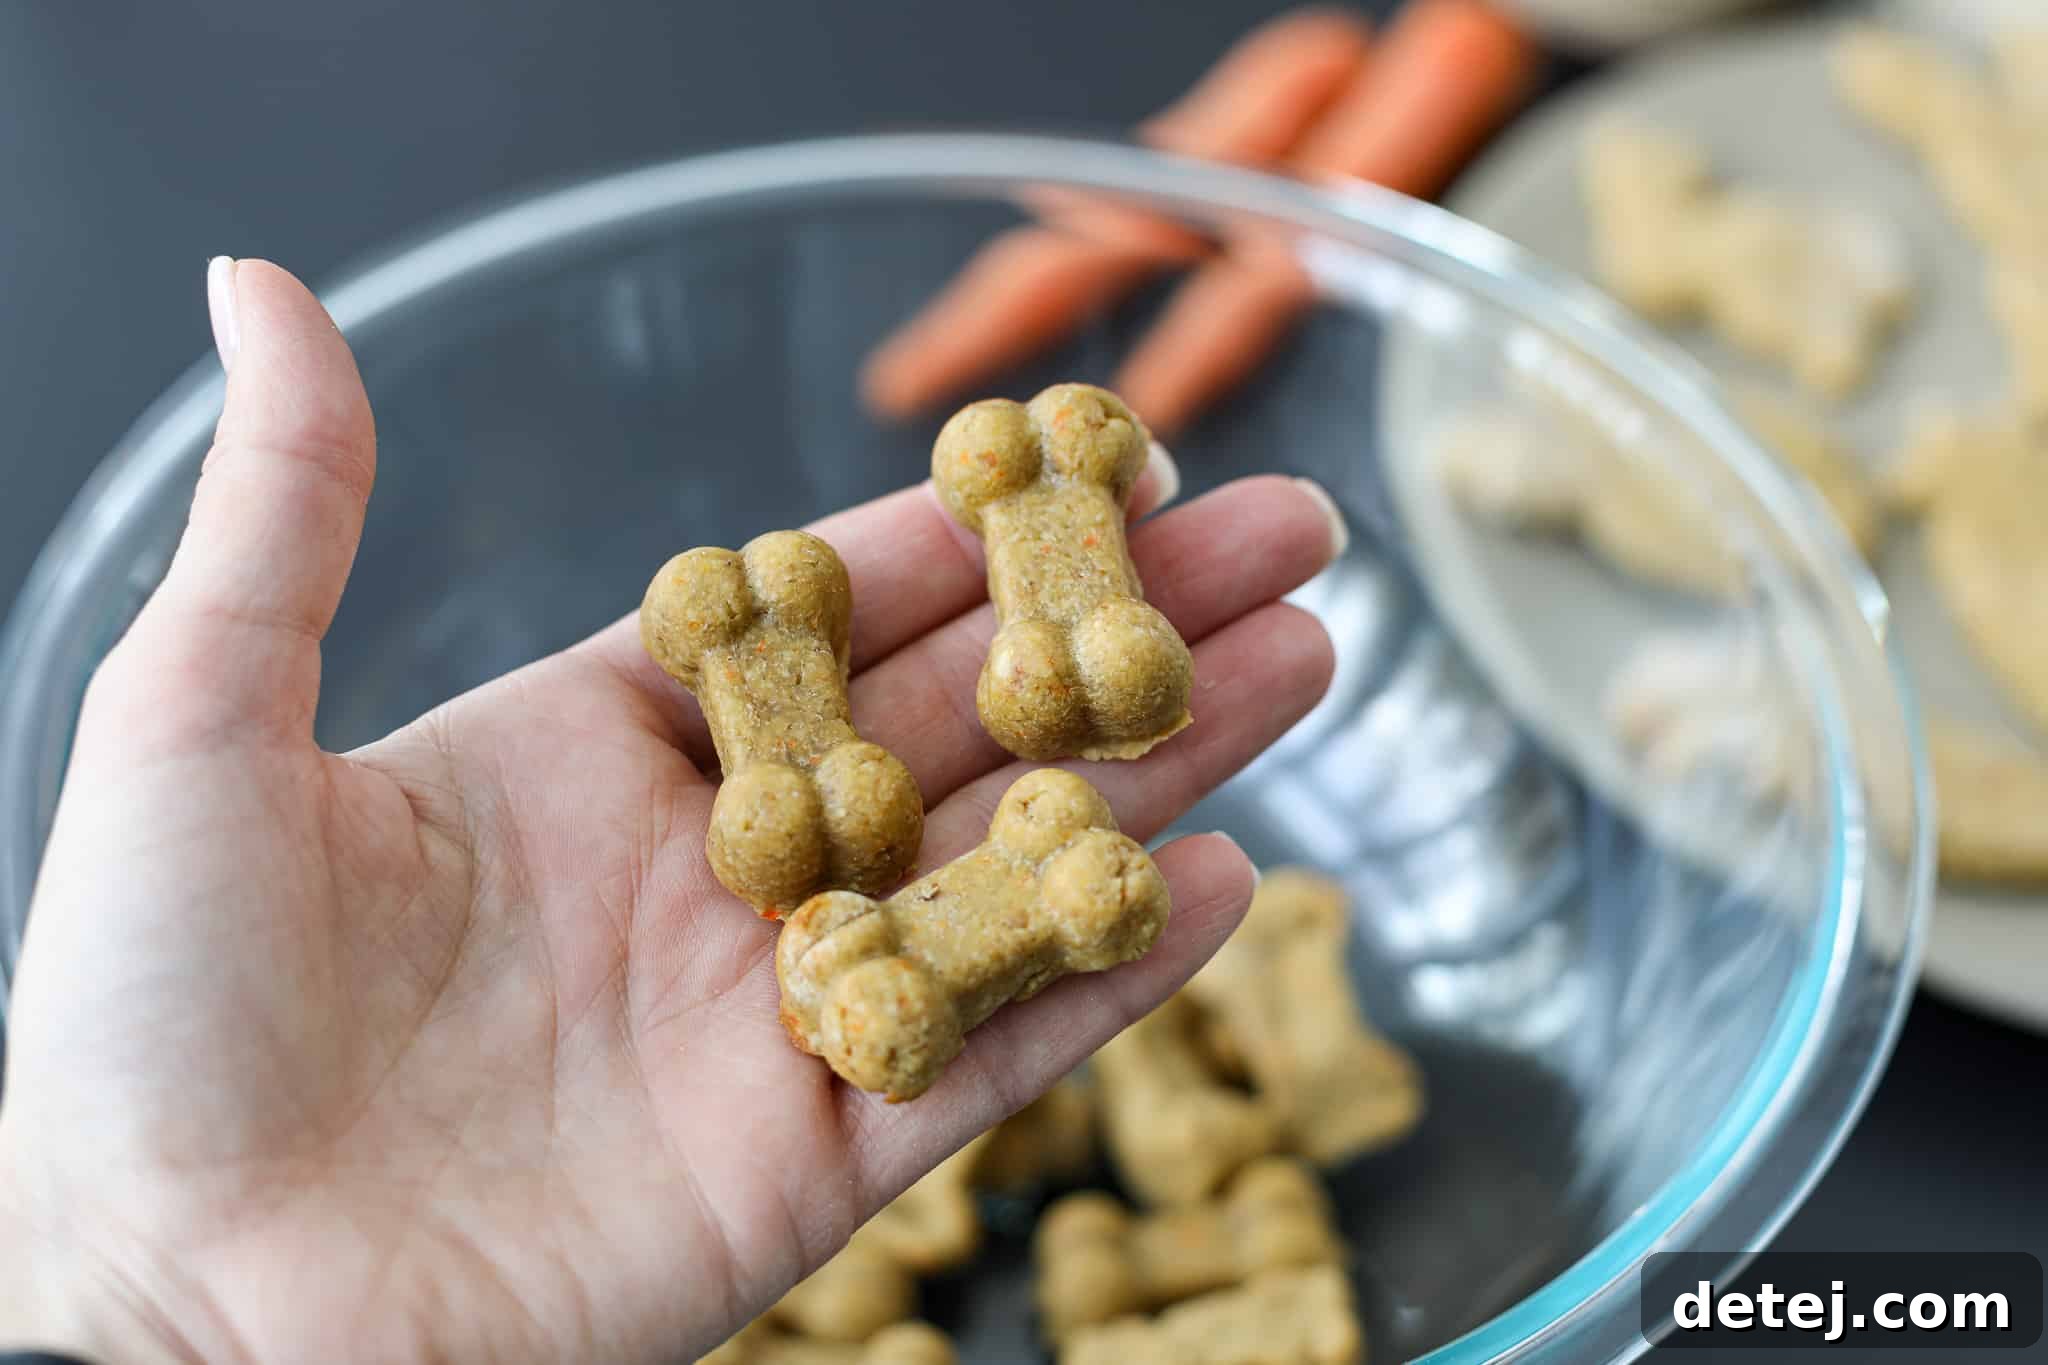
To add a touch of whimsy and fun, consider using festive cookie cutters like bone and paw print silicone molds or even holiday-themed ones. These aren’t just for presentation; they can make the treats more appealing and exciting for your dog. If you’re looking to stock up on all your essential baking gear for dog treats, you can find a great selection of dog treat essentials here.
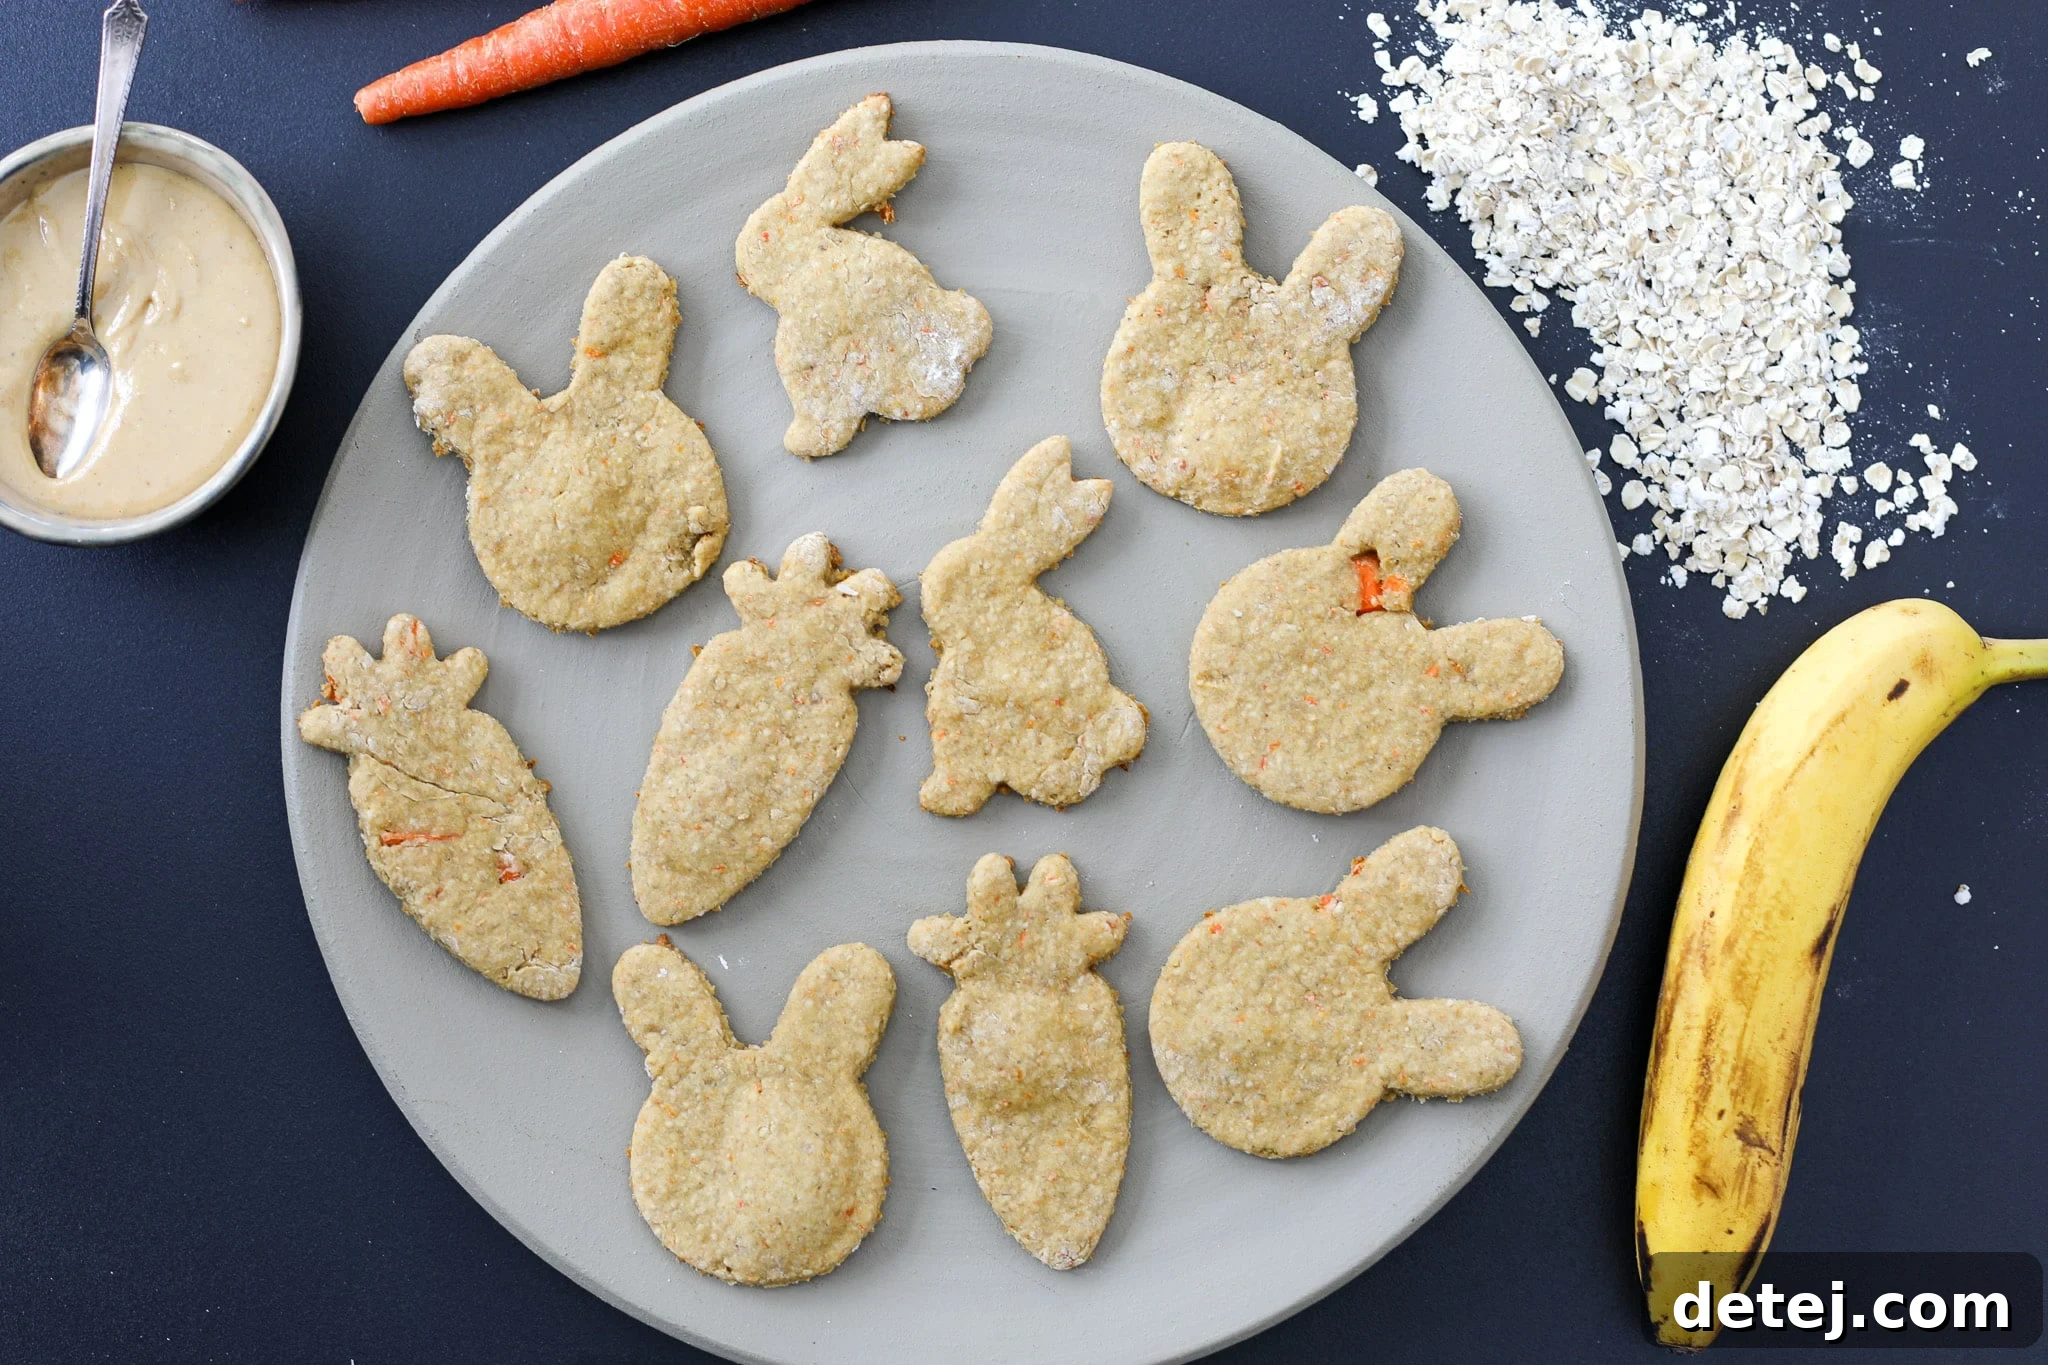
Recipe Ingredients: The Wholesome Essentials
Crafting the perfect healthy homemade dog treats begins with selecting quality, dog-safe ingredients. Our recipe focuses on a quartet of power-packed elements, each offering unique nutritional benefits for your furry friend:
- Rolled Oats: A fantastic base for dog treats, rolled oats are a rich source of dietary fiber, which aids in healthy digestion and helps maintain a stable blood sugar level. They are also packed with essential vitamins and minerals like manganese, phosphorus, magnesium, and B vitamins. For this recipe, I highly recommend using Bob’s Red Mill Organic rolled oats due to their consistent quality and purity. While generally safe for dogs, if your dog has grain sensitivities, ensure you use certified gluten-free oats. Oats provide a lovely texture and structure to the treats, making them chewy and satisfying.
- Peanut Butter: A beloved ingredient for most dogs, peanut butter is a great source of protein, healthy fats, and vitamins B and E. However, it’s crucial to use natural, unsalted peanut butter without any added sugars, sweeteners, or palm oil. The biggest concern is xylitol, an artificial sweetener that is highly toxic to dogs, even in small amounts. This is precisely why I advocate for making homemade peanut butter, as it guarantees no harmful additives. If buying, always double-check the label for xylitol and other dubious ingredients. Homemade peanut butter is not only safer but often tastier for your pup and ensures a cleaner diet.
- Carrot: These vibrant root vegetables are a powerhouse of nutrition for dogs. Carrots are rich in beta-carotene, which is converted to Vitamin A in the body, supporting vision, immune function, and skin health. They also provide fiber and antioxidants. Their natural sweetness makes them a delightful addition to any dog treat. Plus, the slight crunch they offer can be beneficial for dental health, acting as a natural tooth scrubber as your dog chews. Always wash and peel carrots before use, and chop them into manageable pieces for blending.
- Banana: Bananas are a fantastic source of potassium, vitamins B6 and C, and fiber. They are a naturally sweet and soft fruit, making them an excellent binding agent for these cookies. The riper the banana, the sweeter and easier it will be to blend into the dough, contributing to a more flavorful treat. Ensure the bananas are peeled before adding them to your recipe. While packed with goodness, bananas should be given in moderation due to their sugar content.
By carefully selecting these four simple, clean ingredients, you are setting the foundation for truly healthy and irresistible homemade dog treats that your canine companion will adore.
How to Make Healthy Homemade Dog Treats
Making these wholesome dog treats is surprisingly simple and requires minimal effort. Follow these steps to create a batch of delightful snacks that your dog will beg for:
First things first, preheat your oven to a steady 350 degrees Fahrenheit (175 degrees Celsius). This ensures the oven is at the correct temperature when your treats are ready to bake, leading to an even cook. While the oven warms up, prepare your baking sheet by lining it with parchment paper. This crucial step prevents the treats from sticking and makes for easy cleanup afterwards. Set this prepared tray aside; it will be ready for your cut cookies.
Make the Homemade Peanut Butter (The Safer Choice)
One of the cornerstone ingredients for these treats is peanut butter, and making it yourself offers unparalleled control over its contents. To prepare your homemade peanut butter, add 12 ounces of unsalted, shelled peanuts to your food processor. Ensure the peanuts are raw or dry-roasted, with no added oils or salt. Begin processing, and be patient! The peanuts will first turn into a coarse meal, then a sticky ball, and eventually, after about 3-5 minutes of continuous buzzing, they will transform into a smooth, creamy, and gloriously lump-free peanut butter. The processing time can vary slightly depending on your food processor’s power. For this recipe, you’ll only need about ½ cup of this fresh, pure peanut butter. Any extra homemade peanut butter can be stored in an airtight container in the refrigerator for up to two weeks, or in the freezer for even longer, ready to be used as a special treat or in future recipes. This homemade version is superior because it completely avoids palm oil, added sugars, and, most importantly, xylitol or other artificial sweeteners that are highly toxic to dogs, preventing any potential digestive upset or health risks.
Make the Cookie Dough (The Heart of the Treat)
Once your homemade peanut butter is ready (or you’ve measured out your safe store-bought variety), you’ll move on to crafting the treat dough. Before adding the next set of ingredients, give your food processor a quick clean to remove any lingering peanut butter remnants, especially if you made it in the same bowl. Then, add the rolled oats, ripe bananas (peeled), chopped carrot, and the ½ cup of your delicious homemade peanut butter to the clean food processor. Secure the lid and blend until a sticky, uniform dough forms. The consistency you’re aiming for is pliable enough to roll out but not overly wet or crumbly. If it seems too dry, add a tiny splash of water or a bit more mashed banana. If too wet, a tablespoon of oat flour can help firm it up. This blending process ensures all the ingredients are well combined and the treats have a consistent texture, making them easy to shape and enjoyable for your dog.
Cut the Cookies (Get Creative!)
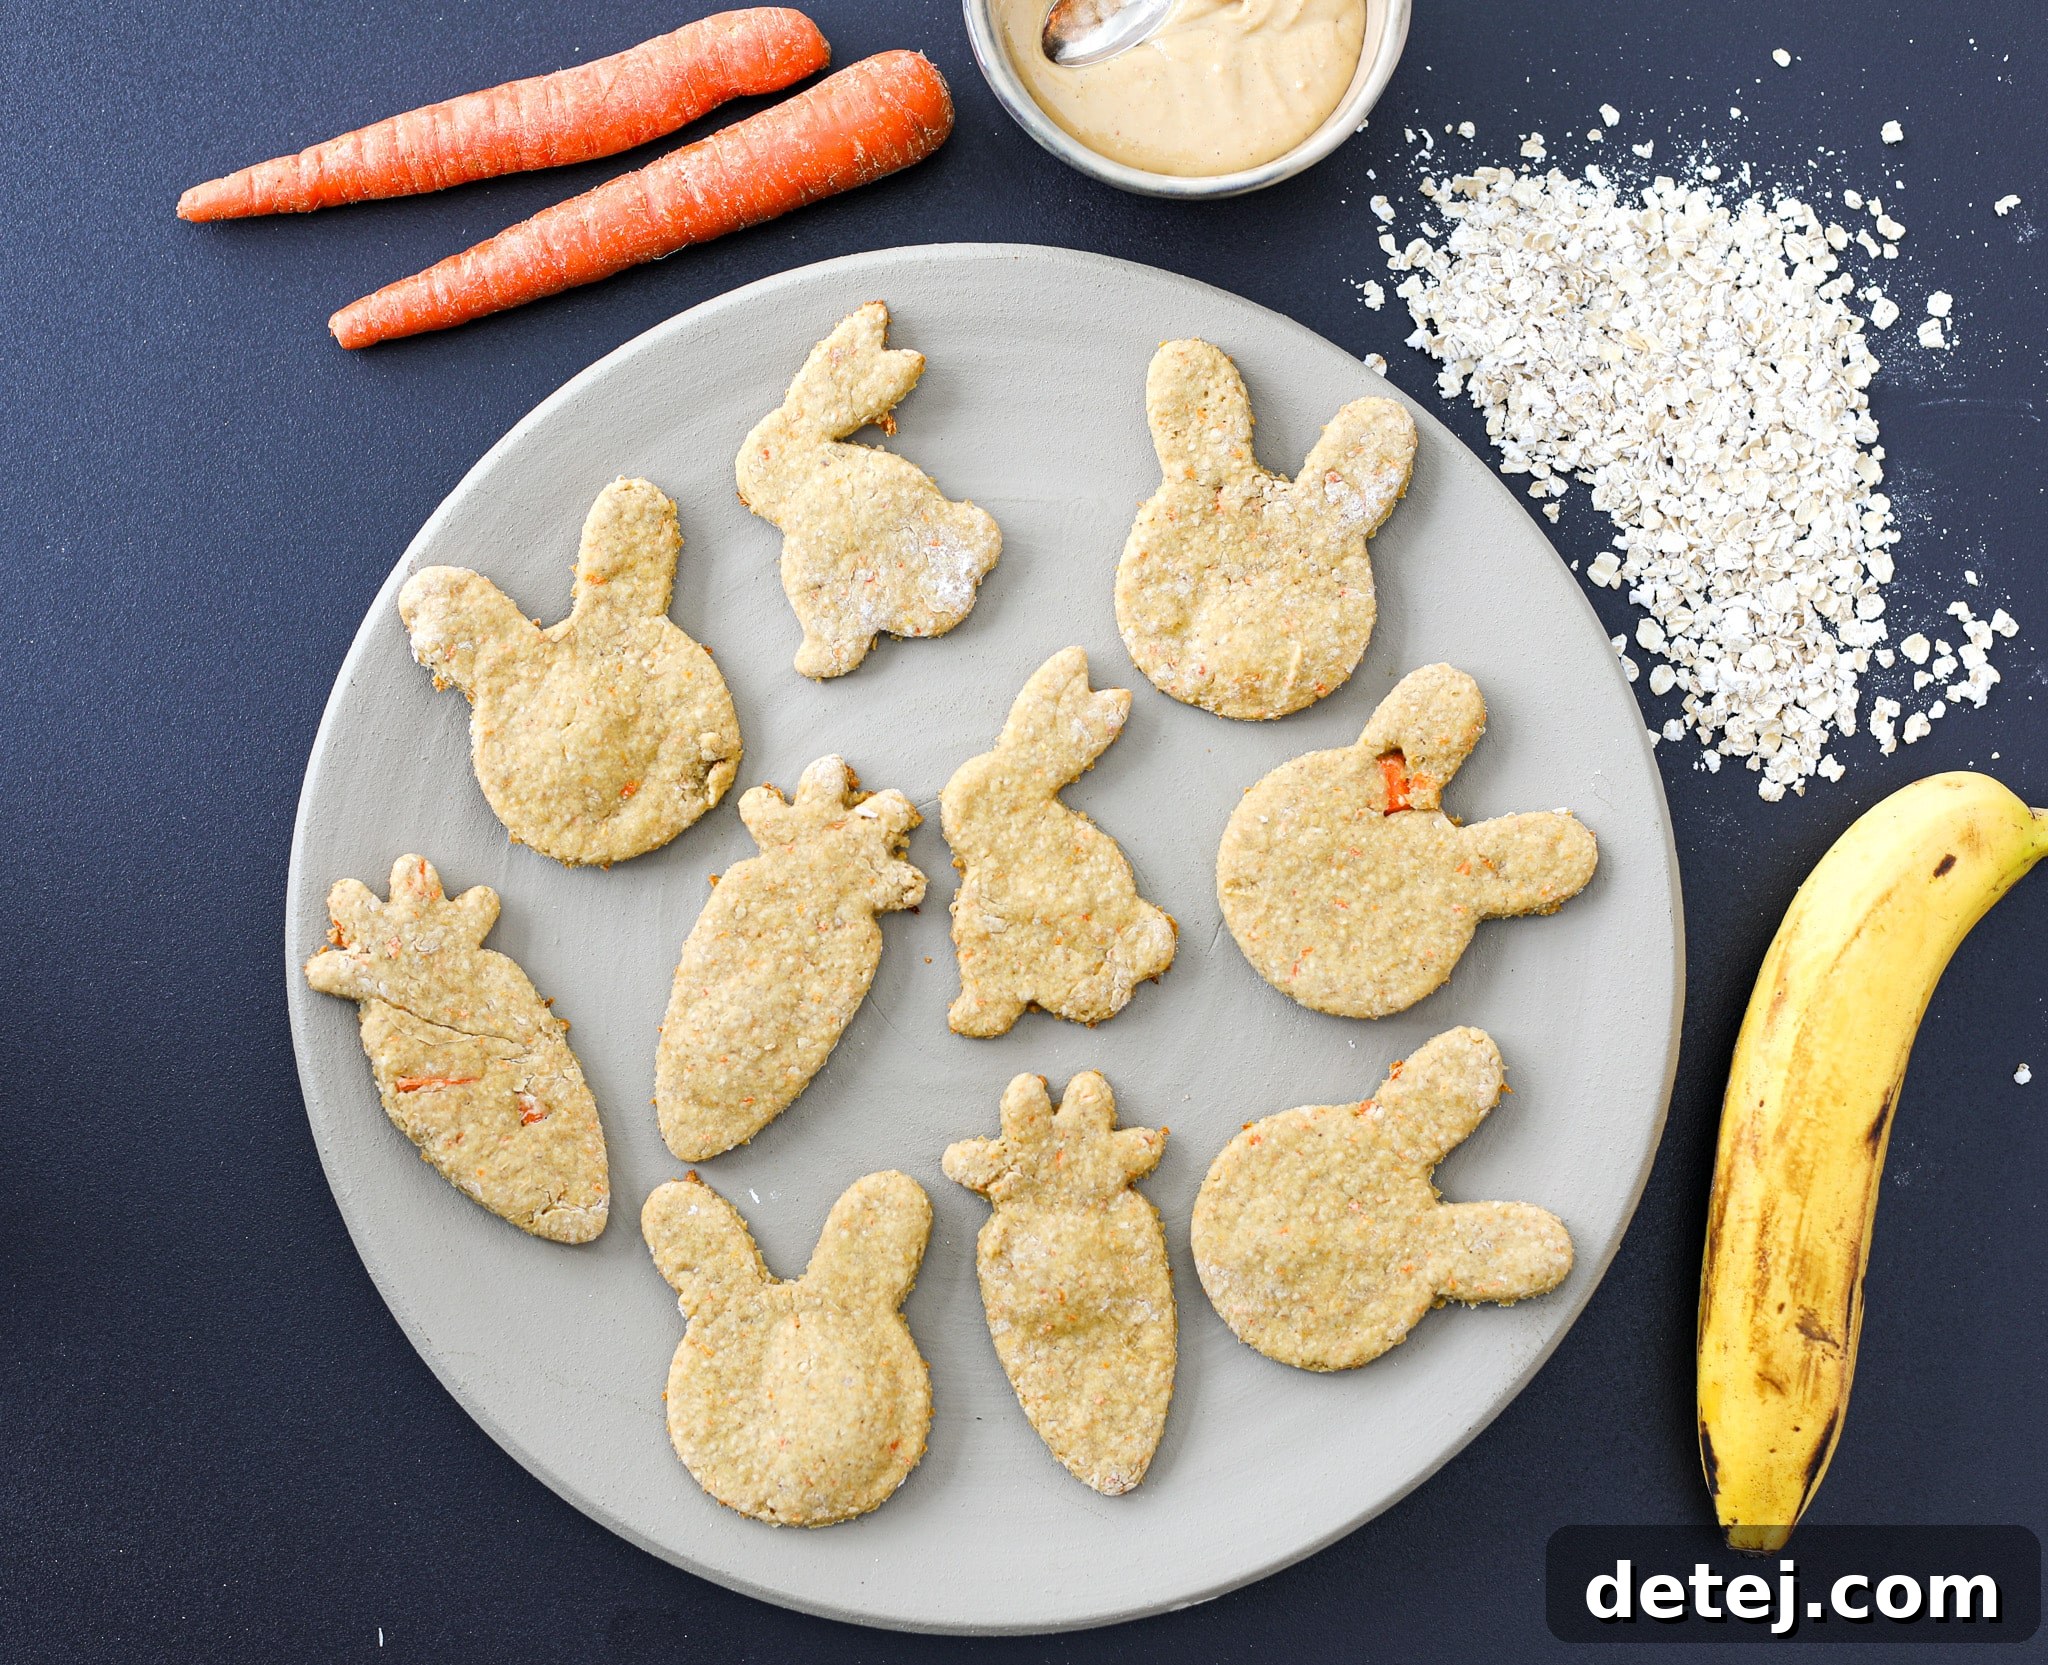
Now for the fun part: shaping your treats! Lightly dust your clean work surface with oat flour or another dog-friendly flour (such as rice flour or whole wheat flour) to prevent sticking. Transfer the sticky dough onto this floured surface and gently dust the top of the dough with a little more oat flour. Using a rolling pin, roll out the dough to an even thickness, typically about ¼ to ½ inch (approximately 0.6 to 1.3 cm). The thickness will affect the final texture – thinner for crispier treats, thicker for softer ones. Get creative with your cookie cutters! The Easter themed cookie cutters mentioned earlier are a great option for seasonal flair, but you can use any cookie cutter you have handy, from classic circles and squares to cute bone shapes or paw prints. If you don’t have cookie cutters, simply use a knife to cut the dough into small, uniform squares or rectangles. The key is consistency in size for even baking.
Bake the Cookies (Achieving Perfect Texture)
Carefully transfer your cut cookies onto the prepared baking tray lined with parchment paper, leaving a little space between each one to allow for even air circulation. Place the tray in your preheated oven and bake for 14-16 minutes. For a slightly softer, chewier cookie, aim for the shorter end of the baking time. If you prefer a treat with a bit more crisp, bake for the full 16 minutes. Keep in mind that these particular treats tend to remain on the softer side, which is often preferred by dogs and easier for puppies or older dogs to chew. They will also firm up a touch more as they cool completely outside the oven. It’s important to let them cool fully on a wire rack to prevent sogginess. If you opt to use silicone bone molds instead of cookie cutters, you might need a slightly longer baking time, typically 18-20 minutes, as the molds can insulate the dough differently. Always ensure the treats are thoroughly cooled before offering them to your dog to prevent burns and allow them to fully set.
Storage (Keeping Treats Fresh)
Proper storage is essential to maintain the freshness and longevity of your homemade dog treats. Once completely cooled, store these delightful cookies in an airtight bag or container at room temperature for 3-4 days. This is perfect for a quick batch that will be enjoyed quickly. For extended freshness, you have other excellent options: storing them in an airtight bag or container in the refrigerator will keep them fresh for 1-2 weeks. This is a great solution if you make a larger batch for regular use. For the longest shelf life, you can freeze the cookies in an airtight freezer-safe bag or container for up to 2 months. Freezing is an excellent way to prepare treats in advance and ensures you always have a healthy snack on hand. An added bonus of freezing is that it often makes the cookies a little crispier once thawed or eaten frozen, a texture many dogs absolutely love!
Frequently Asked Questions About Dog Treats
I choose to make homemade peanut butter primarily for safety and control over ingredients. Store-bought peanut butter often contains harmful additives such as xylitol (a sugar substitute highly toxic to dogs), excessive sugars, salts, or palm oil. Making it at home ensures your dog gets 100% natural, unsalted peanuts, which are rich in healthy fats and protein, without any of those concerning ingredients that can upset a dog’s belly or worse, be life-threatening.
Not at all! While cookie molds and themed cutters are fun and can make the treats visually appealing, they are completely optional. You can easily roll out the dough and cut it into any shape you prefer using a knife—squares, rectangles, or even free-form shapes. The most important thing is to make sure the pieces are roughly uniform in size to ensure even baking, and small enough for your dog to safely enjoy.
For best results, sticking to the core four ingredients is recommended. However, some substitutions might be possible. For example, sweet potato puree could potentially replace some of the banana or carrot for a different flavor profile, ensuring it’s cooked and plain. Always research dog-safe foods before making substitutions. Regarding oats, if your dog is sensitive to grains, ensure you use certified gluten-free rolled oats. Do not substitute peanut butter with any other nut butter without confirming its safety for dogs and checking for xylitol.
Treats should always be given in moderation and should not make up a significant portion of your dog’s daily caloric intake. These treats are relatively healthy, but their quantity depends on your dog’s size, activity level, and overall diet. As a general guideline, treats should comprise no more than 10% of their daily calories. Consult your veterinarian for specific dietary recommendations for your dog, especially if they have health conditions or are on a special diet.
This recipe is free of common allergens like wheat (if using gluten-free oats), dairy, and eggs. However, if your dog has specific allergies, always check each ingredient carefully. For example, if your dog has a peanut allergy, peanut butter cannot be used and a different binding agent like pureed pumpkin (ensure it’s plain, not pie filling) or unsweetened applesauce might be explored, though this would significantly alter the recipe. Always introduce new treats slowly and monitor for any adverse reactions.

Healthy Homemade Dog Treats
Pin Recipe
Leave a Review »
Equipment
- ▢
1 baking tray lined with parchment
- ▢
1 food processor
- ▢
1 Rolling Pin
- ▢
1 cookie cutter
- ▢
1 silicone mold optional
Ingredients
- ▢ 2 cups rolled oats, Organic Bob’s Red Mill
- ▢ ½ cup unsalted peanut butter, homemade (without xylitol or added sugars)
- ▢ 1 small carrot, washed, peeled, and ends removed
- ▢ 2 bananas, ripe works better for sweetness and blending
Instructions
How to Make Healthy Homemade Dog Treats
-
Preheat the oven to 350 degrees Fahrenheit (175°C). Line a baking tray with parchment paper and set it aside. This prepares your workstation for a smooth baking process.
Make the Homemade Peanut Butter
-
Add 12 ounces of unsalted, plain peanuts to your food processor. Blend thoroughly until the peanuts transform into a smooth and creamy peanut butter, free of any lumps. This process typically takes about 3-5 minutes, requiring some patience as the texture changes from coarse to creamy. You will only need ½ cup of this fresh, homemade peanut butter for the treat recipe. Any extra can be stored in an airtight container for future use or as a plain treat for your dog.
Make the Cookie Dough
-
Next, clean the food processor bowl (if you made peanut butter in it). Add the rolled oats, peeled bananas, chopped carrot, and the ½ cup of homemade peanut butter. Process until all ingredients are well combined and a sticky, cohesive dough forms. Ensure there are no large chunks of carrot or banana.
Cut the Cookies
-
Lightly dust your work surface with oat flour (or another dog-friendly flour like rice or whole wheat flour) to prevent sticking. Transfer the dough onto the floured surface and dust the top of the dough with a little more oat flour. Use a rolling pin to roll out the dough evenly to your desired thickness (about ¼ to ½ inch). Use your favorite cookie cutters, such as Easter themed or bone shapes, to cut out individual cookies. Alternatively, cut the dough into uniform squares or rectangles with a knife.
Bake the Cookies
-
Carefully place the cut cookies onto the prepared baking tray. Bake for 14-16 minutes. A baking time of 16 minutes will result in a slightly crispier cookie, while shorter times yield a softer treat. These cookies naturally tend to be on the softer side, which is often preferred by dogs. They will also firm up slightly as they cool to room temperature. If you opt to use silicone bone molds instead of cookie cutters, bake for a slightly longer duration of 18-20 minutes. Once baked, remove the cookies from the oven and allow them to cool completely on a wire rack before giving them to your dog.
Storage
-
Store the cooled treats in an airtight bag or container at room temperature for 3-4 days. For extended freshness, you have the option to store these cookies in an airtight bag in the refrigerator for 1-2 weeks. For long-term storage, you can freeze the cookies in an airtight, freezer-safe bag for up to 2 months. Freezing not only preserves them but also tends to make the cookies a little crispier, a texture many dogs absolutely love!