
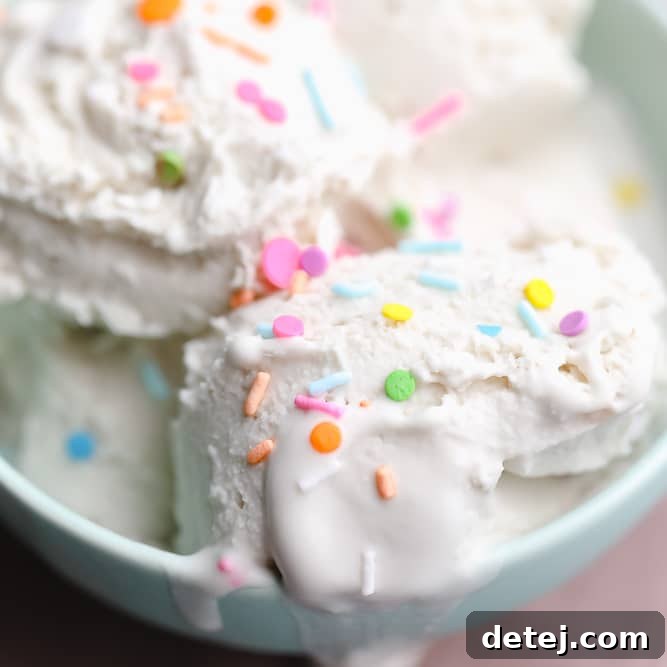
This is the ultimate homemade Vegan Ice Cream recipe, crafted with just 5 simple ingredients for an unbelievably creamy and rich texture. Elevate your dessert experience by serving it with luscious vegan hot fudge and fluffy coconut whipped cream, or customize it endlessly with your favorite add-ins like cookie dough chunks or decadent brownie pieces.
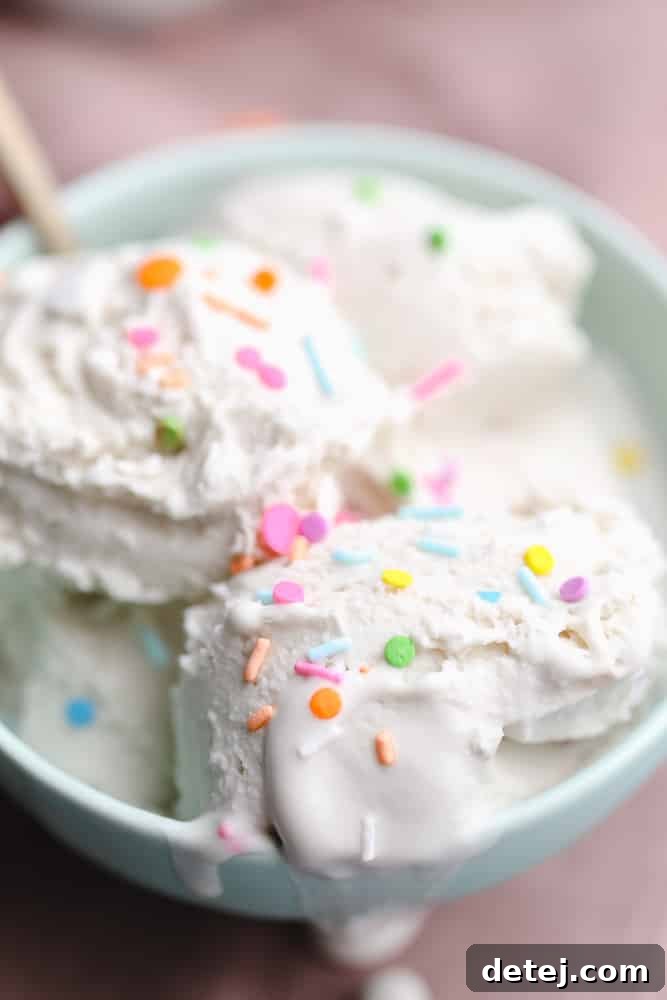
The Ultimate Guide to Incredibly Creamy Homemade Vegan Ice Cream
Are you a vegan or someone who simply prefers dairy-free options, but often left underwhelmed by the icy, less-than-creamy textures of store-bought alternatives? If so, prepare to have your dessert world transformed! This homemade vegan ice cream recipe is a game-changer, promising a luxurious, melt-in-your-mouth experience that rivals even the finest traditional dairy ice creams. Forget the disappointment; this freshly churned delight is so rich and satisfying, no one will ever guess it’s completely free of dairy and eggs.
Crafted with just five essential ingredients, this recipe offers an incredibly easy and cost-effective way to enjoy premium vegan ice cream at home. You can wave goodbye to expensive grocery store pints that often fall short on creaminess. The magic happens with a simple blend, a quick churn, and a few hours in the freezer, yielding the best vegan ice cream you’ve ever tasted. It’s not just a recipe; it’s an invitation to endless customization and pure dessert bliss, ready for you to enjoy whenever a craving strikes.
While a classic bowl topped with warm vegan hot fudge, fluffy dairy-free whipped cream, and crunchy nuts is always a winner, the possibilities for enjoying this vegan ice cream are truly boundless. Imagine stirring in chewy brownie pieces, swirling rich chocolate ganache, or drizzling decadent vegan caramel. This recipe provides the perfect canvas for your culinary creativity, allowing you to create the ultimate personalized vegan dessert experience every time.
The Secret to Ultra-Creamy Vegan Ice Cream: Cashews and Coconut Milk
The quest for truly creamy vegan ice cream often leads to frustration, but this recipe unlocks the secret: a powerful combination of raw cashews and full-fat coconut milk. After extensive experimentation with various bases, including vegan creamers and soy milk, it became clear that nothing delivers the same unparalleled richness and velvety texture. While other options might suffice if coconut is not an option, they simply can’t replicate the indulgent mouthfeel achieved by this dynamic duo.
The beauty of this base lies in its high fat content, which is crucial for preventing ice crystals and creating that coveted smooth consistency. Cashews, when properly soaked and blended, transform into a thick, neutral-flavored cream, while full-fat coconut milk contributes a luxurious richness. For those concerned about a prominent coconut taste, rest assured! The addition of soaked raw cashews, granulated sugar, a touch of salt, and a generous amount of pure vanilla extract work harmoniously to mellow out and practically eliminate any noticeable coconut flavor. What you’re left with is a sweet, balanced, and incredibly versatile vanilla base that’s ready for any flavor adventure.
Step-by-Step Guide: Crafting Your Perfect Vegan Vanilla Ice Cream
Creating homemade vegan ice cream is an exciting and rewarding process. Success begins with proper preparation. The most crucial first step is to ensure your ice cream maker bowl is thoroughly chilled. For best results, place it in your freezer the night before you plan to make ice cream, or ideally, keep it stored in the freezer at all times so it’s always ready for an impromptu batch!
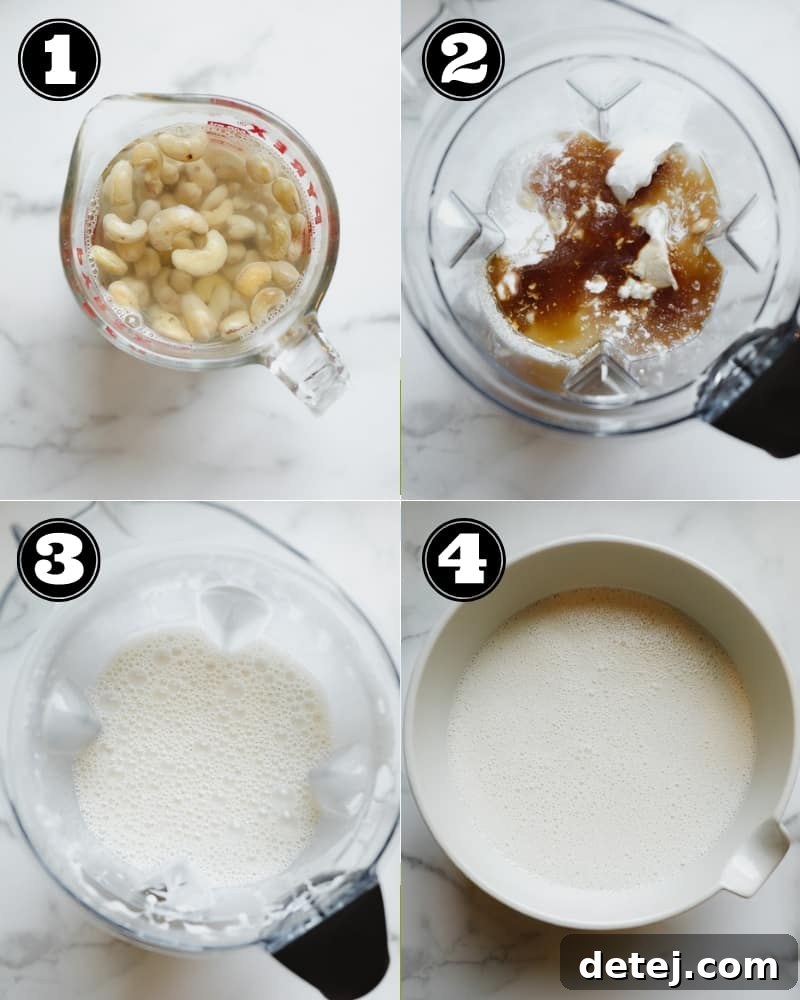
- Prepare Your Cashews: Begin by soaking the raw cashews. You can do this quickly by pouring hot water over them and letting them sit for at least 5 minutes, or for a deeper soak, up to 3 hours. Soaking softens the cashews, allowing them to blend into an incredibly smooth, lump-free cream.
- Blend to Perfection: Once your cashews are softened, drain them thoroughly. Transfer the soaked cashews to a high-speed blender, along with the full-fat coconut milk, granulated sugar, salt, and pure vanilla extract. Blend on high speed for a full 3-4 minutes until the mixture is exceptionally smooth and creamy. It’s vital to blend long enough to ensure absolutely no cashew chunks remain, as this is key to achieving that signature velvety texture.
- Chill the Base: After blending, the mixture may have warmed slightly. Pour the smooth, creamy base into a large bowl and place it in the freezer to chill for about 30 minutes. This quick pre-chilling step ensures the mixture is ice-cold before it goes into the ice cream maker, which is essential for efficient churning and preventing ice crystals.
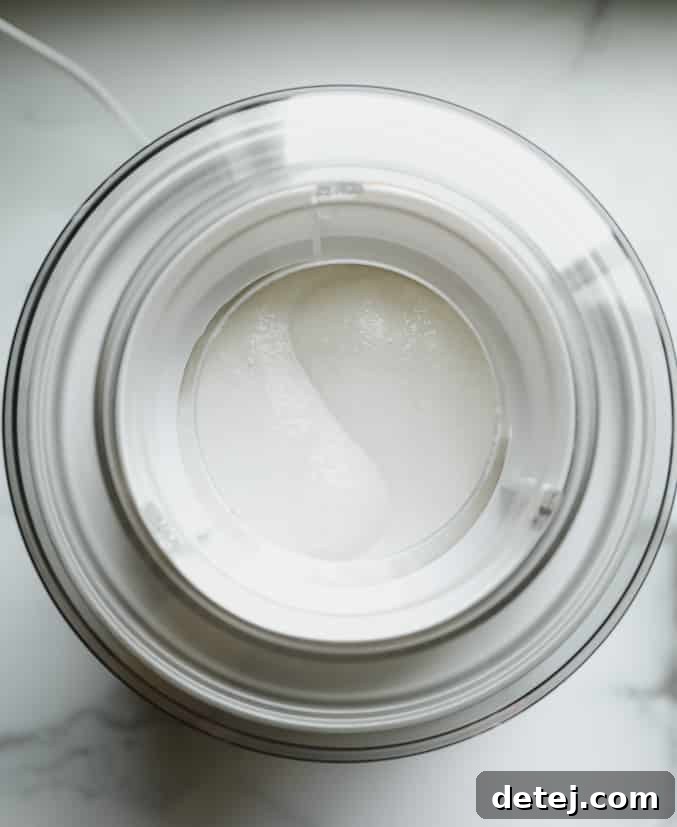
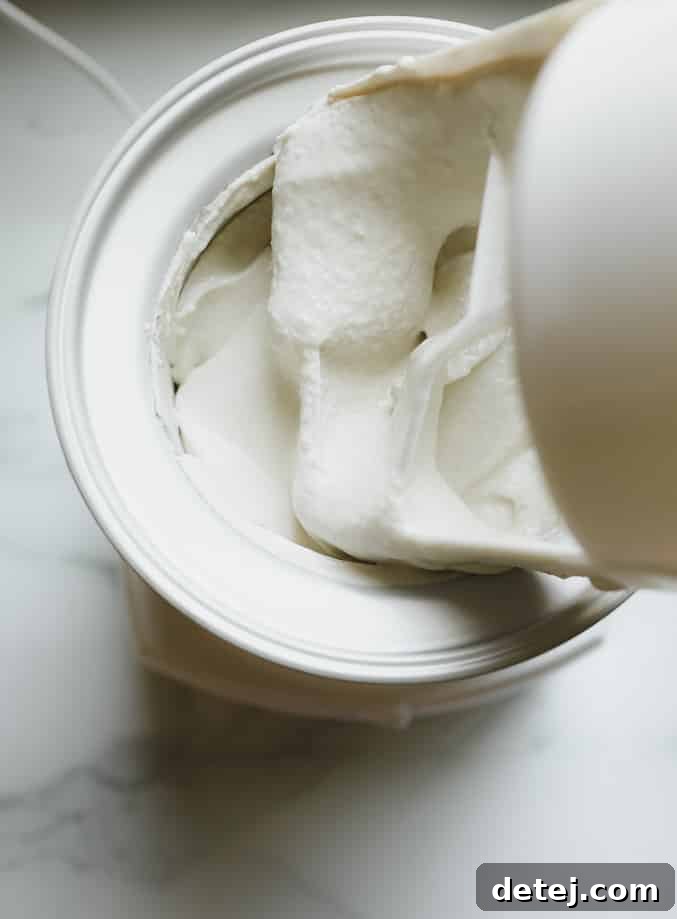
Now, it’s time for the exciting part – churning! Retrieve your pre-chilled ice cream maker bowl and the cold ice cream mixture from the freezer. Pour the mixture into your ice cream machine and churn according to your manufacturer’s instructions, typically for about 20-25 minutes. During this process, the mixture will gradually thicken and incorporate air, transforming into a consistency similar to soft-serve ice cream. This is the perfect moment to introduce any desired mix-ins, folding them gently into the freshly churned base.
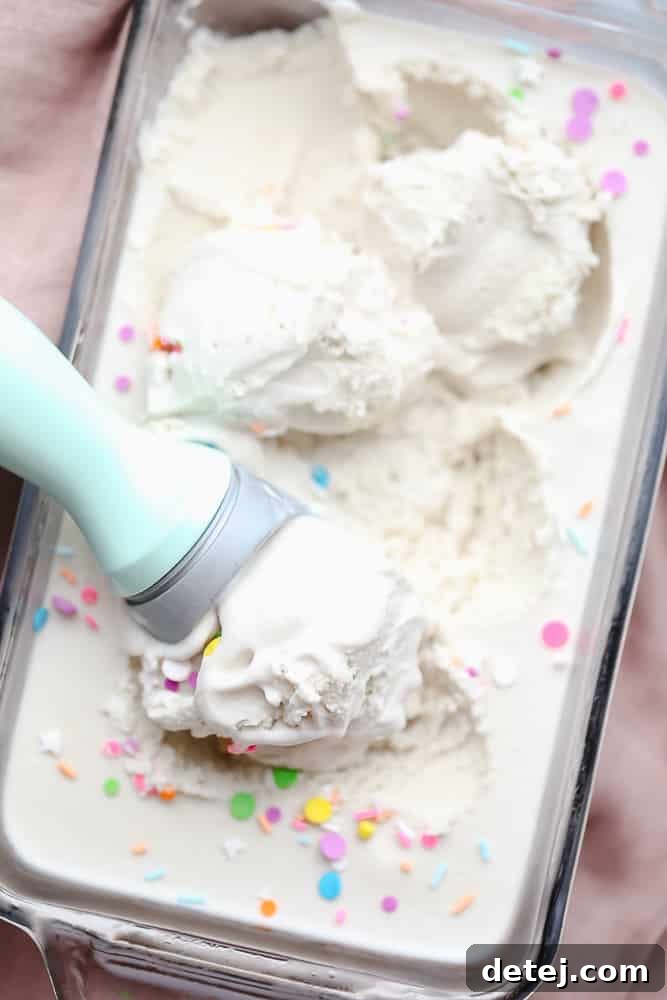
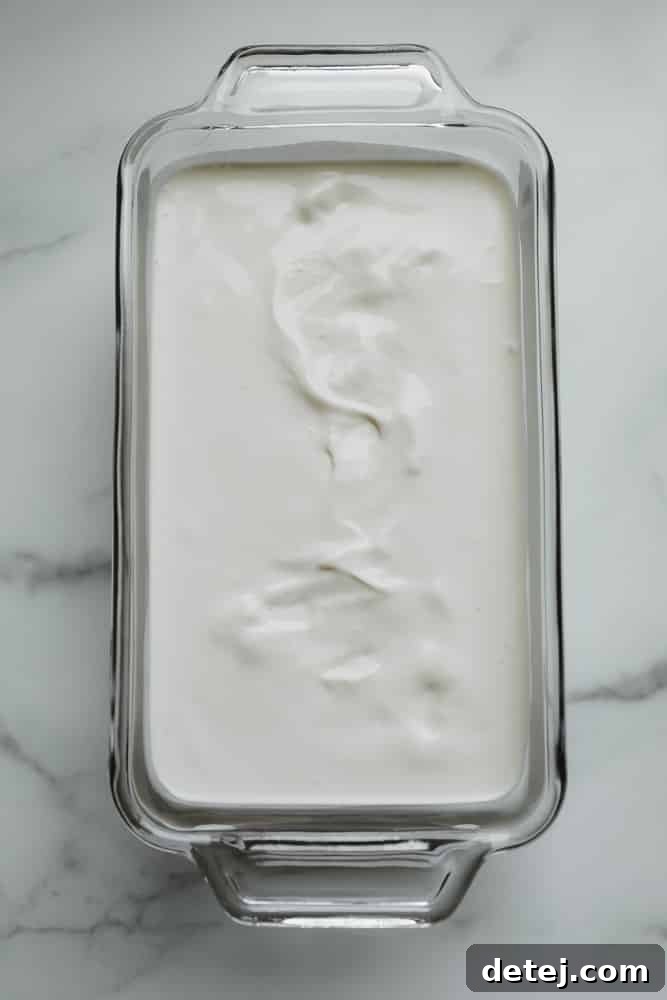
Once churned to a soft-serve consistency, transfer your delicious creation to a loaf pan or an airtight freezer-safe container. Smooth out the top with a spoon. To prevent any ice crystals from forming, press a piece of plastic wrap directly onto the surface of the ice cream, ensuring no air gaps. Then, add another layer of wrap over the entire pan and place it in the freezer to set completely. After just a few hours, your homemade vegan ice cream will be perfectly firm, incredibly smooth, and ready to scoop and savor! If you’re impatient, you can even enjoy it immediately as a delightful soft serve – just try to resist licking the bowl clean!
Do I Need an Ice Cream Machine?
For this specific recipe, an ice cream maker is essential to achieve the desired creamy texture and prevent ice crystal formation. The churning process is what incorporates air and breaks down developing ice crystals, resulting in that smooth, luxurious consistency. If you don’t own an ice cream maker, don’t despair! There are still ways to enjoy delicious dairy-free frozen treats. You might want to explore a dedicated Dairy Free No-Churn Ice Cream Recipe, which uses different techniques to achieve a similar result without specialized equipment.
Endless Possibilities: Delicious Add-ins and Flavor Variations
The beauty of this vanilla vegan ice cream base is its incredible versatility. It serves as the perfect canvas for a myriad of flavor combinations and mix-ins. Add any of these delightful ingredients during the last few minutes of churning, once the ice cream reaches a soft-serve consistency, to ensure they are evenly distributed:
- Baked Goods: Crumbled vegan brownie pieces, chunks of chocolate chip cookies, spoonfuls of raw vegan cookie dough, or crumbled peanut butter cookie pieces. Don’t forget crushed Oreo cookies for a classic cookies and cream!
- Sauces & Syrups: Swirl in rich chocolate ganache or luscious caramel sauce.
- Candy & Nuts: Chopped vegan peanut butter cups, a medley of chopped nuts, or playful vegan mini marshmallows.
- Fresh Fruit: Gently fold in fresh peaches, sliced strawberries, tart raspberries, sweet blueberries, or dark cherries for a burst of natural flavor.
- Creative Combinations: Mix in smooth peanut butter and sliced bananas for a PB & B swirl. For a refreshing treat, add mint extract, chocolate pieces, and a touch of green food dye to create a vibrant vegan mint chocolate chip ice cream.
- Leftover Treats: Get creative with leftover cake! Crumble up pieces of chocolate or vanilla cake for a delightful cake batter-inspired ice cream.
Delightful Serving Suggestions for Your Vegan Ice Cream
A generous scoop of this creamy homemade vegan ice cream is the ultimate companion to a wide array of plant-based desserts, transforming a simple treat into an extraordinary indulgence. Here are some irresistible serving ideas:
- Pies and Crumbles: Elevate classic comfort desserts by adding a cold scoop on top of a warm slice of vegan apple pie, rich pecan pie, or seasonal pumpkin pie. It’s also divine with a bubbling peach cobbler or a crunchy vegan apple crisp. The contrast of warm fruit and cold, creamy ice cream is simply magical.
- Brownies: Take your fudgy eggless brownies to the next level with a melting scoop of vanilla vegan ice cream on top. A match made in dessert heaven!
- Cakes: No celebration is complete without cake and ice cream! Serve it alongside your favorite vegan cake flavors, such as rich chocolate, classic vanilla, tropical coconut, or festive funfetti cake.
- Cookies: Create epic ice cream sandwiches by pressing a scoop between two soft cookies, like chewy oatmeal chocolate chip cookies, classic vegan chocolate chip cookies, spiced snickerdoodles, nutty peanut butter cookies, or decadent vegan chocolate cookies.
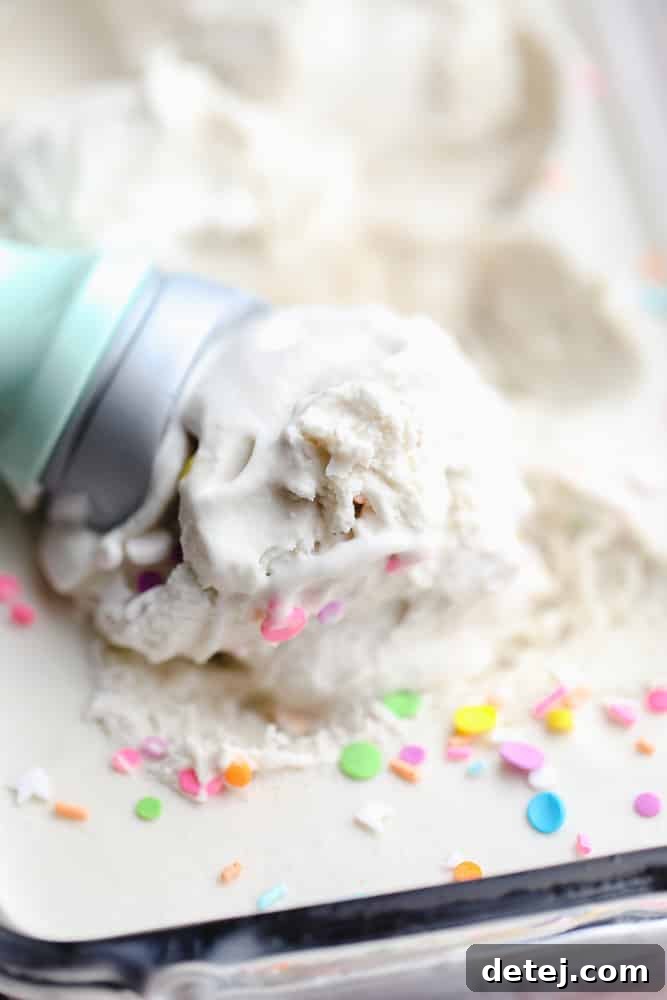
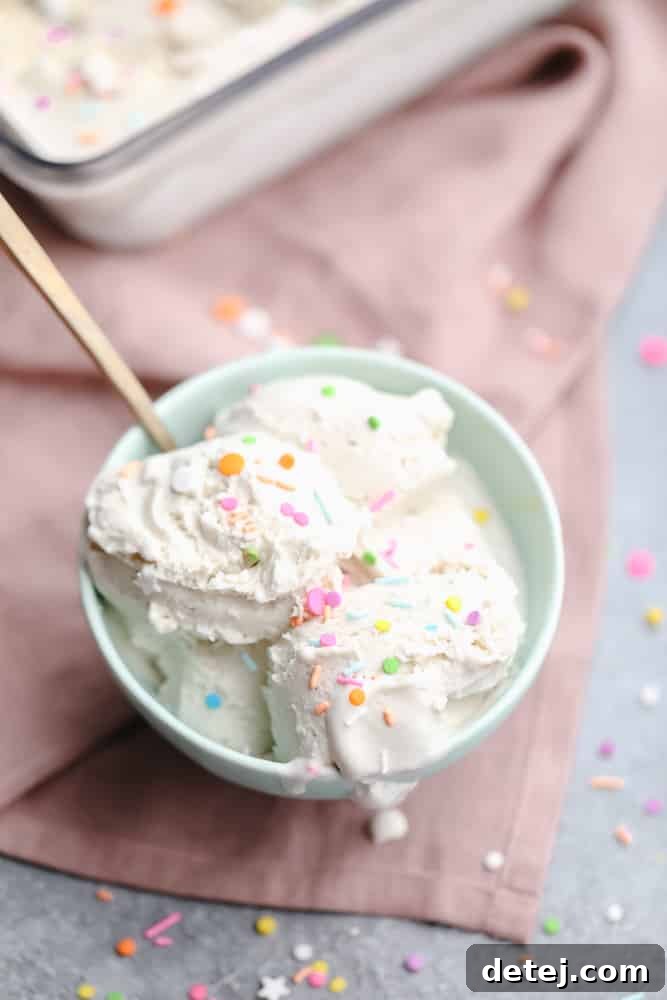
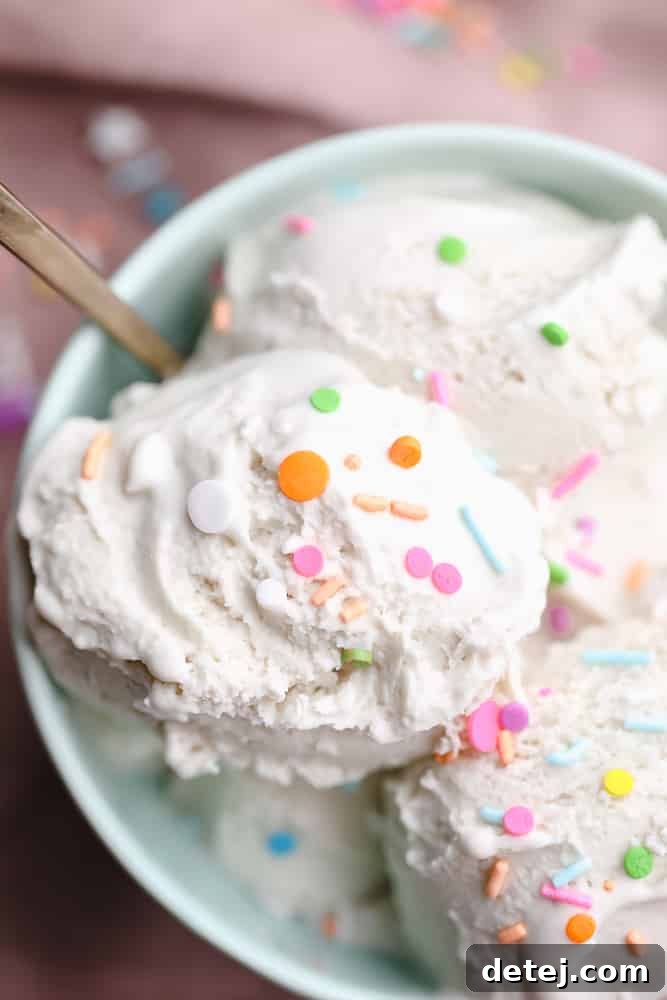
- On Its Own: Sometimes, simplicity is best. Enjoy a generous bowl of this creamy ice cream all by itself, perhaps with a drizzle of chocolate fudge and a shower of colorful sprinkles for a festive touch.
- Milkshakes and Smoothies: Blend a few scoops with your favorite plant milk and flavorings for a thick, frosty vegan milkshake, or add it to fruit smoothies for an extra creamy boost.
Optimal Storage Tips for Homemade Vegan Ice Cream
Proper storage is key to preserving the luscious texture of your homemade vegan ice cream and preventing the formation of icy crystals. After transferring the churned ice cream to a loaf pan or an airtight freezer-safe container, smooth the top surface. The most important step for maintaining creaminess is to press a piece of plastic wrap directly onto the surface of the ice cream itself, ensuring it touches every part and seals out as much air as possible. Then, place another layer of plastic wrap or a lid securely over the entire container before freezing.
While homemade vegan ice cream is incredibly delicious, it typically doesn’t contain the stabilizers found in commercial ice creams, so it’s best enjoyed within a few weeks. It will maintain its peak creaminess for about 1-2 weeks, though it will remain edible for longer. To ensure you experience its best texture, make sure to enjoy it regularly until it’s gone!
When you’re ready to indulge, remember that homemade ice cream, whether vegan or dairy-based, benefits from a short resting period. Remove the container from the freezer and let it sit at room temperature for 5-10 minutes to soften slightly. This brief wait allows the ice cream to become perfectly scoopable and brings out its full, creamy flavor. Enjoy every spoonful!
Craving More Irresistible Vegan Desserts?
If you’ve fallen in love with this creamy vegan ice cream, you’re in for a treat! The world of plant-based desserts is vast and exciting. Explore some of these other fantastic recipes to satisfy your sweet tooth:
- Zesty Vegan Lemon Bars
- Rich Vegan Peanut Butter Pie
- Tangy Vegan Key Lime Pie
- Sweet Vegan Strawberry Cupcakes
The Best Vegan Ice Cream
This is the best homemade Vegan Ice Cream and it’s easy to make with just 5 ingredients! Serve with hot fudge and vegan whipped cream or any number of add ins like cookie dough or brownie pieces.
Prep Time: 30 mins
Chilling Time: 30 mins
Total Time: 1 hr
Servings: 12 servings
Pin Recipe
Ingredients
- 1 1/4 cups raw cashews
- (2) 13.5 ounce cans full fat coconut milk
- 3/4 cup granulated sugar
- 1/4 teaspoon salt
- 1 tablespoon pure vanilla extract
Instructions
- Prepare: Place the bowl for your ice cream maker in the freezer a day before you plan on making it. I like to keep my bowl in the freezer when not in use, that way it’s always ready!
- Soak the cashews: Bring 3 cups of water to a boil. Pour the hot water over the cashews and let soak for at least 5 minutes (or up to 3 hours).
- Blend: Drain the cashews and discard the soaking water. Add them to a high powered blender along with the coconut milk, sugar, salt and vanilla extract. Blend on high speed until very smooth and creamy, a full 3-4 minutes. Don’t blend for less time or you may end up with pieces of cashews.
- Chill: Pour the mixture into a large bowl and place in the freezer to chill for about 30 minutes. It can get a bit warm when blending, and we want it to be cold when we churn it.
- Churn: Set up your ice cream maker and remove both the ice cream maker bowl and the ice cream mixture from the freezer. Pour the mixture into the ice cream machine and churn according to the manufacturer instructions, about 20-25 minutes, until it looks like soft serve ice cream. If using any add-ins, add them in at the very end, once it looks like soft serve.
- Freeze: Transfer the soft serve ice cream to a loaf pan and smooth the top with a spoon. Place a piece of plastic wrap directly on the ice cream to prevent ice crystals from forming. Place another layer of wrap on top of the pan and place in the freezer to set completely.
- Serve: It should be ready in about 4-5 hours as firm ice cream. Remove the container from the freezer, let sit for a few minutes before scooping and serving. Enjoy with vegan hot fudge and whipped cream, if desired.
Notes
- This homemade ice cream truly cannot be made without an ice cream maker.
- If you truly can’t have coconut, you can substitute 2 1/2 cups of vegan creamer. It’s a bit more icy and less creamy due to the decreased fat content, but it’s still quite good.
- I have not tried it without cashews, so I don’t know of a substitute here.
- For add-in options, try cookie dough, crumbled cookies, crumbled brownie pieces, sprinkles, fruit, caramel, peanut butter cups, and more. See the post above for links and more ideas.
Nutrition
Serving: 1 of 12 servings | Calories: 251kcal | Carbohydrates: 18g | Protein: 4g | Fat: 19g | Saturated Fat: 13g | Polyunsaturated Fat: 1g | Monounsaturated Fat: 4g | Sodium: 59mg | Potassium: 231mg | Fiber: 1g | Sugar: 13g | Vitamin C: 1mg | Calcium: 17mg | Iron: 3mg
Course: Dessert
Cuisine: American
Author: Nora Taylor
Did you make this recipe?
Mention @nora_cooks_vegan_ or tag #noracooks!