
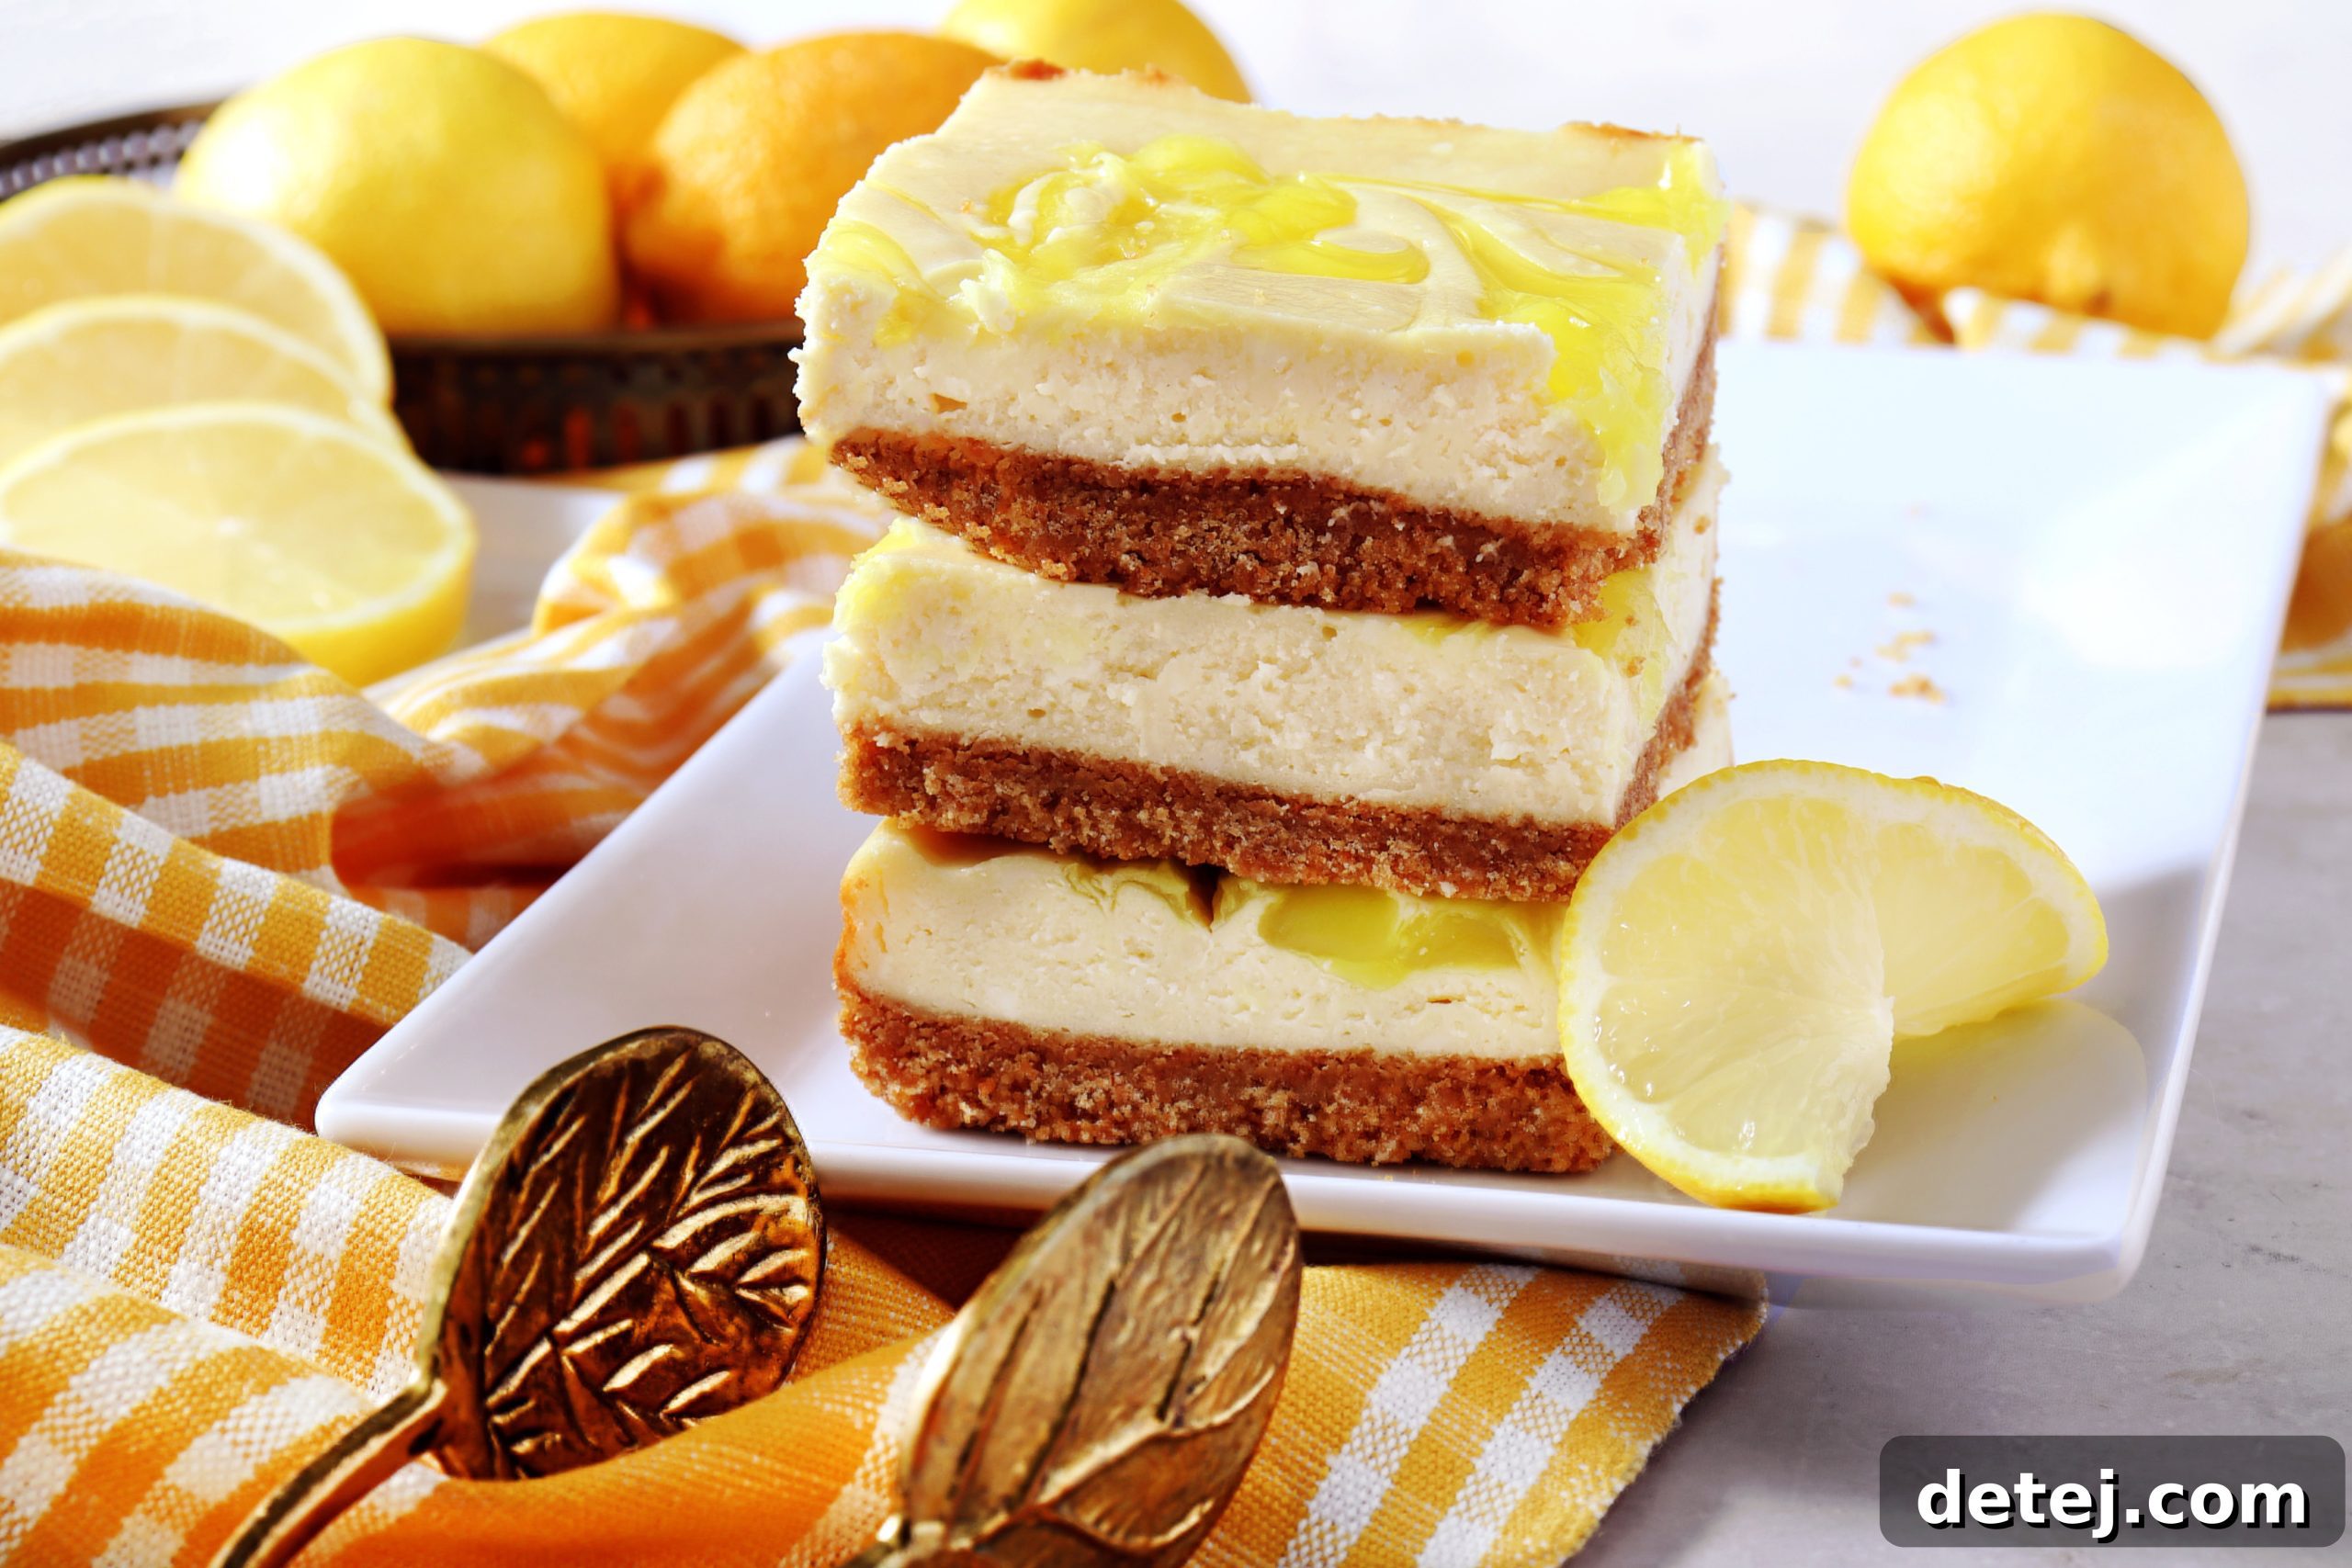
Introduction: Indulge in Zesty Lemon Swirl Cheesecake Bars
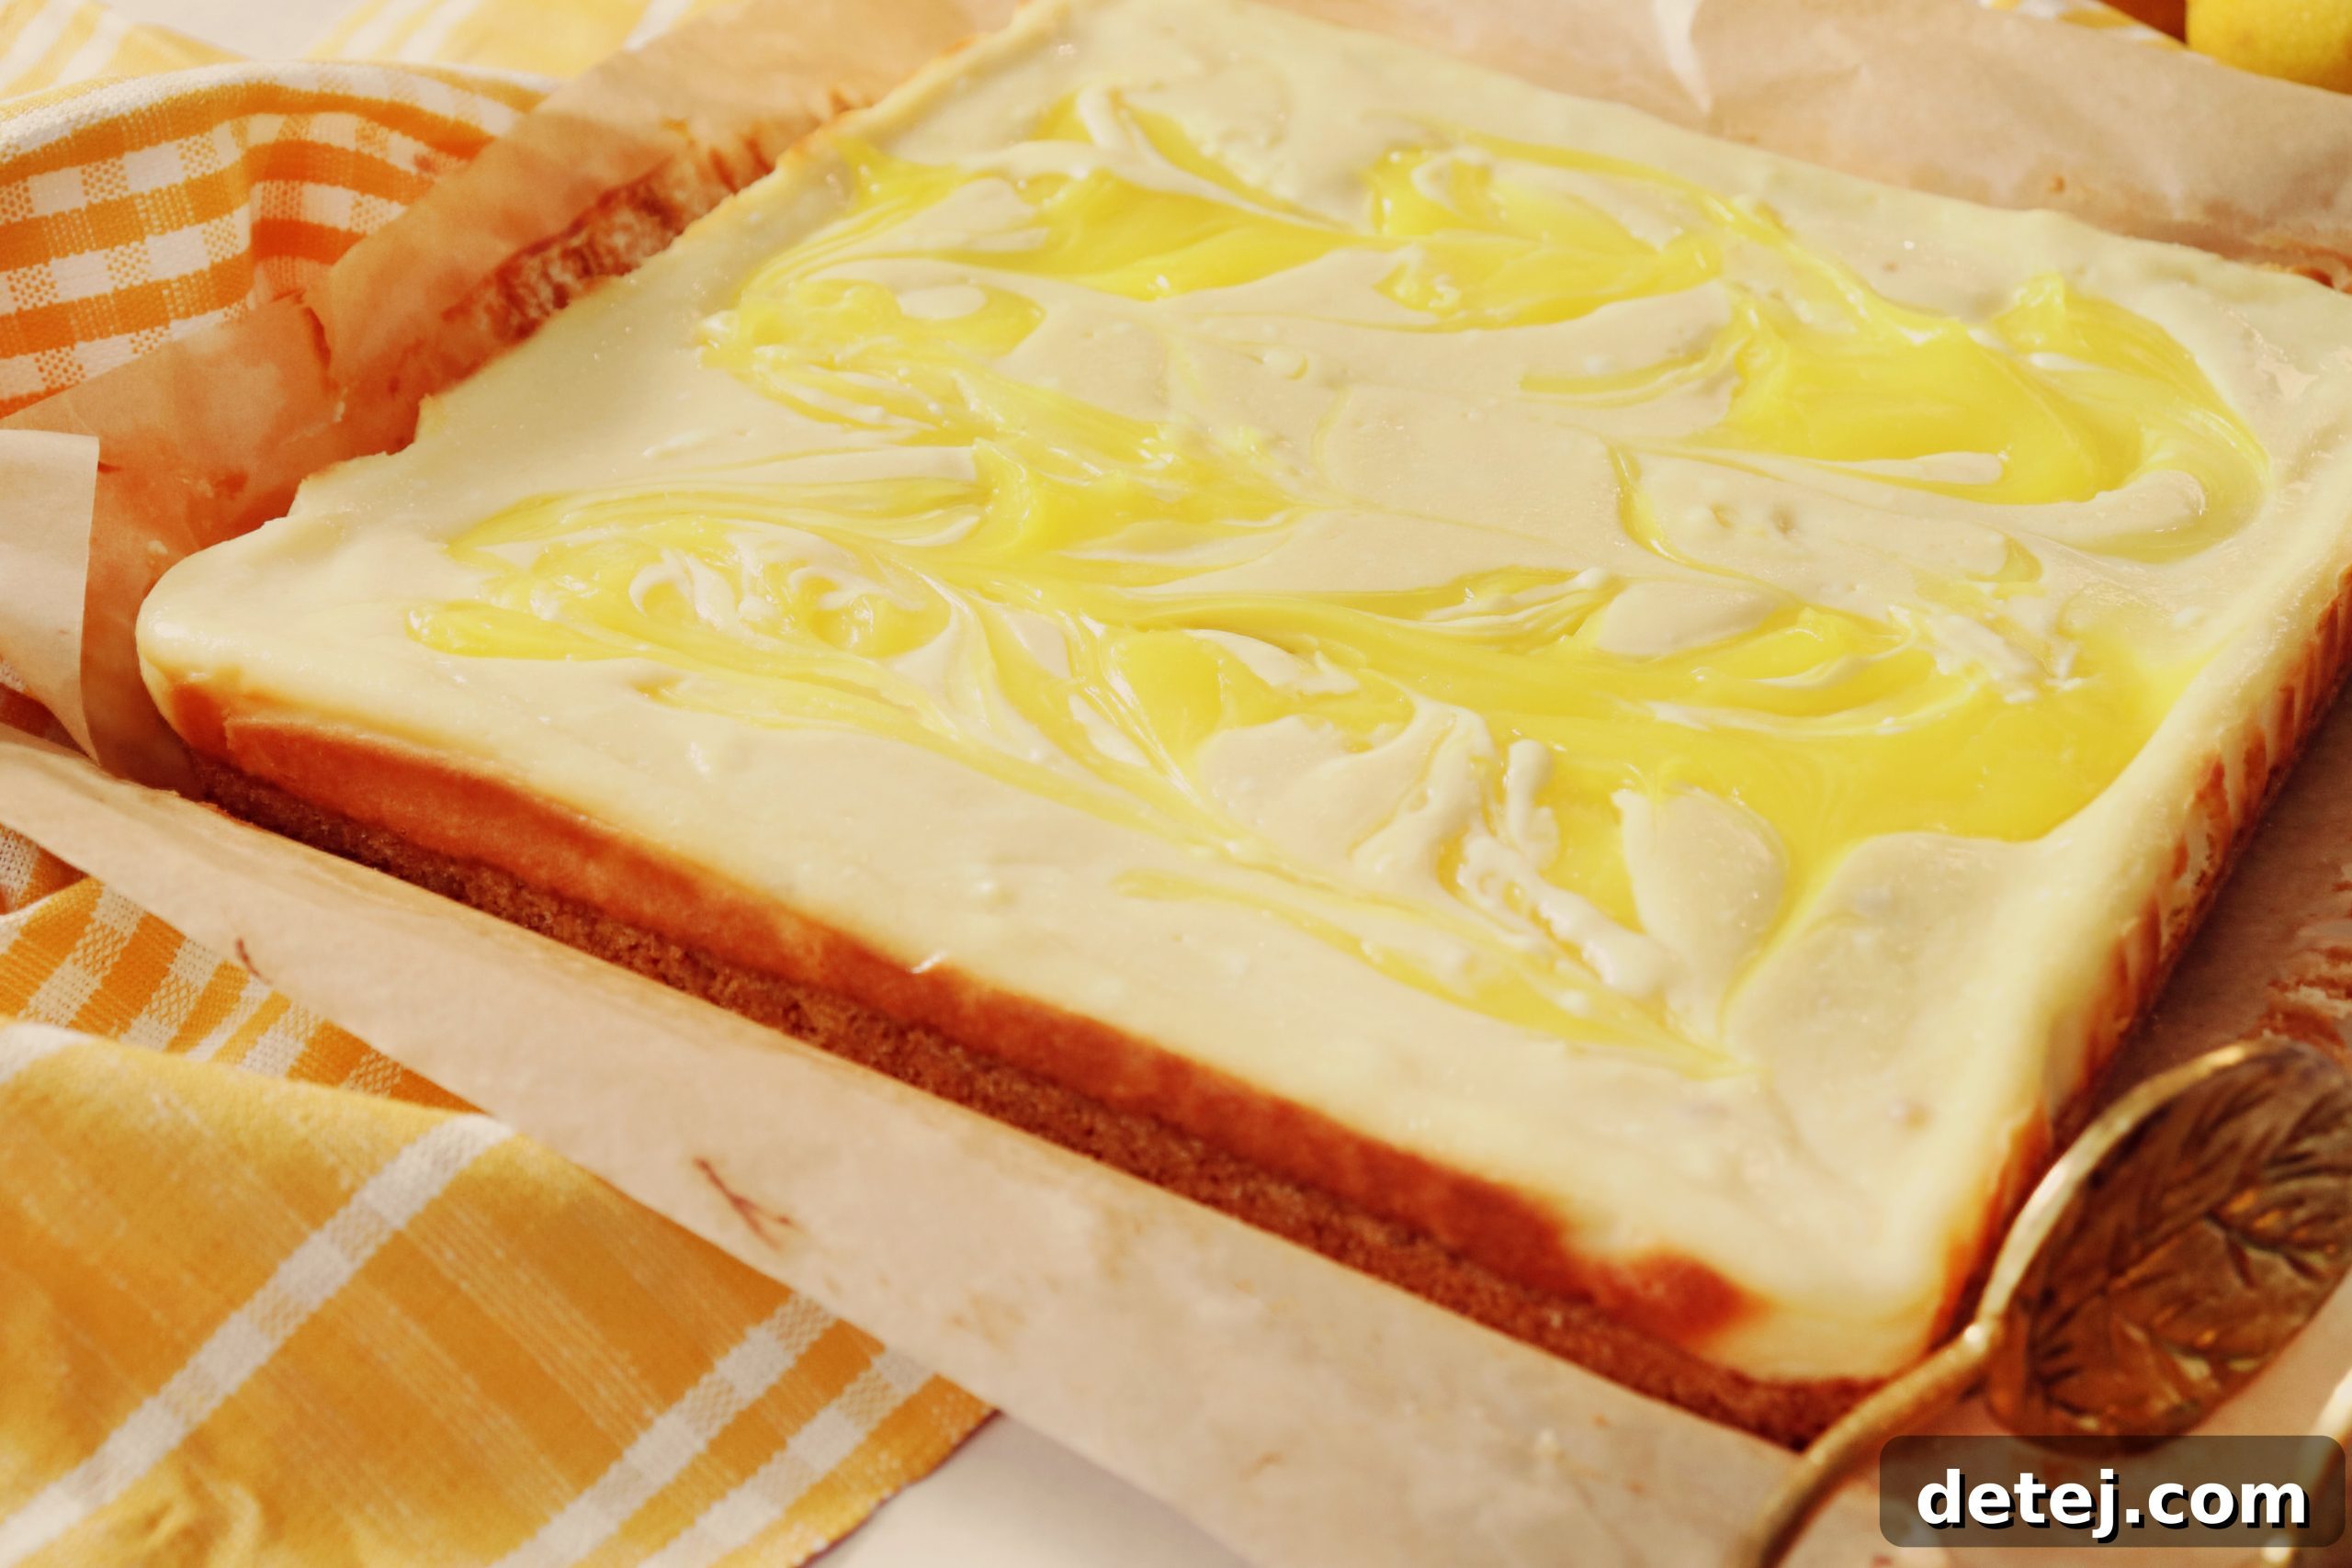
Welcome, fellow dessert enthusiasts! Prepare to embark on a culinary journey that promises a burst of sunshine in every bite. Today, we’re diving into the delightful world of Lemon Swirl Cheesecake Bars – a vibrant, tangy twist on the classic cheesecake that’s sure to become your new favorite. Imagine the rich, velvety texture of traditional cheesecake harmoniously blended with the bright, zesty essence of fresh lemons, all atop a perfectly crumbly graham cracker crust. These bars are not just a dessert; they’re an experience, offering a unique blend of creamy, sweet, and tart flavors that dance on your palate. Perfect for any occasion, from casual family gatherings to elegant dinner parties, these homemade Lemon Swirl Cheesecake Bars are remarkably easy to prepare, even for novice bakers. The anticipation of creating and sharing this exquisite treat has been building, and I’m thrilled to guide you through each step to achieve baking perfection. Get ready to transform simple ingredients into a show-stopping dessert that truly captures the essence of spring and summer.
This recipe emphasizes:
- A Bright, Citrusy Elevation: Infusing the timeless cheesecake with invigorating lemon for a refreshing flavor profile.
- Effortless Preparation: Clear, step-by-step instructions ensure success for bakers of all skill levels.
- Irresistible Texture & Taste: A delightful combination of a buttery crust, creamy filling, and tangy lemon swirls, designed for sharing and savoring.
Gather Your Essential Ingredients for Lemon Swirl Cheesecake Bars
Crafting the perfect batch of Lemon Swirl Cheesecake Bars begins with selecting high-quality ingredients. Each component plays a crucial role in achieving that coveted balance of flavor and texture. Pay close attention to the details, especially regarding ingredient temperatures, as they significantly impact the final outcome. Using fresh, vibrant lemons is non-negotiable for that authentic zesty punch that makes these bars so special.
- For the Buttery Graham Cracker Crust:
- 1 ½ cups fine graham cracker crumbs: The foundation of our cheesecake bars. You can easily make these by pulsing whole graham cracker sheets in a food processor until uniformly fine.
- 6 tablespoons melted unsalted butter: This binds the crumbs together, creating a rich, golden-brown, and sturdy base.
- ¼ cup granulated sugar (or brown sugar for added depth): Adds a touch of sweetness to the crust, complementing the tangy filling. Brown sugar offers a slightly molasses-like flavor that can enhance the overall profile.
- For the Velvety Creamy Cheesecake Layer:
- 2 (8 oz) packages full-fat cream cheese, at room temperature: This is paramount! Room temperature cream cheese ensures a silky-smooth, lump-free batter, which is key to a truly decadent cheesecake.
- ½ cup granulated sugar: Sweetens the rich cream cheese filling, balancing the lemon’s tang.
- 2 large eggs, at room temperature: Also crucial for a smooth batter and contributes to the cheesecake’s structure and creamy consistency.
- 3 tablespoons all-purpose flour: A small amount of flour helps stabilize the cheesecake, preventing cracks and providing a firmer texture.
- 1 teaspoon pure vanilla extract: Enhances the overall flavor profile, adding a warm, aromatic note that beautifully complements the lemon.
- ¼ teaspoon kosher salt: A pinch of salt brightens all the flavors, making the sweet and tart notes pop.
- For the Signature Zesty Lemon Swirl:
- 1 cup lemon cream pie filling (about half a standard can): This convenient ingredient delivers a bright, concentrated lemon flavor and perfect consistency for swirling. While the original recipe suggests lemon juice and zest, using a good quality lemon cream pie filling simplifies the process and guarantees a vibrant swirl. Alternatively, you could make a homemade lemon curd for an even more intense, artisanal flavor.
Essential Equipment Checklist for Perfect Cheesecake Bars
Having the right tools at hand can make the baking process smoother and more enjoyable. While some items are essential, others offer convenience or help achieve professional-looking results for your Lemon Swirl Cheesecake Bars. Here’s what you’ll need to set yourself up for success:
- A Food Processor or Rolling Pin: Ideal for transforming graham cracker sheets into fine, uniform crumbs. If you don’t have a food processor, a sturdy Ziplock bag and a rolling pin work just as effectively for crushing the crackers.
- Medium Mixing Bowl: Perfect for combining your graham cracker crumbs, melted butter, and sugar, forming the irresistible base for your cheesecake.
- Electric Mixer (Handheld or Stand Mixer): An indispensable tool for achieving a perfectly smooth and creamy cheesecake batter. A handheld electric mixer is versatile and sufficient, but a stand mixer with a paddle attachment makes the job even easier, ensuring thorough mixing without over-aerating the batter.
- Large and Small Mixing Bowls: You’ll need a large bowl for the main cheesecake batter and a smaller bowl to prepare the lemon swirl mixture before gently incorporating it.
- A 9×9-inch Baking Pan: This size is ideal for producing perfectly proportioned bars. Lining it with parchment paper is a critical step for effortless removal of the chilled cheesecake from the pan, preventing sticking and allowing for clean slices.
- Sharp Knife and Butter Knife (or Skewer): A sharp knife is essential for making clean, precise cuts once the bars are set. A butter knife, or even a thin skewer or toothpick, is perfect for creating those beautiful, artistic swirls in the cheesecake batter, adding visual appeal to your zesty dessert.
- Plastic Wrap: Essential for covering your cheesecake while it chills, protecting it from absorbing refrigerator odors and helping it set properly.
- Cooking Spray (Optional, for parchment adhesion): A light mist of cooking spray on the pan before laying down the parchment paper can help the paper adhere smoothly, preventing it from shifting as you press in the crust.
- Wire Rack: For cooling the baked cheesecake bars evenly after they come out of the oven, allowing air to circulate around the pan and prevent soggy bottoms.
Preparing the Flavorful Graham Cracker Crust
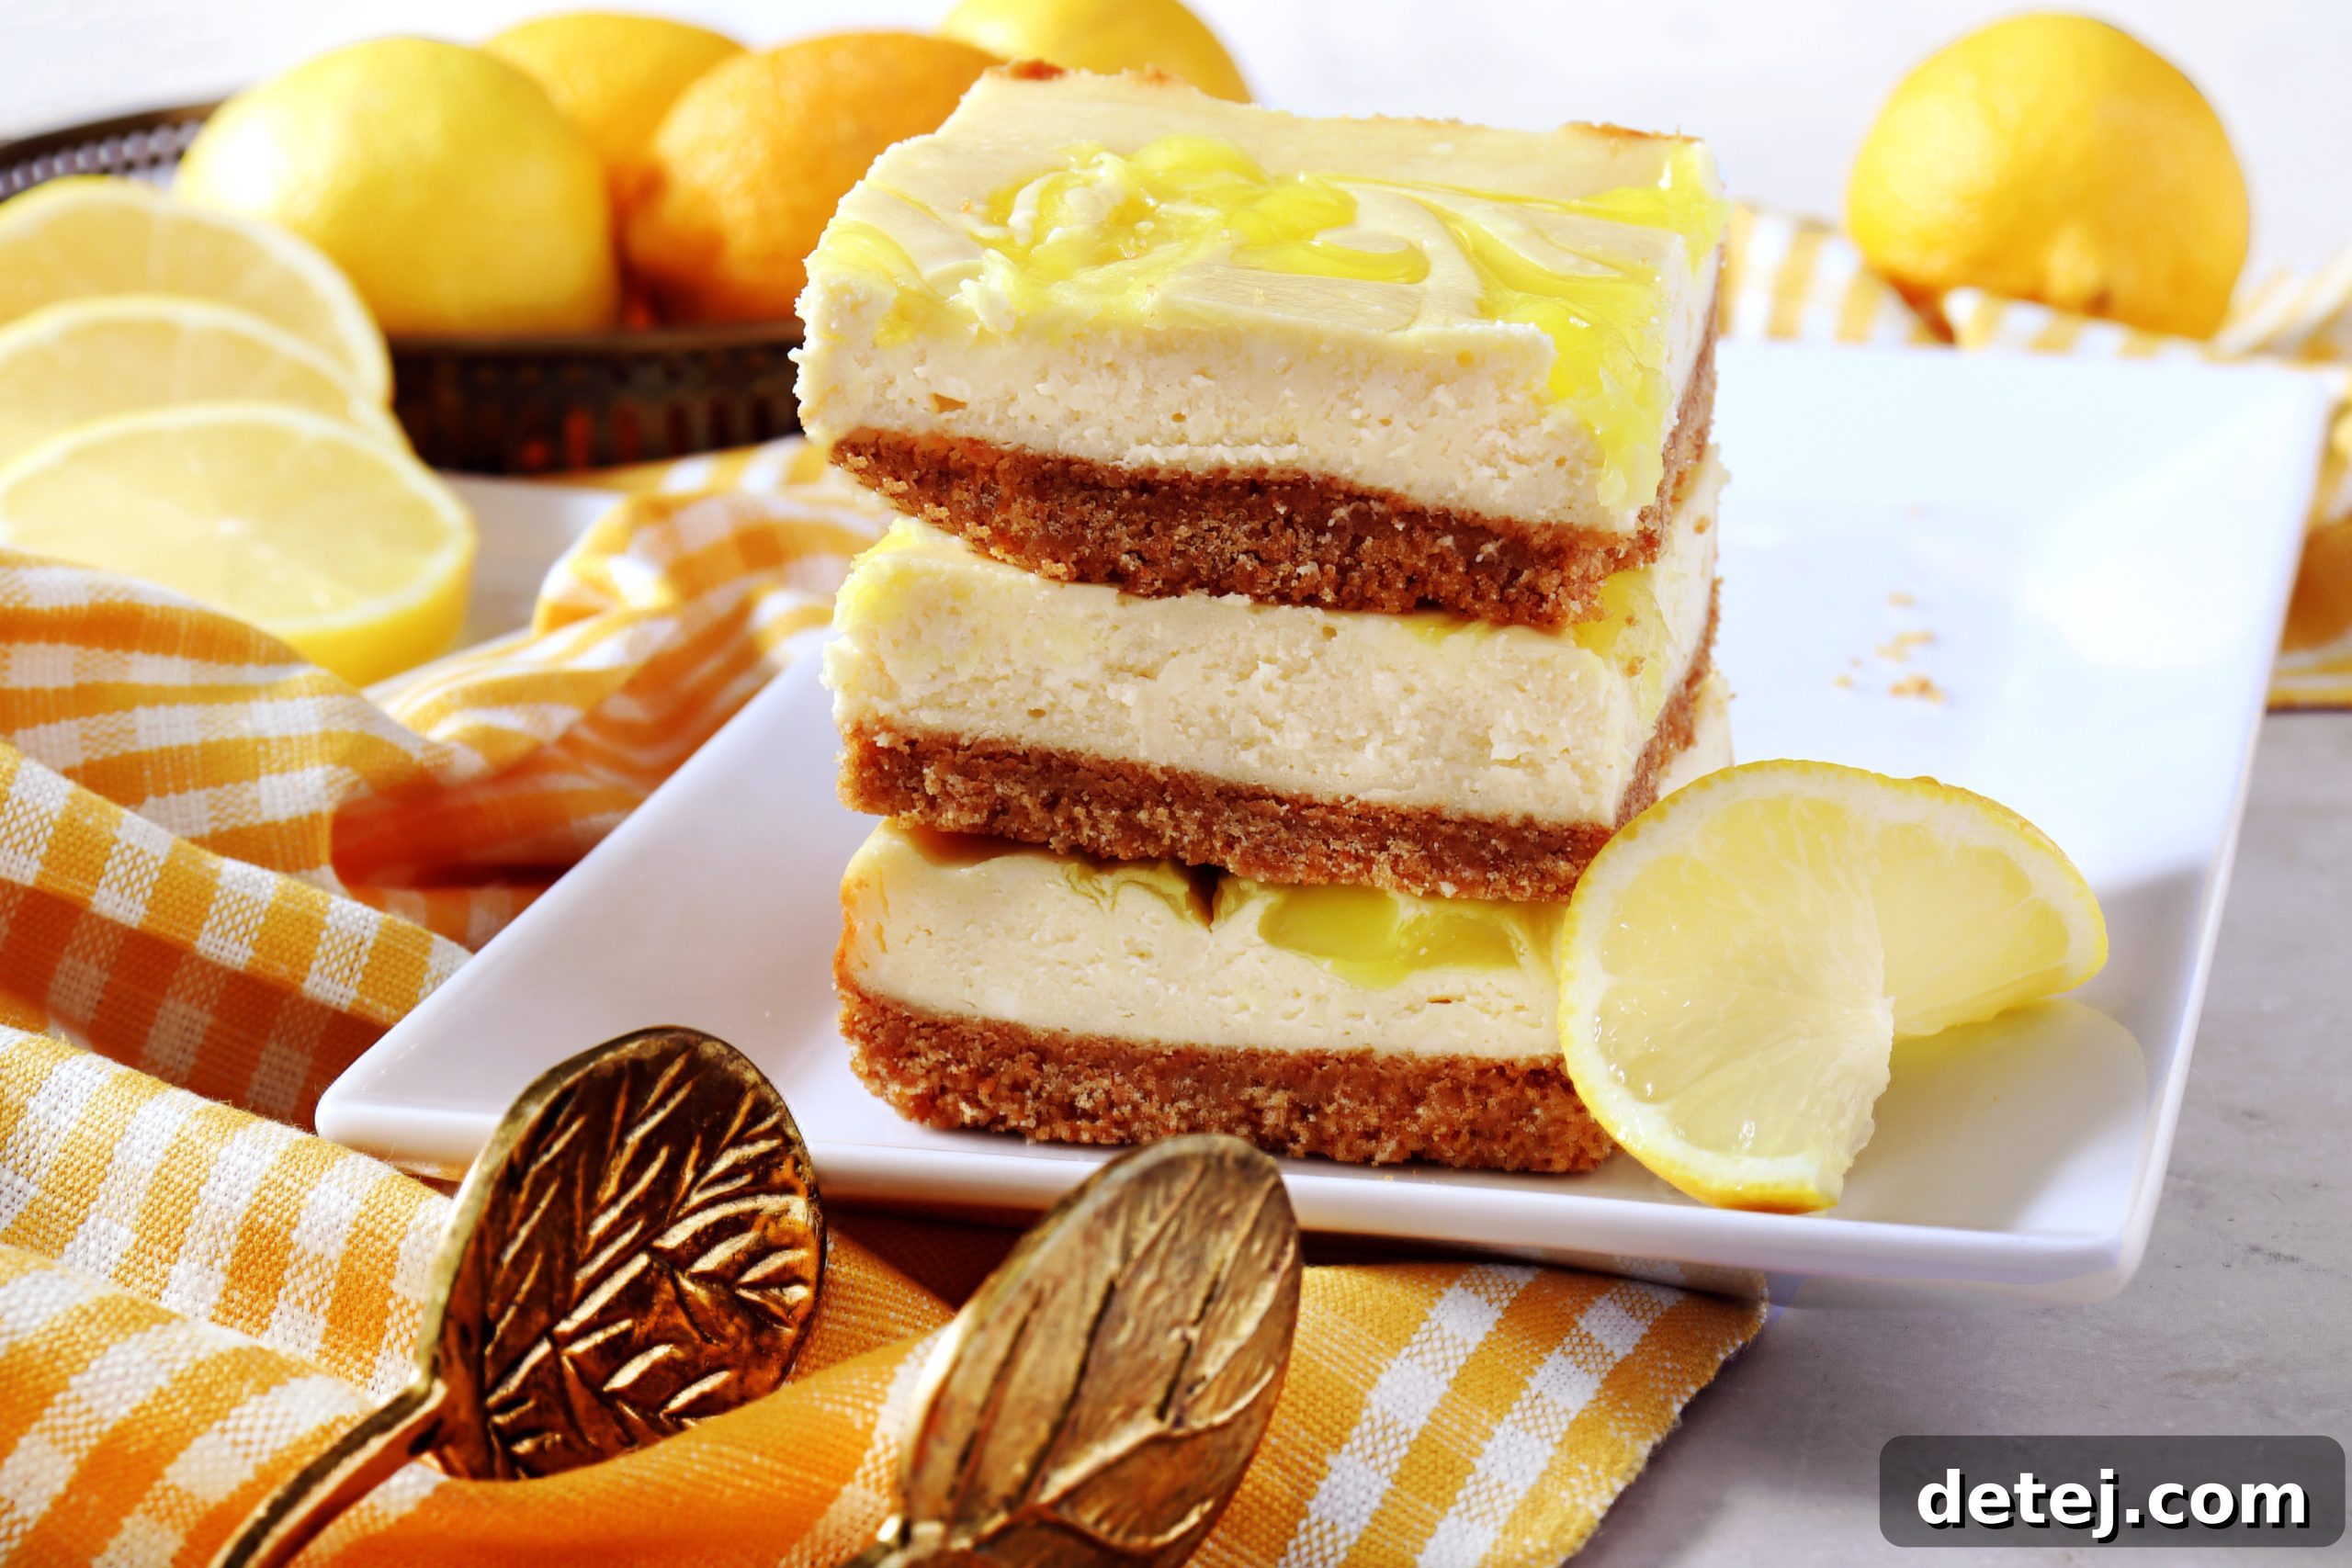
The foundation of any great cheesecake bar is a perfectly crafted crust, and our Lemon Swirl Cheesecake Bars are no exception. This buttery graham cracker crust offers a delightful textural contrast to the creamy filling and a subtle sweetness that complements the zesty lemon. It’s a simple yet crucial step that sets the stage for a truly exquisite dessert.
Let’s begin by preparing our baking pan. Preheat your oven to 350°F (175°C). Take your 9×9-inch baking pan and line it thoroughly with parchment paper. Ensure the paper overhangs the sides—this clever trick will act as “handles” later, making it incredibly easy to lift your entire chilled cheesecake out of the pan for clean slicing. A quick spritz of cooking spray in the pan before adding the parchment can help keep it in place.
Now, for the crust itself:
- Combine the Dry Ingredients: In a medium-sized mixing bowl, combine the fine graham cracker crumbs with the granulated sugar (or brown sugar, if you prefer its richer notes). Stir them together well, ensuring the sugar is evenly distributed throughout the crumbs. The aroma of graham crackers filling your kitchen is the first hint of the deliciousness to come!
- Incorporate the Melted Butter: Pour the melted butter over the crumb mixture. Using a fork or your fingertips, mix until all the crumbs are moistened and the mixture resembles damp sand. It should hold together when squeezed. The butter is key to forming a cohesive and flavorful crust.
- Press into the Pan: Transfer the moistened graham cracker mixture into the prepared baking pan. Using the bottom of a flat glass or a measuring cup, firmly press the mixture evenly across the bottom of the pan. The goal is a compact, uniform layer. The firmer you press, the less crumbly your crust will be when sliced.
- Pre-bake to Perfection: Place the pan in your preheated oven and bake for 8 minutes. This brief pre-baking step helps to set the crust, making it crispier and preventing it from becoming soggy under the cheesecake filling. Once baked, remove it from the oven and set it aside to cool slightly while you prepare the creamy filling.
This golden, fragrant crust is now ready to receive its luscious cheesecake topping, creating the perfect base for our zesty lemon adventure.
Crafting the Irresistibly Creamy Cheesecake Layer
Now that our buttery graham cracker crust is patiently cooling, it’s time to turn our attention to the star of the show: the rich, velvety creamy cheesecake layer. This is where the magic truly begins to unfold, transforming simple ingredients into a decadent base for our bright lemon swirls. The key to an ultra-smooth, crack-free cheesecake lies in careful preparation and gentle mixing.
Before you begin, ensure your cream cheese and eggs are at room temperature. This is not just a suggestion; it’s a non-negotiable step for achieving that signature silky-smooth cheesecake texture. Cold ingredients tend to form lumps in the batter and can result in over-mixing, which introduces too much air, leading to cracks during baking.
Here’s how to create your flawless cheesecake filling:
- Soften the Cream Cheese: In a large mixing bowl, place your softened full-fat cream cheese. If it’s still a bit firm, you can gently warm it in the microwave for 10-15 seconds, being careful not to melt it. We want it pliable and smooth.
- Beat Until Creamy: Using your electric mixer (either a handheld mixer or the paddle attachment of a stand mixer), beat the cream cheese on medium-low speed until it is completely smooth and free of any lumps. This step is crucial for an even texture. Scrape down the sides of the bowl frequently to ensure everything is thoroughly incorporated.
- Add Sweetness and Stability: Gradually add the granulated sugar to the cream cheese, continuing to beat on low speed until just combined. Next, incorporate the all-purpose flour and kosher salt. The flour helps to stabilize the cheesecake and prevent cracking, while the salt enhances all the flavors. Mix until these dry ingredients are just incorporated – avoid overmixing at this stage.
- Introduce Eggs and Vanilla: Lightly beat the room temperature eggs in a separate small bowl before adding them to the cream cheese mixture, one at a time. Mix on the lowest speed possible, just until each egg is incorporated. Overmixing after adding the eggs can introduce excess air, which can cause the cheesecake to puff up too much and then crack as it cools. Finally, stir in the pure vanilla extract. The goal is a uniform, creamy batter with minimal air bubbles.
Once your cheesecake batter is smooth, thick, and utterly luscious, it’s ready to be spread over the prepared graham cracker crust. Take about ¾ of the cheesecake mixture and gently spread it evenly over the pre-baked crust. This forms the primary, creamy canvas for our vibrant lemon swirls.
Adding the Signature Zesty Lemon Swirl
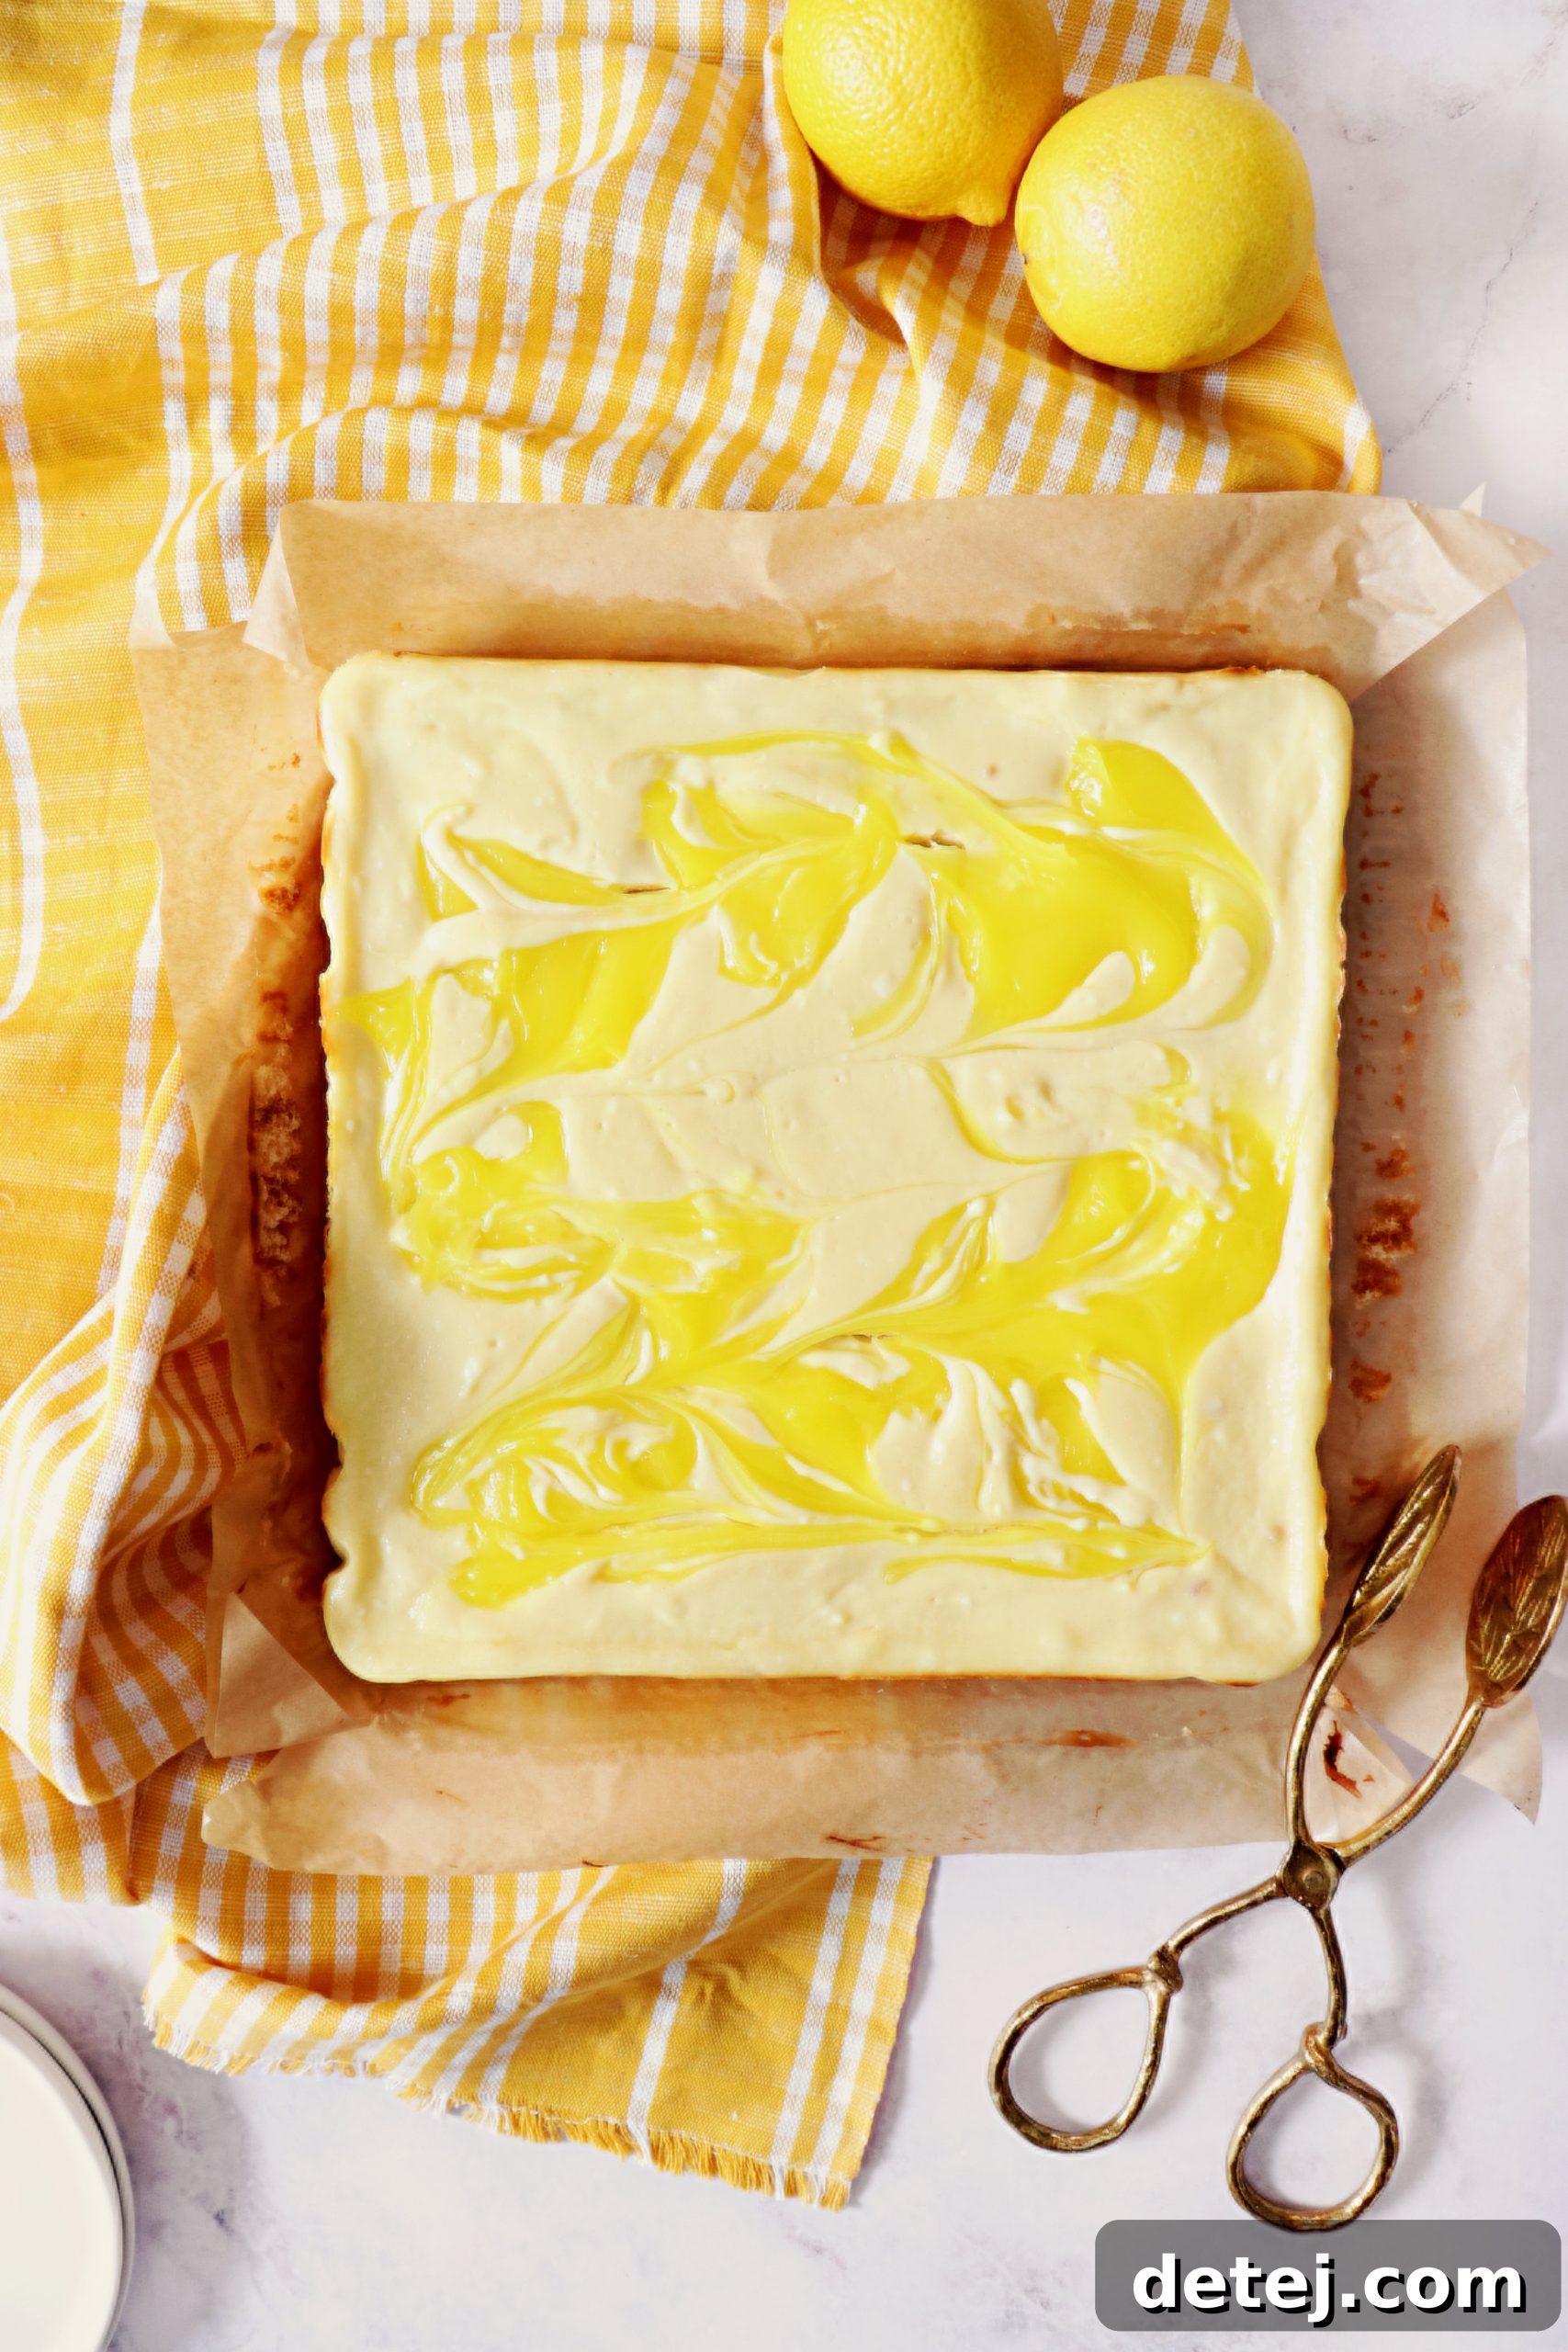
This is where our Lemon Swirl Cheesecake Bars truly earn their name and captivating appearance. The zesty lemon swirl is not just for aesthetics; it infuses each bite with a bright, tangy burst that perfectly complements the rich, creamy cheesecake. It’s an easy step, but one that allows for a touch of artistic flair!
With the majority of your creamy cheesecake batter spread evenly over the graham cracker crust, it’s time to prepare the lemon component. Take the remaining ¼ of the cheesecake batter you set aside earlier. In a small bowl, gently fold in the 1 cup of lemon cream pie filling. This mixture will be your vibrant yellow swirl. The lemon cream pie filling is already perfectly sweetened and thickened, making it an ideal choice for this application, delivering that concentrated, bright lemon flavor without needing to add extra lemon juice and zest directly to the main batter, which could alter its consistency.
Now for the swirling technique:
- Dot with Lemon Mixture: Carefully drop spoonfuls of the lemon cream pie and cheesecake mixture over the top of the plain cheesecake layer already in the pan. Distribute these dots somewhat evenly across the surface. Don’t worry too much about perfection; randomness often yields the most beautiful results.
- Create the Swirls: Take a butter knife, a skewer, or even a chopstick. Gently drag it through the lemon dots and into the plain cheesecake layer beneath. Move the knife in a swirling or figure-eight motion. The key here is to be gentle and not overmix. You want distinct streaks and pockets of lemon, creating a beautiful marbled effect, rather than fully incorporating the lemon into the entire cheesecake. Think of it as painting with dessert! A few deliberate swirls are often more effective than excessive mixing, which can muddy the colors and diminish the “swirl” effect.
The goal is a visually appealing marble pattern that promises both creamy indulgence and a refreshing lemon zing in every bite. This vibrant addition makes each bar unique and utterly tempting. Now, your masterpiece is ready for the oven.
Baking Your Lemon Swirl Cheesecake Bars to Perfection
The moment of truth arrives as we transition our beautifully swirled creation into the oven. Baking cheesecake is a delicate balance, and achieving that perfectly set, creamy texture for your Lemon Swirl Cheesecake Bars requires attention to detail. Don’t worry, with these tips, you’ll achieve a flawless result that’s both visually stunning and incredibly delicious.
Your oven should already be preheated to 350°F (175°C) from when you baked the crust. This consistent temperature is crucial for even baking. Place your baking pan, with its lovely graham cracker crust and swirled cheesecake filling, gently into the center of the preheated oven. Baking in the center ensures that heat circulates evenly around the pan, preventing any hot spots that could lead to uneven baking or cracking.
The baking time for these bars is typically between 35 to 40 minutes. However, oven temperatures can vary, so it’s always best to rely on visual cues rather than strictly adhering to a timer. Here’s what to look for to know when your cheesecake bars are perfectly baked:
- Subtle Jiggle Test: Gently open the oven door and lightly jiggle the pan. The edges of the cheesecake should appear set and slightly puffed, but the very center (about a 2-inch circle) should still have a slight jiggle to it, almost like firm gelatin. This slight jiggle is the secret to a wonderfully creamy, melt-in-your-mouth texture once cooled and chilled. If the entire cheesecake is completely firm, it’s likely overbaked, which can result in a dry texture and potential cracks.
- No Browning (or minimal): Cheesecake should generally not brown significantly on top. The surface should remain light in color, with the lemon swirls still vibrant. If you notice it browning too quickly, you can loosely tent the pan with aluminum foil for the remaining bake time.
Remember, patience is your friend when baking cheesecake. Resist the urge to open the oven door frequently, as sudden changes in temperature can cause the cheesecake to crack. Once you’ve determined your cheesecake bars are perfectly baked, carefully remove the pan from the oven. The intoxicating aroma of sweet lemon and rich cream cheese will fill your kitchen, a delightful preview of the treat to come. Now, it’s time for the crucial cooling and chilling process.
Mastering Cooling and Chilling for Supreme Results
You’ve successfully baked your beautiful Zesty Lemon Swirl Cheesecake Bars, and the aroma filling your kitchen is simply divine. But don’t be tempted to dive in just yet! The cooling and chilling phases are just as critical as the baking itself for achieving that coveted, perfectly set, and wonderfully creamy texture. Skipping or rushing these steps can lead to a less-than-ideal dessert, potentially resulting in cracks or a softer, less firm consistency.
Here’s how to ensure your cheesecake bars reach their full potential:
- Initial Cooling on a Wire Rack: As soon as you remove the baking pan from the oven, place it directly onto a wire rack. This allows air to circulate underneath the pan, promoting even cooling and preventing the bottom crust from becoming soggy. Let the cheesecake bars cool at room temperature for at least 1 to 2 hours, or until the pan is completely cool to the touch. This gradual cooling prevents thermal shock, which is a common cause of cracks in cheesecakes. As it cools, you might notice the slight jiggle in the center firming up, a sign that the residual heat is continuing to cook the cheesecake gently.
- The Essential Chill: Once the cheesecake has reached room temperature, it’s time for its cold bath. This step is non-negotiable for achieving a firm, sliceable bar with a truly luxurious texture. Tightly cover the baking pan with plastic wrap, ensuring no air can get in. This not only protects the cheesecake from absorbing any refrigerator odors but also helps to lock in moisture, keeping your bars fresh and flavorful.
- Refrigerator Time: Transfer the covered pan to the refrigerator. For best results, I recommend chilling for a minimum of 4 hours, but ideally, overnight. The longer these Lemon Swirl Cheesecake Bars chill, the firmer and more developed their flavors will become. During this time, the cream cheese filling fully sets, the lemon flavor intensifies, and the entire dessert integrates into a cohesive, delicious treat.
This patient process of cooling and chilling is what elevates your homemade cheesecake bars from good to truly extraordinary. When you finally cut into them, you’ll be rewarded with perfectly distinct layers and a rich, creamy texture that sings with vibrant lemon.
Slicing into Perfect Lemon Swirl Cheesecake Bars
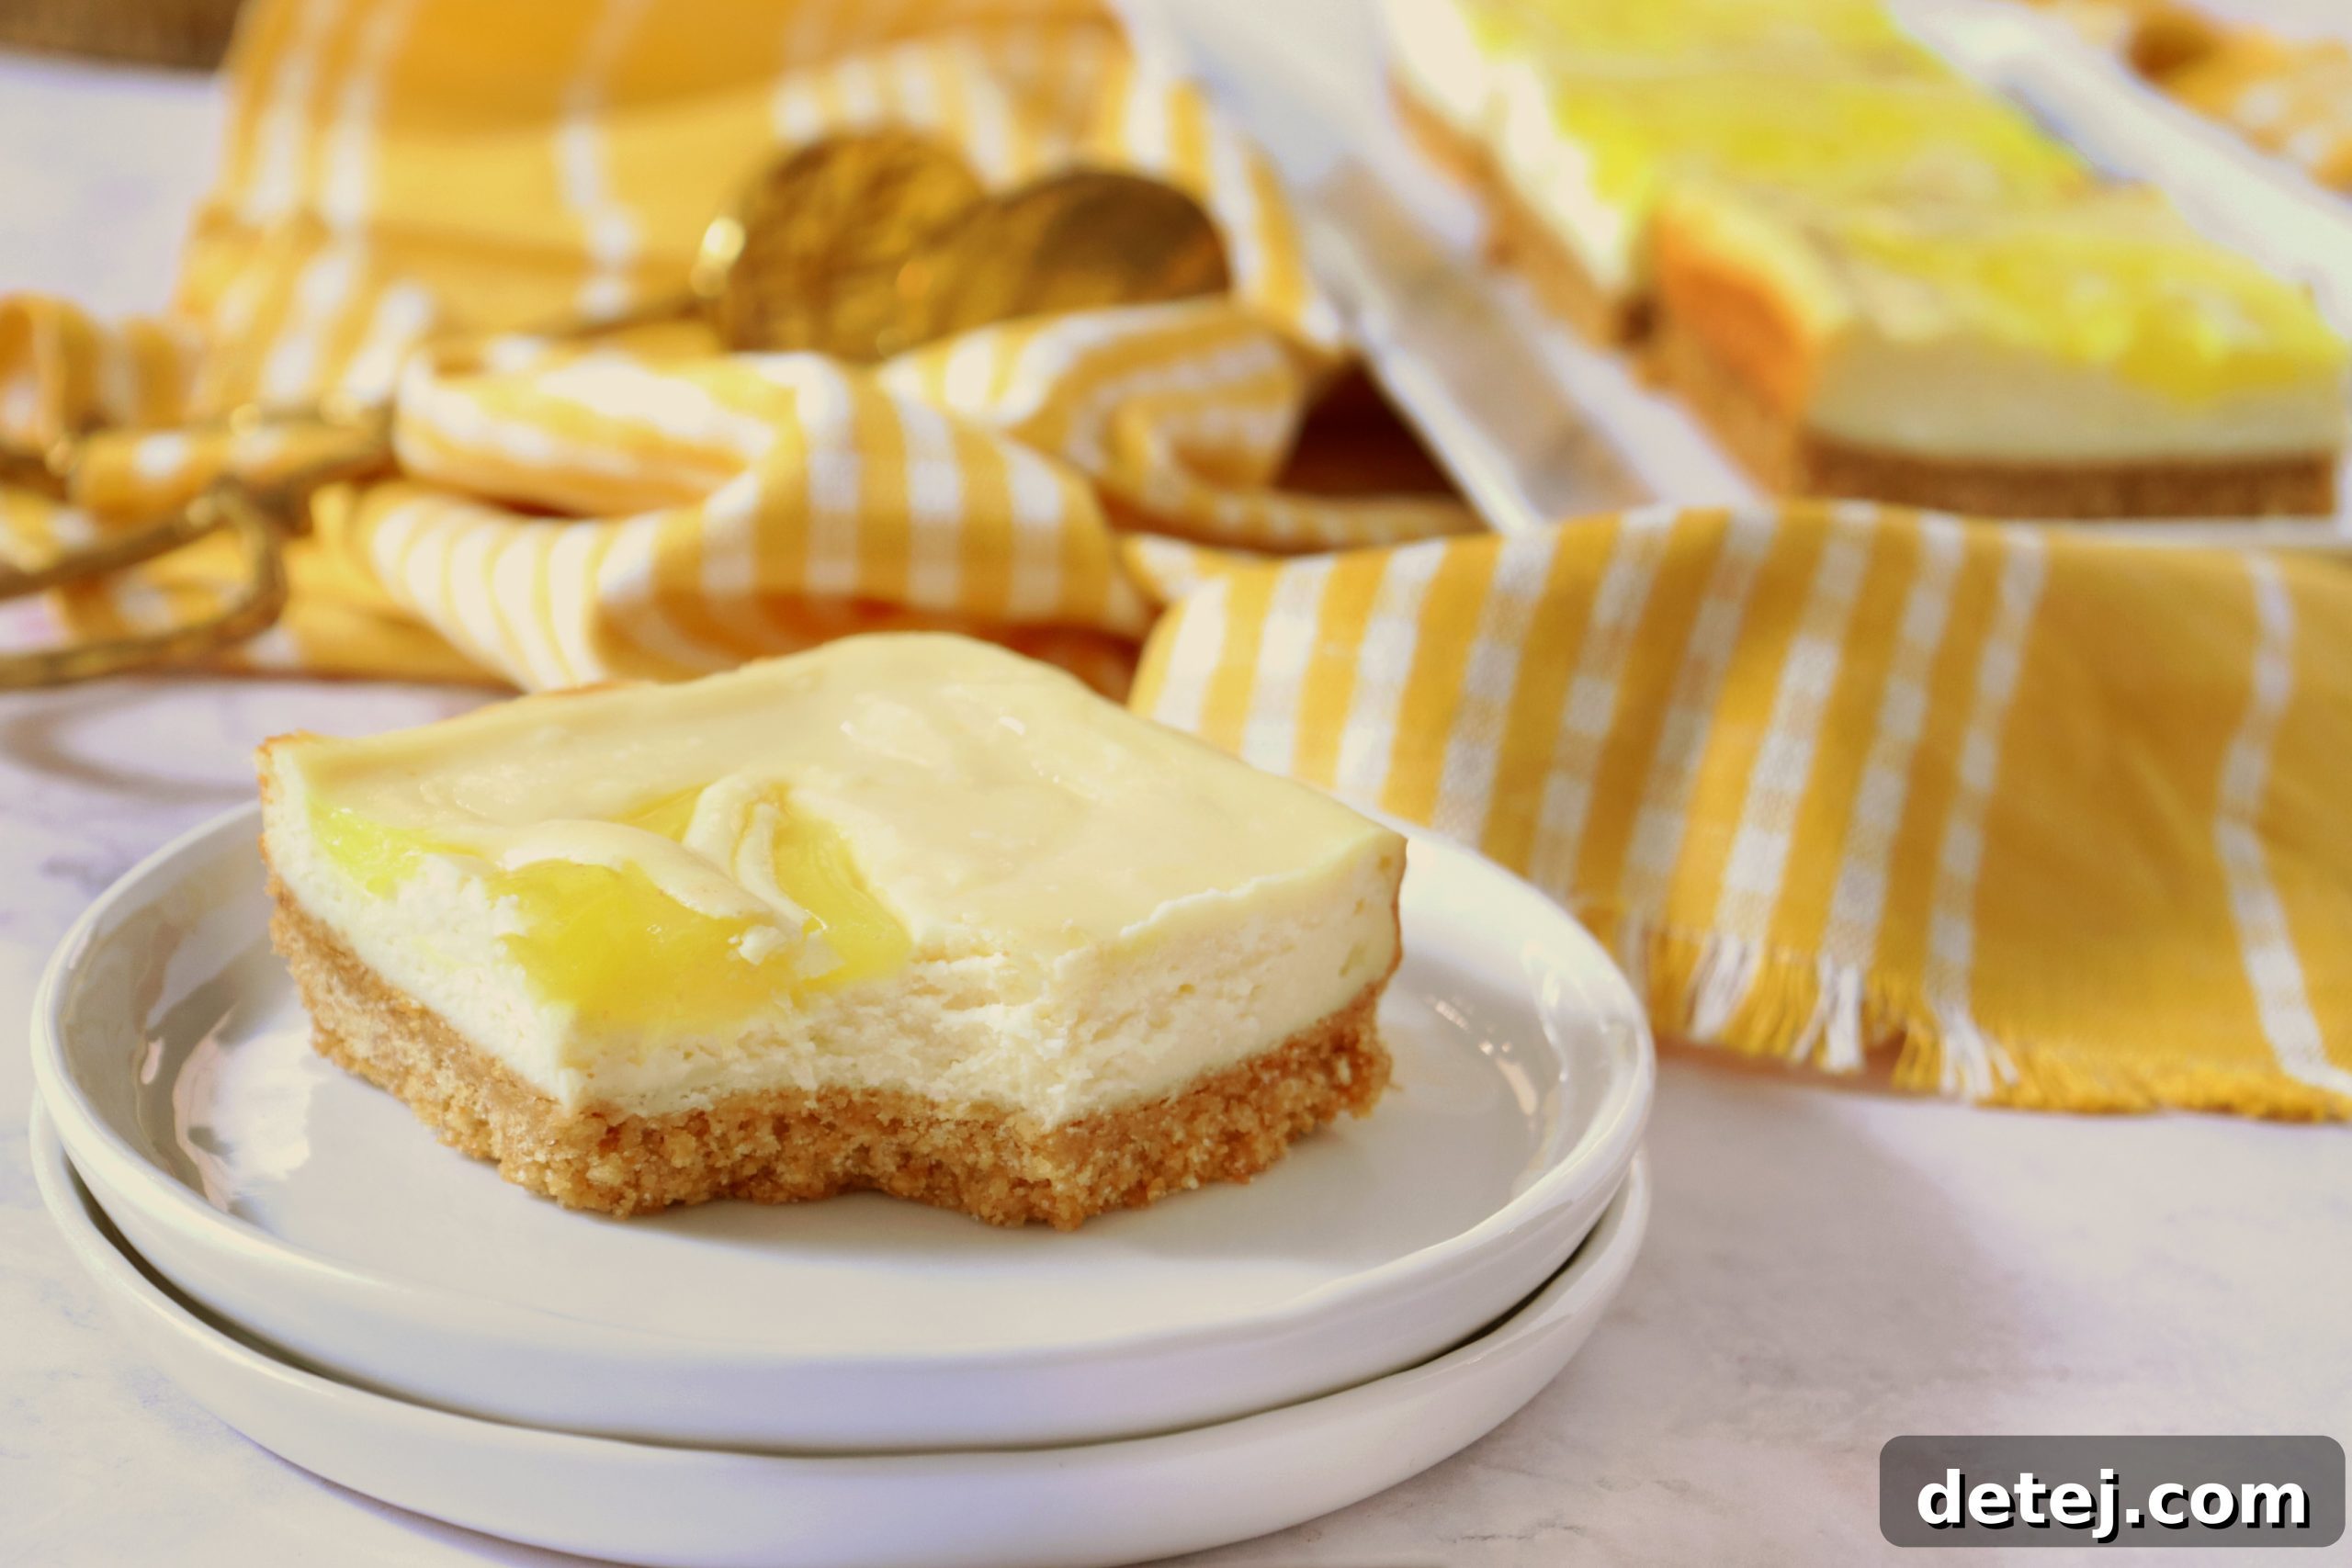
After the essential cooling and chilling, the final, most satisfying step awaits: transforming your magnificent creation into individual Lemon Swirl Cheesecake Bars. This is your moment to reveal the beautiful swirls and the perfectly set texture you’ve worked so hard to achieve. Proper slicing technique ensures clean edges and a professional presentation that will impress everyone.
Here’s the trick to achieving those pristine slices:
- Lift with Care: Thanks to the parchment paper overhang, lifting your chilled cheesecake masterpiece out of the pan is a breeze. Gently grab the edges of the parchment paper and lift the entire cheesecake slab onto a clean cutting board. This prevents any damage to the edges and allows you to cut freely.
- The Hot Knife Technique: This is the secret weapon for perfectly clean cuts. Fill a tall glass with very hot water. Dip a long, sharp knife (a chef’s knife or a large carving knife works best) into the hot water for about 10-15 seconds. Immediately wipe the blade completely dry with a clean kitchen towel. A warm, dry blade will glide effortlessly through the cold cheesecake without sticking or dragging, resulting in beautifully smooth edges.
- Slice and Clean: Make your first cut through the cheesecake. After each cut, repeat the hot knife technique: dip the knife in hot water and wipe it dry. This ensures that every single slice is as clean and crisp as the first. For a 9×9-inch pan, you can typically get 9 even squares by cutting the cheesecake into three equal strips horizontally, and then three equal strips vertically.
- Admire the Swirls: As you slice, take a moment to admire the vibrant lemon swirls you’ve created. Each bar will have its own unique pattern, a testament to your baking artistry. The firm texture and clean lines signify that your cooling and chilling process was a resounding success.
With each perfect bar revealed, the reward for your patience and effort becomes wonderfully clear. These beautifully sliced Lemon Swirl Cheesecake Bars are now ready for serving, showcasing their irresistible appeal.
Recommended Tools for Your Baking Journey
Having the right tools can make all the difference in your baking endeavors, simplifying processes and ensuring consistent results. For these delightful Lemon Swirl Cheesecake Bars, a few key pieces of equipment can elevate your experience:
- 9×9 baking dish: The perfect size for producing well-proportioned bars.
- Chef’s Knife: Essential for making those clean, precise cuts for presentation.
- Mixing Bowl: A sturdy set of bowls in various sizes is always handy for different stages of mixing.
- Measuring Spoons: Accuracy in measurements is key for perfect baking, especially with flavorings.
Serving and Storage Tips for Lemon Swirl Cheesecake Bars
After all your dedication to crafting these exquisite Lemon Swirl Cheesecake Bars, presenting and storing them properly ensures that every bite is as enjoyable as you intended. These tips will help you maximize their freshness and appeal.
Serving Suggestions:
The beauty of these lemon bars lies in their vibrant simplicity, but a few thoughtful touches can elevate their presentation. For an elegant touch, consider a light dusting of powdered sugar over the top just before serving. This not only adds a delicate sweetness but also highlights the beautiful lemon swirls. You could also garnish each bar with a thin, fresh lemon slice or a delicate lemon twist for an extra pop of color and an intensified citrus aroma. For those who appreciate an additional layer of flavor, a small dollop of whipped cream or a drizzle of a simple lemon glaze (made from powdered sugar and fresh lemon juice) can be a delightful accompaniment. Imagine serving these on a beautiful platter at your next brunch or afternoon tea – they are guaranteed to be a conversation starter and a crowd-pleaser.
Storage Recommendations:
If, by some delightful miracle, you have any leftover Lemon Swirl Cheesecake Bars (it’s rare, but possible!), proper storage is crucial to maintain their quality and flavor. Cheesecakes are best kept cold to preserve their creamy texture and prevent spoilage. Here’s how to store them effectively:
- Airtight Container is Key: Once sliced, arrange the bars in a single layer in an airtight container. If you need to stack them, place a piece of parchment paper between layers to prevent them from sticking together. This container will protect the bars from drying out and absorbing other odors in your refrigerator.
- Refrigerate Promptly: Always store cheesecake bars in the refrigerator. They are best enjoyed chilled.
- Shelf Life: Properly stored in an airtight container in the refrigerator, these Lemon Swirl Cheesecake Bars will remain fresh and delicious for up to 3-4 days. The flavors often meld and deepen slightly overnight, making them arguably even better the day after baking!
- Serving from Cold: While they are best served chilled, allowing them to sit at room temperature for 5-10 minutes before serving can slightly soften the texture and allow the flavors to become more pronounced. However, avoid leaving them out for extended periods, especially in warm environments.
By following these simple serving and storage tips, you ensure that every slice of your homemade Lemon Swirl Cheesecake Bars is enjoyed to its fullest potential, bringing a burst of zesty delight to every occasion.
Your New Favorite Lemon Dessert Awaits
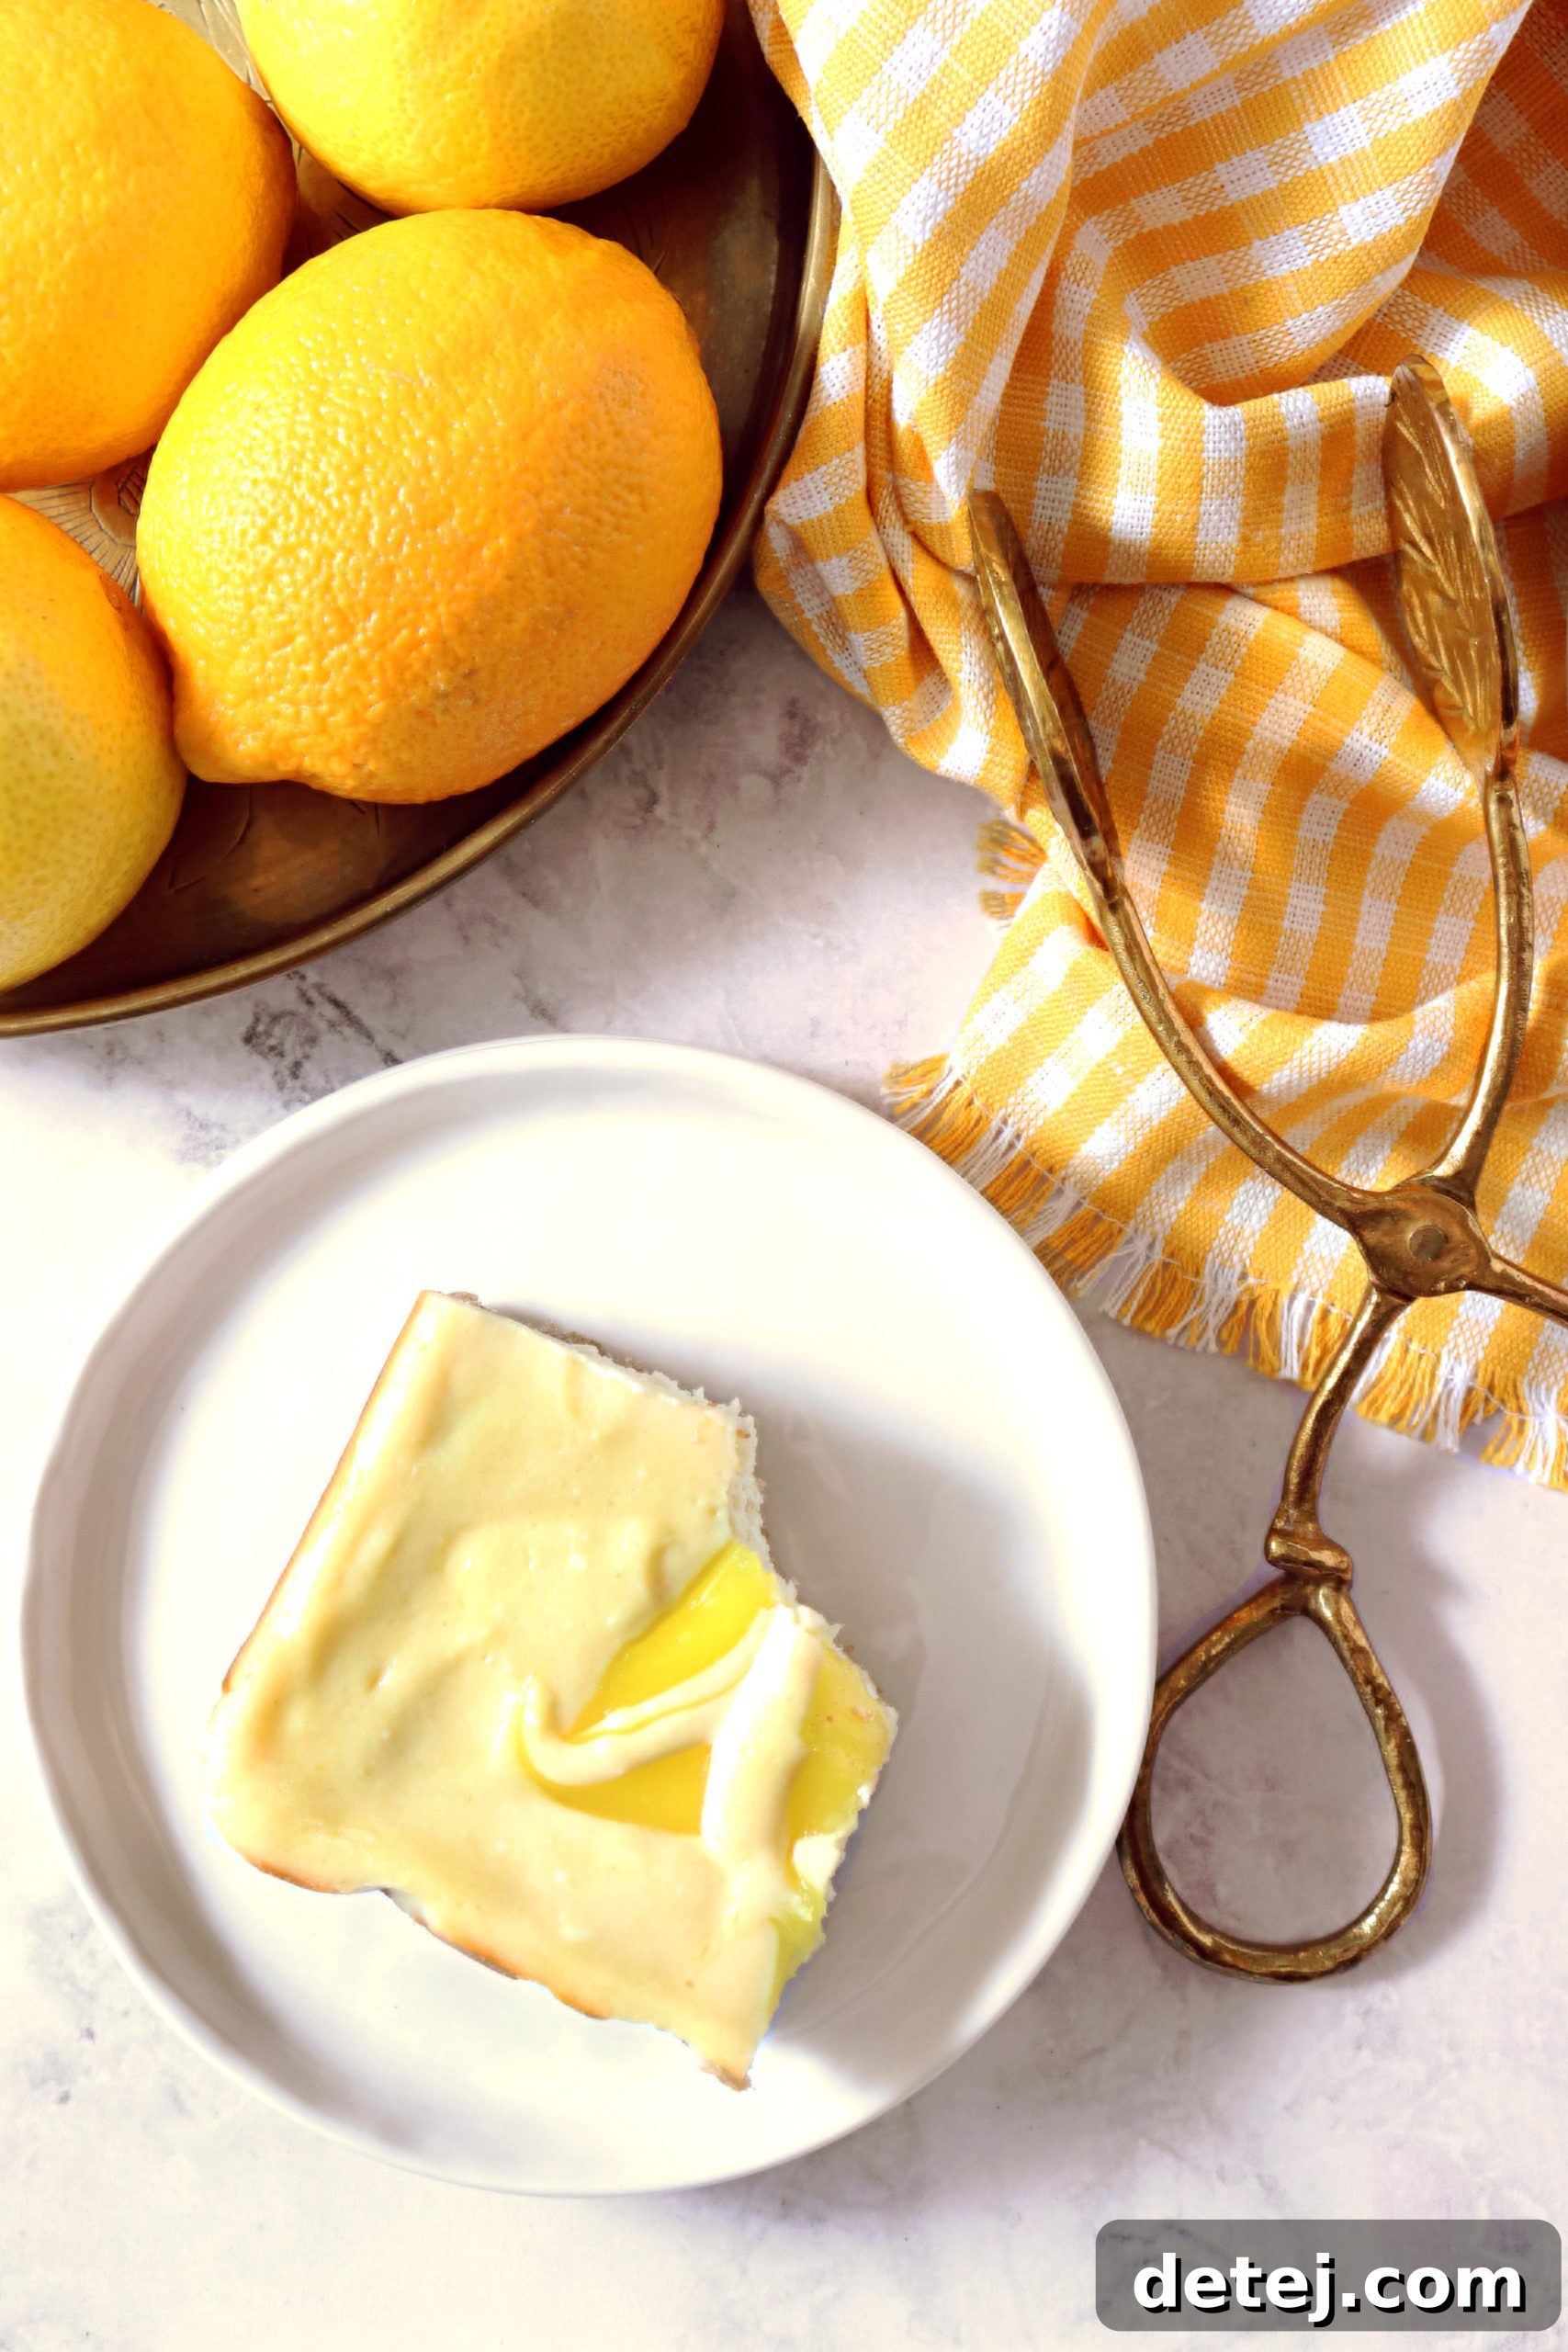
And there you have it – a comprehensive guide to crafting the most exquisite Zesty Lemon Swirl Cheesecake Bars. From the moment you gather your ingredients to the final, triumphant slice, this recipe promises a journey of delightful flavors and textures. We’ve covered every crucial step, ensuring that even if you’re new to baking, you’ll be able to create a dessert that tastes and looks like it came from a gourmet bakery. The robust, buttery graham cracker crust, the impossibly creamy cheesecake layer, and those mesmerizing, tangy lemon swirls combine to form a treat that is truly unforgettable.
Imagine the joy and satisfaction as you present these vibrant bars to your friends and family. Each bite offers a harmonious blend of the sweet, rich creaminess of cheesecake with the invigorating, bright zest of lemon. Remember, the quality of your ingredients makes a significant difference; using room temperature cream cheese and eggs is paramount for achieving that silky-smooth consistency, and a good quality lemon cream pie filling ensures that perfect, concentrated lemon flavor in your swirls. Don’t rush the chilling process – it’s the secret ingredient for a firm, sliceable bar with an optimal texture.
These Lemon Swirl Cheesecake Bars are more than just a dessert; they are an experience, a celebration of fresh, vibrant flavors, and a testament to the simple pleasure of homemade baking. So, preheat your oven, gather your tools, and prepare to fill your kitchen with the enticing aroma of baking lemons and sweet cream cheese. This recipe is your invitation to create something truly special, a citrusy twist on a classic that will leave everyone craving just one more slice. Here’s to making life a little sweeter, one zesty, creamy, lemon-swirled bite at a time. Enjoy the process, and most importantly, enjoy the incredible results!
Lemon Swirl Cheesecake Bars Recipe
Servings: 9 bars | Prep Time: 15 mins | Cook Time: 45 mins | Total Time: 1 hr (plus chilling)
Author: Krystel
Ingredients
Crust:
- 1 ½ cups graham cracker crumbs
- 6 tablespoons butter, melted
- ½ cup granulated sugar
Filling:
- 2 (8 oz) packages Philadelphia cream cheese, room temperature
- 2 large eggs, room temperature
- ½ cup granulated sugar
- 3 tablespoons all-purpose flour
- 1 ½ teaspoon vanilla extract
- ¼ teaspoon kosher salt
- 1 cup lemon cream pie filling (about a half can)
Instructions
- Set your oven to 350°F (175°C) and line a 9×9-inch baking pan with parchment paper, letting it hang over the sides for easy removal later.
- In a medium bowl, stir together the graham cracker crumbs, melted butter, and sugar until the mixture looks like damp sand. Press it firmly into the bottom of the prepared pan to form the crust. Bake for 8 minutes. Remove from oven and let cool slightly.
- In a large mixing bowl, beat the softened cream cheese, eggs, sugar, flour, vanilla extract, and a pinch of salt with an electric mixer on low speed until smooth and creamy. Ensure all ingredients are at room temperature for the best texture.
- Pour about ¾ of the cheesecake batter evenly over the cooled crust.
- Gently fold the 1 cup of lemon cream pie filling into the remaining ¼ of the cheesecake batter in the small bowl. Drop spoonfuls of this lemon-swirled mixture across the top of the plain cheesecake layer. Use a butter knife or skewer to gently swirl it into the cheesecake layer for a marbled look. Do not overmix.
- Bake for 35–40 minutes, or until the edges are set and slightly puffed, and the center has a slight jiggle (about a 2-inch circle).
- Place the pan on a wire rack and let it cool completely at room temperature, about 1 hour. Then, cover tightly with plastic wrap and refrigerate for at least another 4 hours, or preferably overnight, until thoroughly chilled and set.
- Once thoroughly chilled, use the parchment paper overhang to lift the cheesecake out of the pan and onto a cutting board. Dip a sharp knife in hot water and wipe it dry before each cut to ensure clean slices. Slice into 9 bars and serve cold.
Nutrition Information
Serving: 1 bar, Calories: 237kcal, Carbohydrates: 35g, Protein: 3g, Fat: 10g, Saturated Fat: 5g, Polyunsaturated Fat: 1g, Monounsaturated Fat: 3g, Trans Fat: 0.3g, Cholesterol: 56mg, Sodium: 231mg, Potassium: 45mg, Fiber: 1g, Sugar: 26g, Vitamin A: 286IU, Calcium: 19mg, Iron: 1mg