
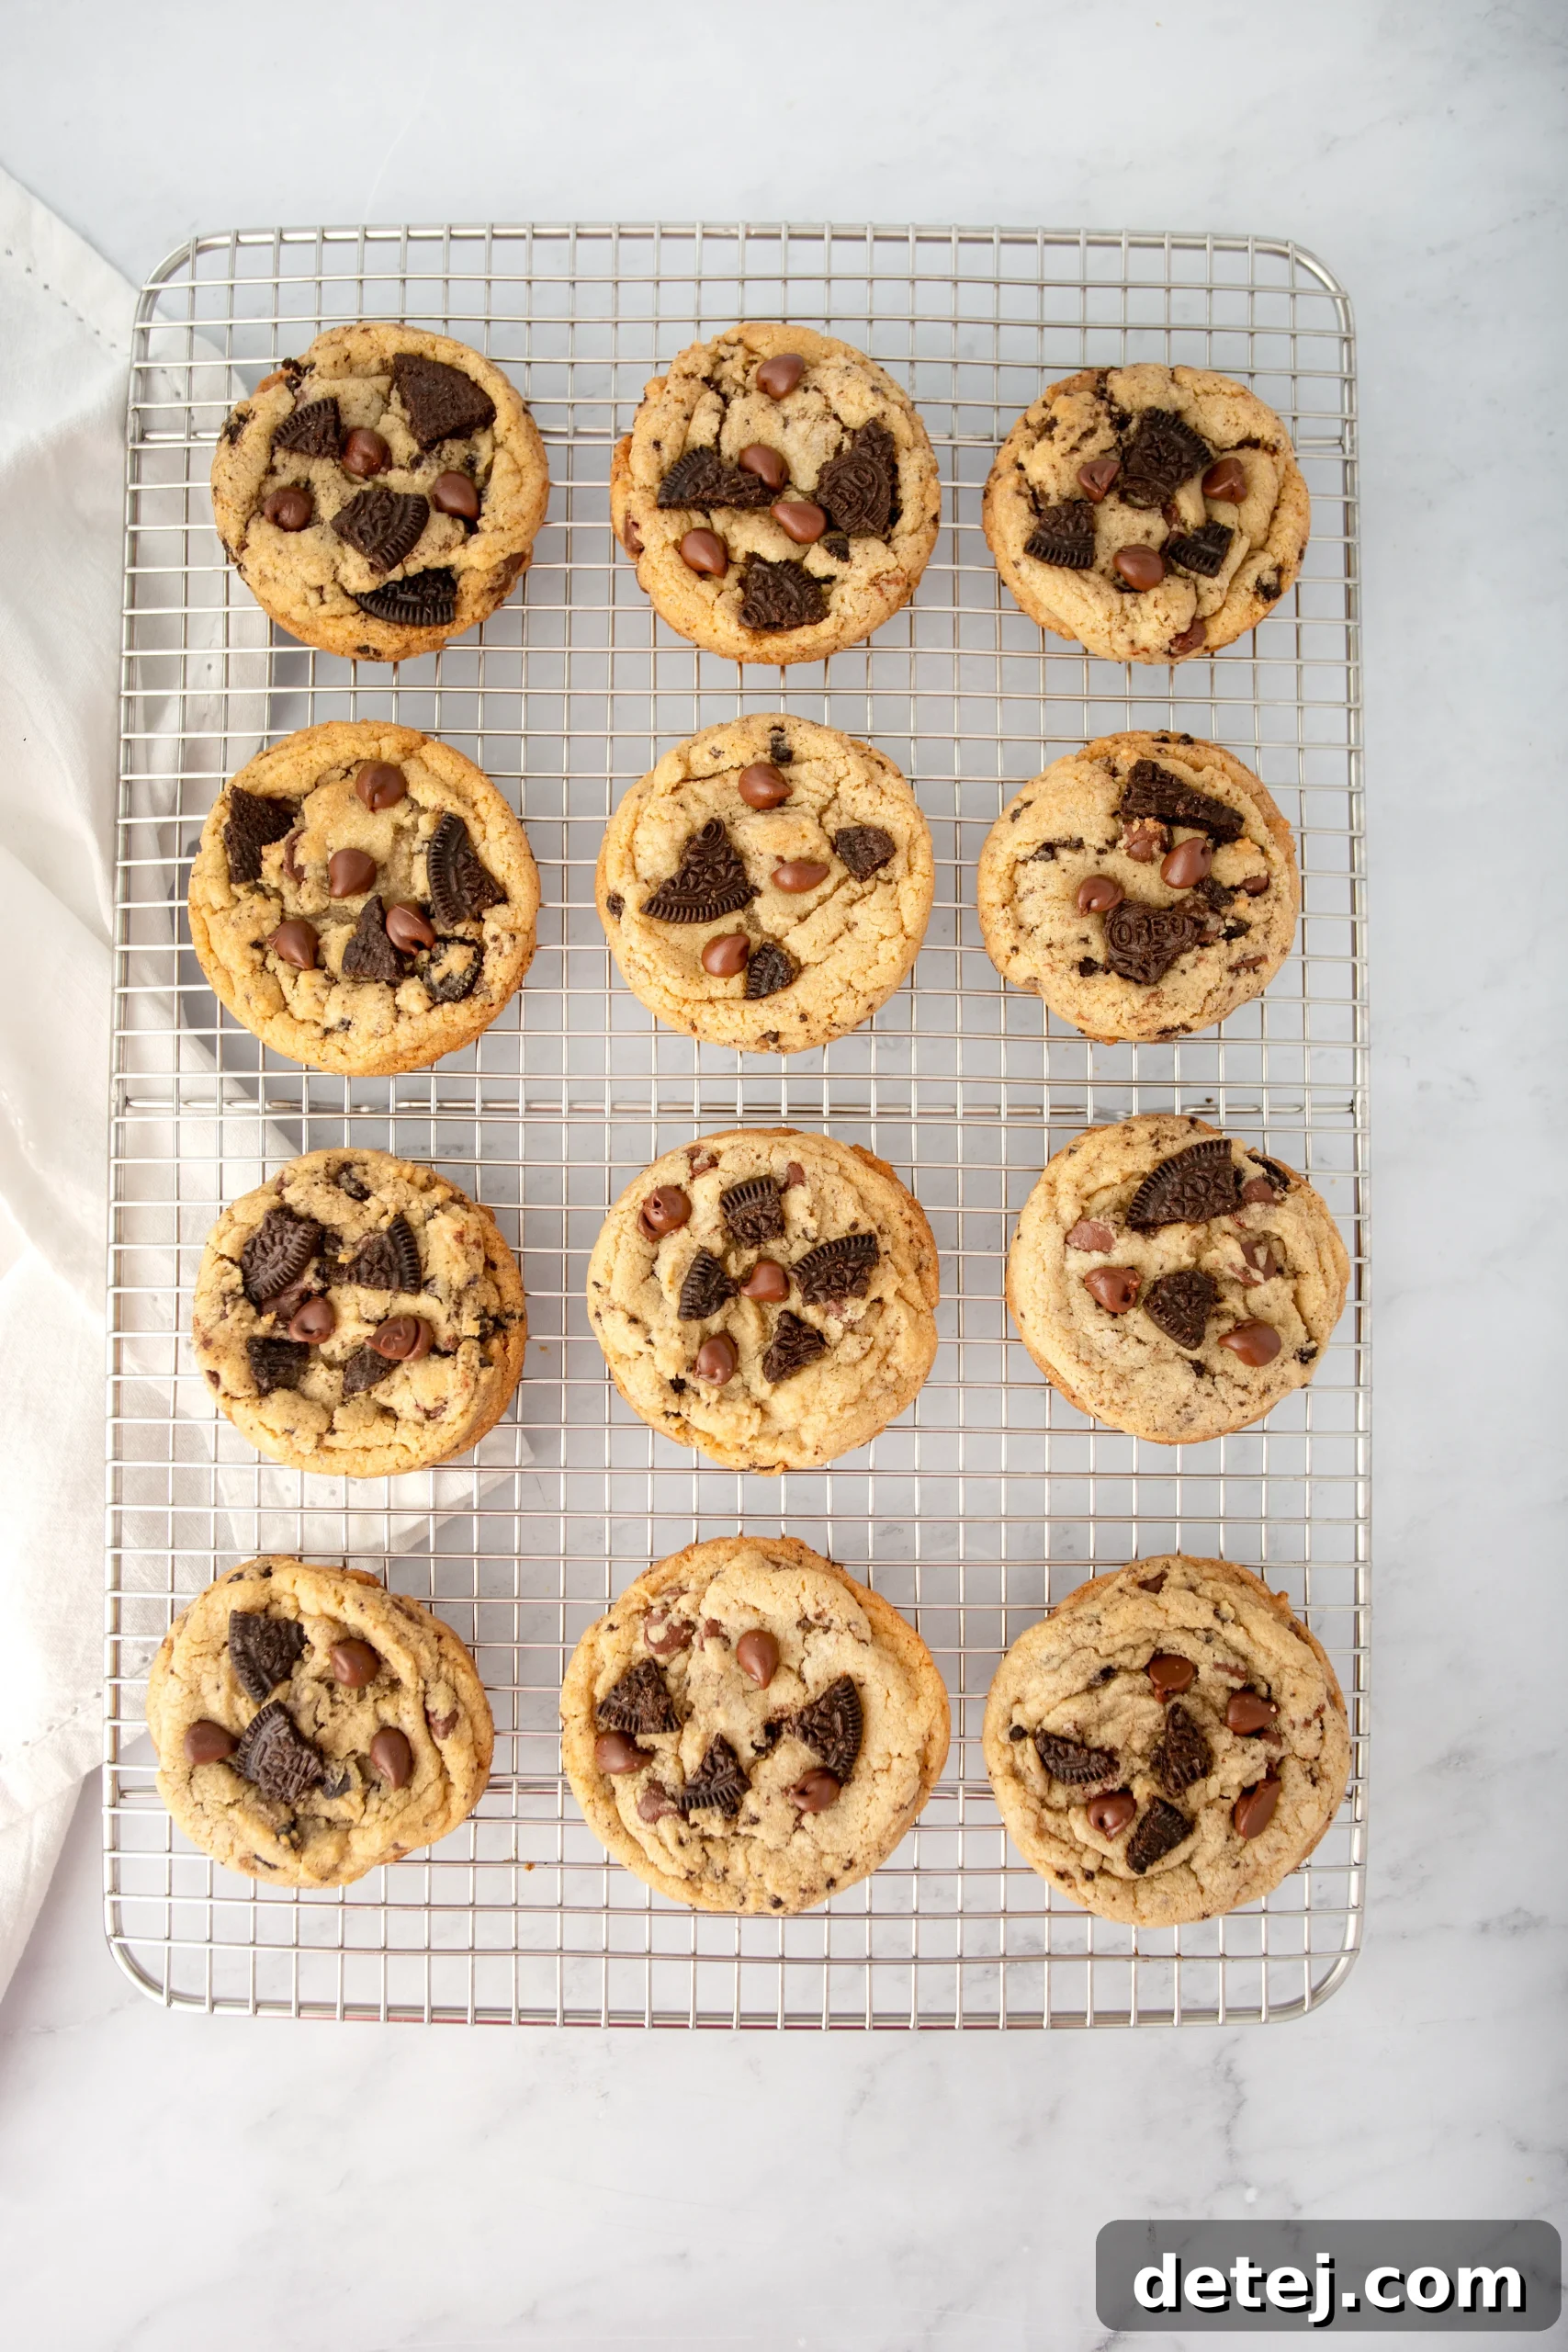
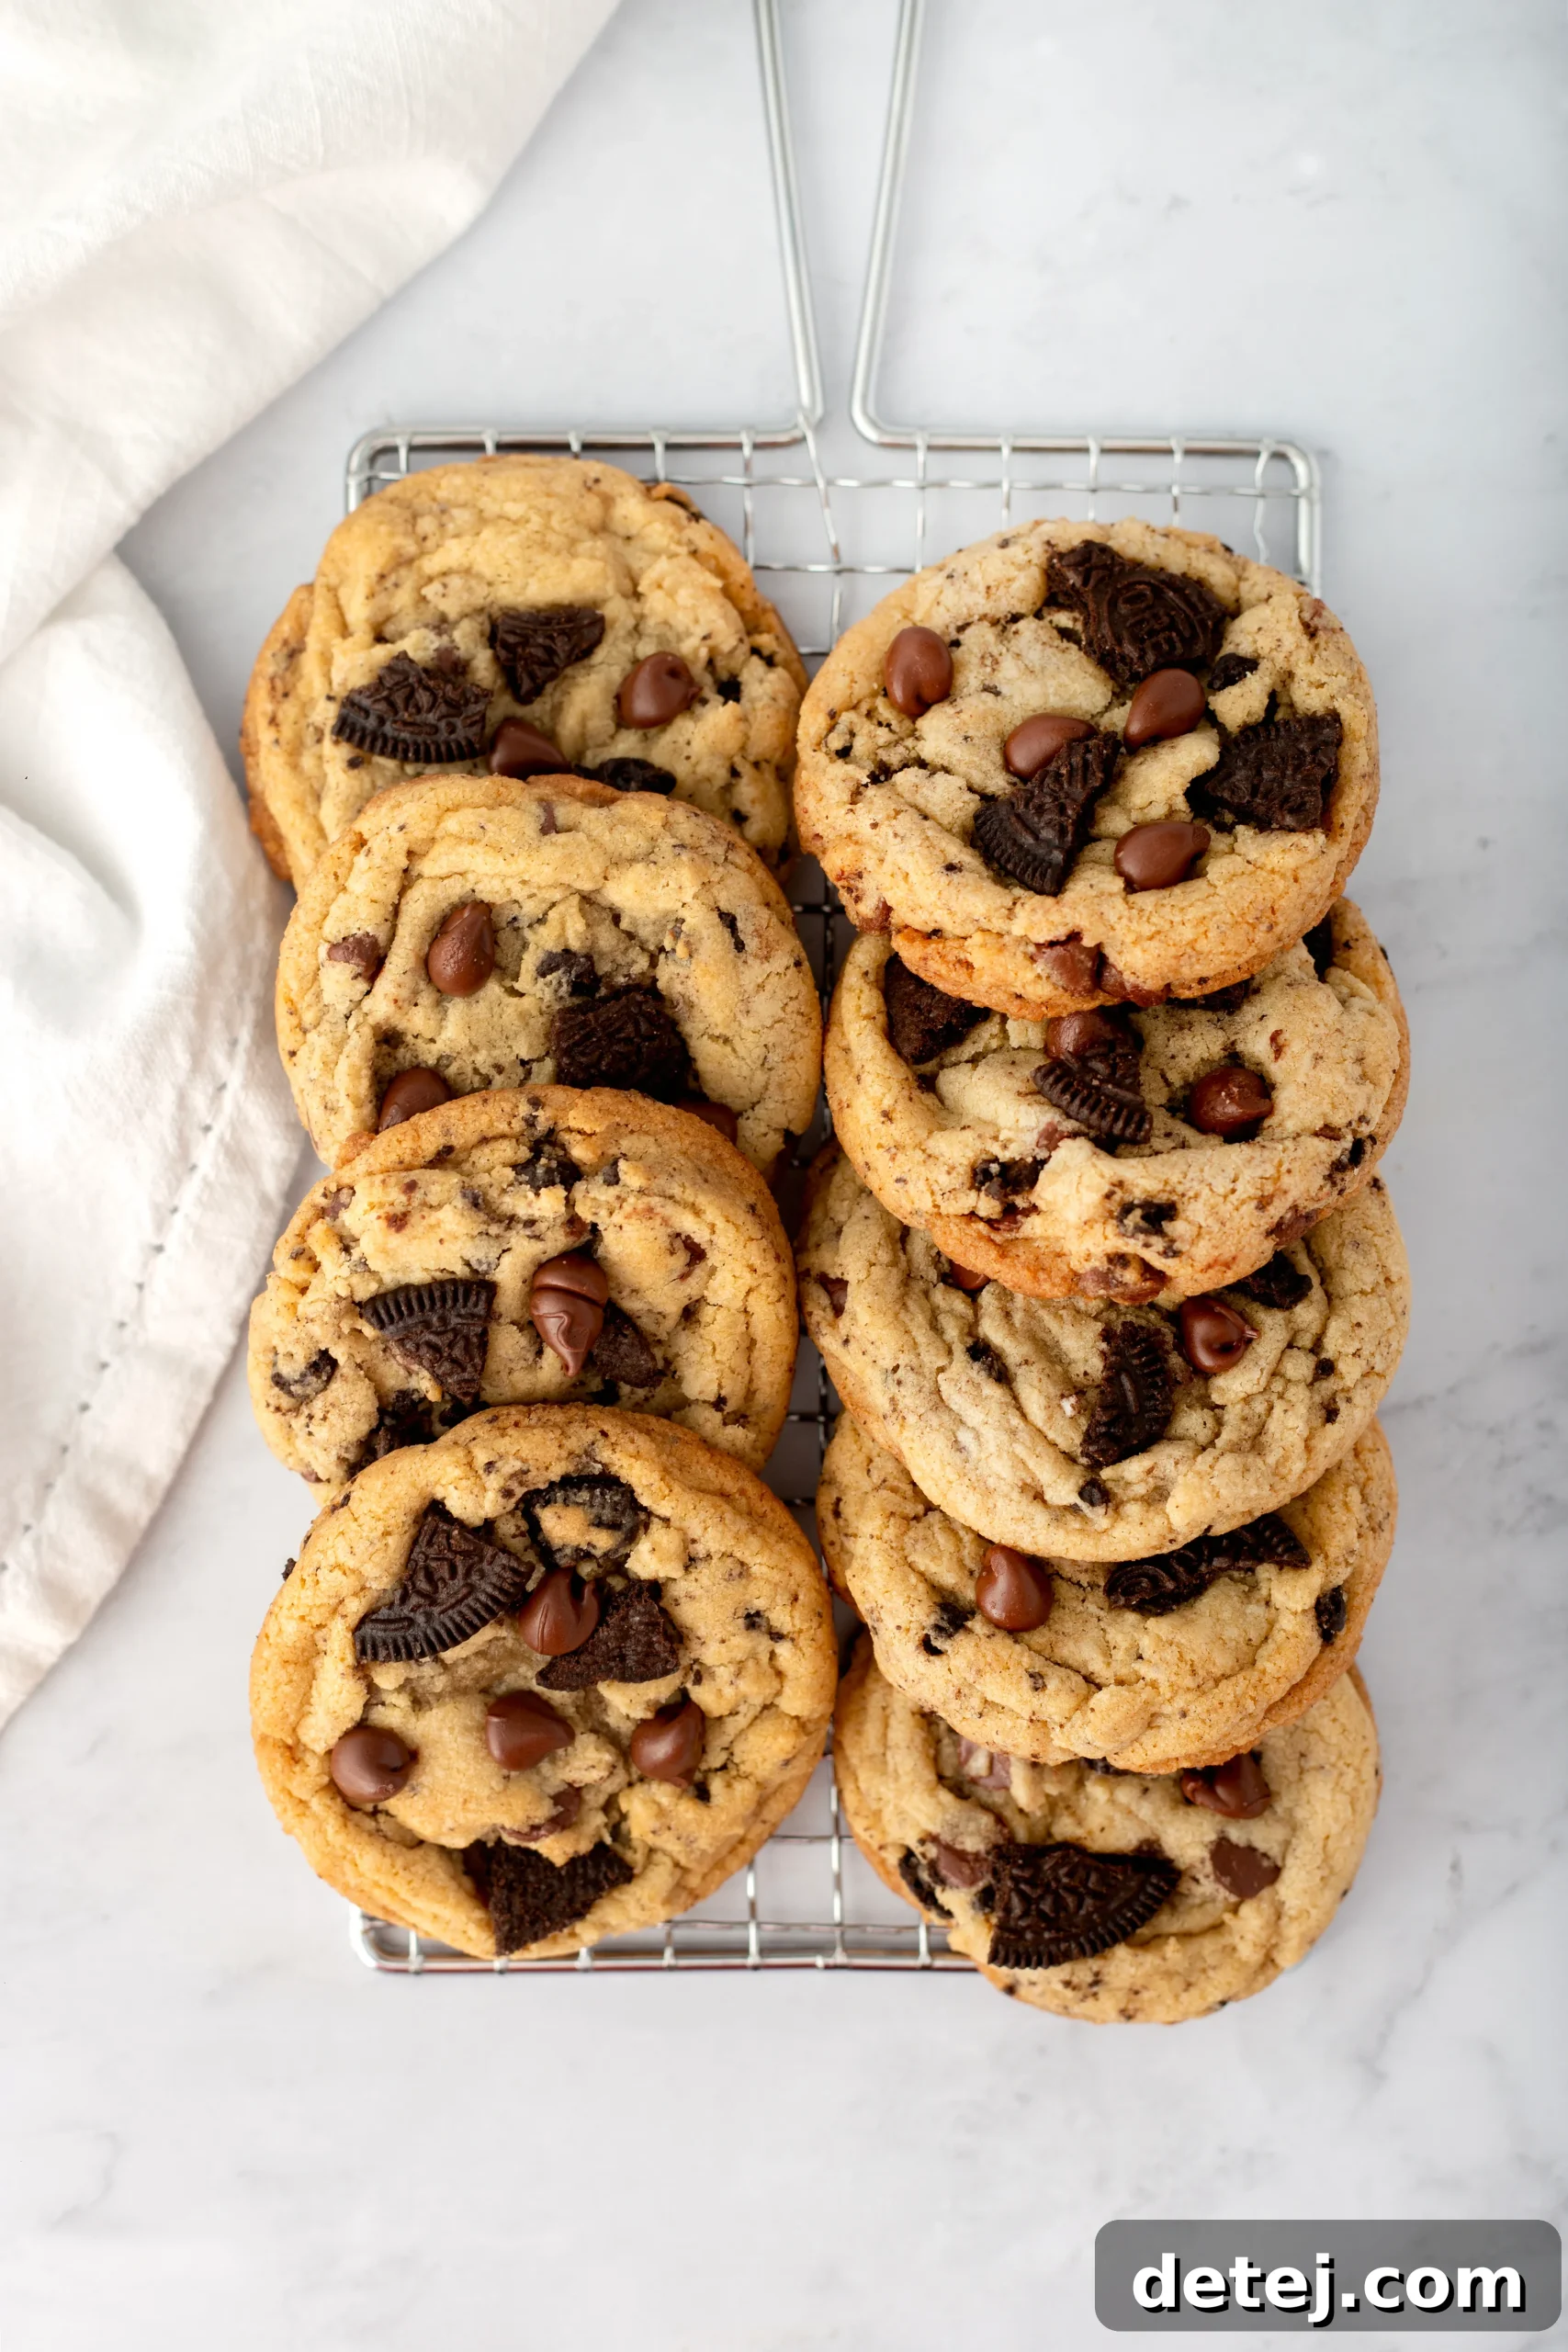
There’s an undeniable magic that happens when classic desserts unite, creating something truly extraordinary. My culinary journey often leads me to these delightful fusions, and that’s precisely how the quest for the ultimate bakery-style Oreo chocolate chip cookie began. Imagine the beloved, familiar comfort of a rich, chewy chocolate chip cookie, but elevated with the exciting crunch and creamy sweetness of broken Oreo pieces. This isn’t just about combining two popular treats; it’s about engineering a sensory experience that delivers both nostalgia and novelty in every single bite. The interplay of textures, from the gooey, melt-in-your-mouth chocolate to the satisfying snap of the Oreo chunks, creates a depth of flavor that is both complex and perfectly balanced. These aren’t just cookies; they are an indulgent escape, designed to bring the sophisticated allure of a professional bakery right into your home kitchen, promising an unforgettable taste that will have everyone reaching for more.
Key Takeaways for Your Perfect Batch:
- Harmonious Fusion: Expertly blend the timeless appeal of classic chocolate chip cookies with the iconic crunch and creaminess of Oreos for a uniquely irresistible treat.
- Textural Mastery: Achieve a remarkable contrast of textures, from the soft, chewy interior of a traditional chocolate chip cookie to the delightful, unexpected crunch of Oreo pieces.
- Balanced Flavor Profile: Craft a rich, complex taste experience where the deep notes of semi-sweet chocolate perfectly complement the distinct, sweet, and slightly bitter character of Oreos.
- Bakery-Quality Results: Learn the essential techniques, including proper ingredient preparation and chilling, to ensure your homemade cookies rival those from a gourmet bakery.
Gathering Your Premium Ingredients for Unforgettable Cookies
Embarking on the creation of these decadent bakery-style Oreo chocolate chip cookies starts with selecting the finest ingredients, each playing a crucial role in achieving that coveted gourmet taste and texture. Think of your pantry as a stage and each ingredient as a star performer, ready to contribute to a masterpiece. The quality of what goes in directly impacts the deliciousness that comes out, so choose wisely and with care.
- Semi-Sweet Chocolate Chips: These are the very heart of our cookie, offering a deep, rich chocolate flavor that isn’t overly sweet. Their melting quality ensures pockets of gooey, warm chocolate in every bite, providing a luxurious contrast to the other textures. While semi-sweet is recommended for balance, feel free to explore dark chocolate chips for a more intense cocoa experience or milk chocolate chips for extra sweetness.
- Regular Oreo Pieces: We’re not just adding Oreos; we’re incorporating delightful, chunky fragments of creamy, cookie goodness. The key is to break them into varied small and medium pieces. These chunks won’t just infuse the dough with their distinctive flavor; they’ll provide that irresistible crunch and a nostalgic nod to everyone’s favorite cream-filled sandwich cookies, making each bite an adventure.
- Room Temperature Unsalted Butter: This is arguably the unsung hero of our recipe. Using softened, unsalted butter is paramount for proper creaming, which incorporates air into the dough, leading to a lighter, chewier texture. Butter at room temperature blends seamlessly with sugars, creating a smooth, fluffy base that acts as the perfect canvas for the interplay of all our flavors. Unsalted allows you to control the salt content precisely.
- Room Temperature Large Eggs: Essential for binding our star ingredients, these eggs provide crucial structure, moisture, and richness to the cookie dough. Bringing them to room temperature ensures they emulsify better with the butter and sugar mixture, resulting in a more uniform and tender crumb. We also include an extra egg yolk, a secret weapon for an even chewier texture and a richer, more luxurious mouthfeel.
- All-Purpose Flour, Cornstarch, Baking Soda, and Salt: This supportive ensemble, when meticulously measured, works in harmony to lend our cookies their signature chewy center, slightly crispy edges, and perfect rise. All-purpose flour forms the structural backbone, cornstarch contributes to that coveted soft and chewy interior, baking soda provides lift and helps with browning, and a touch of salt perfectly balances the sweetness, enhancing all the other flavors.
Each ingredient, carefully chosen and prepared, ensures that our Oreo-stuffed chocolate chip cookies receive the standing ovation they deserve, transforming simple components into a truly decadent bakery-style delight.
The Foundation: Expertly Prepping Your Dry Ingredients
The seemingly simple act of preparing your dry ingredients holds immense importance in the journey toward baking perfectly tender and chewy bakery-style Oreo chocolate chip cookies. This isn’t merely about tossing ingredients into a bowl; it’s a deliberate step that lays the groundwork for the exquisite texture we’re aiming for. By combining your all-purpose flour, along with a strategic dash of cornstarch, a teaspoon of baking soda, and a pinch of salt, and then giving them a thorough whisk or sift, you’re doing more than just mixing. You are actively aerating them.
Aeration is crucial, my fellow bakers. It ensures that these vital leavening agents and flavor enhancers are evenly distributed throughout the flour. This even distribution means consistent rise, consistent flavor, and no unexpected pockets of baking soda that could alter the taste. Moreover, the cornstarch plays a critical role here; it’s our secret for achieving that dreamy, tender chewiness that defines a truly exceptional cookie. It inhibits gluten development slightly, resulting in a softer crumb. This meticulous preparation in a large bowl or medium mixing bowl sets the stage for those coveted chewy centers, golden brown edges, and that delightful slight crunch you experience with the first bite. So, grab your whisk, embrace this foundational simplicity, and let’s ensure our cookie dough is perfectly poised for greatness.
Crafting the Crunch: Oreo Chunk Preparation for Max Flavor
The magic truly begins when you prepare those iconic cream cookies – the Oreos themselves. It’s not just about haphazardly tossing them into the mix; there’s a subtle art to transforming them into the perfect cookie inclusions. Through countless batches, I’ve discovered that the best Oreo chunks come from a balance of a gentle touch and a bit of patience, ensuring they contribute both texture and bursts of flavor without dissolving into mere crumbs. You have two primary routes for preparing them: by hand or with a food processor.
If you opt for the food processor, here’s the golden rule: pulse it just a few times, with short, controlled bursts. The goal is to achieve a delightful mix of small and medium-sized pieces that promise a satisfying crunch and a burst of concentrated Oreo flavor in every bite, not a fine dust that disappears into the dough. Over-processing is the enemy here. Alternatively, if you’re like me and appreciate a more tactile, almost therapeutic baking experience, the hands-on method is incredibly rewarding. Break those regular Oreos with care, allowing each chunky fragment to retain its distinct identity. This method allows for a greater variety in chunk size, which contributes significantly to the cookie’s complex textural profile. Whether you choose classic regular Oreos, intriguing Golden Oreos, or even one of the myriad special edition flavors, the principle remains the same. The objective is to carefully fold these beautiful, varied Oreo pieces into your prepared cookie dough, guaranteeing that each indulgent bite offers that blissful crunch and the irresistible, unmistakable Oreo flavor we all crave, transforming a simple chocolate chip cookie into a truly gourmet experience.
The Heart of the Dough: Perfecting Creamed Butter and Sugars
One of the most satisfying and pivotal steps in crafting our truly decadent Bakery-Style Oreo Chocolate Chip Cookies is the meticulous process of creaming the butter and sugars together. This stage is far more than mere mixing; it’s an artful incorporation of air that will define the ultimate texture of your baked goods. I always begin with room temperature unsalted butter, sometimes even gently cupping it in my hands for a minute or two if it feels slightly firm straight from the counter. This ensures it’s perfectly pliable and ready to emulsify beautifully.
In a large mixing bowl, armed with my hand mixer set to medium-high speed, I watch with anticipation as the softened butter, rich brown sugar (which adds moisture and chewiness), and sparkling white granulated sugar (for structure and crispness) begin their transformation. They gradually blend and lighten, evolving into a pale, wonderfully fluffy cloud. This visual metamorphosis signifies that air is being infused into the mixture, creating tiny pockets that will expand during baking. This aeration is the secret to cookies that boast that coveted chewy center and exquisitely golden brown edges every single time. It’s this foundational step that masterfully bridges our wet and dry ingredients, ensuring that every bite of our Oreo-stuffed chocolate chip cookies offers a perfect balance of a tender, chewy texture and profoundly rich, sweet flavor. Truly, it’s a pivotal moment that elevates simple ingredients into the bakery-style wonders that will inevitably have you sneaking back to the cookie jar for just one more.
Infusing Flavor and Moisture: Expertly Incorporating Wet Ingredients
Once we’ve successfully achieved that fluffy, aerated cloud of creamed butter and sugars, the next exciting phase involves introducing the liquid elements that will infuse our cookie dough with depth of flavor and unparalleled moisture. This is where the magic of incorporating wet ingredients truly takes center stage, laying down the rich foundation for our bakery-style delights. Now, it’s time to gently introduce our pure vanilla extract and the large eggs, including that crucial extra egg yolk – a secret weapon for enhanced richness and a wonderfully chewy texture.
Imagine the process: one element at a time, you gently whisk these ingredients into the creamed mixture. The vanilla extract goes in first, its aromatic warmth immediately promising a profound depth of flavor. This isn’t just about sweetness; it’s about a comforting, complex undertone that elevates the entire cookie. Next, the large egg, followed by the additional egg yolk, is carefully incorporated. Each is mixed just until fully embraced by the creamy base, ensuring a smooth, glossy consistency that is the very essence of our cookie dough’s charm. The eggs act as loyal binders, providing structure and moisture, while that extra egg yolk is your pledge for an even more tender crumb and a luxuriously soft chew in every single bite. This careful incorporation ensures that these won’t just be any cookies; they’ll be your favorite cookies, perfectly hugging each chocolate chip and Oreo chunk like cherished friends, promising an exceptional homemade treat.
Uniting the Elements: Expertly Combining Wet and Dry Ingredients
This stage is where the disparate elements of our recipe finally unite, transforming into the cohesive and delicious cookie dough we’ve been building towards. Picture this vibrant scene in your kitchen: your beautifully creamed mixture of softened unsalted butter, golden brown sugar, sparkling granulated sugar, fragrant vanilla extract, and perfectly incorporated large eggs (including that magical extra egg yolk) sits fluffy and inviting in your primary mixing bowl. Adjacent to it, another bowl holds the carefully sifted and aerated harmony of all-purpose flour, a strategic pinch of salt, and that crucial measure of baking soda – all patiently awaiting their moment.
The time has come to marry these two essential components. With my hand mixer set to a low speed, I begin to gradually introduce the dry ingredients into the wet mixture. This is not a rushed process; it’s a slow, deliberate dance, ensuring that each speck of the flour mixture finds its way into the creamy base without losing any of that precious airy texture we’ve worked so hard to achieve. Here, patience isn’t just a virtue; it’s your best friend. Overmixing is the cardinal sin we absolutely want to avoid at this stage, as it can lead to excessive gluten development, resulting in tough, dense cookies instead of the soft, chewy perfection we crave. With each careful addition, the dough transforms, becoming just a bit thicker, a bit more cohesive, and a significant step closer to that coveted bakery-style cookie dough. Remember, we’re not simply mixing; we are sculpting the perfect bite, meticulously crafting the foundation for truly unforgettable cookies.
The Grand Finale: Folding in Chocolate Chips and Oreo Pieces
Now, this is truly where the magic culminates, transforming a promising cookie dough into an irresistible masterpiece. After meticulously blending our dry and wet ingredients to achieve the perfect base, it’s time to introduce the true stars of our show: the luscious chocolate chips and those undeniably iconic Oreo chunks. This final step is crucial for achieving that signature bakery-style texture and flavor explosion in every bite. With a sturdy spatula, I gently, yet thoroughly, fold these treasures into the cookie dough, carefully turning the mixture to ensure these delightful inclusions are distributed as evenly as possible. Think of it as a culinary treasure hunt within the dough, where every scoop promises its fair share of rich, gooey chocolate and creamy, crunchy Oreo goodness.
I perform this task with a loving hand, taking particular care not to crush the Oreo pieces too much. The intention is to maintain those distinct chunks because their varied sizes and textures offer a delightful, unexpected crunch and a burst of flavor that truly sets these cookies apart. It’s this thoughtful incorporation that elevates the dough into something profoundly special, promising large, satisfying cookies filled with pockets of melting semi-sweet chocolate and surprising, joyful bites of Oreo in every single chunk. The harmonious combination of the classic semi-sweet chocolate chips with the unique creamy, crunchy texture and flavor of the Oreos is what true bakery-style dreams are made of. While it might be tempting to rush through this exciting part, taking the time to fold everything together slowly and deliberately ensures that your cookies will be nothing short of perfection, delivering an unparalleled taste and texture experience that will leave a lasting impression.
The Secret to Perfection: Chilling Your Dough and Prepping for Bake
Here’s the undeniable truth about achieving those truly big, wonderfully chewy, bakery-style Oreo Chocolate Chip Cookies that everyone raves about: chilling the dough is your ultimate secret weapon. This isn’t just an optional step or a suggestion; it’s a critical game-changer that profoundly impacts both the flavor and the texture of your finished cookies. Chilling the dough allows the ingredients to fully hydrate, deepening and melding the flavors, ensuring every bite is a complex and perfect blend of sweet, rich chocolate chips, and those utterly irresistible Oreo chunks. More importantly, it firms up the butter in the dough, which significantly prevents the cookies from spreading too thin in the oven, guaranteeing you that dreamy, thick, and wonderfully chewy texture with a perfectly set, soft center.
Before you dive into the delicious anticipation of that first warm bite, let’s talk about the essential prep work. First, and without fail, preheat your oven to the ideal temperature of 350°F (175°C). Next, retrieve your favorite sturdy baking sheets and line them generously with parchment paper. This seemingly minor step is actually a major deal – it ensures your precious cookies will bake evenly, release effortlessly from the sheet, and prevent any frustrating sticky bottoms, simplifying cleanup. Now for the truly fun part: once your dough is perfectly chilled, roll it into generous, substantial balls. Aim for about 3-ounce portions for that impressive bakery-style size. Think of each one as a delightful promise of the chewy, chocolatey, Oreo-filled goodness to come. Place these dough balls onto your prepared sheets, giving them ample space to spread without merging. The stage is now perfectly set for some seriously decadent, bakery-style magic to unfold in your kitchen.
The Grand Reveal: Baking to Golden Perfection and Thoughtful Cooling
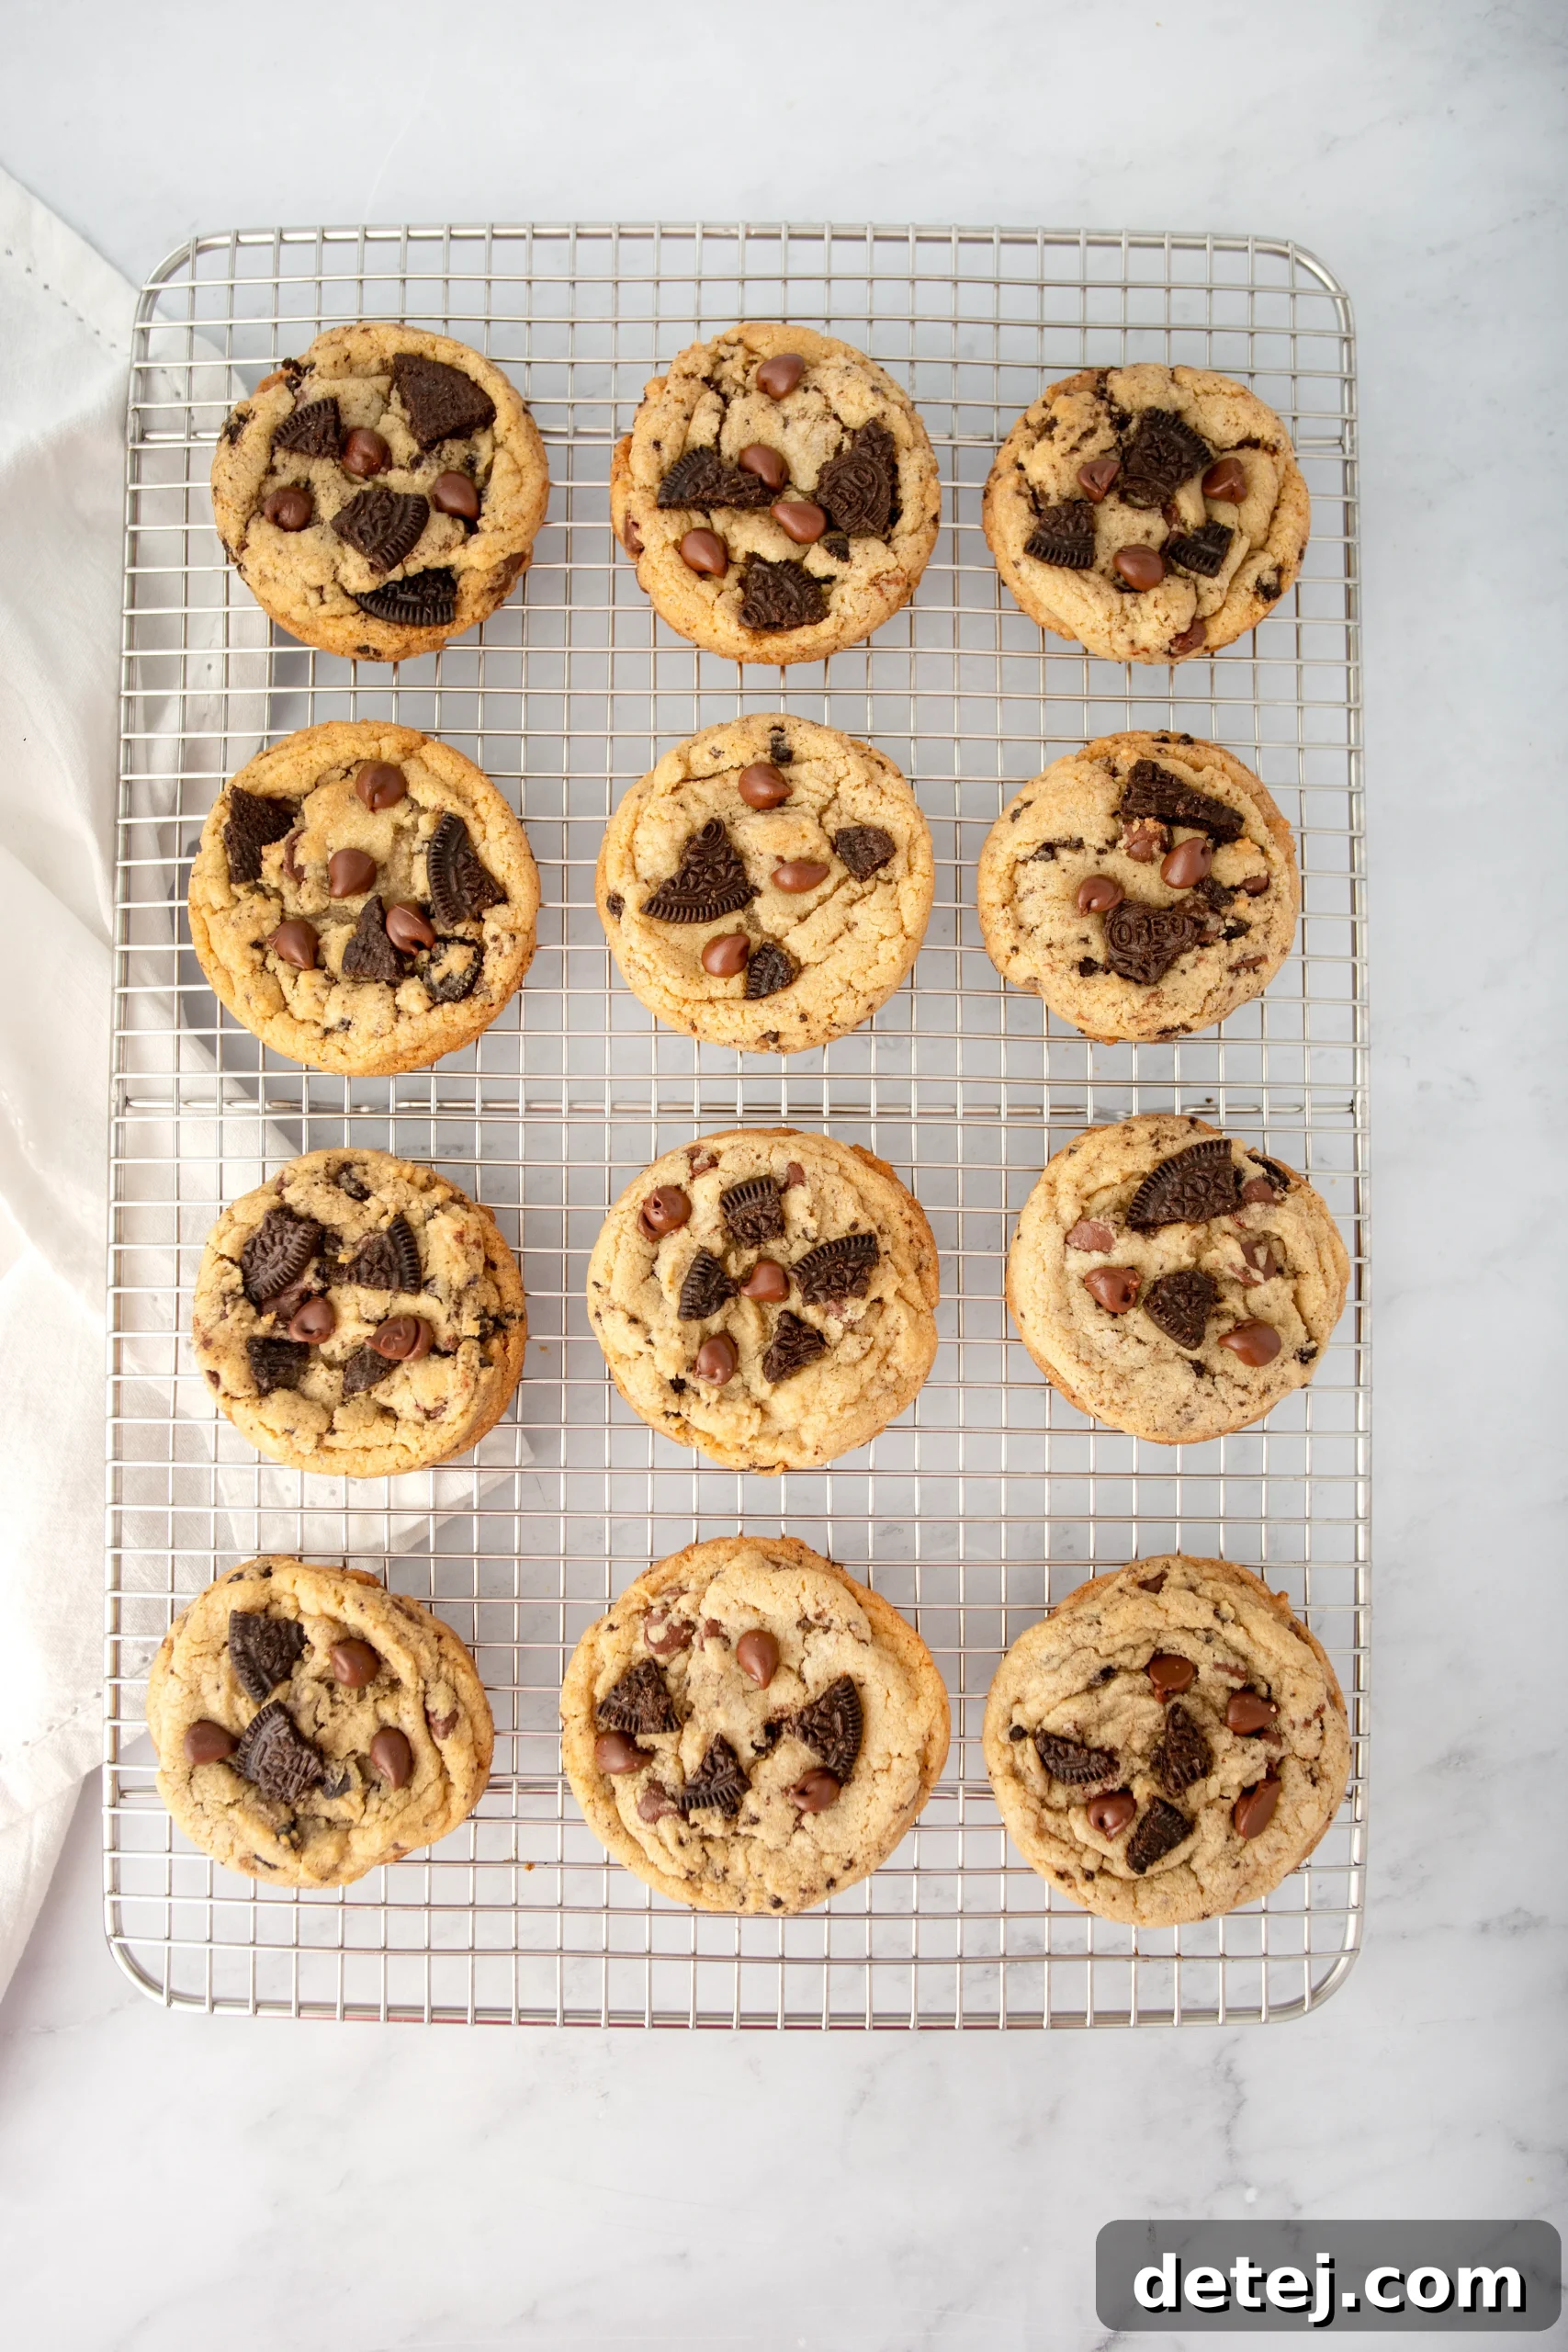
Now, we arrive at the heart of the transformation: the meticulous processes of baking and cooling, which turn our carefully prepared dough into glorious cookies. After your cookie dough has luxuriated in its essential chill time, it’s primed and ready for the oven, which you’ve already preheated to a cozy 350°F (175°C). Carefully scoop your large cookie dough balls onto the parchment paper-lined cookie sheets, ensuring you give them plenty of room to expand into those impressive, flat-bottomed, bakery-style cookies we’re all dreaming of. Avoid overcrowding the sheets, as this can lead to uneven baking.
Bake these beauties for precisely 13-15 minutes. The key is to watch for visual cues: the edges should achieve that coveted golden brown hue, while the chewy center should appear set but still remain beautifully soft and slightly underbaked. Remember, the exact baking time can vary slightly depending on your oven, so staying vigilant is your secret weapon for achieving that perfect, melt-in-your-mouth chewy texture. Once they emerge from the oven, here’s a professional trick that will make your cookies look as if they’ve just been pulled from the display window of your favorite high-end bakery: while they are still warm and pliable on the baking sheet, gently press a large round cookie cutter or the rim of a tall drinking glass around the top of each cookie. This small, circular nudge helps to coax them into perfectly round shapes, giving them that polished, professional finish that’s so characteristic of gourmet bakery treats.
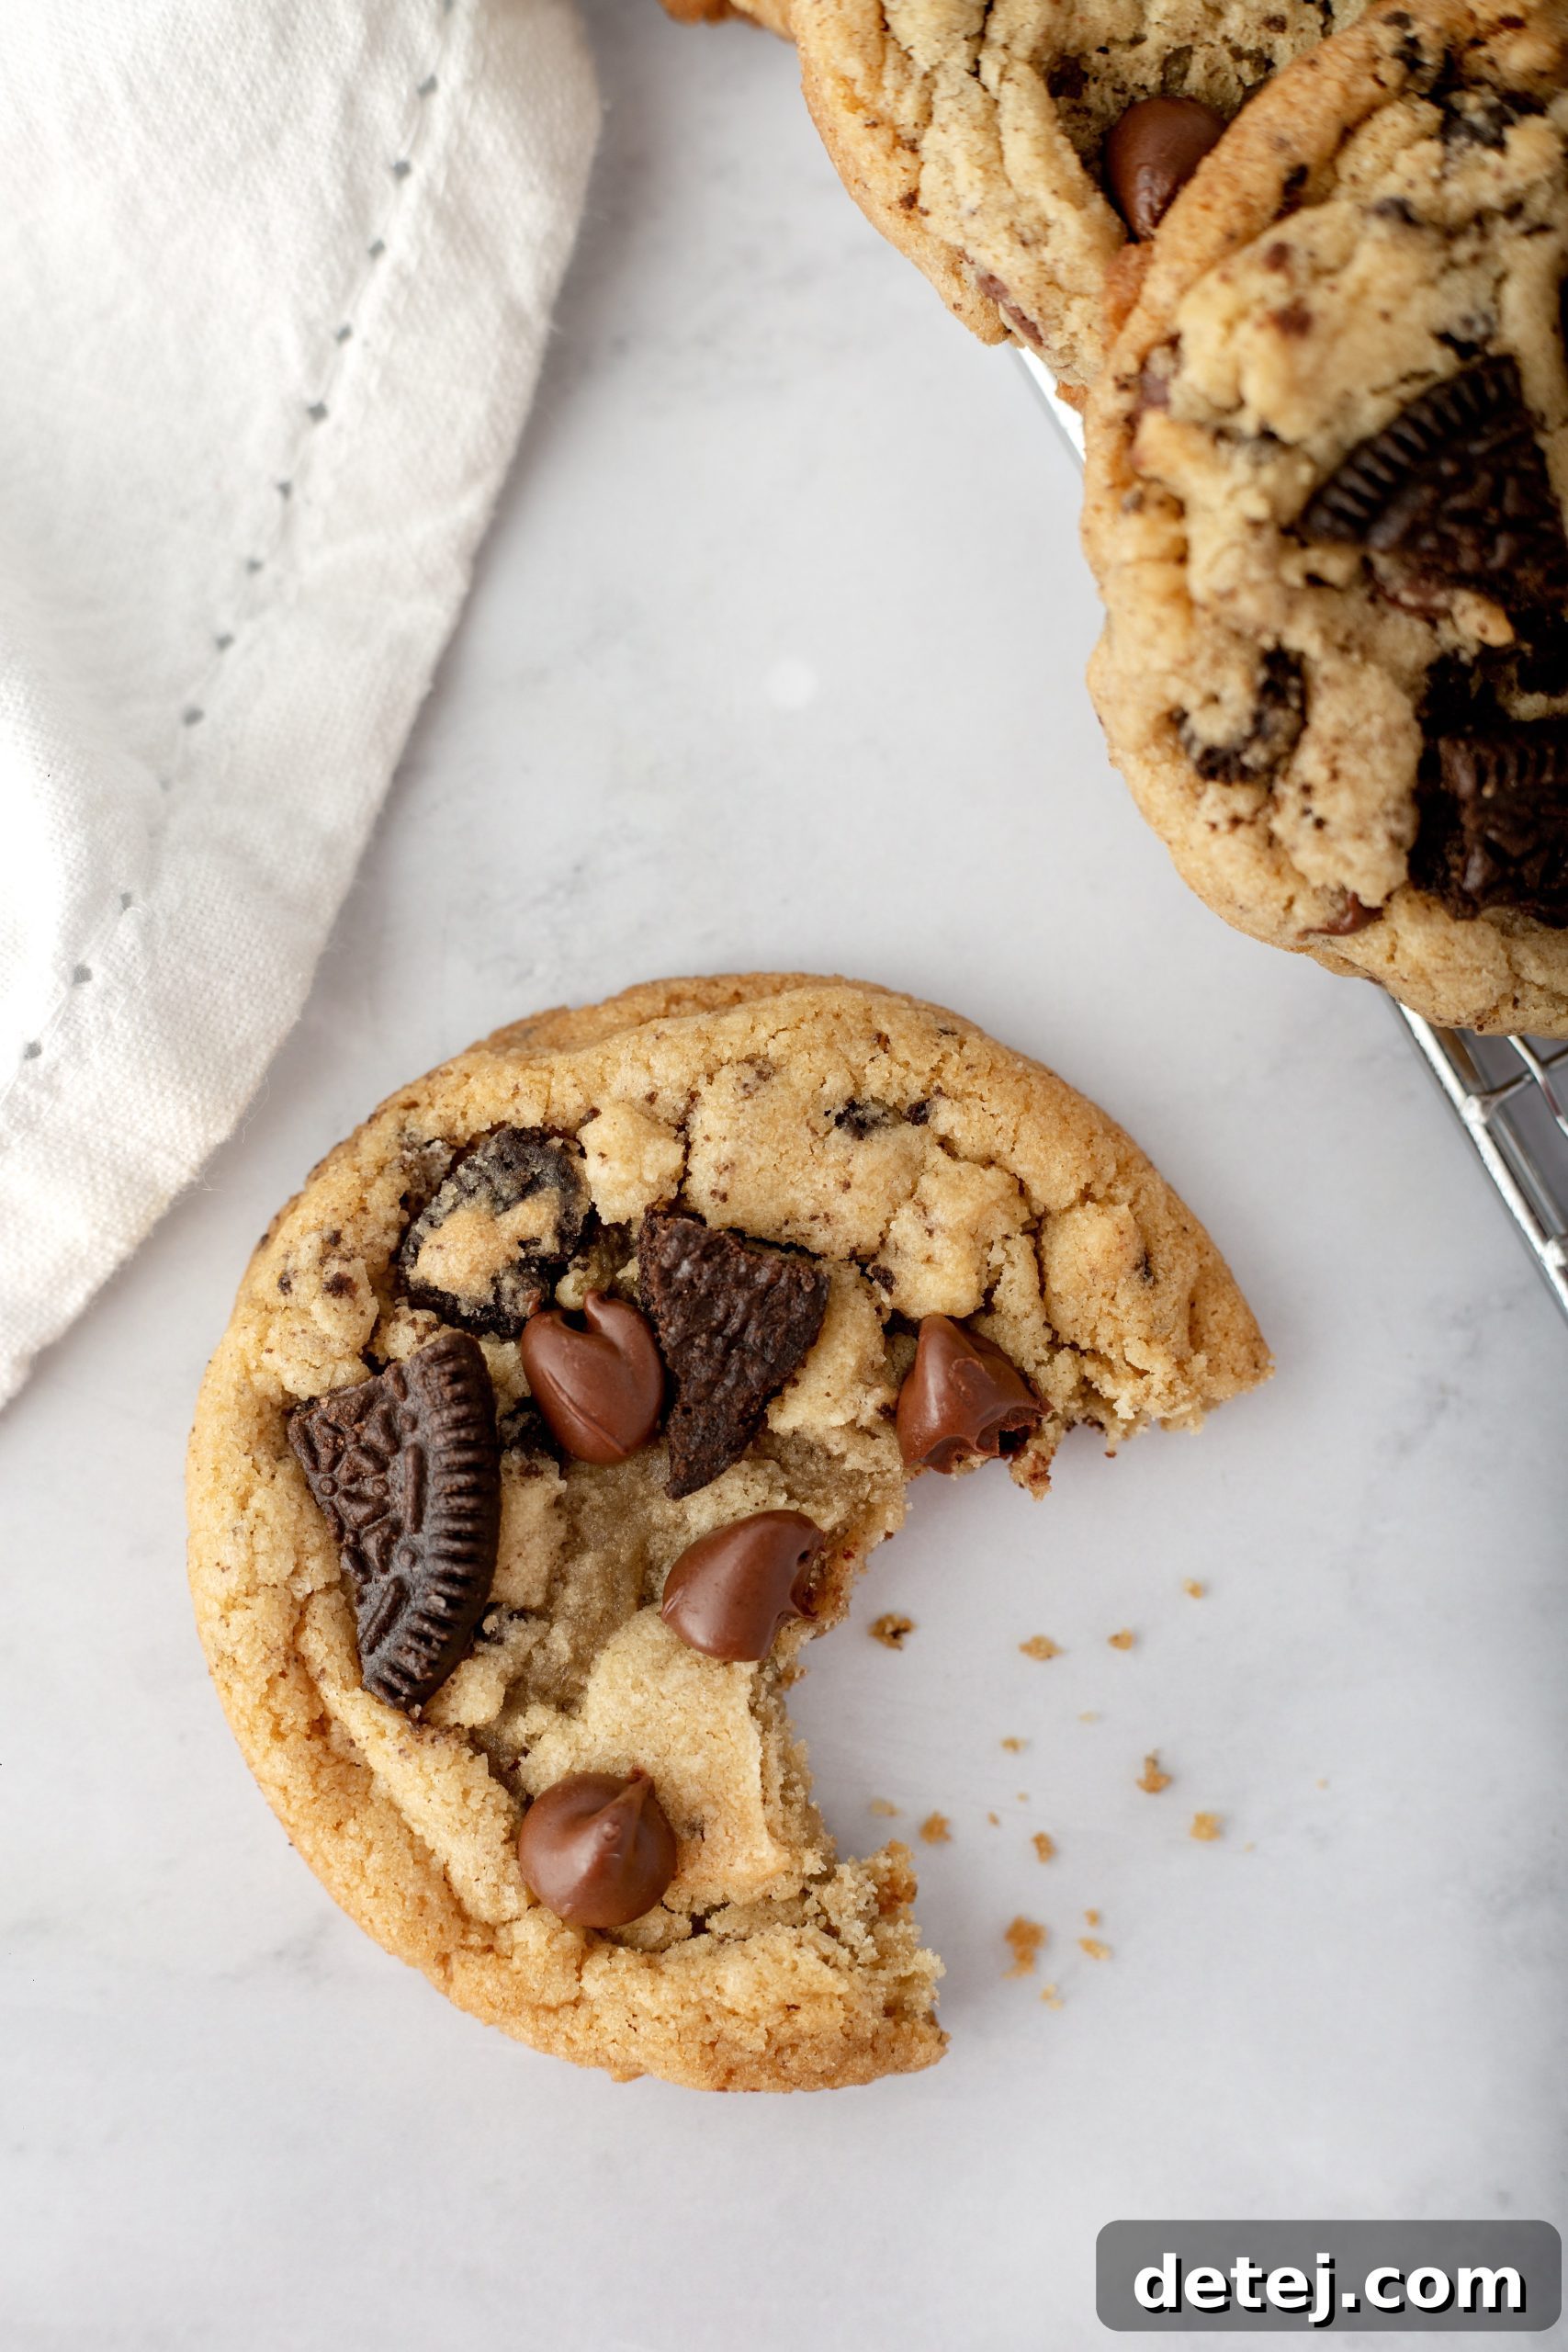
Finally, and this step is as important as baking itself, carefully transfer your cookies from the hot baking sheet to a wire cooling rack. Letting them cool here is not just a formality; it’s absolutely crucial for allowing the cookies’ structure to fully set and for their chewy texture to properly develop and intensify. Rushing this stage can result in cookies that fall apart or lack their desired chewiness. Whether you choose to indulge in them while they’re still delightfully warm, with chocolate chips still gooey, or prefer to let them cool completely for a firmer, more stable treat, you are in for an unforgettable experience. Each cookie promises a symphony of textures, from the delightfully crunchy edges to the irresistibly chewy interior, making every bite a testament to your newly minted bake sale legend status.
The Sweetest Ending: Savoring and Storing Your Culinary Masterpiece
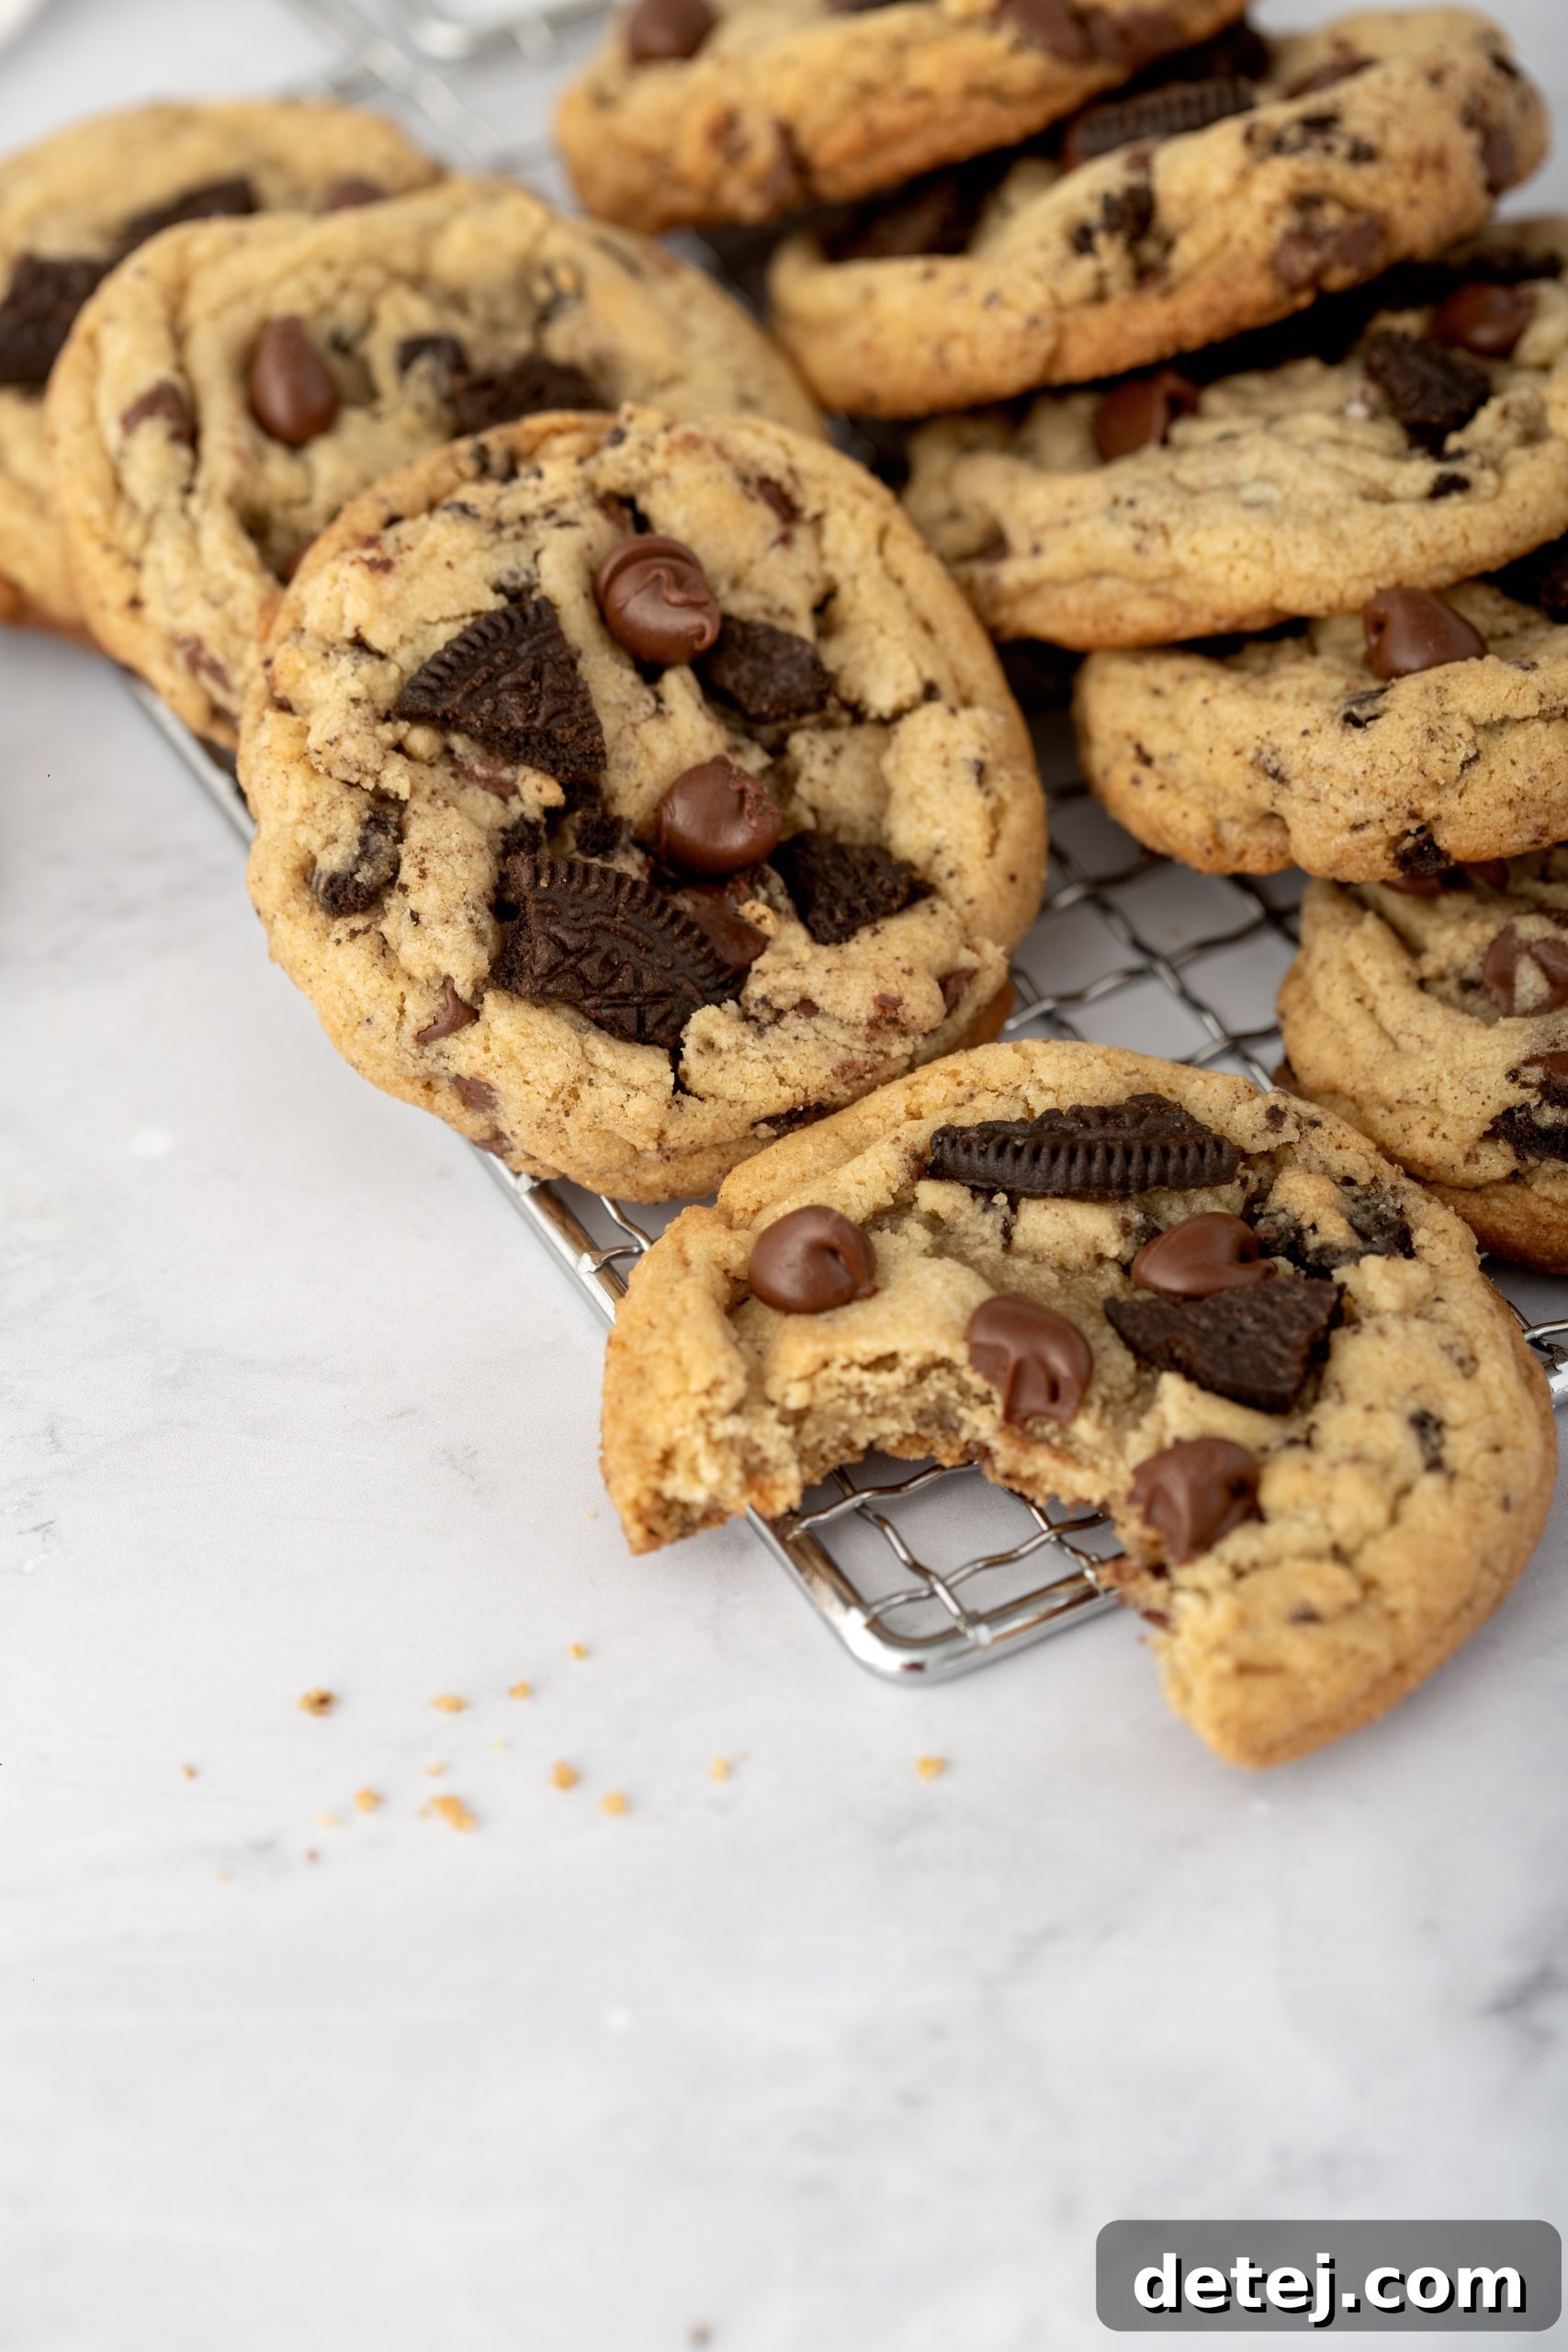
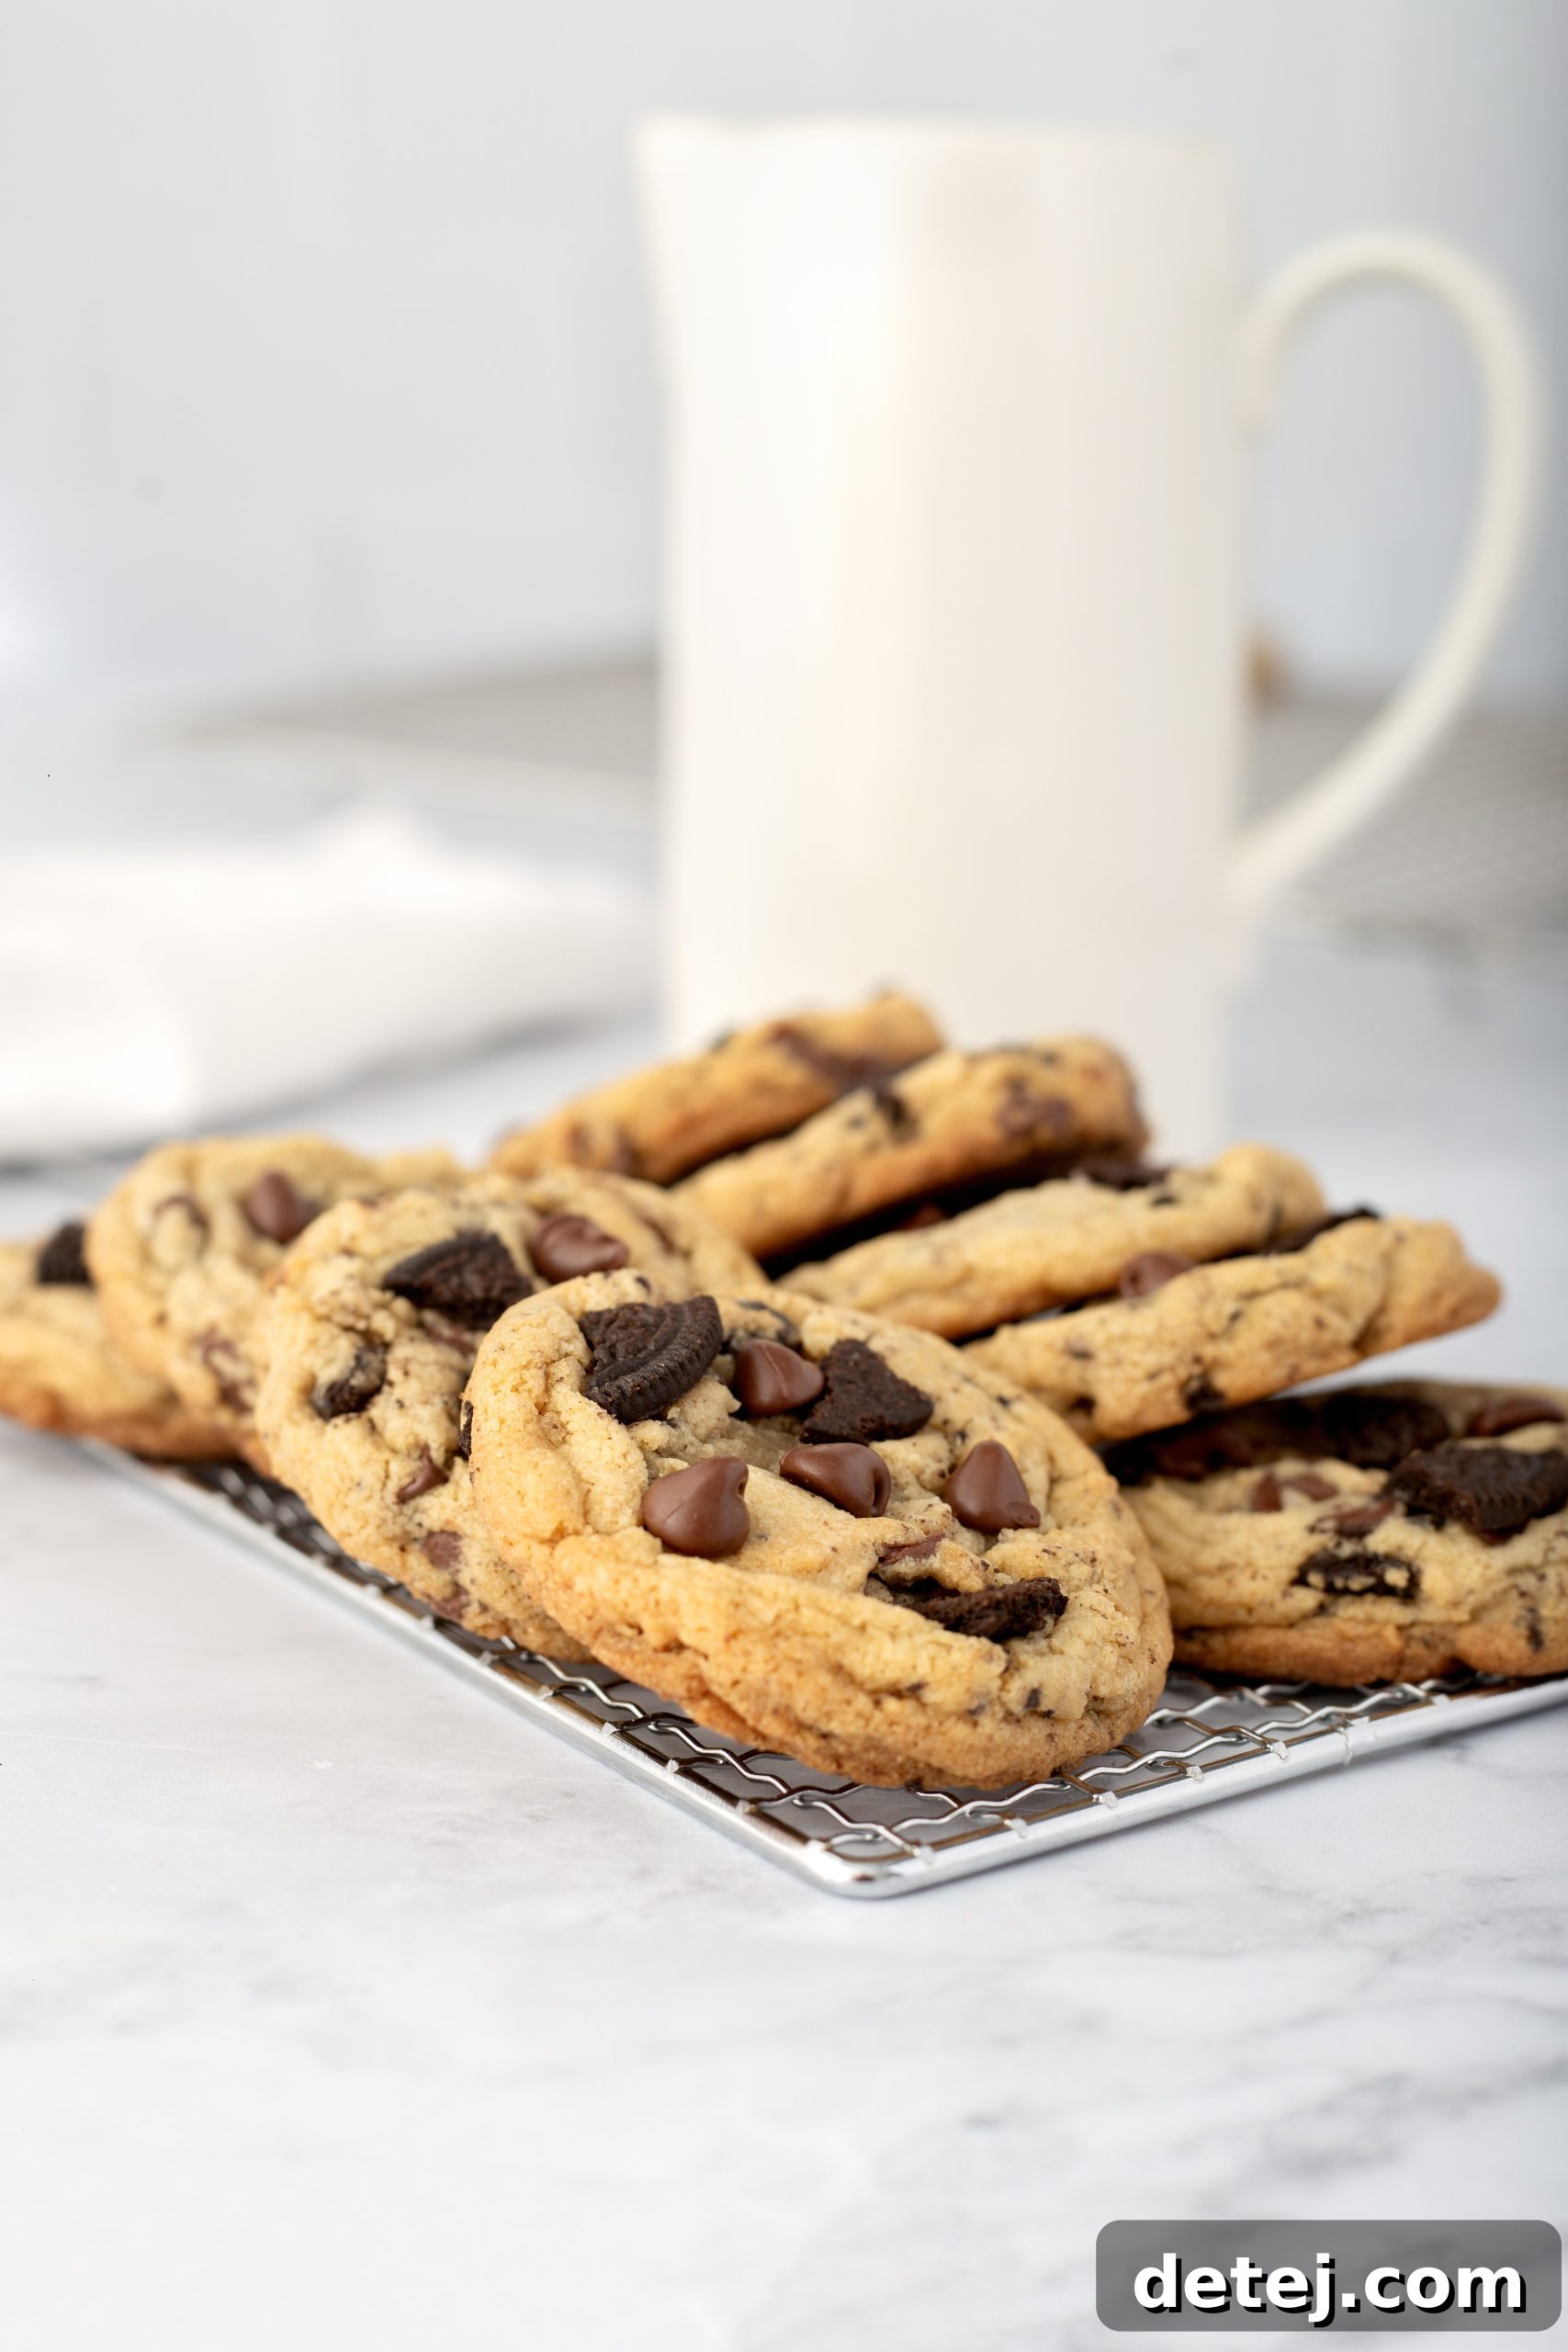
After all your meticulous effort and the tantalizing aromas that have filled your kitchen, the moment has finally arrived to fully appreciate your labor of love. There’s truly nothing quite like sinking your teeth into a warm, freshly baked bakery-style Oreo chocolate chip cookie, its textures a delightful dance between soft, chewy, gooey, and crunchy. For the ultimate indulgence, I highly recommend pairing these magnificent treats with a tall, frosty glass of milk. The cool, creamy milk perfectly complements the rich sweetness of the cookies, creating a classic combination that evokes pure comfort and bliss.
As you savor this delectable creation, remember that the joy of these cookies doesn’t have to end with the first batch. Should you be fortunate enough to have leftovers (a rare occurrence with such irresistible cookies!), proper storage is key to maintaining their fresh-baked quality. Ensure your cookies are completely cooled before transferring them to an airtight container. Stored at room temperature, they will remain wonderfully fresh and delightfully chewy for up to 3-5 days. For an even longer-lasting treat, these cookies freeze beautifully. Simply place them in a freezer-safe bag or container, and they’ll be ready to enjoy again after a quick thaw, tasting almost as good as the day they were baked. Sharing these homemade gems with family and friends is an additional layer of joy, turning simple ingredients into cherished memories and solidifying your reputation as a master baker. Enjoy every last crumb of your culinary masterpiece!
Bakery-Style Oreo Chocolate Chip Cookies
Pin
Rate
Ingredients
- 2 ½ cups all-purpose flour
- ¼ cup cornstarch
- 1 tsp baking soda
- 1 tsp salt
- ¾ cup Oreo pieces, about 6 Oreos, broken into small and medium chunks
- 1 cup (2 sticks) unsalted butter, softened
- 1 cup packed brown sugar
- ½ cup white granulated sugar
- 1 tsp pure vanilla extract
- 1 large egg
- 1 egg yolk
- 1½ cups semi-sweet chocolate chips
Instructions
- Prep the dry ingredients: In a medium bowl, whisk together the flour, cornstarch, baking soda, and salt. Set aside.
- Break up the Oreos: Roughly break the Oreos into small and medium-sized pieces using your hands or by gently pulsing them in a food processor (just a few times—don’t turn them into crumbs!).
- Cream the butter and sugars: In a large mixing bowl, beat the softened butter, brown sugar, and granulated sugar on high speed for 3–4 minutes, until light and fluffy. Scrape down the bowl as needed.
- Add wet ingredients: Mix in the vanilla, egg, and egg yolk until fully combined and smooth.
- Mix in the dry ingredients: Gradually add the flour mixture to the butter mixture, mixing just until combined.
- Fold in the chocolate chips and Oreos: Stir in the semi-sweet chocolate chips and Oreo pieces until evenly distributed. Chill the dough for 40 minutes.
- Preheat and prep: Preheat your oven to 350°F and line two cookie sheets with parchment paper. Scoop large (3 oz) balls of cookie dough. Place 6 dough balls on one baking sheet and pop that tray in the freezer while the oven finishes preheating. Keep the rest in the fridge.
- Bake: Bake the first batch of cookies for 13–15 minutes, or until the edges are golden and the centers are still soft. Let them rest on the baking sheet for 4 minutes.
- Shape & top: Use a biscuit cutter or the rim of a glass to gently swirl around each cookie to make them perfectly round. Top with extra Oreo pieces and a few extra chocolate chips while warm.
- Cool: Transfer to a wire rack and cool until just warm or completely cooled — either way, they’re amazing!
Nutrition Information:
- Serving: 1 cookie
- Calories: 353kcal
- Carbohydrates: 45g
- Protein: 4g
- Fat: 18g
- Saturated Fat: 10g
- Polyunsaturated Fat: 1g
- Monounsaturated Fat: 5g
- Trans Fat: 0.4g
- Cholesterol: 48mg
- Sodium: 306mg
- Potassium: 143mg
- Fiber: 2g
- Sugar: 26g
- Vitamin A: 351IU
- Calcium: 29mg
- Iron: 3mg