
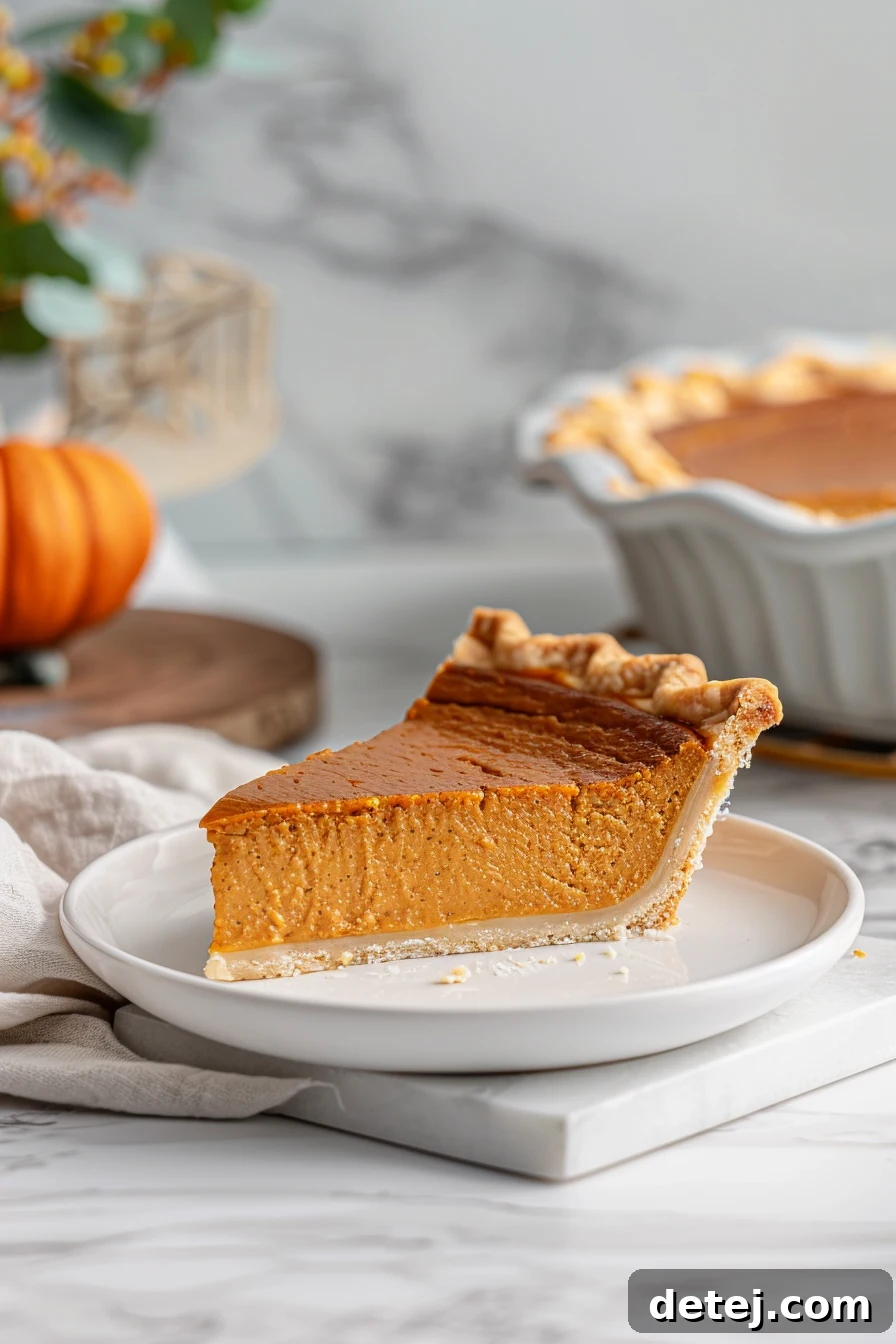
The Ultimate Classic Pumpkin Pie: A Must-Have Holiday Dessert
As autumn leaves begin to fall and a crisp chill fills the air, our thoughts inevitably turn to the warmth and comfort of the holiday season. At the heart of these cherished traditions, one dessert reigns supreme: the classic pumpkin pie. More than just a sweet treat, pumpkin pie embodies the spirit of gathering, gratitude, and home. If you’re searching for a dessert that’s not only a feast for the eyes but also incredibly easy to master and boasts an unforgettable flavor, then look no further. This recipe is designed to become your new family favorite, simplifying the process without compromising on that rich, spiced taste we all adore.
A Slice of Enduring Tradition
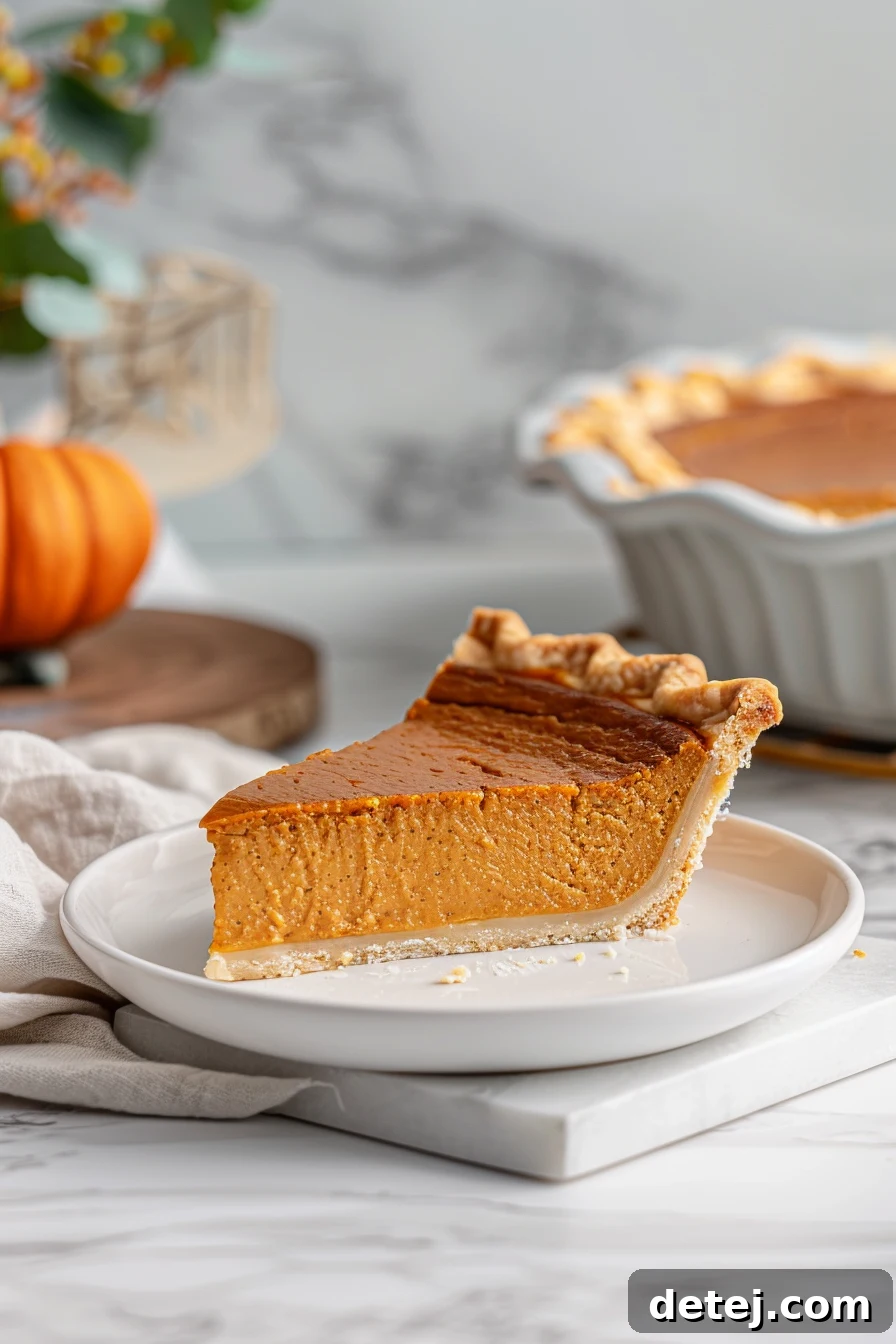
Pumpkin pie holds a special place in the culinary landscape of fall and winter holidays, particularly Thanksgiving and Christmas. Its origins trace back centuries, with early versions appearing in English cookbooks, eventually evolving into the iconic dessert we know and love in America. Each bite transports you to a realm of comforting autumnal spices—cinnamon, ginger, nutmeg, and cloves—evoking memories of cozy family gatherings and festive celebrations. It’s the quintessential holiday dessert that graces our tables, not just for its delectable taste, but for the sense of history and togetherness it brings.
Imagine the aroma filling your home: sweet pumpkin mingling with warm spices, promising a delightful end to any holiday meal. This pie isn’t just a dessert; it’s a celebration, a time capsule of flavors that connects generations. Crafting one from scratch, even with a simple recipe like this, allows you to participate in a culinary tradition that has warmed hearts for hundreds of years.
Mastering the Perfect Pumpkin Filling
The secret to an extraordinary pumpkin pie lies in its velvety smooth, perfectly spiced filling. Let me guide you through the straightforward process of creating this golden elixir. The foundation of our filling begins with a high-quality canned pumpkin puree, three large eggs, and rich brown sugar. In a spacious mixing bowl, combine these three core ingredients, whisking them vigorously until they are thoroughly blended and the mixture achieves a smooth, uniform consistency. As you mix, the earthy, sweet fragrance of pumpkin will begin to fill the air, signaling that you’re well on your way to a truly exceptional pie.
Next, we introduce the symphony of spices that elevates simple pumpkin to holiday perfection. These are the flavors that define pumpkin pie: a generous pinch of salt to enhance all the other notes, a comforting dash of ground cinnamon, a subtle hint of ginger for warmth, a sprinkle of aromatic nutmeg, a touch of fragrant cloves, and for an unexpected depth, a tiny pinch of black pepper. Each spice plays a crucial role, contributing to the complex, irresistible profile that makes pumpkin pie so beloved. Don’t be tempted to skip any; their harmonious blend is what creates that classic, crave-worthy taste.
For the final, luscious touch that transforms this mixture into an irresistibly creamy filling, we incorporate heavy cream and milk. Pour them into your bowl and continue to whisk vigorously. This step is where the magic truly happens. The liquid dairy combines with the pumpkin and spices, creating a silky, rich base that is the heart and soul of this classic dessert. The consistency will be smooth and pourable, ready for its grand assembly into the pie crust.
The Grand Assembly: Bringing It All Together
With your perfectly spiced pumpkin filling ready, it’s time for the exciting moment of assembly. Carefully and gently pour the golden, aromatic filling into your chosen pie crust. The scent of spices and pumpkin will intensify, building anticipation for the baked masterpiece to come. This simple act is the culmination of your preparation, transforming individual ingredients into the promise of a delicious pie.
When filling the crust, a key tip for success is to aim for it to be approximately three-quarters full. This leaves just enough room for the filling to expand slightly during baking without overflowing, preventing spills and ensuring a beautifully baked, structurally sound pie. Think of it as crafting a delicious work of edible art, where precision in every step contributes to the final, impressive result.
Baking to Golden Perfection
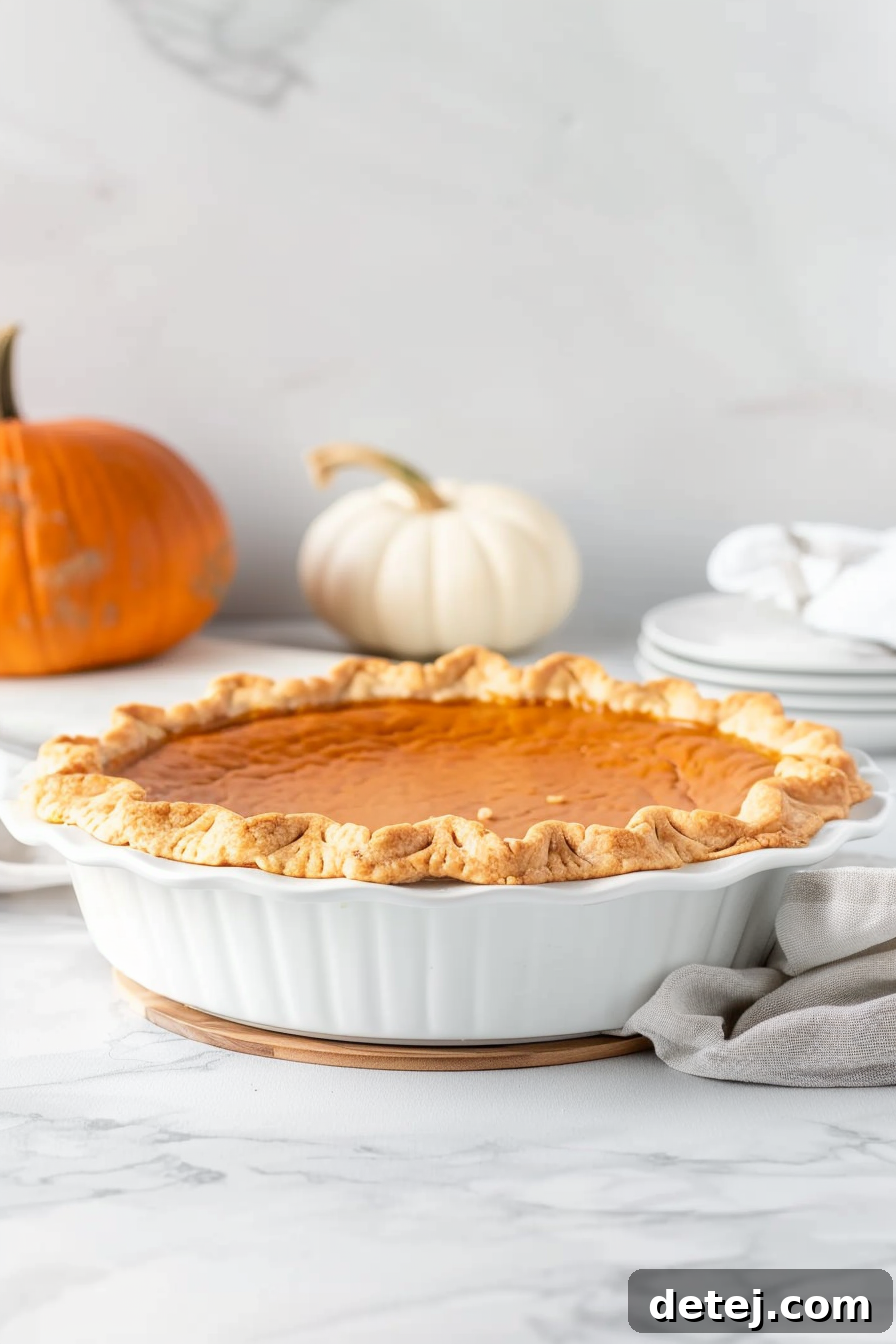
Now, the oven takes center stage to work its transformative magic. Carefully slide your assembled pie into a preheated oven, allowing the heat to gently cook the filling to perfection. After approximately 55-60 minutes, your kitchen will be filled with an irresistible aroma, and the pie will undergo its beautiful metamorphosis. You’ll know it’s perfectly baked when the center is almost set, displaying just a slight, delicate wobble when gently shaken. This subtle jiggle is the hallmark of a perfectly cooked pumpkin pie—creamy and moist, never dry or cracked.
However, about halfway through the baking process, a crucial step ensures your pie looks as good as it tastes. The delicate edges of the pie crust can brown quickly, potentially burning before the filling is fully cooked. To prevent this, gently shield them with strips of aluminum foil. This simple trick will protect the crust, allowing it to achieve an even, golden-brown hue while the filling bakes through completely. Attention to such details guarantees a visually stunning pie, making presentation just as delightful as the first bite.
The Crucial Cooling Phase: Patience is a Virtue
As your masterpiece emerges from the oven, fragrant and inviting, the temptation to slice into it immediately can be almost overwhelming. Yet, this is where patience truly becomes a virtue. Resist the urge to dive in right away. Instead, transfer your freshly baked pie to a wire rack and allow it to cool completely at room temperature. This cooling process is absolutely vital and should take at least 3 hours, though often longer. While the tantalizing aroma might make the wait challenging, this period allows the filling to fully set, firming up to that classic, sliceable consistency. Rushing this step can result in a messy, unset pie, so embrace the wait—it’s worth every minute for that perfect slice.
Elevating Your Pie: Finishing Touches and Serving Suggestions
Once your pumpkin pie has achieved its ideal cool and set state, it’s finally ready for its grand unveiling and the delightful final touches. This is your moment to get creative and personalize your pie. I highly recommend a generous dollop of freshly whipped cream, its light sweetness providing a heavenly contrast to the rich, spiced pumpkin. Alternatively, a scoop of creamy vanilla ice cream, melting slightly into the warm (or room temperature) pie, is an absolute match made in dessert heaven. For an extra touch of decadence, a drizzle of caramel sauce or a sprinkle of toasted pecans can elevate the experience even further.
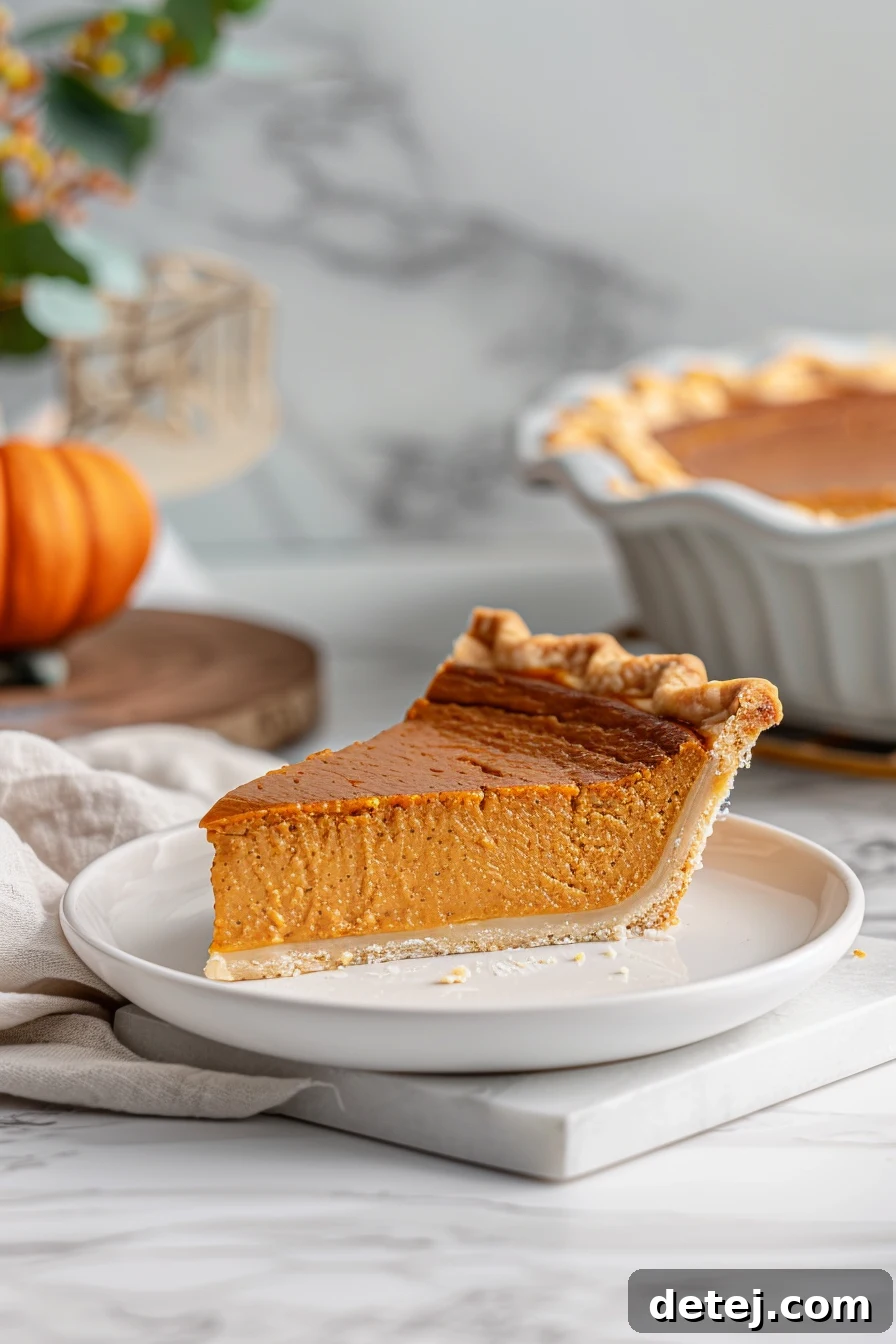
As you savor that very first bite, you’ll understand why pumpkin pie remains such an enduring classic. It’s a masterful symphony of flavors and textures: the earthy depth of pumpkin, the comforting warmth of a carefully balanced spice blend, the delicate sweetness of the filling, all encased within a perfectly golden, flaky crust. Each element plays its part in creating a celebration of tradition and comfort that truly defines the essence of the holiday season.
More Than Just a Dessert: A Family Legacy
What truly sets this pumpkin pie apart, beyond its exquisite taste, is its remarkable ability to unite families. This is a dessert that transcends generations, weaving itself into the fabric of shared moments and cherished memories. There’s an undeniable warmth in the act of sharing a slice with loved ones, hearing stories, and creating new traditions. I hold dear the memories of watching my own family gather around the table, eagerly enjoying this dessert year after year. Now, I continue that beautiful tradition with my own children, watching their faces light up with the same joy.
Serving a beautiful, homemade pumpkin pie brings a unique sense of fulfillment. It’s not merely food; it’s a tangible symbol of togetherness, celebration, and the simple pleasures of life. This pie marks the perfect culmination of a delicious holiday meal, kicking off the festive season with just the right blend of comforting nostalgia and exciting new beginnings. It’s a dish that invites lingering conversations, extra slices, and promises to be remembered long after the last crumb is gone.
If you’re a fan of pumpkin, then this is the dessert you’re going to love.
Krystel’s Cooking
Tips for Pumpkin Pie Success
- Use Pure Pumpkin: Ensure you’re using 100% pumpkin puree, not pumpkin pie filling, which already contains spices and sweeteners.
- Don’t Overbake: Overbaking can lead to cracks and a dry texture. Look for that slight wobble in the center as your cue.
- Chill Thoroughly: The cooling time is non-negotiable for a well-set pie. Resist the urge to cut it prematurely!
- Room Temperature Ingredients: For a smoother, more homogenous filling, ensure your eggs and dairy are at room temperature.
- Adjust Spices: While this recipe provides a balanced spice blend, feel free to adjust to your preference. Love extra cinnamon? Go for it!
Storage and Reheating
Proper storage ensures your pumpkin pie remains delicious for days. Once completely cooled, cover the pie loosely with plastic wrap or aluminum foil and refrigerate for up to 3-4 days. While pumpkin pie is traditionally served chilled or at room temperature, you can gently warm individual slices in the microwave for 20-30 seconds or in a low oven (300°F/150°C) for about 10-15 minutes, if preferred. The flavors deepen beautifully after a day or two in the fridge, making it an excellent make-ahead dessert for busy holiday schedules.
So, if you adore pumpkin and have a penchant for creating dishes that are both remarkably easy to prepare and visually impressive, this classic pumpkin pie recipe is your ultimate guide. It’s a flavor-packed culinary journey that you can embark on any time of year, but it truly shines and becomes an essential part of the holiday season. Trust me, once you’ve experienced the pure joy of baking and savoring this magnificent pie, it will swiftly become a treasured family favorite, a cherished tradition, and a beloved memory-maker for years to come.
Gather your loved ones, preheat your oven, and prepare to embark on a culinary adventure that is destined to become a beloved part of your holiday celebrations. This truly is the best pumpkin pie – a timeless classic and a delightful experience that you and your family will adore for generations.
Easy Pumpkin Pie
Servings: 12
Prep Time: 15 mins
Cook Time: 45 mins
Total Time: 1 hr
Author: Krystel
Ingredients
- 1 raw pie crust (pre-made refrigerated is recommended)
- 1 (15 oz) can pumpkin puree
- 1 cup heavy cream
- 1/4 cup milk
- 3 large eggs
- 1 1/4 cup packed brown sugar
- 1 tablespoon cornstarch
- 1 1/2 teaspoons ground cinnamon
- 1/2 teaspoon salt
- 1/2 teaspoon ground ginger
- 1/4 teaspoon ground nutmeg
- 1/8 teaspoon black pepper
- 1/8 teaspoon ground cloves
Instructions
- Preheat your oven to 350 degrees F (175°C). To prepare the pumpkin pie filling, begin by combining the pumpkin puree, 3 large eggs, and packed brown sugar in a large mixing bowl. Whisk these ingredients together until they are thoroughly combined and the mixture is smooth.
- Next, add the cornstarch, salt, ground cinnamon, ground ginger, ground nutmeg, ground cloves, black pepper, heavy cream, and milk to the pumpkin mixture. Whisk vigorously until all the ingredients are fully incorporated and the filling is completely smooth and consistent.
- Gently pour the prepared pumpkin pie filling into your pre-made pie crust, filling it to approximately 3/4 full. If you are using a deep-dish pie plate as recommended, you might have a small amount of filling left over.
- Bake the pie in the preheated oven for about 55-60 minutes, or until the center is almost set. The pie should have a slight wobble in the very center when gently shaken, indicating it is done but still moist.
- Around the 25-minute mark of baking, carefully cover the edges of the pie crust with strips of aluminum foil. This prevents the crust from browning too much or burning. Continue baking until the pie is golden and set. Check for doneness at 50, 55, and 60 minutes, adjusting as needed.
- Once the pie is fully baked, remove it from the oven and transfer it to a wire rack. Allow the pie to cool completely at room temperature for a minimum of 3 hours before adding any garnishes or slicing and serving. This crucial cooling period ensures the filling sets properly and achieves its optimal texture.
Did you make this recipe? Please leave a star rating and review below!
Print Recipe | Pin Recipe | Rate this recipe