
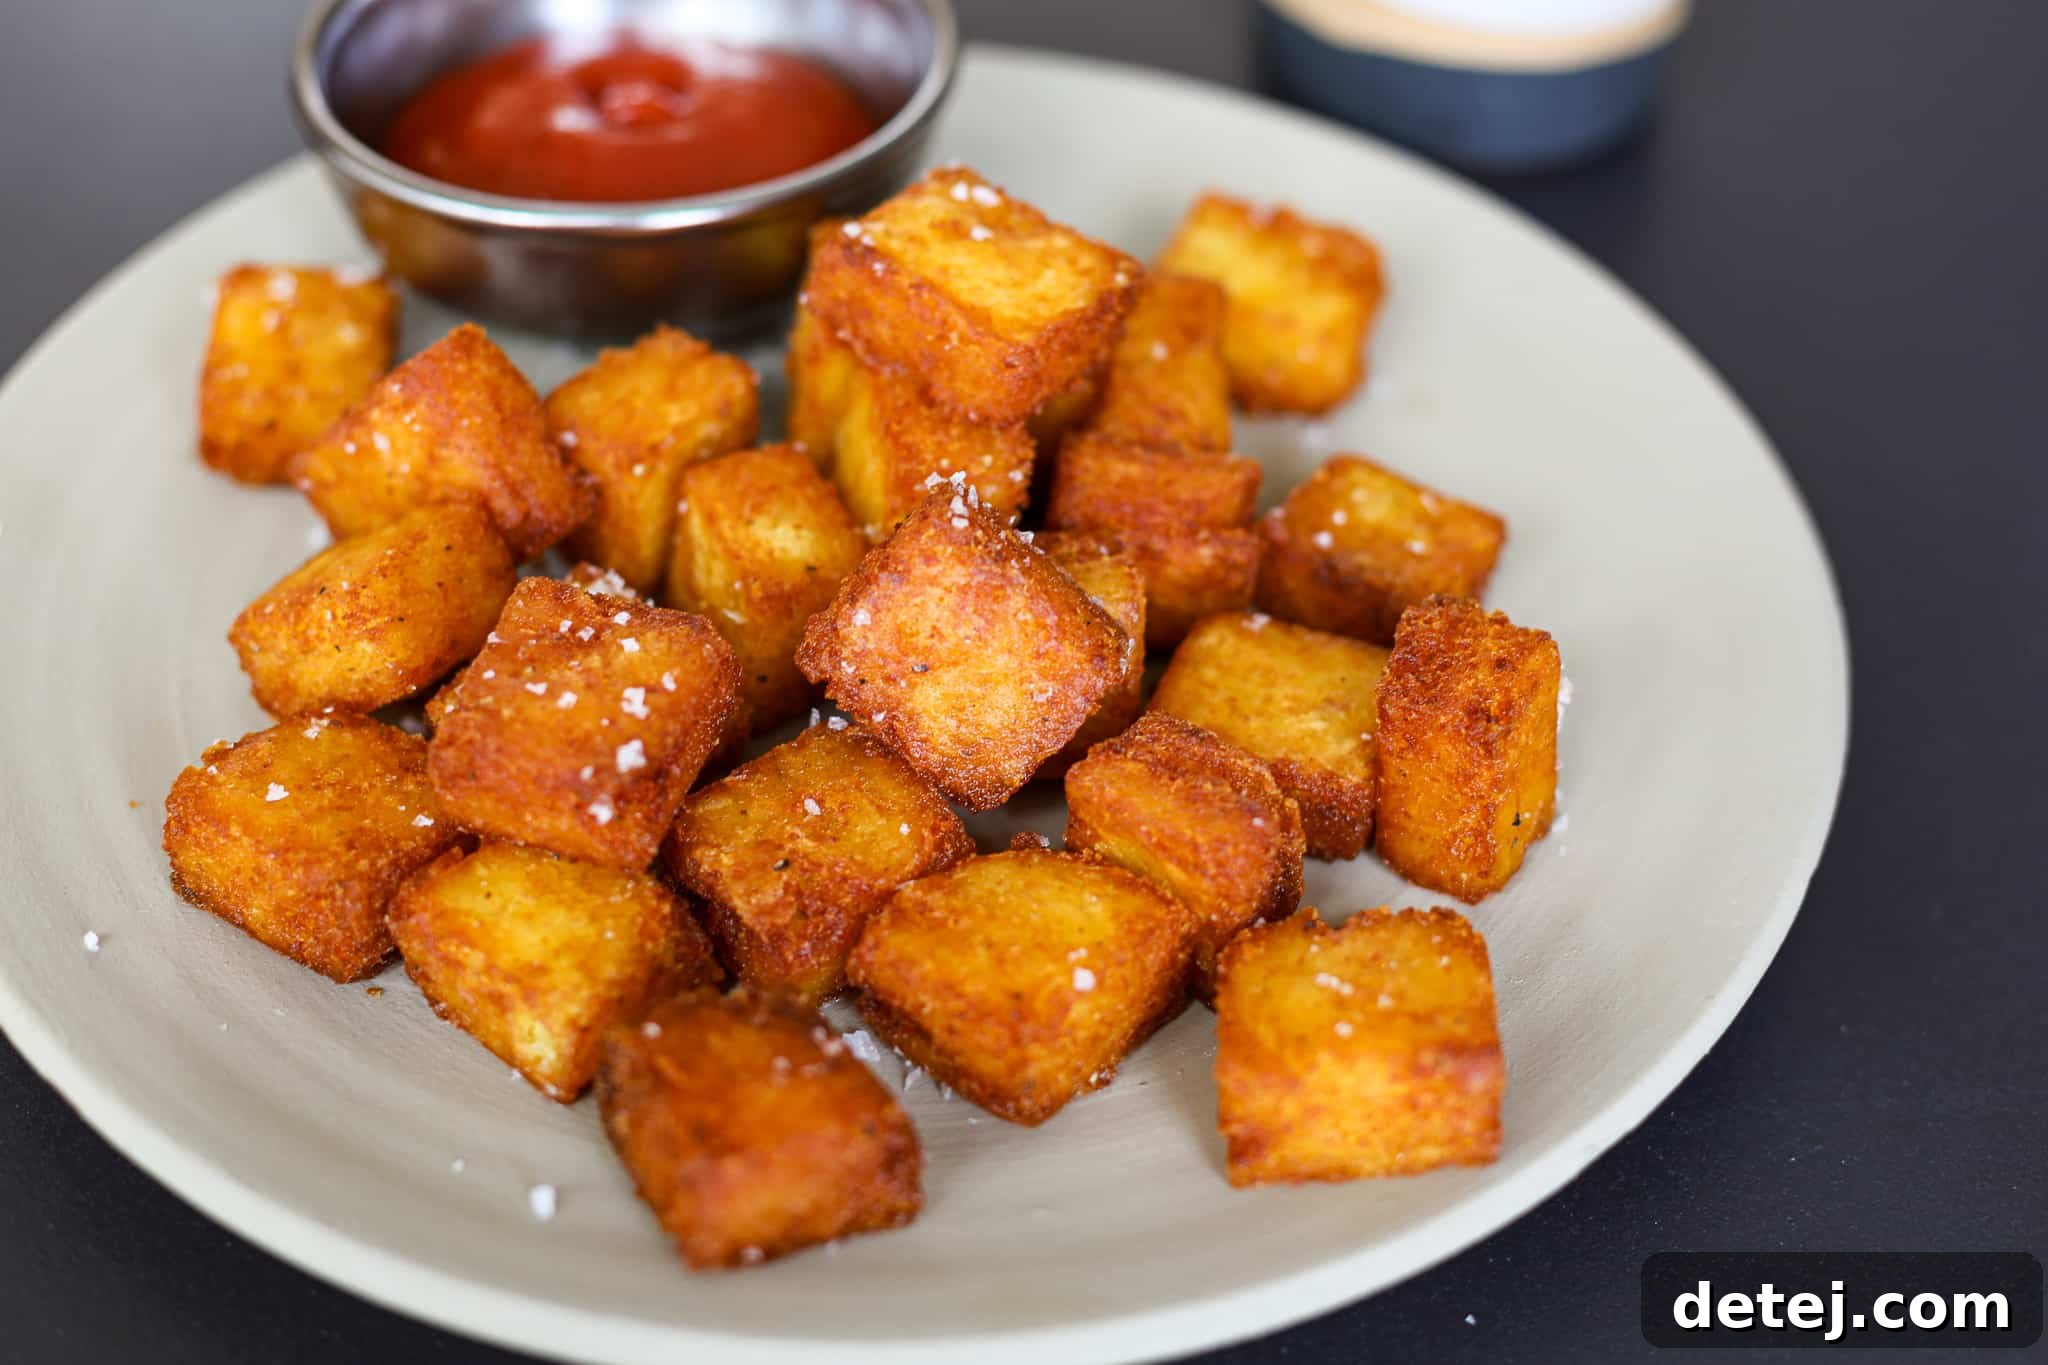
Mastering Homemade Crispy Tater Tots: A Comprehensive Guide to Golden Perfection
Are you ready to unlock the secret to perfectly golden-brown, irresistibly crispy tater tots with a creamy, fluffy potato interior? Look no further! This comprehensive guide will walk you through every step to create the ultimate homemade Crispy Tater Tots that will tantalize your taste buds and impress everyone at your table. Forget the frozen aisle – once you try these, you’ll never go back. These addictive potato bites are not only a fantastic snack on their own, but they also serve as a versatile accompaniment for a multitude of meals, proving that humble potatoes can indeed be a culinary masterpiece.
Whether you’re planning a fun family dinner, a casual brunch, or searching for the perfect appetizer to kick off your next gathering, these tater tots are the answer. They offer a delightful crunch and a comforting potato core that makes them a universal crowd-pleaser. Get ready to elevate your potato game and enjoy a truly satisfying experience with every single bite.
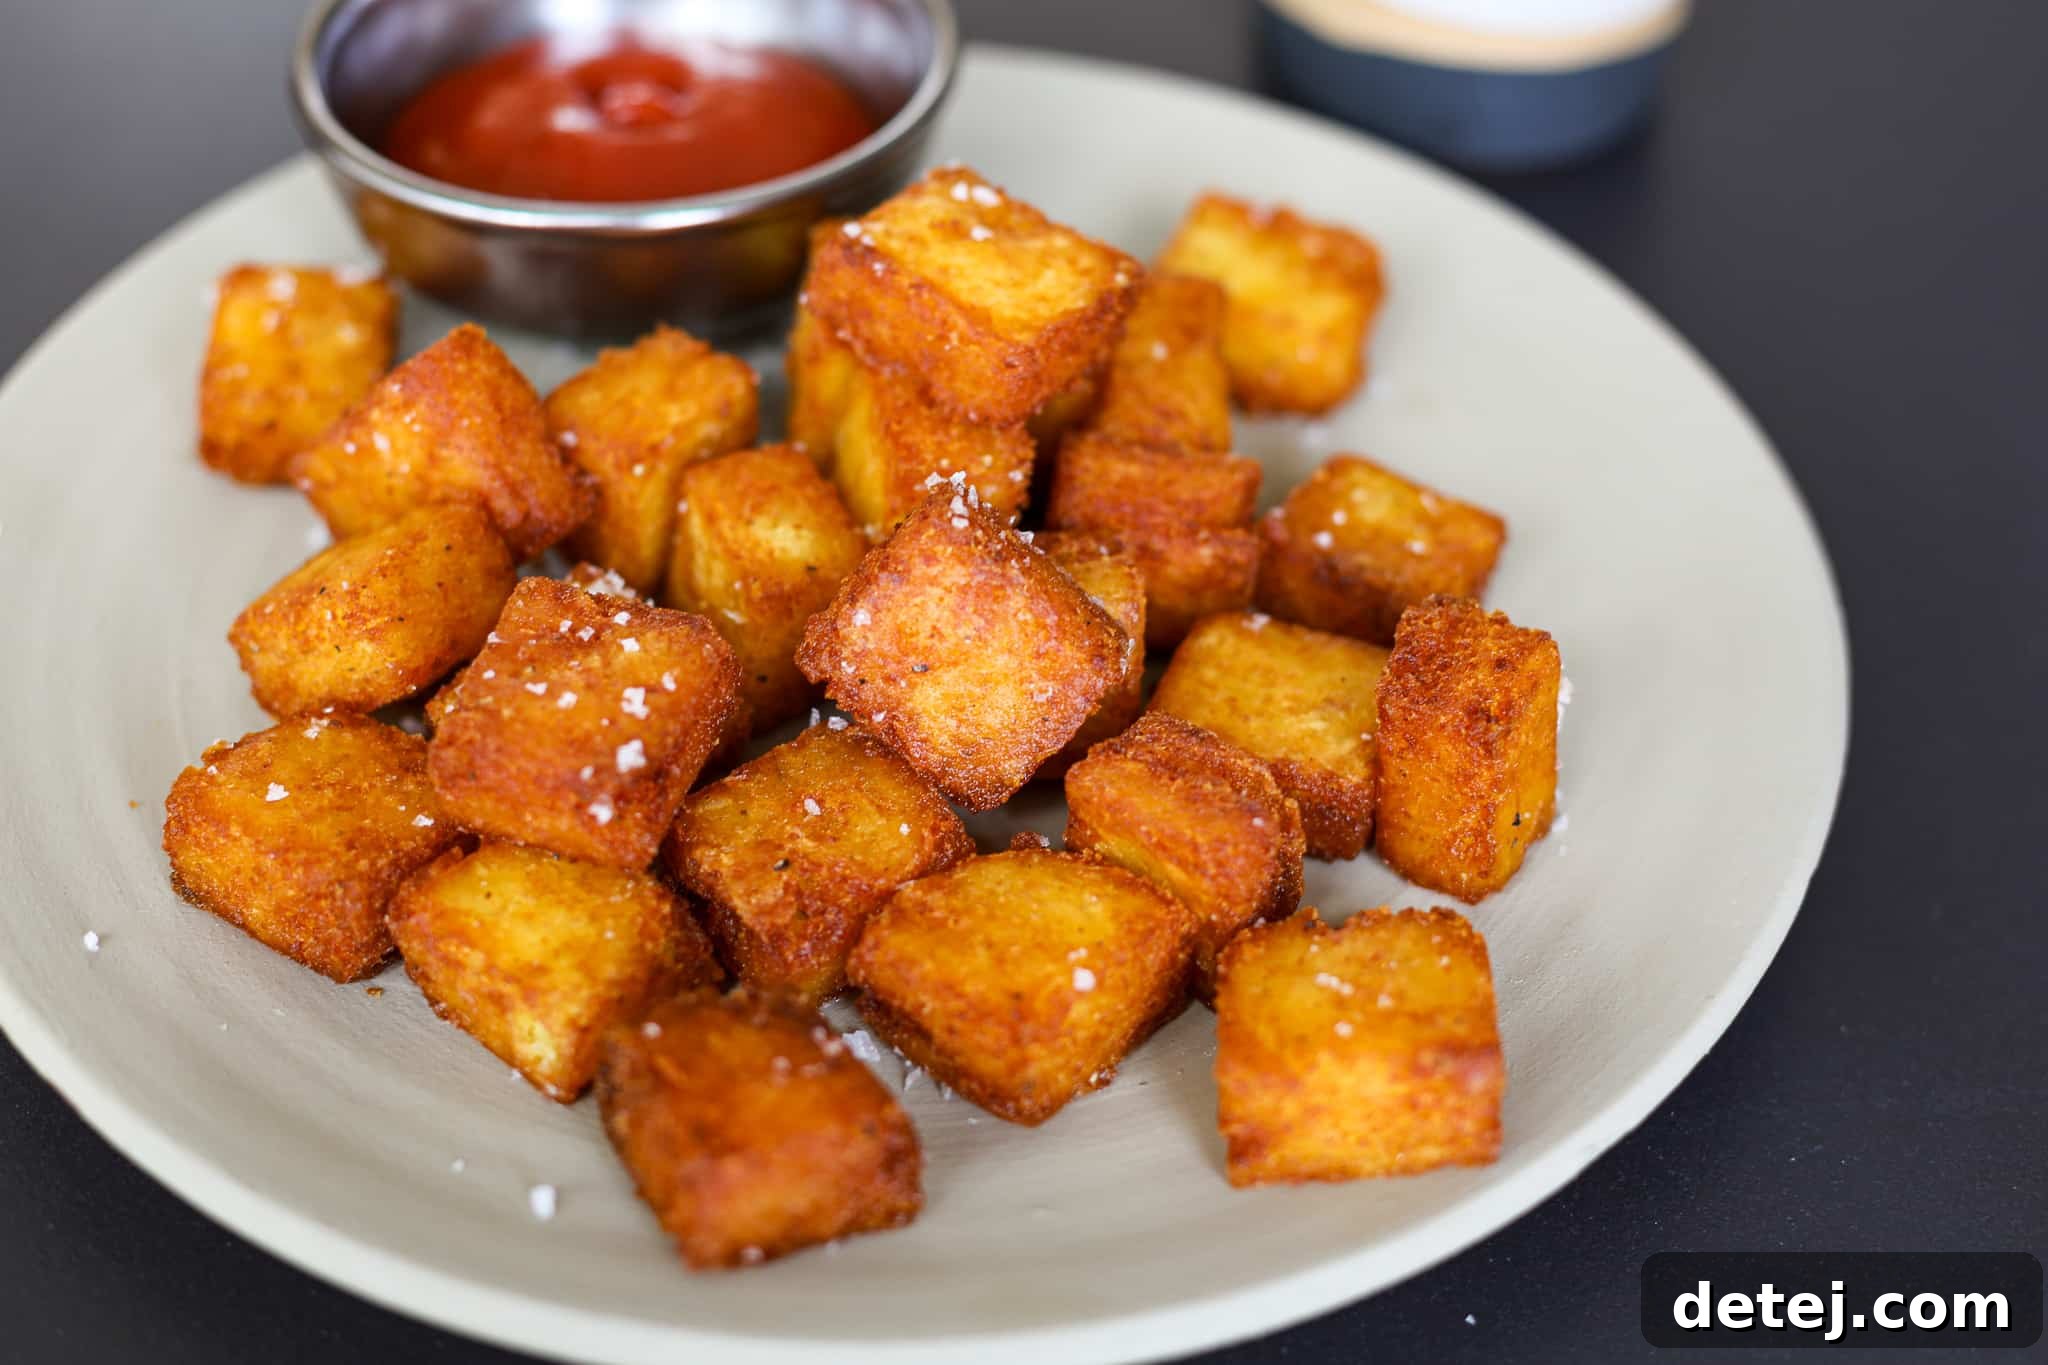
Why You’ll Love This Crispy Tater Tot Recipe
There are countless reasons why these homemade tater tots will become a staple in your kitchen. Beyond their incredible flavor and texture, they offer unmatched flexibility and ease, making them a true culinary gem.
Unmatched Versatility for Any Meal
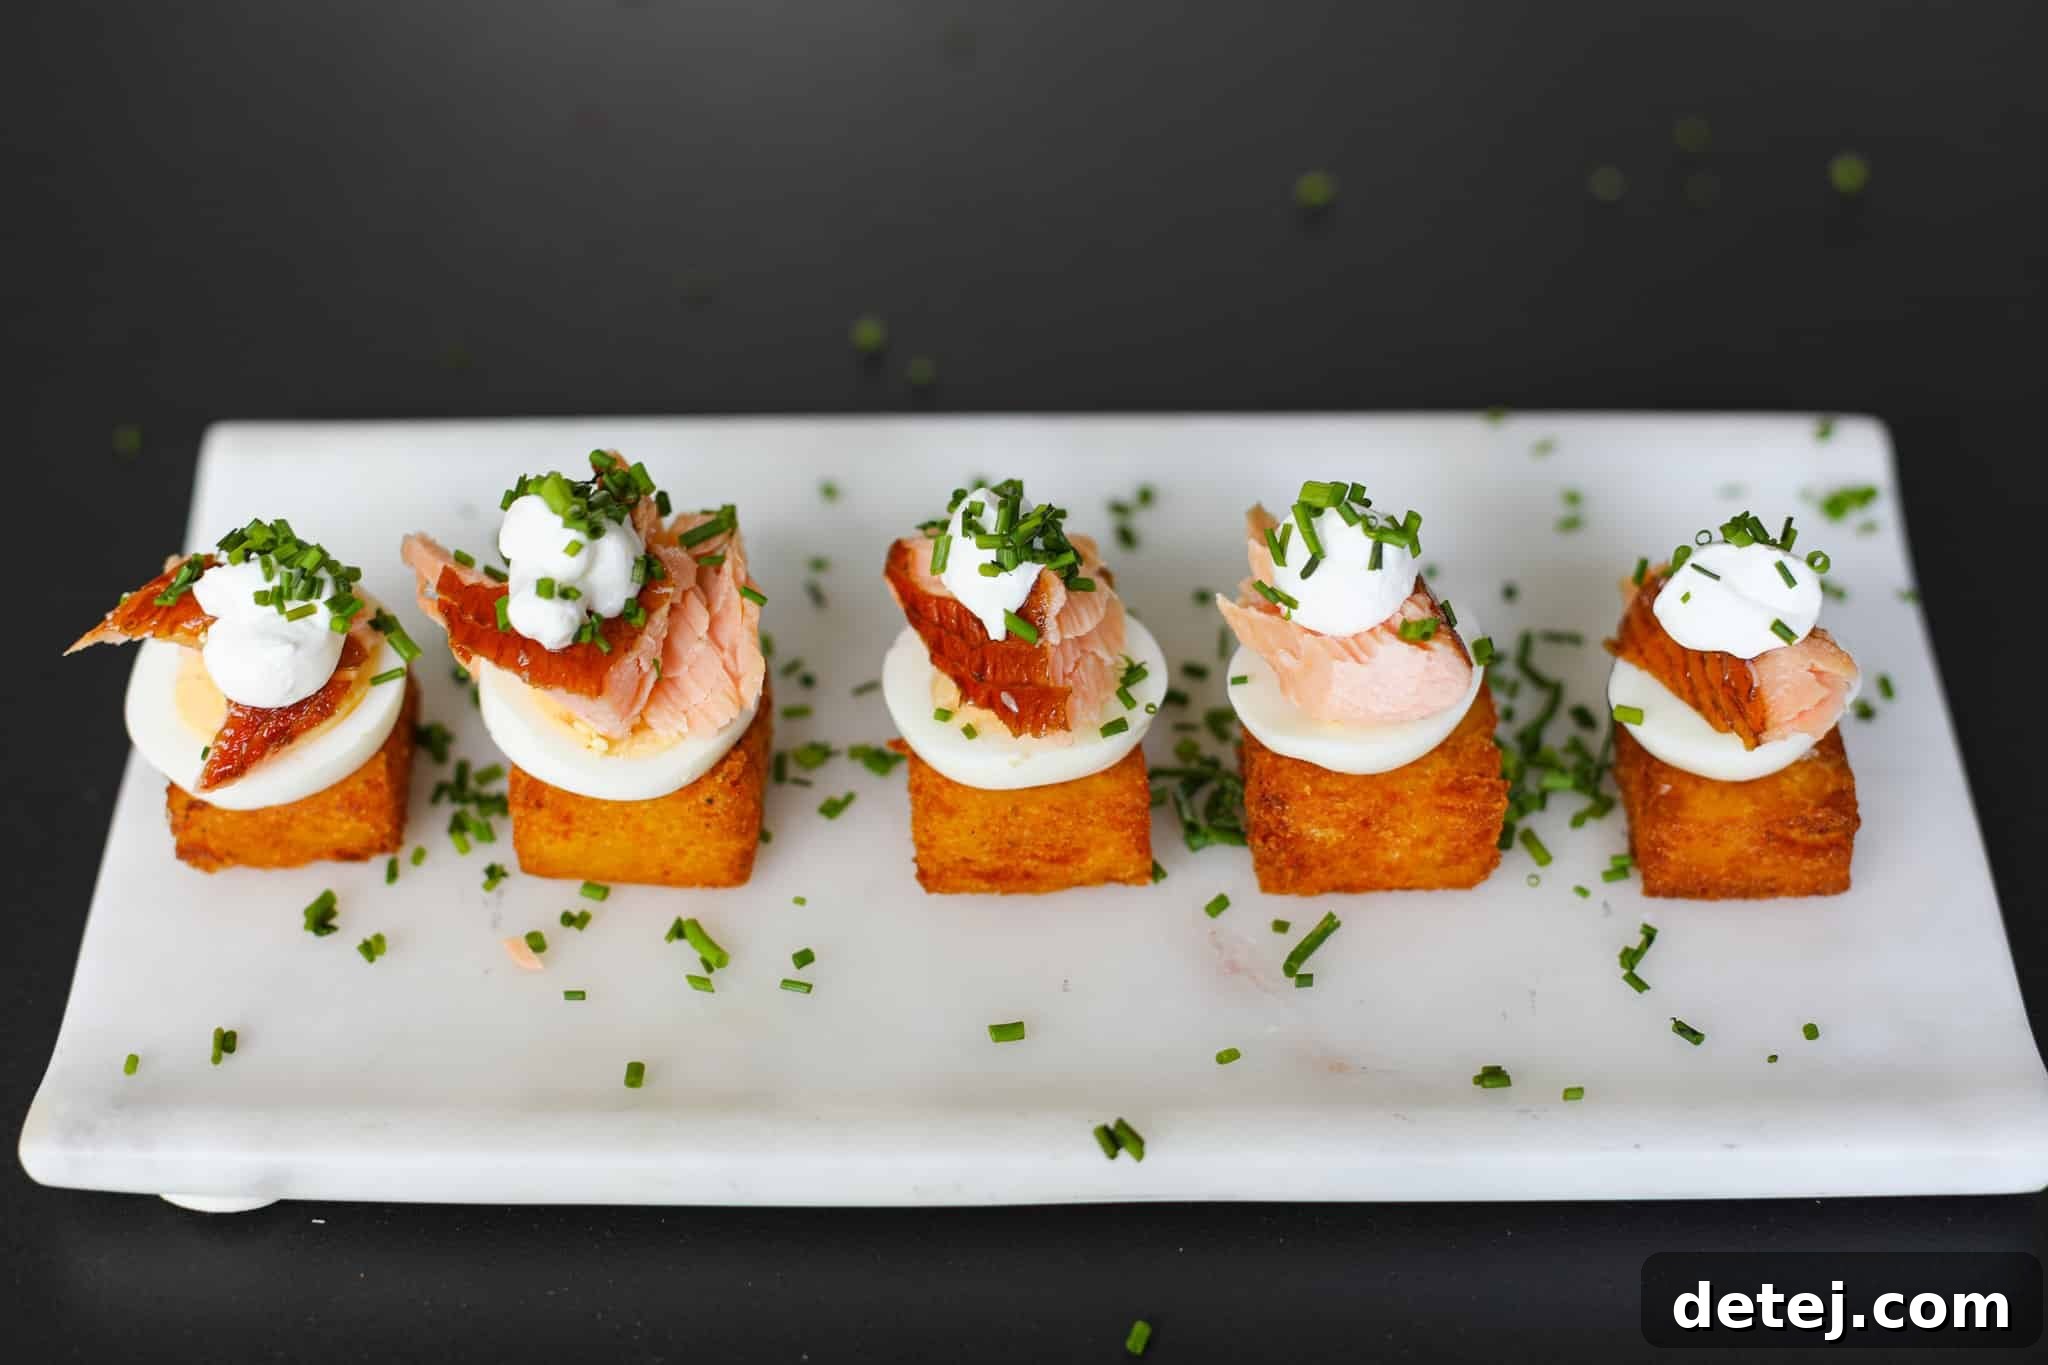
These crispy delights are far more than just a side dish. One of my personal favorite ways to enjoy these tots is by transforming them into elegant breakfast or brunch bites. Imagine: a golden-brown tater tot base, topped with a thin slice of hard-boiled egg, a delicate piece of flaky smoked salmon, a luxurious dollop of crème fraîche or sour cream, and a sprinkle of freshly chopped chives. This combination creates a truly perfect bite, offering a symphony of textures and flavors, and an absolutely beautiful presentation. Serve these sophisticated bites at your next brunch or lunch gathering, and your guests will undoubtedly be blown away by your creativity and culinary skill. They are also fantastic alongside classic breakfast fare like scrambled eggs or a savory breakfast burrito. For dinner, pair them with a juicy burger, grilled chicken, or even a hearty steak for a comforting and satisfying meal.
Endlessly Customizable to Your Taste
The beauty of homemade tater tots lies in their adaptability. While they are simply divine on their own with a classic side of ketchup, their neutral yet flavorful profile allows for endless customization. Experiment with different dipping sauces – from spicy sriracha mayo to creamy ranch or a tangy honey mustard. You can also incorporate various seasonings directly into the potato mixture for unique flavor twists. Think garlic powder, onion powder, paprika, or even a touch of cayenne pepper for a subtle kick. Serve them as a playful side with a gourmet sandwich or as a standalone snack for an afternoon treat. Crispy potatoes, in any form, are always a good idea, and these tots truly shine in their ability to complement a wide array of flavors and occasions.
Surprisingly Simple to Prepare
Don’t let the idea of making tater tots from scratch intimidate you. This recipe is designed to be straightforward and accessible, even for novice cooks. The key steps are simple: boiling, ricing, seasoning, shaping, and frying. While it requires a few specific tools like a potato ricer for the best texture, the process itself is quite forgiving and incredibly rewarding. The effort you put in is handsomely paid off with results that far surpass any store-bought alternative, both in terms of flavor and that undeniable homemade touch.
Economical and Wholesome
Making your own tater tots is not only more delicious but also often more cost-effective than buying pre-made frozen versions. Potatoes are an affordable pantry staple, and the other ingredients are common household items. Furthermore, by making them at home, you have complete control over the quality of ingredients and the cooking process, ensuring a wholesome and satisfying treat for your family. No mysterious additives, just pure potato goodness.
Essential Ingredients for Perfect Tater Tots
Crafting the perfect crispy tater tots starts with selecting the right ingredients. Each component plays a crucial role in achieving that coveted golden crisp exterior and a tender, flavorful interior.
- Potatoes: For this recipe, Yukon gold potatoes are highly recommended. Their naturally creamy texture and slightly waxy consistency make them ideal for tater tots, resulting in a smooth and rich potato center. While other potato varieties like Russets can be used, Yukon Golds truly deliver that superior, melt-in-your-mouth quality that distinguishes these homemade tots.
- Cornstarch: This ingredient is a game-changer for achieving maximum crispiness. Cornstarch acts as a binder, helping the potato mixture hold its shape, and more importantly, it creates an incredibly crispy, golden crust when fried. It’s the secret to those satisfying crackly exteriors that make tater tots so irresistible.
- Seasoning: Simple yet essential. You’ll need good quality kosher salt and freshly ground black pepper to season the potato mixture from within. Once the hot tots emerge from the oil, a generous sprinkle of flaky sea salt (such as Maldon) is paramount. This finishing touch not only enhances the flavor but also provides an extra layer of crunch and visual appeal. Don’t underestimate the power of salt in bringing out the best in potatoes!
- Oil: For deep frying, avocado oil is an excellent choice due to its high smoke point and neutral flavor, ensuring your tots cook beautifully without imparting any unwanted tastes. Other oils suitable for deep frying, such as canola, vegetable, or peanut oil, can also be used. The key is to use an oil that can withstand high temperatures without breaking down, ensuring a clean fry and perfectly cooked tots.
Step-by-Step: How to Make Crispy Tater Tots
Follow these detailed instructions to create your own batch of incredible homemade crispy tater tots.
Preparation: Peeling, Soaking, and Cooking Potatoes
Begin by peeling your Yukon gold potatoes. As a pro tip, save those potato skins! They can be transformed into delicious Crispy Potato Skin Chips, minimizing waste and giving you another fantastic snack. Once peeled, halve or quarter the potatoes into large, evenly sized pieces. Consistency in size is important here for even cooking. Place the potato pieces in a bowl and cover them with cold water. Allow them to soak for 10-15 minutes. This soaking step helps to remove excess starch, which contributes to a crispier end product.
Next, transfer the soaked potatoes to a large pot. Cover them with about 2 inches of fresh water. Season the water generously with salt – this is your first opportunity to infuse flavor into the potatoes. Bring the pot to a boil over high heat. Once boiling, reduce the heat and simmer until the potatoes are fork-tender, typically around 15-20 minutes. It’s crucial that they are fully cooked but not mushy. Once tender, carefully drain the water completely. Immediately, using a potato ricer, begin ricing the hot potatoes into a large bowl. This tool is essential! A potato ricer ensures the potatoes are incredibly smooth, light, and creamy without overworking them, which can lead to a gummy texture. Trust us, for truly perfect tots, a potato ricer is non-negotiable.
Mixing, Shaping, and Chilling
To the riced potatoes, add the cornstarch, kosher salt, and black pepper. Using a sturdy spatula, mix these ingredients thoroughly until everything is well combined and the mixture forms a cohesive dough. Avoid overmixing, but ensure the cornstarch is evenly distributed.
Line an 8×8-inch baking dish with a piece of parchment paper, leaving an overhang on the sides to easily lift the potato slab later. Transfer the potato mixture into the prepared dish. Using a separate piece of parchment paper or your hands, firmly press the potatoes until they are flat and evenly spread across the entire dish. This creates a uniform thickness, which is crucial for consistent tater tot size and cooking. Refrigerate the dish for 10-15 minutes. This chilling step helps the potato mixture firm up, making it much easier to slice and handle without crumbling.
Once chilled, carefully remove the potato slab from the pan by lifting it with the parchment paper. Place it on a clean cutting board. Now, slice the potato slab into squares. Aim for pieces that are roughly 1×1-inch in shape. From an 8×8-inch pan, you should be able to yield approximately 40 perfectly sized tater tots.
Deep Frying to Golden Perfection
In a deep, heavy-bottomed pot or Dutch oven, pour enough avocado oil to reach a depth of about 2-3 inches. Heat the oil to a temperature of 325-375 degrees Fahrenheit (160-190°C). It’s highly recommended to use a kitchen thermometer to accurately monitor the oil temperature, as maintaining the correct heat is vital for perfectly crispy tots. Too low, and they’ll be greasy; too high, and they’ll burn before cooking through.
Using a spider strainer, carefully add 4-5 potato squares to the hot oil at a time. Do not overcrowd the pot, as this will drop the oil temperature and result in soggy tots. **IMPORTANT SAFETY NOTE:** When you add the potato squares, the oil will bubble up considerably. Ensure you are using a pot that is deep enough to prevent any overflow and always exercise extreme caution when frying. Keep a fire extinguisher nearby and never leave hot oil unattended.
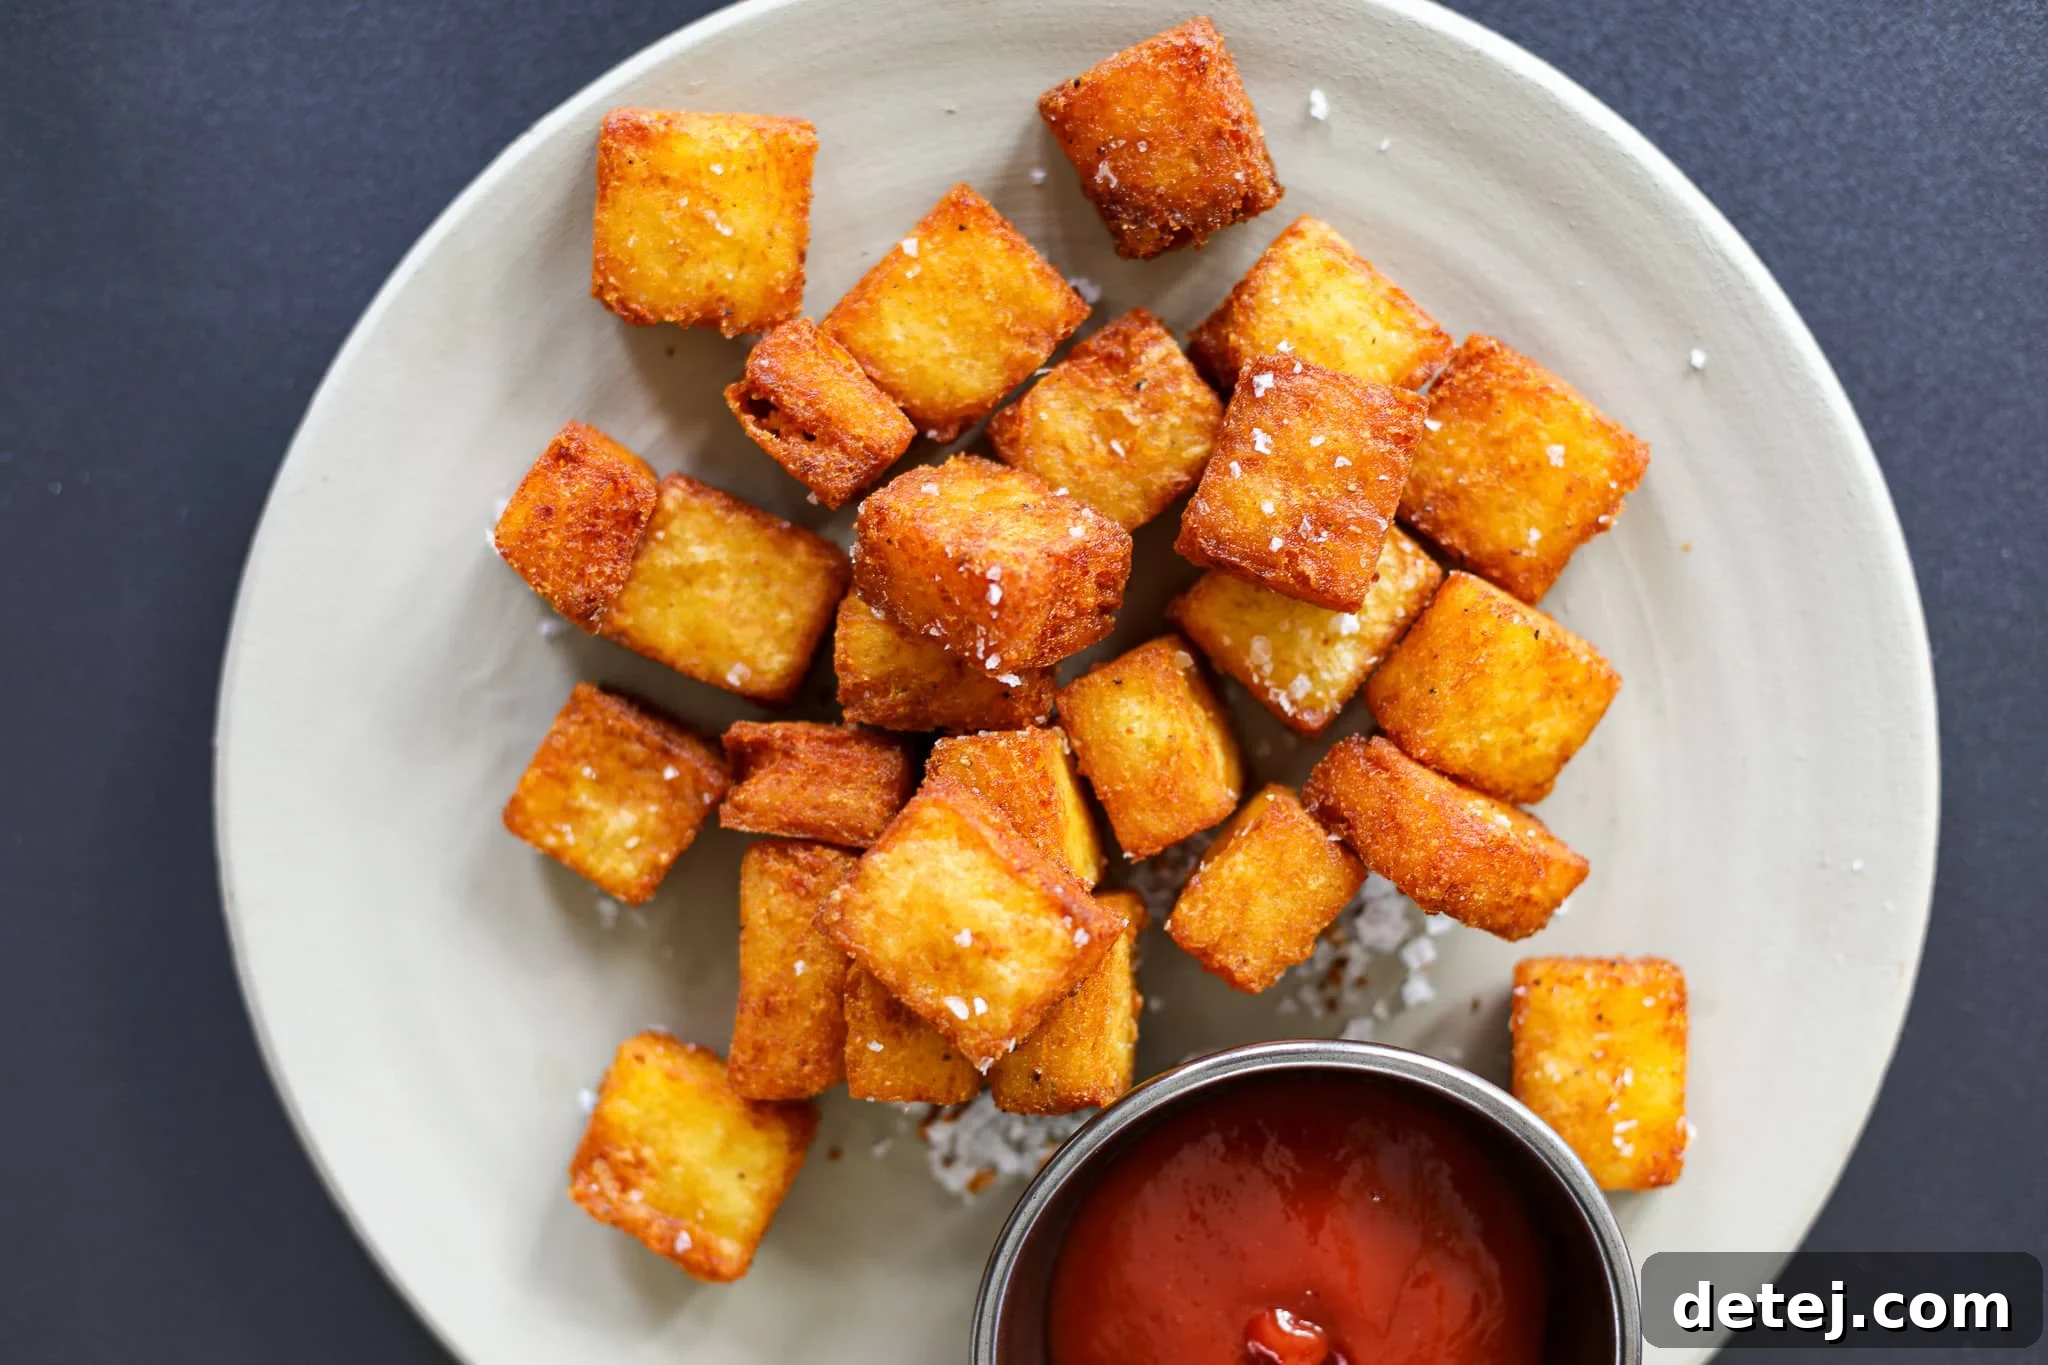
Let the tater tot squares fry for approximately 3-5 minutes, or until they achieve a beautiful golden-brown color and a visibly crispy texture. Make sure to occasionally stir them gently with the spider strainer to ensure both sides cook evenly and become uniformly crispy. Once they reach the desired golden hue, remove them from the oil using the spider strainer.
Transfer the freshly fried tots to a wire rack placed over a baking tray. This setup allows any excess oil to drip off, preserving their crispiness. Repeat the frying process with the remaining potato squares in batches. As soon as each batch is removed from the oil and while they are still hot, generously sprinkle them with Maldon sea salt. The heat will help the salt adhere and draw out even more flavor. Serve immediately and savor every delicious, homemade bite!
Storing and Reheating Your Homemade Tater Tots
While these crispy tater tots are undoubtedly best enjoyed fresh, it’s possible to store and reheat them to maintain their deliciousness. Here’s how to ensure your leftovers remain as satisfying as the first batch:
Storage
For optimal crispiness, consume your tater tots immediately after frying. However, if you find yourself with extra tots (a rare occurrence!), you can store them in an airtight container in the refrigerator for three to four days. Ensure they are completely cooled before storing to prevent condensation, which can lead to sogginess.
Reheating
To bring your chilled tater tots back to life, avoid the microwave at all costs! Microwaving will turn them rubbery and soggy, destroying that glorious crispy texture. The best method for reheating is the oven or an air fryer:
- Oven Method: Preheat your oven to 350°F (175°C). Place the tater tots in a single layer on a baking tray. Heat for 15-20 minutes, flipping them halfway through to ensure even crisping on all sides.
- Air Fryer Method: For an even faster and often crispier reheat, preheat your air fryer to 375°F (190°C). Place the tots in a single layer in the air fryer basket, ensuring not to overcrowd it. Air fry for 8-12 minutes, shaking the basket halfway through until they are hot and crispy again.
With these reheating tips, you can enjoy your fantastic homemade tater tots even days after they were initially prepared.
Frequently Asked Questions About Tater Tots
The versatility of these crispy tater tots is truly remarkable! They are excellent dipped in classic ketchup, a spicy sriracha mayo, or a creamy ranch dressing. For breakfast or brunch, serve them alongside an egg and cheese sandwich, a savory quiche, or as the base for mini breakfast skillets. For lunch or dinner, they pair perfectly with burgers, hot dogs, grilled chicken, steak, or even as a unique side for fish and chips. Essentially, crispy potatoes are always a good idea and can complement almost any protein or sandwich you can imagine!
For the absolute best texture and flavor, these homemade crispy tater tots are best enjoyed immediately after frying. However, if you have any leftovers, they can be stored in an airtight container in the refrigerator for up to 4 days. Remember to reheat them using the oven or air fryer method for the best results to regain their crispiness, and avoid the microwave.
Yes, you absolutely can! While deep frying yields the crispiest results, baking or air frying are healthier alternatives. To bake, preheat your oven to 400°F (200°C), lightly brush the tots with oil, and bake for 25-35 minutes, flipping halfway, until golden and crisp. For air frying, preheat your air fryer to 375°F (190°C), lightly spray the tots with oil, and air fry for 15-20 minutes, shaking the basket every 5-7 minutes, until perfectly crispy.
You can certainly prepare parts of this recipe in advance. The potato mixture can be prepared, shaped, and chilled in the baking dish a day before frying. Keep it tightly covered with plastic wrap in the refrigerator. When ready to cook, simply slice and proceed with the deep frying steps. This makes entertaining much easier!
Explore More Delicious Potato Recipes
If you love these crispy tater tots, you’re sure to enjoy these other fantastic potato-centric recipes that celebrate the versatility of this beloved vegetable:
- Greek Lemon Potatoes: Tangy and tender, a Mediterranean delight.
- Sweet Potatoes with Spiced Tahini Dressing: A harmonious blend of sweet and savory.
- Easy Creamy Mashed Potatoes: The ultimate comfort food classic.
- Miso Butter Sweet Potatoes: An umami-rich twist on sweet potatoes.
- Southern Candied Sweet Potatoes: A wonderfully sweet and decadent side.
- Rosemary Garlic One Pan Smashed Potatoes: Crispy edges and fluffy centers, all in one pan.
- Hash Brown Potatoes: Perfect for a hearty breakfast or brunch.

Crispy Tater Tots
Sarah Thomas-Drawbaugh
Yield:
40
tots
40 minutes
40 minutes
1 hour
20 minutes
Pin Recipe
5 from 2 votes
Leave a Review »
Equipment
-
1 bowl
-
1 vegetable peeler
-
1 potato ricer
-
1 spatula
-
parchment paper
-
1 8×8 baking dish
-
1 pot
-
1 spider strainer
Ingredients
Ingredients
-
2
lbs.
Yukon gold potatoes,
about 6 medium potatoes -
⅓
cup
cornstarch -
½
teaspoon
kosher salt -
¼
teaspoon
black pepper -
Maldon sea salt,
use as garnish -
avocado oil,
for deep frying, amount varies based on size of pot used.
Instructions
How to Make Crispy Tater Tots
-
Peel your potatoes and halve or quarter them into large, but evenly sized pieces. Soak the pieces in a bowl of cold water for 10-15 minutes to remove excess starch.
-
Add the potatoes to a pot and cover with 2 inches of water. Season the water with salt and bring the pot to a boil. Once the potatoes are fork-tender (about 15-20 minutes), drain the water completely and begin ricing the potatoes with a potato ricer. The potato ricer is essential for achieving a smooth and creamy texture.
-
Add the cornstarch, kosher salt, and black pepper to the riced potatoes. Mix well using a spatula until combined. Line an 8×8-inch baking dish with parchment paper. Add the potato mixture to the dish and press it until it is flat and evenly spread. You can use another piece of parchment to help press them flat. Refrigerate for 10-15 minutes to firm up. Carefully remove the chilled potatoes by lifting them from the pan using the parchment paper. Slice into squares, approximately 1×1-inch in size. This recipe typically yields about 40 pieces.
-
In a deep pot, heat avocado oil to 325-375°F (160-190°C). Use a spider strainer to carefully add 4-5 potato squares to the hot oil at a time, being careful not to overcrowd the pot. The oil will bubble up, so ensure your pot is deep enough to prevent overflow. Always exercise caution when deep frying.
-
Fry the potato squares until they are golden brown and crispy, about 3-5 minutes. Stir them occasionally to ensure even cooking and crispiness. Once cooked, use the spider strainer to remove them from the oil. Place the fried tots on a wire rack set over a baking tray to drain any excess oil. Repeat with the remaining batches. While still hot, sprinkle generously with Maldon sea salt. Serve immediately and enjoy your perfectly crispy homemade tater tots!
Video
Notes
Nutrition
,
Calories: 17kcal
,
Carbohydrates: 4g
,
Protein: 0.5g
,
Fat: 0.02g
,
Saturated Fat: 0.01g
,
Polyunsaturated Fat: 0.01g
,
Monounsaturated Fat: 0.001g
,
Sodium: 1mg
,
Potassium: 95mg
,
Fiber: 0.5g
,
Sugar: 0.2g
,
Vitamin A: 0.5IU
,
Vitamin C: 4mg
,
Calcium: 3mg
,
Iron: 0.2mg
Appetizer, Breakfast, Brunch
American
17
Sarah Thomas-Drawbaugh