
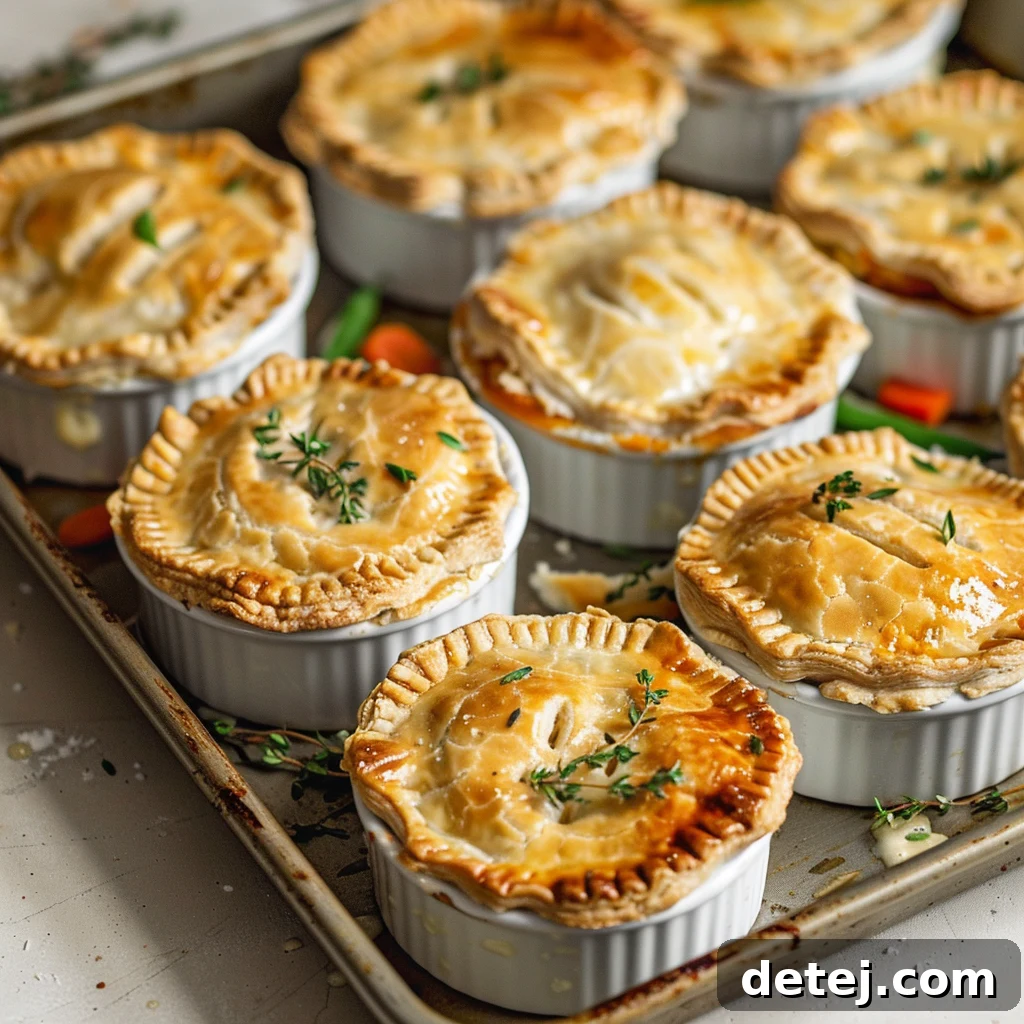
The Ultimate Comfort Food: Crafting Irresistible Homemade Chicken Pot Pie
Are you yearning for a dish that wraps you in warmth and nostalgia? Look no further than the timeless classic: homemade chicken pot pie. Imagine a golden, impossibly flaky crust giving way to a rich, creamy filling, brimming with succulent chicken and a medley of tender vegetables. This isn’t just a meal; it’s an experience, a culinary embrace that satisfies both body and soul. In this comprehensive guide, we’ll embark on a delightful journey, transforming simple ingredients into a pot pie masterpiece. We’ll meticulously cover every essential step, from mastering the art of a flavorful filling to perfecting that iconic golden crust that truly melts in your mouth. By the end, you’ll possess all the knowledge and techniques to bake your own unforgettable chicken pot pie. So, don your apron, gather your ingredients, and prepare to indulge in the ultimate comfort food sensation. Get ready to savor every heartwarming bite and create lasting culinary memories.
Why Chicken Pot Pie is the Quintessential Comfort Food
Chicken pot pie holds a special place in the hearts of many, a culinary icon symbolizing home, warmth, and nourishment. Its origins trace back centuries, with variations appearing in diverse cultures, each embracing the concept of meat and vegetables baked under a protective crust. What makes it so universally beloved? Perhaps it’s the harmony of textures: the crisp, buttery pastry contrasting with the smooth, creamy interior. Or perhaps it’s the medley of familiar flavors, where savory chicken, earthy vegetables, and aromatic herbs come together in a symphony of taste. Beyond its deliciousness, chicken pot pie offers a sense of security and familiarity, making it the perfect antidote to a chilly evening or a stressful day. It’s a versatile dish, easily adaptable to personal preferences and seasonal produce, yet always delivering that comforting, satisfying feeling.
The Journey to a Delightful Dish: From Simple Ingredients to Culinary Masterpiece
Creating a truly exceptional chicken pot pie involves a series of intentional steps, each contributing to the final harmony of flavors and textures. We’ll begin by carefully preparing our foundational elements, focusing on building a robust flavor base and ensuring our vegetables are perfectly cooked. Then, we’ll dive into the heart of the dish: the lusciously creamy filling. Finally, we’ll crown our creation with a golden, flaky crust that promises a perfect bite every time. Each stage is crucial, and by following these guidelines, you’ll unlock the full potential of this incredible comfort food.
Prepping for Success: Foundation for Flavor and Flaky Perfection
Before any culinary magic can happen, proper preparation is key. This stage sets the groundwork for a successful and utterly delicious chicken pot pie. The first crucial step involves preheating your oven to the precise temperature. While seemingly trivial, accurate oven temperature is paramount for a beautifully golden and evenly cooked crust. Too cool, and your pie might be soggy; too hot, and the crust could burn before the filling is adequately heated through. Aim for the recommended 375°F (190°C) to ensure a perfect bake.
Beyond the oven, thoughtful ingredient preparation significantly impacts the final taste. For the chicken, pre-cooked and diced poultry is ideal. This could be leftover roasted chicken, poached chicken breasts, or even a store-bought rotisserie chicken for ultimate convenience. Having your chicken ready allows you to focus on developing the filling’s flavors without overcooking the meat. As for the vegetables, choosing a mix of fresh and frozen can offer both quality and convenience. Diced carrots, peas, and celery form the classic trio, but don’t hesitate to incorporate other favorites like corn, green beans, or mushrooms. Uniform dicing ensures even cooking and a pleasant texture in every spoonful.
Sautéing Aromatics: Unlocking Deep Flavors
The sautéing process is where the true depth of flavor begins to develop. Melting butter in a large saucepan and gently cooking aromatic vegetables like finely chopped onions and diced celery is not just about softening them; it’s about coaxing out their natural sweetness and savory notes. This step creates a fragrant foundation that permeates the entire dish. As these ingredients gently sizzle, they release their essential oils, infusing the butter with rich flavors that will elevate your filling. A light caramelization of the onions adds another layer of complexity, transforming simple vegetables into a cornerstone of taste.
Once the primary aromatics have softened, you’ll add the diced potatoes and chicken broth (or bouillon). Bringing this mixture to a boil and then simmering it gently ensures the potatoes become tender without turning mushy. This process also allows the flavors to meld beautifully, creating a savory liquid base that will be absorbed by the other ingredients. This foundational step is non-negotiable for a pot pie that’s truly packed with flavor from the very first bite.
Crafting a Velvety, Creamy Filling that Pleases Every Palate
The heart of any chicken pot pie lies in its filling – a luscious, velvety concoction that binds all the delicious elements together. Achieving the perfect creamy consistency is paramount, creating that comforting mouthfeel that defines this dish. It’s not just about taste; it’s about a rich, smooth texture that coats the palate and leaves a lasting impression.
The Perfect Roux and Creamy Base
The secret to a perfectly smooth and thick pot pie filling is the roux. A roux, a mixture of cooked butter and flour, acts as the primary thickening agent and provides a rich, buttery foundation for our sauce. In a separate bowl, you’ll combine softened butter with flour, creating a paste that will seamlessly integrate into your hot vegetable mixture. This pre-mixing technique helps prevent lumps and ensures a silky-smooth result. Once the vegetables in your saucepan are tender and simmering, stir in this butter-flour paste. As it cooks and thickens, it forms the base of your creamy sauce, imparting a wonderful richness.
Next, the careful addition of milk and cornstarch, pre-dissolved to prevent clumping, is crucial. Gradually whisk this mixture into the saucepan, continuously stirring as it comes to a gentle boil. The key here is patience and consistent whisking to ensure the sauce thickens evenly and achieves that desired luxurious, velvety texture. Continue cooking until the sauce coats the back of a spoon, indicating it has reached its ideal consistency. For an even richer flavor, consider using whole milk or even a splash of heavy cream. This creamy base serves as the perfect canvas for our flavorful additions.
The Hearty Additions: Tender Chicken and Wholesome Vegetables
With our creamy base established, it’s time to incorporate the stars of the show: the tender chicken and vibrant vegetables. Gently stir in the diced cooked chicken and the frozen peas. The heat from the sauce will warm the chicken through and lightly cook the peas, preserving their color and slight bite. This combination of textures and flavors is what makes chicken pot pie so appealing. The chicken provides a hearty, savory protein, while the carrots, peas, celery, and potatoes contribute freshness, sweetness, and a satisfying chewiness.
Seasoning is the final touch for the filling. Generous amounts of salt and freshly ground black pepper are essential to enhance all the flavors. Don’t be shy about tasting and adjusting the seasoning to your preference. Consider adding a pinch of dried thyme, a bay leaf, or some fresh parsley to further deepen the aromatic profile. Once the chicken and peas are mixed in, remove the filling from the heat, cover it, and allow it to cool slightly. This brief cooling period helps the filling set and prevents it from making your bottom crust soggy when assembled.
Creating the Golden, Flaky Crust that Melts in Your Mouth
While the creamy filling is undoubtedly delicious, the true crowning glory of any chicken pot pie is its crust. A perfectly golden, impossibly flaky crust is what elevates this dish from simply good to truly unforgettable. It’s the element that delivers that satisfying crunch and delicate crumble, creating a beautiful contrast to the smooth, rich interior.
The Science of a Flaky Pastry: Cold Butter and Gentle Hands
The secret to a truly flaky pastry lies in the butter—specifically, cold butter. When cold butter is cut into flour, it creates small pockets that, upon baking, release steam and push apart the layers of dough, resulting in that desirable flaky texture. Using a food processor simplifies this process, quickly pulsing cold, cubed butter with flour and salt until the mixture resembles coarse sand with pea-sized butter pieces. The goal is to incorporate the butter without melting it, preserving those crucial pockets.
Ice water is then added gradually, just enough to bring the dough together. The key here is minimal handling. Overworking the dough develops the gluten, leading to a tough crust. By stopping as soon as the mixture forms large clumps and pulls away from the processor bowl (or when it just comes together by hand), you ensure a tender, melt-in-your-mouth pastry. Dividing the dough, shaping it into disks, and refrigerating it for at least an hour allows the gluten to relax, making the dough easier to roll and contributing to its ultimate tenderness and flakiness.
Rolling, Shaping, and Expert Assembly
With your dough chilled and rested, it’s time for the final stage of preparation. Lightly flour your work surface and rolling pin to prevent sticking. Roll out one disk of dough from the center outwards, rotating it a quarter turn after each roll to maintain an even thickness and circular shape. Aim for a circle roughly 12 inches in diameter, or large enough to cover your chosen baking vessel. If you’re making individual pot pies in ramekins, use a large round cookie cutter to create uniform tops, slightly larger than the ramekin openings to allow for crimping.
For individual pot pies, consider placing a small amount of extra dough at the bottom of each ramekin to create an additional layer of crust – this adds to the overall richness and prevents a soggy bottom. Fill each ramekin generously with the cooled chicken mixture. Then, carefully place the cut-out crust circles over the filling. Pinch the edges firmly onto the rim of the ramekin to seal the pie. If using a large pie dish, simply drape your rolled-out top crust over the filling and crimp the edges decoratively. Before baking, make several small slits in the top crust with a sharp knife. These vents are essential for allowing steam to escape during baking, preventing the crust from puffing up excessively or cracking unevenly.
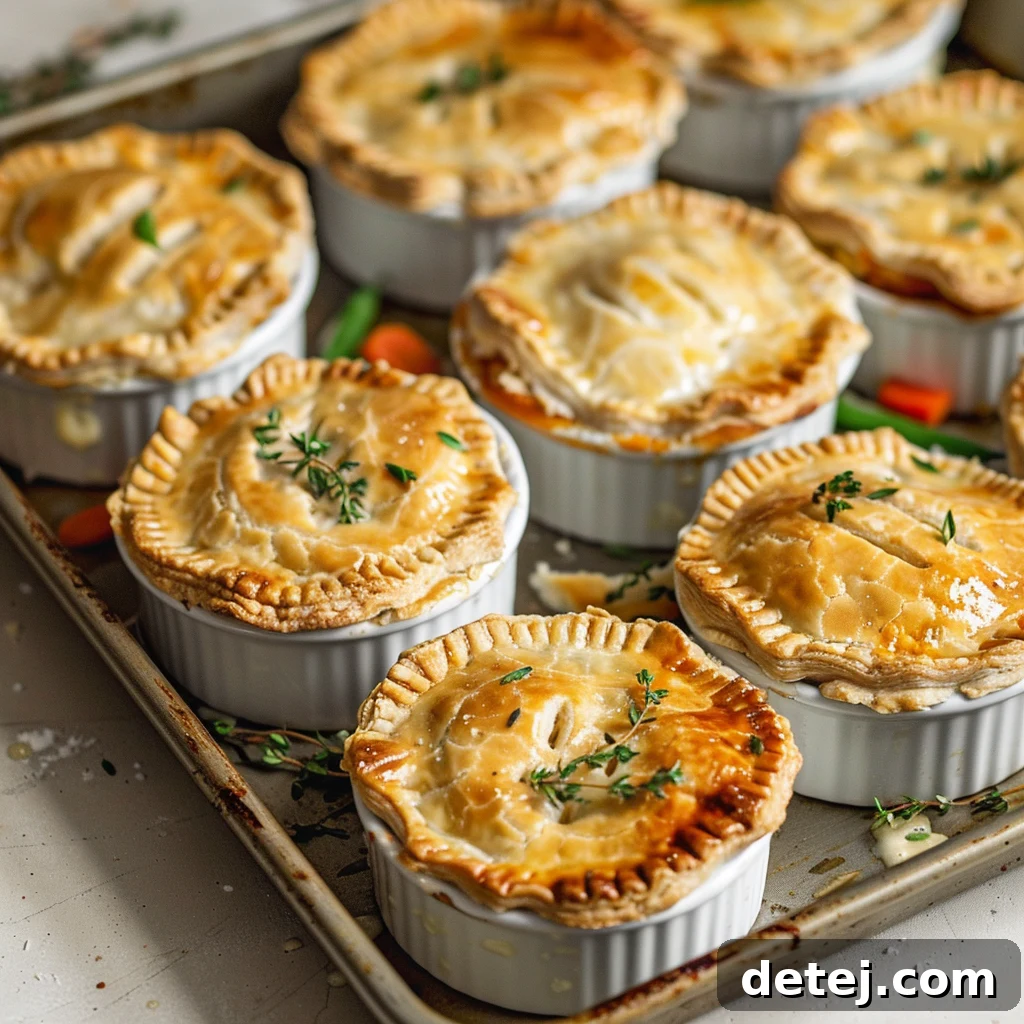
Baking Your Masterpiece: Achieving Golden Perfection
The final step in our journey is baking, where all the prepared elements come together to form the ultimate comfort food. Place your assembled pot pies into the preheated oven. Initially, bake for about 30 minutes. During this time, the filling will heat through and start to bubble, and the crust will begin to set and turn a light golden color. To achieve that irresistible deep golden sheen and enhance crispness, an optional but highly recommended step is to brush the crust with a beaten egg wash after the initial baking period. The egg wash provides a beautiful glaze and encourages further browning. Return the pies to the oven for an additional 5-10 minutes, or until the crust is a rich, deep golden brown and the filling is visibly bubbly around the edges.
Once baked to perfection, remove the pot pies from the oven. It’s crucial to let them rest for at least 15 minutes before serving. This resting period allows the piping hot filling to cool slightly and thicken further, preventing it from spilling out and burning your mouth. It also allows the crust to firm up, ensuring each slice or scoop maintains its integrity. This brief pause is a small act of patience that reaps huge rewards in enjoyment.
Serving and Customizing Your Chicken Pot Pie
Chicken pot pie, in all its glory, is a hearty meal in itself. However, it pairs wonderfully with simple sides that complement its rich flavors. A fresh green salad with a light vinaigrette offers a refreshing contrast, cutting through the richness of the pie. A side of roasted asparagus or steamed green beans can add extra freshness and nutrients. For a touch of traditional pairing, a dollop of cranberry sauce on the side can provide a sweet and tart counterpoint. Individual pot pies are particularly charming for entertaining, offering a personalized and visually appealing serving.
Beyond traditional pairings, don’t shy away from customizing your chicken pot pie to suit your tastes. Experiment with different herbs like fresh rosemary or sage for a more earthy flavor profile. A sprinkle of cheddar cheese or Gruyere mixed into the filling can add a delightful sharpness and extra creaminess. For a vegetarian twist, replace chicken with hearty mushrooms, chickpeas, or a mix of root vegetables. If you’re short on time, a store-bought puff pastry can make a quick and elegant top crust, though nothing quite compares to the homemade variety.
As you present this beautiful creation, your loved ones will be drawn in by the irresistible flavors and eye-catching presentation.
Krystel’s Cooking
Conclusion: Savoring the Heartwarming Delight
We’ve journeyed through the art of creating the ultimate comfort food, exploring every facet of the irresistible homemade chicken pot pie. From selecting and prepping fresh ingredients to crafting a velvety filling and perfecting a golden, flaky crust, you now possess the knowledge to bake this cherished dish with confidence. This culinary adventure is about more than just ingredients and techniques; it’s about the joy of creating something truly special with your own hands, something that nourishes and comforts.
In the hustle and bustle of modern life, moments of pure, unadulterated enjoyment are precious. Preparing and savoring a homemade chicken pot pie offers just such an escape – a pause to appreciate simple pleasures and the profound satisfaction that comes from sharing delicious food. So go ahead, embrace the warmth, the coziness, and the rich flavors. Let this comforting dish nourish not only your body but also your soul.
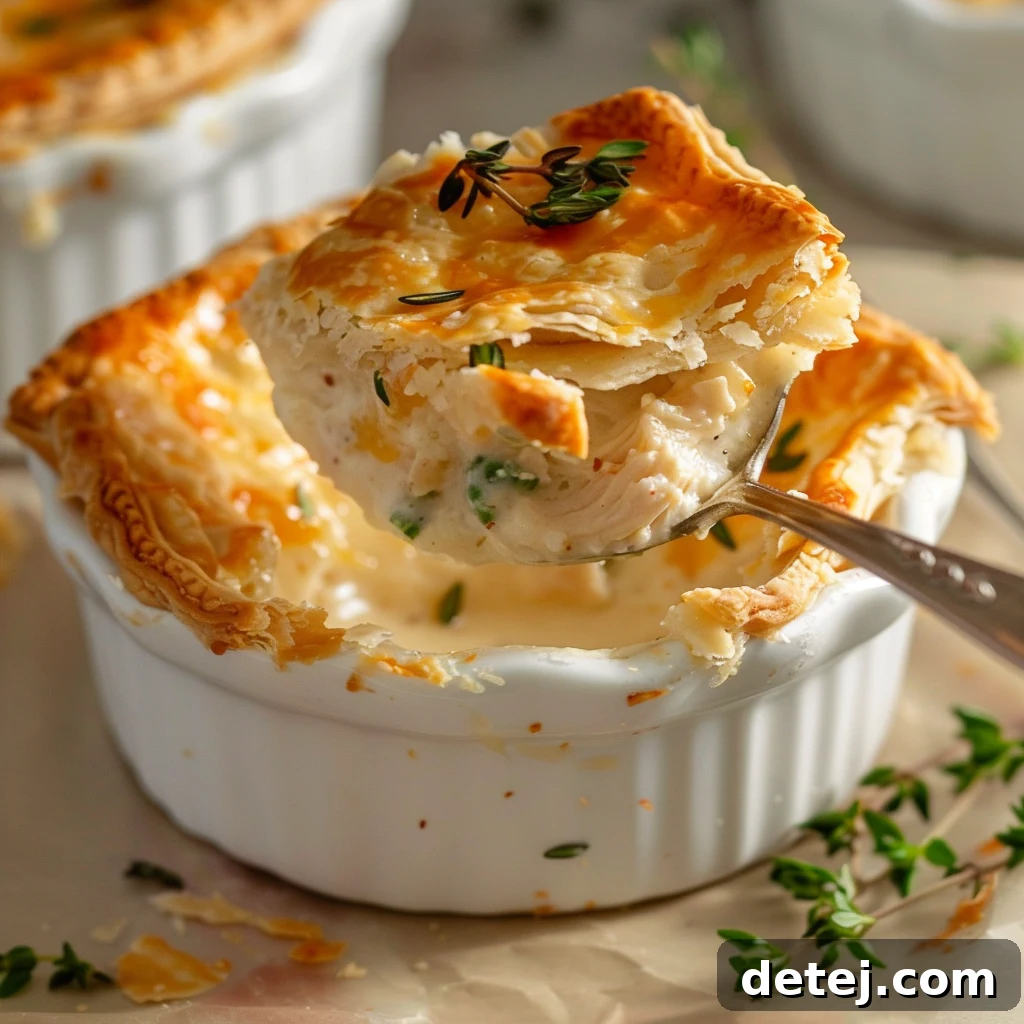
As American chef James Beard once eloquently stated, “Food is our common ground, a universal experience.” And what better way to embody this sentiment than by gathering around a table, sharing a delicious, homemade meal, and creating cherished memories? Don’t hesitate any longer – gather your loved ones, follow our guide, and prepare to experience the ultimate comfort food sensation. Bon appétit!
Classic Homemade Chicken Pot Pie
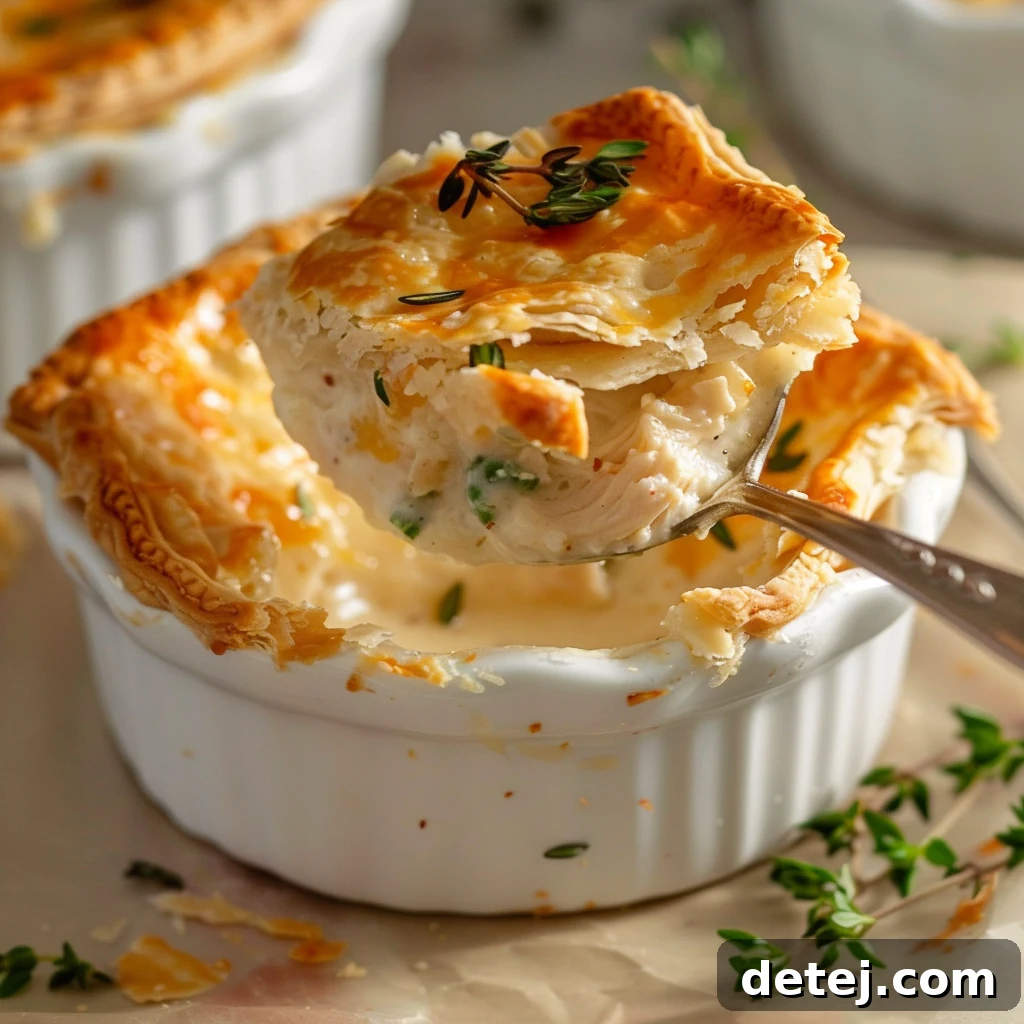
Servings: 6
Prep Time: 10 mins
Cook Time: 40 mins
Total Time: 49 mins
Author: Krystel
Ingredients
Pie Filling:
- 2 medium-sized baked chicken breasts, diced
- 1 ¼ cup hot water plus 2 chicken bouillon cubes (or 1 ¼ cup chicken broth)
- 6 tablespoons butter, softened
- ½ cup milk
- 1 celery stalk, diced
- ⅓ cup frozen diced carrots
- ¼ cup frozen peas
- ¼ cup all-purpose flour
- ¼ cup onion, finely chopped
- 1 tablespoon cornstarch
- 1 Yukon potato, peeled and diced
- Salt and black pepper to taste
Pie Crust:
- 2 ¼ cups all-purpose flour
- 1 cup cold butter, cubed
- ½ cup cold water, plus 2 tablespoons of water (as needed)
- ½ teaspoon salt
- 1 egg, beaten (for egg wash, optional)
Equipment
- Food Processor (optional, for crust)
- Rolling Pin
- Ramekins (or a 9-inch pie dish)
- Large Saucepan
- Small Bowls
Instructions
- Begin by preheating your oven to 375°F (190°C).
- For the filling: In a small bowl, combine 4 tablespoons of softened butter with ¼ cup all-purpose flour to create a paste (roux base). Set this mixture aside.
- In another small bowl, dissolve 1 tablespoon of cornstarch in ½ cup milk and set it aside.
- In a large saucepan, melt the remaining 2 tablespoons of butter over medium-high heat. Sauté the finely chopped onion, diced carrot, and diced celery for approximately 3 minutes, until slightly softened and fragrant.
- Add the chicken broth (or hot water with dissolved bouillon cubes) and the diced Yukon potato to the saucepan. Bring the mixture to a boil, then reduce heat, cover, and simmer for about 10 minutes, or until the vegetables are just tender.
- Stir in the butter and flour mixture (roux base) from step 2, stirring constantly as the filling returns to a gentle boil. This will begin to thicken the sauce.
- Pour in the milk and cornstarch mixture from step 3. Continue stirring and bring it back to a boil, allowing the sauce to thicken further to a creamy consistency. Season generously with salt and black pepper to your taste.
- Stir in the diced cooked chicken and frozen peas. Remove the saucepan from heat, cover, and let the filling cool slightly while you prepare the crust.
- For the crust: In a food processor, combine 2 ¼ cups all-purpose flour, 1 cup cold cubed butter, and ½ teaspoon salt. Pulse until the mixture resembles coarse sand with some small butter pieces, no larger than peas. This usually takes about 15 to 20 one-second pulses. (Alternatively, cut butter into flour by hand using a pastry blender).
- Gradually add the ice water, one tablespoon at a time, through the food processor’s feed tube (or by hand). Pulse 4 to 5 times after each addition. Stop adding water once the mixture begins to form large clumps and pulls away from the sides of the bowl. Be careful not to overmix.
- Transfer the dough mixture to a lightly floured work surface. Use your hands to quickly bring it together into a single, cohesive lump. Divide the dough in half, quickly shape each half into a ball, and flatten them into 4-inch disks. Wrap each disk tightly in plastic wrap and refrigerate for at least an hour, or up to four days, to allow the gluten to relax.
- Remove one dough disk from the fridge 3-4 minutes before rolling to allow it to soften slightly. Lightly flour your work surface and rolling pin. Roll out the dough from the center outward, turning it a quarter turn after each roll, until you have a circle approximately 12 inches in diameter. If the edges start to split, gently pinch them back together and continue rolling.
- Using a large round cookie cutter (slightly larger than your ramekins) or a knife, cut out round crusts for the tops of your pot pies. Let them rest for 5 minutes. If using a large pie dish, roll out one disk for the bottom crust and the other for the top.
- Assembly: For individual pot pies, place a small amount of leftover dough or a small crust circle at the bottom of each ramekin to create an extra crust layer, if desired.
- Evenly fill each ramekin (or large pie dish) with the cooled chicken and vegetable filling.
- Place the cut-out top crusts over the filling in each ramekin. Pinch the edges of the top crust onto the ramekin rim to seal. For a large pie, place the top crust over the filling and crimp the edges. Make several slits on top of the crust with a sharp knife to allow steam to escape during baking.
- Bake for 30 minutes. After 30 minutes, lightly brush the crusts with a beaten egg for a golden finish (optional, but recommended) and bake for an additional 5-10 minutes, or until the crust is deeply golden brown and the filling is bubbly.
- Remove the chicken pot pies from the oven and allow them to rest for at least 15 minutes before serving. This allows the filling to set and prevents burns.
Did you make this recipe? Share your creations and leave a review!