
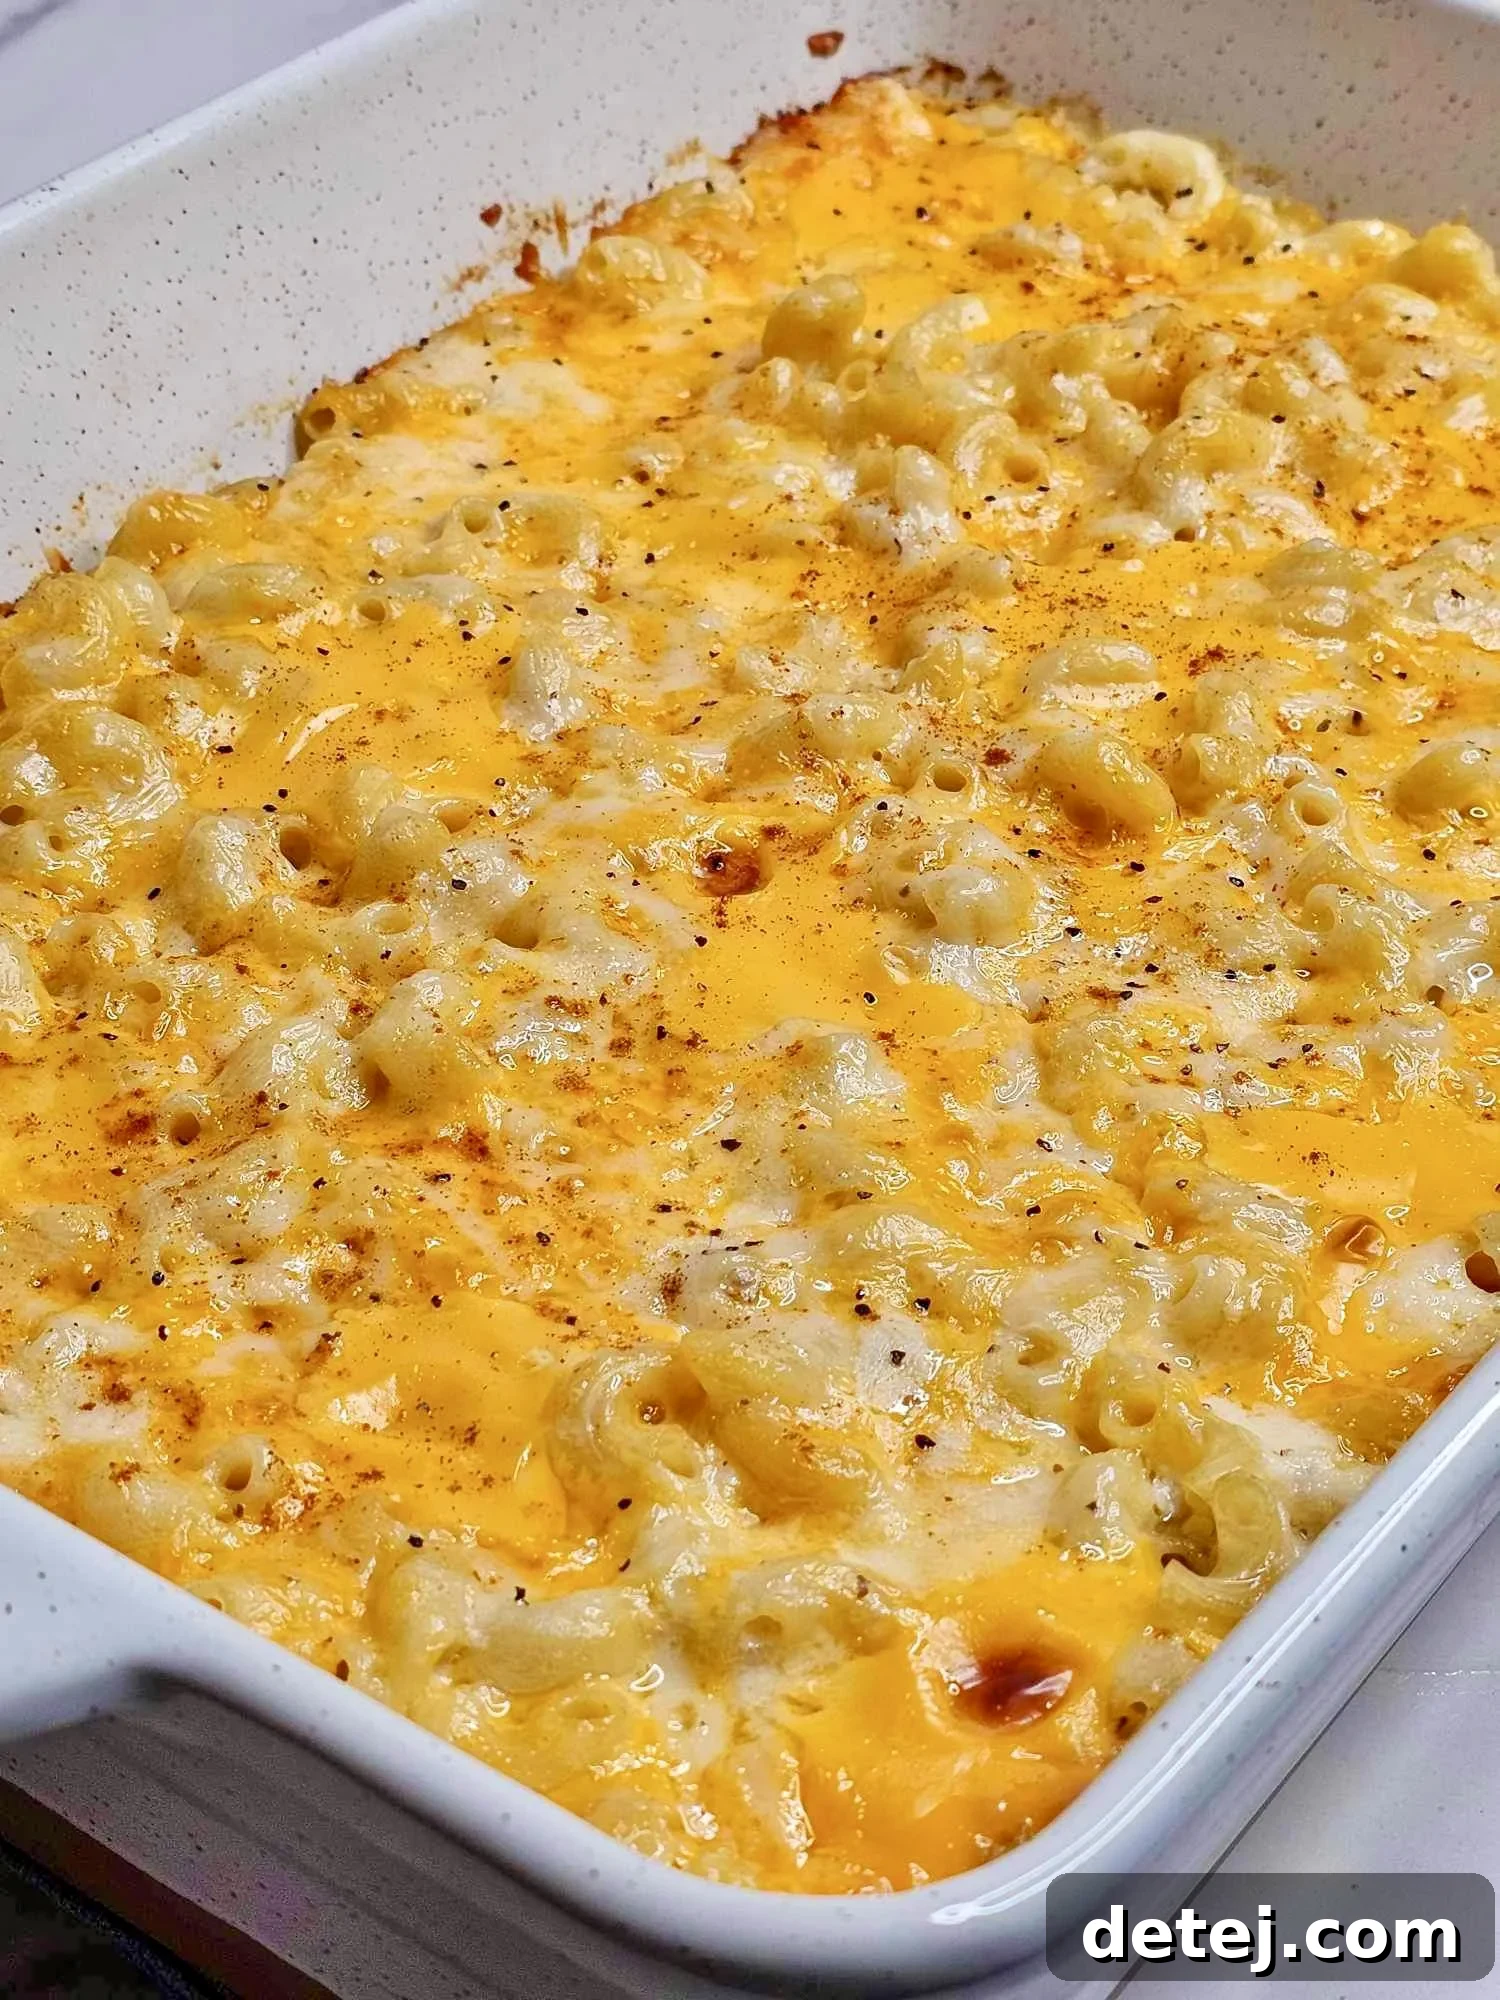
Ultimate Baked Macaroni and Cheese: A Timeless Cheesy Comfort Food Recipe
Introduction to the Best Homemade Baked Mac and Cheese
Welcome to the ultimate culinary journey into the world of comfort food: classic baked macaroni and cheese. This isn’t just another mac and cheese recipe; it’s an experience, a heartwarming return to cherished childhood memories, and a staple that brings joy to every table. Imagine a dish where tender elbow macaroni is bathed in a luxurious, creamy cheese sauce, then baked to golden-brown perfection with a crispy, irresistible crust. This is the ultimate comfort food, a dish so universally loved it transcends generations and occasions. Whether served as a hearty main course for a cozy family dinner or as a beloved side dish accompanying your favorite proteins, this homemade baked mac and cheese promises a symphony of textures and flavors in every single bite. From its rich, gooey center to its perfectly browned topping, it’s a celebration of simple ingredients transformed into something truly extraordinary. Prepare to create more than just a meal; prepare to create memories with this incredibly satisfying cheesy delight.
Key Takeaways:
- Ultimate Comfort Food: Baked macaroni and cheese is a celebrated classic, offering unparalleled warmth and satisfaction.
- Versatile Dish: Excellently suited as either a fulfilling main course or a universally adored side dish, appealing to all ages.
- Timeless Appeal: This recipe embodies the essence of shared meals and brings together families with its creamy, cheesy goodness.
- Homemade Perfection: Crafting mac and cheese from scratch ensures superior flavor and texture, surpassing store-bought alternatives.
Essential Ingredients for Your Perfect Mac and Cheese Recipe
Crafting the perfect baked macaroni and cheese begins with selecting the right ingredients. Each component plays a vital role in achieving that rich flavor and incredibly creamy texture we all crave. Here’s a detailed look at what you’ll need to elevate your homemade mac and cheese to ultimate comfort food status:
- Elbow Macaroni: This humble pasta shape is truly the star. Its curved design and ridged surface are ideal for capturing and holding every drop of the luscious cheese sauce, ensuring a consistently cheesy bite. While elbow macaroni is traditional, don’t hesitate to experiment with other short pasta shapes like cavatappi or shells for a fun twist.
- A Symphony of Cheeses: The heart of any great mac and cheese lies in its cheese blend.
- Sharp or Medium Cheddar Cheese: Essential for that classic, robust, and undeniably cheesy flavor. Its excellent melting properties contribute to the gooey interior.
- Parmesan Cheese: Adds a sophisticated depth, a salty kick, and a beautiful golden crust when baked on top.
- Optional Twists: For those looking to explore, consider incorporating other cheeses like Gruyere for a nutty, earthy undertone, Monterey Jack for extra meltiness and a mild profile, or even a touch of smoked gouda for a smoky complexity. A blend often yields the most balanced and flavorful result.
- Whole Milk or Heavy Cream: This is where the sauce gets its dreamy, rich, and velvety texture. Whole milk provides a good balance, while heavy cream will yield an even more decadent and luxurious sauce. For an extra rich sauce, a combination of both can be sublime.
- Unsalted Butter and All-Purpose Flour: These two form the foundation of our roux, the thickening agent that gives the cheese sauce its perfect consistency. Using unsalted butter allows you to control the overall saltiness of the dish.
- Crispy Topping (Optional, but Highly Recommended):
- Panko Breadcrumbs: For that irresistible, light, and airy golden-brown crust that adds a delightful textural contrast to the creamy interior. You can toast them in a little butter for extra flavor.
- Additional Cheese: A final sprinkle of cheddar or Parmesan on top ensures a beautifully browned and bubbly finish.
- Essential Seasonings:
- Salt and Freshly Ground Black Pepper: Non-negotiable for enhancing all the flavors.
- Mustard Powder: A secret ingredient for many, a small dash of mustard powder (or a teaspoon of Dijon mustard) doesn’t make the mac and cheese taste like mustard, but rather brightens and amplifies the cheese flavor significantly.
- A Pinch of Nutmeg: A classic pairing with béchamel-based sauces, it adds a subtle warmth and depth, complementing the cheese beautifully.
- Optional Enhancements: Garlic powder, onion powder, or a hint of cayenne pepper can add layers of flavor or a subtle kick.
Mastering the Art of Al Dente Macaroni
Achieving the perfect texture for your elbow macaroni is a critical first step towards an ultimate baked mac and cheese. The goal is to cook the pasta al dente, which means it should be firm to the bite but not hard, with a slight chewiness. This seemingly simple task is crucial because the macaroni will continue to cook in the oven once combined with the hot cheese sauce. Overcooked pasta at this initial stage will inevitably result in a mushy, less appealing texture after baking – a common pitfall that can ruin an otherwise perfect dish.
To ensure al dente perfection, always use a large pot of generously salted boiling water. The salt is not just for flavor; it also helps prevent the pasta from sticking. Add the elbow macaroni and cook it for about 2-3 minutes less than the package directions suggest. Stir occasionally to prevent clumping. Before draining, taste a piece to confirm it has that desired slight resistance. Once al dente, drain the macaroni thoroughly. Some recipes suggest rinsing, but for baked mac and cheese, I often skip it to retain the starch that helps the sauce cling. However, if you are concerned about preventing sticking while you prepare the sauce, a quick, cool rinse can be beneficial. Set it aside, and prepare for it to be lovingly enveloped in our rich, creamy cheese sauce.
Crafting the Irresistibly Creamy Cheese Sauce
The heart and soul of any outstanding baked macaroni and cheese lies within its creamy, luscious cheese sauce. This velvety creation is what elevates humble pasta into a dish of pure comfort. Let’s delve into the magic of creating this essential component, often starting with a classic béchamel base, which ensures unparalleled smoothness and richness.
Begin by melting the unsalted butter in a large, heavy-bottomed saucepan or Dutch oven over medium heat. Once the butter is melted and gently shimmering, gradually whisk in the all-purpose flour to create a roux. Continue whisking constantly for about one to two minutes. The roux should form a smooth paste and begin to bubble gently, turning a very light golden color. This cooking process helps to cook out the raw flour taste, which is crucial for a smooth and flavorful sauce.
Next, slowly pour in the whole milk or heavy cream (or your chosen blend), whisking continuously to prevent lumps from forming. The mixture will initially thicken significantly, but as you continue to whisk and heat it, it will become a smooth, flowing sauce. Bring the sauce to a gentle simmer, stirring frequently, until it visibly thickens to a consistency that coats the back of a spoon. This process typically takes about 5-7 minutes. Once thickened, reduce the heat to low.
Now for the star: the cheese. Gradually add your blend of freshly grated cheddar, Parmesan, and any other desired cheeses to the warm sauce, stirring constantly until each piece is fully melted and incorporated. It’s important to add the cheese off the heat or over very low heat to prevent it from becoming oily or stringy. The residual heat from the sauce will be sufficient to melt the cheese perfectly, resulting in an incredibly smooth, homogenous, and glossy sauce. Season generously with salt, freshly ground black pepper, mustard powder, and a tiny pinch of nutmeg. Taste and adjust seasonings as needed. This creamy cheese sauce is the promise of an ultimate comfort food experience, ready to embrace the al dente elbow pasta.
Bringing it All Together: Combining Ingredients
With your perfectly al dente elbow macaroni and that gloriously creamy cheese sauce ready, it’s time for the symphony to begin. This step is where all the individual components unite to form the cohesive, irresistible dish that is ultimate baked mac and cheese. Gently transfer the cooked macaroni into the large saucepan containing your warm, bubbling cheese sauce. Using a sturdy spoon or spatula, carefully fold the macaroni into the sauce. The goal here is to ensure that every single noodle is thoroughly coated in the rich, velvety cheese mixture, like a warm, cheesy blanket. This meticulous coating is paramount for achieving uniform creaminess and flavor in every mouthful, guaranteeing that incredible comfort food experience from the first bite to the last. Avoid overmixing, which can break down the pasta. Just enough to ensure even distribution. Once combined, the macaroni and cheese are ready for their transformation in the oven, destined to emerge with that coveted golden brown top and gooey, tender interior.
Baking to Golden-Brown Perfection
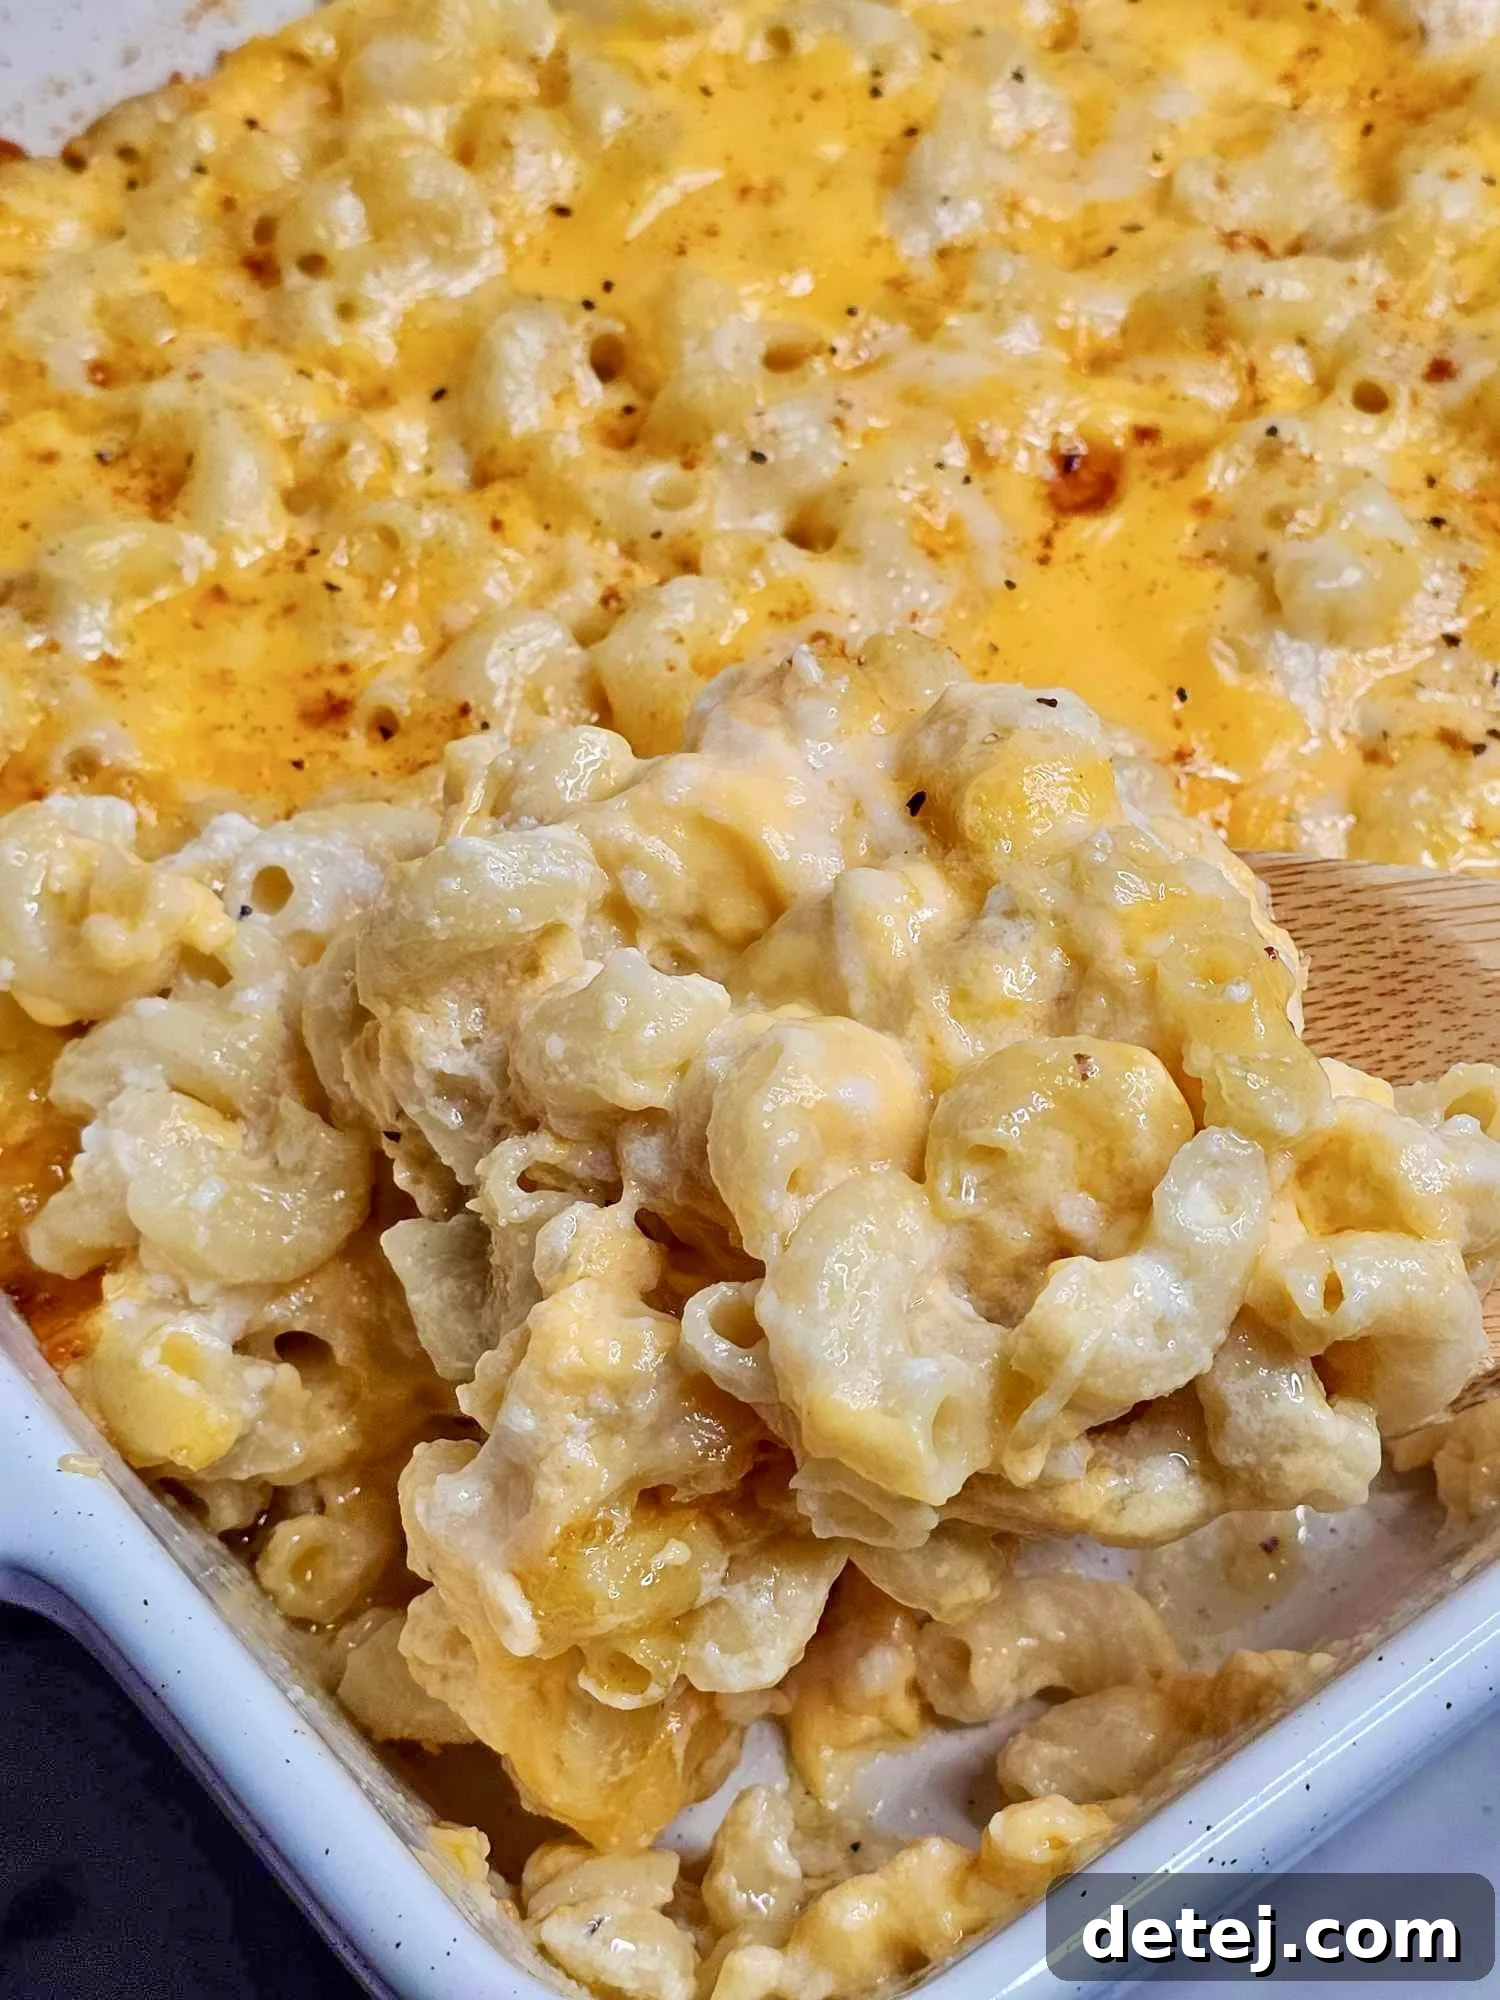
After the macaroni and the luscious cheese sauce have been lovingly combined, the final, crucial step is baking. This is where the magic truly happens, transforming a delicious stovetop dish into the iconic, ultimate baked mac and cheese with its signature golden-brown crust and bubbling, gooey interior. First, transfer the creamy macaroni mixture into your prepared baking dish, spreading it evenly. To prevent the mac and cheese from drying out during the initial baking phase, I highly recommend covering the baking dish tightly with aluminum foil. This traps the moisture, allowing the pasta to absorb the flavors and ensuring the interior remains wonderfully creamy and tender.
Bake the covered dish in a preheated oven (usually around 350°F or 175°C) for about 20-25 minutes. This allows the flavors to meld and the cheese to get perfectly melted throughout. After this initial baking period, carefully remove the foil. Now comes the secret to that irresistible top! Generously sprinkle a layer of panko breadcrumbs over the entire surface. For an extra cheesy and beautiful finish, add a final layer of shredded cheese—a mix of sharp cheddar for flavor and Parmesan for a salty, crisp bite works wonders. Return the uncovered dish to the oven for another 10-15 minutes, or until the topping is golden brown and delightfully crispy, and the cheese sauce underneath is visibly bubbling. If you desire an even crispier topping, a quick minute or two under the broiler (watch it very carefully!) can achieve perfection. The aroma filling your kitchen will be pure bliss, signaling that your ultimate comfort food masterpiece is ready to be devoured.
Creative Serving Suggestions for Your Cheesy Masterpiece
Once your Ultimate Baked Macaroni and Cheese emerges from the oven, golden and bubbling, it’s a star in its own right. However, a few thoughtful serving suggestions can elevate this cheesy delight even further and complete the meal experience. While it’s tempting to dive in immediately, allowing the dish to rest for 5-10 minutes after baking helps the sauce set slightly, preventing it from being too runny and ensuring cleaner, more satisfying scoops. For a touch of freshness and visual appeal, consider garnishing with a sprinkle of finely chopped fresh chives, parsley, or green onions. Their vibrant color and subtle flavor provide a lovely contrast to the richness of the cheese.
If you’re serving this mac and cheese as a hearty main, pairing it with lighter, contrasting elements is ideal. A crisp green salad with a zesty vinaigrette offers a refreshing counterpoint, cutting through the richness. Roasted vegetables like broccoli, asparagus, or cherry tomatoes also make excellent companions, adding nutrients and a different texture. For those who enjoy a bit of protein, a simple grilled chicken breast, baked salmon, or a side of crispy bacon can transform it into a more substantial meal. And for the ultimate indulgence, consider a dash of your favorite hot sauce or a sprinkle of red pepper flakes for those who crave a little heat. Lastly, if you’re fortunate enough to have leftovers, don’t despair! This dish often tastes even better the next day, making it perfect for meal prep.
Smart Storage and Reheating Tips for Leftover Mac and Cheese
Leftover Ultimate Baked Macaroni and Cheese is a true gift, often tasting even better the next day as the flavors deepen. To ensure your cheesy goodness remains as delightful as the first serving, proper storage is key. Once the mac and cheese has cooled down to room temperature, transfer it to an airtight container. This will prevent it from drying out and absorbing other odors from your refrigerator. Stored correctly in the fridge, it will remain fresh and delicious for 3-4 days.
For longer storage, this homemade baked mac and cheese freezes beautifully. Divide it into individual portions or family-sized servings in freezer-safe airtight containers or heavy-duty freezer bags. It can be frozen for up to 2-3 months. When you’re ready to enjoy it again, thaw frozen mac and cheese overnight in the refrigerator.
Reheating is simple, and a little trick can help restore its creamy texture. For refrigerated leftovers, transfer your desired portion to an oven-safe dish. Add a splash of real milk or a tiny bit of cream – about 1-2 tablespoons per serving – and stir gently. Cover the dish with foil and reheat in a preheated oven at 300°F (150°C) for 15-20 minutes, or until heated through and bubbly. The added milk helps to rehydrate the sauce and prevent it from becoming dry. Alternatively, you can reheat smaller portions in the microwave, adding a splash of milk and stirring halfway through. For stove-top reheating, place the mac and cheese in a saucepan over medium-low heat, adding a little milk and stirring constantly until warmed through. These simple steps ensure your ultimate baked macaroni and cheese remains a comforting delight, ready to be savored whenever a craving strikes.
A Toast to Cheesy Goodness: Customizing Your Mac and Cheese
The beauty of this incredible baked mac and cheese recipe extends far beyond its inherent deliciousness; it lies in its remarkable versatility and the endless possibilities for customization. While the classic rendition is undeniably perfect, consider this recipe a canvas for your culinary creativity. Ever thought about infusing a little heat? A generous sprinkle of pepper jack cheese can add a delightful kick, or for a more nuanced spice, stir in a dash of cayenne pepper or a few drops of your favorite hot sauce directly into the cheese sauce. To deepen the savory profile, experiment with a hint of smoked paprika or a touch more garlic powder. Some even swear by a spoonful of cream cheese for an extra silky sauce.
The Enduring Allure of Homemade Mac and Cheese
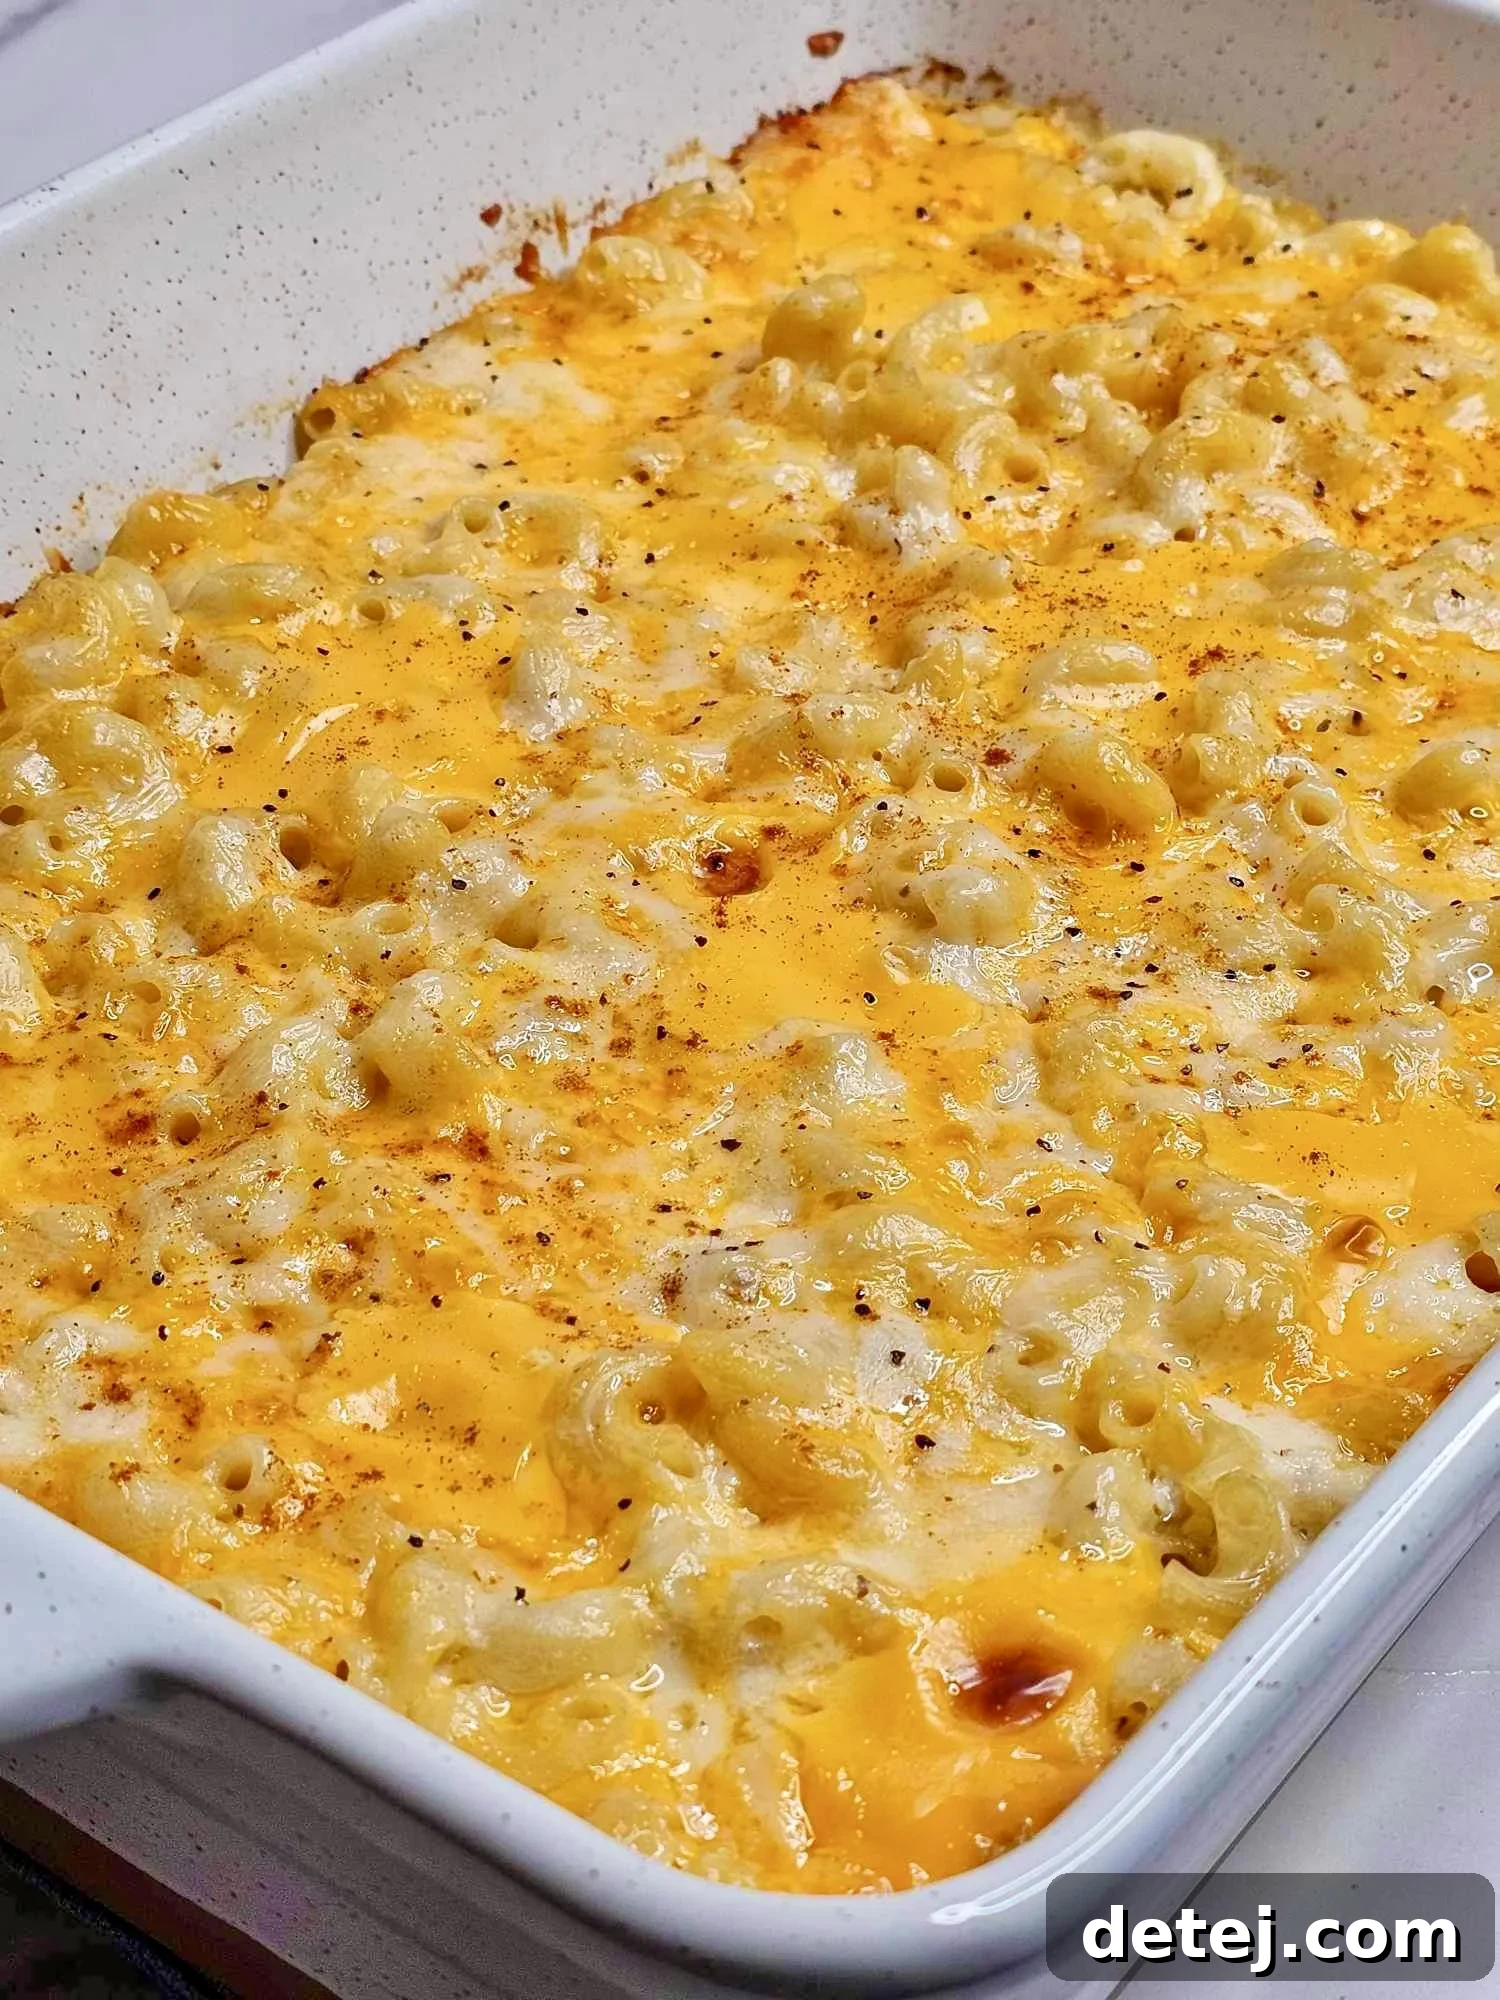
This ultimate baked mac and cheese is more than just a meal; it’s an experience, a tradition, and a testament to the power of simple, wholesome ingredients combined with love and care. Imagine the joy of gathering your entire family, presenting them with a beautifully baked dish, its golden-brown crust promising a creamy, cheesy interior. The anticipation as you scoop out the first serving, revealing that rich, bubbling sauce and perfectly tender elbow macaroni, is a moment to cherish. Whether it graces your holiday table as a hearty main dish or serves as a comforting side on a chilly evening, this homemade mac n cheese recipe is destined to become one of your most treasured family recipes, a reliable go-to for countless gatherings and celebrations to come.
So, preheat your oven, grab that large pot, and embark on the journey of creating the best homemade mac and cheese you’ve ever tasted. It’s a dish that not only satisfies the deepest cravings but also fosters connection, bringing smiles and contented sighs around the table. The true magic, after all, lies in sharing delicious, comforting food with those you love, crafting lasting memories bite by cheesy bite. This isn’t just about following a recipe; it’s about embracing the joy of cooking, experimenting with flavors, and experiencing the profound satisfaction of creating something truly special from scratch. Dive in, get creative, and most importantly, have as much fun in the kitchen as I do every single time I whip up this ultimate comfort food. Here’s to countless moments of cheesy goodness and the delicious memories yet to be made!
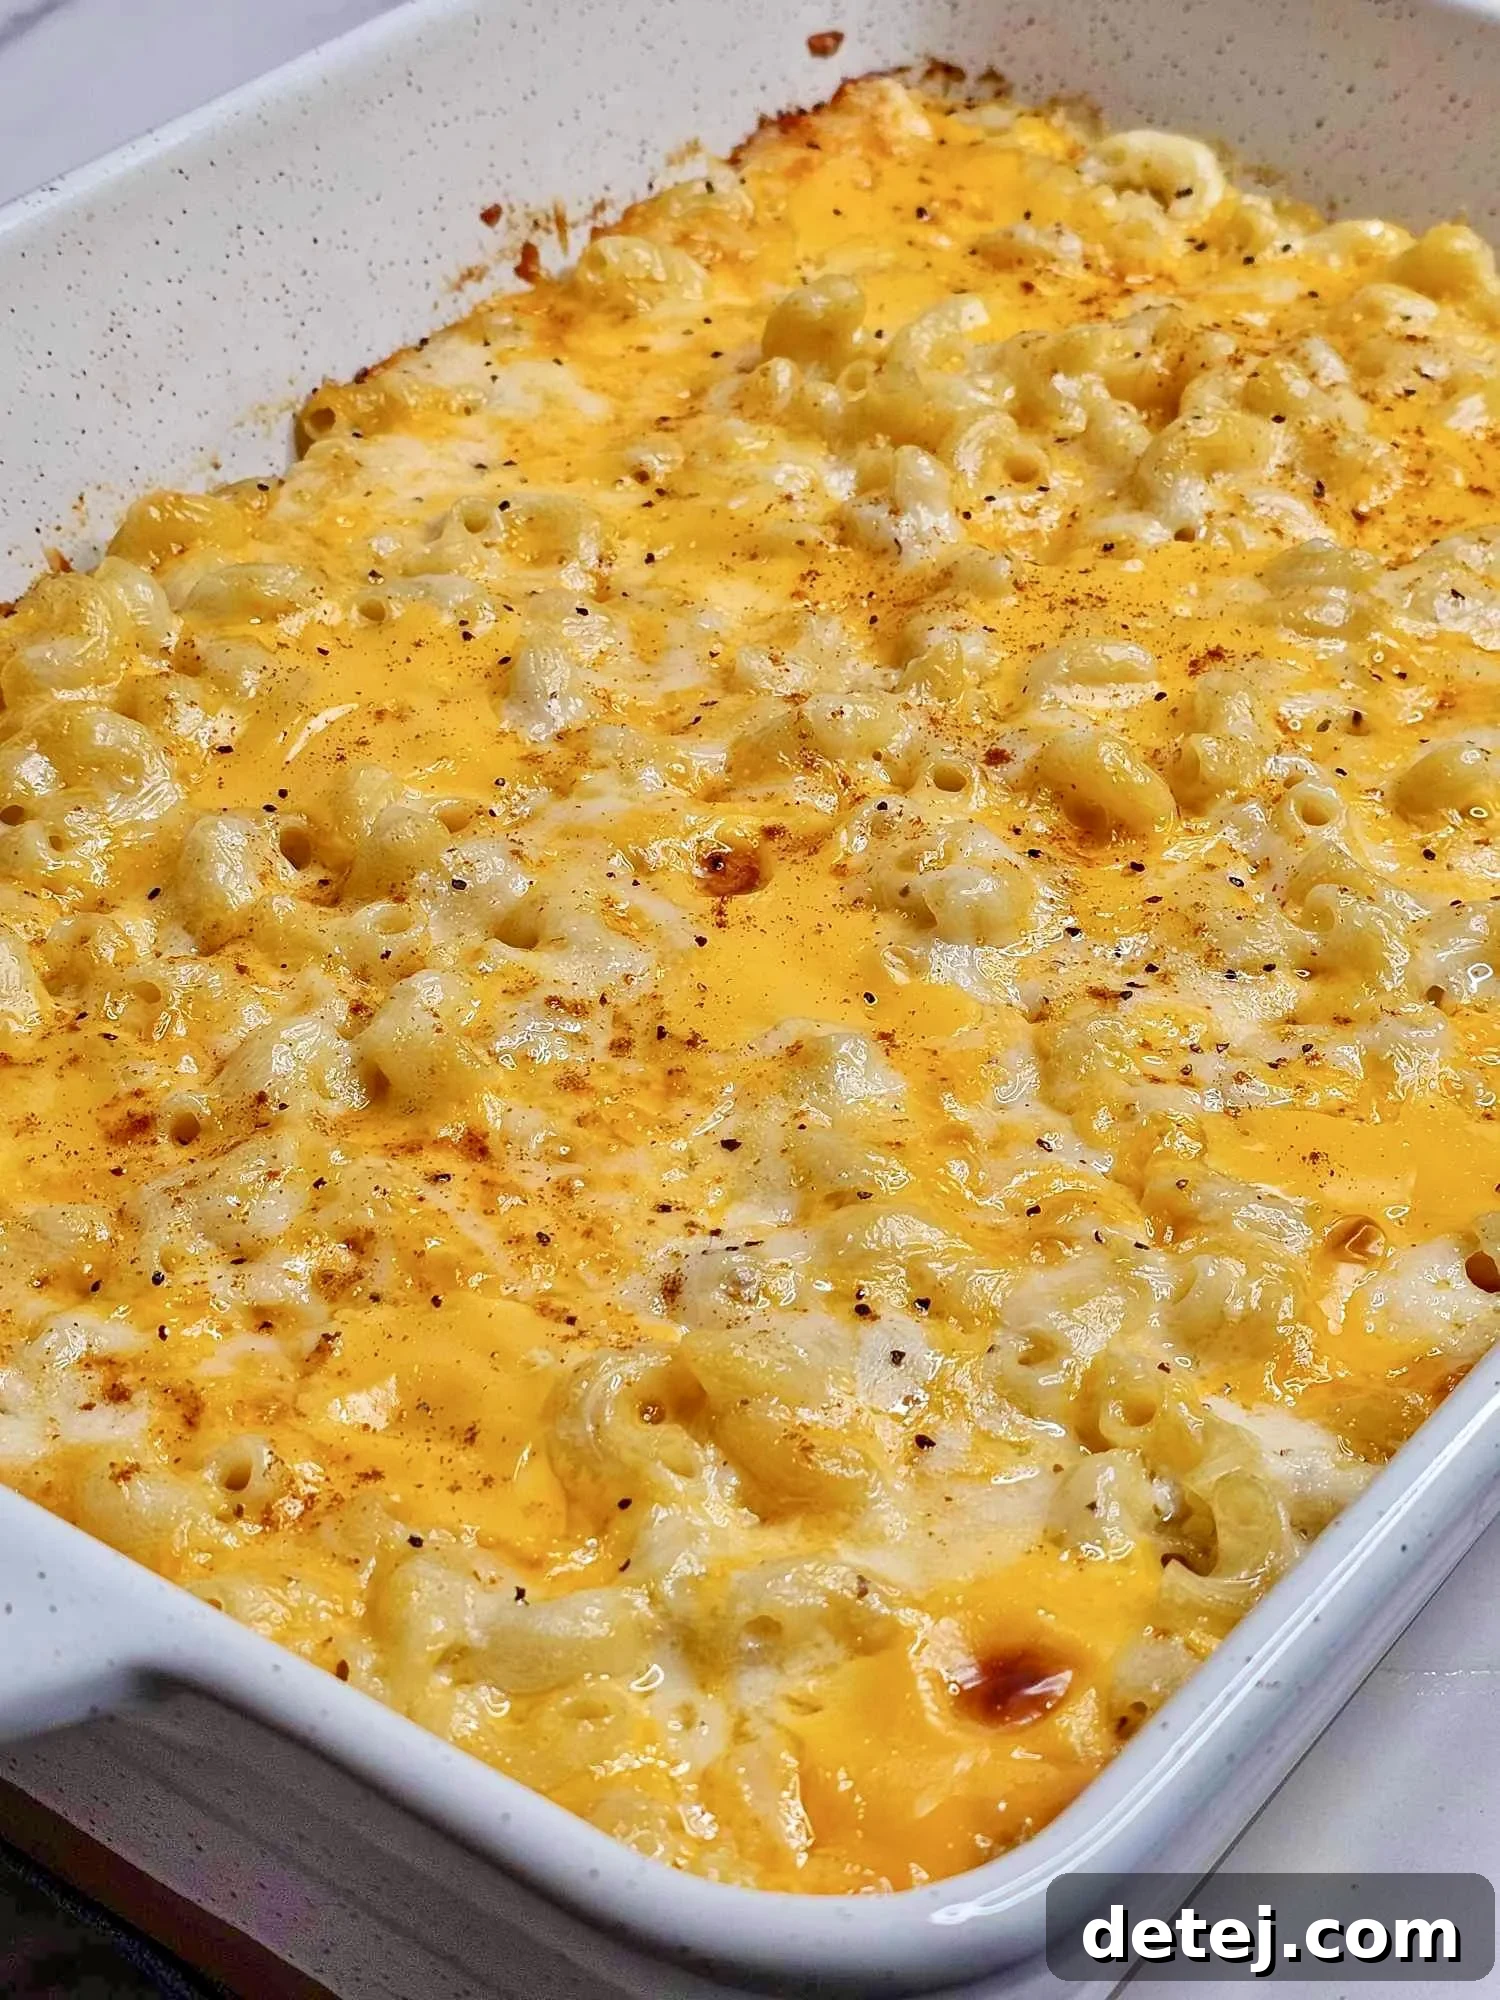
Baked Macaroni & Cheese
Pin Recipe
Rate This Recipe
Ingredients
- 2 cups elbow macaroni
- 2 cups half and half
- 1 ½ cups medium cheddar cheese, shredded
- 1 cup fresh Parmesan cheese, grated
- 4 Tbsp unsalted butter
- 2 Tbsp all-purpose flour
- ¼ teaspoon salt
- ¼ teaspoon black pepper
- Optional: 1/2 cup panko breadcrumbs for topping
- Optional: Dash of mustard powder or nutmeg
Instructions
-
Preheat your oven to 350 degrees F (175 degrees C).
-
In a large pot, bring generously salted water to a rolling boil. Add the elbow macaroni and cook for 8 minutes, or until al dente (firm to the bite). Drain the macaroni, rinse with cold water to prevent sticking, and set aside.
-
In a medium bowl, combine the shredded cheddar cheese and grated Parmesan cheese. Set aside ½ cup of this mixture for the topping.
-
In a separate large saucepan or Dutch oven, melt the 4 Tbsp butter over medium heat. Once melted, add the 2 Tbsp flour and whisk constantly for about 1 minute until a smooth roux forms and bubbles gently.
-
Gradually whisk in the 2 cups of half and half (or milk/cream). Continue whisking until the sauce thickens and coats the back of a spoon. Remove from heat, then stir in the salt, pepper, and the majority of your mixed cheeses (reserving ½ cup for topping). Stir until the cheese is completely melted and the sauce is smooth.
-
Add the cooked macaroni to the creamy cheese sauce. Stir gently until every noodle is evenly coated. Transfer the mixture into a 9×13 inch glass baking dish (or another appropriate sized casserole dish).
-
Sprinkle the reserved ½ cup of cheddar cheese over the top of the macaroni. If desired, add a sprinkle of panko breadcrumbs, black pepper, and paprika for extra flavor and a crispy crust. Cover the baking dish tightly with aluminum foil.
-
Bake for 20-25 minutes with the foil cover. Then, remove the foil and bake for an additional 10-15 minutes, or until the topping is golden brown and bubbly. Let it rest for 5-10 minutes before serving.