
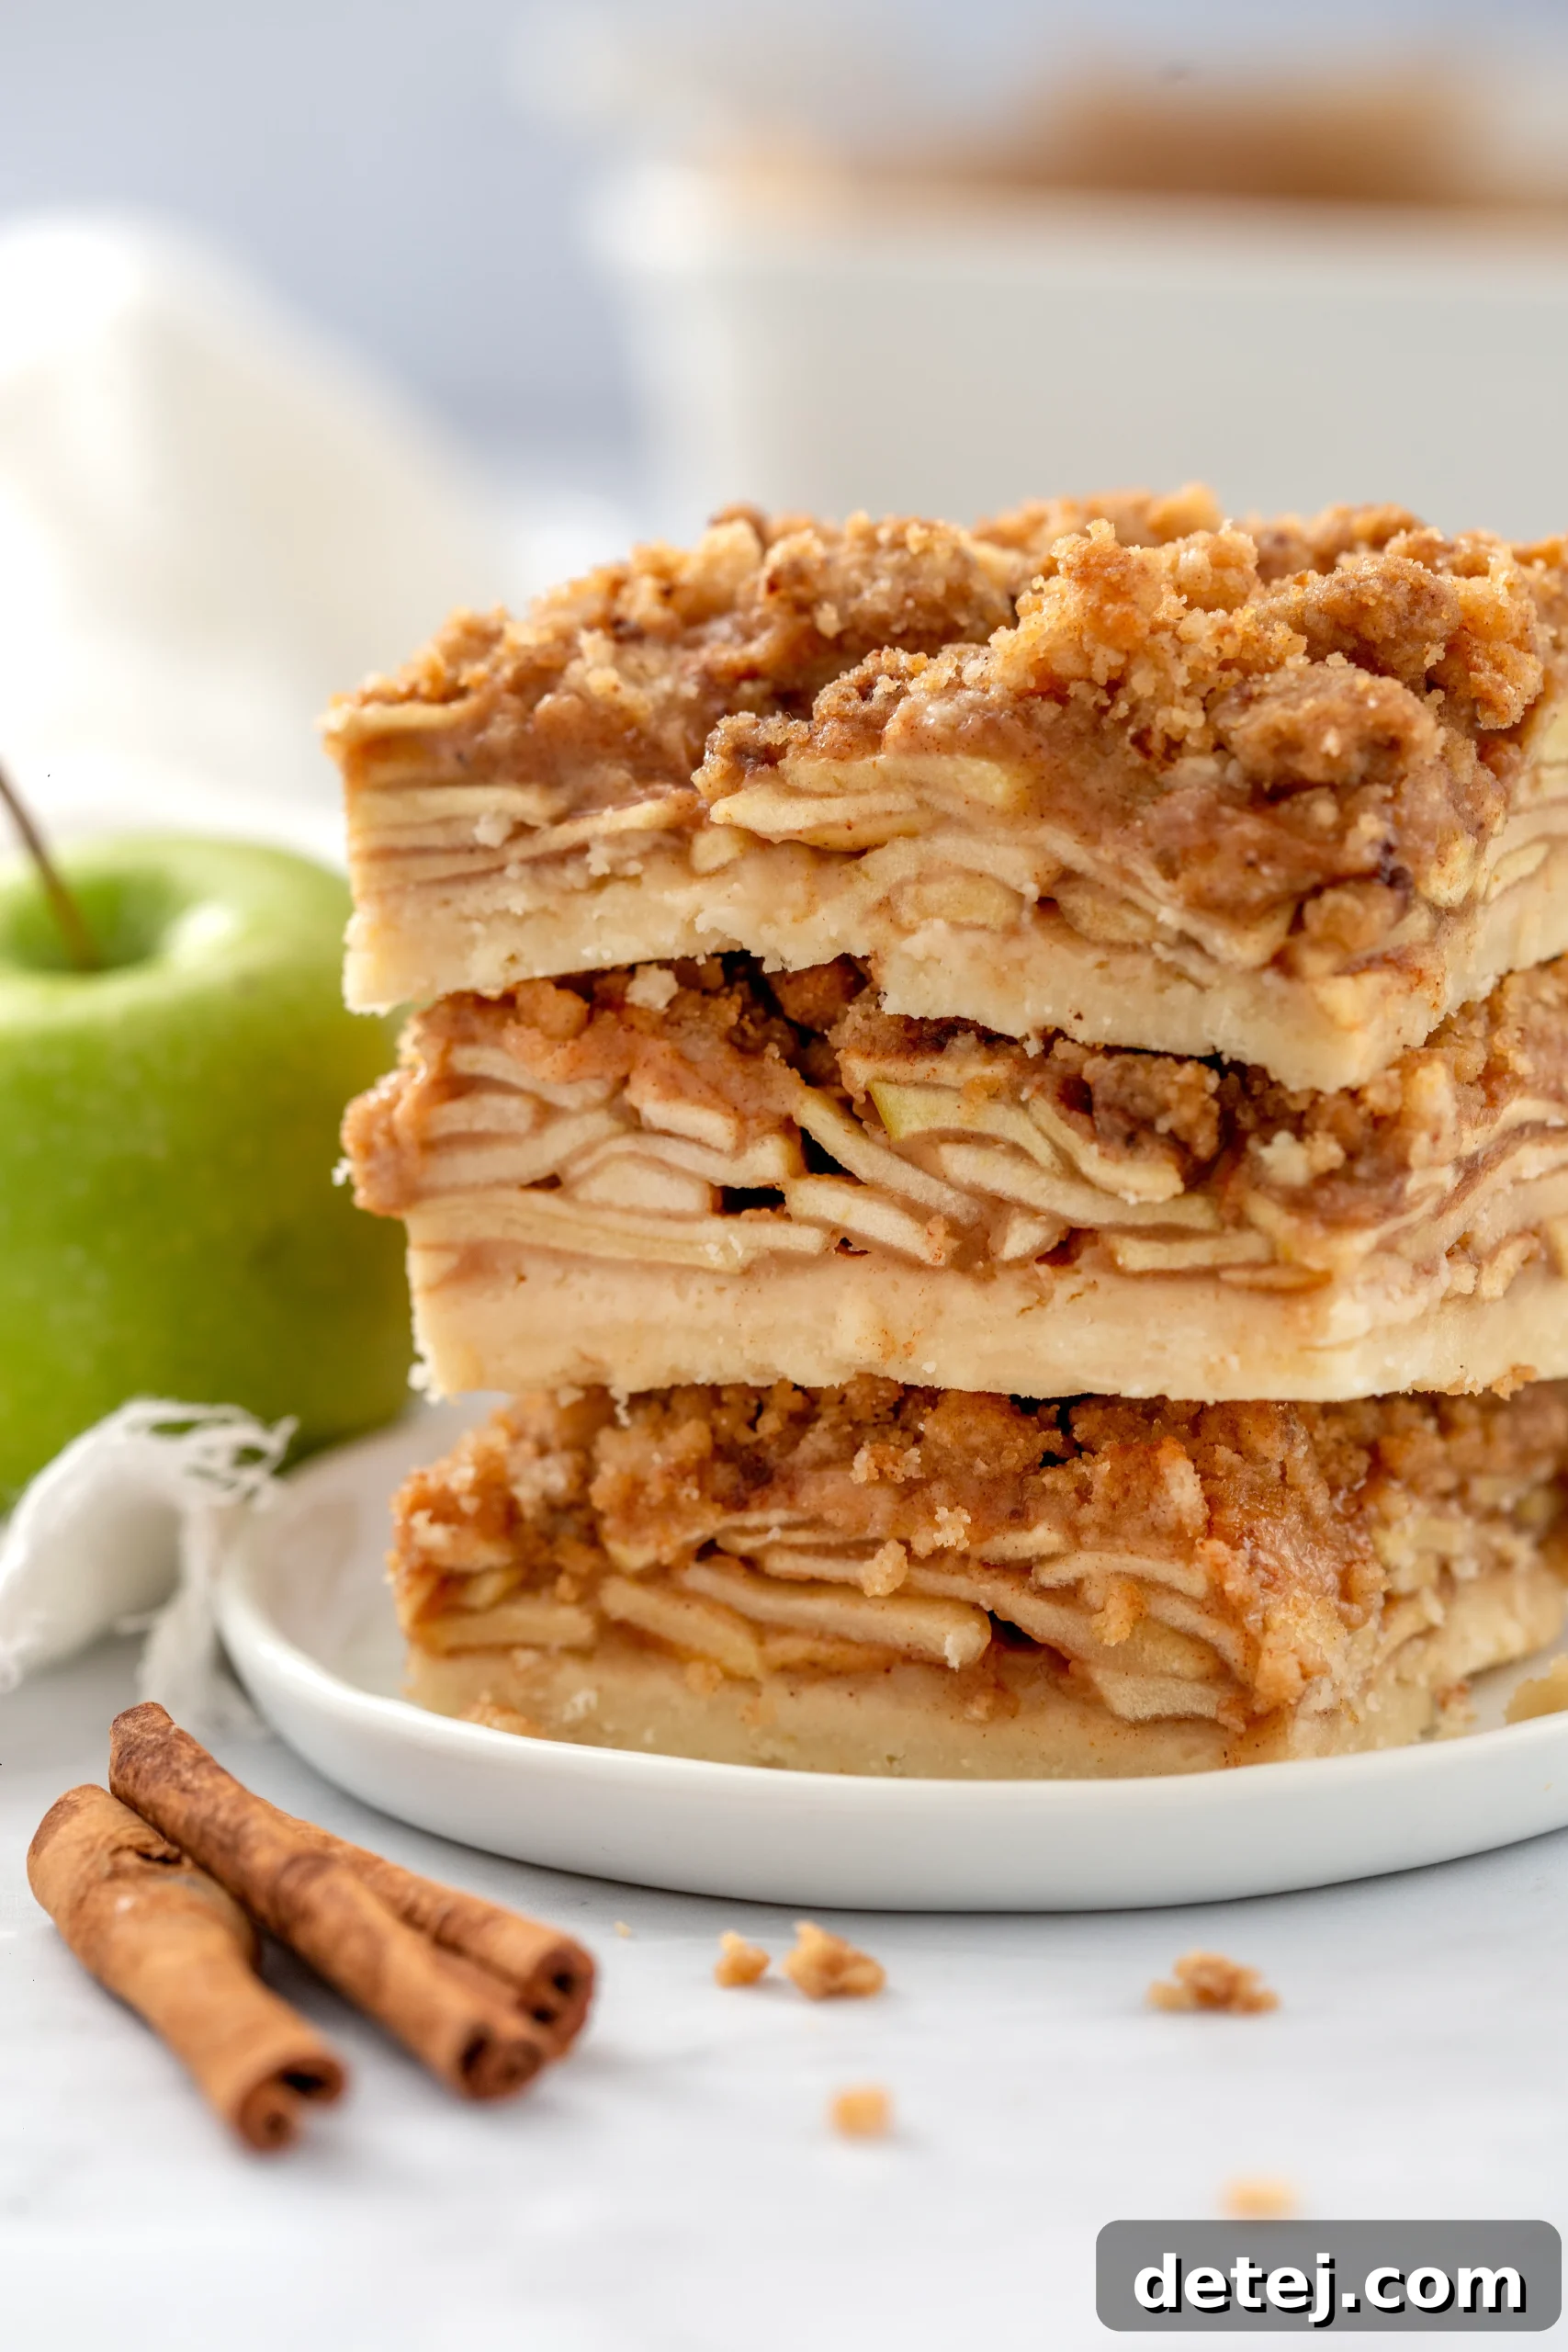
Irresistibly Easy Apple Crisp Bars: Your Perfect Fall Dessert!
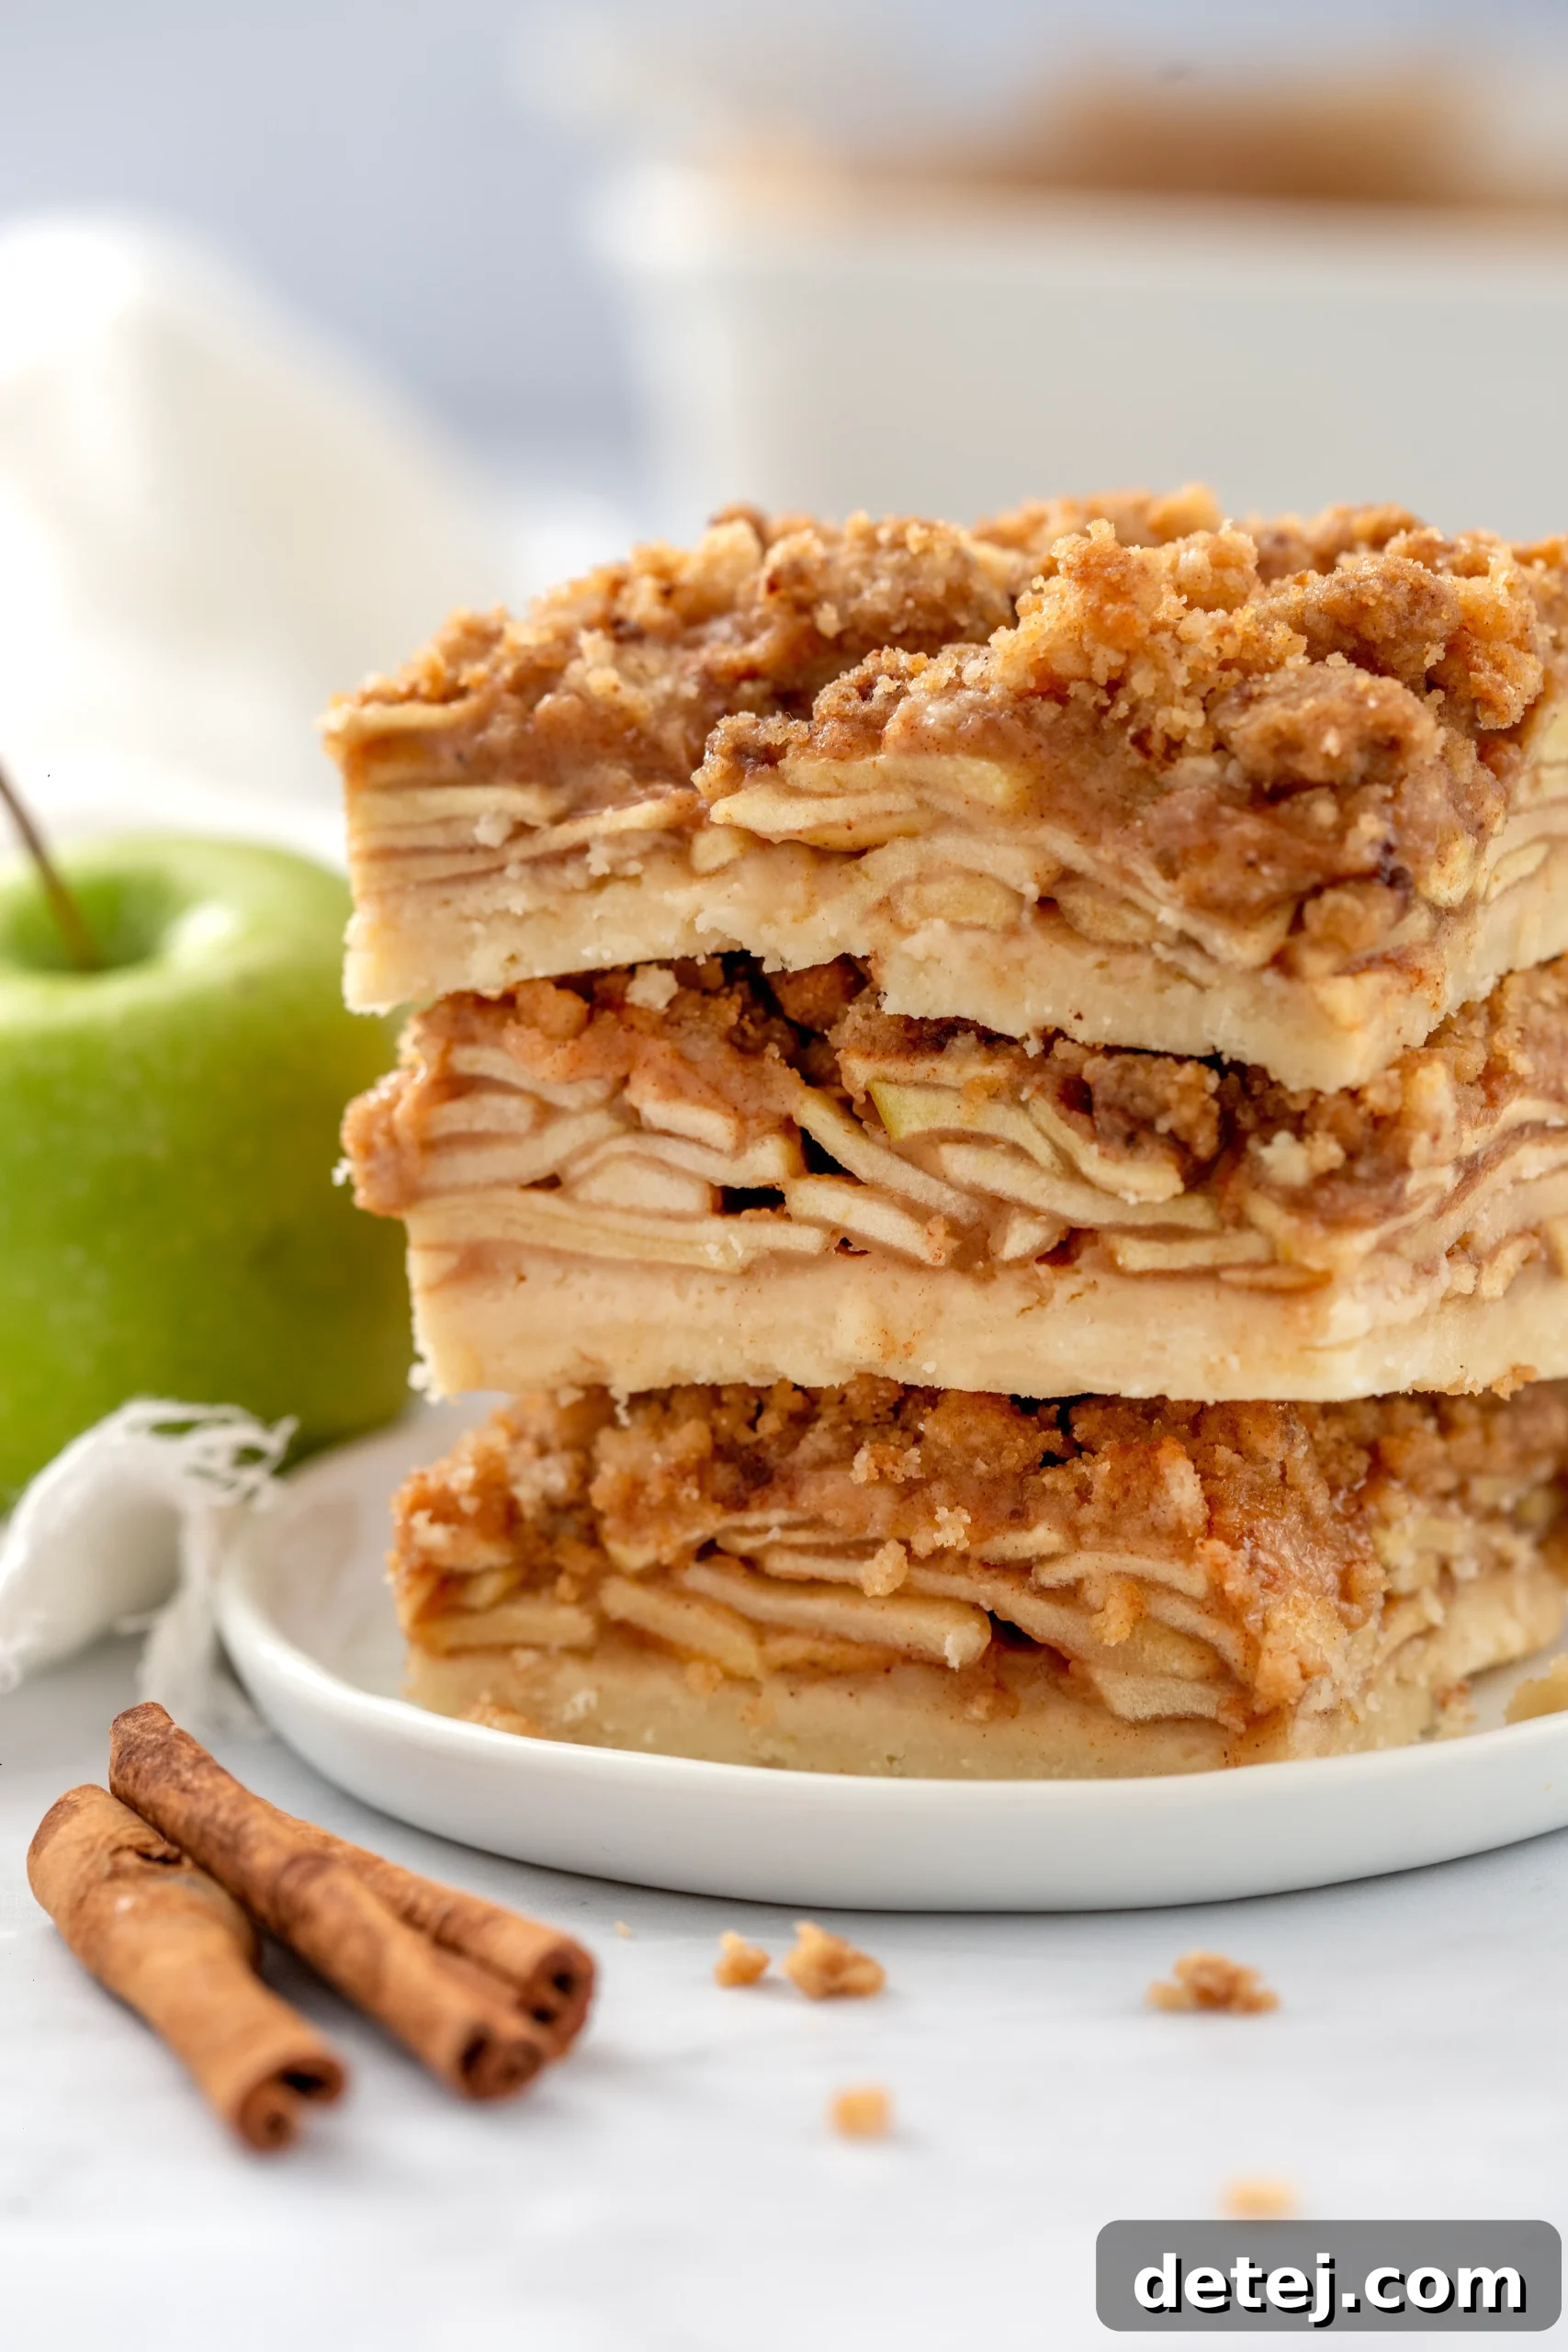
As the crisp autumn air sweeps in and nature adorns itself in brilliant shades of crimson and gold, there’s an undeniable craving for comforting flavors. Few treats capture the essence of fall quite like the classic apple crisp, and we’ve transformed it into an even more convenient and delightful format: Apple Crisp Bars. Imagine a tender, buttery shortbread crust, generously filled with sweet, spiced apples, all crowned with a golden, crumbly crisp topping. This isn’t just a dessert; it’s an experience, a cozy hug on a plate that promises to make any chilly day a little brighter.
Whether you’re a seasoned baker looking for a quick and impressive recipe, or just starting your culinary journey, these incredibly easy apple crisp bars are designed for success. We’ll guide you through every essential step, from mastering the foundation of a rich shortbread crust to perfecting that irresistible crisp layer, ensuring you create a dessert that will earn rave reviews. Get ready to tie on your apron and embark on a delicious adventure that culminates in the ultimate autumn indulgence. These apple crisp bars are the epitome of fall flavors and comfort, making them an ideal treat for family gatherings, potlucks, or simply a quiet afternoon with a cup of coffee.
Crafting the Perfect Buttery Shortbread Crust
The foundation of any exceptional apple crisp bar lies in its crust. A truly outstanding shortbread crust provides a delicate, buttery richness that perfectly complements the vibrant apple filling and crunchy topping. Achieving this essential component is simpler than you might think, even for novice bakers. This guide will help you create a crust that is both tender and sturdy, holding up beautifully under the weight of the apple goodness.
To begin, assemble your key ingredients: high-quality unsalted butter, all-purpose flour, granulated sugar, and a hint of salt. The butter is paramount here; it’s responsible for that signature melt-in-your-mouth texture. Using unsalted butter allows you to precisely control the sodium content, ensuring a balanced flavor profile. Begin by creaming together the softened butter and both granulated and light brown sugars in a mixing bowl. Beat them until the mixture becomes wonderfully light and fluffy, ensuring all the sugar granules are thoroughly dissolved and incorporated, yielding a smooth, airy base.
Once the butter and sugars are perfectly emulsified, it’s time to gently introduce the dry ingredients. Gradually add the all-purpose flour and salt to the butter mixture, mixing on a low speed. The goal is to combine the ingredients until a crumbly, yet cohesive, dough forms. Be cautious not to overmix; excessive blending can develop the gluten in the flour, leading to a tough crust rather than the desired tender, crumbly texture that makes shortbread so delightful. The dough should resemble coarse crumbs that hold together when pressed.
Now comes the satisfying task of pressing the shortbread crust into your prepared baking dish. Take a moment to feel the smooth, pliable dough in your hands. Evenly spread it across the bottom of an 8×8-inch pan lined with parchment paper, ensuring it covers the entire surface. Use the back of a spoon or your fingertips to press it down firmly and uniformly. This creates a solid, even layer that will serve as a robust foundation for the layers to come.
A crucial step for a flawless crust is blind baking. This pre-baking process helps the shortbread maintain its structure, preventing it from becoming soggy once the moist apple filling is added. Place the pressed crust in a preheated oven for a short period, just until it achieves a light golden hue and feels firm to the touch. This simple technique guarantees a perfectly crisp base every time, setting the stage for an unforgettable fall dessert. With your meticulously crafted shortbread crust ready, you’re halfway to enjoying the ultimate apple crisp bars, a symphony of textures and flavors.
Crafting the Delectable Spiced Apple Filling
With your perfectly golden shortbread crust patiently awaiting its star ingredient, the next step is to create the heart of these bars: a luscious, warmly spiced apple filling. This layer brings a burst of autumn flavor, creating a delightful contrast with the buttery crust and ultimately, the crunchy topping. The key to a memorable filling lies in selecting the right apples and balancing the spices to perfection.
Begin by choosing the ideal apples. Varieties like Granny Smith, Honeycrisp, Fuji, or Jonathan are excellent choices due to their firm texture and a wonderful balance of tartness and sweetness. These apples hold their shape well during baking and provide a refreshing counterpoint to the richness of the other components. Avoid overly soft or mealy apples, as they can turn to mush in the oven.
Once you’ve selected your apples, peel, core, and thinly slice them. Aim for slices that are uniform in thickness – about 1/4 inch is ideal. This consistency ensures even cooking and a pleasant texture in every bite. A mandoline slicer can be a great tool for achieving perfectly even slices quickly, but a sharp knife works just as well with a steady hand. The thinner the slices, the more tender the filling will be, and the faster it will cook.
Next, infuse the apple slices with an aromatic blend of warm fall spices. In a large mixing bowl, combine the sliced apples with ground cinnamon, nutmeg, and a subtle touch of cloves or allspice, if desired. These fragrant spices are not only crucial for enhancing the natural sweetness of the apples but also evoke the comforting, nostalgic aromas of the autumn season. A touch of all-purpose flour is also added at this stage, which helps to thicken the juices released by the apples during baking, preventing a watery filling.
To further tenderize the apples and create a wonderfully rich, syrupy filling, toss them with a generous amount of light brown sugar. The brown sugar not only adds sweetness but also a depth of caramel-like flavor that pairs beautifully with the apples and spices. While the original recipe doesn’t mention lemon juice, a squeeze of fresh lemon juice can be a fantastic addition, adding a bright, tangy note that balances the sweetness and prevents the apples from browning prematurely.
Once all the ingredients are combined, gently fold the apple mixture until every slice is thoroughly coated in the fragrant spice-sugar blend. This meticulous coating ensures that each mouthful of your apple crisp bar is bursting with irresistible, harmonious flavors. With the delectable apple filling now perfected, you’re just one step away from assembling these heavenly bars. Prepare to elevate your dessert even further with the ultimate crispy topping in the next section.
Achieving the Irresistible Crisp Topping
With the shortbread crust baked and the spiced apple filling ready, the final layer of perfection for your apple crisp bars is the irresistible crisp topping. This crumbly, golden layer is what truly sets these bars apart, providing that crucial textural contrast that elevates the entire dessert from delicious to divine. It’s the sweet, crunchy crown that completes this autumn masterpiece.
To create a truly remarkable crisp topping, start with a base of old-fashioned rolled oats. These oats are essential, contributing a hearty, chewy texture and a nutty flavor that perfectly complements the soft, tender apple filling. Unlike quick oats, old-fashioned oats retain their structure, providing a satisfying bite. Next, combine them with all-purpose flour, which helps bind the ingredients and creates the desired crumbly consistency. Add light brown sugar for its rich, molasses-like sweetness and its ability to caramelize beautifully, contributing to the topping’s golden hue and delightful crunch. A touch of ground cinnamon further enhances the warm, inviting fall flavors, tying all the elements together.
For the ultimate crumbly texture, cold, unsalted butter is absolutely key. Cut the butter into small cubes, then use your fingertips, a pastry cutter, or even a fork to rub or cut the butter into the dry ingredients. The goal is to work the butter into the mixture until it resembles coarse crumbs, with some pieces still pea-sized. This process creates small pockets of butter throughout the mixture. As these butter pieces melt during baking, they release steam, creating flaky layers and those coveted golden-brown, crispy bits that are characteristic of a perfect crisp topping. Avoid overworking the mixture; warmth from your hands can melt the butter too much, leading to a less crumbly result.
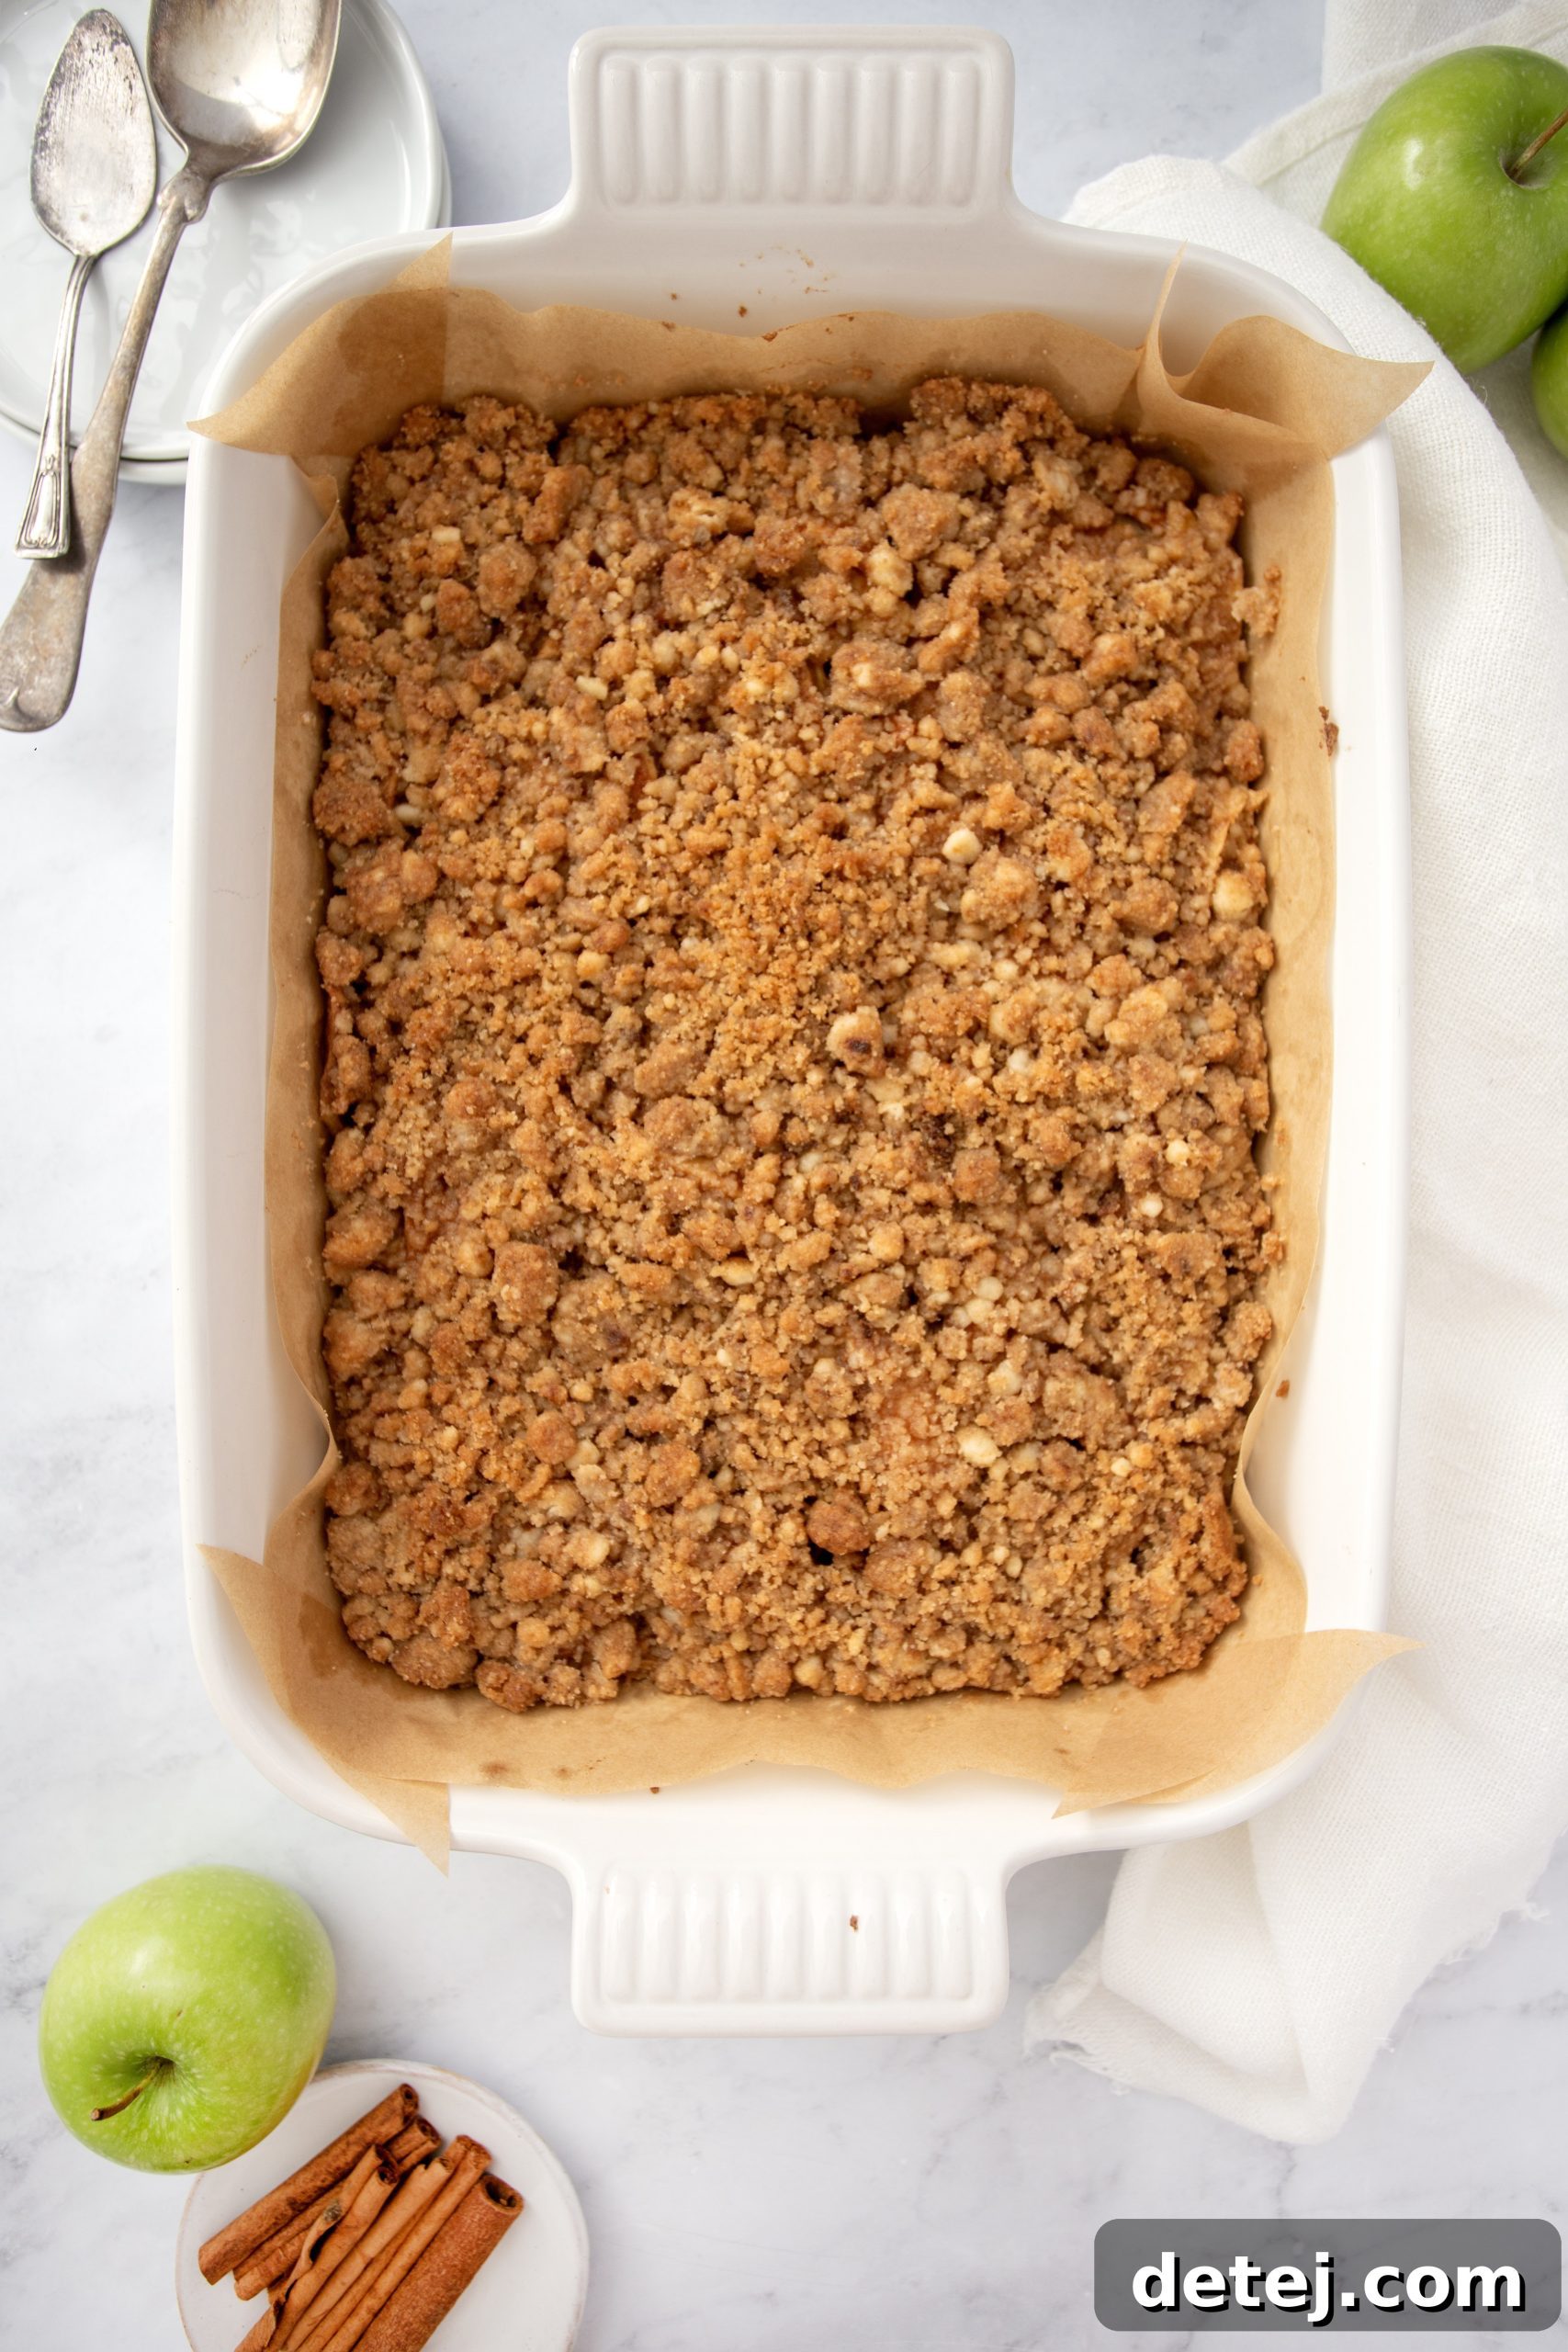
Once your crisp topping mixture is ready, generously sprinkle it evenly over the prepared apple filling. Distribute it so that every square inch of the apple layer is covered, ensuring that each bite of your apple crisp bar will deliver a delightful combination of soft apples and crunchy topping. Gently pat down the topping with your hands or the back of a spoon. This small step helps the crisp adhere to the apple filling, ensuring a cohesive and utterly delicious dessert that won’t crumble apart excessively when sliced. The delicate balance of aromatic spices from the apple filling and the satisfying texture of this well-crafted crisp topping will make these apple crisp bars an instant favorite.
Assembling for Heavenly Apple Crisp Bars
Now that all your components are perfectly prepared—the rich, buttery shortbread crust, the luscious, spiced apple filling, and the irresistible, crumbly crisp topping—it’s time to bring them together. This final assembly stage is where the magic happens, transforming individual elements into a harmonious, heavenly dessert that will captivate your senses.
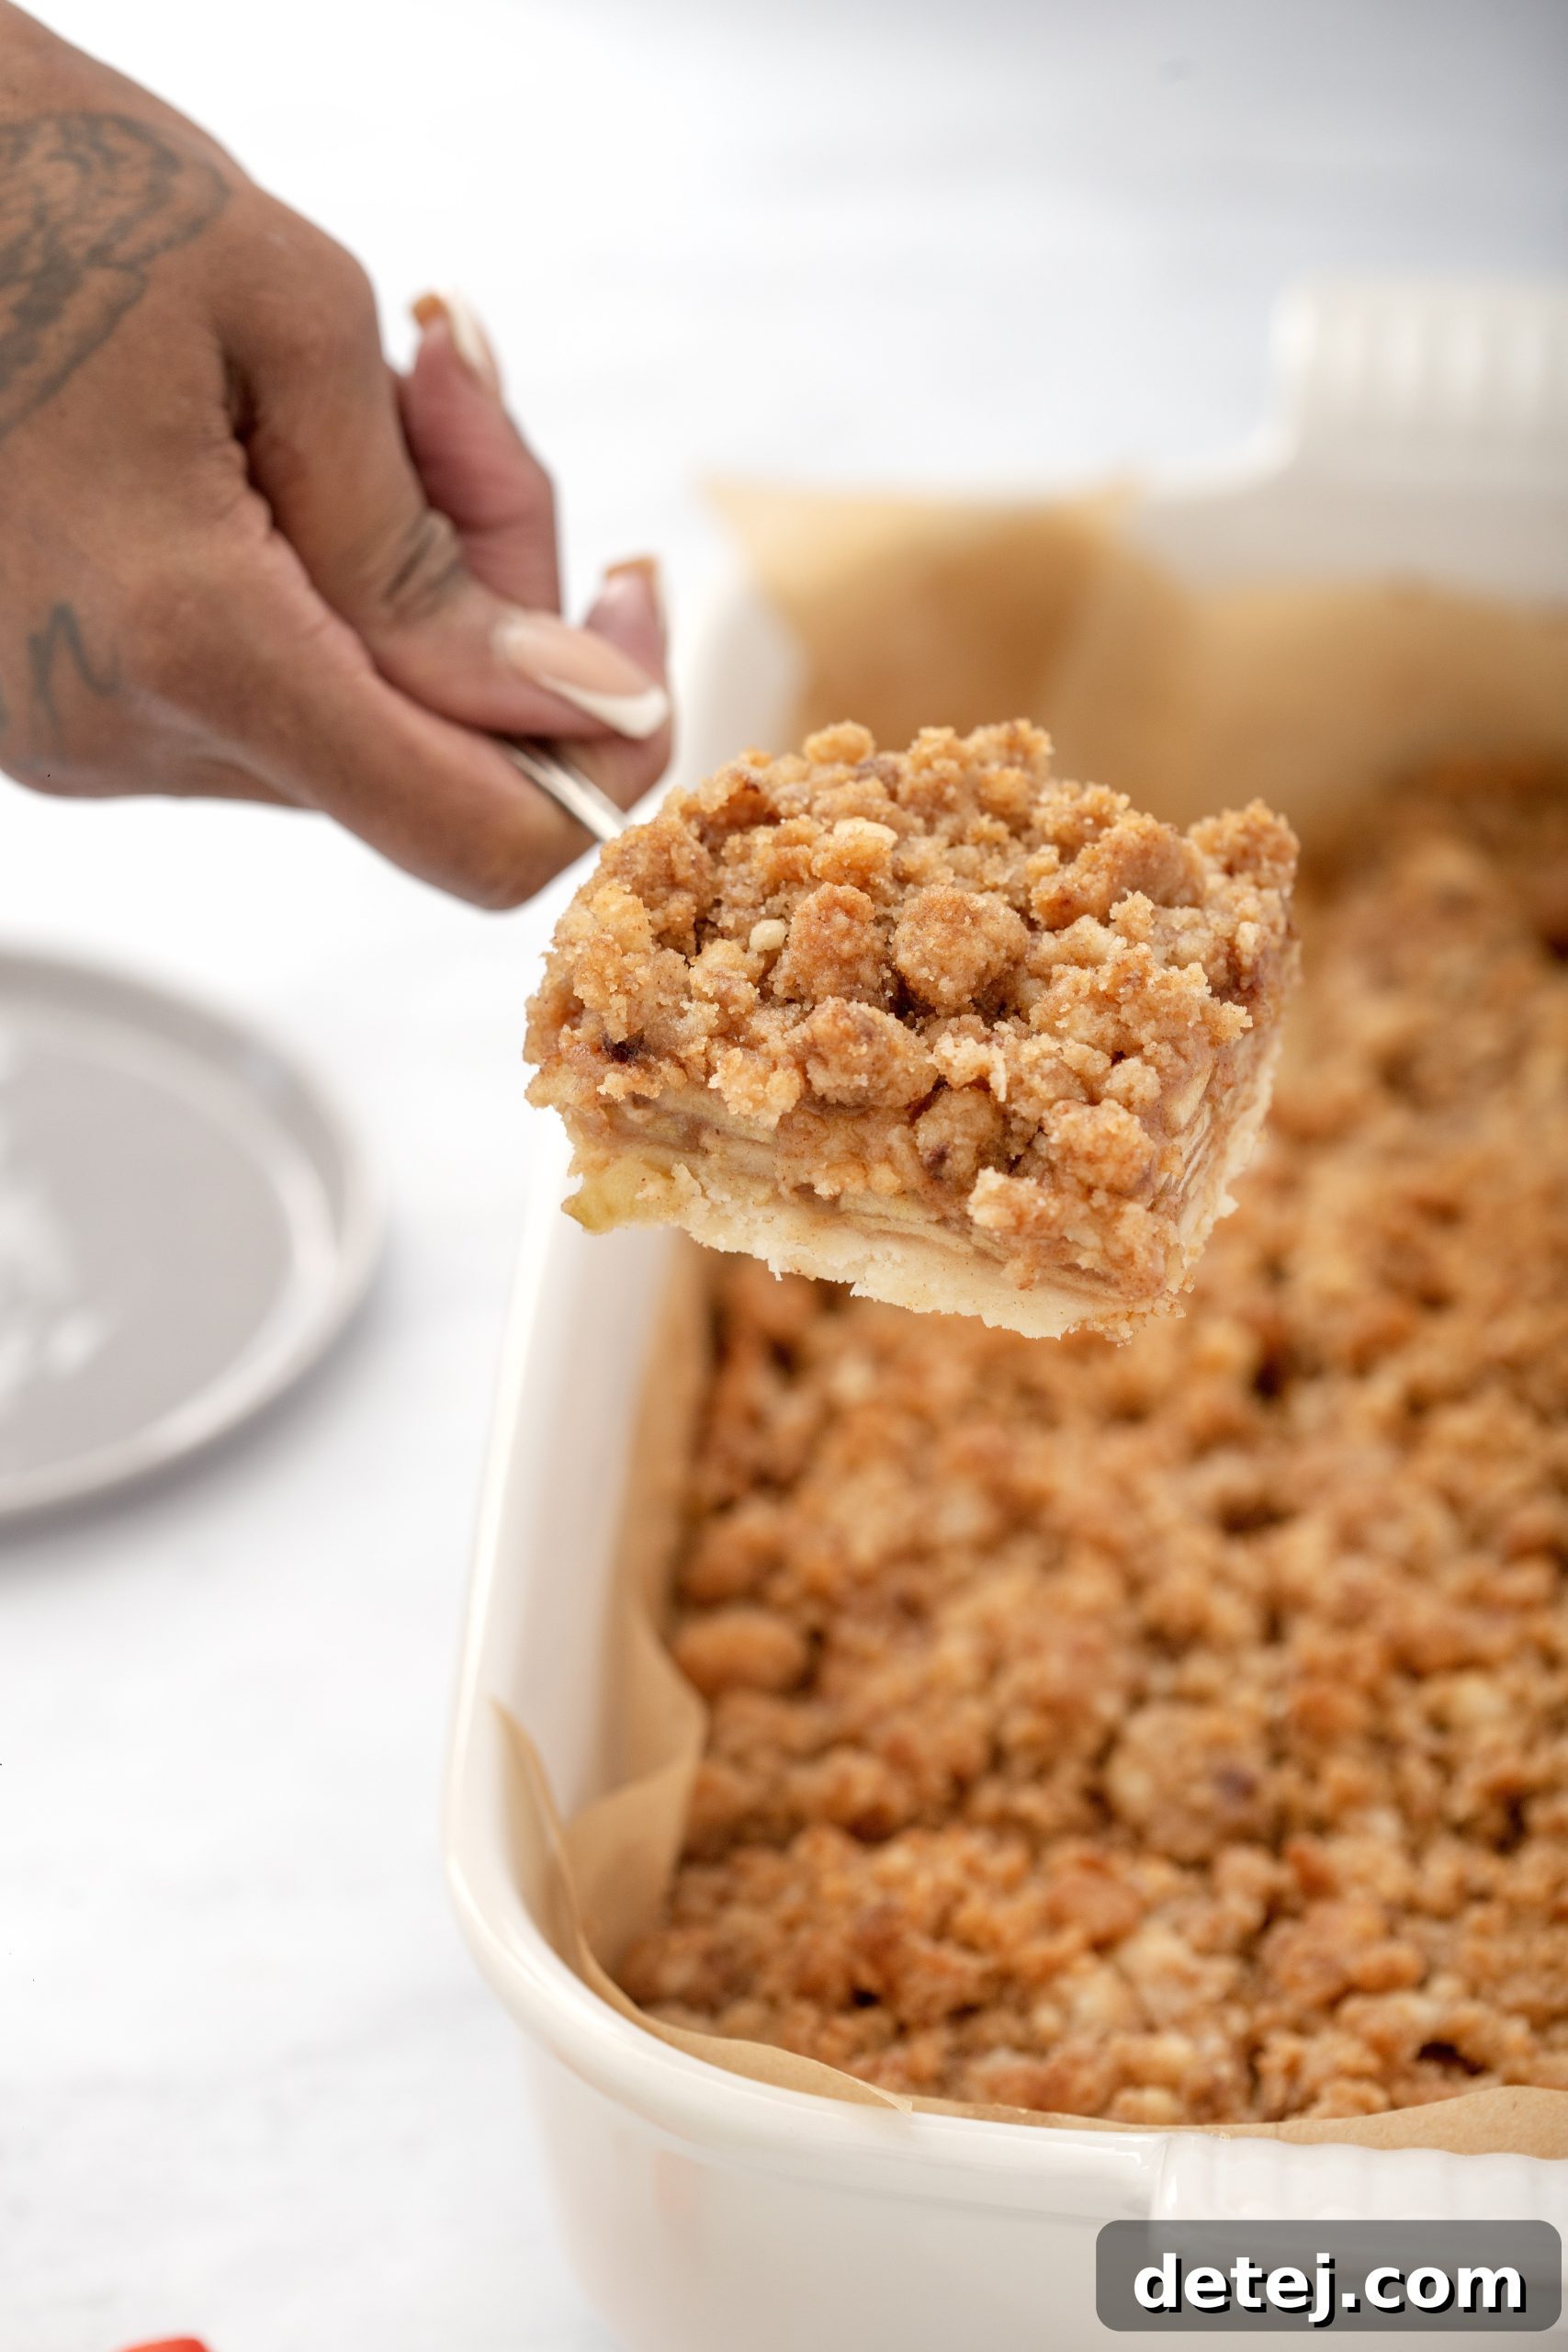
With your blind-baked shortbread crust already in the pan, carefully spread the spiced apple filling evenly over its surface. Ensure the apples form a consistent layer, as this will help them cook uniformly. Once the apples are settled, gently but generously sprinkle the prepared crisp topping over the entire apple layer. Distribute it evenly from edge to edge to guarantee that every single bar will boast a delightful amount of crunch and textural contrast. Don’t be shy; a generous layer of topping is what makes these bars truly exceptional.
After spreading the topping, lightly pat it down with your hand or the back of a spoon. This small but important step helps the crisp topping adhere to the apples, preventing it from scattering and ensuring a more cohesive and pleasant eating experience. This also creates a beautiful, continuous golden layer once baked. With all layers in place, your apple crisp bars are now ready for their transformation in the oven.
Bake the assembled bars in a preheated oven until the topping turns a rich golden brown and the apple filling is bubbly and tender when poked with a fork. The aroma that will fill your kitchen during baking is nothing short of intoxicating—a comforting blend of sweet apples, warm cinnamon, and nutty oats, signaling that a truly spectacular fall dessert is on its way. This inviting scent alone is often enough to gather friends and family, anticipating the moment they can savor this homemade treat.
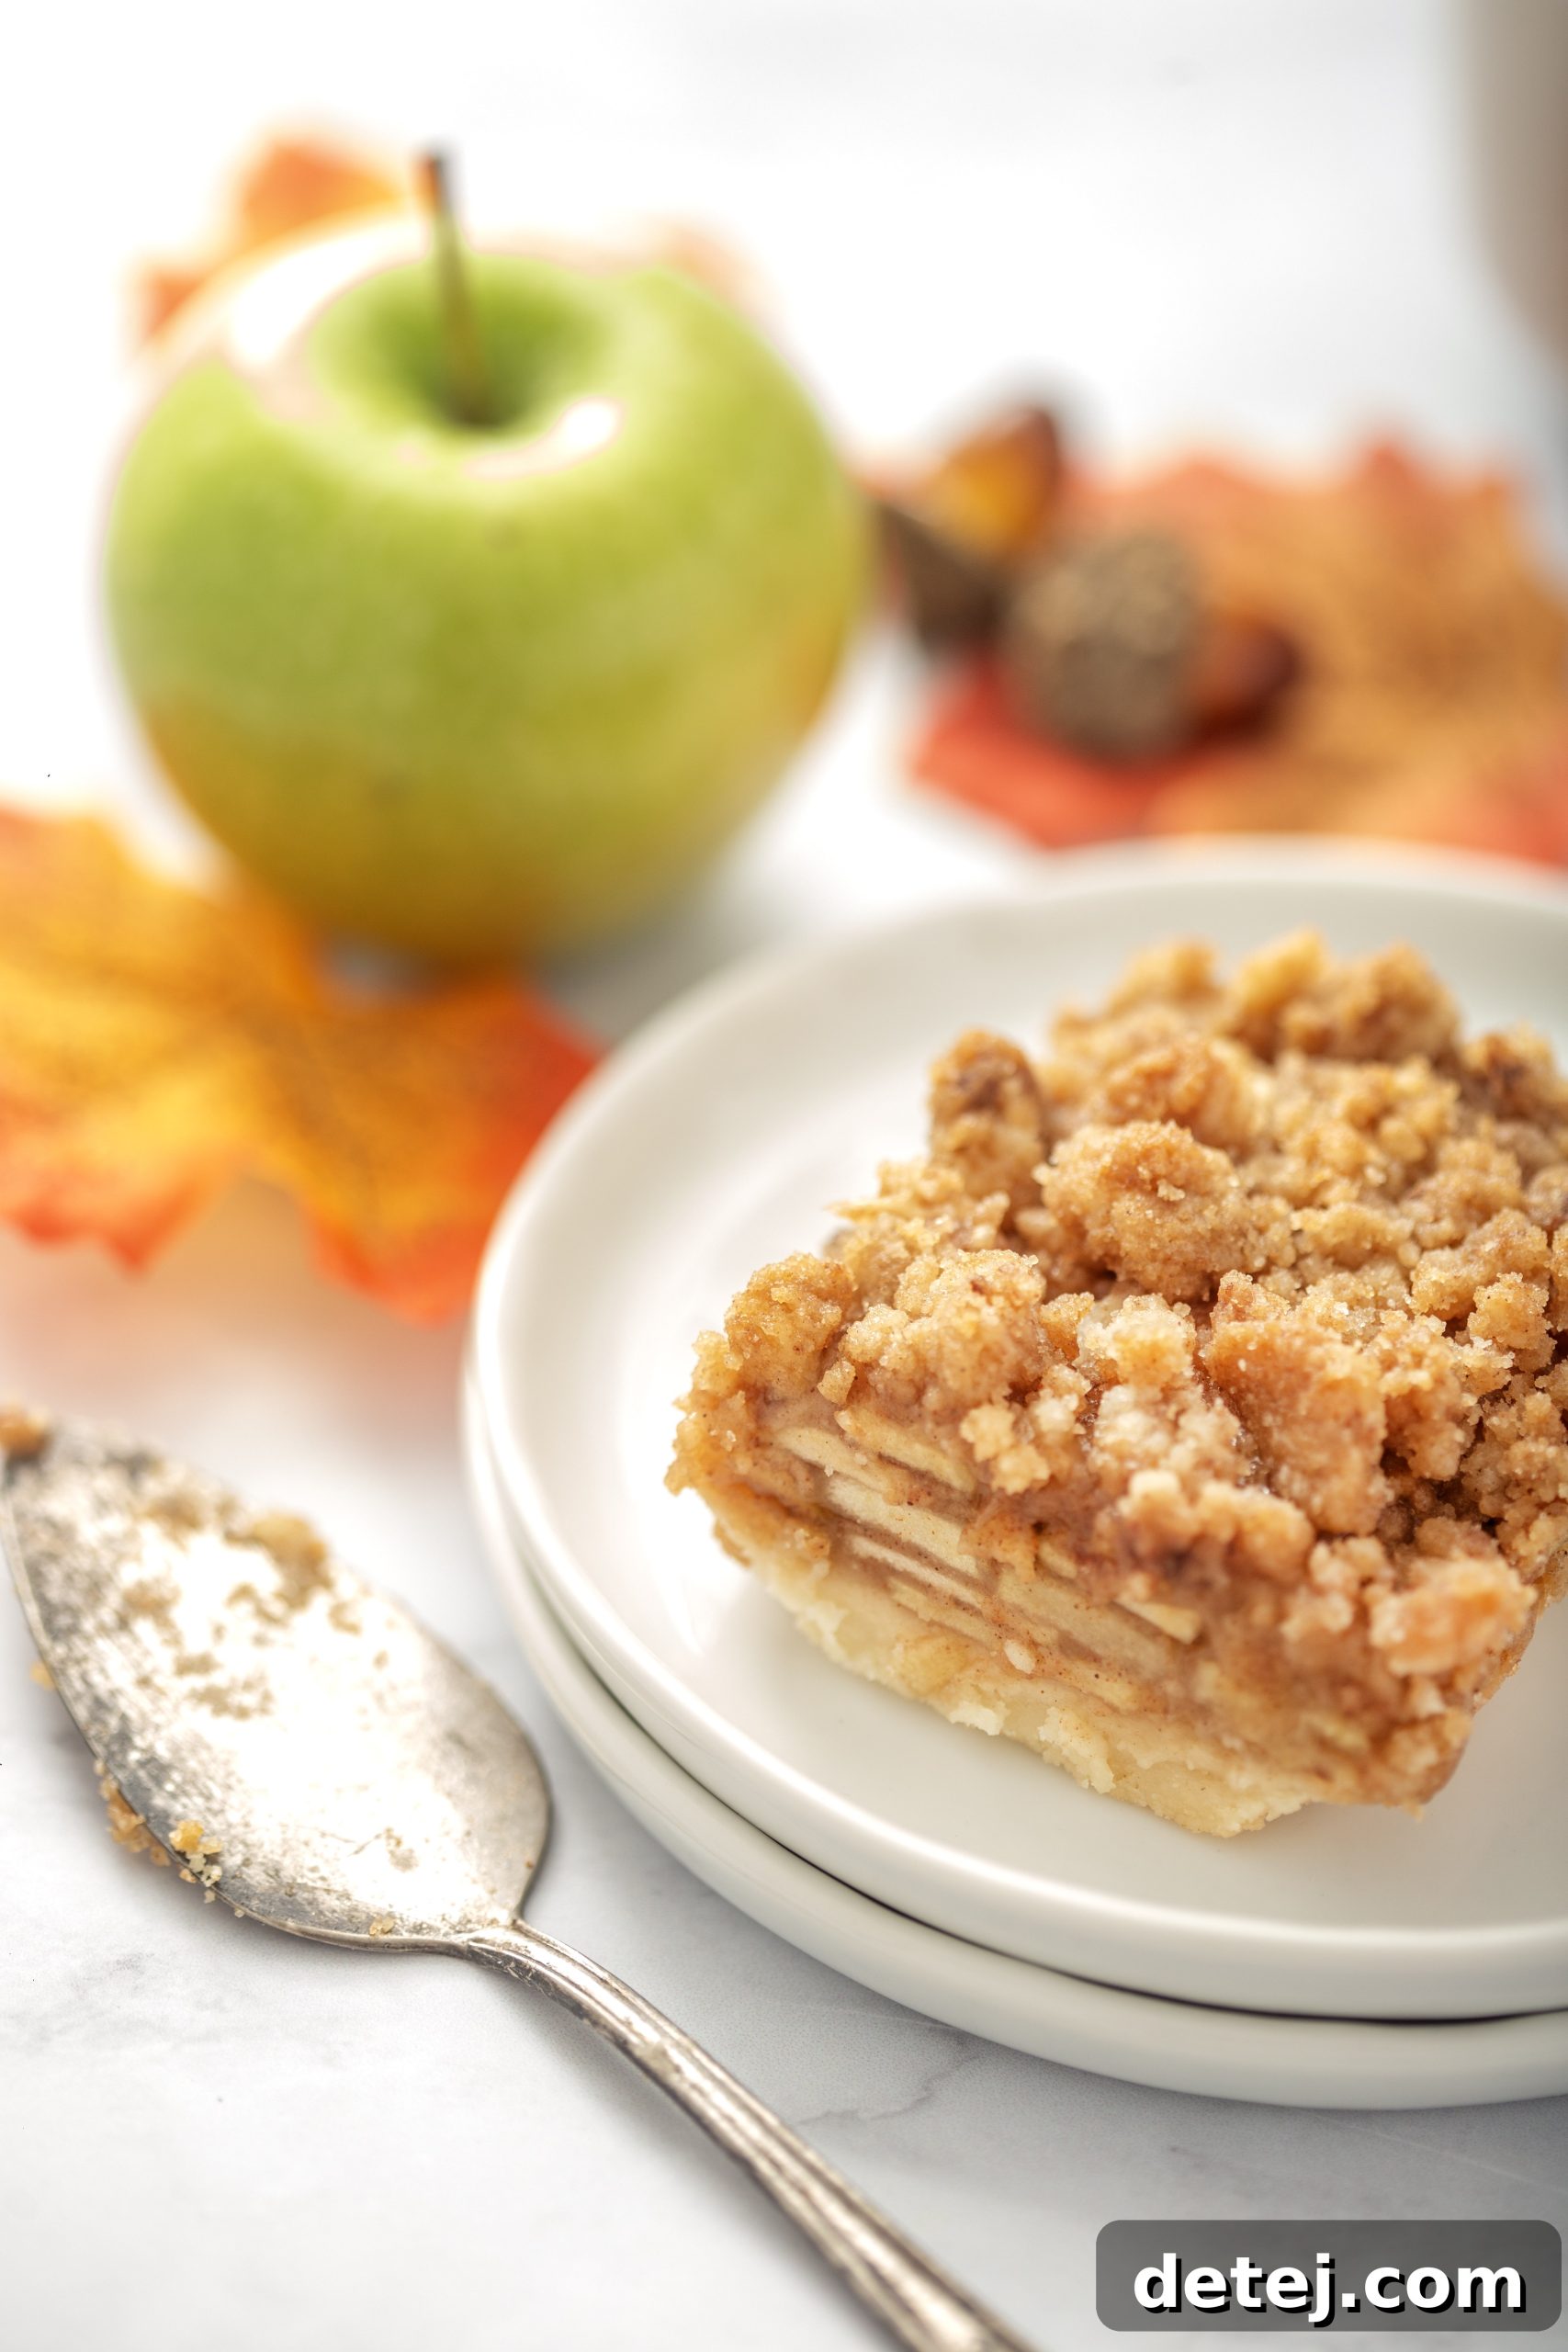
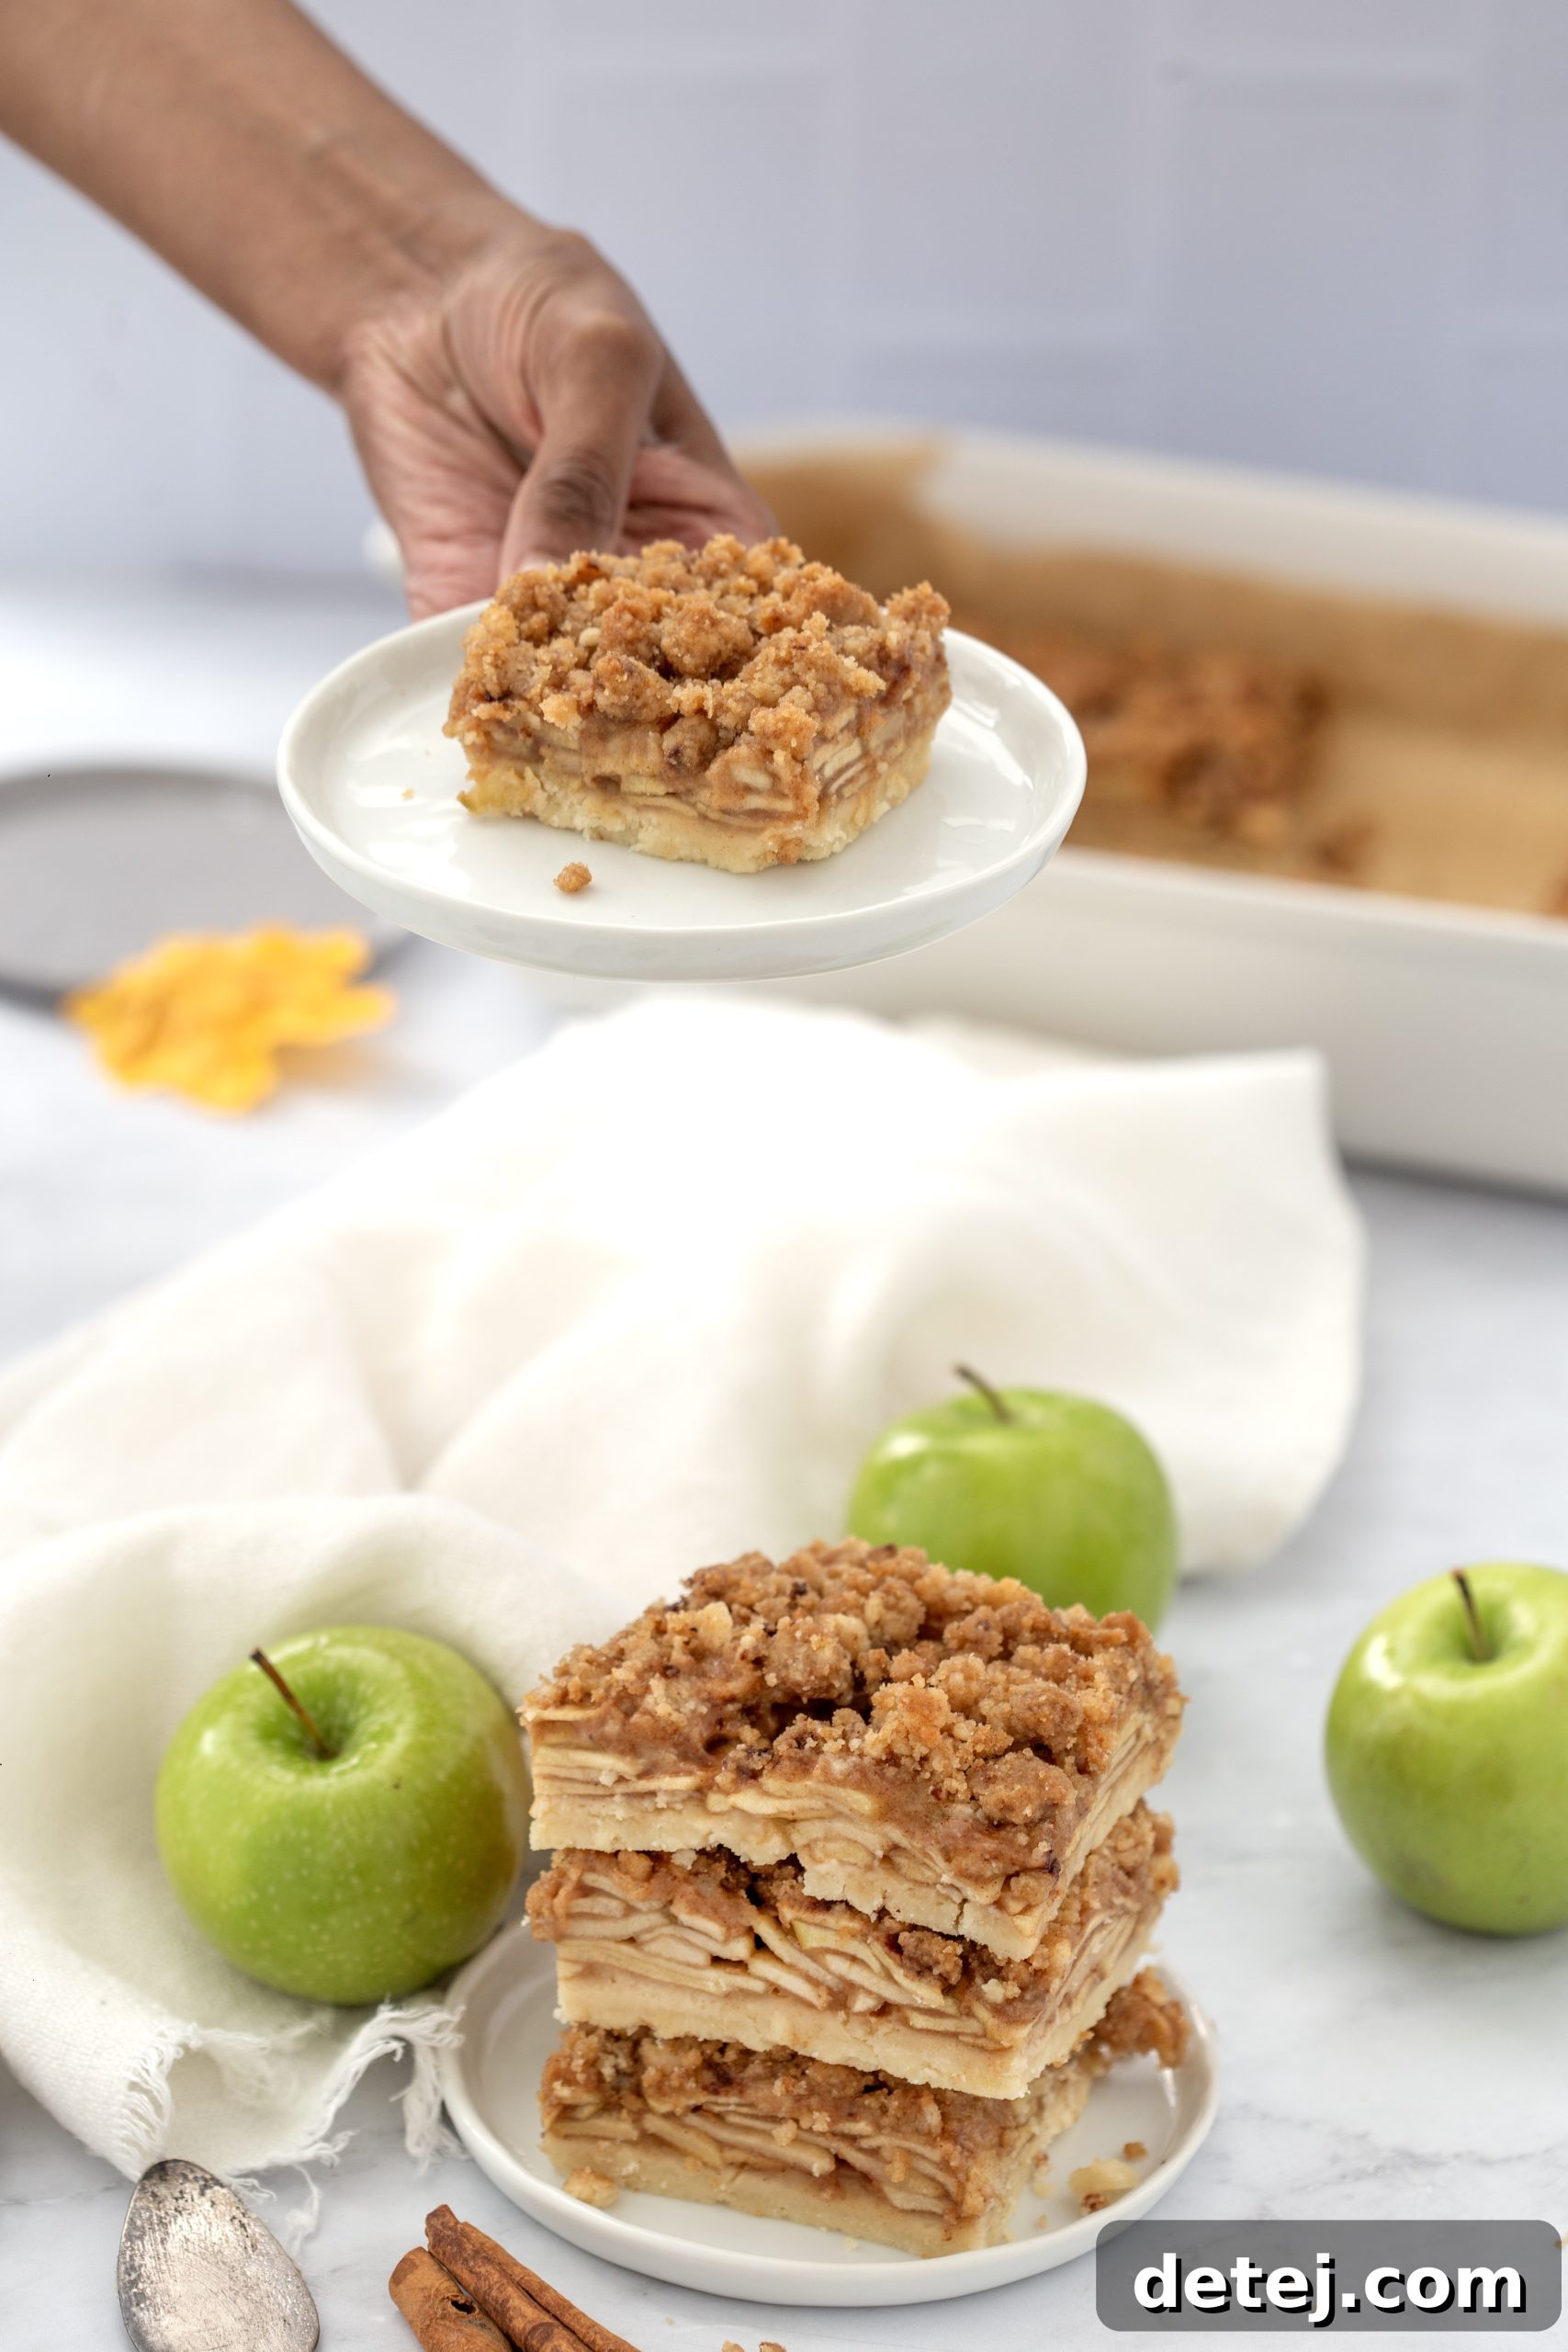
Once baked to perfection, the hardest part is waiting! Allow the apple crisp bars to cool completely in the pan before attempting to slice them. This crucial cooling period allows the filling to set and the crust to firm up, ensuring clean, beautiful slices. Once cooled, use the parchment paper overhang to carefully lift the entire slab out of the pan, then transfer it to a cutting board and slice into individual bars. Serve them as they are, or elevate the experience with a scoop of vanilla bean ice cream or a drizzle of warm caramel sauce.
Picture this: a buttery shortbread crust cradling a luscious apple filling, topped with a tantalizingly crisp layer of sweetness.
Krystel’s Cooking
These irresistibly easy apple crisp bars are more than just a dessert; they are a celebration of autumn’s bounty and the simple joys of homemade treats. By following these step-by-step instructions, you’ll create a heavenly combination of tender shortbread, spiced apple goodness, and a perfectly crunchy topping. The intoxicating aroma that will fill your home during baking is an experience in itself, setting the perfect stage for a memorable fall day. So, don’t hesitate! Gather your ingredients, immerse yourself in the delightful process of baking, and treat yourself and your loved ones to these mouthwatering bars today. Take that first bite, and you’ll be captivated by the harmonious blend of flavors and textures, a true taste of comfort. As the renowned American chef James Beard wisely stated, “Good food is all the sweeter when shared.” Share these apple crisp bars and savor the delightful essence of fall in every unforgettable bite.
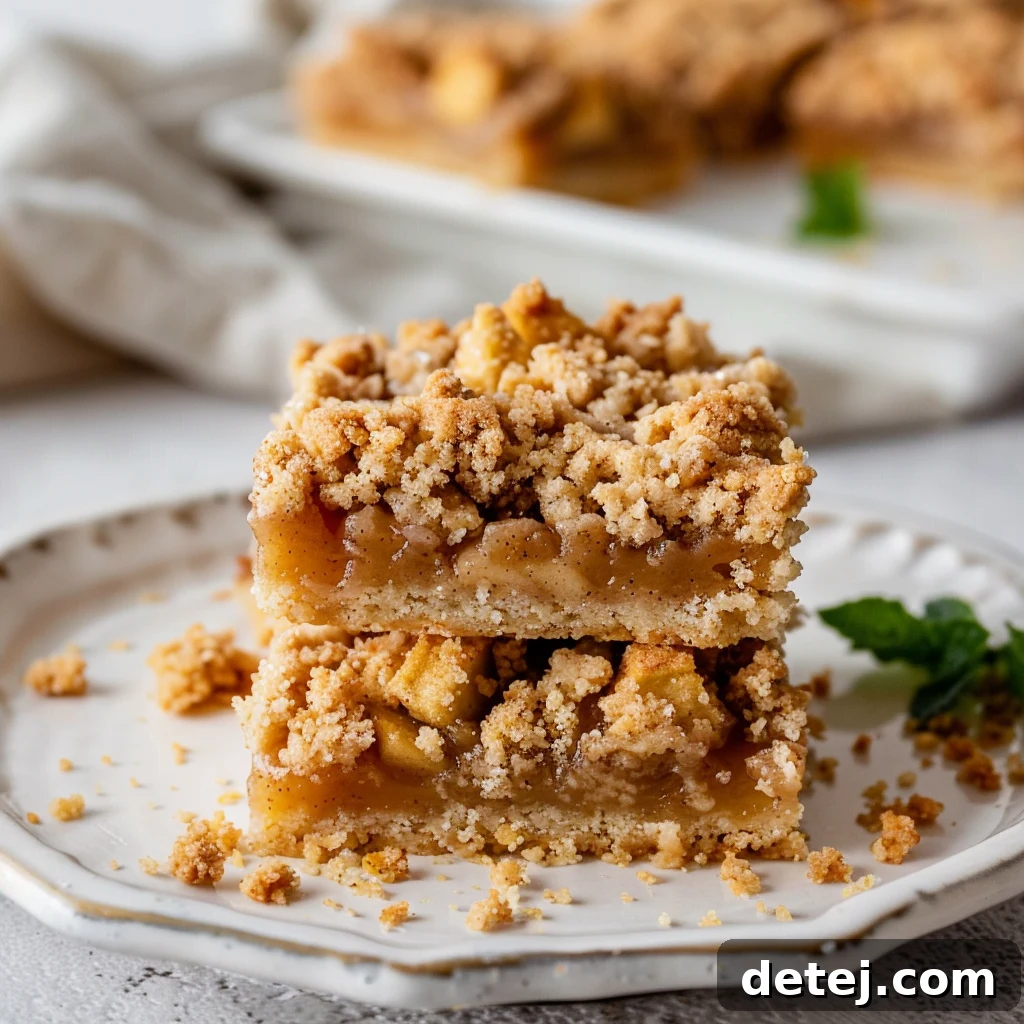
Apple Crisp Bar
Pin
Ingredients
SHORTBREAD CRUST:
- 1/2 cup salted butter, softened
- 1/2 teaspoon vanilla extract
- 1 1/4 cup all purpose flour
- 2 tablespoons granulated sugar
- 2 tablespoons light brown sugar
- 1/4 teaspoon salt
APPLE FILLING:
- 3 large apples, peeled and thinly sliced
- 4 tablespoons light brown sugar
- 2 tablespoons all purpose flour
- 1/4 teaspoon ground nutmeg
- 1/2 teaspoon ground cinnamon
CRISP TOPPING:
- 3/4 cup all purpose flour
- 6 tablespoons butter, cut into cubes
- 1/2 cup light brown sugar
- 1/2 teaspoon salt
- 1/4 cup rolled oats
- 1 teaspoon ground cinnamon
Instructions
-
To prepare the shortbread crust, preheat your oven to 350°F (175°C) and line an 8×8-inch baking pan with parchment paper, leaving an overhang on two sides for easy removal.
-
In a mixing bowl, beat the granulated sugar, light brown sugar, and softened butter together on medium speed for approximately 2-3 minutes, until the mixture becomes light and fluffy.
-
Add vanilla extract and beat until well combined. Then, gradually fold in the all-purpose flour and salt, continuing to mix at low speed until you achieve a crumbly dough texture. Press this dough firmly and evenly into the bottom of the prepared pan and bake for 12-14 minutes, or until lightly golden.
-
For the apple filling, begin by peeling and thinly slicing the apples. In a medium dish, combine the sliced apples with all-purpose flour, light brown sugar, ground cinnamon, and ground nutmeg. Toss gently until the apples are evenly coated.
-
Once the shortbread crust has finished blind-baking, remove it from the oven (keep the oven temperature at 350°F). Spread the prepared apple mixture evenly over the shortbread layer.
-
To prepare the crisp topping, combine all the topping ingredients (flour, butter, brown sugar, salt, rolled oats, cinnamon) in a dish. Cut in the cold butter until the mixture resembles coarse crumbs using a pastry cutter or your fingertips.
-
Evenly spread the crisp topping over the apples. Return the pan to the oven and bake for approximately 45 minutes, or until the topping is golden brown and the apples are tender and bubbly.
-
Allow the apple crisp bars to cool completely in the pan on a wire rack. Once fully cooled, use the parchment paper overhang to lift the entire slab, then cut it into individual bars for serving.