
Effortlessly Divine Red Velvet Cupcakes: Your Go-To Recipe for Home Bakers
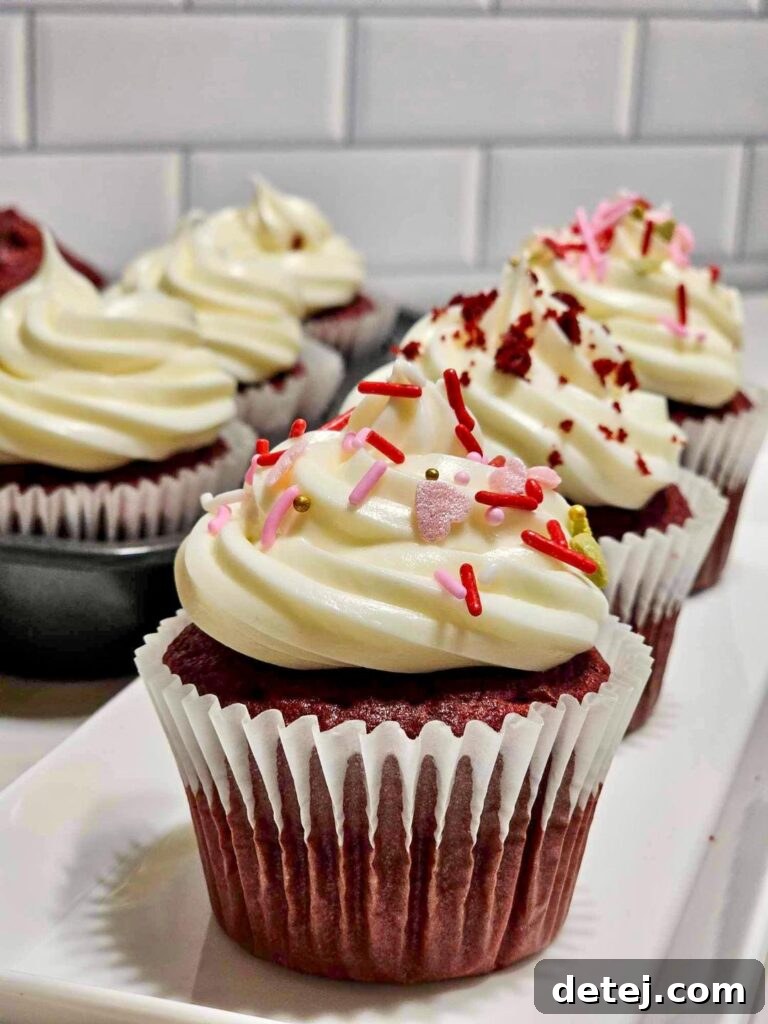
Are you ready to impress your friends and family with a dessert that looks as stunning as it tastes? Red velvet cupcakes are a timeless classic, beloved for their tender crumb, distinctive hint of cocoa, and vibrant crimson hue, all crowned with a luscious cream cheese frosting. While they might appear sophisticated, mastering homemade red velvet cupcakes is surprisingly simple, even for novice bakers. This comprehensive guide will walk you through every step, ensuring your baking adventure is enjoyable and yields perfectly moist, utterly delicious cupcakes every single time. Forget store-bought; get ready to create bakery-quality red velvet treats right in your own kitchen!
Unlocking the Secret to Perfect Ingredients
Before any mixing begins, the foundation of exceptional red velvet cupcakes lies in meticulously gathering and understanding each ingredient. Think of this as your culinary treasure hunt, where each item plays a crucial role in the final masterpiece. Having everything measured and at the right temperature before you start is key to a smooth baking process and a consistently perfect result. Let’s prepare our workstation for this delightful journey.
Essential Dry Ingredients for a Tender Crumb
Our journey begins with **all-purpose flour**, the primary structural component of our cupcakes. Accurate measurement is paramount here; too much flour can lead to dry, dense cupcakes, while too little can make them fall flat. Next, we incorporate **baking soda** and a touch of **baking powder**. These leavening agents react with acidic ingredients like buttermilk and vinegar, creating tiny air bubbles that give red velvet its signature light and airy texture. A pinch of **salt** is also crucial, not just for taste but to balance the sweetness and enhance the subtle chocolate notes. Finally, the iconic **cocoa powder** lends its characteristic mild chocolate flavor and contributes to the red velvet’s deep, rich color. For the best results, opt for unsweetened natural cocoa powder, as Dutch-processed cocoa might react differently with the baking soda.
The Wet Wonders: Moisture, Flavor, and Color
Moving on to our wet components, **unsalted butter**, brought to room temperature, is essential for creaming with sugar. This process incorporates air, contributing to the cupcake’s light texture. **Granulated sugar** sweetens and tenderizes. For that rich, moist crumb and subtle tang, **buttermilk** is indispensable. If you don’t have buttermilk on hand, don’t fret! You can easily create a substitute by adding a tablespoon of white vinegar or lemon juice to regular milk and letting it sit for 5-10 minutes until it slightly curdles. Two large **eggs**, also at room temperature, bind the ingredients and add richness. **Pure vanilla extract** provides warmth and depth of flavor, making the cupcakes truly irresistible. The secret weapon for intensifying the red hue and adding a distinctive tang is a small amount of **white vinegar**. And of course, for that unmistakable visual appeal, **red food coloring** is vital. We recommend a high-quality gel food coloring for the most vibrant results with less liquid.
Mastering the Batter: Techniques for Light and Fluffy Cupcakes
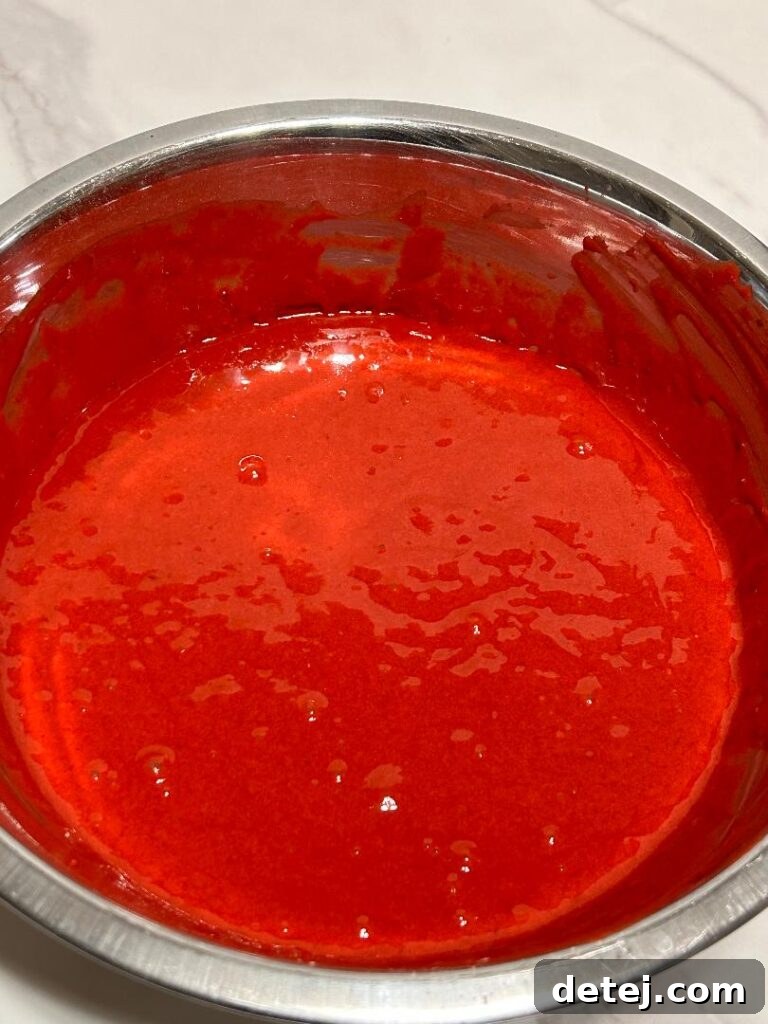
Now that your ingredients are perfectly prepared, it’s time to bring them together to create the velvety batter. This stage is where precision and patience pay off, leading to cupcakes that are consistently soft, moist, and wonderfully flavorful.
Creaming for Air and Smoothness
Begin by creaming the softened **unsalted butter** with the **granulated sugar** in a large mixing bowl. Using an electric mixer on medium speed, beat them until the mixture becomes light, fluffy, and pale in color. This process, known as creaming, is fundamental as it incorporates air into the butter and sugar, which then expands during baking, giving your cupcakes their lovely airy texture. Don’t rush this step – it usually takes about 2-3 minutes of diligent beating. Scrape down the sides of the bowl frequently to ensure everything is evenly combined.
Incorporating Wet Ingredients with Care
Next, add the **eggs** one at a time, beating well after each addition until fully incorporated. This ensures that the eggs emulsify properly with the butter and sugar, creating a smooth and cohesive batter. After the eggs, stir in the **pure vanilla extract** and the **white vinegar**. The vinegar, while seemingly unusual, is crucial for two reasons: it reacts with the baking soda to help the cupcakes rise, and it enhances the vibrant red color, making it truly pop. Finally, gently mix in the **red food coloring** until your desired shade of red is achieved. Remember, you can always add a little more if needed, but it’s harder to take away!
Alternating Dry and Wet for Optimal Texture
In a separate bowl, whisk together your pre-sifted dry ingredients: **all-purpose flour, cocoa powder, baking soda, and salt**. This ensures they are thoroughly combined and eliminates any lumps. Now, it’s time to integrate the dry ingredients with the wet. With your mixer on low speed, slowly add the dry ingredients to the wet mixture in three additions, alternating with the **buttermilk**. Start and end with the dry ingredients. Mix just until combined after each addition, being careful not to overmix. Overmixing develops the gluten in the flour, leading to tough, chewy cupcakes rather than the tender, soft texture we’re aiming for. A few streaks of flour are acceptable; the final batter should be smooth and cohesive.
The Art of the Crimson Hue: Achieving Iconic Red Velvet Color
The visual appeal of red velvet cupcakes is undeniably a huge part of their charm. That deep, luxurious red color is as crucial to the experience as the taste itself. Achieving this signature hue is a combination of specific ingredients and careful technique.
The Role of Cocoa and Acidity
Historically, the red color in red velvet cake came from a chemical reaction between natural cocoa powder (which contained anthocyanins, a pigment that turns reddish when exposed to acid) and acidic ingredients like buttermilk and vinegar. Modern cocoa powders are often processed differently, so the natural reaction is less pronounced. However, high-quality, non-Dutched cocoa powder still contributes to the depth of color and, more importantly, provides that subtle yet distinct chocolate flavor that defines red velvet.
Choosing and Using Red Food Coloring
To achieve the truly vibrant red we associate with red velvet, **red food coloring** is essential. For the best results, we highly recommend using a gel or paste food coloring over liquid varieties. Gel food coloring is much more concentrated, allowing you to achieve a deeper, more intense color with a smaller amount, which minimizes additional liquid in your batter. Start by adding a moderate amount (a teaspoon or two, depending on your brand and desired vibrancy) to your wet ingredients along with the vanilla and vinegar. Mix thoroughly. Observe the color; if it’s not as vivid as you’d like, add a few more drops or a small dab of gel coloring, mixing until evenly distributed. Remember that the color will often deepen slightly during the baking process, so aim for a shade that is rich but not overly dark in the raw batter.
Baking to Perfection and Cooling for Success
With your beautifully colored batter ready, it’s time for the moment of truth: baking. This stage transforms your carefully mixed ingredients into irresistible cupcakes, and proper execution here is key to their delightful texture and structure.
Preparing and Filling Your Muffin Pan
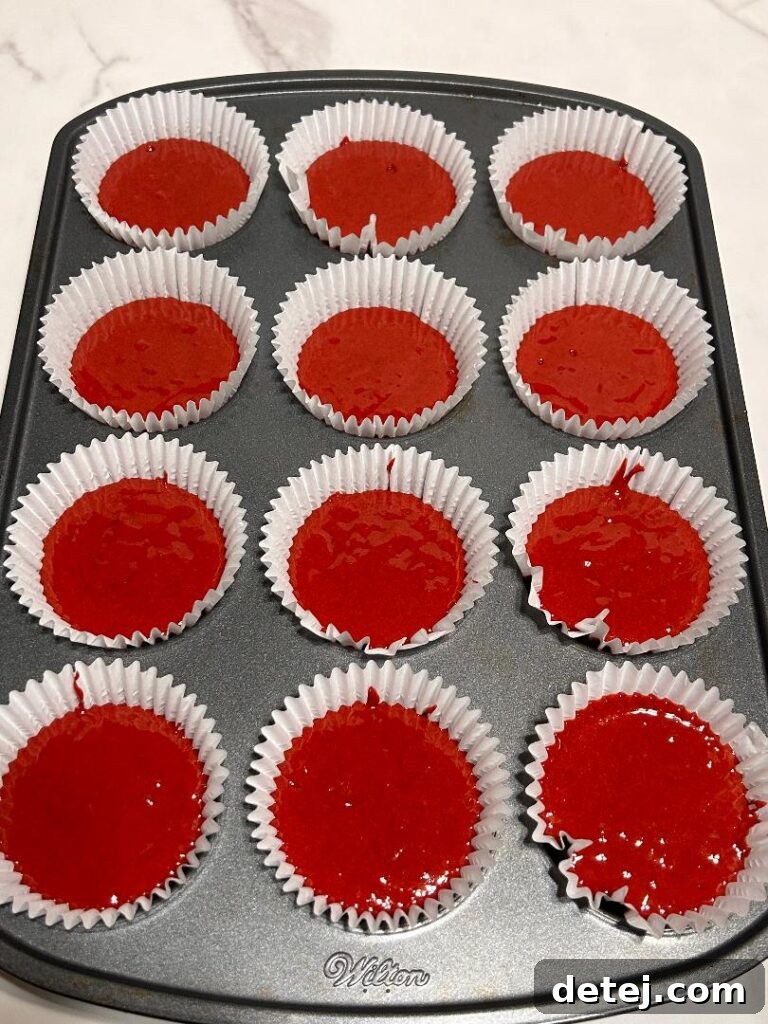
Before you even think about filling, ensure your oven is preheated to the specified temperature (typically 350°F or 175°C). An accurately preheated oven is crucial for even baking and proper rising. Line your muffin pan with paper cupcake liners, or grease and flour each well if baking directly. Using liners not only makes for easy removal and cleanup but also contributes to a professional presentation. Fill each cupcake liner about two-thirds full with batter. This allows room for the cupcakes to rise without overflowing, ensuring a perfect dome top. Avoid overfilling, as this can lead to messy, unevenly baked cupcakes.
The Baking Process: Keeping an Eye on Your Treats
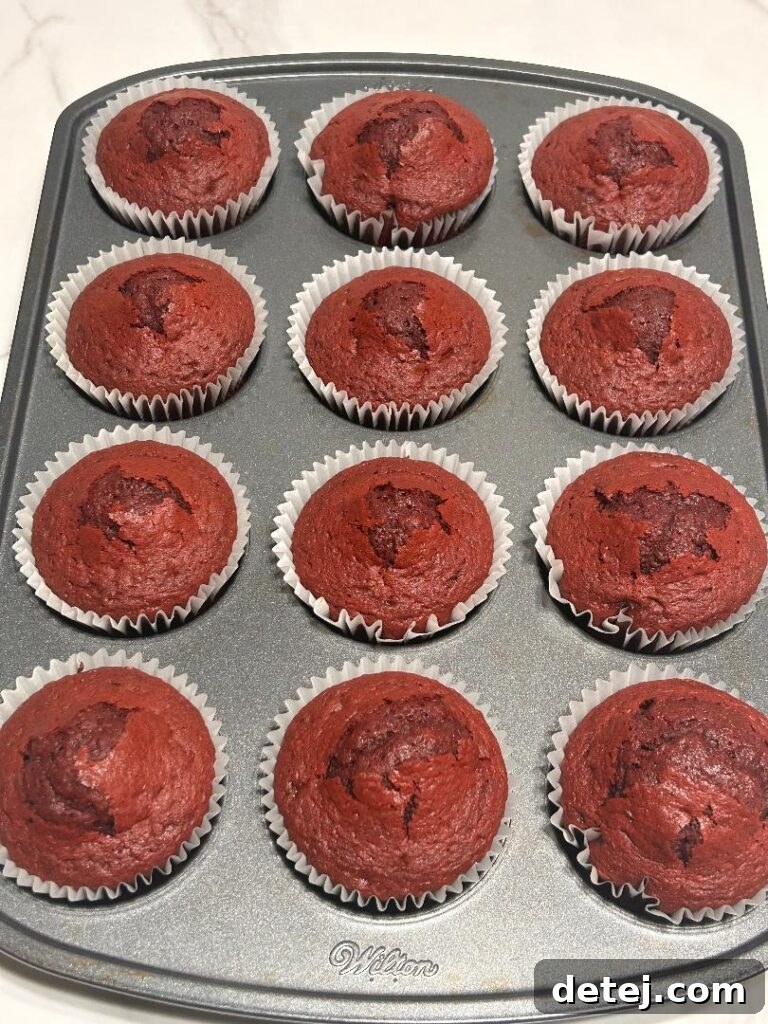
Carefully place the filled muffin pan into the preheated oven. Resist the urge to open the oven door frequently during baking, as this can cause temperature fluctuations that may lead to sunken cupcakes. Follow the recommended baking time closely, which is typically between 18-22 minutes for standard-sized cupcakes. As they bake, your kitchen will fill with an inviting aroma, building anticipation. To check for doneness, gently insert a toothpick or a thin cake tester into the center of a cupcake. If it comes out clean or with only a few moist crumbs attached, your cupcakes are ready. If it comes out with wet batter, bake for a few more minutes and test again.
The Importance of Proper Cooling
Once baked, remove the muffin pan from the oven. Allow the cupcakes to cool in the pan for about 5 minutes. This brief resting period helps them set and makes them easier to handle. After 5 minutes, carefully transfer the warm cupcakes from the pan directly onto a wire rack. Cooling on a wire rack is vital because it allows air to circulate around all sides of the cupcakes, preventing the bottoms from becoming soggy due due to trapped steam. It’s crucial that the cupcakes cool completely to room temperature before you even think about frosting them. Attempting to frost warm cupcakes will result in melted, sliding frosting and a less-than-perfect appearance. Patience here will be rewarded with beautifully frosted, stable cupcakes.
Essential Tools and Expert Tips for Baking Success
Equipping yourself with the right tools and knowing a few expert tips can elevate your baking experience from good to extraordinary. These small investments and pieces of advice can make all the difference in achieving consistently perfect red velvet cupcakes.
Recommended Kitchen Essentials
- A high-quality nonstick cupcake pan is indispensable for easy release and beautifully shaped cupcakes. Investing in a sturdy pan will ensure even heat distribution and prevent sticking, even if a liner tears.
- Cooling racks are a must for proper air circulation. Don’t underestimate their importance – they prevent soggy bottoms and allow your cupcakes to cool evenly, which is critical before frosting.
- A set of large mixing bowls, ideally in varying sizes, will provide ample space for combining ingredients without spills and allow for proper whisking and folding.
- Accurate measuring cups and spoons are the baker’s best friend. Precision in baking is key, so ensure your tools are reliable for both dry and liquid ingredients.
- An electric mixer (either hand-held or stand mixer) with both whisk and paddle attachments will make creaming butter and sugar, and mixing the batter, effortless and efficient.
Pro Tips for Flawless Cupcakes
- **Room Temperature Ingredients:** This cannot be stressed enough. Butter, eggs, and buttermilk at room temperature emulsify better, creating a smoother batter and a more consistent, tender crumb. Plan ahead and take them out of the refrigerator at least 30 minutes to an hour before you begin.
- **Do Not Overmix:** After adding the dry ingredients, mix just until combined. Overmixing develops gluten, which leads to tough cupcakes. A few small lumps are better than an overmixed, dense batter.
- **Use a Cookie Scoop:** For uniform cupcake sizes, use a cookie scoop to portion the batter into the liners. This ensures they bake evenly and look professional.
- **Test Your Oven:** Ovens can vary in temperature. If your cupcakes are consistently over or under-baked, consider using an oven thermometer to check your oven’s accuracy.
- **Quality Over Quantity:** Using good quality ingredients, especially cocoa powder and vanilla extract, will significantly impact the flavor of your cupcakes.
The Grand Finale: Topping with Luxurious Frosting
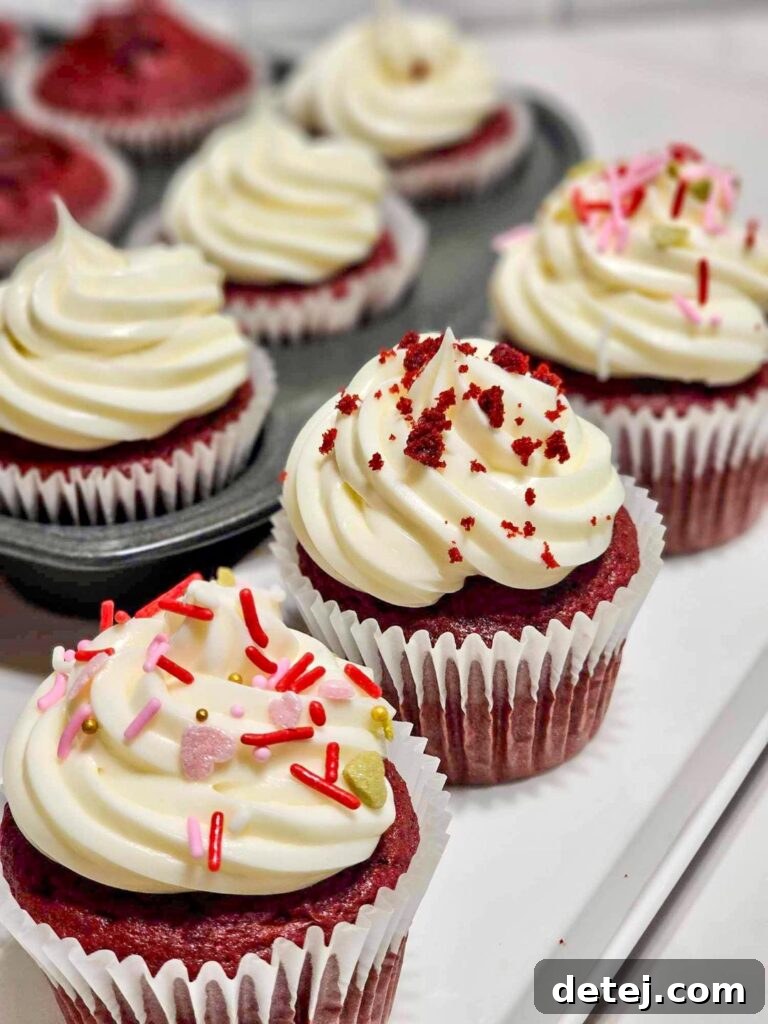
Once your red velvet cupcakes have cooled completely to room temperature, they are ready for their crowning glory: the frosting! This final step not only adds another layer of deliciousness but also enhances their visual appeal, transforming them into truly irresistible treats.
The Classic Choice: Cream Cheese Frosting
For red velvet cupcakes, there is no more iconic pairing than a rich and tangy cream cheese frosting. The slight tartness of the cream cheese perfectly complements the mild cocoa and subtle sweetness of the cake. To make a classic cream cheese frosting, you’ll typically need softened cream cheese, unsalted butter, powdered sugar (confectioners’ sugar), and a touch of vanilla extract. Beat the cream cheese and butter together until smooth, then gradually add the powdered sugar until light and fluffy. Finish with vanilla for a delightful aroma. While traditional cream cheese frosting can be a little softer than buttercream, it’s often preferred for its authentic flavor profile. If you find your cream cheese frosting too soft for intricate piping, you can add a bit more powdered sugar or chill it slightly before use. Alternatively, for a firmer frosting, some recipes incorporate a small amount of heavy cream to stabilize it.
Techniques for Frosting Your Cupcakes
There are several ways to apply frosting, depending on your desired look:
- **Simple Spreading:** For a rustic and homemade charm, simply use an offset spatula or the back of a spoon to spread a generous swirl of frosting over the top of each cupcake. This method is quick, easy, and yields a beautifully inviting look.
- **Piping with a Bag:** If you desire a more professional and decorative finish, a piping bag fitted with a large star tip (like a Wilton 1M) is your best friend. Fill the bag with frosting, twist the top to seal, and gently pipe swirls or rosettes onto each cupcake. Practice on a plate first to get the hang of it!
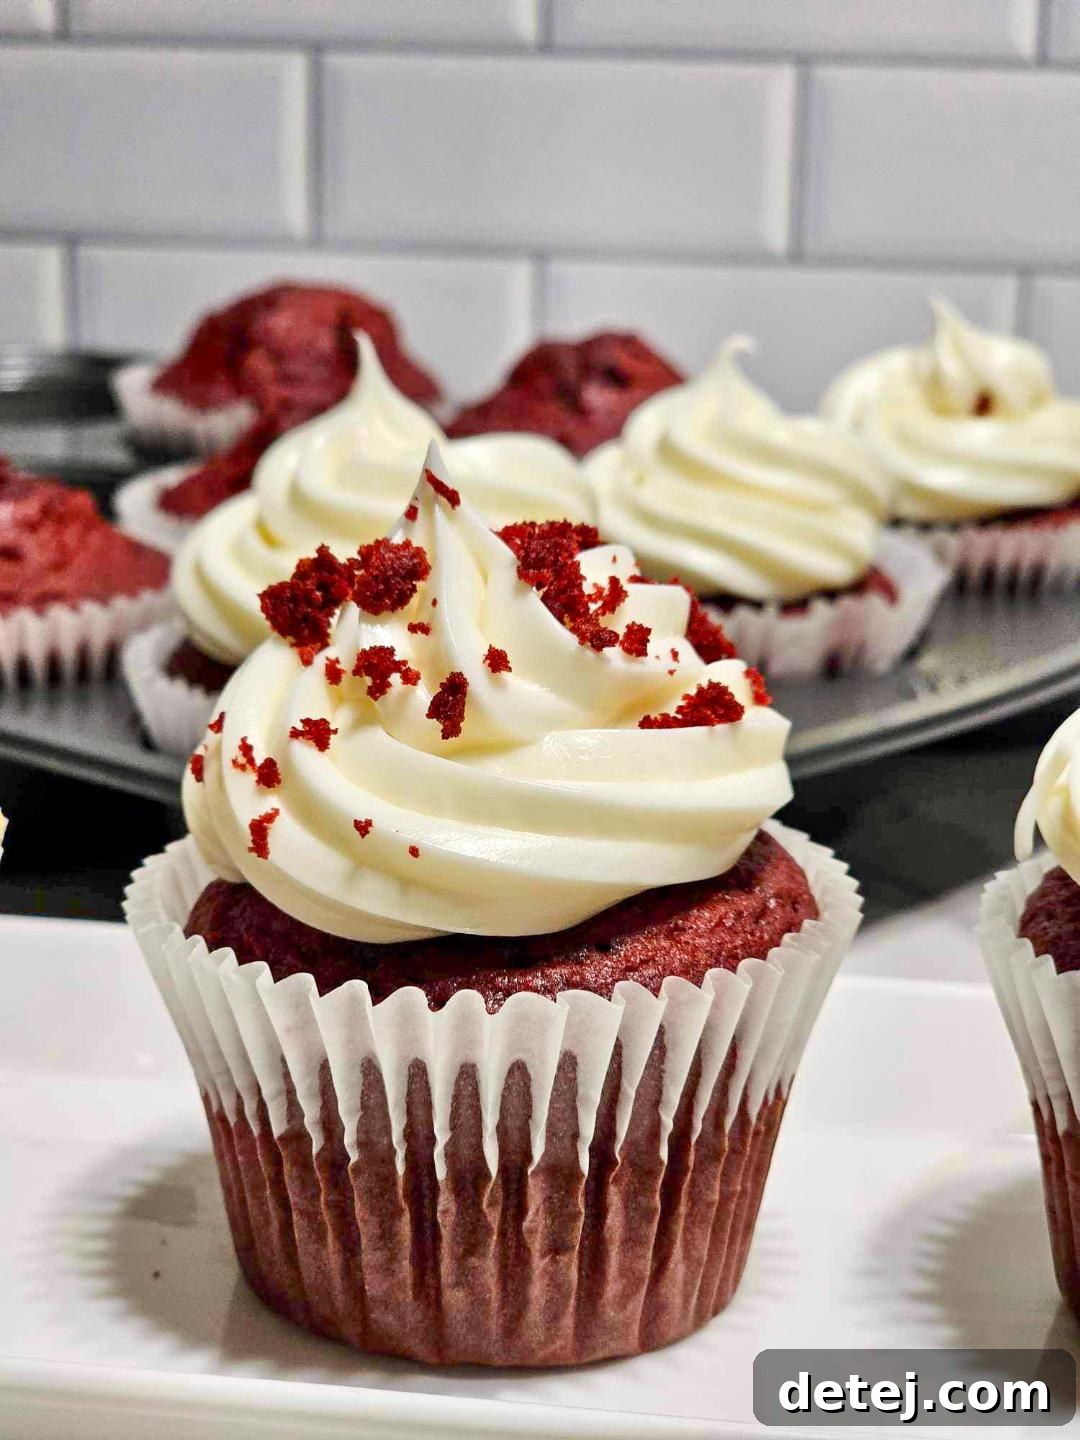
- **Garnishing:** Elevate your frosted cupcakes with a simple garnish. A sprinkle of red velvet crumbs (reserved from a trimmed cupcake top), chocolate shavings, or a single fresh raspberry can add an elegant touch and hint at the deliciousness within.
Remember not to overload the cupcakes with too much frosting. While tempting, an excessive amount can overpower the delicate flavor of the red velvet cake. A balanced ratio ensures that each bite is a perfect harmony of moist cake and creamy, tangy frosting.
Savoring Your Homemade Red Velvet Delights
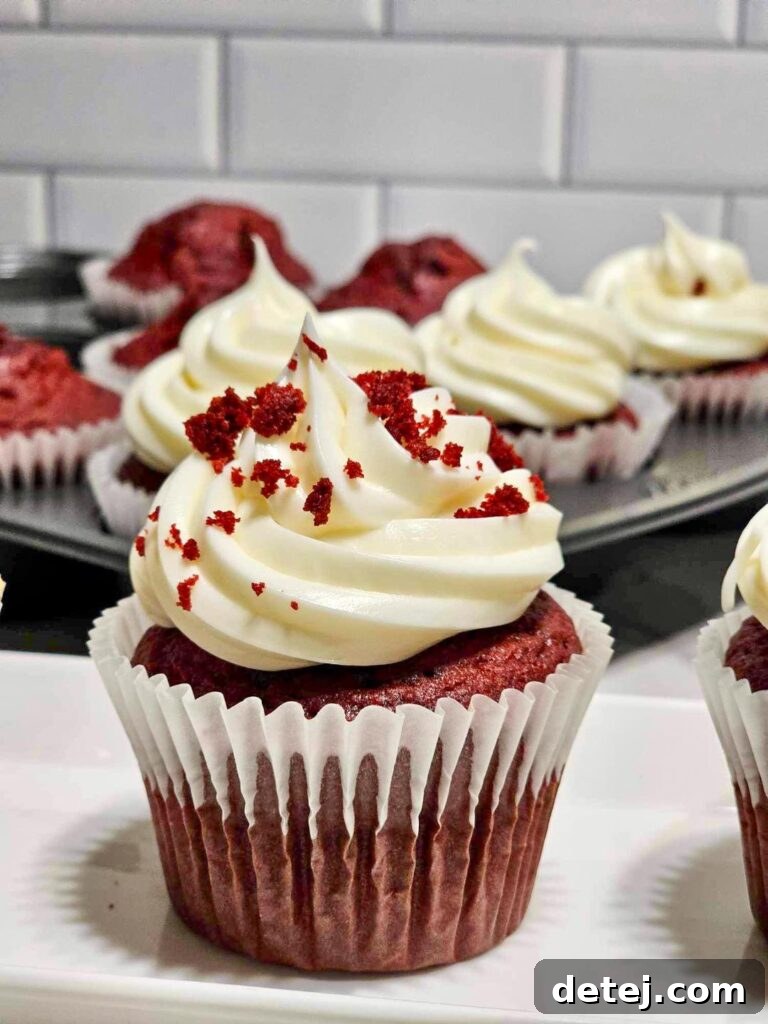
The journey from raw ingredients to exquisitely frosted cupcakes culminates in this most satisfying step: enjoying your homemade red velvet creations. These aren’t just desserts; they’re a testament to your baking prowess and a delightful experience for all who partake.
The Joy of the First Bite
As you gather your loved ones and present a platter of these beautifully frosted red velvet cupcakes, a sense of accomplishment will wash over you. The rich, vibrant red of the cake, beautifully contrasted by the creamy white frosting, is a visual feast that perfectly foreshadows the indulgence to come. Take that first bite, close your eyes, and allow the flavors to dance on your taste buds. Experience the velvety texture of the cake, incredibly moist and tender, yielding effortlessly with each chew. Then, the smooth, tangy cream cheese frosting melts in your mouth, its subtle tartness perfectly balancing the cake’s sweetness and delicate cocoa notes. It’s a symphony of textures and flavors that is simply irresistible.
Making Every Moment Special
These cupcakes are perfect for any occasion – a simple afternoon treat, a celebratory dessert, or a thoughtful gift. Pair them with a cup of freshly brewed coffee, a glass of cold milk, or even a sparkling wine for an extra touch of sophistication. Red velvet cupcakes are particularly popular for holidays like Valentine’s Day, Christmas, or anniversaries, where their striking color adds a festive touch. They are also fantastic for birthdays, potlucks, or just a cozy night in. Consider packaging a few in a decorative box for a homemade gift that will surely be cherished.
Storage and Freshness
To keep your red velvet cupcakes tasting their best, especially with cream cheese frosting, store them in an airtight container in the refrigerator. The frosting, being dairy-based, requires refrigeration. They will maintain their deliciousness for 2-3 days. For optimal flavor and texture, allow them to come to room temperature for about 15-20 minutes before serving. This softens the frosting and enhances the cake’s tenderness.
As you present this beautiful creation, your loved ones will be drawn in by the irresistible flavors and eye-catching presentation.
Krystel’s Cooking
Frequently Asked Questions About Red Velvet Cupcakes
What makes red velvet cake red?
Traditionally, red velvet cake gained its reddish hue from a reaction between acidic ingredients (like buttermilk and vinegar) and the anthocyanins present in natural cocoa powder. Modern recipes, using different cocoa processing and for a more intense and consistent color, also incorporate red food coloring, typically a gel or paste, to achieve that vibrant crimson.
Can I make red velvet cupcakes without food coloring?
Yes, you can! Without artificial food coloring, the cake will have a reddish-brown hue due to the cocoa and its reaction with acidic ingredients, but it won’t be the bright red typically expected. Some natural food colorings like beet powder can also be used, but may affect the flavor and result in a different shade.
What’s the difference between red velvet cake and chocolate cake?
While both contain cocoa, red velvet cake uses much less cocoa powder than a traditional chocolate cake, giving it a milder, more subtle chocolate flavor. The distinct tang from buttermilk and vinegar, combined with its signature red color and cream cheese frosting, sets red velvet apart as a unique flavor profile, not just a colored chocolate cake.
How do I know when my cupcakes are done baking?
The best way to check for doneness is by inserting a toothpick or thin cake tester into the center of a cupcake. If it comes out clean or with only a few moist crumbs clinging to it, the cupcakes are ready. They should also feel springy to the touch.
Can I substitute buttermilk?
Yes, if you don’t have buttermilk, you can make a substitute. Add 1 tablespoon of white vinegar or lemon juice to a liquid measuring cup. Then, fill the rest of the cup with regular milk (dairy or non-dairy) until it reaches the 1-cup line. Stir gently and let it sit for 5-10 minutes until it slightly curdles. This acidified milk will function similarly to buttermilk in your recipe.
How should I store red velvet cupcakes?
Due to the cream cheese frosting, red velvet cupcakes should be stored in an airtight container in the refrigerator. They will last for 2-3 days. For best taste and texture, let them come to room temperature for about 15-20 minutes before serving.
Conclusion: Your Journey to Red Velvet Perfection
Congratulations, aspiring baker! You now possess the knowledge and confidence to create unbelievably easy and incredibly delicious red velvet cupcakes. From carefully selecting your ingredients to mastering the art of the batter, achieving that signature crimson hue, baking to golden perfection, and crowning your creations with luscious frosting, you’ve been guided through every step of this delightful culinary process.
This foolproof recipe isn’t just about baking; it’s about creating moments of joy, impressing your loved ones, and indulging in a classic dessert that never fails to charm. Whether you’re celebrating a special occasion, bringing a thoughtful treat to a gathering, or simply satisfying a craving for something sweet and sophisticated, these homemade red velvet cupcakes are sure to be a hit. So, tie on that apron, gather your ingredients, and let the magic unfold in your kitchen. As the wise Julia Child once said, “A party without cake is just a meeting.” Let’s transform every gathering into a celebration, one perfect red velvet cupcake at a time. Happy baking, and enjoy every single bite!
Easy Red Velvet Cupcakes
Pin
Rate
Ingredients
- 2 large eggs, separated
- 1 1/3 cups all-purpose flour
- 1/4 cup cornstarch
- 1/2 teaspoon baking soda
- 2 tablespoons natural unsweetened cocoa powder
- 1/2 teaspoon salt
- 1/4 cup butter, room temperature
- 1 cup granulated sugar
- 1/2 cup vegetable oil
- 3 teaspoons pure vanilla extract
- 1 teaspoon white vinegar
- Red food coloring, gel or liquid (gel recommended)
- 1/2 cup buttermilk, room temperature
- Cream Cheese frosting or your favorite frosting
Instructions
-
Preheat oven to 350°F (175°C). Line a muffin pan with liners or grease well.
-
In a medium bowl, sift together flour, cornstarch, baking soda, cocoa powder, and salt. Set aside.
-
In a separate clean bowl, using a mixer with a whisk attachment, beat the 2 egg whites until soft peaks form (about 2-3 minutes). Gently set aside.
-
Switch to a paddle attachment (or use clean beaters). In a large mixing bowl, beat the softened butter until smooth. Add sugar and cream on high speed for 2 minutes until light and fluffy. Scrape down the sides of the bowl, then add the vegetable oil and beat for another 2 minutes.
-
Incorporate the 2 egg yolks and vanilla extract into the butter mixture. Mix well, scraping down the bowl. Add the white vinegar and red food coloring, mixing until the desired red hue is achieved.
-
On low speed, gradually add the dry ingredients to the wet mixture in three parts, alternating with the buttermilk. Begin and end with the dry ingredients. Mix gently after each addition, taking care not to overmix the batter.
-
Gently fold the whipped egg whites into the cupcake batter using a spatula. This adds lightness to the cupcakes.
-
Fill cupcake liners 2/3 full with batter. Bake for 18-22 minutes, or until the tops spring back when lightly touched and a toothpick inserted into the center comes out clean.
-
Allow cupcakes to cool in the muffin pan for 5 minutes, then transfer them to a wire rack to cool completely before frosting. Ensure they are completely cool to prevent frosting from melting.