
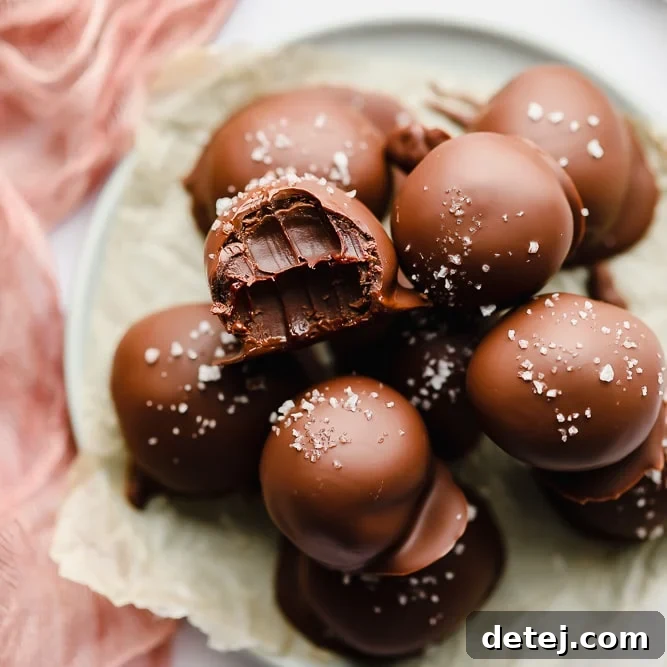
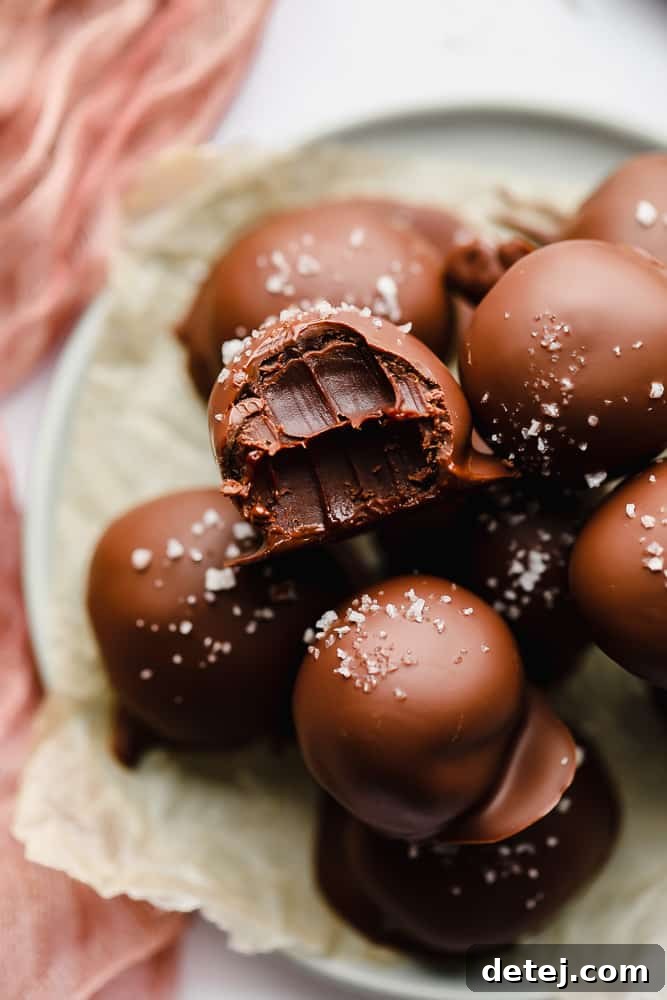
Indulge in the rich, velvety delight of homemade Vegan Truffles. This exquisite recipe, requiring just 4 simple ingredients for its buttery-smooth core, transforms into decadent chocolate balls, perfectly chilled, and enveloped in a luscious chocolatey coating. The ultimate plant-based treat for any special occasion or a sophisticated everyday indulgence!
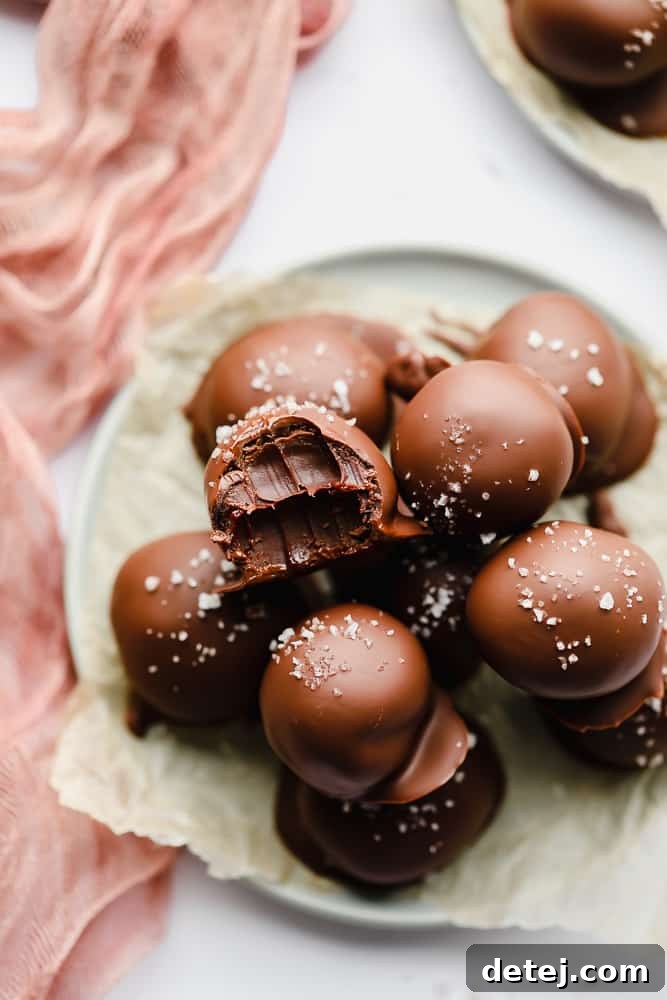
Whether you’re an experienced vegan baker or simply a devoted chocolate aficionado looking for an easy, dairy-free dessert, prepare to be captivated by this incredible Vegan Truffles recipe. These luxurious, bite-sized chocolate spheres are not only remarkably simple to make but also deliver a profound depth of flavor and a melt-in-your-mouth texture that will satisfy even the most discerning palates.
Forget the myth that vegan treats compromise on taste or texture. Our homemade vegan truffles are a testament to how decadent plant-based desserts can be. Each little ball is a perfect balance of rich chocolate, smooth vegan butter, and creamy coconut, offering an unparalleled sensory experience. They are ideal for elegant dessert platters, a thoughtful homemade gift, or a quick, satisfying sweet escape.
While chocolate truffles are a beloved staple at holiday gatherings, especially during Christmas, their timeless appeal makes them suitable for any celebration. This recipe provides a versatile foundation, allowing you to personalize the decorations and coatings to match various themes and events. Imagine them adorned for Valentine’s Day with a sprinkle of freeze-dried raspberries, for Mother’s Day with delicate vegan white chocolate drizzles, or for Halloween with spooky orange sprinkles. The possibilities are truly limitless, ensuring your truffles are always the star of the show.
Elevate your truffles from delightful to utterly irresistible with a myriad of creative coatings and garnishes. Drizzle them with a contrasting vegan white chocolate or a rich vegan chocolate ganache. For a classic finish, roll them in premium cocoa powder. Alternatively, venture into exciting textures and flavors with vibrant sprinkles, finely ground dried strawberry powder, or delicate shredded coconut. Each option adds another layer of complexity and visual charm, making every truffle a unique masterpiece.
Pressed for time but still want to impress? Our vegan truffles are your perfect make-ahead solution. You can prepare a batch weeks or even months in advance without sacrificing quality. They store beautifully in the refrigerator and freezer, ensuring you’re always prepared with a sophisticated, homemade treat for unexpected guests or last-minute party invitations. Say goodbye to showing up empty-handed and hello to effortless entertaining!
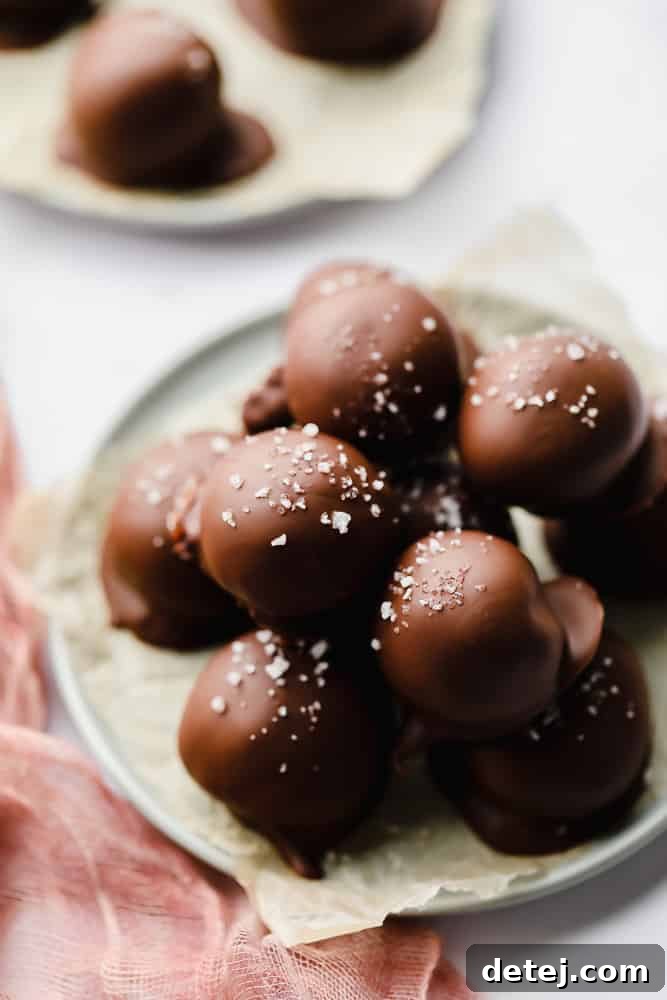
Why You’ll Love These Vegan Truffles
Beyond their undeniable deliciousness, these homemade vegan truffles offer a host of reasons to fall in love:
- Effortlessly Simple: With just a few core ingredients and straightforward steps, even novice bakers can achieve professional-quality results.
- Rich & Decadent: Experience the deep, luxurious flavor of chocolate, perfectly complemented by a smooth, buttery texture that melts in your mouth.
- Dairy-Free & Plant-Based: A fantastic option for those with dairy allergies, lactose intolerance, or anyone following a vegan lifestyle, without compromising on indulgence.
- Highly Customizable: From different chocolate varieties to a vast array of toppings, you have complete creative control over the final presentation and flavor profile.
- Perfect for Any Occasion: Elegant enough for special events, yet simple enough for an everyday treat. They make wonderful gifts or additions to any dessert spread.
- Make-Ahead Friendly: Prepare them in advance and store them, making entertaining or gifting incredibly convenient and stress-free.
Ingredients for Irresistible Vegan Truffles (with Substitutions)
Crafting the perfect vegan truffle begins with selecting high-quality ingredients. Here’s a breakdown of what you’ll need and some helpful notes for substitutions:
- Vegan Chocolate Chips: The heart of your truffle! We recommend using semi-sweet vegan chocolate chips for a balanced flavor, but feel free to experiment with dark chocolate (70% or higher for a more intense flavor) or even a vegan milk-style chocolate for a sweeter profile. Ensure your chosen brand is clearly labeled vegan, as some semi-sweet options can contain dairy. If chips aren’t available, a good quality chopped vegan chocolate bar works just as well.
- Vegan Butter: This is crucial for achieving the incredibly smooth, rich, and almost ganache-like consistency of the truffle mixture. It prevents the melted chocolate from becoming stiff and hard, making it wonderfully pliable for rolling. Look for stick vegan butter brands that are known for their creamy texture and neutral flavor.
- Coconut Cream: This provides the essential richness and body to your truffles. You can typically find cans of coconut cream in the international foods aisle of most major grocery stores, often alongside coconut milk. Alternatively, refrigerate a can of full-fat coconut milk overnight. The thick, creamy solid part that separates at the top is your coconut cream. Scoop it out carefully, leaving the watery liquid behind. We strongly recommend sticking with coconut cream for the best results, as its high-fat content is key to the truffle’s texture. While a vegan heavy cream substitute *might* work, it hasn’t been tested thoroughly and may alter the consistency.
- Vanilla Extract: Pure vanilla extract is a must! It enhances the chocolate flavor, adding a warm, aromatic depth that rounds out the overall taste.
Ingredients for the Chocolate Coating
For that extra layer of chocolatey goodness and a satisfying snap, you’ll need:
- Melting Chocolate: More vegan chocolate chips or a chopped vegan chocolate bar. This will form the exterior shell of your truffles. Ensure it’s a good quality chocolate that melts smoothly. If you prefer not to dip, you can simply roll the finished truffles in cocoa powder for a classic look.
- Coconut Oil: A small amount of coconut oil added to the melting chocolate for the coating helps thin it slightly for easier dipping and contributes to a beautiful, firm, and shiny finish once chilled. Refined coconut oil is recommended as it has a neutral flavor, whereas unrefined coconut oil might impart a subtle coconut taste.
How to Make Vegan Chocolate Truffles: A Step-by-Step Guide
Making these decadent vegan truffles is a delightful process. Follow these detailed steps for perfect results every time:
Step 1: Create the Ganache Base
Begin by preparing your chocolate ganache. Combine the vegan chocolate chips, vegan butter, and coconut cream in a heatproof glass bowl. Place this bowl over a medium-sized pot containing about an inch of water, ensuring the bottom of the bowl does not touch the water. Bring the water to a low simmer, creating a DIY double boiler. This gentle heating method is crucial for melting chocolate evenly and preventing it from seizing or burning.
Step 2: Achieve Silky Smoothness
Stir the chocolate mixture continuously as it heats. The goal is to achieve a completely smooth, glossy, and silky consistency. Be patient; this can take a few minutes. Once melted and perfectly smooth, carefully remove the bowl from the heat (using oven mitts or hot pads, as it will be hot!). Stir in the pure vanilla extract until fully incorporated, infusing the chocolate with its aromatic notes.
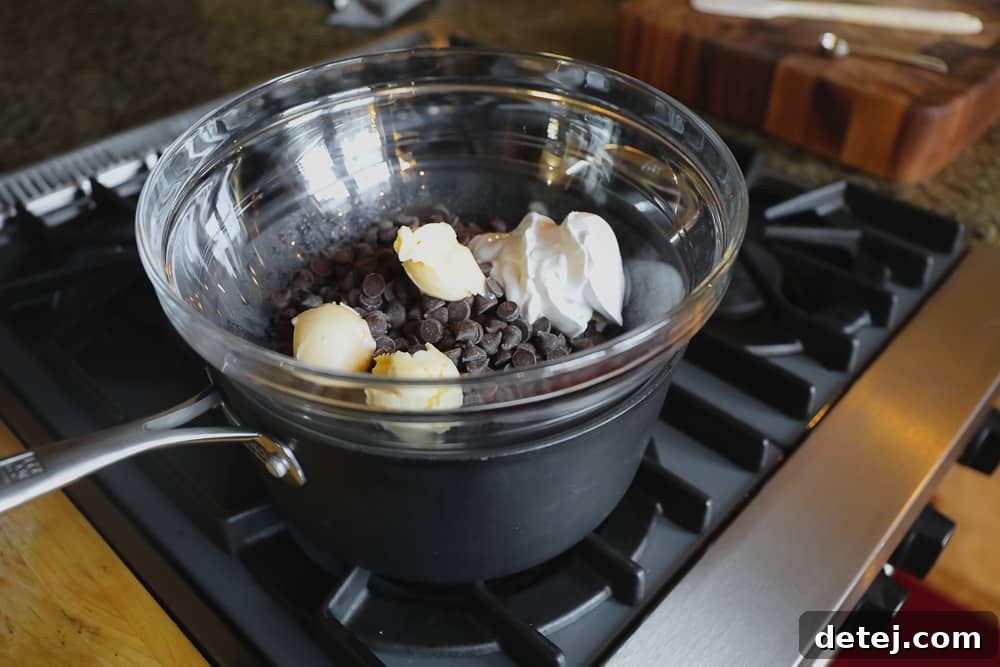
Step 3: Chill and Set the Mixture
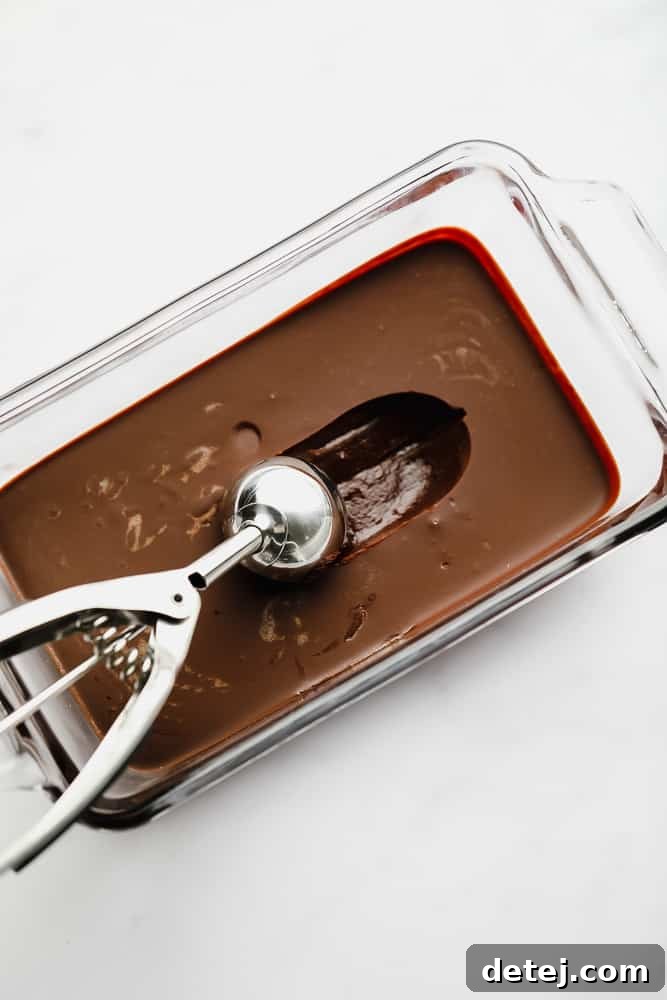
Pour the warm chocolate mixture into a small, shallow baking dish. An 8×8 inch casserole dish or similar works well, allowing the mixture to cool evenly. Let it cool at room temperature for about 10-15 minutes, allowing some of the initial heat to dissipate. Then, cover the dish and transfer it to the refrigerator to chill for 1 to 2 hours. The mixture should become firm enough to handle and scoop but not so hard that it’s crumbly or difficult to work with.
Step 4: Portion the Truffles
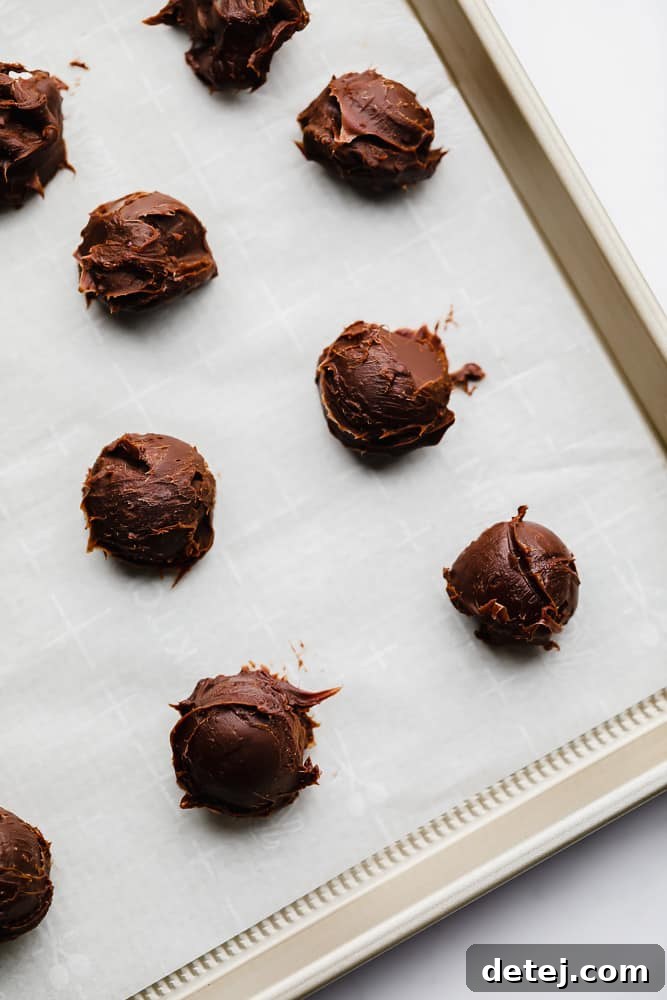
Once the chocolate mixture has achieved the right consistency, line a baking sheet with parchment paper. Using a small cookie scoop (a 1-tablespoon size is ideal), scoop out uniform portions of the chocolate mixture. Place each scooped ball onto the prepared baking sheet. This initial chilling step helps the balls firm up slightly, making them much easier to roll smoothly.
Step 5: First Chill for Easy Rolling
Place the baking sheet with the portioned chocolate balls into the refrigerator for about 15 minutes. This brief chill will make the mixture firmer and less sticky, preparing them for the next shaping step.
Step 6: Roll and Refine
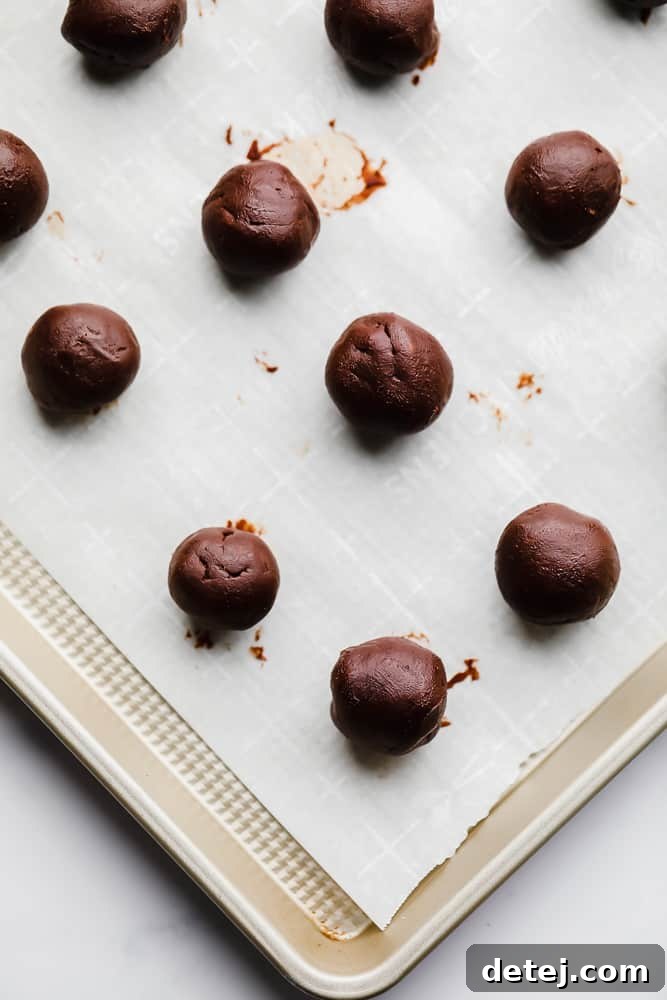
Remove the baking sheet from the fridge. Lightly dust your hands with a little cocoa powder if the mixture is still a bit sticky, then gently roll each portioned ball between your palms to smooth them out into perfect spheres. Return the beautifully rolled truffles to the parchment-lined baking sheet and place them back in the refrigerator for another 30 minutes, or until they are completely firm.
Step 7: Coat Your Truffles
Now for the exciting part – coating! You have two primary options:
Option A: Dipped in Melted Chocolate: In a medium microwave-safe bowl, combine the vegan chocolate chips and coconut oil. Microwave in 30-second intervals, stirring thoroughly after each interval, until the chocolate is completely melted and smooth. Using a fork or a dipping tool, gently immerse each truffle into the melted chocolate. Tap off any excess chocolate against the rim of the bowl before returning the coated truffle to the parchment-lined baking sheet. For an extra touch of gourmet elegance, sprinkle with a pinch of coarse sea salt while the chocolate is still wet. Place the baking sheet back in the refrigerator for about 15-20 minutes until the chocolate coating is firm and set.
Option B: Rolled in Coatings: For a simpler approach or different textures, roll the firm truffles directly in your chosen coating. This could be cocoa powder, colorful sprinkles, finely chopped nuts, or freeze-dried berry powder. Press the coating gently onto the truffle to ensure it adheres well. Once coated, place them back on the baking sheet.
Step 8: Final Chill and Serve
Regardless of your chosen coating method, return the truffles to the refrigerator for a final chill until they are fully set and ready to serve. Keep any leftover truffles in an airtight container in the refrigerator to maintain their fresh texture and flavor. Enjoy your exquisite homemade vegan truffles!
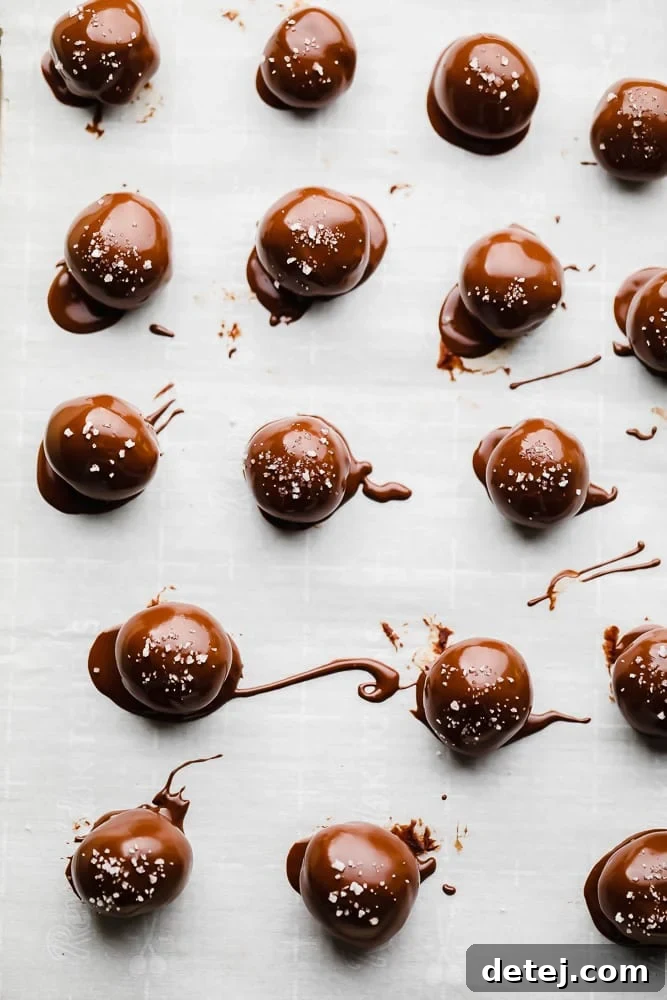
Creative Vegan Truffle Decorating Ideas
This is where you can unleash your creativity! Vegan truffles serve as the perfect canvas for a wide array of sweet, savory, or nutty toppings. Here are some inspiring ideas to make your truffles truly unique:
- Classic Chocolate Coatings:
- A rich melted dark chocolate shell for a bittersweet contrast.
- A smooth vegan chocolate ganache for an extra layer of decadence.
- A vibrant vegan white chocolate coating for a striking visual and flavor difference.
- Elegant Drizzles:
- After dipping in dark chocolate, add a delicate drizzle of vegan white chocolate for a beautiful two-tone effect.
- A luscious peanut butter drizzle offers a delightful sweet and salty combination that pairs wonderfully with chocolate.
- Nutty Indulgence:
- For an irresistible nutty flavor, coat the truffles entirely in vegan Nutella.
- Top your chocolate-covered truffles with finely chopped pecans, cashews, macadamia nuts, walnuts, peanuts, or slivered almonds for crunch and flavor.
- Fruity & Fun Toppings:
- Brighten your truffles with a sprinkle of colorful vegan sprinkles.
- Add mini vegan chocolate chips for extra texture.
- For a tart and sweet burst, use crushed freeze-dried strawberries, raspberries, or cherries.
- Simple & Sophisticated Dustings:
- Roll plain truffles in high-quality cocoa powder for a traditional, elegant finish.
- A dusting of instant coffee or espresso powder will enhance the chocolate flavor and add a subtle bitterness.
- Shredded coconut flakes offer a tropical twist and pleasant texture.
- For a unique flavor and beautiful green hue, try rolling them in vibrant matcha powder.
Frequently Asked Questions About Vegan Truffles
Here are answers to some common questions about making and storing these delicious plant-based treats:
- How do you store vegan chocolate truffles?
To maintain their optimal texture and freshness, any leftover vegan chocolate truffles should be stored in an airtight container in the refrigerator. When stored correctly, they will remain delicious for up to 2 weeks. Be sure to keep them away from strong-smelling foods, as chocolate can absorb other aromas.
- Are homemade chocolate truffles freezer-friendly?
Absolutely! These vegan chocolate truffles are excellent for freezing, making them a perfect make-ahead dessert. You can store them in a freezer-safe, airtight container for up to 3 months. When you’re ready to enjoy them, simply transfer a few truffles to the refrigerator and allow them to soften for about 30 minutes to an hour before serving. This gradual thawing helps preserve their velvety texture.
- Should I serve vegan chocolate balls at room temperature or cold?
For the best experience, these vegan truffles are most delightful when served cold. The chilling process ensures they retain their firm shape and velvety smooth texture. If they become too warm, especially at room temperature for extended periods, they will begin to soften and eventually melt, losing their luxurious consistency. Take them out of the fridge a few minutes before serving to allow the flavors to slightly open up, but don’t let them sit out for too long.
- Can I use a different type of vegan chocolate?
Yes! While semi-sweet is often recommended for balance, you can certainly experiment. For a richer, more intense truffle, opt for a high-quality dark vegan chocolate (70% cocoa or above). If you prefer a sweeter, creamier profile, look for vegan milk chocolate varieties. Just ensure the chocolate melts smoothly.
- My truffle mixture is too soft/hard. What went wrong?
If the mixture is too soft after chilling, it likely needs more time in the refrigerator. If it’s too hard to scoop or roll, let it sit at room temperature for a few minutes to soften slightly. The ideal consistency is firm enough to hold its shape but pliable enough to scoop and roll easily.
Craving More Easy Vegan Chocolate Treats?
If you’ve fallen in love with these vegan truffles, you’re in for a treat! Explore more delightful plant-based chocolate recipes that are just as easy and satisfying:
- Easy 5 Minute Vegan Fudge: Quick, rich, and incredibly simple.
- Chocolate Peanut Butter Balls: A classic combination in a delightful bite.
- Vegan Peanut Butter Cups: Your favorite candy, made dairy-free at home.
- Vegan Chocolate Mousse: Light, airy, and utterly luxurious.

Vegan Truffles
These homemade Vegan Truffles are a chocolate lover’s dream. Once the 4-ingredient, buttery smooth chocolate mixture is rolled into balls, the truffles are chilled and rolled in a chocolatey coating. The perfect treat for any special occasion!
Pin Recipe
Ingredients
Truffle Base
- 12 ounces vegan chocolate chips (2 cups) or chopped vegan chocolate bar (70% recommended)
- 3 tablespoons vegan butter
- 1/2 cup coconut cream* (see notes)
- 1 teaspoon pure vanilla extract
Chocolate Coating (Optional)
- 2 cups vegan chocolate chips
- 2 tablespoons refined coconut oil
Other Optional Coatings
- Cocoa powder, sprinkles, freeze-dried berries (crushed), instant coffee powder, shredded coconut, vegan white chocolate (melted for drizzle or coating), or chopped nuts.
Instructions
- In a double boiler (or a heatproof bowl set over a pot of gently simmering water, ensuring the bowl doesn’t touch the water), add the vegan chocolate chips, vegan butter, and coconut cream. Heat, stirring frequently, until the chocolate is fully melted and the mixture is smooth and glossy.
- Remove the bowl from the heat and whisk in the pure vanilla extract until well combined.
- Pour the chocolate mixture into a small, shallow baking dish (such as an 8×8 inch casserole dish). Allow it to cool at room temperature for about 10 minutes.
- Cover the dish and place it in the refrigerator for 1 to 2 hours, or until the mixture is firm enough to scoop but not overly hard.
- Line a baking pan with parchment paper. Using a small cookie scoop (approx. 1 tablespoon size), scoop out small portions of the truffle mixture. Place them onto the prepared baking sheet and refrigerate for another 15 minutes to make rolling easier.
- Once chilled, roll each portion into a smooth ball between your hands. Return the rolled truffles to the baking sheet. Chill for an additional 30 minutes, or until completely firm.
- To dip in chocolate: In a medium microwave-safe bowl, melt the additional vegan chocolate chips and refined coconut oil. Microwave in 30-second intervals, stirring well after each, until smooth. Dip each firm truffle into the melted chocolate using a fork. Gently tap off any excess chocolate and place the coated truffle back onto the parchment-lined baking sheet. Optionally, sprinkle with coarse sea salt or other toppings while the chocolate is still wet. Place the baking sheet back in the refrigerator for about 15-20 minutes until the coating is set.
- To coat without dipping: Alternatively, roll the firm truffles in your chosen coating such as cocoa powder, sprinkles, finely chopped nuts, or crushed freeze-dried berries. Place them back on the baking sheet.
- Refrigerate all finished truffles until ready to serve. Store any leftover truffles in an airtight container in the refrigerator for up to 2 weeks. Enjoy your homemade vegan truffles!
Notes
- Use high-quality vegan chocolate chips or a chopped vegan chocolate bar. A 70% dark chocolate bar is recommended for a rich flavor profile.
- Coconut cream can be found in cans, typically next to canned coconut milk. If using full-fat canned coconut milk, refrigerate it overnight and only use the thick, solid cream from the top, discarding the watery liquid.
- This recipe has been developed specifically with coconut cream. While other vegan heavy creams might work, results cannot be guaranteed. You could try this vegan heavy cream substitute at your own discretion.
- These truffles freeze exceptionally well for up to 2-3 months. Store them in a freezer-safe, airtight container. Thaw in the refrigerator before serving.
Nutrition
Mention @nora_cooks_vegan_ or tag #noracooks!