
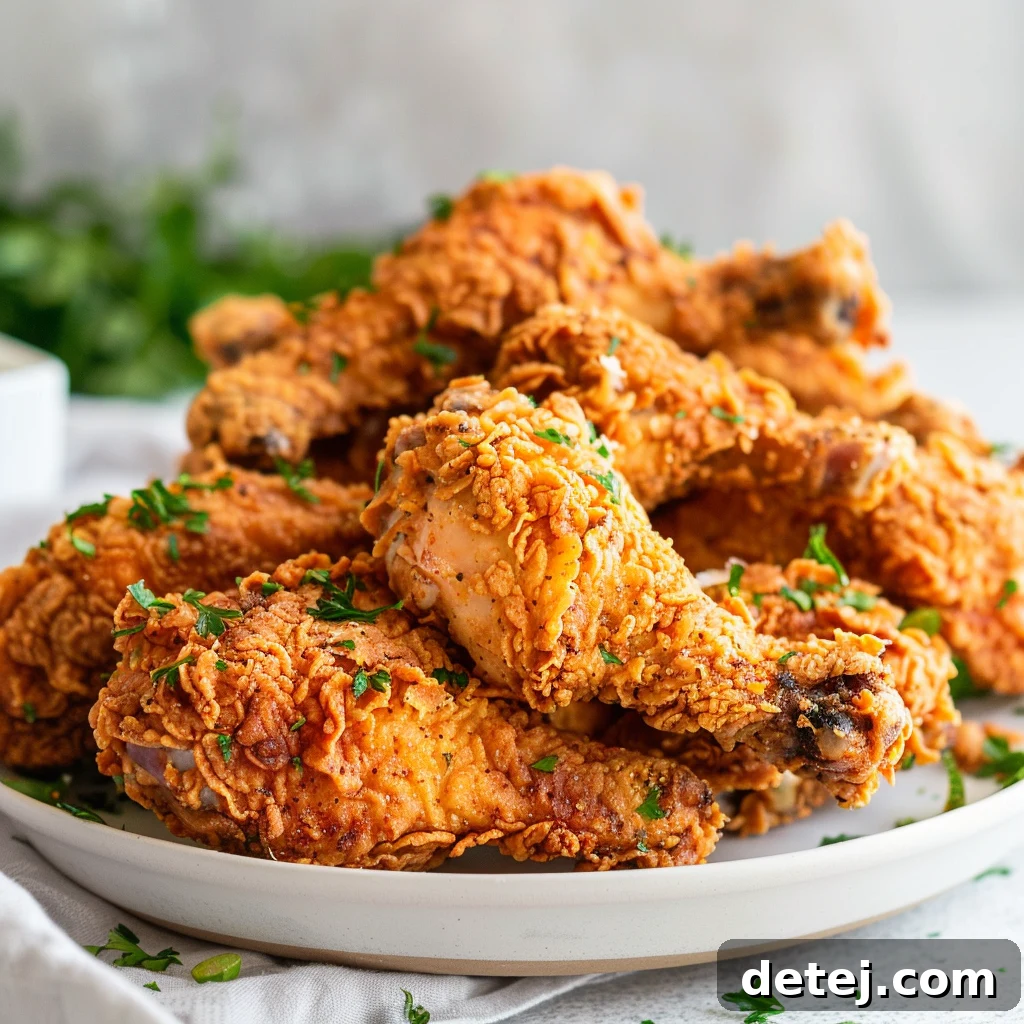
Crispy Golden Delight: Mastering Buttermilk Fried Chicken at Home
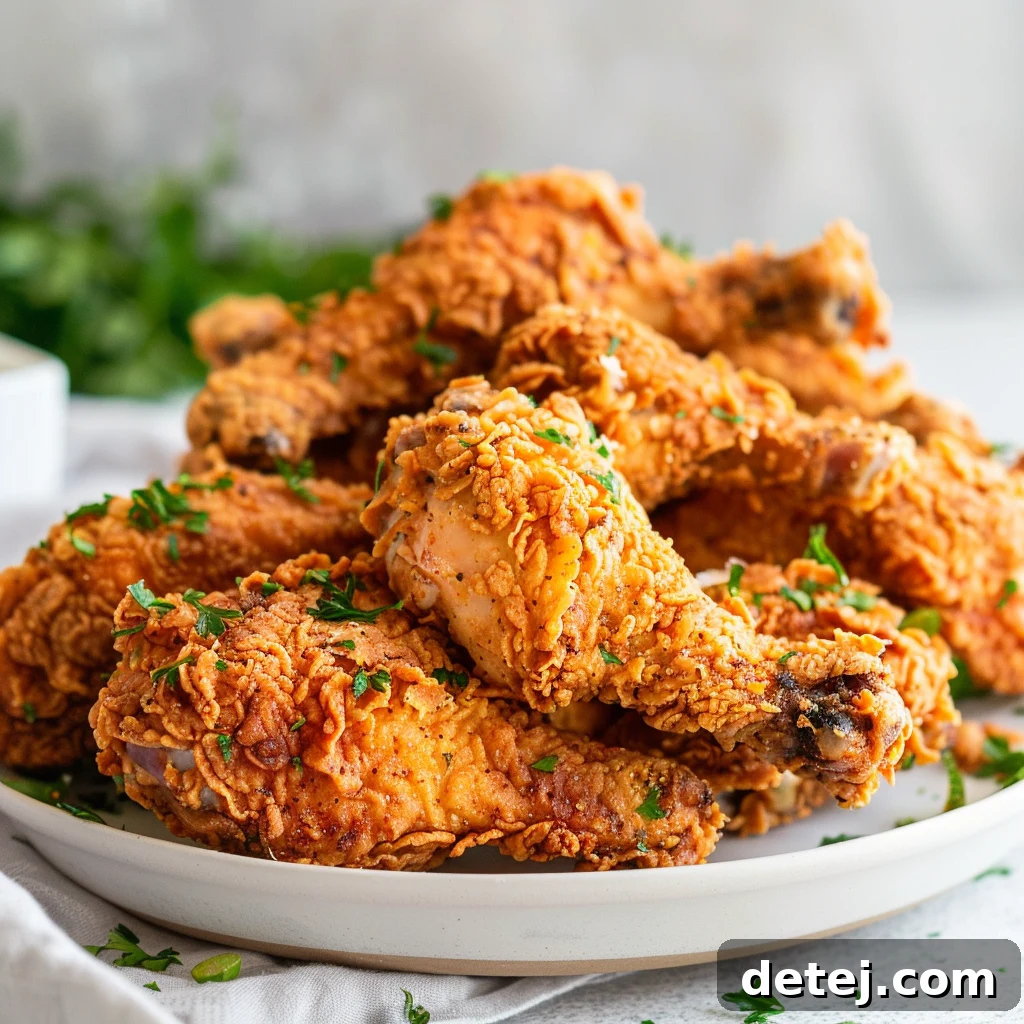
There are few culinary experiences as universally beloved and deeply satisfying as biting into a piece of perfectly fried chicken. The symphony of flavors and textures—a shatteringly crisp, golden-brown crust giving way to incredibly tender, juicy meat—is pure comfort. But we’re not just talking about any fried chicken today. We’re elevating the experience to an art form with our guide to mastering **Buttermilk Fried Chicken**. This classic Southern staple isn’t just a meal; it’s a testament to simple ingredients transforming into something truly extraordinary.
The secret weapon in this culinary quest is, undoubtedly, buttermilk. Its inherent acidity and unique composition work wonders, tenderizing the chicken to an unparalleled degree while infusing it with a subtle tang that complements the savory spices. This process ensures that every piece of chicken emerges from the hot oil not only with an irresistible crunch but also with a succulent, moist interior that practically melts in your mouth. Forget dry, bland chicken; this recipe promises a flavorful embrace that will have everyone reaching for “just one more piece.”
Whether you’re a seasoned home cook or a novice eager to tackle a rewarding challenge, this comprehensive guide will walk you through every step. From selecting the right chicken cuts to achieving the ideal oil temperature, we’ll cover all the essential techniques and tips to help you create your own batch of the **best buttermilk fried chicken** your taste buds have ever encountered. Prepare to transform your kitchen into a haven of golden, crispy delight!
Why Buttermilk is the Secret to Superior Fried Chicken
The choice of buttermilk for marinating chicken is far from arbitrary; it’s a brilliant culinary move rooted in science and tradition. Unlike plain milk, buttermilk contains lactic acid, a mild acid that works as a powerful tenderizer. As the chicken soaks in this tangy bath, the proteins in the meat are gently broken down, leading to a much more tender texture in the final cooked product. This enzymatic action ensures that even cuts like chicken breasts, which can sometimes dry out during frying, remain exceptionally juicy.
Beyond its tenderizing capabilities, buttermilk also acts as a fantastic vehicle for flavor. Its slightly thick consistency helps the marinade’s seasonings—like garlic powder, onion powder, and various peppers—adhere better to the chicken, allowing them to penetrate deeper into the meat. This means every bite is packed with savory goodness, not just on the surface but throughout the entire piece. Furthermore, the buttermilk creates a slightly sticky surface on the chicken, which is ideal for our flour dredge. This adhesion ensures a thick, even coating that fries up to that signature **crispy fried chicken** exterior we all crave.
In essence, buttermilk is more than just an ingredient; it’s a foundational element that unlocks a superior texture and unparalleled flavor profile, setting our fried chicken apart from the rest. It’s the magic behind the tender, juicy, and irresistibly crispy outcome.
Essential Ingredients for Your Buttermilk Fried Chicken
Crafting the perfect buttermilk fried chicken begins with a selection of high-quality ingredients, each playing a crucial role in achieving that sought-after crispy, juicy perfection. Here’s a breakdown of what you’ll need to gather:
- Chicken Pieces: We recommend bone-in, skin-on chicken pieces, preferably a mix of thighs and legs. These cuts tend to be more forgiving during frying and retain moisture better than leaner cuts. The skin is essential for developing that incredible crispy texture.
- Buttermilk: The star of our marinade! Use full-fat buttermilk for the best results, as its richness contributes to both flavor and tenderness.
- All-Purpose Flour: This forms the foundation of our crispy dredge. Make sure you have enough to create a generous coating for all your chicken pieces.
- Baking Powder: A game-changer for crispiness! A small amount of baking powder in the flour mixture helps create air pockets, leading to a lighter, more golden, and incredibly crunchy crust.
- Aromatic Spices: Garlic powder, onion powder, paprika, dried thyme, and dried basil are key for building a complex flavor profile. They infuse both the marinade and the flour dredge with irresistible aromas and tastes.
- Heat and Spice: Ground black pepper and cayenne pepper provide a pleasant warmth and subtle kick that elevates the overall flavor without being overly spicy. Adjust the cayenne to your personal preference.
- Salt: Essential for seasoning the chicken from the inside out and enhancing all the other flavors.
- Frying Oil: Vegetable oil is an excellent choice for deep frying due to its high smoke point and neutral flavor, allowing the chicken’s taste to shine through. Ensure you have enough to submerge the chicken pieces adequately.
With these essentials in hand, you’re well on your way to creating a homemade fried chicken experience that rivals any restaurant.
The Art of Marination: Preparing Your Chicken for Perfection
The journey to the **best fried chicken recipe** truly begins long before the oil heats up—it starts with the marinade. This crucial step is where the chicken transforms, absorbing flavors and becoming exquisitely tender. To begin, take your bone-in, skin-on chicken pieces and place them in a large bowl. Evenly season them with a generous sprinkle of salt, black pepper, and garlic powder. Don’t be shy; these initial seasonings lay the groundwork for a deeply flavorful bird.
Next, pour the buttermilk over the seasoned chicken. Ensure every piece is fully submerged and coated in the tangy liquid. Gently stir the chicken in the buttermilk to distribute the spices evenly. This ensures consistent flavor penetration across all pieces. Now comes the most important part: patience. While you can marinate for just an hour, allowing the chicken to soak overnight in the refrigerator is highly recommended for optimal results. This extended marination time gives the lactic acid in the buttermilk ample opportunity to work its magic, tenderizing the meat and allowing the spices to permeate deeply, creating a truly **juicy chicken** from within. This commitment to marination is what distinguishes good fried chicken from truly exceptional fried chicken.
Crafting the Perfect Crispy Coating: The Flour Dredge
Once your chicken has soaked up all the wonderful flavors from the buttermilk marinade, it’s time to prepare its golden armor: the crispy flour dredge. This coating is what delivers that iconic crunch, and getting it right is crucial. In a shallow dish or a large, sturdy resealable bag, combine your all-purpose flour with a symphony of spices. We’re talking more garlic powder, onion powder, paprika, dried basil, dried thyme, and, of course, cayenne pepper for that subtle warmth, alongside an additional touch of salt and black pepper.
The secret ingredient that elevates this dredge from good to great is a tablespoon of baking powder. This leavening agent reacts with the moisture from the buttermilk and the heat of the oil, creating tiny air bubbles within the coating. The result? An incredibly light, airy, and exceptionally crispy crust that shatters with every bite, achieving that coveted **golden brown** exterior. Whisk all these dry ingredients thoroughly to ensure an even distribution of flavor and leavening power. Each spice plays a role: paprika for color, garlic and onion for foundational savory notes, and the herbs for an aromatic depth.
When you’re ready to fry, take one piece of marinated chicken at a time, allowing any excess buttermilk to drip off slightly. Then, dredge it generously in the seasoned flour mixture, pressing firmly to ensure the coating adheres completely to every curve and crevice. A well-coated piece of chicken is the first step towards an unforgettably crispy result. This careful attention to detail in the dredge preparation is what makes all the difference, transforming simple chicken into a culinary masterpiece.
Tools For This Recipe
Having the right equipment can make all the difference in your culinary journey. Here are some essential tools that will help you achieve **crispy perfection** with your buttermilk fried chicken:
Deep Frying Mastery: Temperature, Technique, and Safety
The frying stage is where all your careful preparation comes to fruition, demanding precision and attention to detail. Achieving that perfectly **golden brown buttermilk crust** with a thoroughly cooked, juicy interior hinges on two primary factors: maintaining the correct oil temperature and employing proper frying technique. This isn’t just about dropping chicken into hot oil; it’s about controlled cooking.
Optimal Oil Temperature
The ideal oil temperature for frying chicken is around 340°F (170°C). This temperature allows the exterior to crisp and brown beautifully without burning, while also providing enough heat to cook the chicken through evenly. A reliable candy thermometer or deep-fry thermometer is your best friend here. It’s crucial to monitor the oil temperature constantly, as it will naturally drop when you add the cooler chicken pieces. Adjust your heat source as needed to keep it within the desired range. Too hot, and the outside will burn before the inside cooks; too cool, and the chicken will absorb too much oil, becoming greasy and soggy instead of crispy.
Frying Technique
Once your oil reaches temperature, carefully lower 4 or 5 chicken pieces into the hot oil using tongs. Avoid overcrowding the pot, as this will drastically lower the oil temperature and lead to uneven cooking. Give each piece enough space to fry properly. Fry the chicken, turning occasionally with your tongs, for approximately 15 minutes per piece, or until it reaches a beautiful golden brown color and the internal temperature registers 170°F (77°C) when checked with an instant-read meat thermometer. The visual cues—golden crust—are important, but the thermometer ensures food safety and optimal doneness.
Safety Tips for Deep Frying at Home
While deep frying yields delicious results, it also requires adherence to safety precautions to prevent accidents:
- Use the Right Equipment: A heavy-bottomed pot, such as a cast iron Dutch oven or a deep fryer, is ideal for even heat distribution and stability.
- Never Overfill: Fill your pot no more than halfway with oil to prevent boil-overs when the chicken is added.
- Manage Splatter: Gently place chicken into the oil using tongs, never dropping it from a height. This minimizes splatters. Keep a lid nearby to cover the pot in case of flare-ups, which can quickly smother flames.
- Keep a Fire Extinguisher Handy: Ensure you have a kitchen-safe fire extinguisher readily available, and know how to use it.
- Ventilate Your Kitchen: Turn on your range hood or open a window to prevent smoke buildup and dissipate cooking odors.
- Proper Oil Disposal: Allow oil to cool completely before transferring it to a sealed, non-recyclable container (like an old milk carton) and disposing of it in the trash. Never pour hot oil down the drain, as it can clog pipes and harm the environment.
By following these guidelines, you can safely enjoy the rewarding process of deep frying your homemade buttermilk fried chicken.
Beyond the Fryer: Achieving Crispness and Reheating Excellence
The journey to perfect fried chicken doesn’t end when it leaves the hot oil; how you handle it immediately after frying and how you reheat leftovers are just as crucial for maintaining that coveted **crispy chicken** texture. The moment your chicken achieves that beautiful golden-brown hue and reaches the correct internal temperature, it’s time to remove it from the oil.
The biggest mistake many people make is placing freshly fried chicken directly onto paper towels. While paper towels absorb excess oil, they also trap steam against the crust, quickly turning it soggy. The secret to keeping your masterpiece crisp is to let it drain on a **wire rack** placed over a baking sheet. This setup allows air to circulate around all sides of the chicken, preventing steam from building up and ensuring that legendary crispness remains intact from the first bite to the last. Allow the chicken to rest for a few minutes before serving; this allows the juices to redistribute, resulting in an even more succulent experience.
Reheating Leftover Fried Chicken
Leftover fried chicken can be just as delicious as freshly made, provided you reheat it correctly. The microwave is a fried chicken’s worst enemy, as it turns the crust rubbery and the meat tough. Instead, embrace your oven or air fryer for a revival that respects the chicken’s original crispy glory.
- Oven Method: Preheat your oven to 375°F (190°C). Place the leftover chicken on a wire rack set over a baking sheet. Reheat for 15-20 minutes, or until warmed through and the crust is crisp again. This method slowly brings the chicken back to temperature while crisping the exterior.
- Air Fryer Method: For individual pieces, the air fryer is fantastic. Preheat your air fryer to 350°F (175°C). Place the chicken in the air fryer basket in a single layer, ensuring not to overcrowd it. Cook for 8-12 minutes, flipping halfway through, until the chicken is hot and the crust is revitalized.
Store any remaining fried chicken in a sealed container in the refrigerator for up to 3-4 days. With these tips, you can enjoy your **buttermilk fried chicken** at its absolute best, every single time.
Last Bite Thoughts: Embrace the Buttermilk Fried Chicken Journey
There’s a unique and deeply satisfying joy that comes with mastering the art of **buttermilk fried chicken**. From the initial careful selection of spices for your marinade to the satisfying sizzle as each piece meets the hot oil, every step is a testament to the transformative power of home cooking. That moment when you bite into the golden, crispy exterior, hearing the satisfying crunch, followed by the revelation of incredibly tender, juicy meat—it’s a culinary triumph that’s truly unmatched.
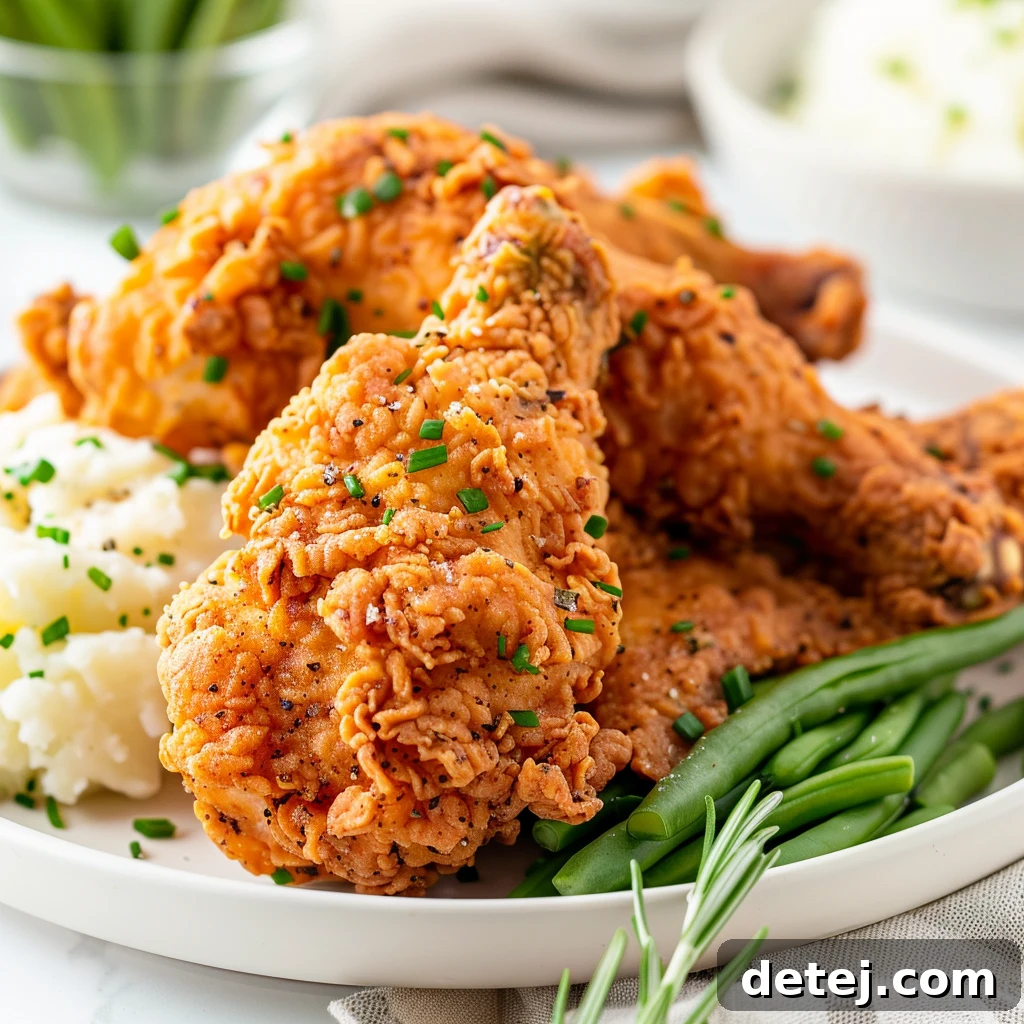
I wholeheartedly encourage you to embark on this delicious journey. Don’t shy away from using that **instant-read thermometer** to ensure your chicken pieces are cooked to safe and tender perfection. Experiment with the oil temperature, finding that sweet spot where your **flour mixture** turns into an irresistible golden crust without any hint of burning. This recipe is a framework; feel free to make it your own. Perhaps you prefer a touch more **black pepper** for extra spice, a hint of **paprika** for deeper color, or even a squeeze of lemon juice in the marinade for an added tangy dimension.
Ultimately, what truly makes this recipe special is not just the **crispy perfection** of the final product, but the joy it brings to your table. Sharing plates of perfectly fried chicken with friends and family creates memories, fosters connection, and reminds us of the simple pleasures in life. It’s an experience that transcends mere sustenance, becoming a celebration of comfort, flavor, and togetherness. So, take this **buttermilk fried chicken recipe** as your guide, make it with love, and enjoy the delicious rewards. Happy frying!
The Best Buttermilk Fried Chicken Recipe
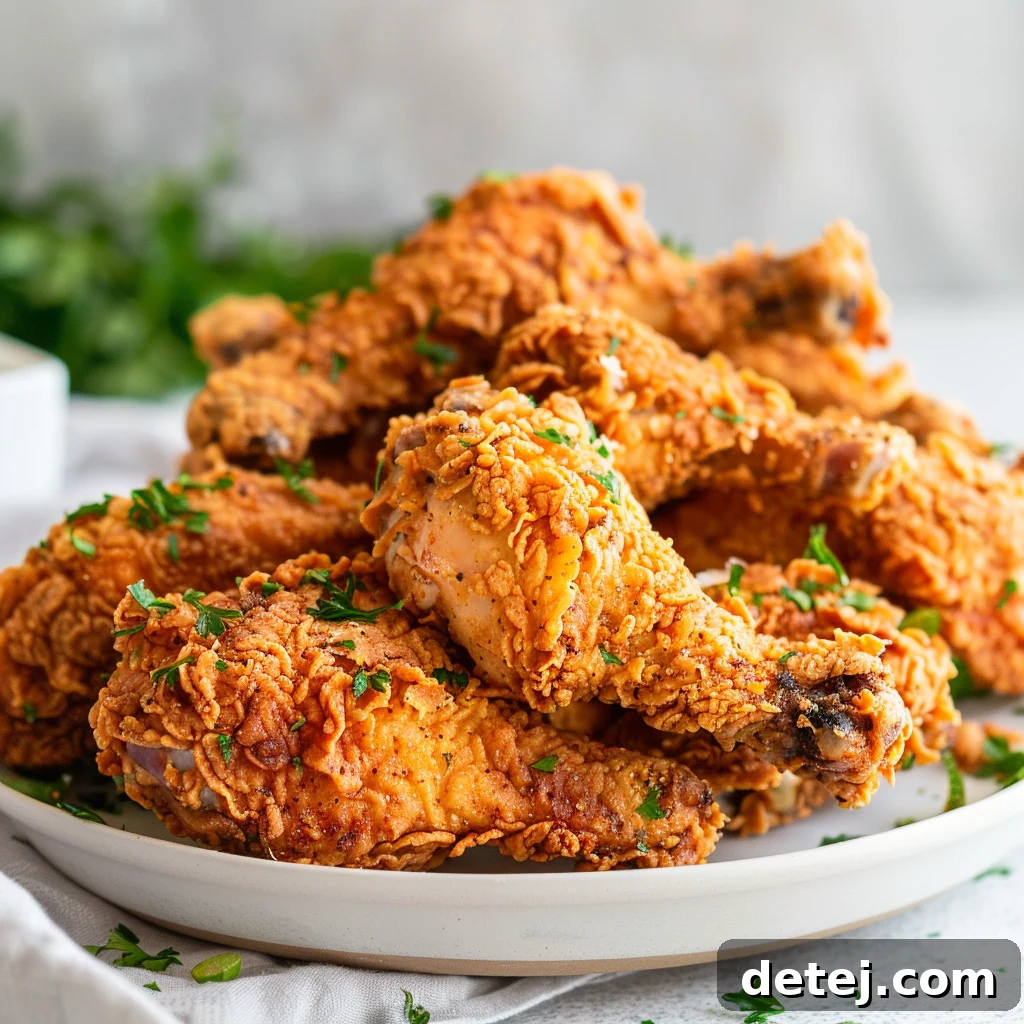
Servings: 8 pieces
Prep Time: 15 mins
Cook Time: 45 mins
Total Time: 1 hr
Author: Krystel
Ingredients
- 8 pieces of bone-in, skin-on chicken (thighs and legs preferred)
- 2 cups buttermilk
- 2 cups all-purpose flour
- 1½ teaspoon garlic powder
- 1½ teaspoon paprika
- 1½ teaspoon onion powder
- 1½ teaspoon salt
- 1½ teaspoon dried thyme
- 1½ teaspoon dried basil
- 1 teaspoon salt (for chicken seasoning)
- 1 teaspoon ground black pepper (for chicken seasoning)
- 1 teaspoon garlic powder (for chicken seasoning)
- 1 teaspoon dried mustard
- 1 teaspoon cayenne pepper
- 1 tablespoon baking powder
- ½ teaspoon paprika (for flour mixture)
- 4 cups Vegetable oil, enough for frying
Instructions
- Place the chicken pieces in a large bowl and season with 1 teaspoon salt, 1 teaspoon pepper, 1 teaspoon garlic powder, and 1 teaspoon dried mustard. Mix well to ensure the chicken is evenly coated. Pour the 2 cups buttermilk over the chicken and stir to combine. Ensure the chicken is thoroughly coated with the buttermilk mixture.
- Refrigerate the marinated chicken for at least 1 hour, but for the best results, let it marinate overnight (8-12 hours).
- In a shallow dish, whisk together the 2 cups all-purpose flour, 1 tablespoon baking powder, 1½ teaspoon salt, 1½ teaspoon garlic powder, 1½ teaspoon paprika, 1½ teaspoon dried basil, 1½ teaspoon dried thyme, 1½ teaspoon onion powder, ½ teaspoon paprika, and 1 teaspoon cayenne pepper.
- Heat vegetable oil in a deep fryer or large pot to around 340°F (170°C). Use a candy thermometer to monitor the oil temperature, as it may drop when you add the chicken.
- Take each piece of chicken out of the marinade, allowing excess buttermilk to drip off. Dredge it thoroughly in the flour mixture, pressing to ensure it’s well coated on all sides.
- Carefully place the chicken pieces into the hot oil, frying 4 or 5 pieces at a time without overcrowding the pot. Turn the pieces as needed and fry until they are golden brown and cooked through, approximately 15 minutes per piece. The internal temperature of the chicken should reach 170°F (77°C).
- Once fried, remove the chicken from the oil and let it drain on a wire rack set over a baking sheet to keep it crispy.
Nutrition Information
Serving: 1 piece, Calories: 262kcal, Carbohydrates: 29g, Protein: 6g, Fat: 3g, Saturated Fat: 1g, Polyunsaturated Fat: 0.4g, Monounsaturated Fat: 1g, Cholesterol: 8mg, Sodium: 959mg, Potassium: 159mg, Fiber: 1g, Sugar: 3g, Vitamin A: 461IU, Vitamin C: 0.4mg, Calcium: 175mg, Iron: 2mg