
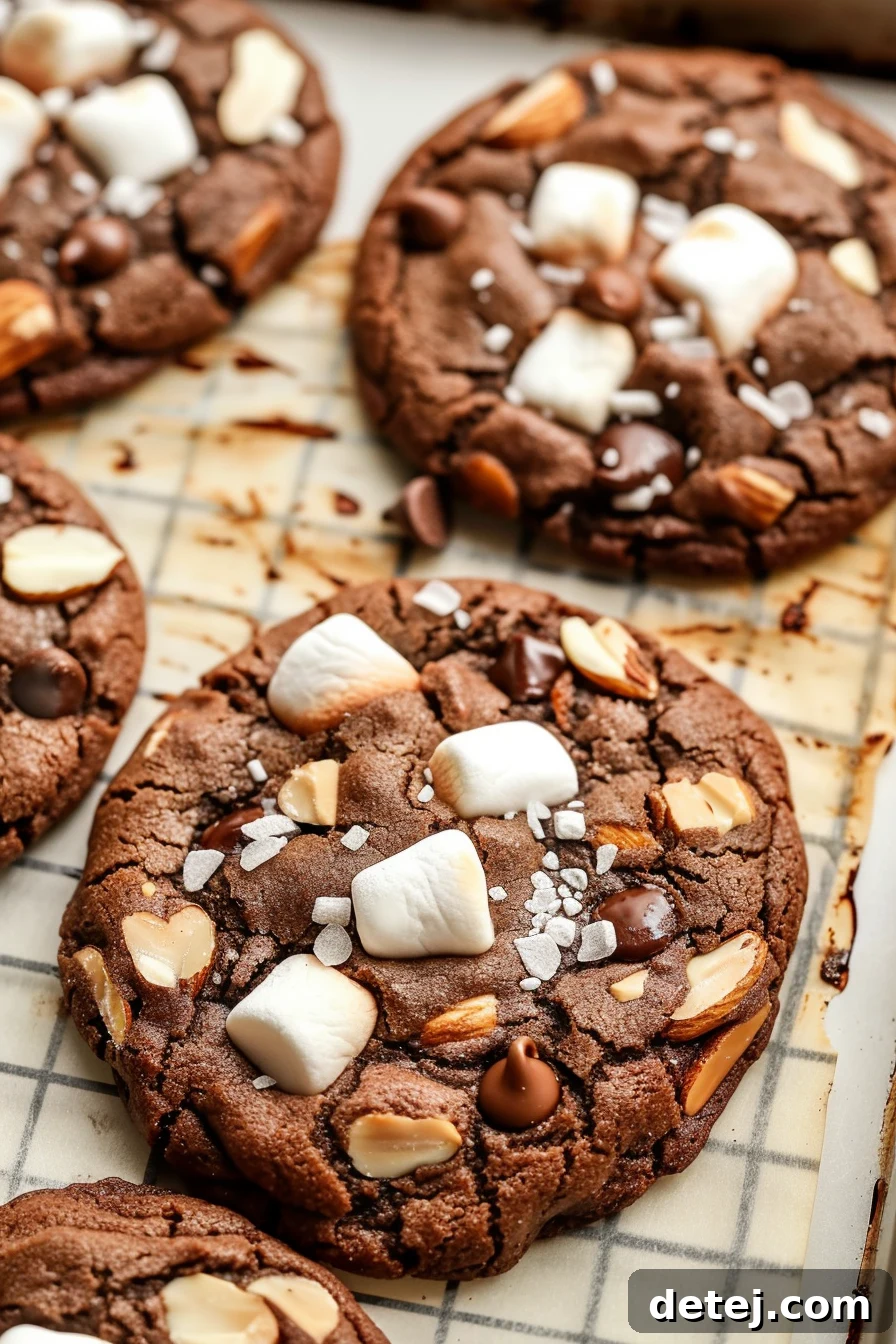
Irresistible Chewy Delights: Your Guide to Easy Rocky Road Cookies
Introduction to Baking the Perfect Rocky Road Cookie
Embark on a delightful baking journey with us as we uncover the secrets to creating the ultimate Easy Rocky Road Cookies. These aren’t just any cookies; they’re a symphony of textures and flavors, encapsulating the beloved experience of rocky road ice cream into a warm, chewy treat. Imagine sinking your teeth into a cookie with crisp edges and a soft, fudgy center, bursting with pockets of gooey marshmallows, rich melty chocolate chips, and the satisfying crunch of nuts. This recipe transforms simple pantry staples into an extraordinary indulgence, promising a baking adventure that culminates in pure joy.
Whether you’re a seasoned baker or just starting your culinary explorations, our Rocky Road Cookie recipe is designed for success. It’s incredibly straightforward, making it the perfect choice for a spontaneous baking session or a delightful project with family. Forget complicated steps and lengthy ingredient lists; we focus on simplicity without compromising on flavor or that irresistible chewy texture. Each bite delivers a nostalgic blend of cocoa and brown sugar, a perfect balance that will make these cookies an instant favorite.
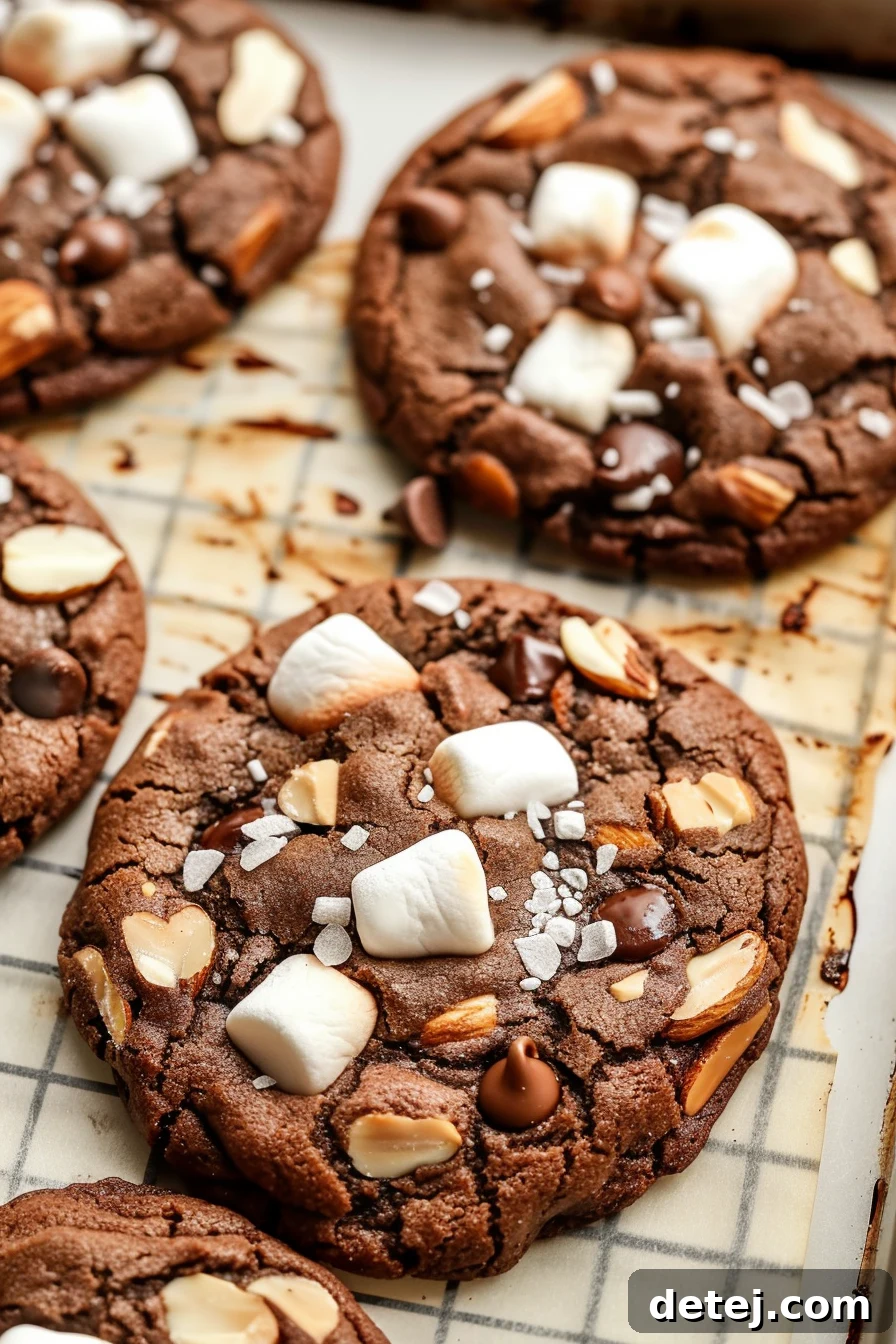
Key Takeaways from This Recipe:
- Effortless Baking: Achieve bakery-quality cookies with minimal fuss and readily available ingredients.
- Dynamic Textures: Experience the perfect blend of gooey marshmallows, crunchy nuts, and smooth chocolate in every bite.
- Rich Flavor Profile: A deep chocolate base enhanced by the comforting sweetness of brown sugar and vanilla.
- Versatile Treat: Ideal for family desserts, gatherings, or a cozy evening indulgence with a glass of milk.
- Guaranteed Success: Follow our clear, concise steps for consistently perfect chewy rocky road cookies every time.
Essential Ingredients for Your Rocky Road Adventure
Crafting these delectable Rocky Road Cookies begins with a careful selection of ingredients. Each component plays a crucial role in achieving the desired taste and texture profile. Here’s a closer look at what you’ll need and why each ingredient is essential:
- 1/2 cup Unsalted Butter: The foundation of our cookies, butter provides richness and contributes to that wonderfully soft, chewy texture. Using unsalted butter allows you to control the overall saltiness of your cookies.
- 3/4 cup Packed Brown Sugar: This is a secret weapon for chewy cookies! Brown sugar adds moisture, deep molasses notes, and helps create a soft, flexible crumb that resists drying out.
- 1/4 cup Granulated Sugar: A touch of white sugar balances the sweetness and helps achieve those slightly crispy edges that contrast beautifully with the chewy interior.
- 1 teaspoon Vanilla Extract: A classic flavor enhancer, vanilla brings warmth and depth, complementing the chocolate and bringing all the flavors into harmony.
- 1 large Egg: Acting as a binding agent, the egg adds structure, moisture, and richness, ensuring your cookies hold together perfectly.
- 1 ⅓ cups All-Purpose Flour (spooned and leveled): The main structural component. Measuring flour correctly (spooned into the cup and then leveled) is vital to prevent dense or dry cookies.
- 1/3 cup Unsweetened Cocoa Powder: For that irresistible fudgy chocolate goodness. Choose a high-quality cocoa powder for the best flavor.
- 1/2 teaspoon Baking Soda: Our primary leavening agent. Baking soda reacts with the acidic brown sugar and cocoa powder to create a tender, soft texture and a slight rise.
- 1/4 teaspoon Salt: A pinch of salt is crucial for balancing the sweetness and enhancing all the other flavors, particularly the chocolate.
- ½ cup Semisweet Chocolate Chips: These melt into luscious pockets of chocolate throughout the cookie, contributing to the classic rocky road experience.
- 1 cup Mini Marshmallows: The star of the show, mini marshmallows turn wonderfully gooey and slightly caramelized when baked, creating delightful pockets of sweetness.
- ¼ cup Sliced Almonds: Providing a delightful crunch and nutty flavor, sliced almonds are a traditional rocky road component that adds contrast and depth. You can lightly toast them beforehand for an even richer taste.
Getting Your Kitchen Ready for Baking Success
Before the real fun of mixing begins, a little preparation goes a long way in ensuring a smooth baking experience and perfectly baked Easy Rocky Road Cookies. Don’t skip these crucial steps:
First and foremost, preheat your oven to 350°F (175°C). This isn’t just a suggestion; it’s a critical step. A properly preheated oven ensures that your cookies bake evenly from the moment they enter, setting the structure quickly and preventing them from spreading too much or baking unevenly. It’s like a perfectly warmed stage for your cookie dough to perform its magic.
Next, prepare your baking sheets. Line them with either parchment paper or silicone baking mats. This simple layer prevents sticking, promotes even baking by insulating the bottom of the cookies, and makes cleanup incredibly easy. No more scraping stubborn cookies off a baking sheet!
Finally, the temperature of your ingredients matters. Ensure your butter and egg are at room temperature. Room temperature butter creams more easily with the sugars, creating a light, airy base for your dough. A room temperature egg emulsifies better with the fat, resulting in a smoother, more uniform batter. Planning ahead by taking these ingredients out of the fridge about 30-60 minutes before you start mixing will make a noticeable difference in the final texture of your cookies.
Mastering the Creaming Method for Chewy Cookies
The creaming method is a fundamental baking technique, and it’s absolutely key to achieving the wonderfully chewy texture of our Easy Rocky Road Cookies. Let’s dive into the science and steps behind this crucial stage.
Start with your melted butter. While many cookie recipes call for softened butter, using mostly melted butter for this recipe helps create a denser, chewier cookie rather than a cakey one. Microwave your unsalted butter in a large, microwave-safe bowl for about 30-40 seconds until it’s mostly melted but still has a few solid pieces. Then, give it a good whisk until it’s completely smooth and liquid. This subtle difference in butter state contributes directly to the chewy texture we’re aiming for.
Now, introduce the brown sugar and granulated sugar to the melted butter. This is where the magic happens. Vigorously whisking the sugars into the butter isn’t just about combining them; it’s about incorporating air into the mixture. The sharp edges of the sugar crystals cut into the butter, creating tiny air pockets. These air pockets expand during baking, contributing to the cookie’s rise and, importantly, its tender, chewy structure. Continue whisking until the mixture is lightened in color and fluffy, resembling a thick, creamy paste. This well-creamed base is the promise of chewy cookies, ready to welcome the gooey marshmallows, crunchy nuts, and melty chocolate chips that define the rocky road experience.
Next, beat in the vanilla extract and the room temperature egg. The vanilla infuses the base with its warm aroma, while the egg binds everything together, adds moisture, and further enriches the dough. Mix until everything is seamlessly incorporated, creating a glossy, cohesive wet mixture. This meticulous creaming process is what elevates our rocky road cookie recipe, setting the stage for an extraordinary texture that rivals your favorite rocky road ice cream, but in a delightfully portable cookie form.
Harmonizing Dry and Wet Ingredients
The careful marriage of your dry and wet ingredients is a pivotal step in developing the perfect texture for your Easy Rocky Road Cookies. This stage requires a gentle hand to prevent overmixing, which can lead to tough cookies.
In a separate medium bowl, combine all your dry ingredients: the precisely measured all-purpose flour, rich unsweetened cocoa powder, leavening baking soda, and the flavor-enhancing salt. Whisk these together thoroughly until they are uniformly combined. This ensures that the leavening agents and cocoa powder are evenly distributed throughout the dough, preventing pockets of unmixed ingredients.
Once your dry mixture is ready, it’s time to introduce it to the luscious wet ingredients you’ve already prepared – the creamy blend of melted butter, brown sugar, granulated sugar, vanilla extract, and egg. Gradually add the dry mixture to the wet mixture. If using an electric mixer, switch to a low speed. Mix until just combined. The key here is to mix until you no longer see streaks of dry flour. The dough will come together, forming a soft, slightly sticky consistency. Overmixing at this stage develops the gluten in the flour too much, resulting in a tough, dense cookie. As soon as the ingredients are just combined, stop mixing. This preserves the tenderness and chewiness we’re aiming for, creating a beautiful foundation for our chewy, rocky road cookies.
Folding in the Beloved Rocky Road Goodies
With your perfect chocolate cookie dough ready, it’s time for the most exciting part: folding in the signature rocky road elements that make these cookies truly special. This step is where the magic of texture and flavor truly comes alive.
Gently sprinkle in the mini marshmallows, semisweet chocolate chips, and sliced almonds into your prepared dough. Use a sturdy rubber spatula to carefully fold these delicious additions into the dough. The goal is to distribute them evenly without overworking the dough. Imagine it as a gentle dance, guiding each marshmallow, chocolate chip, and almond to find its perfect place within the rich chocolate base.
Avoid excessive mixing, as this can crush the marshmallows, making them difficult to distinguish once baked, or lead to a tough cookie. A few gentle folds, just enough to ensure that every scoop of cookie dough will contain a delightful medley of textures – the impending gooeyness of melted marshmallows, the rich pockets of chocolate, and the satisfying crunch of almonds. This harmonious blend of ingredients is what transforms a simple chocolate cookie into an unforgettable rocky road experience, promising a delightful surprise with every single bite.
The Art of Shaping and Baking Your Chewy Rocky Road Cookies
We’re now at the culmination of our baking efforts – the shaping and baking of these irresistible Easy Rocky Road Cookies. Get ready to experience the transformation of dough into golden, chewy masterpieces!
- Oven and Sheet Preparation: First, ensure your oven is accurately preheated to 350°F (175°C). This consistent temperature is vital for even baking. As it heats, line two baking sheets with parchment paper or silicone mats. This step is not just about preventing sticking; it ensures an easy transfer of your delicate, warm cookies from the tray and promotes a uniform bake.
- Scooping for Perfection: Using a medium cookie scoop (approximately 1.5 tablespoons), scoop out generous, uniform balls of cookie dough. The scoop ensures consistent cookie size, leading to even baking. Place these dough balls onto your prepared baking sheets, leaving about 2 inches of space between each. This crucial spacing allows the cookies to spread comfortably without merging into one another, ensuring distinct, perfectly shaped cookies with delightfully crispy edges.
- Baking to Chewy Perfection: Bake for 7-10 minutes. Baking time can vary slightly depending on your oven, so keep a close eye on them. The cookies are ready when their edges are set and lightly golden, but the centers still look slightly soft and puffy. They may appear slightly underbaked in the middle, but this is exactly what you want for that signature gooey, chewy texture, especially with the melting marshmallows and chocolate chips. Remember, cookies continue to cook slightly even after they’re removed from the oven.
Once baked, resist the urge to move them immediately. Allow the cookies to cool on the baking sheet for 5-10 minutes. This essential cooling period allows the gooey marshmallows and chocolate to set slightly, and the cookies to firm up enough to be transferred without breaking. After this initial cooling, gently transfer them to a wire rack to cool completely. The wait is worth it, as you’ll be rewarded with perfectly structured, chewy rocky road cookies, ready to be enjoyed with a cold glass of milk, a warm cup of coffee, or simply on their own as a triumphant baking achievement.
Cooling and Storage Tips for Lasting Freshness
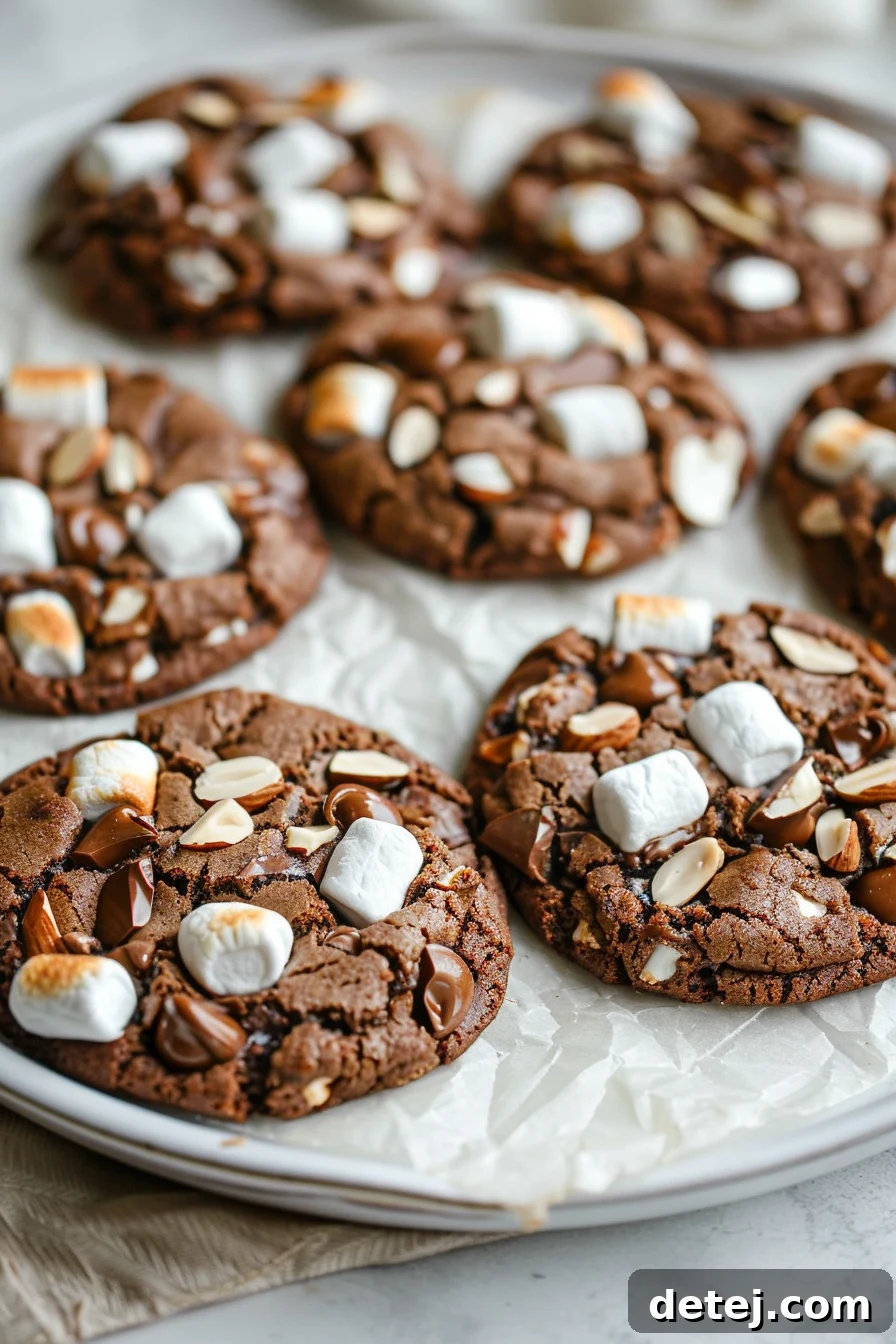
The journey to perfect Easy Rocky Road Cookies doesn’t end when they come out of the oven. Proper cooling and storage are vital for maintaining their delightful texture and flavor.
Once your cookies are baked to perfection, allow them to cool on the baking sheet for at least 5-10 minutes. This step is crucial because the marshmallows and chocolate chips are incredibly gooey and soft when hot. Moving them too soon could cause them to fall apart. This resting period allows them to firm up slightly, ensuring that the gooey marshmallow and crunchy nut combination sets just right, achieving that satisfying structural integrity.
After the initial cooling on the baking sheet, carefully transfer the cookies to a wire rack to cool completely. Air circulation around each cookie helps prevent condensation, which can make them soggy. Ensure they are fully cooled before storing them.
For storage, place your completely cooled Easy Rocky Road Cookies in an airtight container at room temperature. This will keep them wonderfully soft and chewy, preserving their fresh-from-the-oven taste for up to a week. If you prefer a chewier texture on subsequent days, you can briefly warm them in the microwave for 10-15 seconds. If you’re planning to keep them longer, these cookies also freeze beautifully. Place them in a single layer on a baking sheet to freeze solid, then transfer them to a freezer-safe bag or container for up to 2-3 months. Thaw at room temperature or warm gently before serving.
Customization and Variations: Make Them Your Own!
One of the joys of baking is the ability to personalize recipes, and these Easy Rocky Road Cookies are wonderfully adaptable. Feel free to experiment with different additions to create your unique spin on this classic treat:
- Chocolate Variety: While semisweet chocolate chips are traditional, try using milk chocolate chips for a sweeter cookie, dark chocolate chips for a richer, more intense flavor, or even a mix of white and dark chocolate chips for visual appeal and complex taste.
- Nutty Alternatives: Not a fan of almonds? Pecans, walnuts, or peanuts would be delicious substitutes, each offering a distinct flavor and crunch. For an extra touch, lightly toast your nuts before adding them to enhance their flavor.
- Marshmallow Magic: While mini marshmallows are perfect, consider adding a handful of dehydrated marshmallows for a different texture, or even chopping larger marshmallows into smaller pieces.
- Extra Goodies: Elevate your cookies with additional mix-ins! Crushed pretzels can add a salty-sweet crunch, toffee bits bring a buttery caramel note, or a sprinkle of flaky sea salt on top before baking can enhance the chocolate flavor beautifully. Shredded coconut can also be a delightful tropical twist.
Frequently Asked Questions About Easy Rocky Road Cookies
To ensure your baking experience is as smooth as possible, here are answers to some common questions about making these delightful cookies:
- Can I use regular-sized marshmallows instead of mini marshmallows? Yes, you can! Just be sure to snip them into smaller pieces with kitchen shears (lightly greased if they’re sticky) to ensure even distribution and melting within the cookies.
- My cookies spread too much. What went wrong? This could be due to several factors: your butter might have been too warm (melted rather than mostly melted), your oven might not have been preheated properly, or you might have added too much flour or not enough. Ensure ingredients are measured precisely and your oven temperature is accurate. Chilling the dough for 20-30 minutes before baking can also help prevent excessive spreading.
- Can I make the dough ahead of time? Absolutely! You can prepare the cookie dough and store it in an airtight container in the refrigerator for up to 2-3 days. When ready to bake, let it sit at room temperature for about 15-20 minutes to soften slightly before scooping and baking.
- How do I prevent the marshmallows from burning? The marshmallows tend to brown quickly. Keep an eye on your cookies during the last few minutes of baking. If they start to get too dark, you can lightly tent the cookies with aluminum foil. Baking them for the recommended short time (7-10 minutes) usually prevents burning while still allowing them to get perfectly gooey.
- Are these cookies freezer-friendly? Yes, both the baked cookies and the cookie dough can be frozen. For baked cookies, cool completely, then freeze in an airtight container. For dough, scoop into balls and freeze on a baking sheet before transferring to a freezer bag. Bake from frozen, adding a couple of minutes to the baking time.
A Sweet Ending to Your Baking Adventure
There’s an undeniable magic that comes with baking, and few things are as satisfying as pulling a sheet of freshly baked Easy Rocky Road Cookies from the oven. The warm, inviting aromas of melted chocolate, toasted nuts, and gooey marshmallows will fill your kitchen, creating an atmosphere of pure comfort and happiness. Each cookie is a testament to simple ingredients transformed into something extraordinary – a chewy texture that yields to melty chocolate chips, soft marshmallows, and the perfect crunch of almonds.
Whether you’re sharing them with loved ones, bringing them to a potluck, or savoring them solo with a quiet moment and a cup of tea or coffee, these cookies are guaranteed to bring smiles. They embody the essence of homemade goodness: easy to make, delightful to eat, and utterly irresistible. So, arm yourself with your apron, preheat your oven, and prepare for a rewarding baking journey. Happy baking, and enjoy every single chewy, chocolatey bite!
If you love pumpkin recipes check out my Easy Pumpkin Bread!
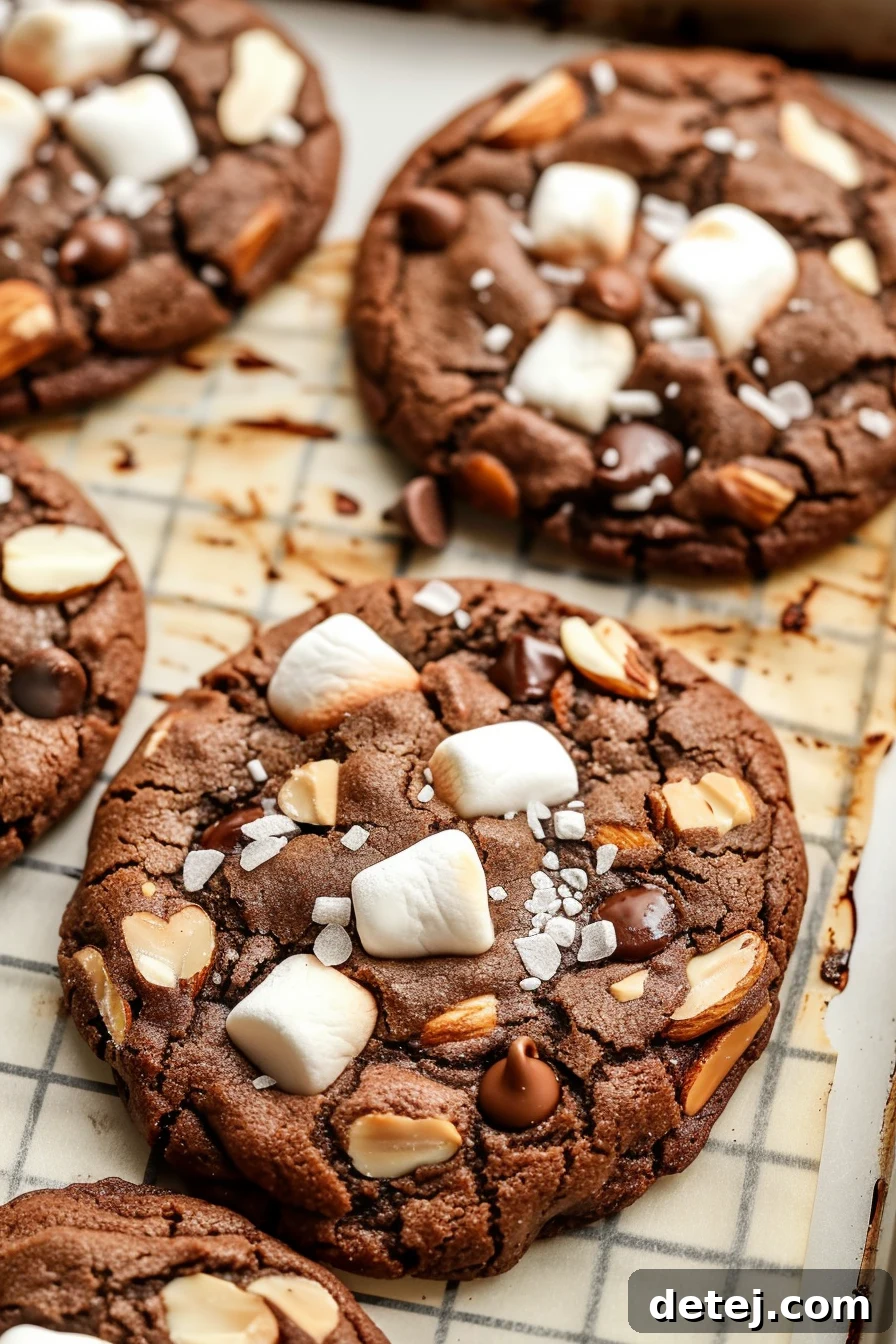
Easy Rocky Road Cookies
Pin
Rate
Ingredients
- 1/2 cup butter
- 1 large egg
- 1 teaspoon vanilla extract
- 1 ⅓ cups all-purpose flour, spooned and leveled
- 3/4 cup brown sugar packed
- 1/4 cup granulated sugar
- 1/3 cup unsweetened cocoa powder
- 1/2 teaspoon baking soda
- 1/4 teaspoon salt
- 1 cup mini marshmallows
- ½ cup semisweet chocolate chips
- ¼ cup sliced almonds
Instructions
-
Preheat the oven to 350°F and line two baking sheets with parchment paper or silicone mats.
-
Microwave the butter in a large microwave-safe bowl for about 40 seconds until mostly melted.
-
Whisk the butter until it is fully melted.
-
Combine the sugars with the melted butter and mix until well-blended.
-
Add the vanilla and egg to the mixture and stir until fully incorporated.
-
Mix in the dry ingredients: flour, cocoa powder, baking soda, and salt. Make sure to measure the flour correctly as noted in the recipe.
-
Mix the dough until just combined. The dough should be soft and slightly sticky, but not overly so.
-
Fold in the chocolate chips, mini marshmallows, and sliced almonds.
-
Scoop out the dough using a medium cookie scoop (about 1.5 tablespoons) and place them 2 inches apart on the baking sheets.
-
Bake the cookies for 7-10 minutes, or until they are set. They will appear puffy and slightly underbaked in the center.