
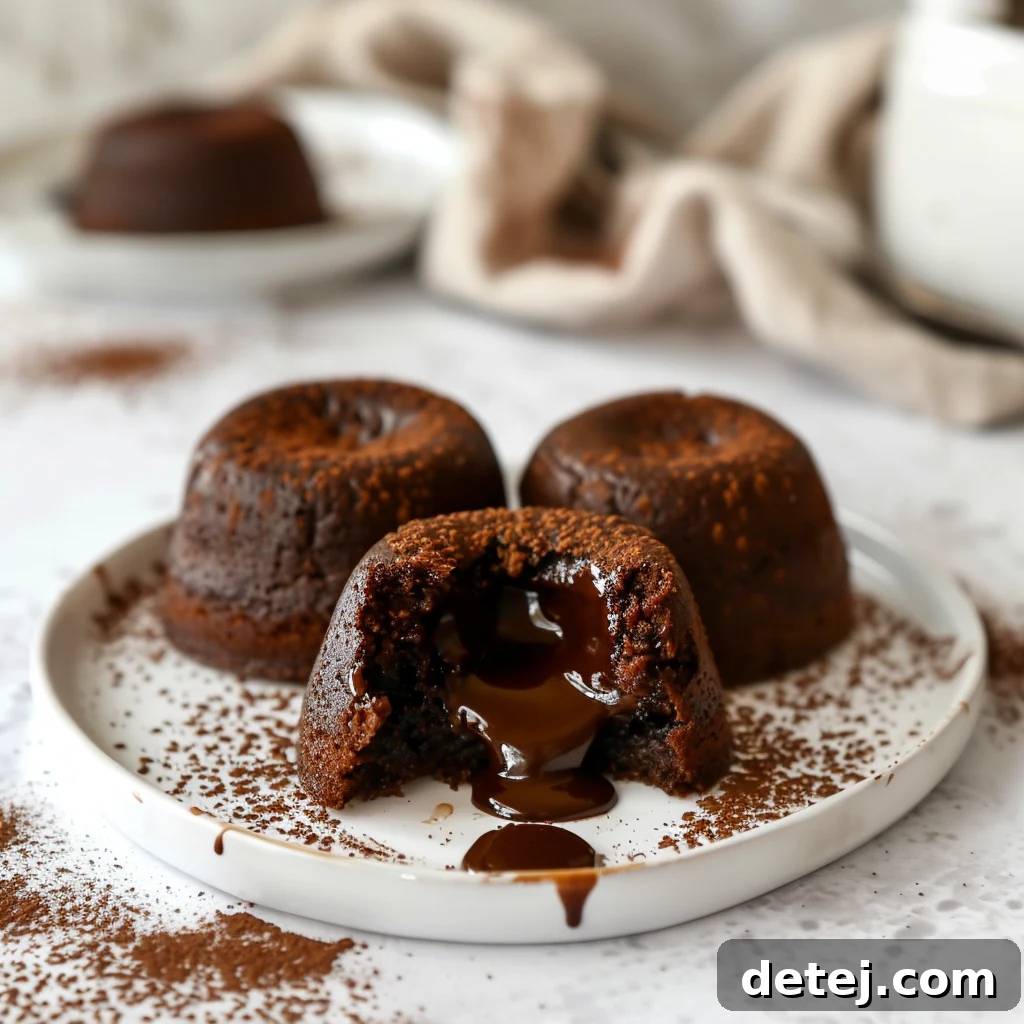
Melted Bliss: Mastering the Decadent Homemade Chocolate Lava Cake
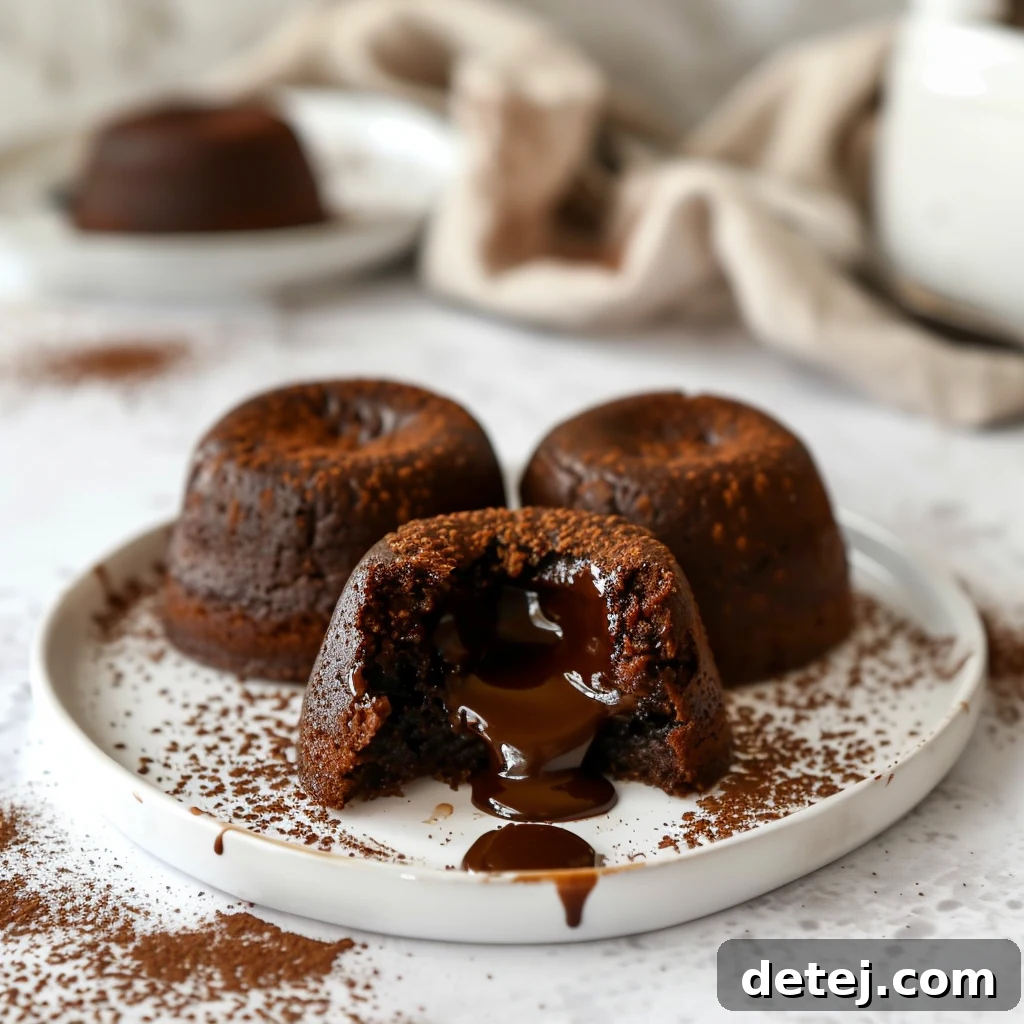
Few desserts evoke such immediate delight and anticipation as a perfectly crafted chocolate lava cake. Known for its mesmerizing molten chocolate center, this decadent treat is far more than just a cake; it’s an unforgettable culinary experience. Whether you’re planning a romantic Valentine’s Day dinner, celebrating a special occasion, or simply craving a luxurious indulgence, a homemade molten chocolate lava cake promises pure bliss with every spoonful. Imagine cutting into a warm, perfectly baked chocolate cake, its delicate crust giving way to a cascade of rich, velvety molten chocolate—a truly exquisite surprise that captivates both the eye and the palate. This comprehensive guide will walk you through an easy chocolate lava cake recipe, empowering you to create a restaurant-quality dessert right in your own kitchen. You won’t need any specialized equipment, just a handful of basic ingredients like quality semi-sweet chocolate, fresh eggs, and butter, to unlock the magic of baking these remarkable molten cakes.
The allure of a homemade chocolate lava cake lies in its beautiful contrast: a slightly firm, crumbly exterior yielding to a warm, liquid chocolate core. This contrast in textures and temperatures is what makes it a showstopper, a dessert that consistently impresses. Forget complicated pastry techniques; our recipe simplifies the process, making it accessible for even novice bakers to achieve molten perfection. Get ready to transform simple ingredients into an extraordinary dessert that will have everyone asking for more. From the first melt of chocolate to the final flourish of powdered sugar, preparing these molten cakes is a journey into decadent dessert artistry.
Key Takeaways for Crafting Your Perfect Molten Chocolate Lava Cake:
- Molten Chocolate Lava Cakes: The ultimate impressive dessert for special occasions, elegant dinner parties, or a luxurious personal treat.
- Surprisingly Easy to Make: Requires only fundamental baking ingredients and standard kitchen tools, making it accessible for all skill levels.
- Versatile & Crowd-Pleasing: Adaptable to various garnishes and perfect for any celebratory moment, ensuring everyone enjoys this decadent dessert.
- Achieve Restaurant-Quality at Home: Master the technique to create a gooey chocolate center and delicate crust every time.
Gathering Your Essential Ingredients for the Best Chocolate Lava Cake
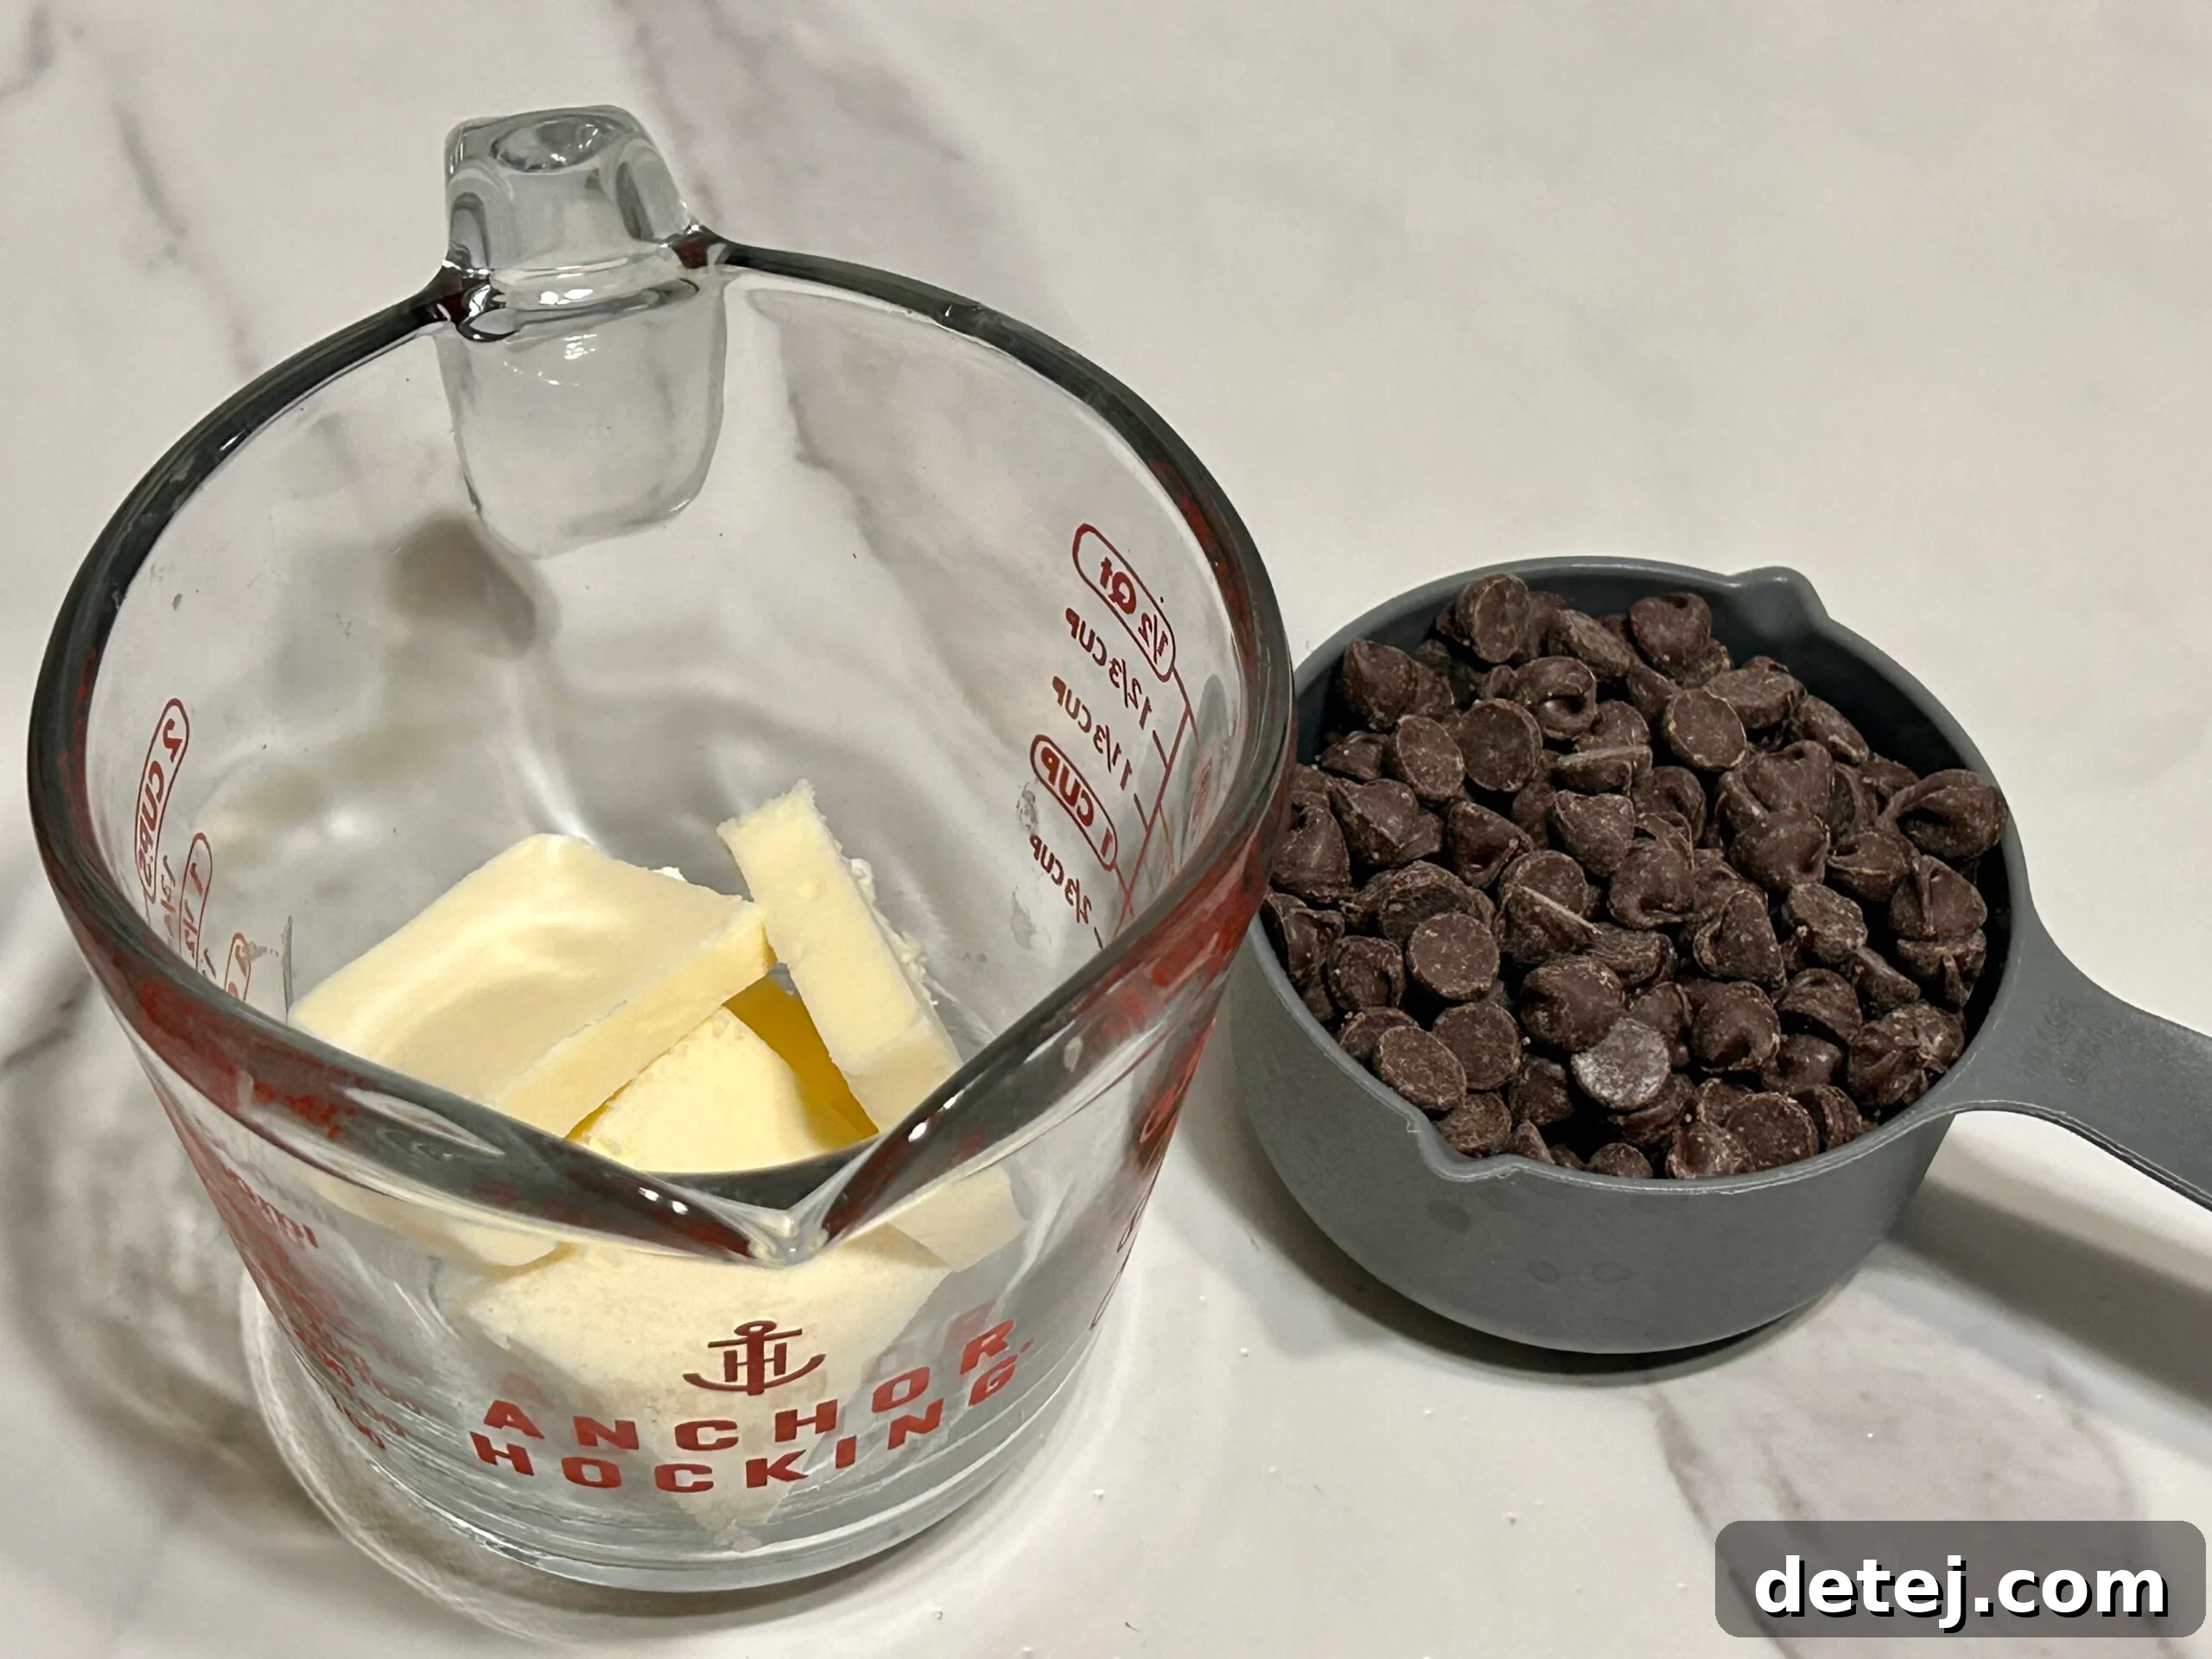
The foundation of any exceptional dessert starts with high-quality ingredients. For our luscious chocolate lava cakes, selecting the right components is key to achieving that signature rich flavor and irresistible molten core. Here’s a detailed look at what you’ll need, and why each plays a vital role in crafting your perfect homemade treat:
- Eggs (Whole Eggs and Egg Yolks): This dual egg approach is critical. Whole eggs provide structure, while the extra egg yolks contribute significantly to the cake’s richness and help create that desired gooey, almost custard-like molten center. They also lend a beautiful golden hue and velvety texture to the batter.
- Premium Chocolate (Semi-Sweet Chocolate and Bittersweet Chocolate): Don’t compromise on your chocolate! We recommend a blend of semi-sweet chocolate chips or chopped chocolate with a touch of bittersweet chocolate. This combination delivers a profound, complex chocolate flavor that isn’t overly sweet, allowing the true essence of the cocoa to shine through. Good quality chocolate melts smoothly and evenly, which is essential for the batter.
- Unsalted Butter: Butter is more than just a fat; it’s a flavor enhancer. Unsalted butter allows you to control the overall salt content of your recipe and provides a rich, creamy base that melds seamlessly with the melted chocolate, creating a silky-smooth mixture.
- All-Purpose Flour: Only a small amount of all-purpose flour is needed here. Its role is primarily to provide just enough structure to the chocolate cake batter, preventing it from collapsing while ensuring the molten center remains liquid. Too much flour, and you’ll end up with a regular chocolate cupcake instead of a lava cake.
- Granulated Sugar: While the chocolate provides significant flavor, a touch of granulated sugar sweetens the deal, balancing the bitterness of the chocolate and enhancing the overall decadence without overpowering it.
- Pinch of Salt: Often overlooked, salt is a secret weapon in baking. A small pinch of salt doesn’t make the cake salty but rather acts as a flavor enhancer, intensifying the chocolate notes and balancing the sweetness.
- Pure Vanilla Extract: A fragrant splash of pure vanilla extract is indispensable. It complements the chocolate beautifully, adding depth and warmth to the overall flavor profile, making the chocolate taste even more chocolatey.
- Garnishes for the Perfect Finish: To truly elevate your molten chocolate lava cakes, prepare some garnishes: a dusting of powdered sugar for elegance, a handful of vibrant fresh berries (like raspberries or strawberries) for a burst of tartness, and a generous scoop of vanilla ice cream to create a delightful hot-and-cold contrast that is simply irresistible.
Prepping Your Kitchen for Molten Chocolate Magic
Before the real fun of mixing and baking begins, proper kitchen preparation is paramount for ensuring a smooth and successful molten chocolate lava cake experience. Think of it as setting the stage for a culinary performance – every prop and actor needs to be in place. This crucial step not only saves time but also minimizes stress, allowing you to focus on the delicate balance required for the perfect molten center.
Firstly, preheating your oven to the precise temperature is non-negotiable. For these cakes, a high temperature is our secret weapon, creating that desirable crispy exterior while keeping the interior wonderfully gooey. Aim for 450°F (232°C). This intense heat ensures a quick bake, which is essential for achieving the molten effect. While the oven warms up, turn your attention to your ramekins. These 6-ounce ceramic dishes are the perfect vessels for our individual molten cakes. Prepare them by generously coating the inside with non-stick cooking spray or, even better, a thin layer of softened butter followed by a light dusting of cocoa powder or flour. This double-layer of protection ensures your delicate lava cakes will release effortlessly from the ramekins after baking, preserving their beautiful form for a stunning presentation. Without proper greasing and dusting, your cakes might stick, ruining that anticipated reveal of the molten core. Take a moment to gather all your measured ingredients—chocolate chips, butter, eggs, flour, sugar, salt, and vanilla extract—and arrange them within easy reach. This mise en place approach makes the baking process enjoyable and efficient, preventing any last-minute scrambling while your chocolate is melting to perfection. With everything in its place, you’re now ready to dive into crafting the luscious batter.
Crafting the Irresistible Chocolate Lava Cake Batter
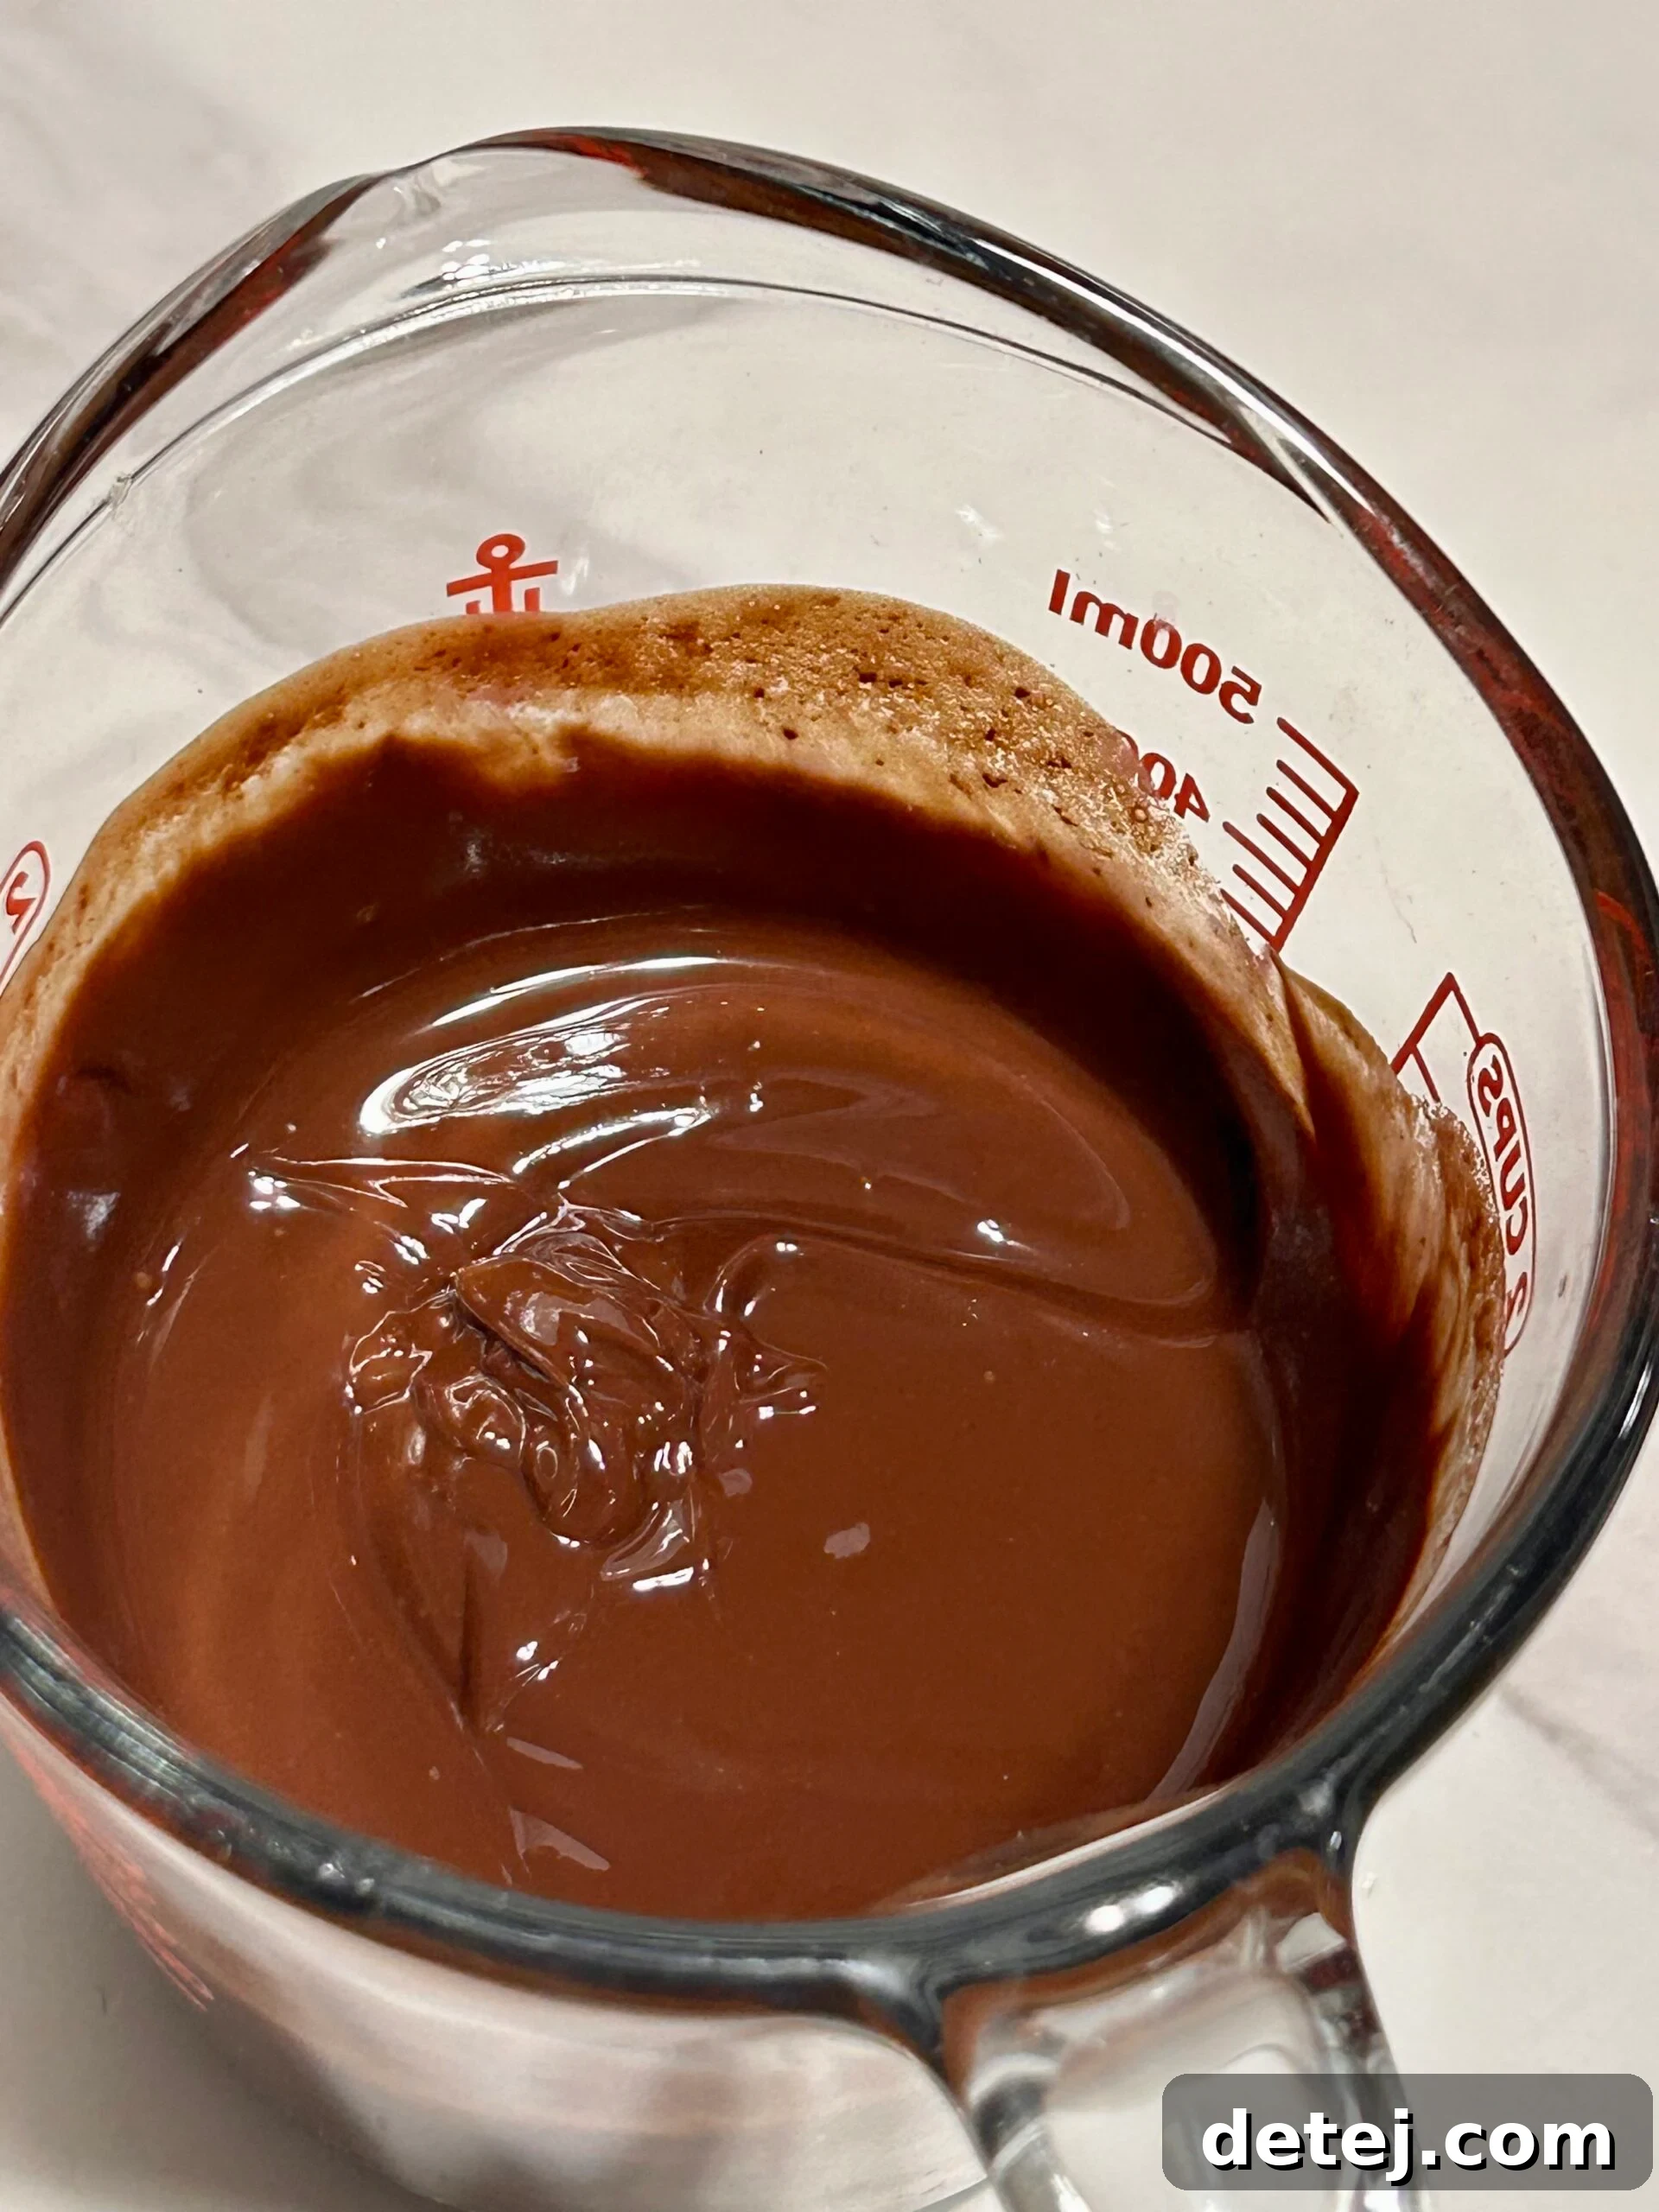
Now, we arrive at the heart of our chocolate lava cake creation: making the batter. This is where simple ingredients transform into a rich, velvety mixture that holds the promise of a truly decadent dessert. The process is straightforward, focusing on gentle melting and careful mixing to achieve the perfect consistency for that longed-for gooey chocolate center.
Begin by combining your selected semi-sweet chocolate chips (or finely chopped chocolate) with the unsalted butter. The ideal method for melting these together is a double boiler, which provides gentle, even heat, preventing the chocolate from scorching. If you don’t have a double boiler, a microwave-safe bowl works wonderfully. Heat in short 20-30 second bursts, stirring well after each interval, until the mixture is smooth, glossy, and completely melted. Watching the chocolate and butter coalesce into a shiny, dark liquid is one of the most satisfying parts of the process—it truly feels like a touch of culinary alchemy. Ensure there are no lumps, as this smooth consistency is vital for the final texture of your molten cakes.
Once your chocolate and butter mixture is perfectly melted, remove it from the heat. Stir in the pure vanilla extract and the pinch of salt. These seemingly small additions are crucial; the vanilla deepens the chocolate flavor, while the salt balances the sweetness and enhances the overall richness, preventing the cake from tasting flat. Next, it’s time to incorporate the eggs. Gently whisk in the whole eggs and the additional egg yolks one at a time. This step enriches the batter further, contributing to that distinctive fudgy texture and ensuring the gooey molten center remains perfectly liquid. Avoid overmixing here; just combine until the eggs are fully incorporated into the chocolate mixture.
Finally, carefully fold in the all-purpose flour. Remember, we only need a small amount to provide just enough structure. Mix until no streaks of dry flour remain, but be careful not to overmix. Overmixing can develop the gluten in the flour, leading to a tougher cake rather than the delicate crumb we desire for our chocolate lava cakes. The resulting chocolate cake batter should be smooth, thick, and luxurious—a testament to the decadent dessert that is about to emerge from your oven. This batter, so full of promise, is now ready to be poured into your prepared ramekins, awaiting its transformation into a molten masterpiece. Each step, from melting to mixing, contributes to the irresistible allure of these homemade molten cakes, making them a truly special treat for yourself or your cherished dinner party guests.
The Crucial Steps: Filling and Baking Your Molten Cakes
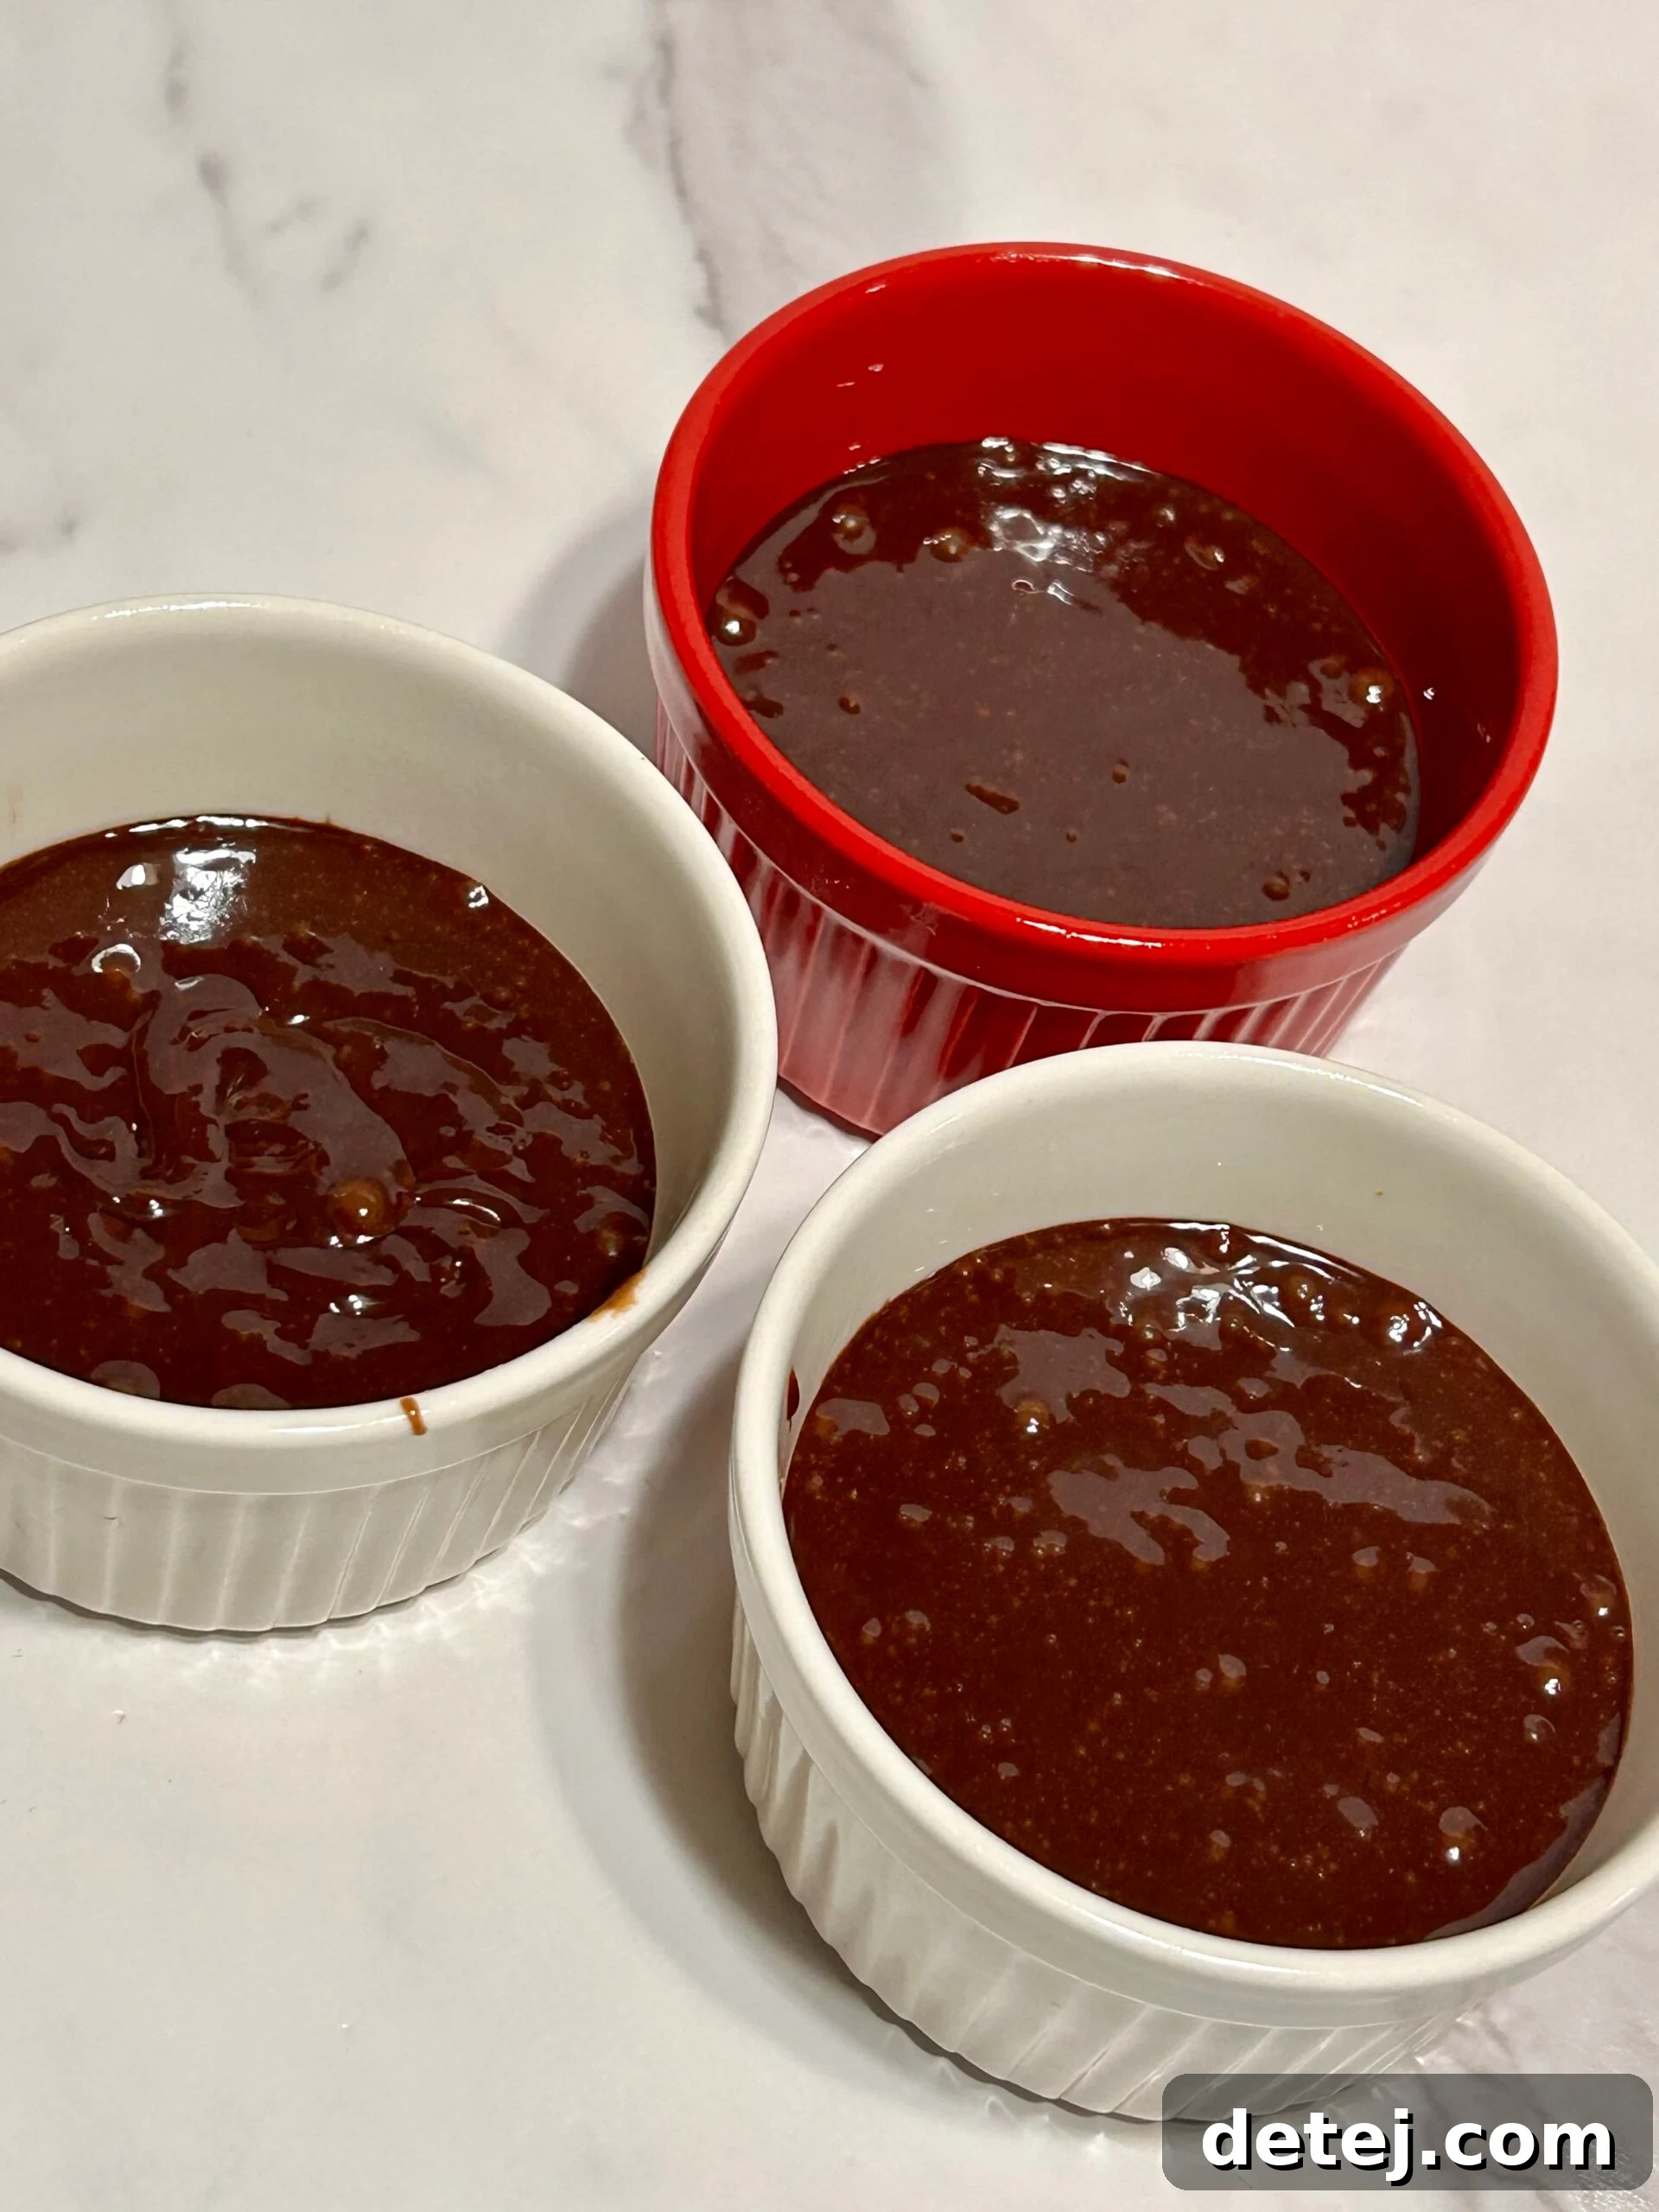
With your luscious chocolate cake batter prepared, we’re now at the most critical stage: filling your ramekins and baking these beauties to molten perfection. This is where precision and timing are key to achieving that celebrated gooey center. Don’t worry, it’s a straightforward process, but paying close attention will ensure your success.
- Confirm Oven Temperature: Double-check that your oven is preheated to the precise 450°F (232°C). This high heat is absolutely essential. It allows the exterior of the cake to set quickly while the interior remains wonderfully liquid, creating the perfect molten effect.
- Fill the Ramekins with Care: Gently spoon or use an ice cream scoop to transfer the chocolate cake batter into your generously greased and floured (or cocoa-dusted) 6-ounce ramekins. Fill each ramekin approximately two-thirds full. Avoid overfilling, as the cakes will rise slightly during baking. An even distribution ensures consistent baking results across all your molten cakes.
- Ready for the Oven: Arrange the filled ramekins on a sturdy baking sheet. This makes it incredibly easy to transfer them in and out of the hot oven safely. Carefully slide the baking sheet, with the ramekins, onto the center rack of your preheated oven.
- Baking Time is Paramount: Now for the moment of truth! Bake for a precise 8-10 minutes. This short baking window is what differentiates a molten lava cake from a regular chocolate cake. The goal is for the edges of the cake to appear set and slightly firm, while the very center should still be notably wobbly or jiggly when the ramekin is gently nudged. The top might have a slight crack or appear slightly sunken in the middle – this is a good sign that the molten magic is happening underneath.
- The Doneness Test: To verify doneness, give a ramekin a gentle shake. The perimeter should be firm to the touch, indicating the cake structure is set, but the center should visibly jiggle. If it looks completely firm, it’s likely overbaked, and your center might not be as gooey. Trust your instincts and the visual cues. Remember, every oven can vary slightly, so consider 8 minutes as a starting point and add a minute or two if needed.
Resist the urge to bake them longer “just in case.” An extra minute can quickly turn a molten chocolate lava cake into a standard, albeit delicious, chocolate cupcake. This delicate balance between a set exterior and a luscious, liquid interior is the hallmark of a truly perfect lava cake. You’re about to pull out a dessert that rivals any fancy restaurant offering, right from your own kitchen. Get ready to impress!
Recommended Tools for This Recipe
Ramekins 8 oz Oven Safe
Buy Now →
Baking Sheet
Buy Now →
Measuring Cups
Buy Now →
Glass Measuring Cups Set
Buy Now →
Serving and Presentation: Elevating Your Chocolate Lava Cake
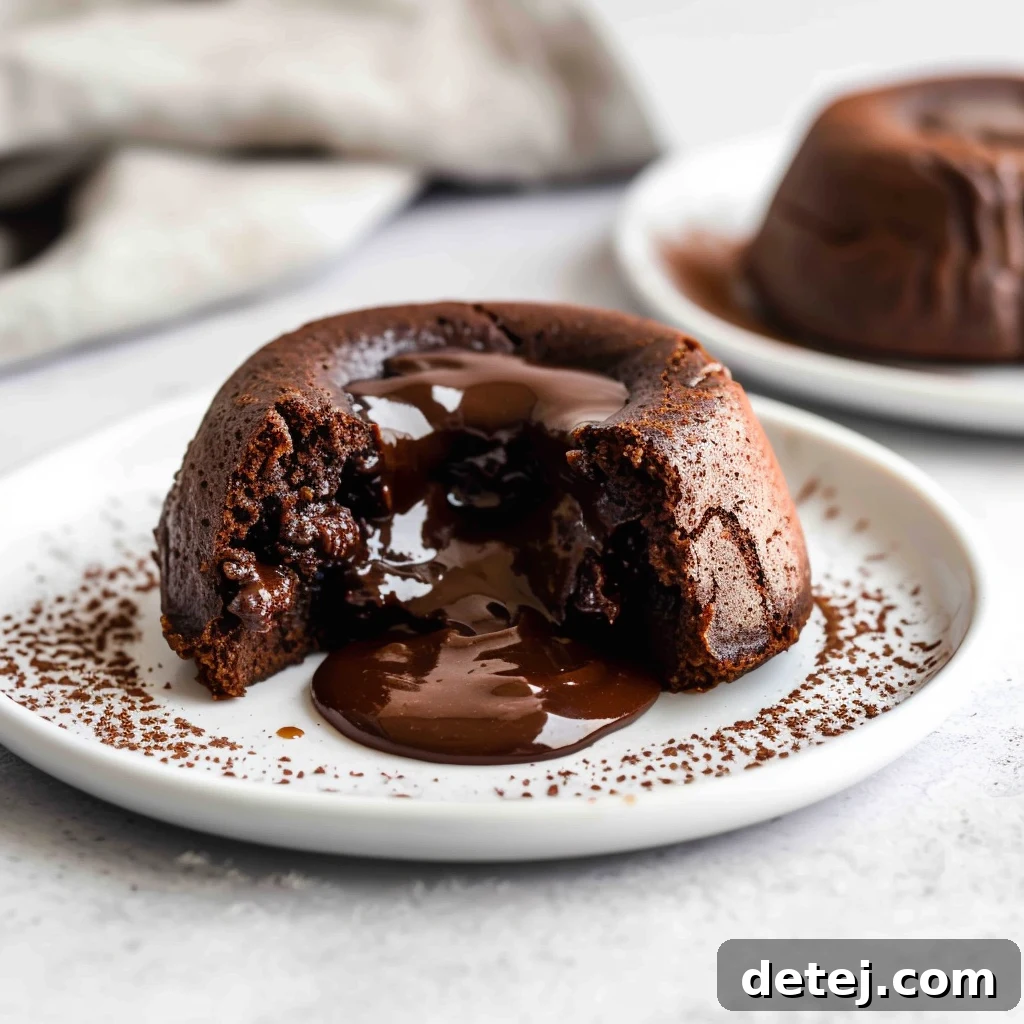
After the anticipation of baking, the moment to reveal your masterpiece has arrived! The presentation of your molten chocolate lava cakes is just as important as the baking process itself, transforming a simple dessert into a truly memorable dining experience. Here’s how to gracefully serve your decadent creations, ensuring that gooey, rich molten chocolate center takes its rightful place as the star of the show.
First, immediately after removing the perfectly baked lava cakes from the oven, allow them to cool in their ramekins for just 1-2 minutes. This brief resting period helps the cake solidify slightly, making it easier to invert. While still warm, gently run a thin, flexible butter knife or offset spatula around the inner edge of each ramekin. This crucial step helps to loosen the cake from the sides, ensuring a clean release. Next, carefully place a dessert plate upside down over the top of a ramekin. With a quick, confident motion, flip the ramekin and plate together. Allow gravity to do its work for a few seconds, then slowly and steadily lift the ramekin. If you’ve prepped your ramekins correctly, your beautifully baked molten chocolate lava cake should slide out perfectly onto the plate, revealing its exquisite dome shape.
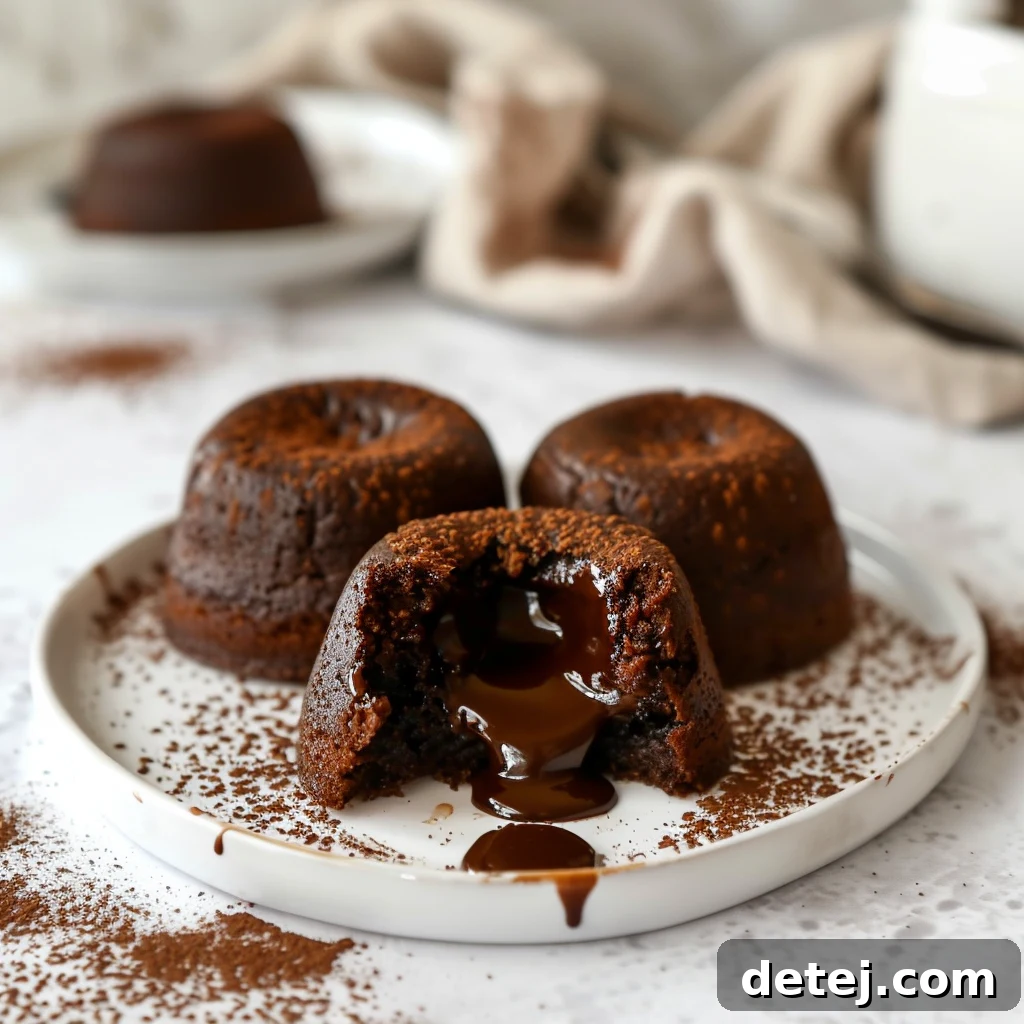
Now, for the crowning glory – garnishing! This is where you can truly personalize your dessert and add layers of flavor and visual appeal. A light dusting of powdered sugar (also known as confectioners’ sugar) through a fine-mesh sieve is a classic and elegant touch, adding a subtle sweetness and a beautiful snowy contrast to the dark chocolate. For a refreshing counterpoint to the richness, arrange a vibrant handful of fresh berries, such as raspberries, strawberries, or blueberries, around the base of the cake. Their natural tartness and juicy burst complement the chocolate wonderfully. And for the ultimate indulgence, a generous scoop of creamy vanilla ice cream melting slowly against the warm cake is pure heaven. The hot-and-cold sensation, combined with the contrasting textures of the delicate crust, molten core, and smooth ice cream, creates an unparalleled dessert experience.
Serve your easy chocolate lava cakes immediately to ensure guests enjoy the spectacular flow of the molten center. There’s nothing quite like that first cut into the cake, witnessing the rich chocolate spill onto the plate. Whether for a romantic dinner, a festive gathering, or simply a well-deserved treat, these perfectly served molten cakes promise a moment of pure bliss and indulgence that will leave a lasting impression.
Storing Leftovers and Enjoying Later
It’s rare for molten chocolate lava cakes to have leftovers, but if you find yourself with an extra decadent treat, rest assured they can be stored and enjoyed later. While the magic of a fresh, hot lava cake with a perfectly gooey center is unparalleled, you can still savor a delicious version of this dessert on another occasion with a few simple storage and reheating tips.
- Proper Storage for Freshness: Once your lava cakes have cooled completely to room temperature, gently cover them with plastic wrap. For best results and to maintain moisture, transfer them to an airtight container. This prevents them from drying out in the refrigerator. Stored correctly in the fridge, your leftover lava cakes will remain deliciously moist and ready for reheating for up to 3-4 days. While the molten center won’t be exactly the same as fresh, the rich chocolate flavor will still be wonderful.
- Reheating for Round Two: When you’re ready to enjoy your stored molten cakes, the microwave is your best friend for a quick warm-up. Place an individual cake on a microwave-safe plate. Heat on high for approximately 20-30 seconds. The goal is to warm it through without fully cooking the center. Check it after 20 seconds, and if it needs more, continue in 5-10 second increments. While the center won’t be as dramatically molten as when it was first baked, it will become wonderfully soft and warm, offering a delightful gooey texture. If your cake was particularly cold from the fridge, letting it sit out on the counter for 10-15 minutes before microwaving can help it warm more evenly. Serve immediately with your preferred garnishes, just like the first time!
Remember, even a slightly less molten, reheated chocolate lava cake is still a phenomenal dessert, offering that deep chocolate flavor and comforting warmth. Don’t let any of these delightful treats go to waste!
Troubleshooting Common Issues for Perfect Lava Cakes
Embarking on the journey of baking molten chocolate lava cakes is incredibly rewarding, but like any culinary adventure, you might encounter a few bumps along the way. These elegant little cakes can be a bit particular, demanding a precise balance of oven temperature and baking time to achieve that elusive molten core. Don’t be discouraged by initial mishaps; understanding common pitfalls will help you master the art of molten magic in no time!
- Issue 1: The “Molten Mess” (Underbaked Center): If you cut into your cake and find it’s more liquid batter than gooey, rich molten chocolate, it means it was pulled out of the oven too early. The edges likely hadn’t set enough to hold the cake’s structure.
- Solution: Next time, give your cakes an extra minute or two in the oven. Remember that every oven behaves slightly differently. Trust the visual cues: the edges should be firm, and only the very center should have a slight wobble. Don’t rush it; those crucial last minutes are what define the perfect molten center.
- Issue 2: The “Chocolate Cupcake” (Overbaked Cake): Conversely, if you’ve ended up with a solid chocolate cake instead of the anticipated molten lava, it indicates the cake was left in the oven for too long. The high baking temperature acts quickly, and the molten core can solidify rapidly.
- Solution: Check your cakes a minute or two earlier than the recipe suggests, especially if it’s your first time or you know your oven runs hot. A quick peek and gentle nudge of the ramekin can tell you a lot. The window between perfectly molten and fully baked is narrow, so active monitoring is key.
- Issue 3: Cakes Sticking to Ramekins: If your beautiful cakes refuse to slide out cleanly, leaving pieces behind in the ramekin, it’s a clear sign that your ramekin preparation wasn’t sufficient.
- Solution: Ensure you are generously coating the inside of each ramekin with non-stick cooking spray or softened butter. For extra insurance, dust the buttered ramekins with a light layer of cocoa powder or flour, tapping out any excess. This creates a non-stick barrier that guarantees a smooth release.
Remember, baking is a journey of continuous learning and delicious discovery. Each attempt, successful or not, brings you closer to understanding the nuances of your ingredients and oven. With a little practice and attention to these troubleshooting tips, you’ll soon be consistently crafting perfect, show-stopping molten chocolate lava cakes that delight every time.
Your Gateway to Decadence Awaits: Master the Chocolate Lava Cake
Stepping into the world of homemade molten chocolate lava cakes might initially feel like venturing into a gourmet realm best left to professional chefs. However, as we’ve explored, crafting these enchanting desserts is surprisingly accessible, transforming everyday ingredients into an extraordinary experience. With a humble measure of flour, your trusty whisk, and those glossy chocolate chips poised to melt into a luxurious batter, you’re more than halfway to creating pure indulgence. I recall my own early attempts, filled with a mix of excitement and trepidation, carefully folding in egg yolks and constantly checking the oven, anxious to achieve that elusive, perfectly gooey chocolate center that defines a truly great lava cake. The journey, I assure you, is all about patience during the melt, close attention during the brief baking time, and a little practiced grace when inverting those steaming ramekins onto eager dessert plates.
Whether you’re meticulously planning a romantic Valentine’s Day dinner, preparing for a cozy gathering with cherished friends, or simply yielding to a sudden, undeniable craving on a quiet Tuesday night, I’m here to offer enthusiastic encouragement. Each moment, from the gentle stir of melted chocolate and butter to the satisfying release of the cake from its ramekin, builds towards a magnificent crescendo of flavor and texture. Envision that first scoop of creamy vanilla ice cream, gracefully melting over the rich, dark molten chocolate center—it whispers tales of successful, fancy restaurant-quality desserts born right from your very own kitchen.
So, take a deep breath, embrace the delicious challenge, and let your culinary creativity flourish. Grab your whisk, preheat that oven, and dive headfirst into this captivating world of chocolate decadence. I genuinely can’t wait to hear about all the joy, the triumphs, and even the delightful little mishaps (for these are merely stepping stones on the path to perfection) that color your molten chocolate lava cake adventures. Your personal gateway to decadence eagerly awaits, and I promise you, with every cake you bake, you’ll refine your touch and draw closer to consistently achieving your absolute perfect molten center. Happy baking, and may your kitchen be filled with the irresistible aroma of chocolatey bliss!
Easy Chocolate Lava Cake Recipe
Servings: 4
Author: Krystel
Ingredients
- 5 tablespoons unsalted butter, cut into tablespoons
- 2 large eggs
- 2 egg yolks
- 1 cup semi-sweet chocolate chips (or high-quality chopped semi-sweet chocolate)
- 1/4 cup all-purpose flour, stirred, spooned & leveled
- 1 teaspoon pure vanilla extract
- 1/8 teaspoon salt
Instructions
- Preheat your oven to 450°F (232°C). Generously coat four 6-ounce ramekins with non-stick cooking spray or butter, then lightly dust with cocoa powder or flour. Set aside on a baking sheet.
- In a large microwave-safe glass measuring cup or a double boiler, combine the semi-sweet chocolate chips and butter. Melt in 30-second increments (if using microwave), stirring until the mixture is completely smooth and glossy.
- Once melted, stir in the vanilla extract and salt. Add the whole eggs and egg yolks one at a time, whisking gently until just combined. Fold in the all-purpose flour until no streaks of dry flour remain. Be careful not to overmix the batter.
- Evenly pour the chocolate cake batter into the prepared ramekins, filling each about 2/3 full. Place the ramekins on the baking sheet and carefully transfer to the preheated oven.
- Bake for 8-10 minutes. The edges of the cakes should be set and appear slightly firm, but the center should still be notably wobbly or jiggly when gently nudged.
- Immediately after baking, carefully remove the ramekins from the oven. Allow them to cool for 1-2 minutes. Run a thin knife around the edges to loosen. Place a dessert plate on top of each ramekin, then quickly and confidently invert the cake onto the plate. Slowly lift off the ramekin.
- Dust generously with powdered sugar, and serve immediately with fresh raspberries, other berries, or a scoop of vanilla ice cream for an unforgettable dessert experience. Enjoy the rich, molten chocolate center!
Notes
- To prep ahead: You can prepare the batter and fill the ramekins up to a day in advance. Cover the filled ramekins tightly with plastic wrap and refrigerate. When ready to bake, add a few extra minutes to the baking time, as the batter will be cold.
- No ramekins? No problem! You can use a greased muffin pan for 6 slightly smaller molten cakes. Start checking for doneness around 6 minutes of baking time, as smaller cakes bake faster.
- Inverting technique: Ensure the ramekin is still warm when you invert it for the cleanest release. The residual heat helps prevent sticking.
- Reheating leftovers: While best served fresh, leftover molten cakes can be reheated in the microwave for 20-30 seconds. The center may not be as dramatically molten but will still be deliciously warm and gooey.