
Sprinkle a Little Joy: The Ultimate Guide to Easy Funfetti Sugar Cookies
Discover the Magic of Homemade Funfetti Sugar Cookies
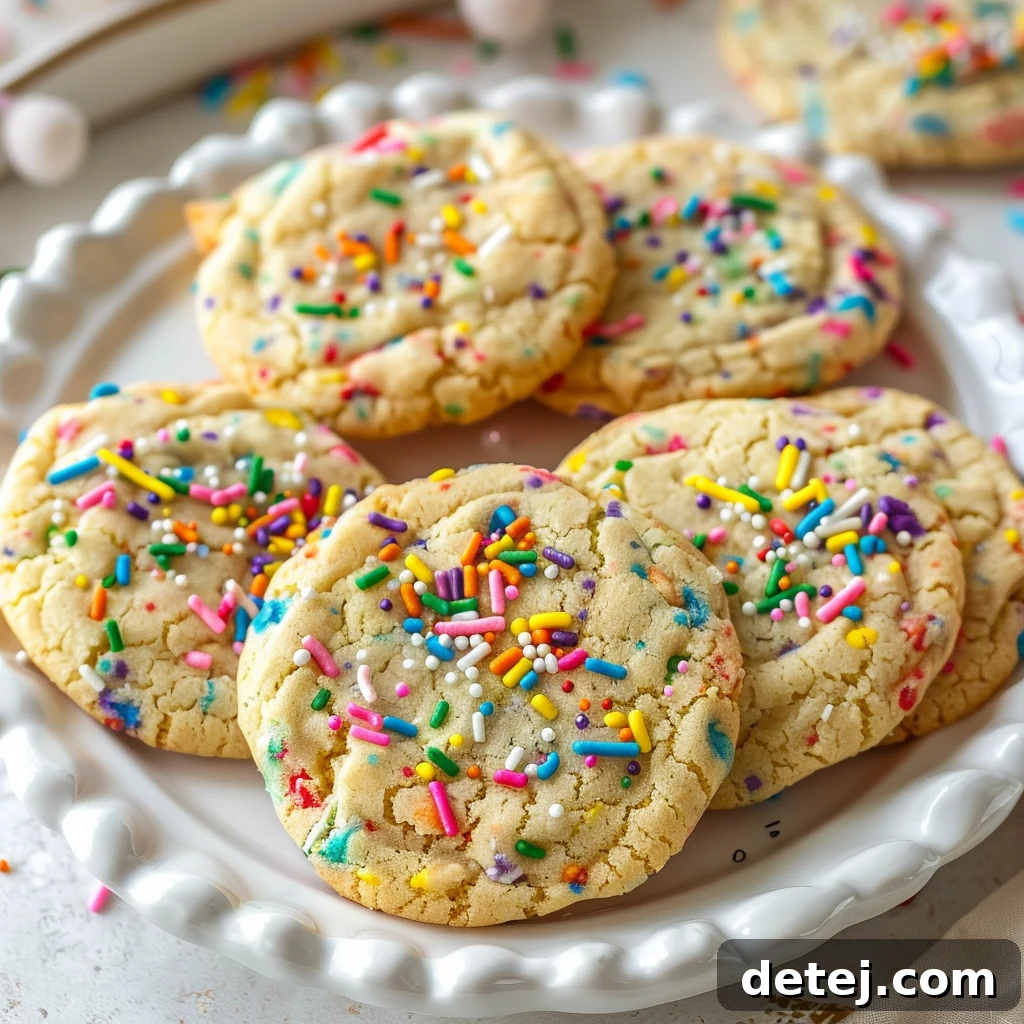
Hello, fellow bakers and sweet-treat enthusiasts! I’m absolutely delighted to guide you through crafting a batch of the most cheerful and utterly delicious funfetti sugar cookies you’ll ever bake. There’s an undeniable magic that happens when vibrant, colorful sprinkles are folded into soft, buttery cookie dough, resulting in a treat that brings an instant smile to everyone’s face. These isn’t just any cookie; they are a celebration in every bite, perfect for brightening any day, whether it’s a sunny afternoon or a dreary, grey morning.
From lively birthday parties and heartwarming baby showers to simply adding a touch of whimsy to your everyday, these easy funfetti cookies are my trusted go-to recipe. What makes them truly special isn’t just their delightful appearance or their tender, chewy texture, but how incredibly simple they are to create. With a handful of pantry staples like high-quality all-purpose flour, rich vanilla extract, and, of course, a generous shower of those iconic sprinkles, you’re set for a baking adventure that promises delightful results every single time. Prepare to be amazed; this recipe for homemade funfetti sugar cookies is about to become a cherished favorite in your kitchen.
Why Choose This Funfetti Sugar Cookie Recipe?
- Effortless Joy: This is truly an easy cookie recipe, perfect for bakers of all skill levels, from beginners to seasoned pros.
- Guaranteed Deliciousness: Enjoy consistently soft and chewy sugar cookies with a rich, buttery flavor that melts in your mouth.
- Vibrant & Versatile: The colorful sprinkles make these cookies a visual delight, suitable for any celebration or just a simple pick-me-up.
- Simple Ingredients, Big Flavor: Utilizing common kitchen ingredients, you’ll achieve extraordinary taste without complicated steps or exotic items.
- Perfect for Any Occasion: Whether it’s a big party or a quiet evening, these cookies add a special touch, making every moment sweeter.
Essential Ingredients for Your Perfect Funfetti Sugar Cookies
Crafting these delectable funfetti sugar cookies begins with gathering the right ingredients, ensuring each component is ready to play its part in creating the perfect texture and flavor. Using high-quality ingredients and having them at the correct temperature are small details that make a huge difference in the final product of your homemade funfetti cookies.
- 2 ¾ cups all-purpose flour: This is the backbone of our cookies, providing structure and contributing to that desirable soft texture. Sifting it ensures a light and airy dough.
- ½ teaspoon baking soda: Our leavening agent, responsible for the slight rise and tender crumb that makes these chewy sugar cookies so appealing.
- ¼ teaspoon fine salt: A crucial ingredient that balances the sweetness and enhances all the other flavors, making the cookies taste richer and more complex.
- 1 cup unsalted butter, softened to room temperature: Room temperature butter is non-negotiable for proper creaming with the sugars. It incorporates air, leading to a light, airy, and truly melt-in-your-mouth texture. Unsalted butter gives you control over the salt content.
- ¾ cup granulated sugar: Provides classic sweetness and contributes to the cookie’s crisp edges while maintaining a soft interior.
- ¾ cup powdered sugar (confectioners’ sugar): This secret ingredient adds an extra layer of tenderness and a subtle chewiness, making these soft sugar cookies truly exceptional.
- 1 large egg: Acts as a binder, bringing all the ingredients together and adding moisture, richness, and structure to the dough.
- 1 teaspoon pure vanilla extract: The soul of any great sugar cookie! Pure vanilla extract provides an intoxicating aroma and a depth of flavor that complements the sweetness beautifully.
- ½ cup colorful sprinkles (or up to ¾ cup): The star of our show! Use good quality sprinkles that hold their color well during baking. Jimmie-style sprinkles often work best for retaining shape and vibrant color.
- Extra sprinkles for decorating: For that extra festive touch, a sprinkle of jimmies on top before baking ensures a beautiful finish.
Your Step-by-Step Guide to Baking Irresistible Funfetti Sugar Cookies
Now that you have all your ingredients ready, let’s embark on the delightful journey of baking these easy funfetti sugar cookies. This comprehensive guide ensures you’ll create perfect, joyful cookies that are as fun to make as they are to eat. Get ready to roll up your sleeves and let the baking begin!
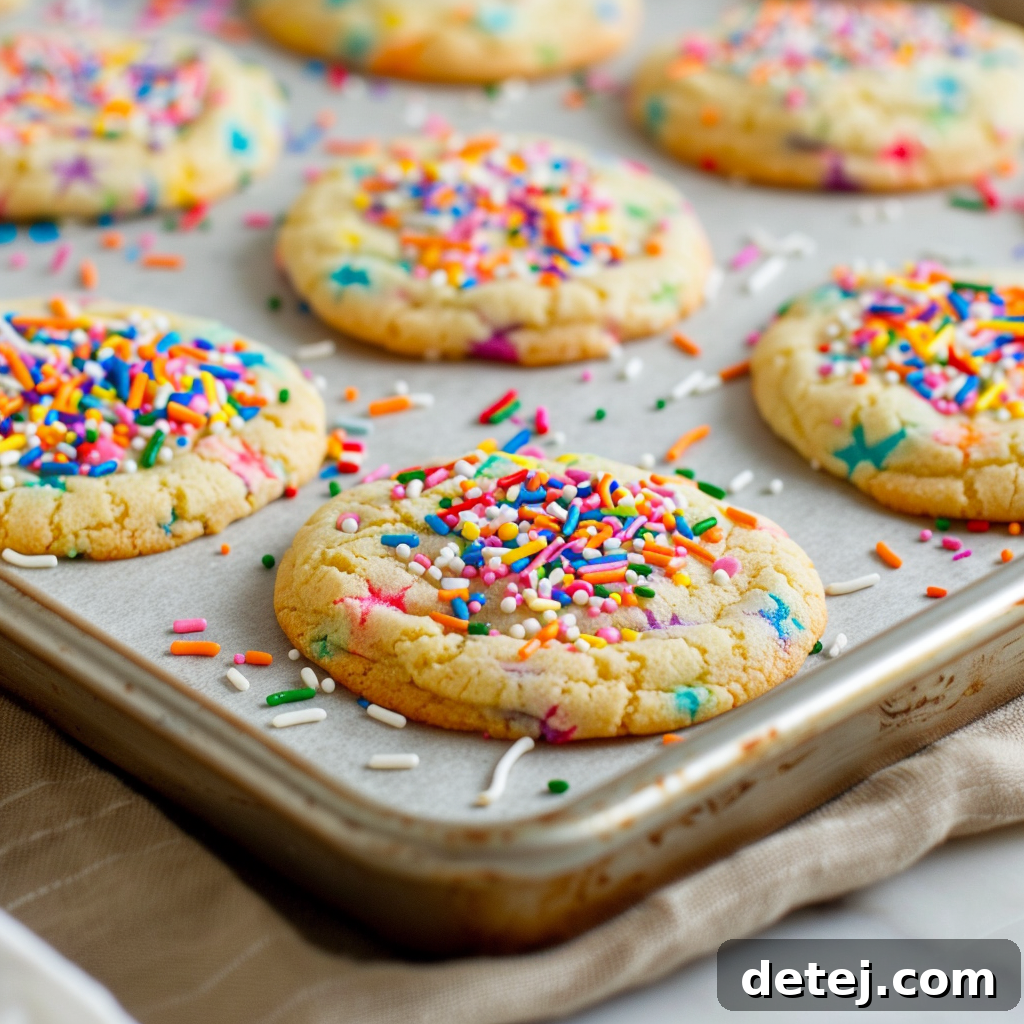
- Prepare Your Workspace and Preheat: Begin by preheating your oven to 350°F (175°C). Line two large baking sheets with parchment paper. Parchment paper prevents sticking and ensures even baking, making cleanup a breeze.
- Combine Dry Ingredients: In a medium-sized bowl, whisk together the all-purpose flour, baking soda, and fine salt. Sifting these ingredients together ensures they are well combined and free of lumps, leading to a uniform cookie texture. Set this bowl aside.
- Cream Butter and Sugars: In the bowl of a stand mixer fitted with the paddle attachment (or using a hand mixer), cream together the softened unsalted butter, granulated sugar, and powdered sugar on medium speed. Beat for about 3-4 minutes until the mixture is light, fluffy, and pale in color. This process incorporates air, which is vital for creating soft and chewy cookies. Scrape down the sides of the bowl as needed.
- Incorporate Wet Ingredients: Add the large egg and pure vanilla extract to the creamed mixture. Mix on low speed until just combined. Be careful not to overmix at this stage.
- Add Dry Ingredients Gradually: With the mixer on low speed, gradually add the dry ingredient mixture (flour, baking soda, salt) to the wet ingredients. Mix only until the flour streaks have almost disappeared. The key here is to avoid overmixing, which can develop the gluten in the flour too much, leading to tough cookies.
- Fold in the Sprinkles: Gently fold in the ½ cup of colorful sprinkles by hand using a spatula. Mix just enough to distribute them evenly throughout the dough. Overmixing sprinkles can cause their color to bleed into the dough, especially with softer varieties.
- Shape the Cookie Dough: Using an ice cream scoop (a 1.5-tablespoon size works perfectly for consistent cookies), scoop the dough and roll it into smooth, uniform balls. This ensures all your homemade funfetti cookies bake evenly.
- Arrange on Baking Sheets and Decorate: Place the cookie dough balls onto the prepared baking sheets, leaving about 2 inches of space between them to allow for spreading. If desired, gently press a few extra sprinkles onto the top of each dough ball for an even more vibrant finish.
- Bake to Perfection: Bake for 11-12 minutes. The cookies are done when their edges are just beginning to turn a light golden brown, but their centers still look soft and slightly underbaked. This is the secret to achieving that coveted chewy center and soft sugar cookie edges. Do not overbake!
- Cooling Process: Once baked, remove the baking sheets from the oven and let the cookies cool on the sheets for 5-10 minutes. This allows them to set and firms them up before transferring. Then, carefully transfer the cookies to a wire rack to cool completely. This step is crucial for achieving the perfect chewy texture.
Congratulations, you’ve just created a batch of joyful, delicious easy funfetti sugar cookies! Whether it’s for a festive occasion or you’re simply craving a sprinkle of happiness, these cookies are guaranteed to brighten your day. Remember, the true joy of baking comes not only from savoring your delicious creations but also from the wonderful memories you make while crafting them. Happy baking!
Elevate Your Funfetti Cookies with Creative Decorating Ideas
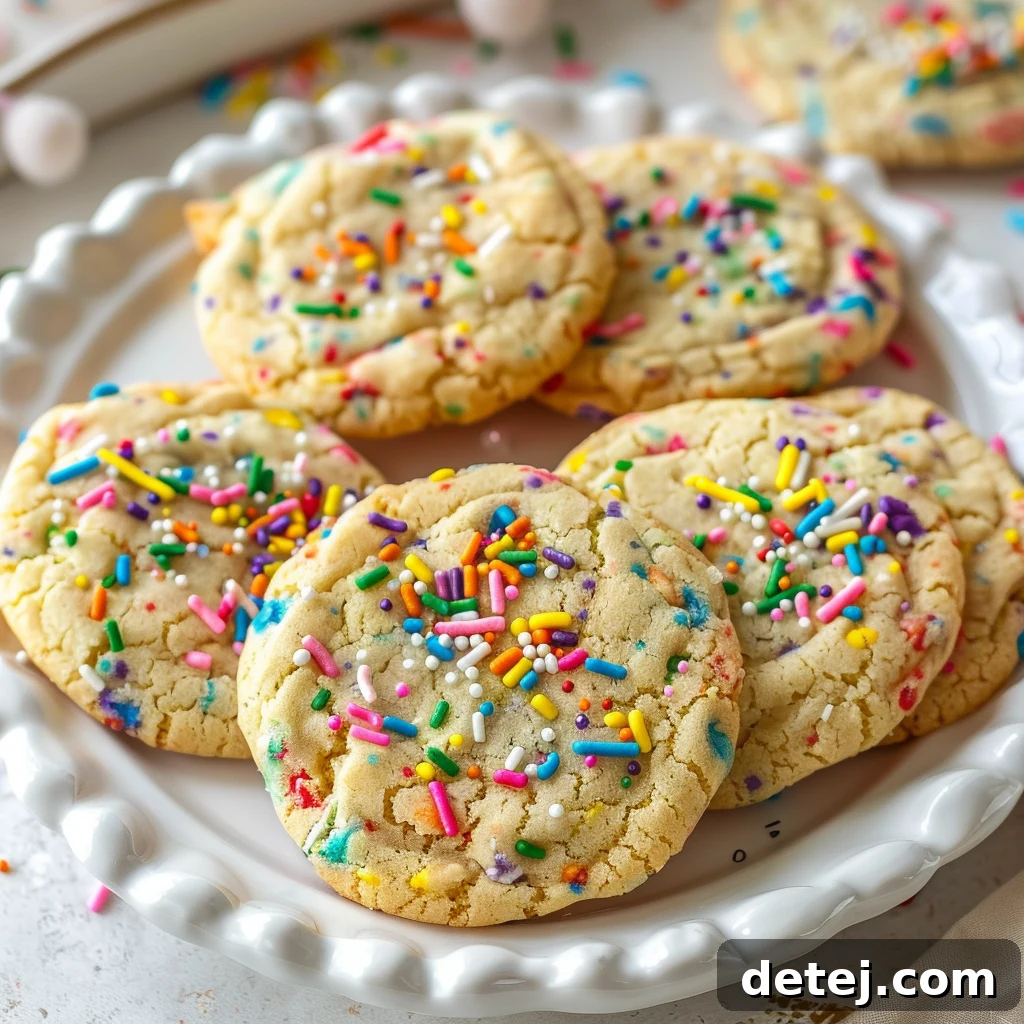
While the sprinkles within the dough already create a festive appearance, don’t underestimate the power of a little extra decoration to transform each funfetti cookie into a miniature masterpiece. Think of each unbaked dough ball as a tiny canvas awaiting your artistic touch. Before popping them into the oven, a simple yet effective technique is to gently press a few more colorful sprinkles or even miniature chocolate chips onto the top surface of each cookie. This ensures a vibrant, appealing visual that truly pops.
For those who love to go an extra mile, once the cookies are completely cooled, you can drizzle them with a simple vanilla glaze (made from powdered sugar, milk, and a touch of vanilla extract) or a thin white chocolate ganache. While the glaze is still wet, you can add another generous scattering of sprinkles for maximum visual impact. This not only adds another layer of flavor but also makes your homemade funfetti cookies even more irresistible and gift-worthy. Let your creativity soar; there’s truly no limit to the amount of joy you can add to these delightful treats!
Tips for Success: Achieving the Best Funfetti Sugar Cookies Every Time
Baking can sometimes feel like a delicate balance, but with these simple tips, you’ll consistently achieve perfect soft and chewy funfetti sugar cookies. These insights will help you avoid common pitfalls and enhance your overall baking experience:
- Room Temperature Ingredients are Key: This cannot be stressed enough, especially for butter and eggs. Room temperature butter creams smoothly with sugar, creating an emulsified, airy base that contributes to the cookie’s tender texture. Cold butter won’t cream properly, leading to dense cookies.
- Measure Your Flour Correctly: Too much flour is the most common reason for dry, crumbly cookies. Use the “spoon and level” method: spoon flour into your measuring cup until it’s overflowing, then level it off with a straight edge. Don’t pack it down or scoop directly from the bag.
- Don’t Overmix the Dough: Once you add the dry ingredients, mix only until just combined. Overmixing develops gluten, which can make your cookies tough and less tender.
- Chill the Dough (Optional but Recommended): If your dough feels too soft or sticky, a brief chill in the refrigerator (30 minutes to an hour) can make it easier to handle and can help prevent cookies from spreading too much during baking, ensuring a thicker, chewier final product.
- Use Quality Sprinkles: Not all sprinkles are created equal. Jimmie-style sprinkles tend to hold their shape and color best during baking. Avoid nonpareils, which can bleed significantly and melt.
- Parchment Paper is Your Friend: Always use parchment paper on your baking sheets. It prevents sticking, ensures even baking, and makes cleanup a breeze. Silpat mats also work wonderfully.
- Avoid Overbaking: This is the golden rule for chewy cookies. Remove your cookies from the oven when the edges are just barely golden and the centers still look slightly soft and puffed. They will continue to set as they cool on the hot baking sheet.
- Cool Completely: Allow cookies to cool for 5-10 minutes on the baking sheet before transferring to a wire rack. This step allows them to firm up without breaking and ensures they retain their soft, chewy texture.
Storing Your Funfetti Cookies for Lasting Freshness
Once you’ve successfully baked your beautiful batch of easy funfetti cookies, you’ll want to ensure they remain as fresh and delightful as possible for as long as they last (which, let’s be honest, might not be very long!). Proper storage is essential for maintaining that perfect chewy center and those desirable soft sugar cookie edges.
To preserve their freshness, always store your completely cooled funfetti cookies in an airtight container at room temperature. A cookie jar with a tight-fitting lid or a sealable plastic container works perfectly. Stored this way, your delicious cookies will remain wonderfully moist and flavorful for up to 3-4 days. For an even longer shelf life, you can freeze the baked and cooled cookies in a freezer-safe airtight container or bag for up to 2 months. Thaw them at room temperature before enjoying. This simple act of proper storage means you can extend the joy of your homemade funfetti cookies, ensuring each bite remains as enjoyable as the very first.
A Festive Finale to Your Baking Adventure: Sharing the Joy
There’s something truly heartwarming about the final step in this baking journey: presenting and sharing your colorful, soft funfetti cookies. Each cookie, dotted with joyful sprinkles and meticulously crafted from a simple recipe that guarantees both chewy centers and delicate soft sugary edges, is a miniature celebration. It’s a testament to the fact that simple ingredients, combined with a little love and effort, can create something truly extraordinary. Whether you’re celebrating a birthday, hosting a baby shower, or simply enjoying a casual get-together, these cookies inherently add a dash of festivity to any occasion.
The act of baking these homemade funfetti cookies is a joyful experience in itself, but the real magic unfolds when you see the smiles they bring to the faces of friends and family. That extra touch of decorative sprinkles or a few chocolate chips on top only amplifies the joy, making each cookie not just a treat, but a thoughtful gesture. So, the next time you find yourself weighing out flour or creaming butter, remember the profound happiness your baking can create. Sharing a batch of your favorite funfetti sugar cookies has the power to transform an ordinary day into a memorable celebration, making every moment a little sweeter and infinitely more joyful. Enjoy every sprinkle, every bite, and every shared memory!
If you are a muffin lover, don’t miss out on my Homemade Peach Muffins recipe!
Easy Funfetti Sugar Cookies
Prep Time: 15 mins |
Cook Time: 11-12 mins |
Total Time: Approx. 27 mins (plus cooling) |
Author: Krystel
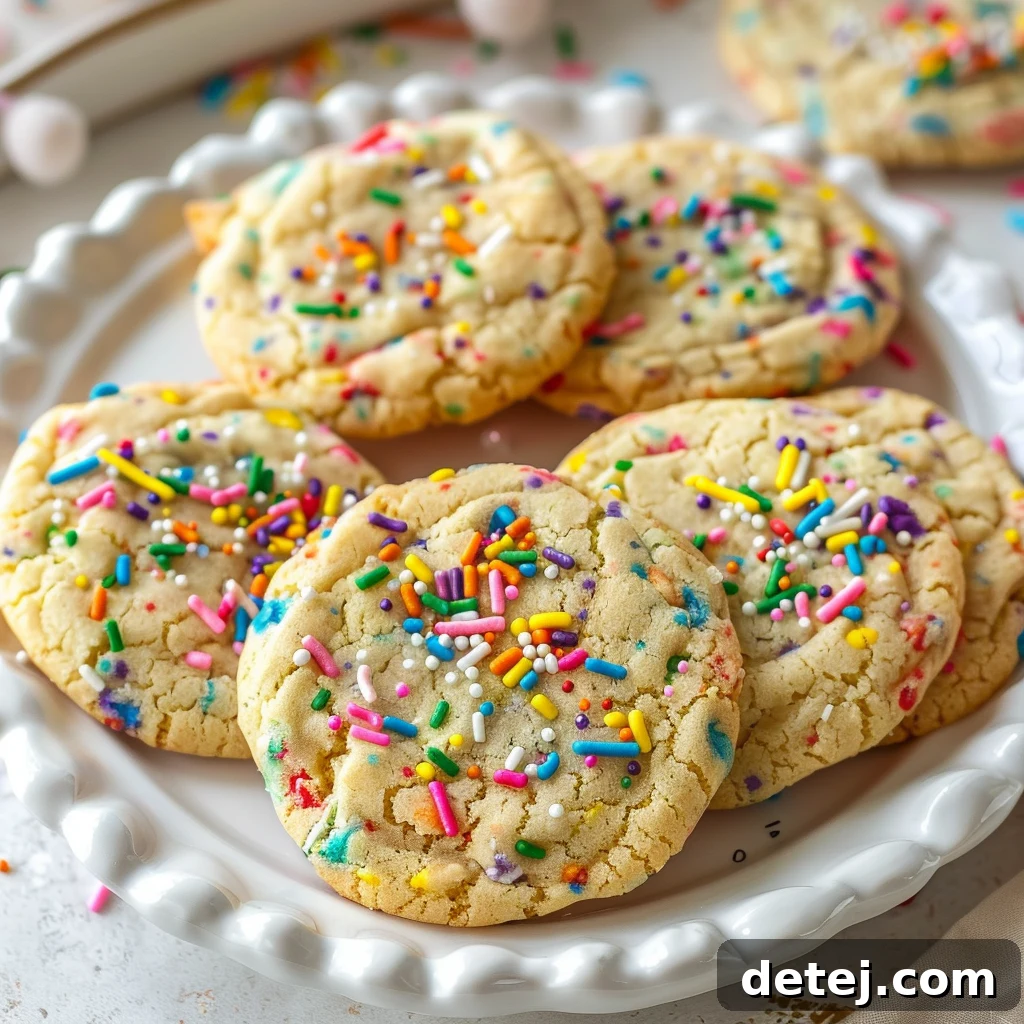
Soft, buttery cookies generously filled with colorful sprinkles. This easy recipe makes irresistible treats perfect for any celebration or a fun baking day!
Pin Recipe
Ingredients
- 2 ¾ cups all-purpose flour
- ½ teaspoon baking soda
- ¼ teaspoon fine salt
- 1 cup unsalted butter, softened to room temperature
- ¾ cup granulated sugar
- ¾ cup powdered sugar
- 1 large egg
- 1 teaspoon pure vanilla extract
- ½ cup colorful sprinkles
- ⅓ cup extra sprinkles for decorating (optional)
Instructions
- Preheat your oven to 350°F (175°C). Line two baking sheets with parchment paper and set them aside.
- In a medium-sized bowl, whisk together the flour, baking soda, and salt. Set this mixture aside.
- In a mixer bowl fitted with the paddle attachment, cream the butter, granulated sugar, and powdered sugar on medium speed for about 3-4 minutes, until light and fluffy.
- Add the egg and vanilla extract, mixing until just combined.
- Gradually add the dry ingredients to the wet mixture, mixing on low speed until just combined. Be careful not to overmix.
- Gently fold in the ½ cup of sprinkles using a spatula.
- Shape the dough into balls, each about 1.5 tablespoons in size. An ice cream scoop works well for uniform cookies.
- Place the dough balls on the prepared baking sheets, spacing them about 2 inches apart. If desired, gently press additional sprinkles onto the tops of the dough balls.
- Bake the cookies for 11-12 minutes, until the edges just begin to turn light golden while the centers remain soft and slightly puffed. Avoid overbaking for a chewy texture.
- Let the cookies cool on the baking sheet for 5-10 minutes before transferring them to a wire rack to cool completely.
Notes
- Store the cooled cookies in an airtight container at room temperature for up to 3-4 days.
- For longer storage, freeze the cooled cookies in a freezer-safe bag or container for up to 2 months.
Please consider leaving a star rating and review!