
Mastering the Art of Cranberry Walnut Bread: Your Ultimate No-Knead Guide
Introduction to Irresistible Holiday Baking
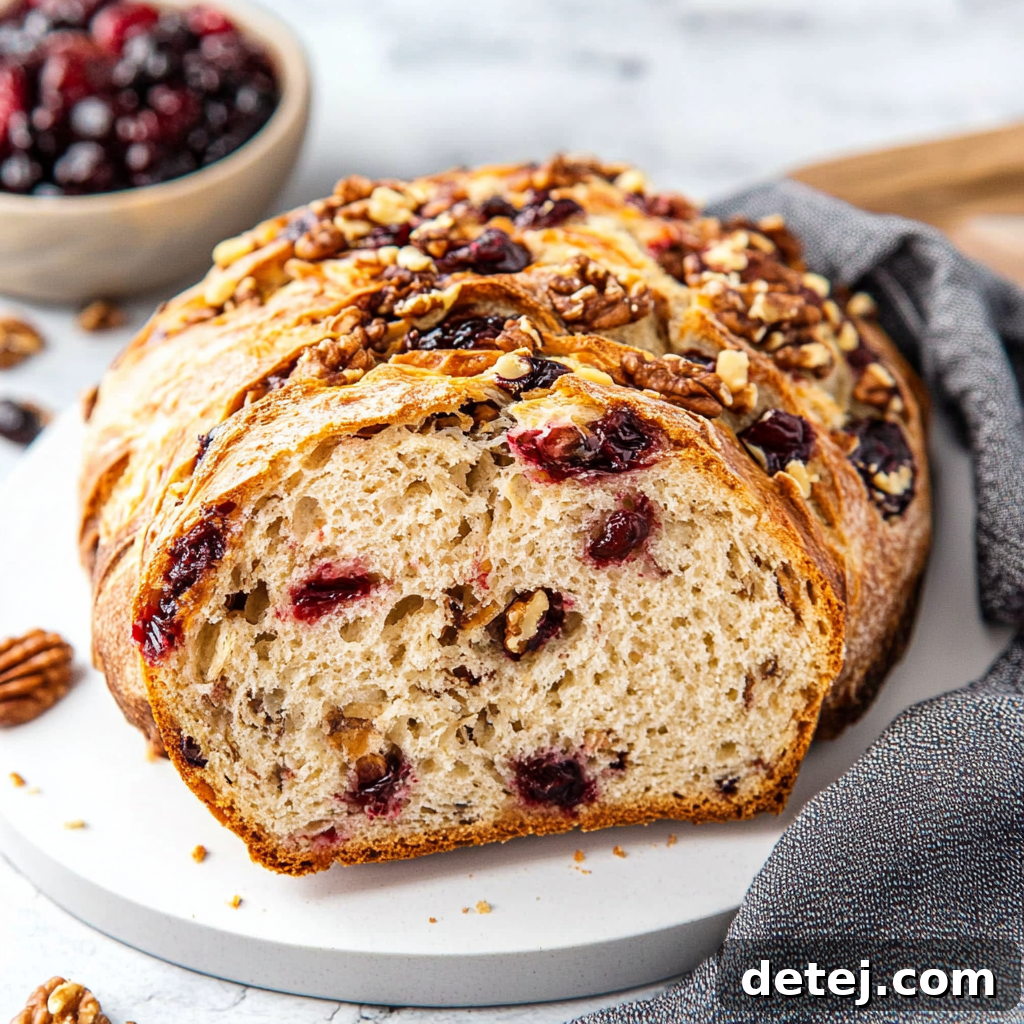
Welcome to our culinary haven, where today we embark on a delightful journey into the heart of homemade Cranberry Walnut Bread. There’s an undeniable magic that baking brings into our lives, especially as the holiday season unfolds. This isn’t just a recipe; it’s an invitation to fill your home with comforting aromas and create cherished memories. Imagine the perfect harmony of vibrant, tart cranberries mingling with the earthy crunch of walnuts, all nestled within a wonderfully chewy, golden-brown loaf. This classic flavor combination isn’t just a treat for your taste buds; it’s a sensory experience that evokes warmth, togetherness, and the comforting rhythm of family traditions.
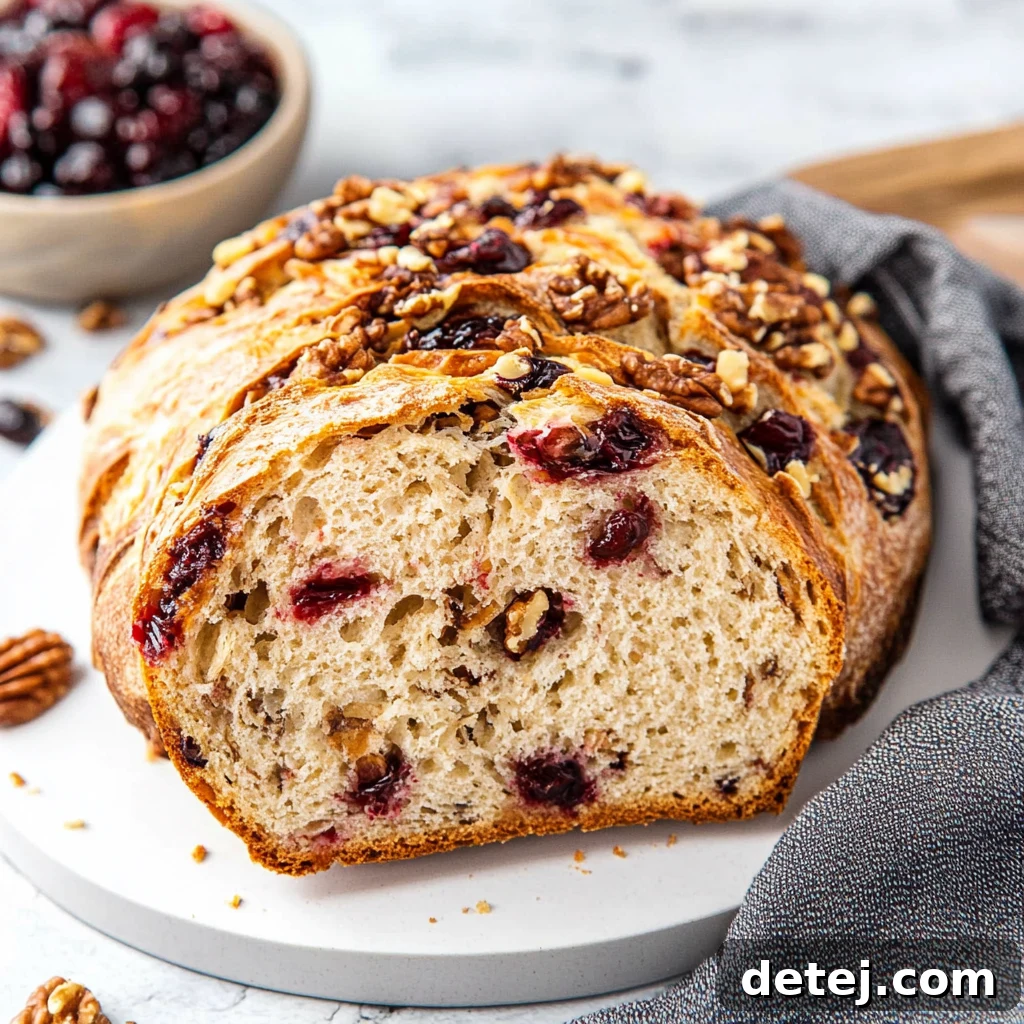
This simple, no-knead method transforms basic ingredients into an extraordinary bread, making it accessible for even novice bakers. Forget the strenuous kneading; our approach focuses on time and patience, allowing the dough to develop its incredible flavor and texture with minimal effort. Whether you’re seeking a delightful breakfast companion, a comforting snack, or a thoughtful homemade gift, this cranberry walnut bread is sure to impress. It’s more than just a baked good; it’s a slice of joy, ready to be shared and savored.
- Effortless Elegance: Discover the simplicity and joy of holiday baking with a focus on an easy, no-knead Cranberry Walnut Bread.
- Flavor Harmony: Experience the classic, irresistible combination of tart cranberries and earthy walnuts, a perfect match for festive occasions.
- Memory Making: Join us in creating not just a delicious loaf, but cherished memories that will warm your home like a cozy blanket in winter.
Essential Ingredients for Your Perfect Loaf
Crafting our exceptional Cranberry Walnut Bread begins with selecting the right ingredients. Each component plays a vital role in achieving that desirable flavor and texture. For our bread to rise beautifully, we rely on active dry yeast, which will activate and create the airy pockets we crave. I always recommend using high-quality bread flour because its higher protein content is essential for developing the gluten structure that gives our loaf its signature chewy, yet tender, crumb.
The stars of our show are, of course, the vibrant tart cranberries and rich, crunchy walnuts. You have the flexibility to choose dried cranberries for a more concentrated sweetness or opt for fresh cranberries if you prefer an extra burst of tartness and a juicier texture. For a subtle yet impactful twist, a hint of fresh orange zest elevates the bread with a bright, citrusy aroma and flavor that perfectly complements the cranberries and walnuts. Don’t forget the foundational elements: a precise measure of kosher salt to balance the flavors, granulated sugar to feed the yeast and add a touch of sweetness, and a tablespoon of honey for moisture and a deeper, nuanced sweetness. For those looking to incorporate a healthier touch or a deeper, nutty undertone, consider replacing a portion of the bread flour with whole wheat flour. This simple adjustment introduces a lovely earthiness to your delicious, homemade bread.
Preparation is Key: Setting the Stage for Baking Success
Before the real magic of baking our Cranberry Walnut Bread begins, a little preparation goes a long way in ensuring a smooth and successful experience. This initial prep work, though seemingly small, can significantly impact the final outcome of your loaf. First, and critically important, ensure all your ingredients are at room temperature. This simple step promotes even mixing and consistent dough development, allowing the yeast to activate optimally and the flavors to meld beautifully. Cold ingredients can shock the yeast, slowing down the rising process.
Next, let’s talk about your secret weapon: a high-quality 5 to 6-quart Dutch oven with a tight-fitting lid. This heavy-duty pot is not just a vessel; it’s the key to achieving that coveted, perfectly crusty exterior and tender interior that often characterizes artisan bread. Its ability to retain and distribute heat evenly, along with creating a steamy environment, makes it indispensable for this no-knead recipe. Finally, activating your yeast is a crucial step. Gently combine the active dry yeast with a little warm water and granulated sugar. Watch for the mixture to become foamy within 5-10 minutes; this effervescence is your visual proof that the yeast is alive and ready to work its magic, ensuring your bread rises to its full potential. These meticulous preliminary steps are the foundation for a loaf that is not just bread, but a heartwarming, homemade masterpiece perfect for any gathering.
Crafting the Perfect No-Knead Dough
Now, we dive into the heart of our Cranberry Walnut Bread creation: forming the dough. This stage is wonderfully simple, requiring minimal effort thanks to our no-knead approach. In a generously sized large bowl, begin by whisking together your dry ingredients – the bread flour and kosher salt. This ensures an even distribution of salt, which is crucial for flavor and controlling yeast activity. In a separate bowl, combine your activated yeast mixture with the honey. This blend of wet ingredients will soon meet the dry.
Gently pour the wet mixture into the dry ingredients. Your goal here is to mix until everything is just combined, with no dry pockets of flour remaining. Resist the urge to over-mix or knead vigorously, as this recipe relies on a long fermentation period, not intensive kneading, to develop gluten. The dough will appear shaggy and sticky, which is exactly the desired consistency. This loose texture is what allows the long resting period to work its magic, creating a light and airy crumb.
Finally, it’s time to incorporate our star additions: the tart cranberries and earthy walnuts. Gently fold these into the dough, distributing them evenly without deflating the precious air bubbles that have begun to form. The goal is to integrate them lovingly into your masterpiece, transforming a simple dough into a vibrant, flavorful mixture that’s ready to rise and shine. Remember, gentle handling is paramount here; we’re coaxing the ingredients together, not forcing them, to maintain the delicate structure of our future delicious bread.
The First Rise: Unlocking Deep Flavors with Patience
The first rise, also known as the bulk fermentation, is perhaps the most critical stage in developing the profound flavors and exceptional texture of our easy, delicious Cranberry Walnut Bread. This is where the saying, “good things come to those who wait,” truly applies. After lovingly mixing our simple yet perfect blend of dry and wet ingredients, including the fragrant orange zest and those delightful tart cranberries paired with earthy walnuts, we embark on a crucial 18-hour rest period at room temperature. Once the dough is mixed, simply cover the bowl tightly with plastic wrap, ensuring no air can escape, and then—the hardest part for any eager baker—resist the temptation to peek!
During this extended, slow fermentation, true magic unfolds. The yeast slowly works its way through the sugars, producing alcohol and carbon dioxide that contribute immensely to the bread’s complex flavor profile and airy structure. This isn’t merely about allowing the dough to rise; it’s about giving all those carefully combined flavors ample time to cozy up, intertwine, and evolve. This lengthy process breaks down starches, creating a depth of character and a soul-satisfying taste that only time and patience can bestow. The result is a more digestible, flavorful, and aromatic loaf. So, my dear fellow bakers, let’s embrace patience, for the reward of that perfect loaf of holiday-season Cranberry Walnut Bread, with its exceptional crust and tender interior, is unequivocally worth every moment of the wait.
Shaping the Dough: Gentle Hands for a Perfect Loaf
After our dough has enjoyed its long, restorative beauty sleep for 18 hours, it’s time for the exciting moment where it truly begins to resemble the magnificent bread it’s destined to become. This stage, shaping and prepping, is all about gentle handling to preserve the delicate air bubbles cultivated during the long fermentation. First, generously lightly flour your work surface. This creates a non-stick stage for our dough to perform its final transformation. With the utmost care, turn the shaggy, sticky dough out onto this floured surface.
Now, channel your inner bread whisperer. Instead of roughly punching down the dough, we are going to gently coax it into its final round shape. Lightly flour your hands as well, then begin to gently fold the edges of the dough towards the center, turning the dough a quarter turn each time you fold. Think of it as gently tucking the dough in on itself, forming a taut, round ball. The goal is to create surface tension without expelling all those precious gases. This delicate handling ensures that the internal structure remains airy while the exterior gains strength for a beautiful oven spring.
Once shaped, carefully transfer the dough, smooth side up, onto a sheet of lightly floured parchment paper. This parchment paper is your trusty sling, making the transfer of the dough into the scorching hot Dutch oven later an absolute breeze and preventing any sticking. Finally, cover the shaped dough loosely with plastic wrap and let it rest on the counter for a final 30 minutes. This short second proof allows the gluten to relax and the dough to slightly re-inflate, preparing it for its grand performance in the oven. Each thoughtful step, from the floured surface to the parchment paper and the final rest, is essential for achieving that impeccable texture and shape of truly amazing homemade bread.
The Baking Process: Achieving Golden Perfection
You’ve patiently nurtured your dough, infusing it with time, love, and the delightful holiday spirit of tart cranberries and earthy walnuts. Now, the grand finale awaits: the baking. This stage is where your patience is gloriously rewarded. Begin by placing your empty Dutch oven, complete with its lid, into your cold oven. Then, crank up the heat to a blazing 450°F (230°C). It’s crucial that the Dutch oven gets thoroughly preheated for at least 30 minutes, allowing its thermal mass to reach an optimal temperature. This extreme initial heat is key to achieving that perfectly crisp, golden-brown crust and maximum oven spring.
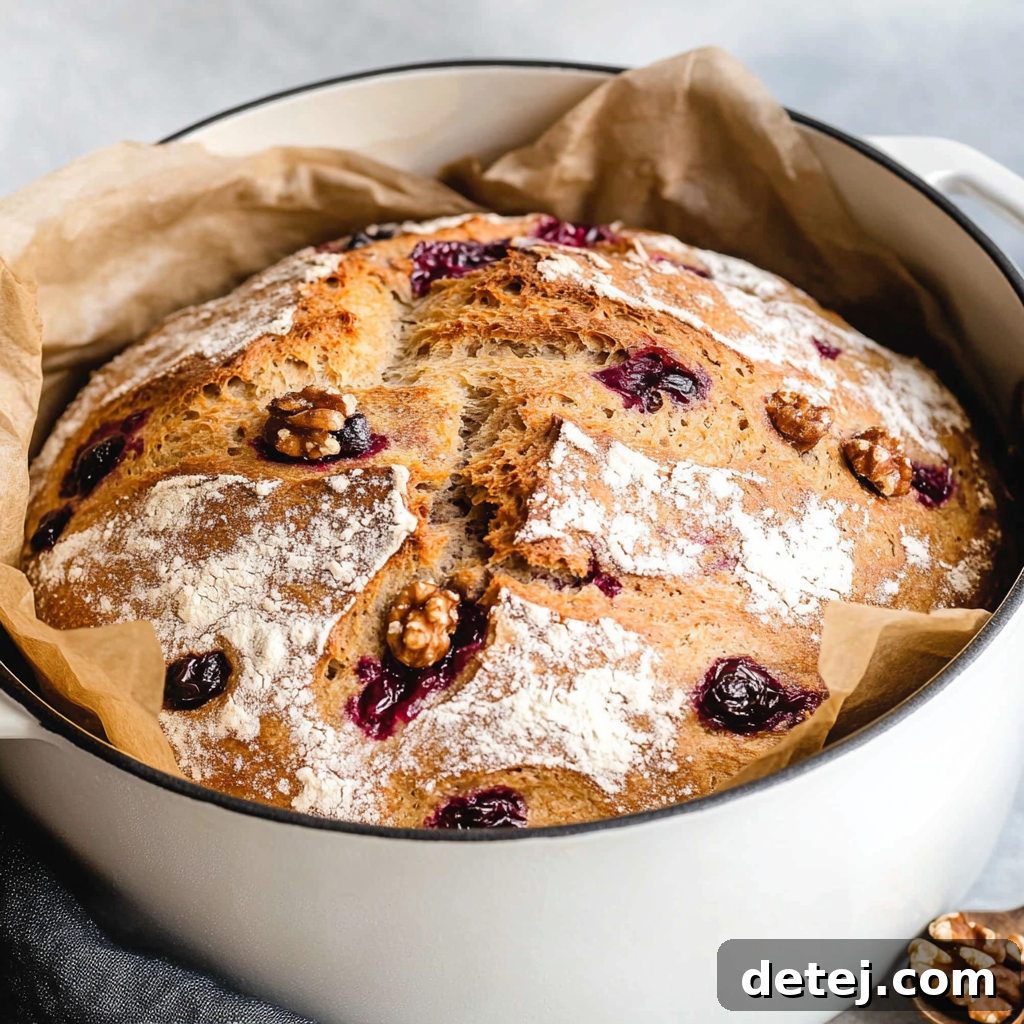
Once preheated, carefully remove the intensely hot Dutch oven from the oven. Using the parchment paper as a convenient sling, gently lower your shaped dough directly into the preheated pot. Treat it with care, as if it were the most precious ingredient in your kitchen—because at this moment, it truly is! Secure the lid tightly onto the Dutch oven. The magic of this method happens under the lid: the trapped steam creates a moist environment around the dough, preventing the crust from setting too quickly and allowing the bread to expand fully, resulting in a beautiful, airy interior. Bake with the lid on for precisely 30 minutes at 450°F. Resist the urge to peek or lift the lid during this critical period, as retaining the steam is paramount.
After 30 minutes, with a heart full of anticipation and your kitchen filling with the most heavenly aroma of baking bread, carefully lift the lid. At this point, your shaggy dough will have transformed into a beautifully puffed, light golden loaf. Now, continue to bake the bread uncovered for an additional 8 to 10 minutes. This final uncovered baking time allows the crust to deepen its color to a rich golden brown, develop its signature crispness, and truly complete its transformation. Always handle the Dutch oven with extreme caution, using thick oven mitts, as it will be incredibly hot. Once baked to perfection, remove the pot from the oven, lift the bread out using the parchment paper, and transfer it to a wire rack to cool completely. This cooling step is vital for the bread’s internal structure and flavor to fully set, ensuring every slice is a delectable experience.
Serving & Storing Your Delectable Cranberry Walnut Bread
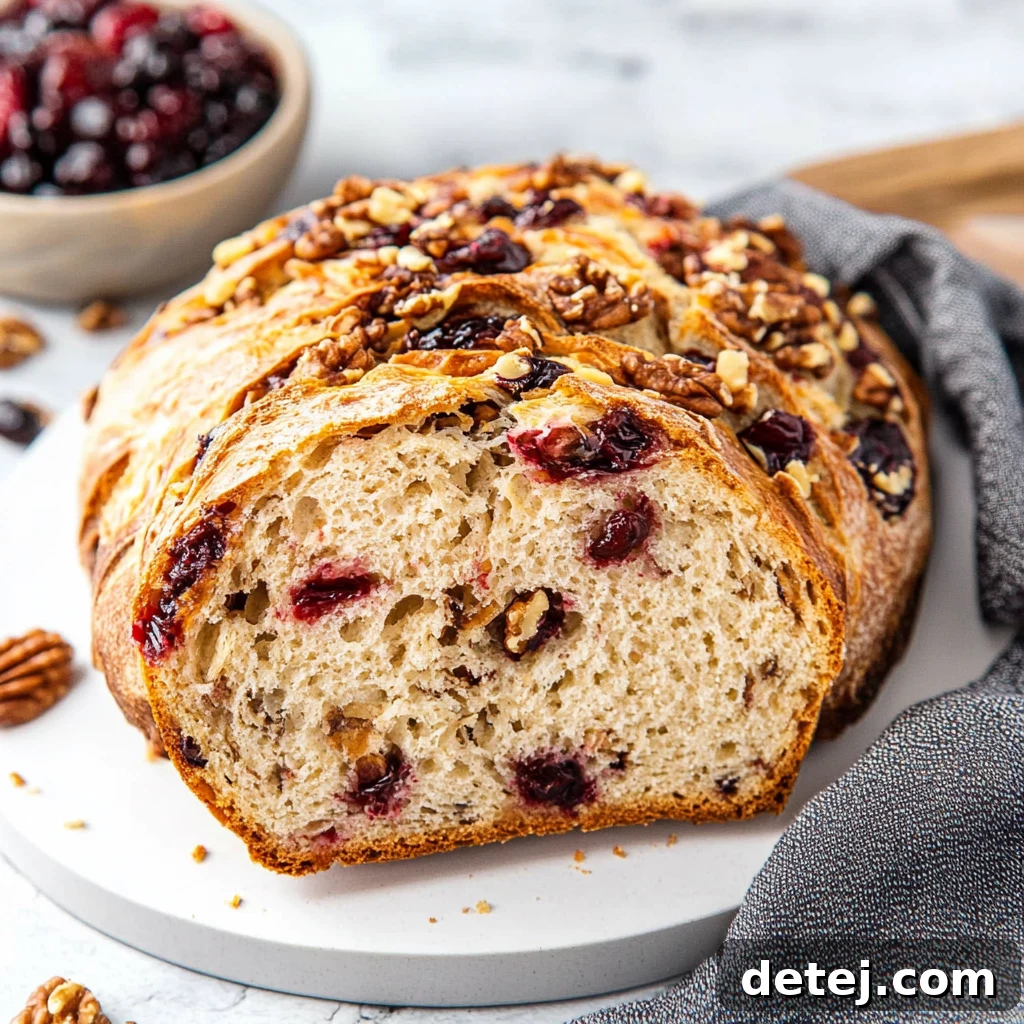
There are few joys quite like serving a fresh loaf of homemade Cranberry Walnut Bread, still warm from the oven, especially during the festive holiday season. Imagine the moment you slice into that perfect loaf: the satisfying crunch of its golden brown crust giving way to a tender, aromatic interior studded with vibrant, tart cranberries and crunchy walnuts. The aroma alone is enough to captivate everyone in the room. This delicious bread is incredibly versatile and pairs wonderfully with a simple smear of good quality butter, allowing its inherent flavors to shine. For an added touch of sweetness and indulgence, a drizzle of warm honey or a dollop of cream cheese can elevate each bite, making everyone reach for seconds.
If you’re fortunate enough to have leftovers (a rare occurrence with this irresistible bread!), proper storage ensures its freshness and delightful taste endure. For short-term storage at room temperature, simply place the cooled bread in an airtight container or wrap it tightly with plastic wrap, then aluminum foil. This will keep it fresh for 2-3 days. For longer enjoyment, this tasty bread freezes beautifully. Once completely cooled, slice the loaf and wrap individual slices or halves tightly in plastic wrap, then aluminum foil, before placing them in a freezer-safe bag. This method allows you to savor the homemade flavors weeks or even months after your kitchen has cooled down, ready to be thawed and enjoyed at a moment’s notice. Sharing this amazing bread with loved ones, and watching their faces light up with every bite, truly captures the essence of holiday magic in every single, delicious slice.
Make Cranberry Walnut Bread Your New Favorite Holiday Tradition
As the enchanting holiday season draws near, what better way to embrace this heartwarming time than by forging a new tradition that fills your home with the utterly irresistible aroma of freshly baked cranberry walnut bread? There’s a profound magic in bringing together simple, wholesome ingredients—like flour, a touch of sugar, and of course, those wonderfully tart cranberries and robust earthy walnuts—to create something that not only tastes amazing but also serves as a beautiful catalyst for bringing people closer. This recipe isn’t just about baking; it’s about connection, comfort, and celebration.
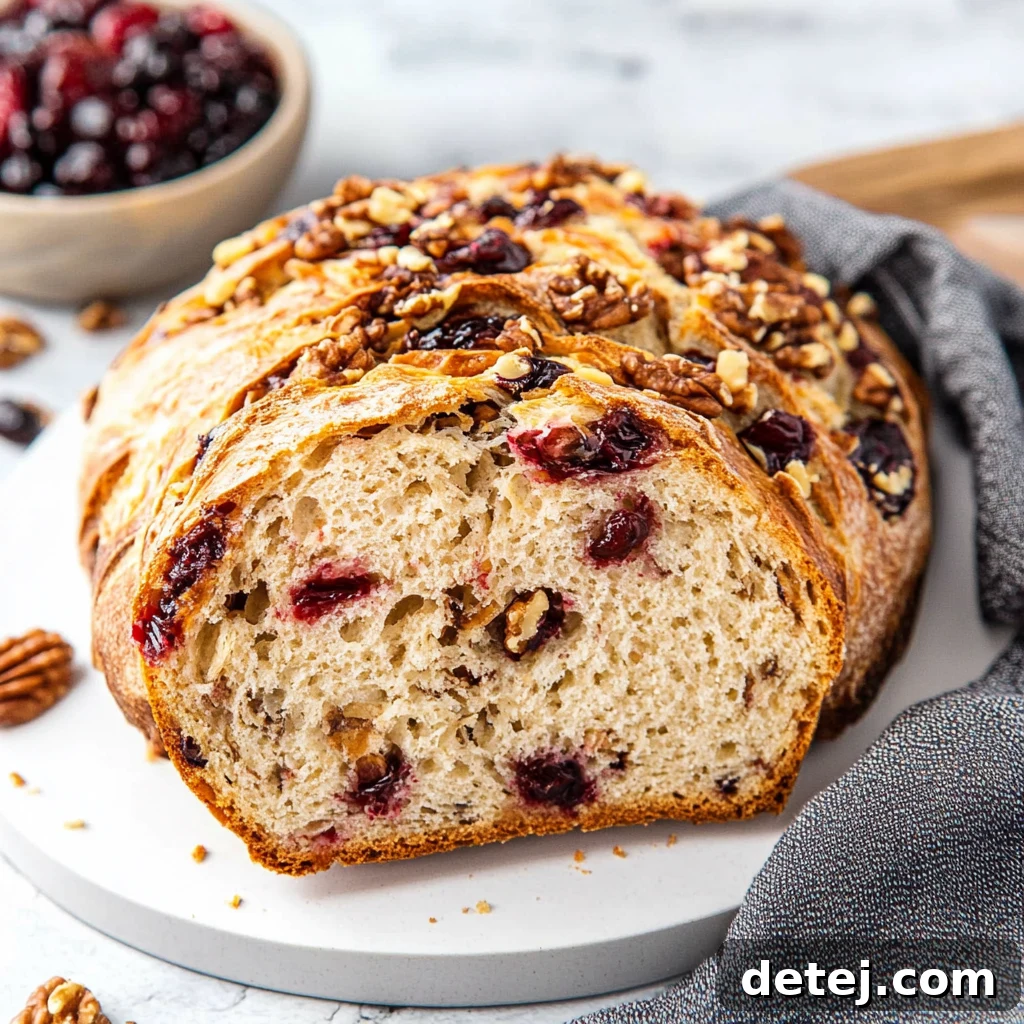
From the very first moment you gently combine the ingredients, feeling the sticky dough beneath your hands, to the triumphant instant you pull a golden-brown, fragrant loaf from the oven, you’ll experience a deep sense of pride and joy unique to baking delicious homemade bread. This no-knead method simplifies the process, making it enjoyable and rewarding even for busy schedules. And when you finally slice into that perfect loaf, revealing the delightful contrast of crunchy walnuts and glistening tart cranberries, you’re not just serving bread; you’re offering a piece of your heart, creating cherished memories that will warm you through many winter seasons to come. I wholeheartedly encourage you to welcome cranberry walnut bread into your holiday traditions. It’s an experience that nourishes the soul as much as it delights the taste buds, promising to become a beloved staple in your festive celebrations for years to come.
Easy Cranberry Walnut Bread
Ingredients
- ½ teaspoon active dry yeast
- 1 ½ cups warm water (warmed to 110 to 115 degrees F)
- 1 teaspoon granulated sugar
- 2 teaspoons Kosher salt
- 3 cups bread flour, plus 2 tablespoons plus more for surface
- ¾ cup dried cranberries
- ½ cup dried walnuts, roughly chopped
- 1 tablespoon honey
- 1 tablespoon orange zest
Instructions
-
Ensure you have a 5 to 6-quart Dutch oven with a tight-fitting lid that can withstand temperatures up to 450°F (230°C).
-
In a small bowl, dissolve the yeast and sugar in warm water (110 to 115°F / 43-46°C). Let it sit for about 10 minutes until it becomes foamy. If it doesn’t foam, discard and start over with a new batch of yeast and water.
-
In a large bowl, whisk together the bread flour and salt. Pour in the yeast mixture and honey, mixing with a wooden spoon or spatula until there are no dry flour pockets left and a shaggy dough forms. Be careful not to over-mix. Gently fold in the cranberries, walnuts, and orange zest, stirring just until combined. The dough will be sticky and wet, which is normal for this no-knead method. Cover the bowl tightly with plastic wrap, ensuring it doesn’t touch the dough, and let it rest at room temperature on your countertop for 18 hours.
-
After 18 hours, the dough will have expanded and will still be sticky and wet. Do not punch down the dough, as this will remove the precious air bubbles.
-
Lightly flour your work surface and your hands. Carefully turn the dough out onto the floured surface, turning it to coat gently with flour. Gently fold the edges of the dough toward the center to form a round ball, being careful to maintain the air bubbles. Then, with the smooth side facing up, gently press the sides to reshape if necessary. Place the dough onto a lightly floured sheet of parchment paper, smooth side up.
-
Cover the dough loosely with plastic wrap and let it rest on the counter for 30 minutes.
-
Meanwhile, place your Dutch oven (with the lid) inside your oven and preheat to 450°F (230°C) for at least 30 minutes.
-
Before baking, you may score the top of the dough with a sharp knife or razor blade to create an “X” or any pattern you like. This helps control where the bread expands.
-
Carefully remove the hot Dutch oven from the oven. Immediately transfer the dough, along with the parchment paper, into the hot pot. Secure the lid tightly and bake at 450°F (230°C) for 30 minutes. Do not open the lid during this time to retain the steam. After 30 minutes, remove the lid and bake for an additional 8 to 10 minutes until the crust turns a rich golden brown.
-
Remove the pot from the oven. Carefully lift the bread out using the parchment paper and transfer it to a wire rack. Let it cool completely for at least 1-2 hours before slicing and enjoying. Cooling allows the internal structure to set and flavors to fully develop.