
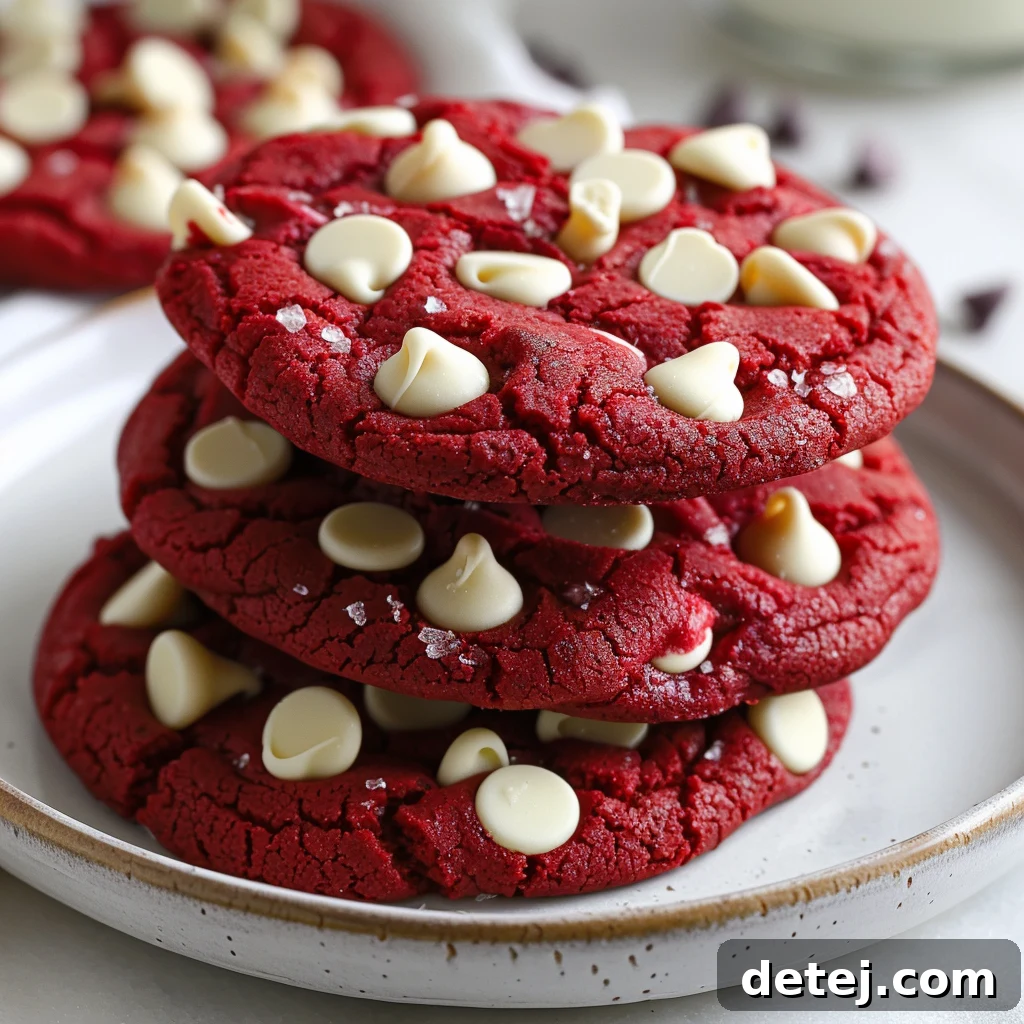
Unlocking the Secret to Perfectly Chewy Red Velvet Cookies
Introduction: The Irresistible Charm of Red Velvet Cookies
Greetings, fellow baking enthusiasts and sweet treat connoisseurs! Today, we embark on a delectable journey to uncover the true secret behind crafting the most heavenly red velvet cookies you’ll ever taste. For anyone who cherishes the iconic red velvet flavor – be it in classic cupcakes, rich cakes, or delightful crinkle cookies – there’s an undeniable magic that makes this dessert truly special. Its unique blend of subtle chocolate, a hint of tang, and that stunning crimson hue instantly elevates any occasion, making it a perennial favorite, especially around holidays like Valentine’s Day or Christmas.
Imagine transforming the beloved essence of a traditional red velvet cake into perfectly portioned, incredibly soft, and chewy red velvet chocolate chip cookies. This isn’t just another cookie recipe; it’s an invitation to infuse your baking repertoire with elegance and irresistible flavor. Whether you’re a novice baker eager to learn or a seasoned pro looking for a show-stopping recipe, these cookies promise to bring joy to your kitchen and delight to every palate. Prepare to impress your friends and family as we delve into the art of creating these magnificent treats!
The Timeless Allure of Red Velvet: More Than Just a Color
Why do red velvet cookies captivate our senses and hold such a cherished spot in the world of desserts? It’s far more than just their striking crimson appearance. The allure of red velvet lies in its complex flavor profile – a delicate dance between rich cocoa and a subtle tang, often enhanced by buttermilk or vinegar. This unique combination creates a depth of flavor that is distinct from a regular chocolate cookie, offering a sophisticated sweetness that is both comforting and exciting.
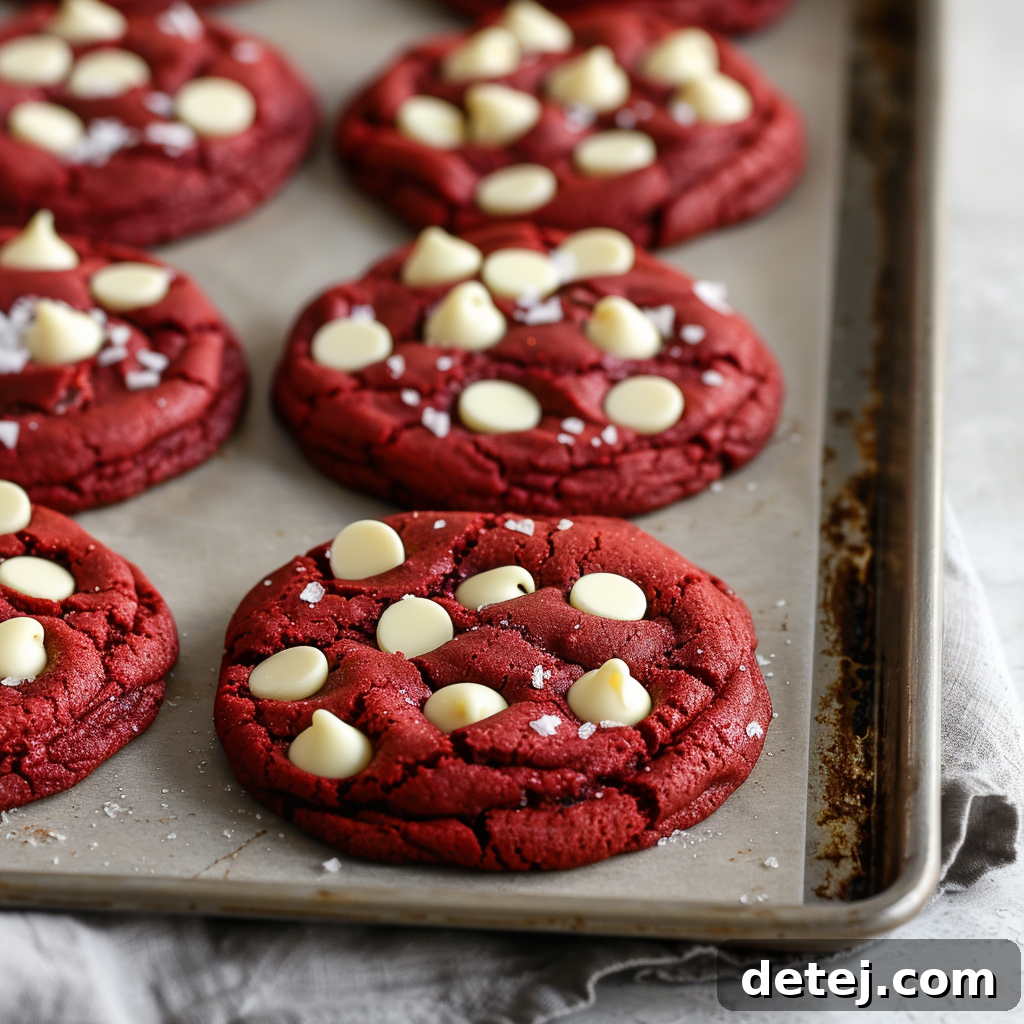
Historically, the “red” in red velvet initially came from the natural reaction between acidic ingredients (like cocoa powder, buttermilk, and vinegar) and non-Dutch-processed cocoa powder, which would highlight the reddish-brown anthocyanin pigments in the cocoa. Today, a few teaspoons of red food coloring or gel ensure that iconic, vibrant red that makes these cookies a feast for the eyes as well as the taste buds. This festive color transforms a simple batch of cookies into a celebration, ideal for any special gathering or simply brightening an ordinary day. Paired with a luscious cream cheese frosting, these treats offer a symphony of textures and flavors – from their soft, chewy centers to their slightly crisp edges – creating a truly memorable dessert experience.
Essential Ingredients for Red Velvet Perfection
Crafting the ultimate red velvet cookie begins with selecting and understanding the role of each ingredient. Think of these as the building blocks of flavor and texture, each contributing to the magical outcome. Precision in measurement and quality ingredients are your allies on this baking adventure.
- All-Purpose Flour: The foundation of our cookies, providing structure without being too dense. Using the ‘spoon and level’ method is crucial to avoid tough cookies.
- Unsweetened Cocoa Powder: This provides the subtle chocolate flavor that is characteristic of red velvet. It’s not meant to be intensely chocolaty, but rather a gentle backdrop.
- Baking Soda & Baking Powder: These leavening agents work together to give the cookies their perfect rise and chewy texture.
- Salt: A pinch of salt is vital for balancing the sweetness and enhancing all the other flavors.
- Unsalted Butter (softened): The maestro of moisture and richness. Room temperature butter creams beautifully with sugar, incorporating air for a light, tender crumb.
- Light Brown Sugar & Granulated White Sugar: The combination of these sugars is key. Brown sugar adds moisture, chewiness, and a subtle molasses note, while white sugar contributes to spread and a slightly crisp edge.
- Egg Yolks (room temperature): Using only yolks, rather than whole eggs, contributes to a richer, chewier cookie with a more tender crumb. Room temperature yolks emulsify better.
- Vanilla Extract: A crucial flavor enhancer that complements both the cocoa and the sweetness. Use good quality vanilla for the best taste.
- Red Gel Food Coloring: For that signature, vibrant red hue. Gel coloring provides a more intense color with less liquid, preventing thinning of the dough.
- White Chocolate Chips: These sweet, creamy morsels provide a delightful contrast in flavor and texture, creating an irresistible bite in every cookie.
Mastering the Art of Red Velvet Cookie Preparation
Success in baking often hinges on meticulous preparation. Two key elements can significantly impact the final texture and quality of your red velvet cookies: ingredient temperature and accurate measurement.
Firstly, the magic of room temperature ingredients cannot be overstated. Softened unsalted butter and eggs blend together seamlessly, creating a smooth, homogenous mixture that traps air effectively. This aeration is vital for achieving that desired light and tender texture in your cookies. Cold ingredients, on the other hand, resist emulsification, leading to a lumpy dough and a less uniform bake.
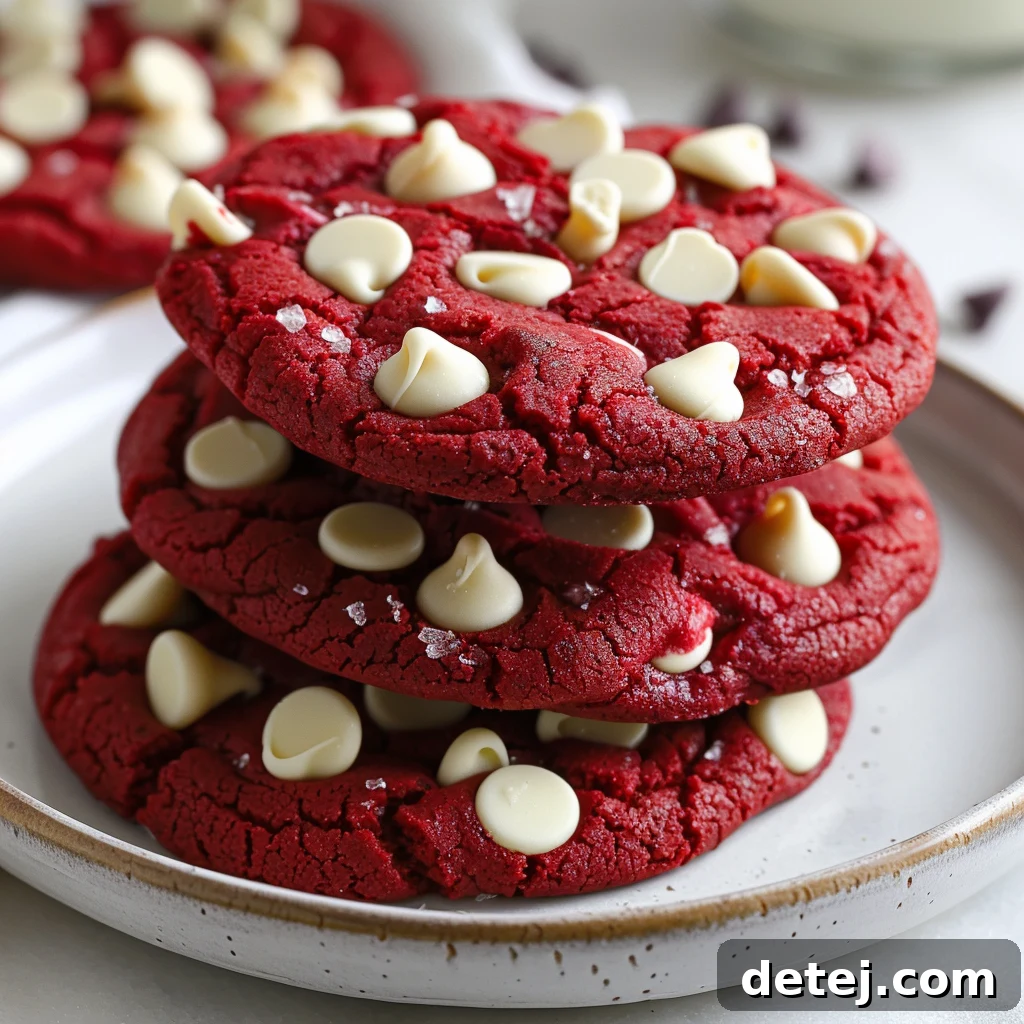
Secondly, let’s talk about measuring flour – the backbone of any cookie recipe. Precision here is paramount. Avoid the common pitfall of scooping flour directly from the bag, which compacts it and can add significantly more flour than intended, leading to dry, tough cookies. Instead, use the ‘spoon and level’ technique: gently spoon flour into your measuring cup until it’s overflowing, then use the back of a knife or a straight edge to level it off. For the most consistently excellent results, a kitchen scale is your best friend; one cup of all-purpose flour typically weighs around 125 grams. This small but crucial step is the difference between a perfectly soft, chewy cookie and a dense, crumbly disappointment.
Your Step-by-Step Guide to Baking Irresistible Red Velvet Cookies
Ready to bring these delightful red velvet cookies to life? Follow these clear, step-by-step instructions, and you’ll be enjoying a batch of fresh, homemade cookies in no time. Precision and a little patience are all you need for baking success!
- Preheat and Prepare: Begin by preheating your oven to 350°F (175°C). Line two baking sheets with parchment paper. This prevents sticking and ensures even baking, making cleanup a breeze.
- Whisk Dry Ingredients: In a medium bowl, combine the 1 ½ cups plus 2 tablespoons of all-purpose flour (spooned and leveled), 2 tablespoons unsweetened cocoa powder, ½ teaspoon baking soda, ½ teaspoon baking powder, and ½ teaspoon salt. Whisk these dry ingredients thoroughly to ensure they are well combined and evenly distributed. Set aside.
- Cream Wet Ingredients (Part 1): In a large mixing bowl, add ¾ cup (1 ½ sticks) softened salted butter, ¾ cup light brown sugar, and ¼ cup granulated white sugar. Using an electric mixer, cream these together on medium speed for about two minutes, or until the mixture is light, fluffy, and pale in color. This step is vital for incorporating air, which contributes to the cookies’ tender texture.
- Introduce Color and Flavor: Add the two room temperature egg yolks, 1 tablespoon vanilla extract, and 1 teaspoon red gel food coloring to the creamed butter and sugar mixture. Mix on medium speed for another two minutes, or until the color is uniformly vibrant red and the mixture is fluffy. Scrape down the sides of the bowl as needed to ensure everything is fully incorporated.
- Combine Wet and Dry: Gradually add the whisked dry ingredients to the wet ingredients. Mix on low speed just until the flour streaks disappear and the dough comes together. Be careful not to overmix, as this can lead to tough cookies.
- Fold in White Chocolate: Gently fold in ¾ cup of white chocolate chips until they are just incorporated throughout the dough. Avoid overmixing once the chocolate chips are added.
- Scoop and Space: Using a medium cookie scoop (approximately 1.5 tablespoons of dough per cookie), scoop the cookie dough into 18 balls. Arrange the dough balls about two inches apart on your prepared baking sheets. This spacing allows them to spread without merging.
- Bake to Perfection: Bake the cookies for 10-12 minutes. You’re looking for edges that are lightly set, while the centers still appear slightly soft. They will continue to cook slightly as they cool.
- Cooling Process: Once baked, remove the baking sheets from the oven and let the cookies cool on the sheets for about 5 minutes. This allows them to set up properly. Then, carefully transfer them to a wire cooling rack to cool completely. For an extra aesthetic touch, you can press a few extra white chocolate chips into the tops of the warm cookies immediately after removing them from the oven.
- Enjoy and Store: Serve these heavenly red velvet cookies warm or at room temperature. Any leftovers can be stored in an airtight container at room temperature for up to three days, maintaining their delightful chewiness.
Creative Decorating and Optimal Storage Solutions
Once your irresistible red velvet cookies have emerged from the oven, still warm and fragrant, the fun of decorating and the wisdom of proper storage come into play. A simple yet impactful decorating tip is to press a few extra white chocolate chips onto the tops of the cookies immediately after baking. The residual heat will slightly melt them, creating a visually appealing speckled surface and an extra burst of creamy sweetness in every bite.
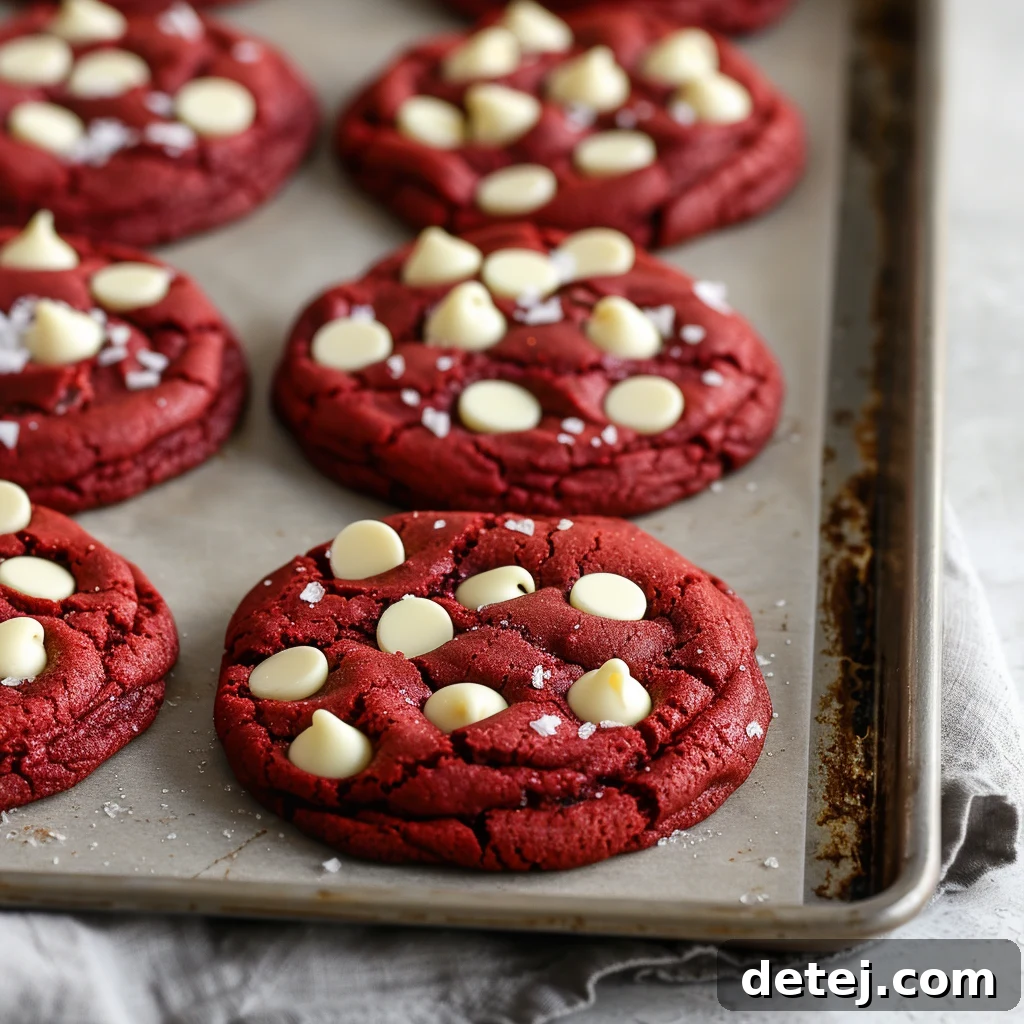
For an elevated experience, consider drizzling the cooled cookies with a simple cream cheese glaze or a dusting of powdered sugar. A light sprinkle of festive sprinkles can also add a celebratory touch, perfect for holidays or birthdays. To ensure your culinary creations remain as fresh and delightful as when they first came out of the oven, proper storage is paramount. Store your cooled red velvet cookies in an airtight container at room temperature. This will help preserve their soft, chewy texture and keep them fresh for up to three days. For longer storage, both baked cookies and raw cookie dough can be frozen for up to two months, allowing you to enjoy these treats whenever a craving strikes.
Troubleshooting Common Red Velvet Cookie Blunders
Even seasoned bakers encounter challenges, and perfecting red velvet cookies, much like a classic red velvet cake, can have its quirks. Here are a couple of common mistakes to avoid on your quest for those perfectly chewy, most delicious red velvet cookies:
- The Peril of Overmixing: When combining your wet and dry ingredients, it’s crucial to mix just until the flour streaks disappear. Overmixing develops the gluten in the flour too much, leading to tough, dense cookies rather than the desired chewy chocolate chip cookie texture. Keep your electric mixer on a low speed or even finish mixing by hand once the dry ingredients are mostly incorporated.
- The Trap of Overbaking: This is arguably the most common cookie mistake. Red velvet cookies, like many other types, continue to cook for a few minutes after they’re removed from the oven. Pull them out when the edges are lightly set but the centers still look slightly soft or even a tad underdone. If you wait until they look perfectly baked in the oven, they will likely be dry and crumbly once cooled. Sticking strictly to the recommended 10-12 minutes bake time, or even slightly less if your oven runs hot, is key to achieving those coveted chewy centers.
By paying close attention to these details and trusting your instincts (and your timer!), you’ll consistently bake batches of red velvet chocolate chip cookies that are as heavenly to eat as they are beautiful to behold.
Perfect Pairings and Serving Inspirations
These divine red velvet cookies are a versatile treat, perfect for countless serving occasions. Imagine serving them warm with a tall, cold glass of milk – a classic and comforting combination that highlights their rich flavor. For the coffee lovers, a steaming cup of freshly brewed coffee or a creamy latte offers a sophisticated pairing, as the slight bitterness of the coffee beautifully contrasts the cookies’ sweetness.
For a truly festive touch, especially during Valentine’s Day, Christmas, or any special gathering, elevate the experience. Consider offering a small bowl of homemade cream cheese frosting for dipping – it’s the iconic flavor companion to red velvet. Another delightful option is to create mini ice cream sandwiches by gently pressing a scoop of vanilla bean ice cream between two cooled cookies. Their vibrant red color and perfectly chewy centers make these cookies not just a treat to eat but a feast for the eyes, enhancing any dessert table, cookie exchange, or holiday platter. These cookies also make a thoughtful homemade gift when wrapped in a pretty box or cellophane bag. Trust us, every bite will have your guests asking for your secret recipe!
Final Thoughts: Embracing Your Inner Baker and Beyond
As we conclude this delightful exploration into the world of red velvet cookies, I hope you feel inspired and confident to create your own heavenly batch. Remember, baking is more than just following a recipe to the letter; it’s an art form that allows for personal expression and creativity. Don’t be afraid to experiment with the ingredients – perhaps swap out white chocolate chips for dark chocolate chunks for a deeper chocolate flavor, or adjust the amount of red food coloring to achieve your desired shade of crimson. You could even add a hint of almond extract for a subtle flavor twist.
The journey of discovering your own version of the perfect red velvet cookies is a deliciously rewarding adventure. Each batch you bake will hone your skills and bring you closer to mastering this beloved dessert. So, preheat your ovens, gather your ingredients, and get ready to spread some joy, one perfect red velvet cookie at a time!
If you’re looking for other comforting baked recipes, be sure to check out my Cheesy Baked Rigatoni!
The Ultimate Red Velvet Cookie Recipe
These super soft, chewy red velvet cookies are packed with rich cocoa goodness and delightful white chocolate chips. A truly irresistible treat!
Yields: 18 cookies
Prep Time: 10 mins
Cook Time: 12 mins
Author: Krystel
Ingredients
- 1 ½ cups + 2 tablespoons all-purpose flour (spooned and leveled)
- 2 tablespoons unsweetened cocoa powder
- ½ teaspoon baking soda
- ½ teaspoon baking powder
- ½ teaspoon salt
- ¾ cup salted butter, softened (1 ½ sticks)
- ¾ cup light brown sugar, packed
- ¼ cup granulated white sugar
- 2 egg yolks, at room temperature
- 1 tablespoon vanilla extract
- 1 teaspoon red gel food coloring
- ¾ cup white chocolate chips, plus extra for decorating (optional)
Instructions
- Preheat oven to 350°F (175°C). Line two large baking sheets with parchment paper and set aside.
- In a medium bowl, whisk together the measured flour, cocoa powder, baking soda, baking powder, and salt until well combined. Set aside.
- In a large mixing bowl, using an electric mixer, cream together the softened salted butter, light brown sugar, and granulated white sugar for two minutes, or until the mixture is light and fluffy.
- Add the egg yolks, vanilla extract, and red gel food coloring to the butter mixture. Mix on medium speed for another two minutes, or until the mixture is uniformly red and fluffy. Scrape down the sides of the bowl as needed.
- Gradually add the dry ingredients to the wet ingredients, mixing on low speed just until the flour is incorporated and the dough comes together. Be careful not to overmix.
- Gently fold in the white chocolate chips by hand until they are evenly distributed throughout the dough.
- Scoop the dough into 18 balls using a medium cookie scoop (about 1.5 tablespoons per cookie). Arrange the dough balls about two inches apart on the prepared baking sheets.
- Bake for 10-12 minutes, or until the edges are lightly golden and set, but the centers still look slightly soft.
- Remove from the oven. Let the cookies cool on the baking sheets for 5 minutes before transferring them to a wire cooling rack to cool completely. (For extra visual appeal, press a few extra white chocolate chips on top of the warm cookies immediately after baking.)
- Store any leftover cookies in an airtight container at room temperature for up to three days.
Notes
- Proper Flour Measurement: Always spoon your flour into the measuring cup and level it off with the back of a knife to avoid adding too much flour, which can result in dry cookies.
- Room Temperature Ingredients: Ensure your butter and egg yolks are at room temperature for a smoother, more evenly mixed dough.
- Don’t Overbake: For the chewiest cookies, remove them from the oven when the edges are set but the centers still look slightly soft. They will continue to firm up as they cool.