
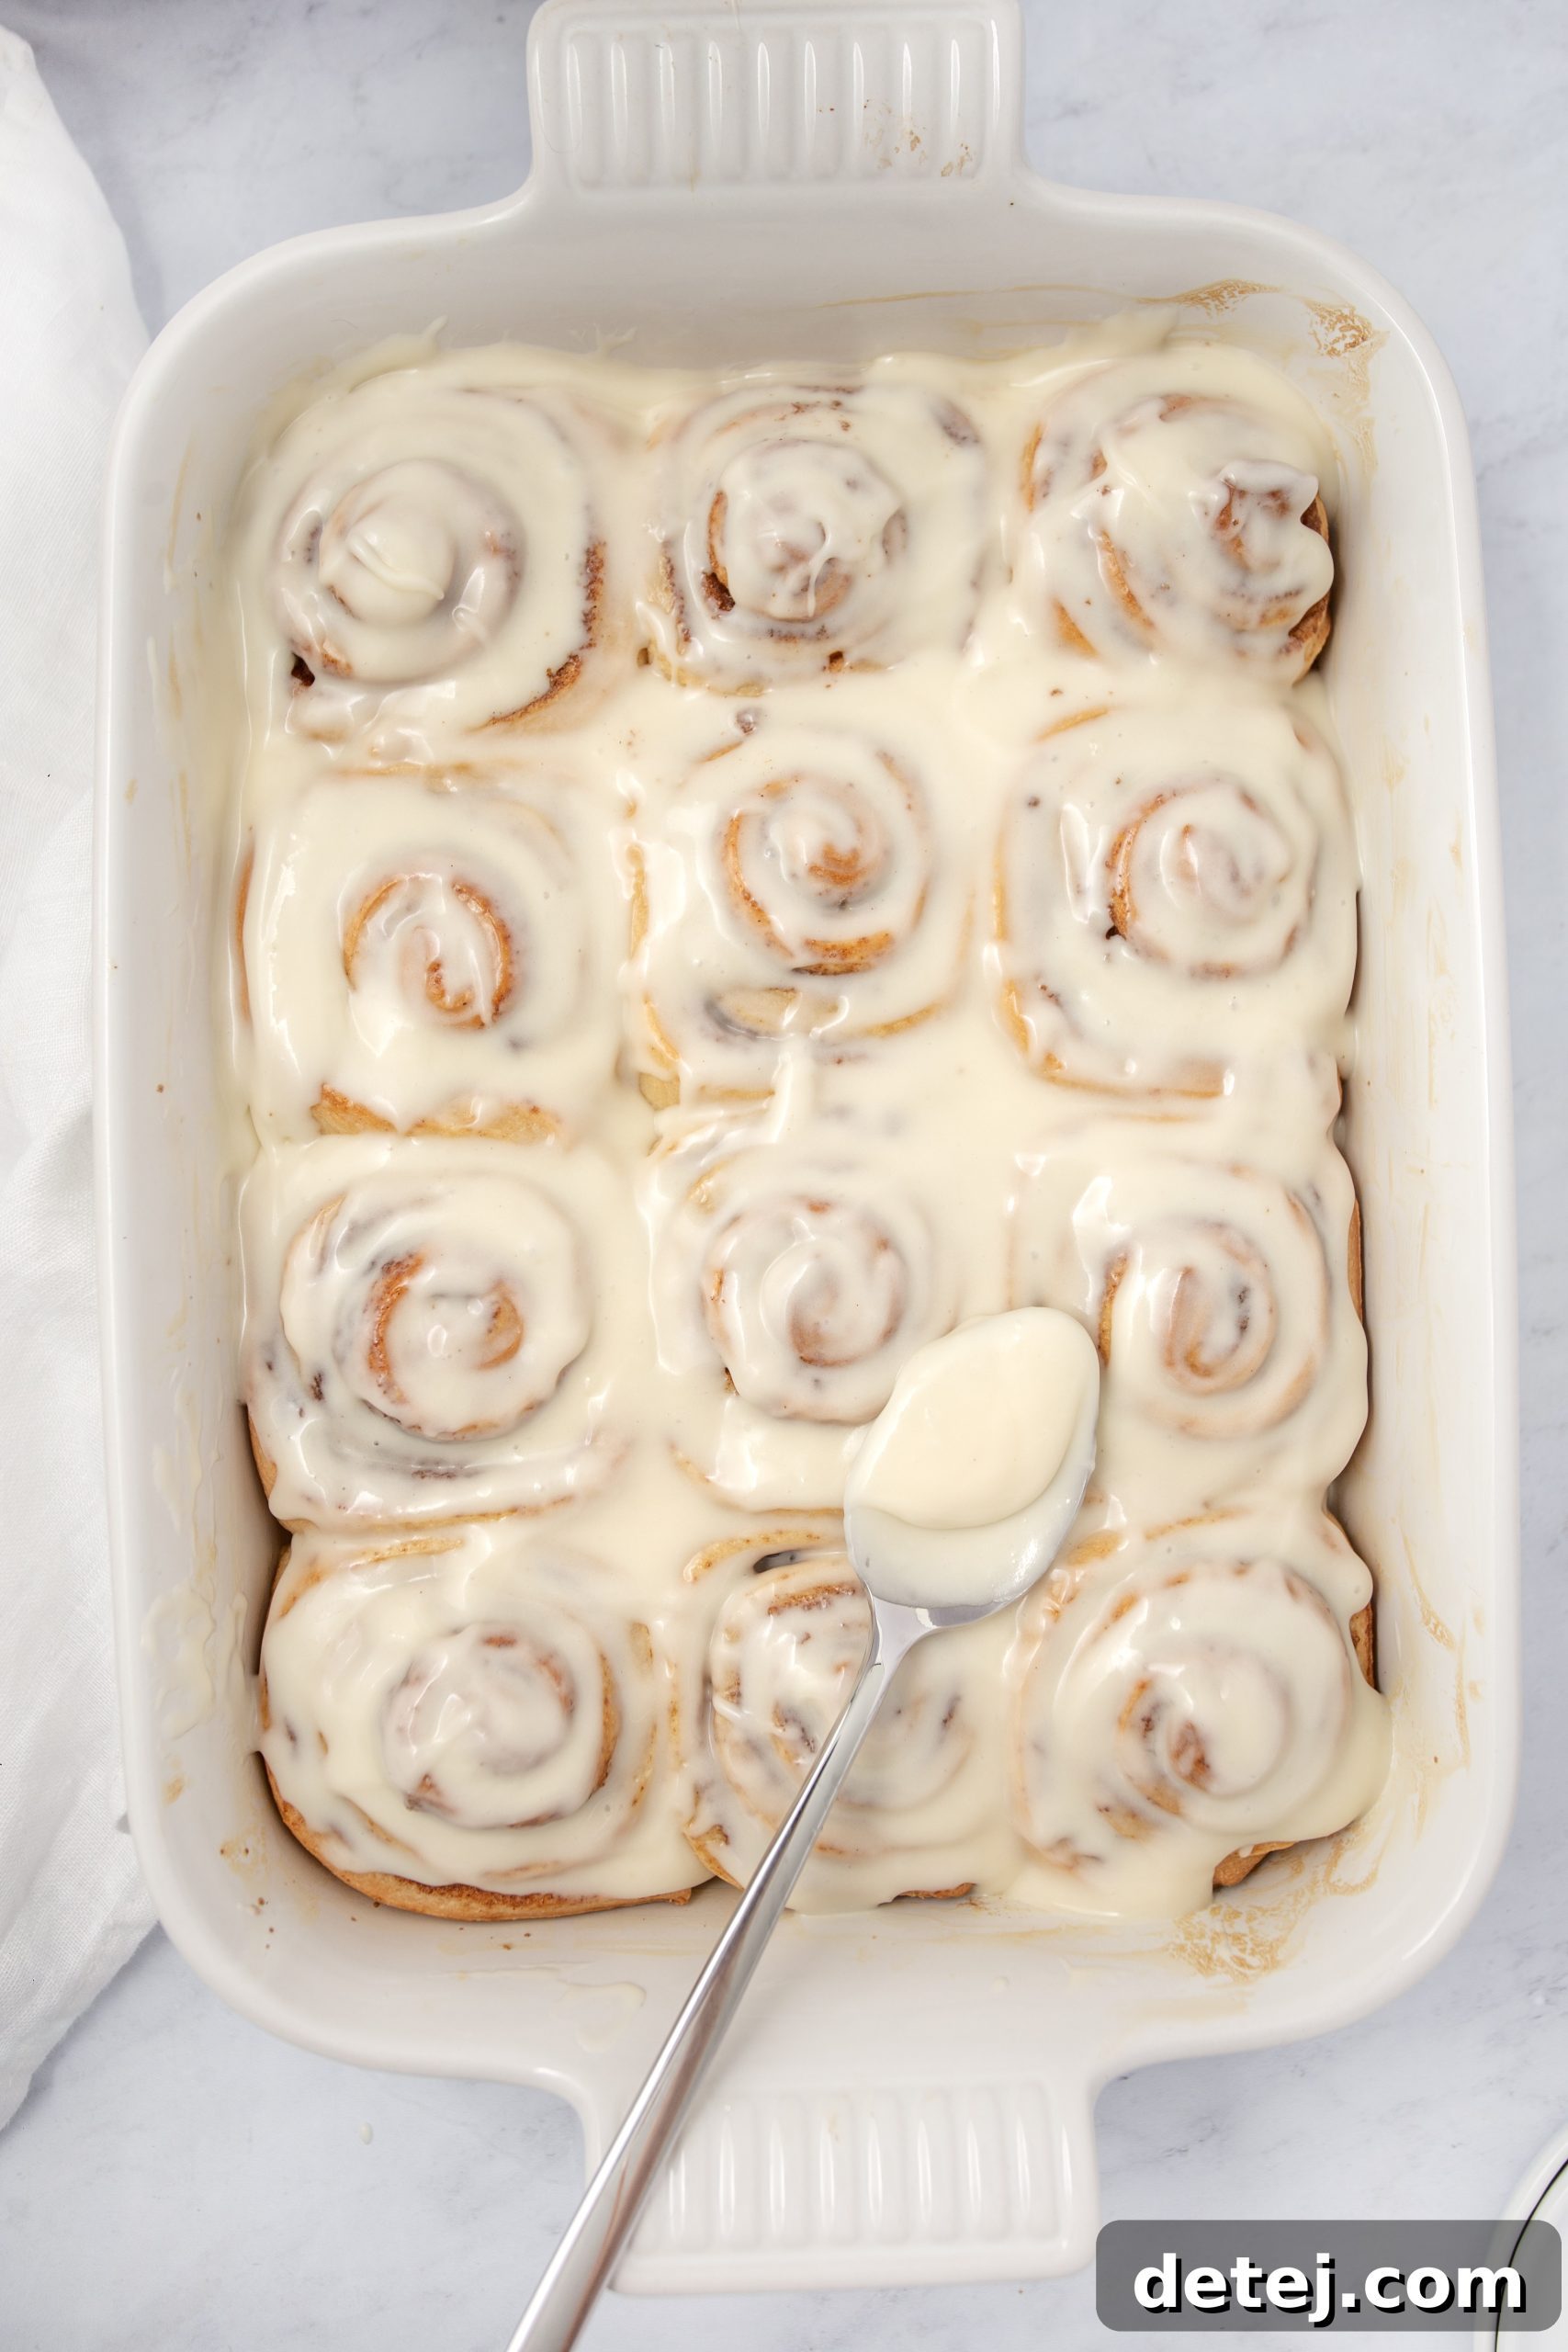
The Ultimate Guide to Baking Irresistible Homemade Cinnamon Rolls
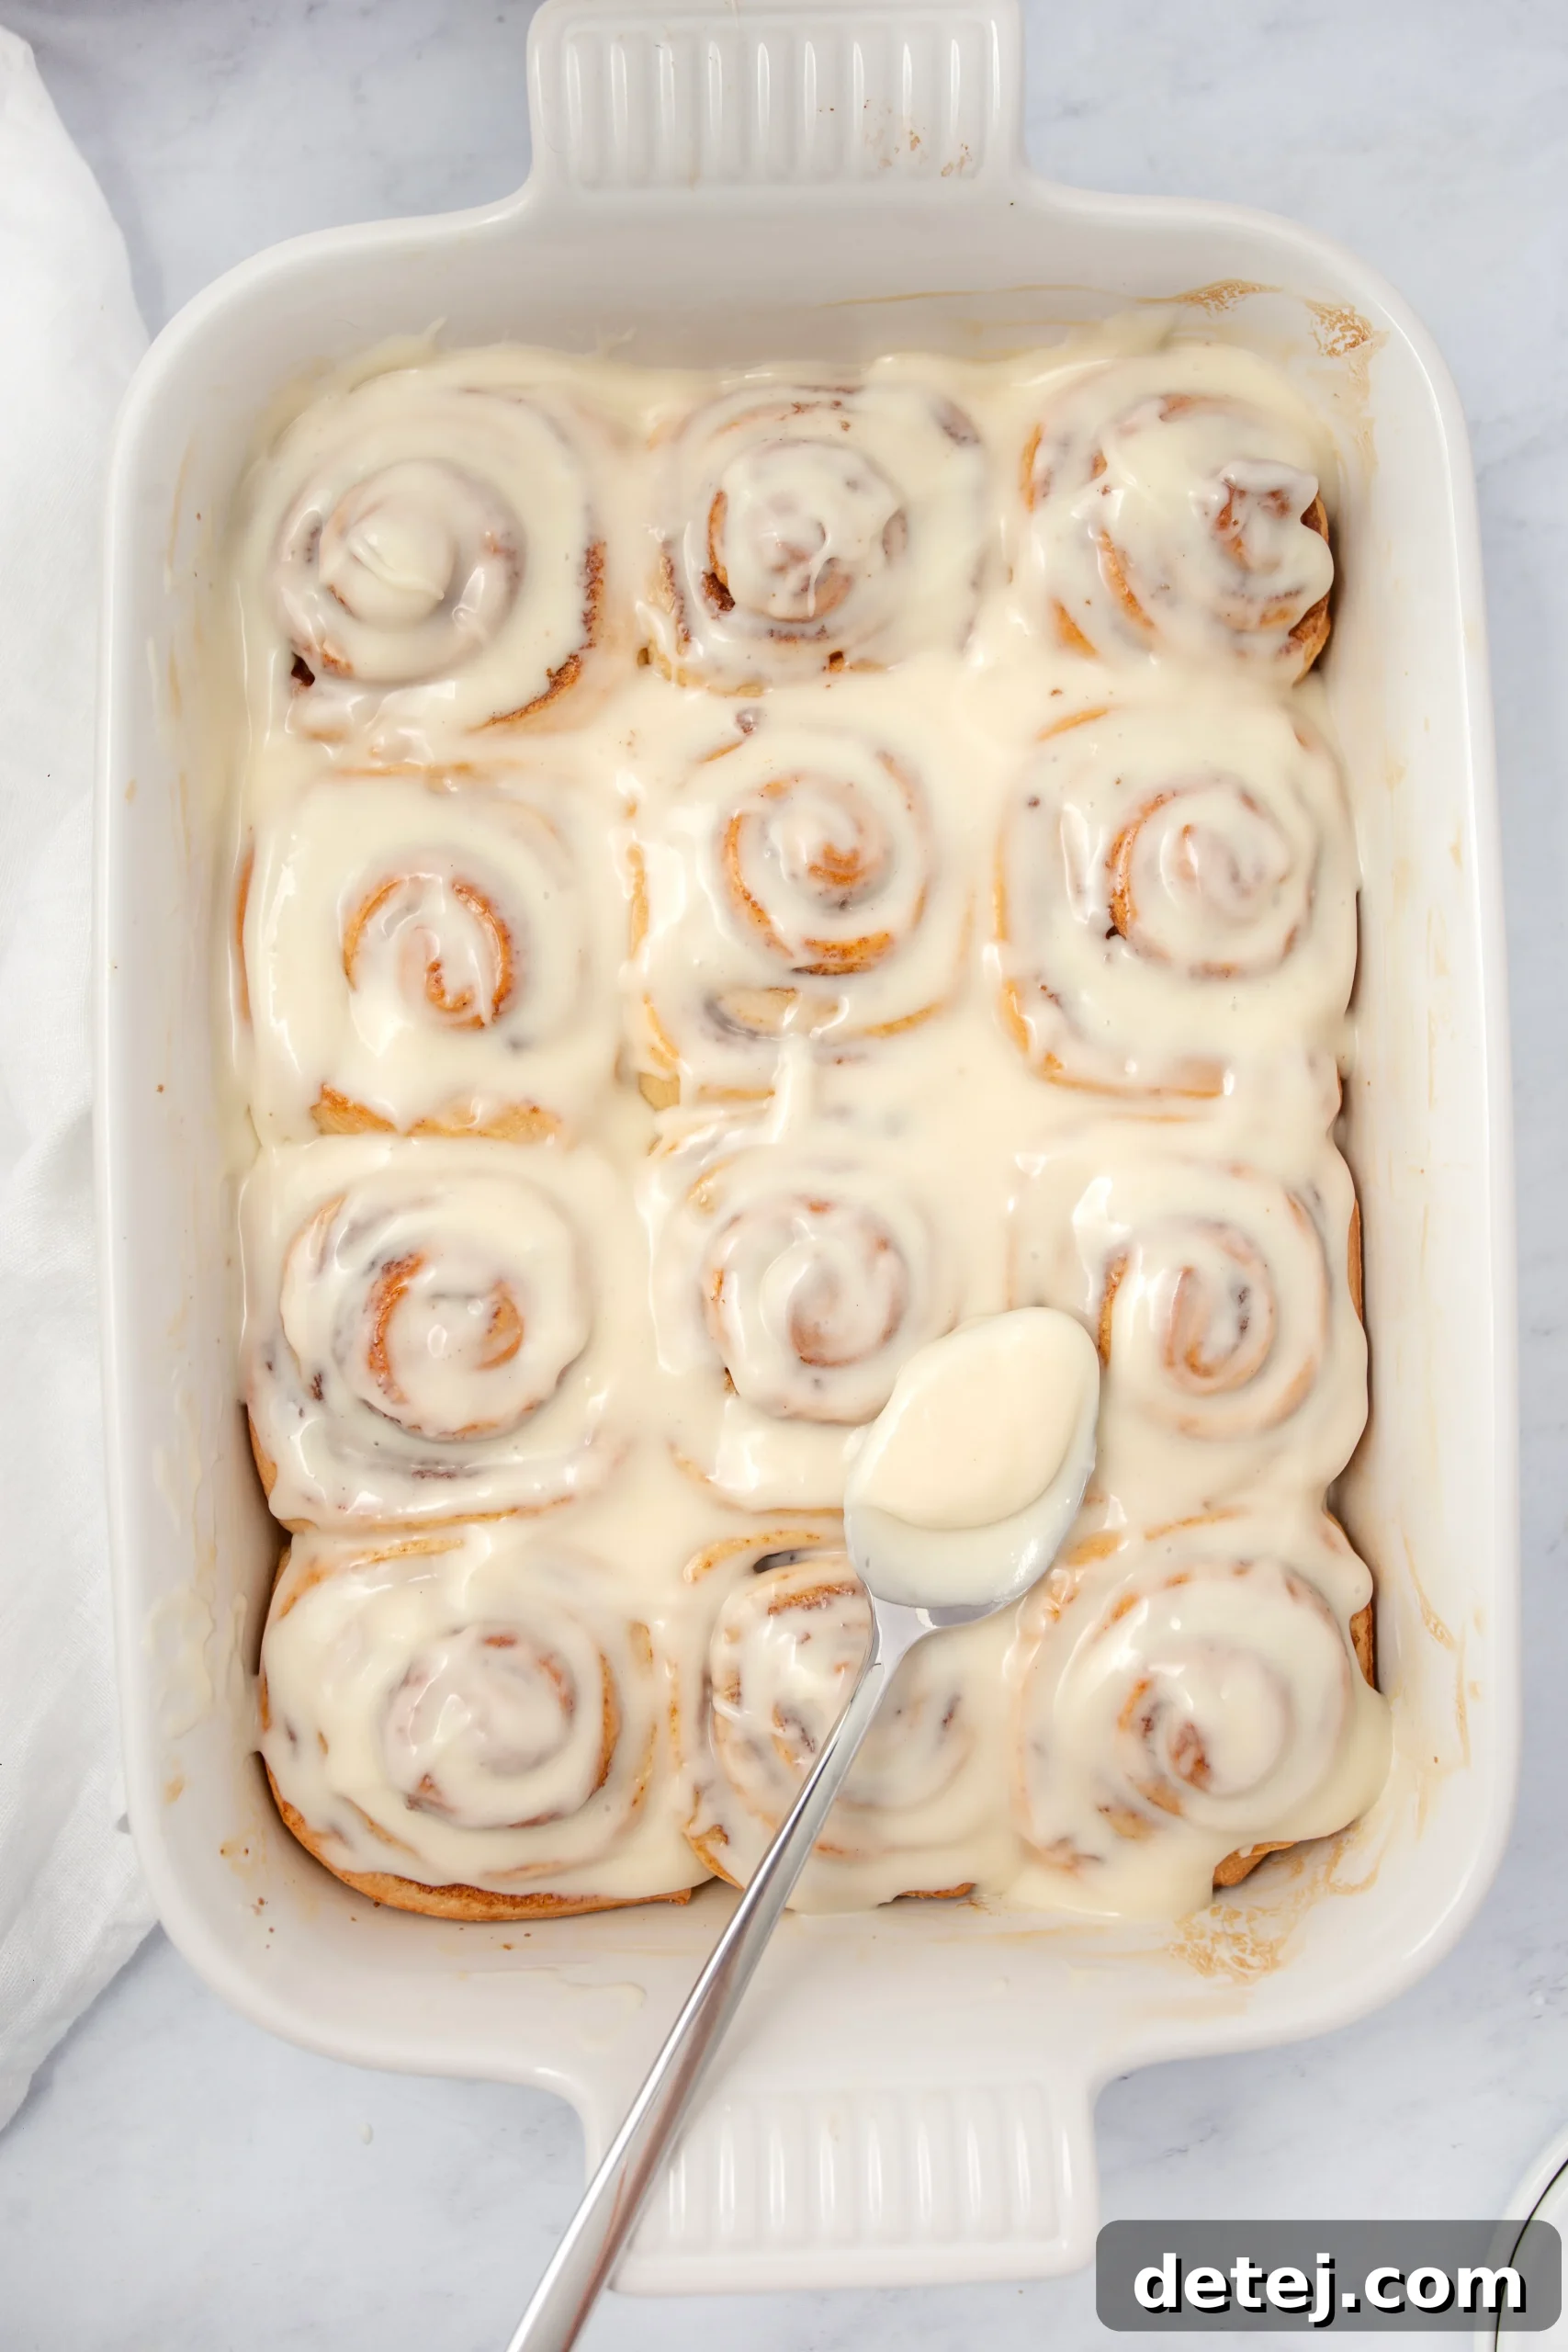
Few aromas are as comforting and inviting as that of freshly baked cinnamon rolls wafting through your home. The sweet, spicy perfume promises a truly delightful indulgence, transforming any ordinary morning into a special occasion. This comprehensive guide will walk you through every critical step to create the softest, most flavorful cinnamon rolls you’ve ever experienced. We’ll uncover the secrets behind achieving that perfect fluffy texture, from the foundational importance of dough preparation and precise yeast activation to crafting the luscious cream cheese frosting that crowns these beloved breakfast pastries. Whether you’re a seasoned baker looking to perfect your technique or embarking on your first sweet baking adventure, this guide is designed to empower you. Prepare to bake the best cinnamon rolls, making them the unforgettable highlight of any brunch or family gathering. More than just a recipe, this is an invitation to create cherished memories, one warm, gooey, perfectly spiced roll at a time.
Key Takeaways for Perfect Cinnamon Rolls:
- Dough Mastery: Learn precise dough preparation and yeast activation techniques essential for irresistibly soft and fluffy cinnamon rolls.
- Flavorful Filling: Discover the ideal filling recipe and rolling method to ensure every swirl is bursting with sweet, spiced flavor.
- Decadent Frosting: Master the art of cream cheese frosting for that ultimate creamy, tangy finish that makes these sweet treats truly extraordinary.
Essential Ingredients: The Heart of Your Homemade Cinnamon Rolls
Crafting exceptional homemade cinnamon rolls begins with understanding the role each ingredient plays. Quality and proper handling are paramount, contributing significantly to the final texture and flavor of your delicious sweet treats. Let’s delve into the components that create this irresistible classic, from the tender dough to the rich, creamy frosting.
For the **dough**, the journey starts with warm milk—the precise temperature is vital for gently awakening the active dry yeast, which is your secret to a light, airy crumb. All-purpose flour provides the essential structure, while a touch of light brown sugar adds subtle sweetness and helps with tenderness. Room-temperature butter enriches the dough, lending a beautiful softness, and a splash of vanilla extract infuses a comforting aromatic depth. Don’t overlook the kosher salt, which balances the sweetness and enhances all the other flavors. A whisper of cinnamon in the dough itself provides a foundational warmth that hints at the delights to come.
The **filling** is where the iconic cinnamon roll personality truly shines. It’s a glorious blend of very soft, spreadable butter, generously mixed with fragrant light brown sugar and a bountiful amount of high-quality cinnamon. This buttery, spiced-sugar mixture melts into the dough during baking, creating those gooey, aromatic layers we all crave.
And finally, the crowning glory: the **cream cheese frosting**. This decadent topping requires full-fat cream cheese and soft butter, both at room temperature for optimal creaminess. A dash more vanilla extract deepens the flavor, while powdered sugar is gradually incorporated to achieve a smooth, spreadable, and perfectly balanced sweetness with a delightful tang. Each ingredient, though simple, contributes to a symphony of flavors and textures, ensuring every bite of your homemade cinnamon rolls is pure bliss.
Dough: The Foundation for Fluffy Perfection
Building the dough might seem like the most intimidating part of baking cinnamon rolls, but it’s truly where the magic begins. The process is a delightful blend of science and touch, leading to an incredibly soft and pliable foundation for your sweet creation. Our first step is to gently rouse our yeast—the tiny, living organisms responsible for the dough’s signature fluffiness. We do this by mixing active dry yeast into warm milk. The temperature of the milk is critical; it should be akin to a warm bath (around 110-115°F), comfortable enough to encourage the yeast to bubble and become active, but not so hot that it kills them. Next, we stir in a measure of granulated sugar until it dissolves. This provides the initial nourishment for the yeast, ensuring they’re well-fed and ready to work their wonders.
Once your yeast is visibly foamy and active, it’s time to introduce the remaining dough ingredients. We gradually incorporate the all-purpose flour, which forms the core structure of your rolls. Along with this, light brown sugar contributes additional sweetness and moisture, while melted butter (cooled to room temperature) adds richness and promotes tenderness. A large, room-temperature egg enhances the dough’s structure and gives it a lovely golden hue. A generous splash of vanilla extract weaves a subtle, inviting aroma throughout the dough, and kosher salt balances the flavors. Finally, a hint of ground cinnamon in the dough itself amplifies the overall spiced experience. Kneading these ingredients together is a tactile pleasure. Whether by hand or with a stand mixer, you’re looking for a dough that is soft, slightly tacky but not overly sticky, and springs back gently when pressed. This diligent kneading develops the gluten, resulting in the characteristic chewy yet tender texture of the best cinnamon rolls. After kneading, the dough is ready for its initial rise, transforming into a light, airy mass, doubling in size, and truly becoming the perfect canvas for the sweet, spiced filling.
Activating Yeast: The Key to a Perfect Rise
Yeast activation is a foundational step in creating truly fluffy and airy homemade cinnamon rolls. It’s a simple process, but getting it right ensures your dough rises beautifully, leading to light and tender pastries. Here’s how to master it:
- Measure the Warm Milk Carefully: Start by heating your milk to a precise temperature of 110-115°F (43-46°C). This range is crucial – it’s warm enough to activate the yeast without being so hot that it kills these delicate microorganisms. Use a kitchen thermometer for accuracy; eyeballing can lead to disappointing results.
- Dissolve the Sugar: In a large bowl (or the bowl of your stand mixer), stir in the granulated sugar with the warm milk until it completely dissolves. This sugar not only sweetens the dough but, more importantly, provides immediate food for the yeast, kickstarting their activity and ensuring a robust rise.
- Sprinkle the Yeast: Evenly sprinkle the recommended amount of active dry yeast over the surface of the warm, sugary milk. Resist the urge to stir immediately. Allowing the yeast to rehydrate on the surface for a moment before mixing can sometimes lead to better activation. Always use active dry yeast for this recipe; instant yeast behaves differently and might not give you the same predictable results or foamy proof.
- Wait for the Magic to Happen: Let the mixture sit undisturbed for about 5 to 10 minutes. During this time, the yeast will begin to consume the sugar and produce carbon dioxide, creating a visible foamy layer on the surface. This bubbly foam is your clear indication that the yeast is alive, active, and ready to infuse your dough with light, airy volume, promising the best cinnamon rolls imaginable. If you don’t see this foamy layer, your yeast may be old, or your milk temperature was off, and you’ll need to start this step over.
Mastering the Kneading Technique for Optimal Texture
Kneading is more than just mixing; it’s an art that develops the gluten in your dough, giving your homemade cinnamon rolls their signature chewy-soft texture. It’s a meditative process that connects you with your baking, ensuring a superior finished product. Follow these steps to achieve dough perfection:
- Combine Ingredients Thoughtfully: Once your yeast is activated and foamy, slowly add the all-purpose flour mixture and other remaining dough ingredients to the bowl. Start mixing on a low speed or by hand, allowing the ingredients to come together. Feel the transformation as the dry components hydrate and the mixture begins to form a shaggy dough.
- Embrace the Rhythm of Kneading: If using a stand mixer, increase the speed to medium-low and let the dough hook do the work. If kneading by hand, turn the dough out onto a lightly floured surface. Use the heels of your hands to push the dough away from you, then fold it back over itself. Rotate the dough slightly and repeat. This push-fold-rotate motion is key to developing the gluten strands. Visualize the warm, inviting cinnamon rolls taking shape with each rhythmic movement.
- Seek the Magic Moment: Continue kneading, patiently observing the dough’s texture. Initially, it will be sticky, but as gluten develops, it will become less so. You’re looking for the dough to stop sticking excessively to your fingers and the work surface, yet retain a gentle softness and elasticity. It should feel smooth and supple, like a well-exercised muscle. This tactile poetry tells you it’s approaching readiness.
- Trust Your Intuition and Test for Readiness: Knead for approximately 8-10 minutes (or as the recipe directs). The exact time can vary based on humidity and flour. The ultimate test for readiness is the “windowpane test.” Gently stretch a small piece of dough; if it stretches thin enough that light can pass through it without tearing (like a windowpane), the gluten is sufficiently developed. If it tears easily, continue kneading for another minute or two. Once perfected, your dough will be neither too sticky nor too dry, springing back gently when poked, signifying it’s perfectly prepared to envelop that sweet, spicy filling.
Crafting the Irresistible Cinnamon-Sugar Filling
The filling is undoubtedly the heart and soul of any truly mouth-watering homemade cinnamon roll. It’s the sweet, gooey, spiced layer that makes these breakfast pastries so utterly addictive. Imagine: a crisp morning, the comforting scent of baking in your kitchen, and you, creating that perfect balance of sweetness and spice. This is where the magic happens, transforming simple ingredients into a decadent experience.
To prepare this essential layer, you’ll begin by combining light brown sugar with a generous amount of rich, aromatic ground cinnamon. The careful balance here is crucial. Too much sugar can overwhelm, making the rolls overly sweet, while too little cinnamon will diminish their signature warmth. We’re aiming for a harmonious blend – a heavenly sweetness underscored by a deep, inviting spice. Once combined, this mixture is set aside. The next key component is very soft, room-temperature butter. This butter needs to be pliable enough to spread effortlessly and evenly over your rolled-out dough without tearing it. It acts as the adhesive, ensuring the cinnamon-sugar mixture adheres perfectly and melts into a glorious, sticky syrup during baking. This luscious buttery, sugary, and cinnamony layer is what settles into every swirl of the dough, giving your homemade cinnamon rolls their iconic, gooey texture and irresistible flavor. It’s a simple combination, yet it elevates these sweet treats to the status of the best cinnamon rolls, promising a truly satisfying start to anyone’s day. When you pull these beauties from the oven, anticipating the generous dollop of cream cheese frosting, you’ll realize that every sprinkle of cinnamon and dollop of butter was a step towards pure culinary delight.
Rolling and Shaping Your Homemade Cinnamon Rolls
After your dough has successfully risen, the next exciting step is transforming it into the iconic swirled shape that defines our favorite sweet treats. This process requires a gentle touch and attention to detail to ensure each homemade cinnamon roll is a perfect balance of dough and filling. Let’s get rolling!
- Prepare Your Work Surface: Begin by lightly dusting your clean countertop or a large pastry mat with a small amount of all-purpose flour. This crucial step prevents the dough from sticking, making the rolling process smooth and enjoyable. There’s immense satisfaction in working with dough that doesn’t fight back!
- Roll to Perfection: Transfer your risen dough onto the floured surface. Using a rolling pin, gently and evenly roll the dough into a large rectangle. Aim for dimensions of approximately 12×24 inches (30×60 cm) and a consistent thickness throughout. An even thickness ensures that each cinnamon roll bakes uniformly and offers a consistent texture.
- Spread the Joy (Butter First!): Take your very soft, room-temperature butter and spread it meticulously over the entire surface of the dough rectangle, ensuring it reaches almost to the edges. Leave a small, unbuttered border (about ½ inch or 1 cm) along one of the long edges. This buttery layer is the critical base; it not only contributes to the rich flavor and moistness of the finished rolls but also acts as the binder for our delicious cinnamon-sugar filling.
- Sweeten the Deal (Cinnamon-Sugar Blend): In a small bowl, thoroughly combine your light brown sugar and ground cinnamon. Once mixed, sprinkle this heavenly blend evenly over the buttered dough. Pay attention to consistent coverage, ensuring every future bite of your homemade cinnamon rolls is packed with that signature sweetness and spice. The small unbuttered border will serve to seal the roll.
- Cut with Care: Starting from the long edge opposite your unbuttered border, tightly roll the dough into a snug log. Pinch the seam along the unbuttered edge to seal it securely. Now, using a sharp knife or a pizza cutter, slice the dough log into 12 even strips, each approximately 2 inches (5 cm) wide. A pizza cutter often yields cleaner, more uniform cuts. Carefully place each perfectly swirled cinnamon roll, cut-side down, into your prepared baking dish. Arrange them with a little space between each, allowing them room to expand during their final rise and baking.
The Decadent Cream Cheese Frosting: A Heavenly Topping
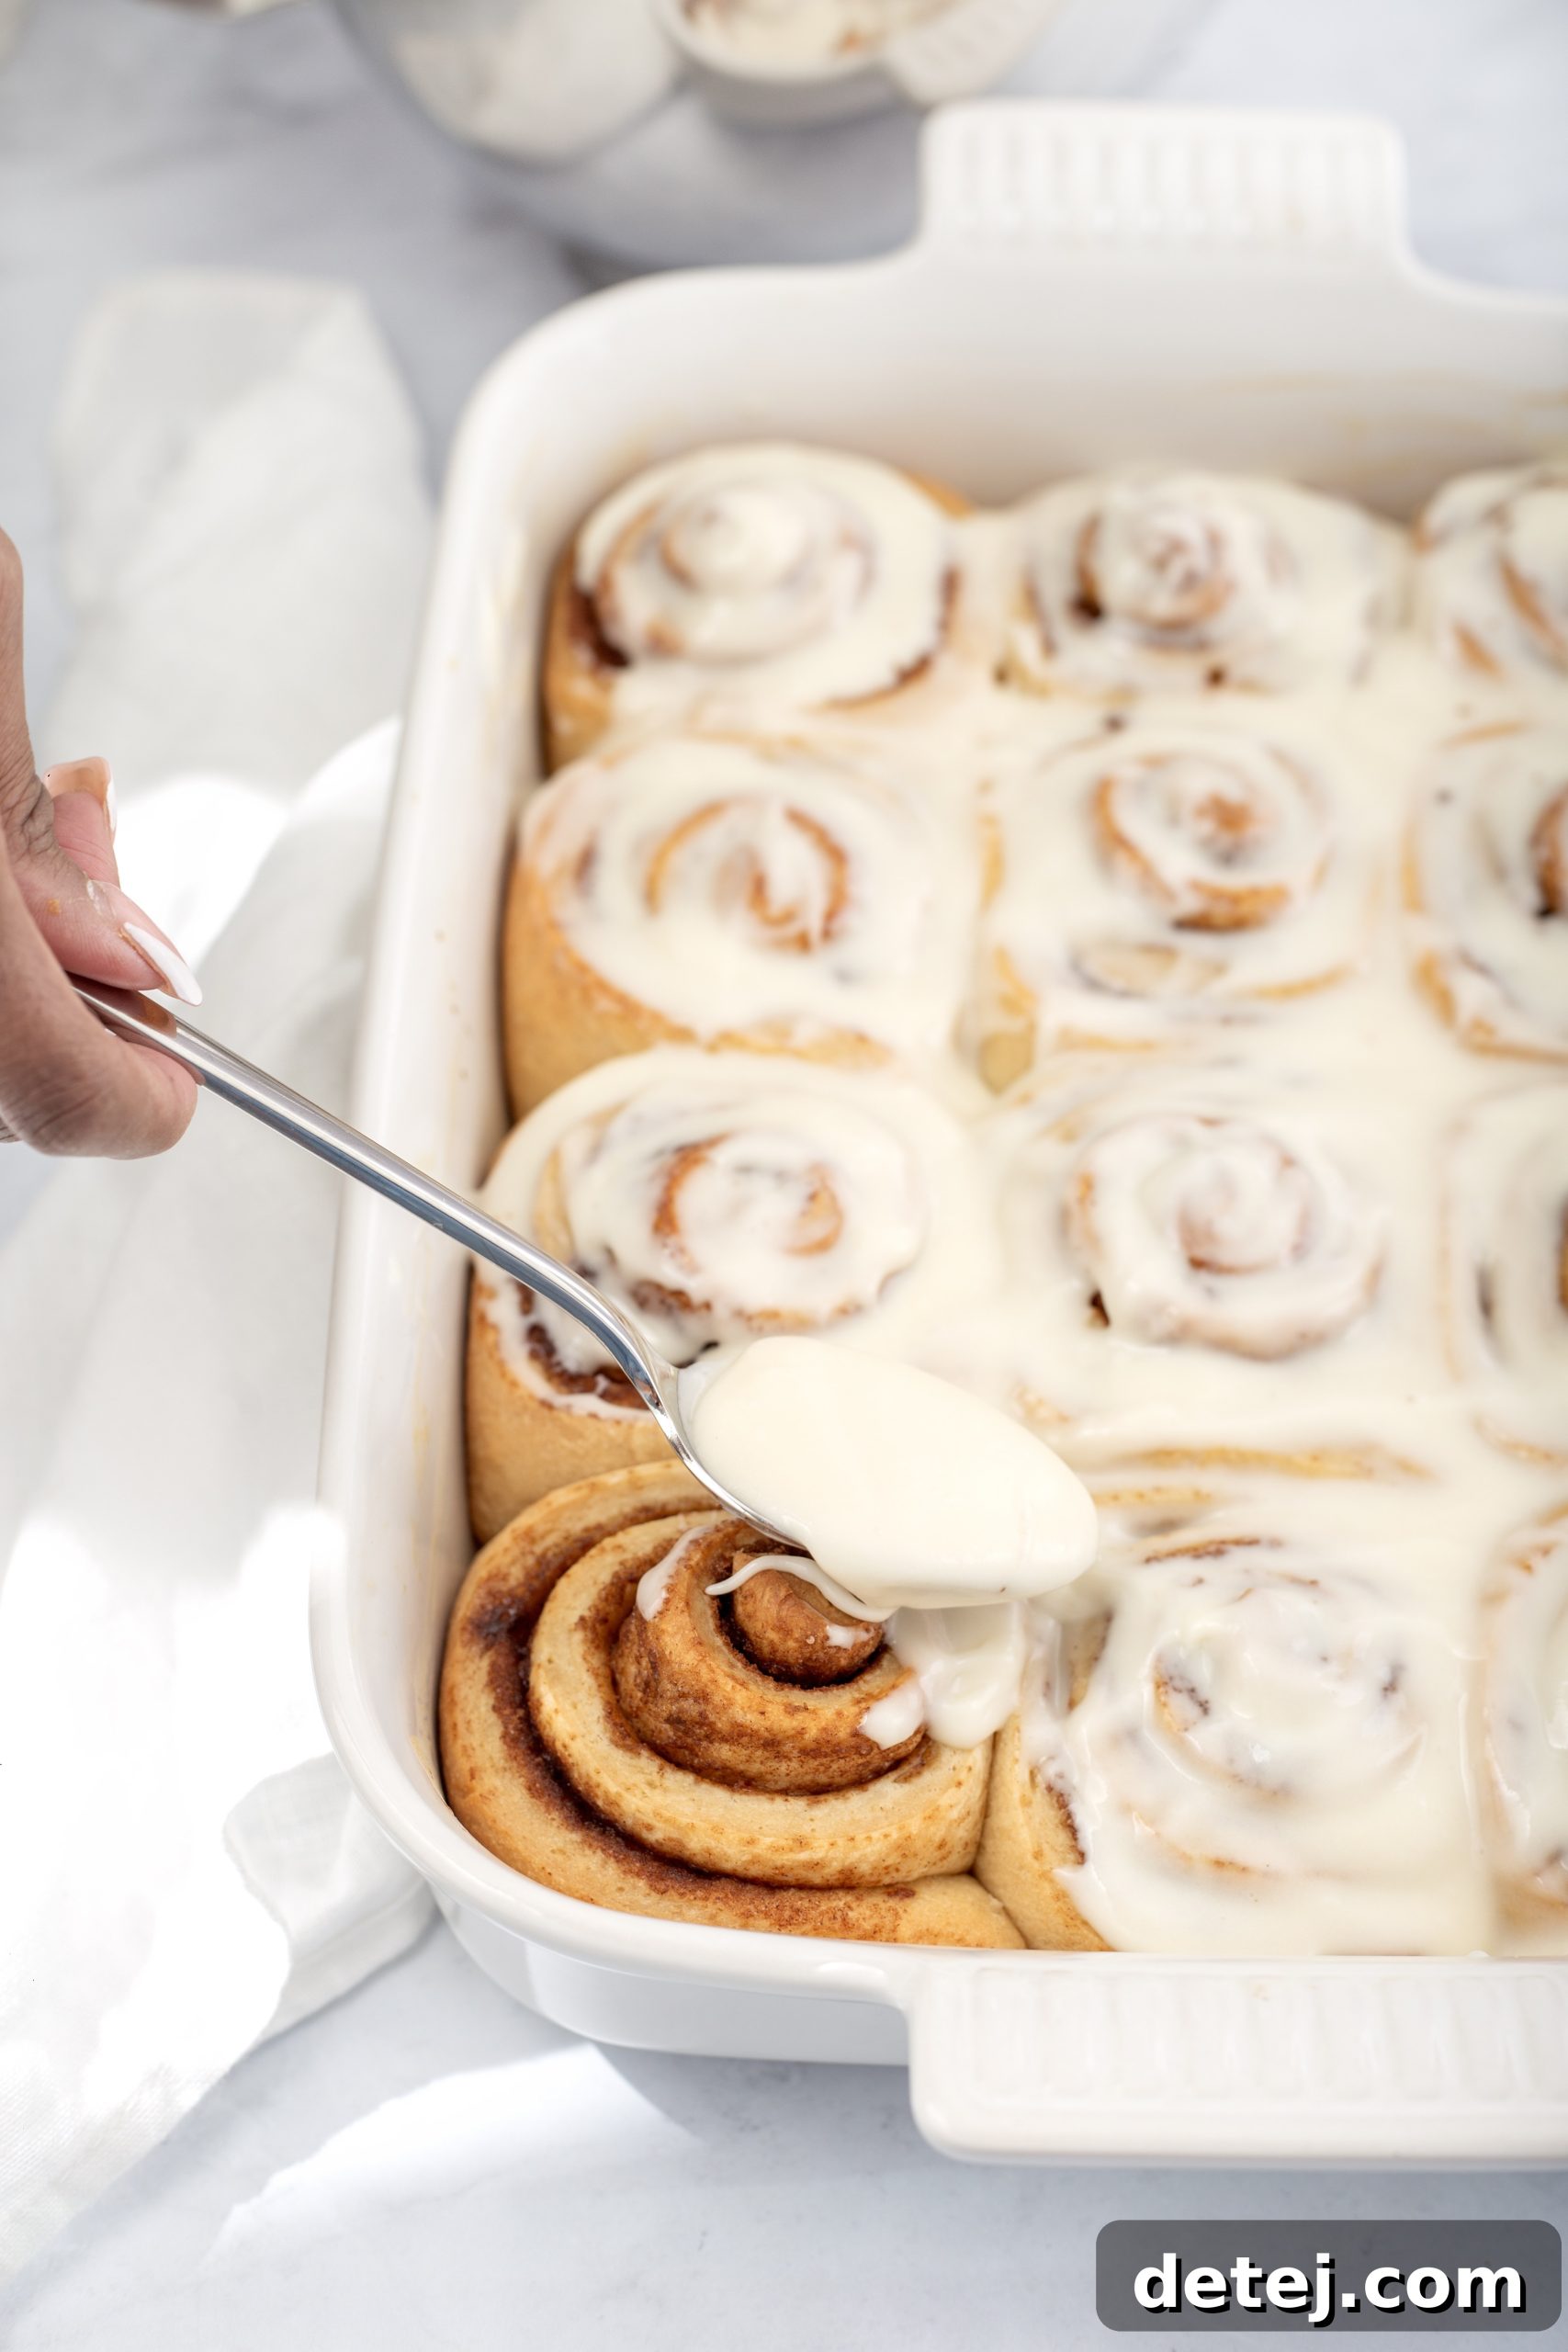
Now, we arrive at what many consider the crowning glory of our homemade cinnamon rolls adventure: the rich, tangy, and utterly decadent cream cheese frosting! I cannot emphasize enough that the magic of these sweet treats is truly amplified by this perfect finishing touch. It’s all about hitting that exquisite sweet spot of creaminess and tanginess, creating a balance that complements the spiced rolls without overwhelming them.
To achieve this heavenly frosting, start with full-fat cream cheese and unsalted butter, both brought to a true room temperature. This is non-negotiable, my friends. They should be soft and yielding, almost like a warm hug, making them easy to blend into a whisper-smooth, lump-free base. I typically use a stand mixer or a hand mixer, beating them together on medium speed until they are light, fluffy, and perfectly incorporated. Next, a generous splash of pure vanilla extract is added, along with a tiny pinch of salt. The vanilla deepens the flavor profile, adding warmth, while the salt, though seemingly insignificant, plays a crucial role in balancing the sweetness and enhancing the tang of the cream cheese. The real secret to achieving that lush, spreadable consistency we all dream about is adding powdered sugar gradually. Sift the powdered sugar if you want an extra-smooth frosting, then mix it in on low speed until just combined, scraping down the sides of the bowl as needed. Avoid overmixing once the sugar is added, as this can incorporate too much air and change the texture. If your frosting is too thick, a tablespoon or two of milk (or cream) can be added, one teaspoon at a time, until you reach your desired spreadable consistency. The absolute best part? Slather this magnificent cream cheese frosting onto your homemade cinnamon rolls while they are still warm, fresh out of the oven. The warmth of the rolls will cause the frosting to melt ever so slightly, allowing it to seep into every glorious swirl and crevice, creating an incredibly gooey and intensely flavorful bite that is nothing short of divine. This transforms simple breakfast pastries into an unforgettable, truly indulgent sweet treat that will leave everyone craving more.
Baking Your Cinnamon Rolls to Golden Perfection
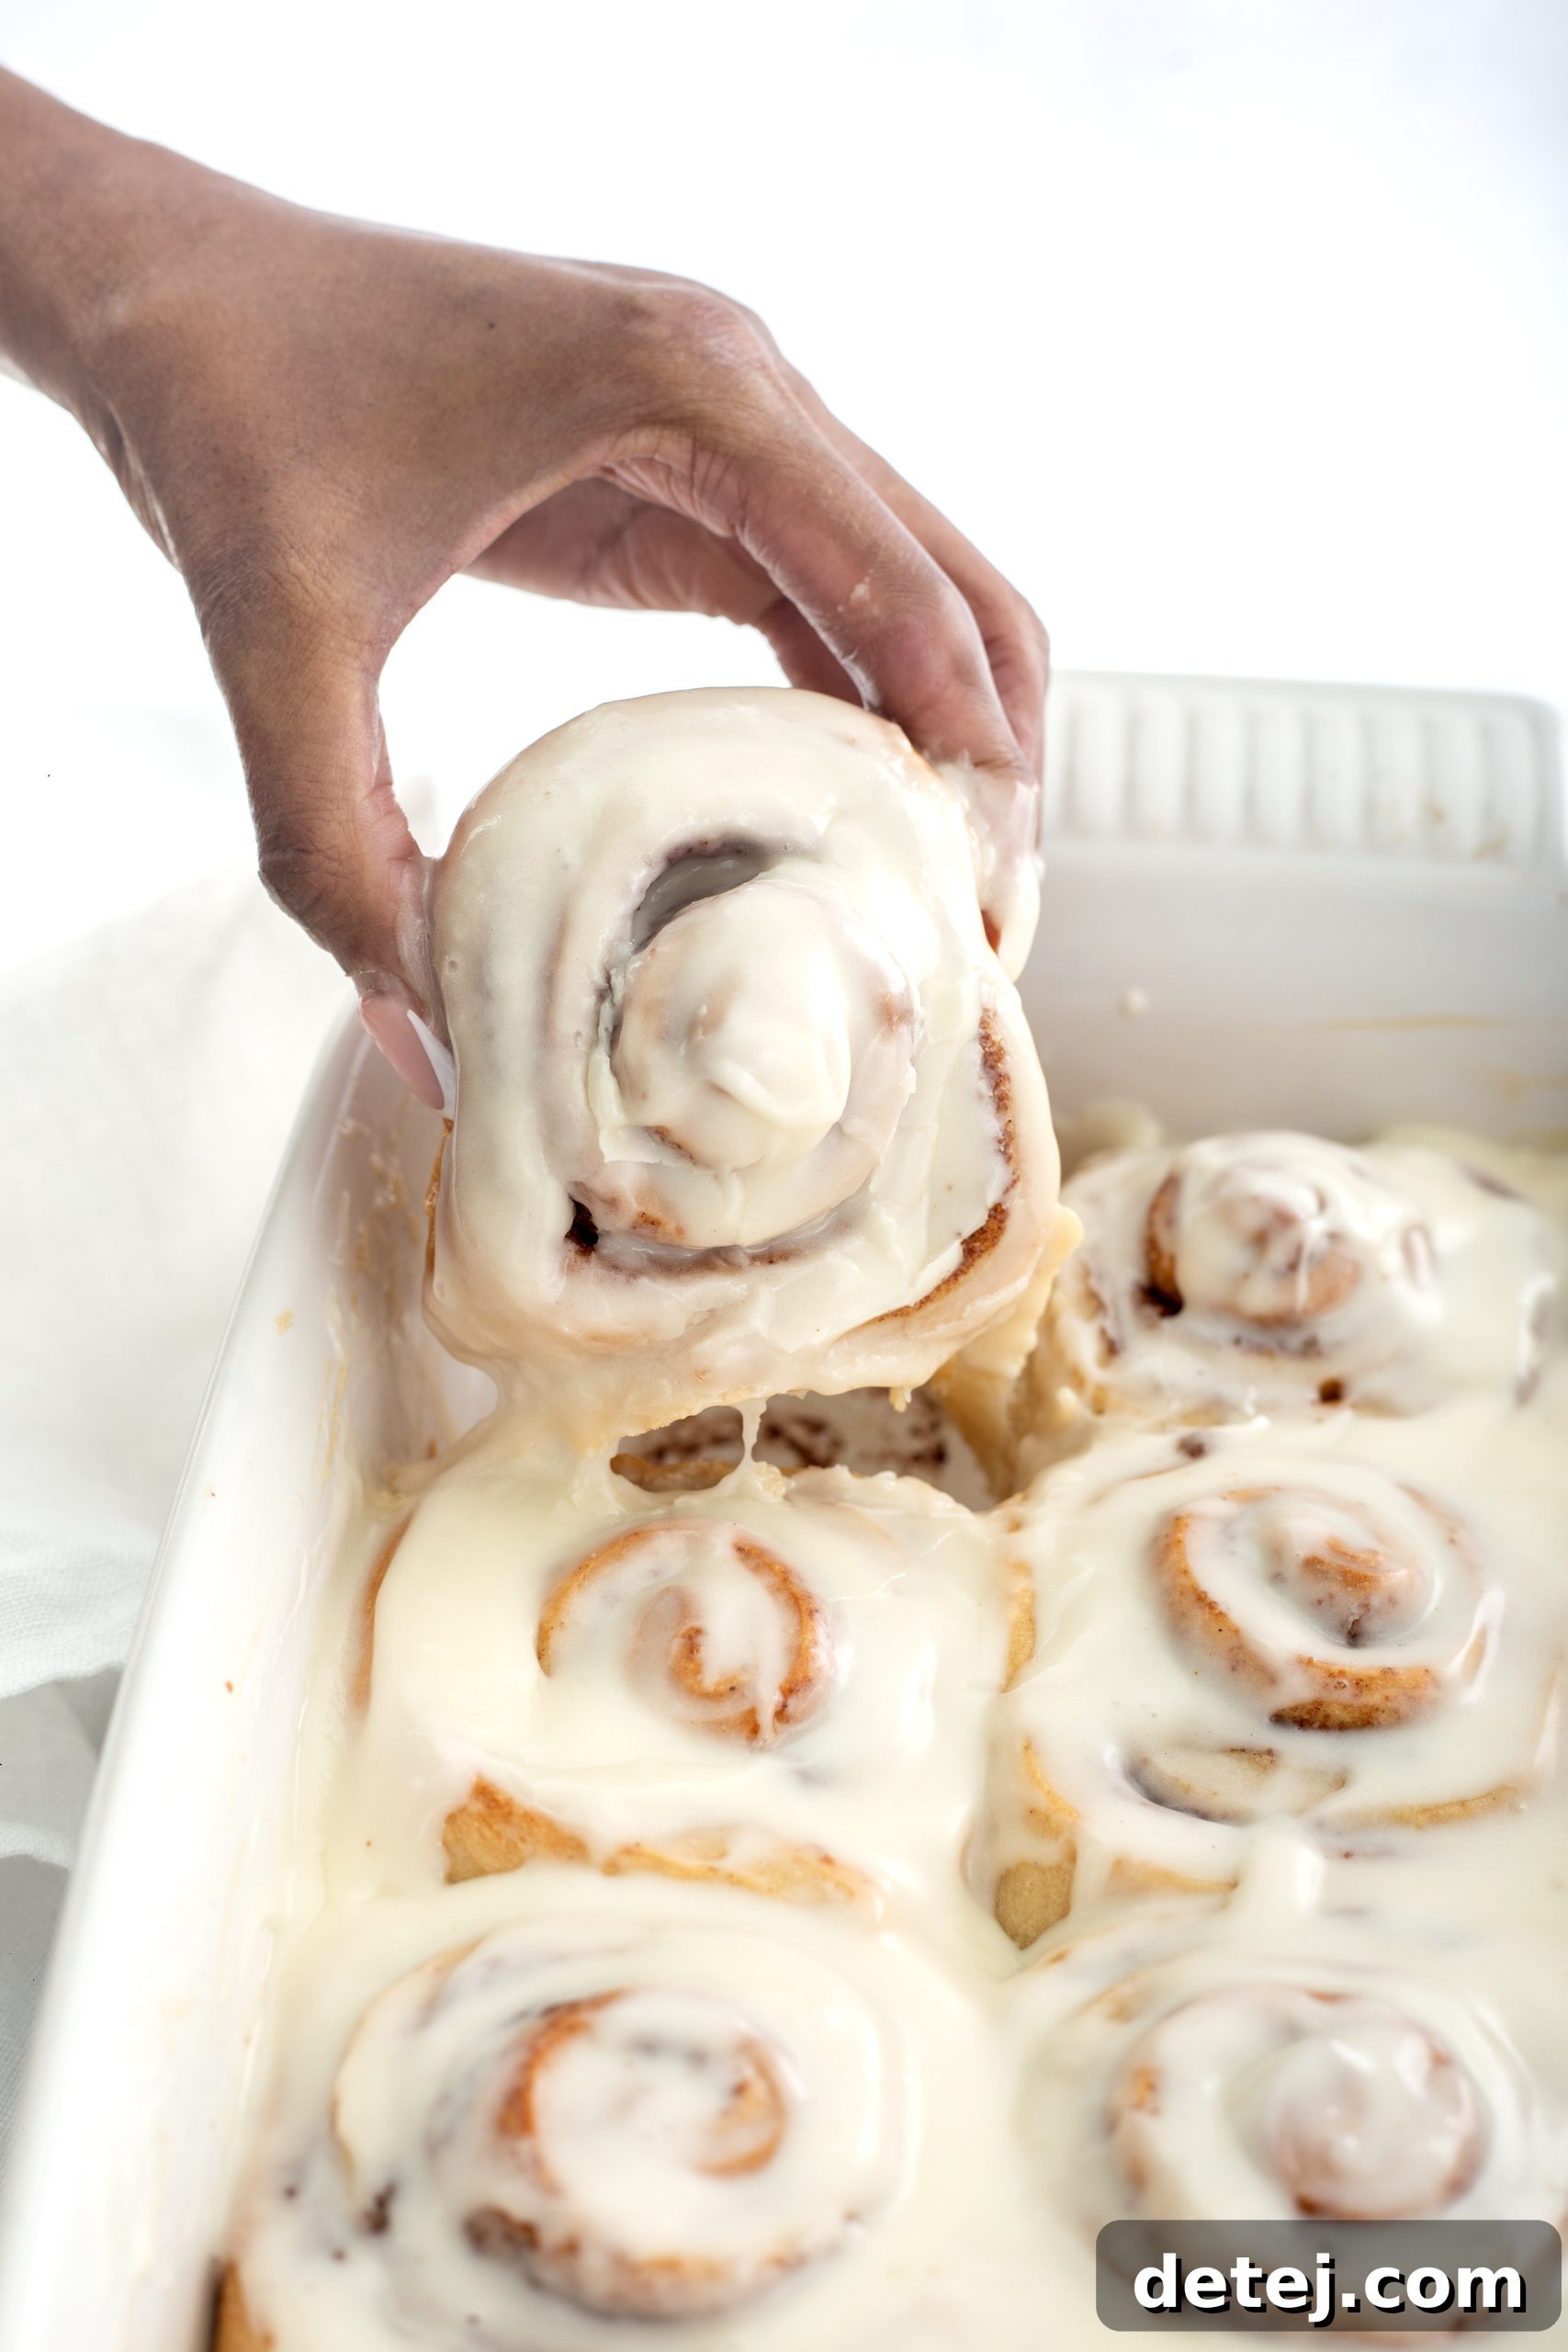
The baking phase is where all your diligent efforts come to fruition, transforming your carefully prepared dough and filling into golden, aromatic, and perfectly puffed cinnamon rolls. To ensure you achieve that coveted texture and flavor, let me share some insider baking tips that are absolute game-changers. These small adjustments make all the difference between good cinnamon rolls and truly phenomenal ones.
First and foremost, preheating your oven to 350°F (175°C) is not just a suggestion—it’s crucial. This specific temperature is the sweet spot where the magic happens, ensuring an even bake and allowing the yeast to give one last glorious puff. A properly preheated oven ensures that the rolls start baking immediately, preventing them from spreading too much before the crust sets. This helps each cinnamon roll puff up just right, revealing layers upon layers of sweet, spiced goodness, while achieving a beautiful golden-brown exterior.
But here’s another clutch move: position your rolls in the baking pan with just enough space to give them room to expand, but not so much that they don’t touch slightly as they rise. If they are too cramped, they might steam rather than bake, leading to a doughy, pale result instead of that golden-brown perfection we’re all chasing. Conversely, if they have too much space, they tend to dry out around the edges. A slight snugness encourages them to rise upwards and supports their sides, resulting in softer, more uniform rolls that are beautifully moist throughout. This delicate dance of heat and space ensures every individual roll is as tantalizing and perfectly baked as the next, with a soft interior and a lightly crisp bottom. Keep an eye on them towards the end of the baking time; ovens can vary. The rolls are done when they are golden brown on top and feel set to the touch. When you pull that pan out of the oven, and those warm, aromatic swirls of dough and cinnamon hit your senses, you’ll know you’ve hit the jackpot, ready for the final touch of creamy frosting.
The Overnight Method: Wake Up to Freshly Baked Bliss
Have you ever dreamt of waking up to the irresistible aroma of freshly baked cinnamon rolls filling your home, but thought, “Who has the time for all that baking on a busy morning?” Well, prepare to enter the magical world of overnight cinnamon rolls. This ingenious trick is a game-changer for anyone who adores homemade cinnamon rolls but also cherishes their precious morning sleep. Prepping your sweet treats the night before means you get to enjoy all the decadence without the morning rush, making it an ideal option for holidays, special brunches, or simply a luxurious weekend breakfast.
The beauty of the overnight method lies in its simplicity and efficiency. You’ll follow all the steps for mixing your fluffy dough, allowing it to complete its initial rise, then rolling it out and spreading it with that heavenly filling of cinnamon and light brown sugar. Once your rolls are shaped and nestled in their baking dish, instead of letting them complete their second rise at room temperature, you simply cover them tightly with plastic wrap and pop them into your refrigerator. The cold environment significantly slows down the yeast’s activity, allowing the dough to rise slowly and gently overnight, developing deeper, more complex flavors as it does so. This slow fermentation process results in incredibly tender and flavorful cinnamon rolls, often even more so than those baked immediately.
Come morning, you’re just a bake away from the best cinnamon rolls. There’s no need for a lengthy second rise; simply remove the pan from the fridge and let it sit at room temperature for about an hour while your oven preheats. This allows the rolls to come to temperature slightly, ensuring an even bake. Then, bake as usual! The flavors will have melded and developed beautifully overnight, promising every bite to be a taste of sweet, creamy, cinnamon-y bliss. And the luxurious cream cheese frosting? It’s the crowning jewel that awaits its throne on those warm, gooey rolls right out of the oven, melting into every crevice. Trust me, the overnight option transforms these ultimate breakfast pastries into an effortless special occasion, allowing you to savor both your sleep and an extraordinary morning treat.
Serving and Storing Your Delicious Creations
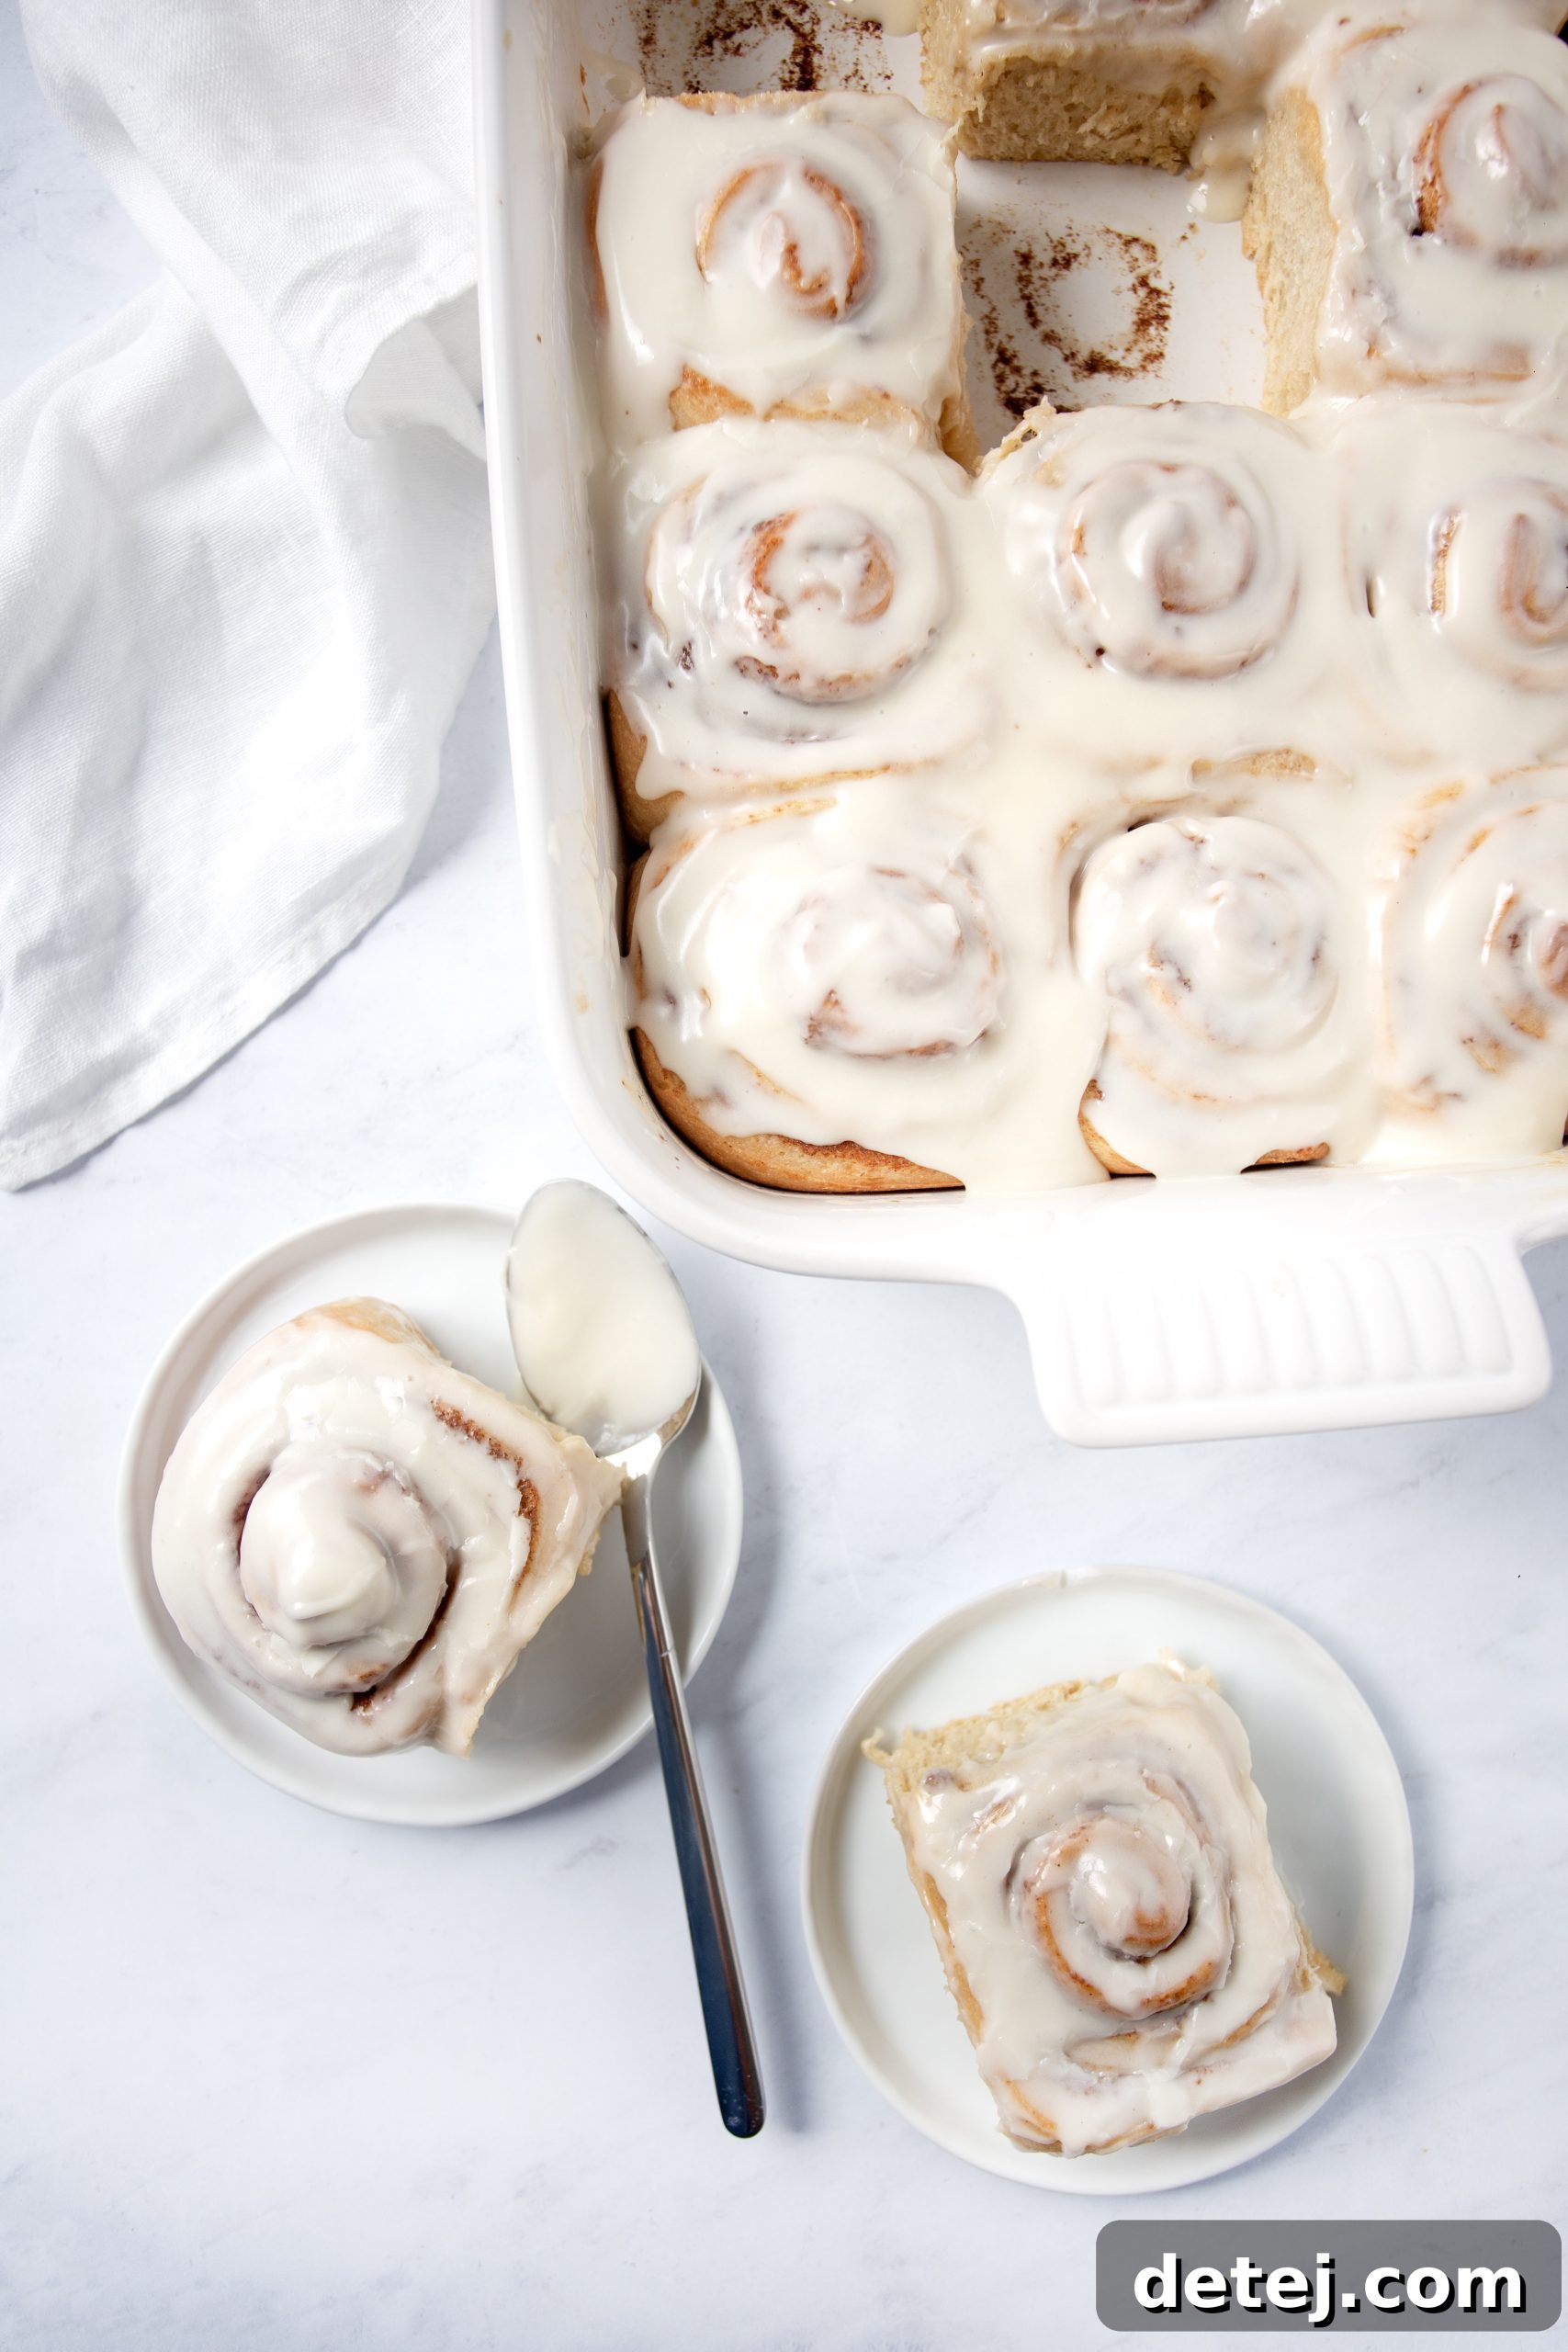
Congratulations! You’ve successfully crafted a batch of heavenly homemade cinnamon rolls, each one drenched in a rich, creamy cream cheese frosting. Now, you might be wondering about the best way to serve them to maximize their deliciousness and how to store any precious leftovers. After all, enjoying these sweet treats at their peak is part of the experience.
First and foremost, the absolute best way to enjoy cinnamon rolls is fresh out of the oven, still warm, when the dough is incredibly soft and the frosting is slightly melted and gooey. However, if you’re not devouring them all immediately (which, let’s face it, is a delightful challenge!), you can easily bring back that fresh-baked warmth and tenderness. For single servings, a quick zap in the microwave for about 15-20 seconds is often all it takes to revive that just-baked softness and aroma. If you have several rolls, gently warming them in a preheated oven at a low temperature (around 250°F or 120°C) for about 10-15 minutes will work wonders, making them nearly as irresistible as they were when they first emerged golden and fragrant.
As for storing those cherished leftovers, proper care will ensure they remain delicious for as long as possible. For short-term storage, tightly wrap the entire pan of cinnamon rolls or place individual rolls in an airtight container. They will stay wonderfully fresh at room temperature for up to two days. Beyond that, to extend their freshness and prevent the frosting from becoming too soft, tuck them into the refrigerator. When refrigerated, these homemade cinnamon rolls will remain good for up to a week. Just remember the reheating tips before serving to bring back that soft, gooey texture and comforting warmth that makes homemade cinnamon rolls truly unforgettable. You can also freeze unfrosted baked rolls for up to a month, thawing and frosting them when ready to enjoy, or freeze individual frosted rolls, wrapping them well and reheating gently for a quick indulgence. Enjoy every single sweet bite!
Embrace the Joy of Homemade Cinnamon Rolls
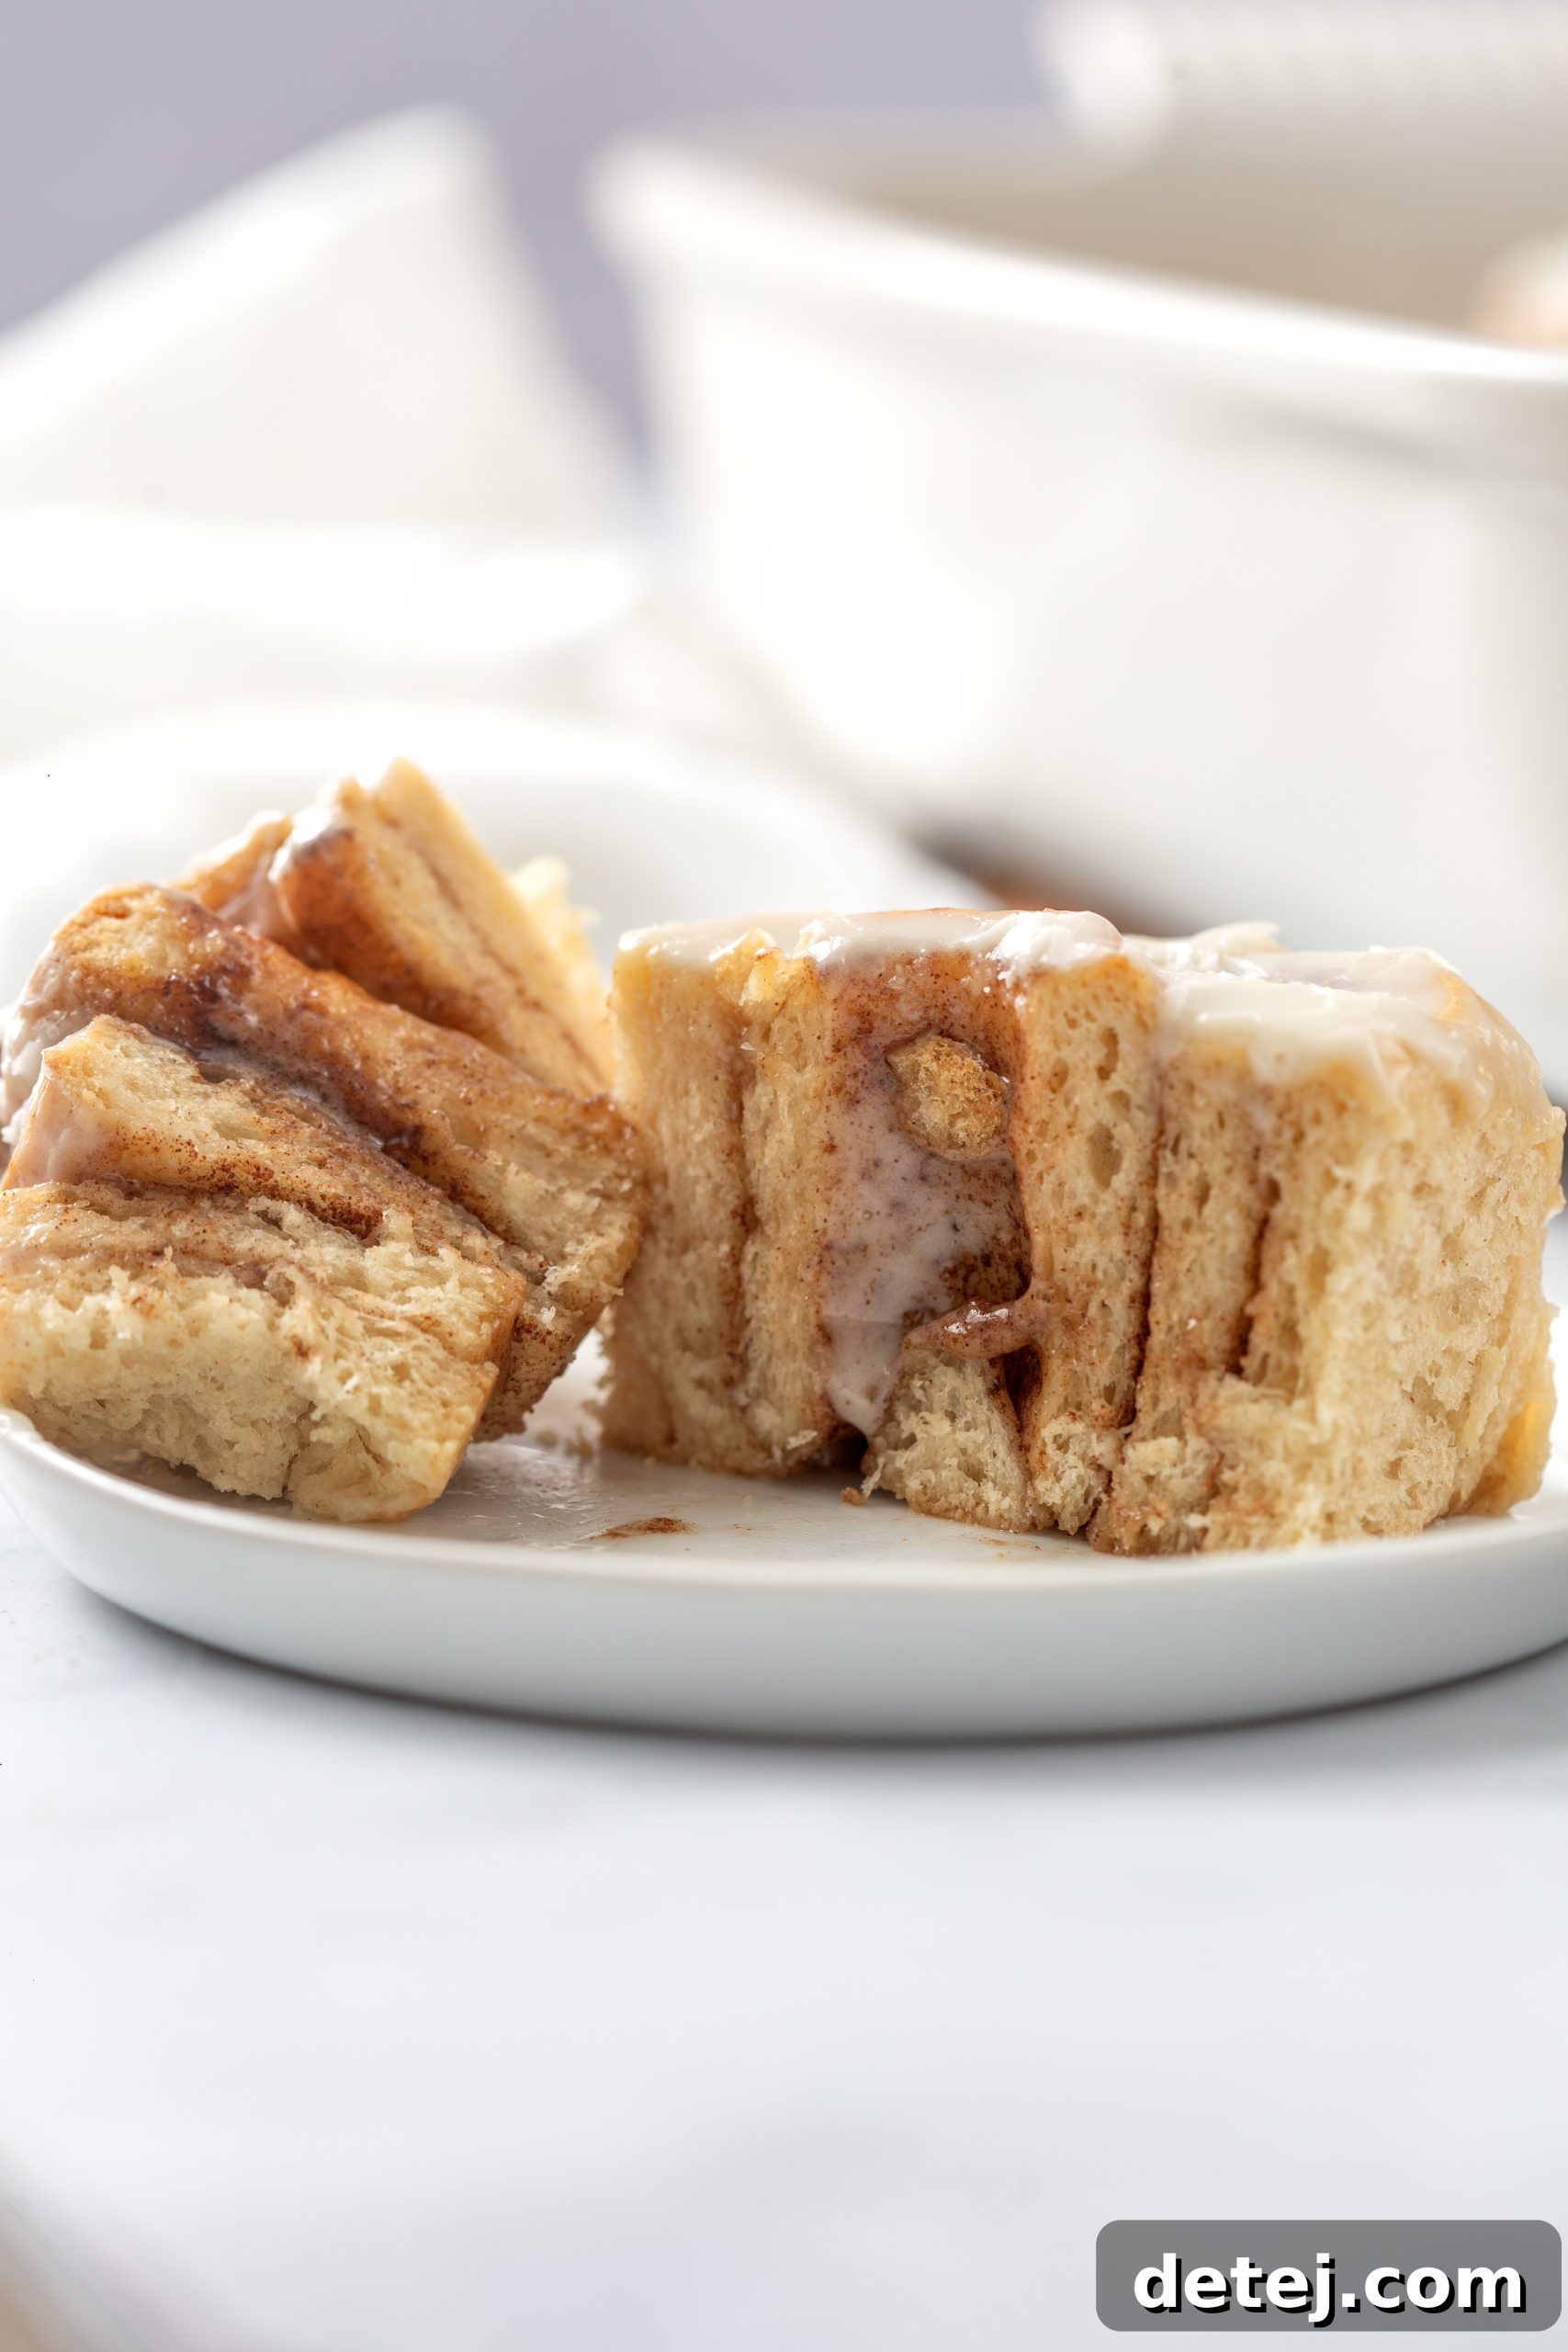
Ever since I truly mastered this homemade cinnamon roll recipe, my weekends—and often weekday mornings—have been utterly transformed into a blissful escape, filled with the comforting aroma of warm spices and the promise of sweet treats. There’s a special, almost magical kind of joy that comes from whipping up a batch of the best cinnamon rolls imaginable, right in the warmth of your own kitchen. The entire process, from carefully activating the yeast in warm milk and watching the dough gracefully rise, to rolling it out and generously spreading that perfect cinnamon-sugar blend, and finally witnessing them turn a glorious golden brown in the oven, is profoundly satisfying. It’s a journey that culminates in a truly exceptional pastry.
And then, the grand finale: topping these warm, fluffy delights with a generous dollop of luscious cream cheese frosting. Each step, each ingredient, contributes to an experience that transcends mere baking; these homemade cinnamon rolls truly embody the essence of home-baked love. They are more than just a breakfast item; they are a gesture of care, a shared moment of indulgence. So, I wholeheartedly encourage you to dive into the delight of making them. It’s not just about the rolls themselves; it’s about the creation of joyful, sweet moments to share with family and friends, or simply to savor in peaceful solitude. Trust me, the effort you put in is worth every single bite, every gooey swirl, and every fragrant waft. And perhaps, if you’re feeling adventurous or simply seeking ultimate convenience, you might even try the overnight cinnamon rolls option to wake up to ready-to-bake bliss. Here’s to rolling into sweet bliss, one delicious, perfectly spiced swirl at a time, making memories with these iconic sweet treats.
Classic Cinnamon Roll Recipe: The Best You’ll Ever Bake!
Recipe Details:
- Yields: 12 Cinnamon rolls
- Prep Time: 15 mins
- Cook Time: 20 mins
- Rising Time: 2 hrs
- Total Time: 2 hrs 35 mins
- Author: Krystel
Ingredients
For the Dough:
- 1 cup warm milk (about 110-115°F)
- 5 tablespoons granulated sugar
- 2¼ teaspoons active dry yeast (essential for best results, do not substitute)
- 4⅔ cups all-purpose flour, plus more for rolling
- ⅓ cup packed light brown sugar
- ½ cup butter, melted and cooled
- 1 large egg, room temperature
- 1 tablespoon vanilla extract
- 1½ teaspoon kosher salt
- ½ teaspoon ground cinnamon
For the Filling:
- 12 tablespoons butter, very soft
- 1 cup light brown sugar, packed
- 3 tablespoons ground cinnamon
For the Cream Cheese Frosting:
- 4 ounces cream cheese, room temperature (full-fat recommended)
- 2 tablespoons butter, very soft
- 1 teaspoon vanilla extract
- ⅛ teaspoon salt
- 2 cups powdered sugar, sifted
- 1 to 2 tablespoons milk (or cream, for desired consistency)
Instructions
Preparing the Dough:
- In a large bowl or the bowl of a stand mixer fitted with a dough hook, combine the warm milk, 5 tablespoons granulated sugar, and active dry yeast. Stir gently, then let it sit for 5-10 minutes until a foamy layer appears, indicating the yeast is activated.
- Add the remaining dough ingredients (flour, ⅓ cup light brown sugar, melted butter, egg, vanilla, kosher salt, and ½ tsp cinnamon) to the yeast mixture. Mix on low speed until the ingredients just come together.
- Increase the mixer speed to medium-low and knead for 8-10 minutes until the dough is tacky but not sticky, and it springs back gently when pressed.
- Lightly grease a large clean bowl with oil. Place the dough in the bowl, turning once to coat. Cover the bowl with plastic wrap or a clean kitchen towel. Let the dough rise in a warm place (around 75°F / 24°C) for 1½ to 2 hours, or until it has doubled in size.
- While the dough rises, lightly butter or spray a 9×13-inch baking dish and set it aside.
Making the Filling and Shaping the Rolls:
- Once the dough has risen, transfer it to a lightly floured surface. Roll the dough into a large rectangle, approximately 12×24 inches.
- Evenly spread the 12 tablespoons of very soft butter over the entire surface of the dough, leaving about a ½-inch border along one of the long edges. (Tip: If butter is too firm, microwave in 5-second bursts until spreadable.)
- In a small bowl, mix the 1 cup light brown sugar and 3 tablespoons cinnamon. Sprinkle this mixture evenly over the buttered dough.
- Starting from the long edge opposite the unbuttered border, tightly roll the dough into a log. Pinch the seam to seal it.
- Using a pizza cutter or a sharp knife, cut the dough log into 12 even strips (about 2 inches wide).
- Arrange the cut cinnamon rolls, cut-side down, in the prepared baking dish, leaving a little space between them.
- Cover the baking dish loosely with plastic wrap or a clean towel. Let the rolls rise in a warm place for another 1 hour, or until nearly doubled in size.
Baking the Cinnamon Rolls:
- While the rolls are completing their second rise, preheat your oven to 350°F (175°C).
- Bake the rolls for 20-25 minutes, or until they are golden brown on top and feel set.
- Remove the pan from the oven and place it on a wire rack to cool slightly while you prepare the frosting.
Preparing the Cream Cheese Frosting:
- While the rolls are baking, combine the room-temperature cream cheese, very soft butter, vanilla extract, and ⅛ teaspoon salt in a medium mixing bowl. Beat with an electric mixer until smooth and fluffy.
- Gradually sift in the powdered sugar, mixing on low speed until fully incorporated and smooth. Scrape down the sides of the bowl as needed.
- If a thinner consistency is desired, add 1 to 2 tablespoons of milk, one teaspoon at a time, mixing until smooth and spreadable.
- As soon as the baked rolls come out of the oven, spread about one-third of the frosting generously over the warm rolls. Let them sit for 5 minutes, allowing the frosting to melt slightly and seep into the rolls. Then, spread the remaining frosting evenly on top.
- These delicious homemade cinnamon rolls are best served warm.
Overnight Option (Prepare Ahead):
- To prep ahead, after rolling and shaping the cinnamon rolls and placing them in the greased baking dish (Step 9 of “Making the Filling and Shaping the Rolls”), cover the dish tightly with plastic wrap.
- Refrigerate for up to 18 hours. The cold environment allows the rolls to rise slowly overnight in the fridge, eliminating the need for a second rise the next day.
- When ready to bake, remove the pan from the refrigerator and let it sit at room temperature for about 1 hour while your oven preheats. This helps them warm up slightly for even baking.
- Then, bake as usual following the baking instructions above.
Nutrition Information (per serving)
Serving Size: 1 Cinnamon Roll. Calories: 591 kcal, Carbohydrates: 84g, Protein: 7g, Fat: 26g, Saturated Fat: 16g, Polyunsaturated Fat: 1g, Monounsaturated Fat: 7g, Trans Fat: 1g, Cholesterol: 81mg, Sodium: 531mg, Potassium: 150mg, Fiber: 3g, Sugar: 44g, Vitamin A: 833IU, Vitamin C: 0.1mg, Calcium: 88mg, Iron: 3mg.