
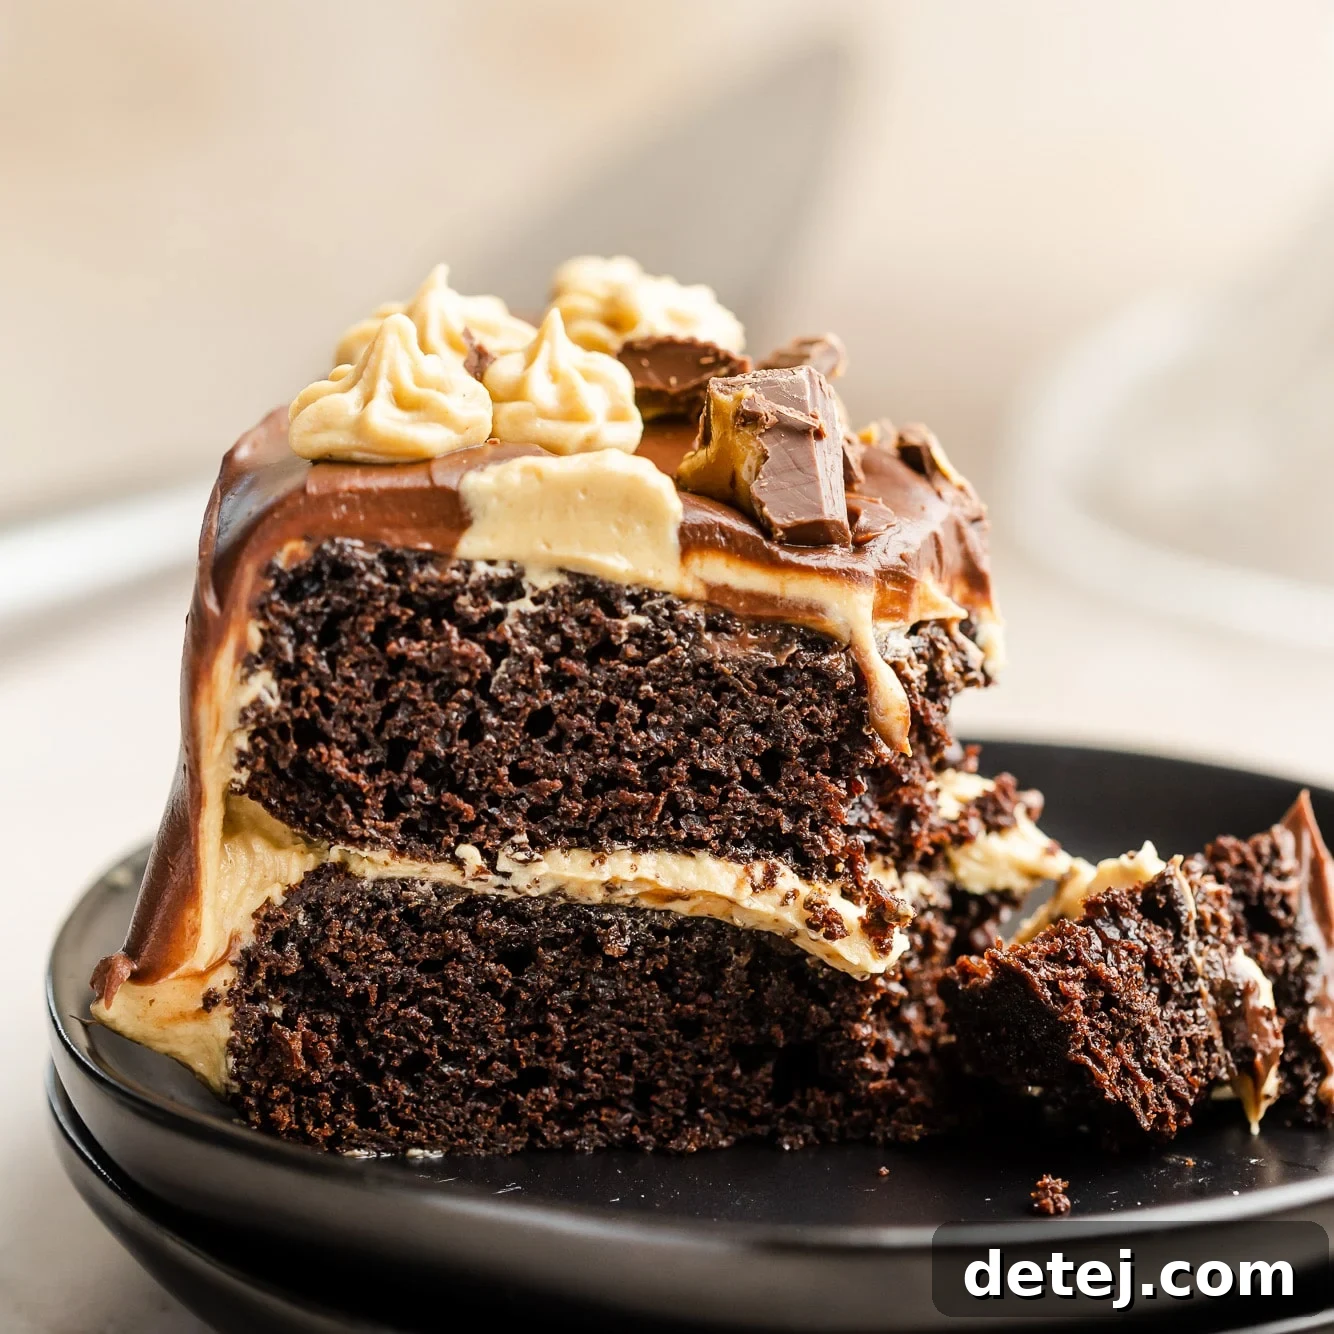
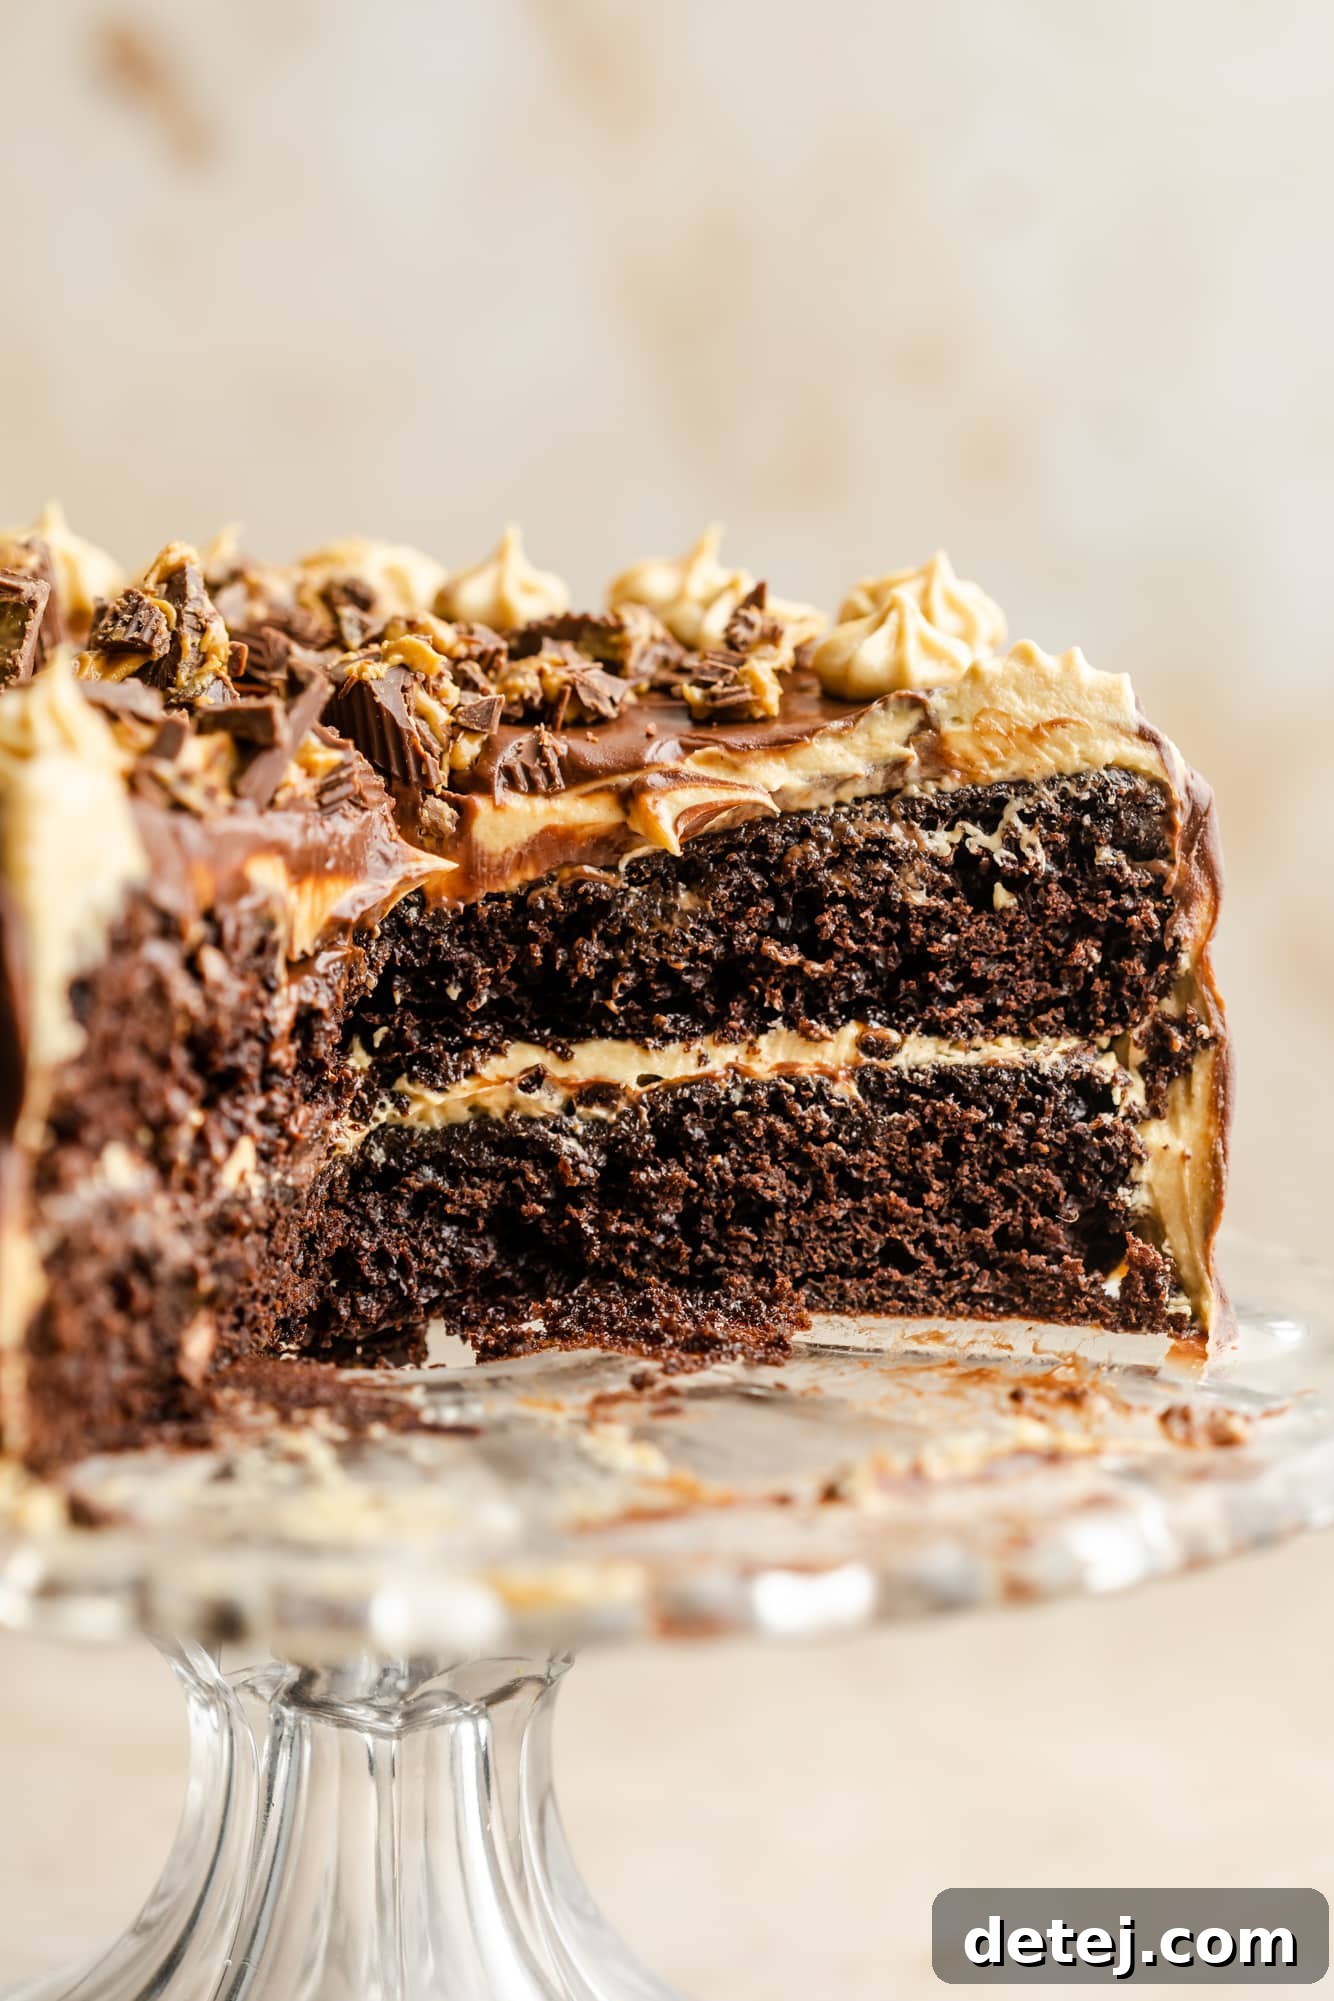
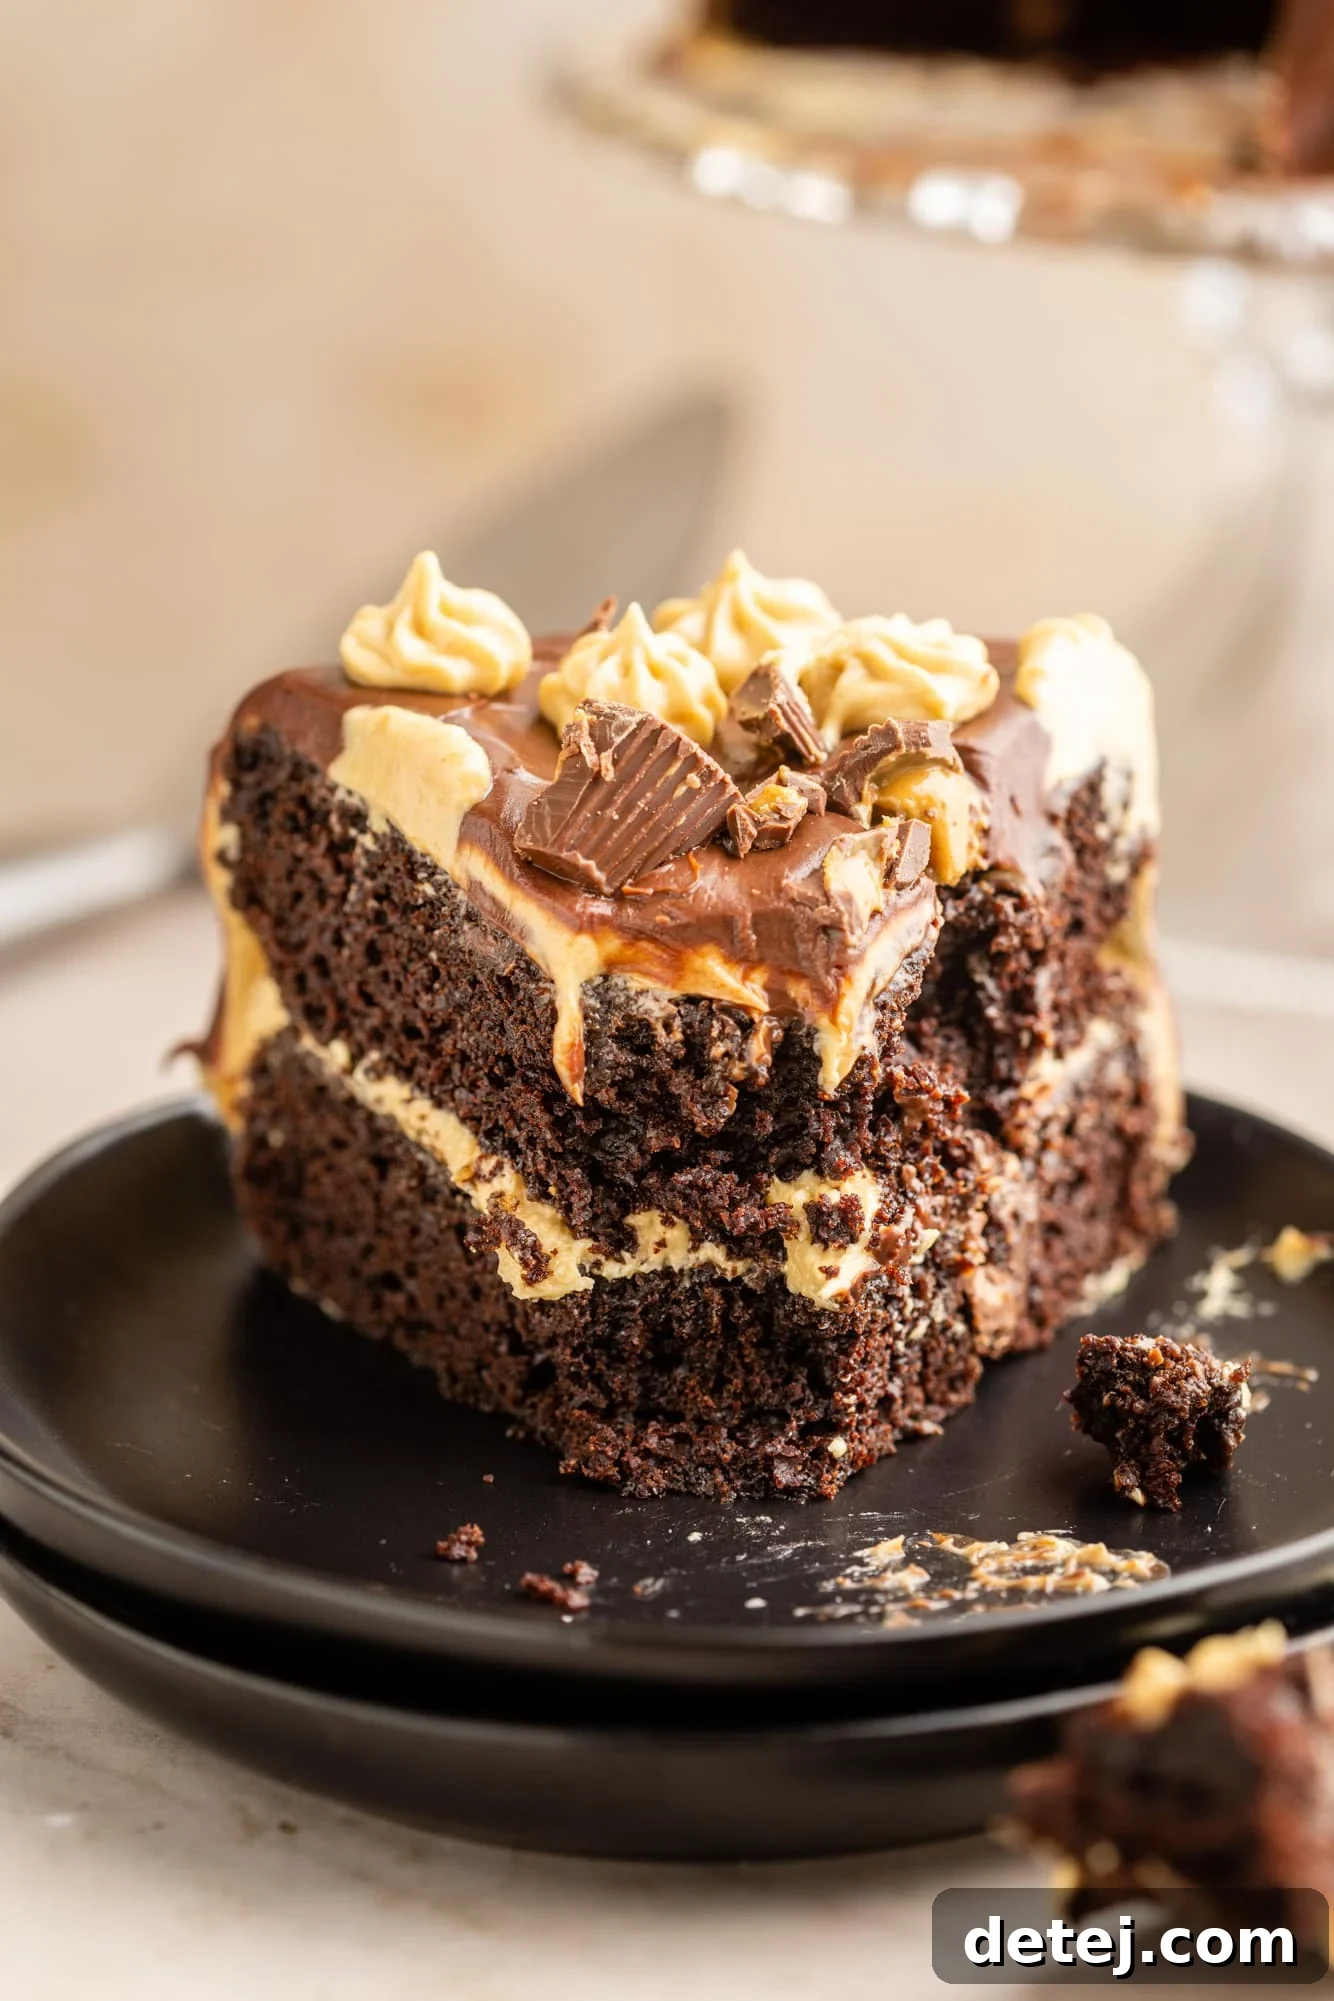
Indulge in the ultimate dessert experience with this Vegan Chocolate Peanut Butter Cake! Featuring two exceptionally moist layers of rich chocolate cake, generously frosted with creamy peanut butter frosting, and elegantly drizzled with a decadent vegan chocolate ganache. This cake is a true masterpiece of flavor and texture – unbelievably fudgy, rich, and utterly luxurious, proving that plant-based desserts can be just as, if not more, satisfying than their traditional counterparts.
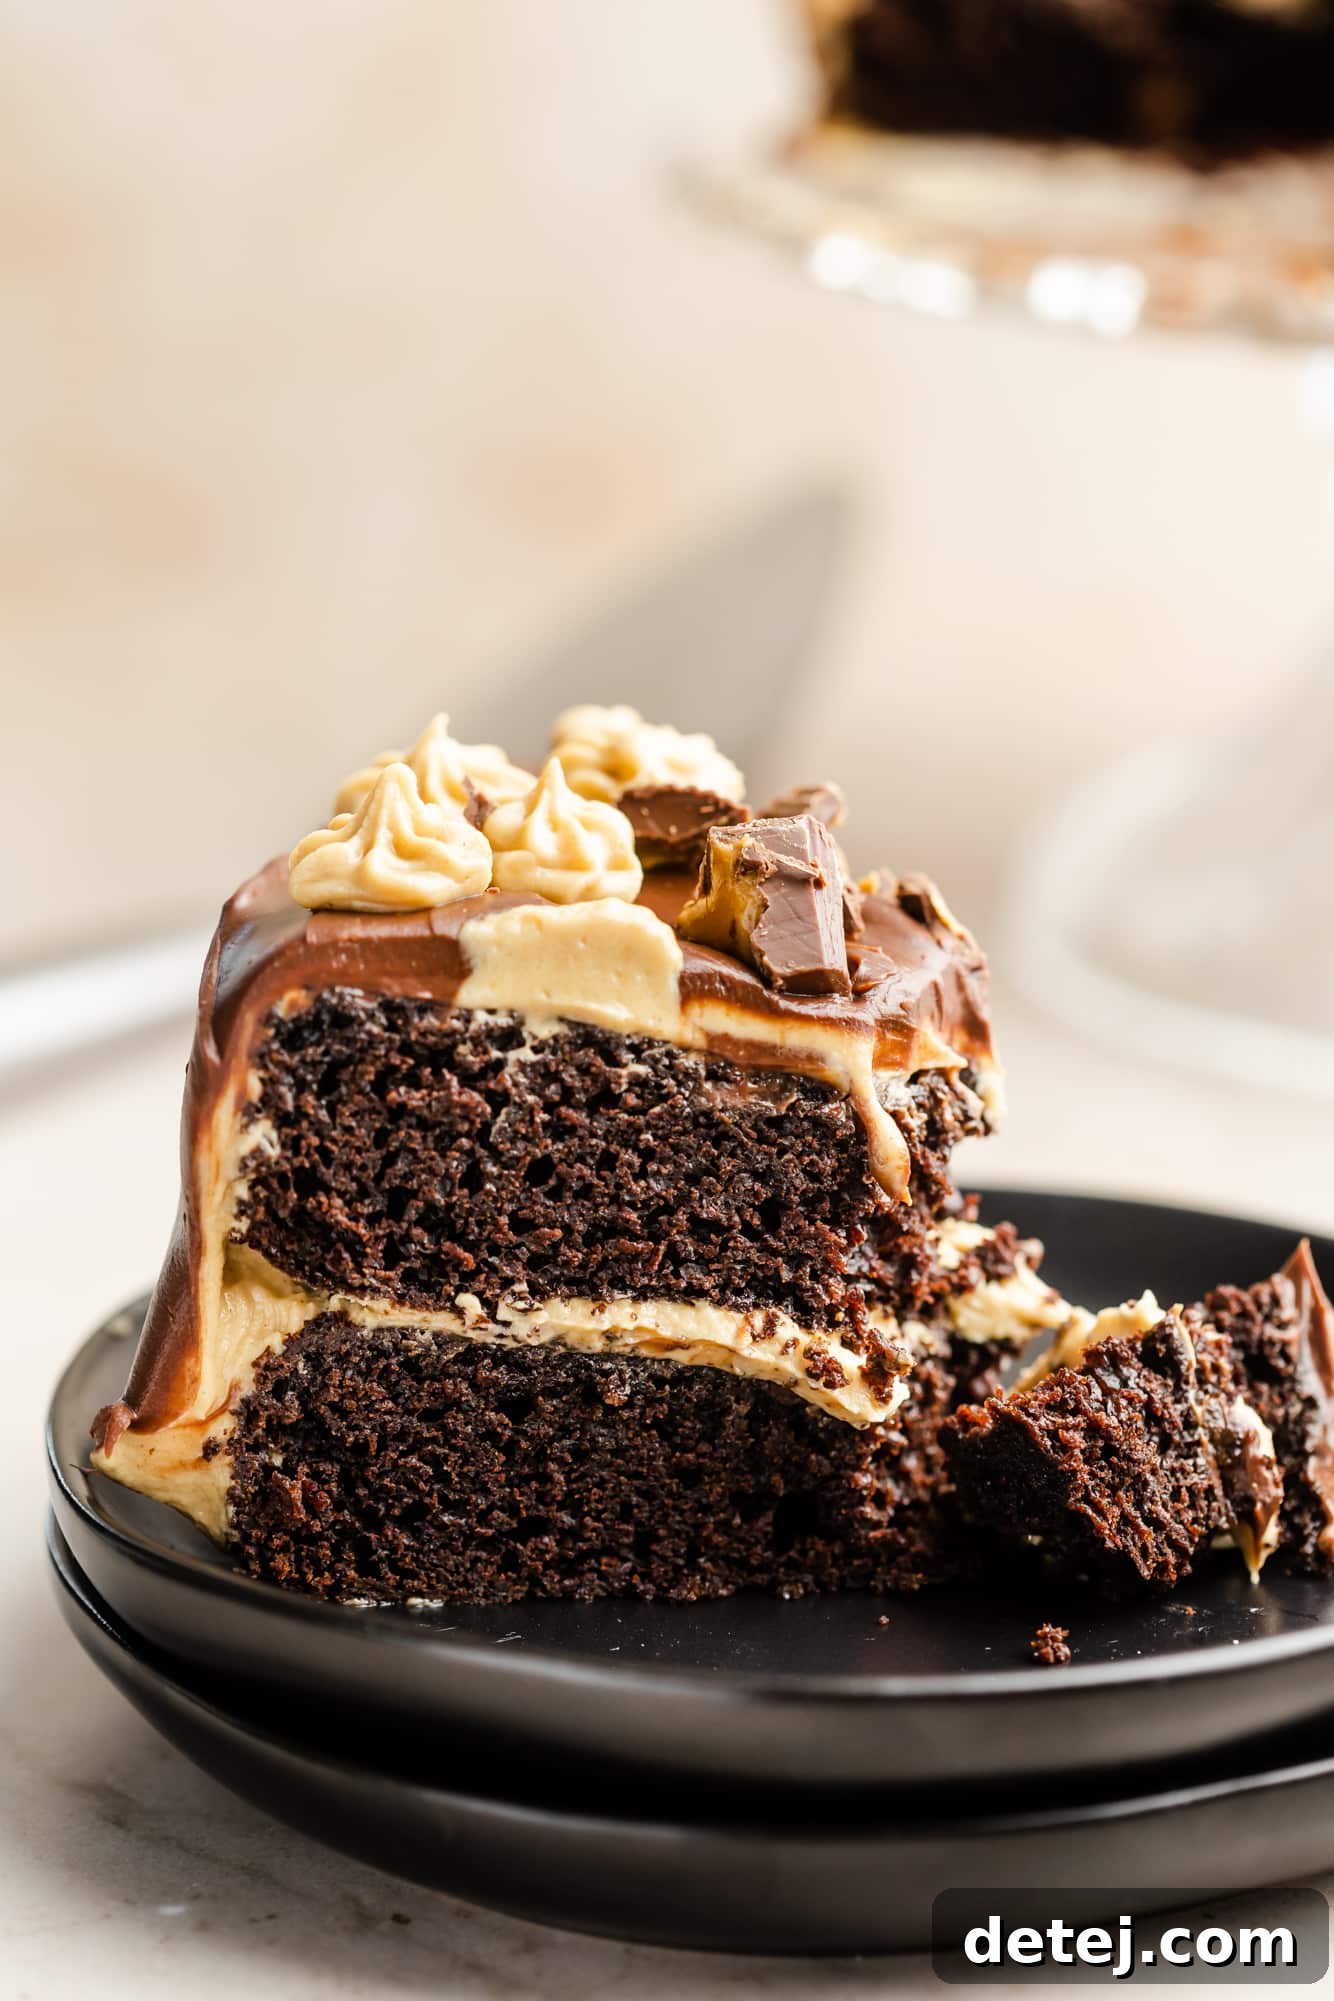
The culinary world universally agrees: chocolate and peanut butter are a match made in heaven. This iconic flavor combination reaches new heights in our spectacular Vegan Chocolate Peanut Butter Cake, delivering an out-of-this-world dessert experience that will captivate your taste buds and impress any crowd. Whether you’re a devoted vegan or simply seeking an incredibly delicious cake, this recipe is guaranteed to become a new favorite.
At the heart of this show-stopping dessert is my beloved Vegan Chocolate Cake, a recipe that has earned rave reviews for its unparalleled moistness and deep cocoa flavor. We’ve elevated this classic by adorning it with a velvety smooth, homemade peanut butter frosting that’s bursting with nutty goodness, and crowning it with a glossy, rich chocolate ganache. To truly perfect this indulgent creation, we finish it with adorable vegan peanut butter cups, making this cake the ultimate dream for every chocolate and peanut butter enthusiast. Prepare yourself for a dessert that’s not only incredibly flavorful but also surprisingly simple to create in your own kitchen.
Why This Vegan Chocolate Peanut Butter Cake Will Be Your New Favorite
This isn’t just another cake recipe; it’s an experience waiting to happen. Here’s why this vegan chocolate peanut butter cake stands out and will quickly earn a permanent spot in your baking repertoire:
- Built on a 5-Star Vegan Chocolate Cake Foundation: The base of this incredible dessert is The Best Vegan Chocolate Cake – a recipe that boasts over 1,400 five-star ratings! What makes it so exceptional? It’s astonishingly easy to prepare, often in just one bowl, yielding a cake that is supremely moist, incredibly tender, and boasts an intensely decadent chocolate flavor. You’ll be amazed at how such a simple recipe can produce such a rich and satisfying result.
- Features an Unforgettable Peanut Butter Frosting: If you thought classic vegan buttercream frosting couldn’t get any better, prepare to be amazed. By folding in generous amounts of creamy peanut butter, we transform a simple frosting into a luscious, nutty, and utterly irresistible spread. It strikes the perfect balance, adding just the right amount of savory peanut butter richness to complement the deep chocolate notes of the cake without overpowering it.
- The Ultimate Celebration Cake: Looking for a showstopper for a birthday, anniversary, or any special occasion? This cake fits the bill perfectly! Especially if you’re celebrating a chocolate peanut butter lover, its impressive appearance and phenomenal taste will make any event feel even more special. It’s designed to impress both visually and gastronomically.
- Surprisingly Easy to Make: Despite its sophisticated appearance and gourmet taste, this vegan chocolate peanut butter cake is remarkably straightforward to prepare. The instructions are clear, the ingredients are accessible, and even novice bakers will find success in creating this impressive dessert. We’ve simplified the process to ensure a delightful baking experience from start to finish.
- Dietary Inclusive and Crowd-Pleasing: Being entirely vegan, this cake is naturally dairy-free and egg-free, making it a fantastic option for those with allergies or dietary preferences. Yet, its incredible flavor and texture are so universally appealing that even non-vegans won’t realize it’s plant-based – they’ll simply know it’s delicious!
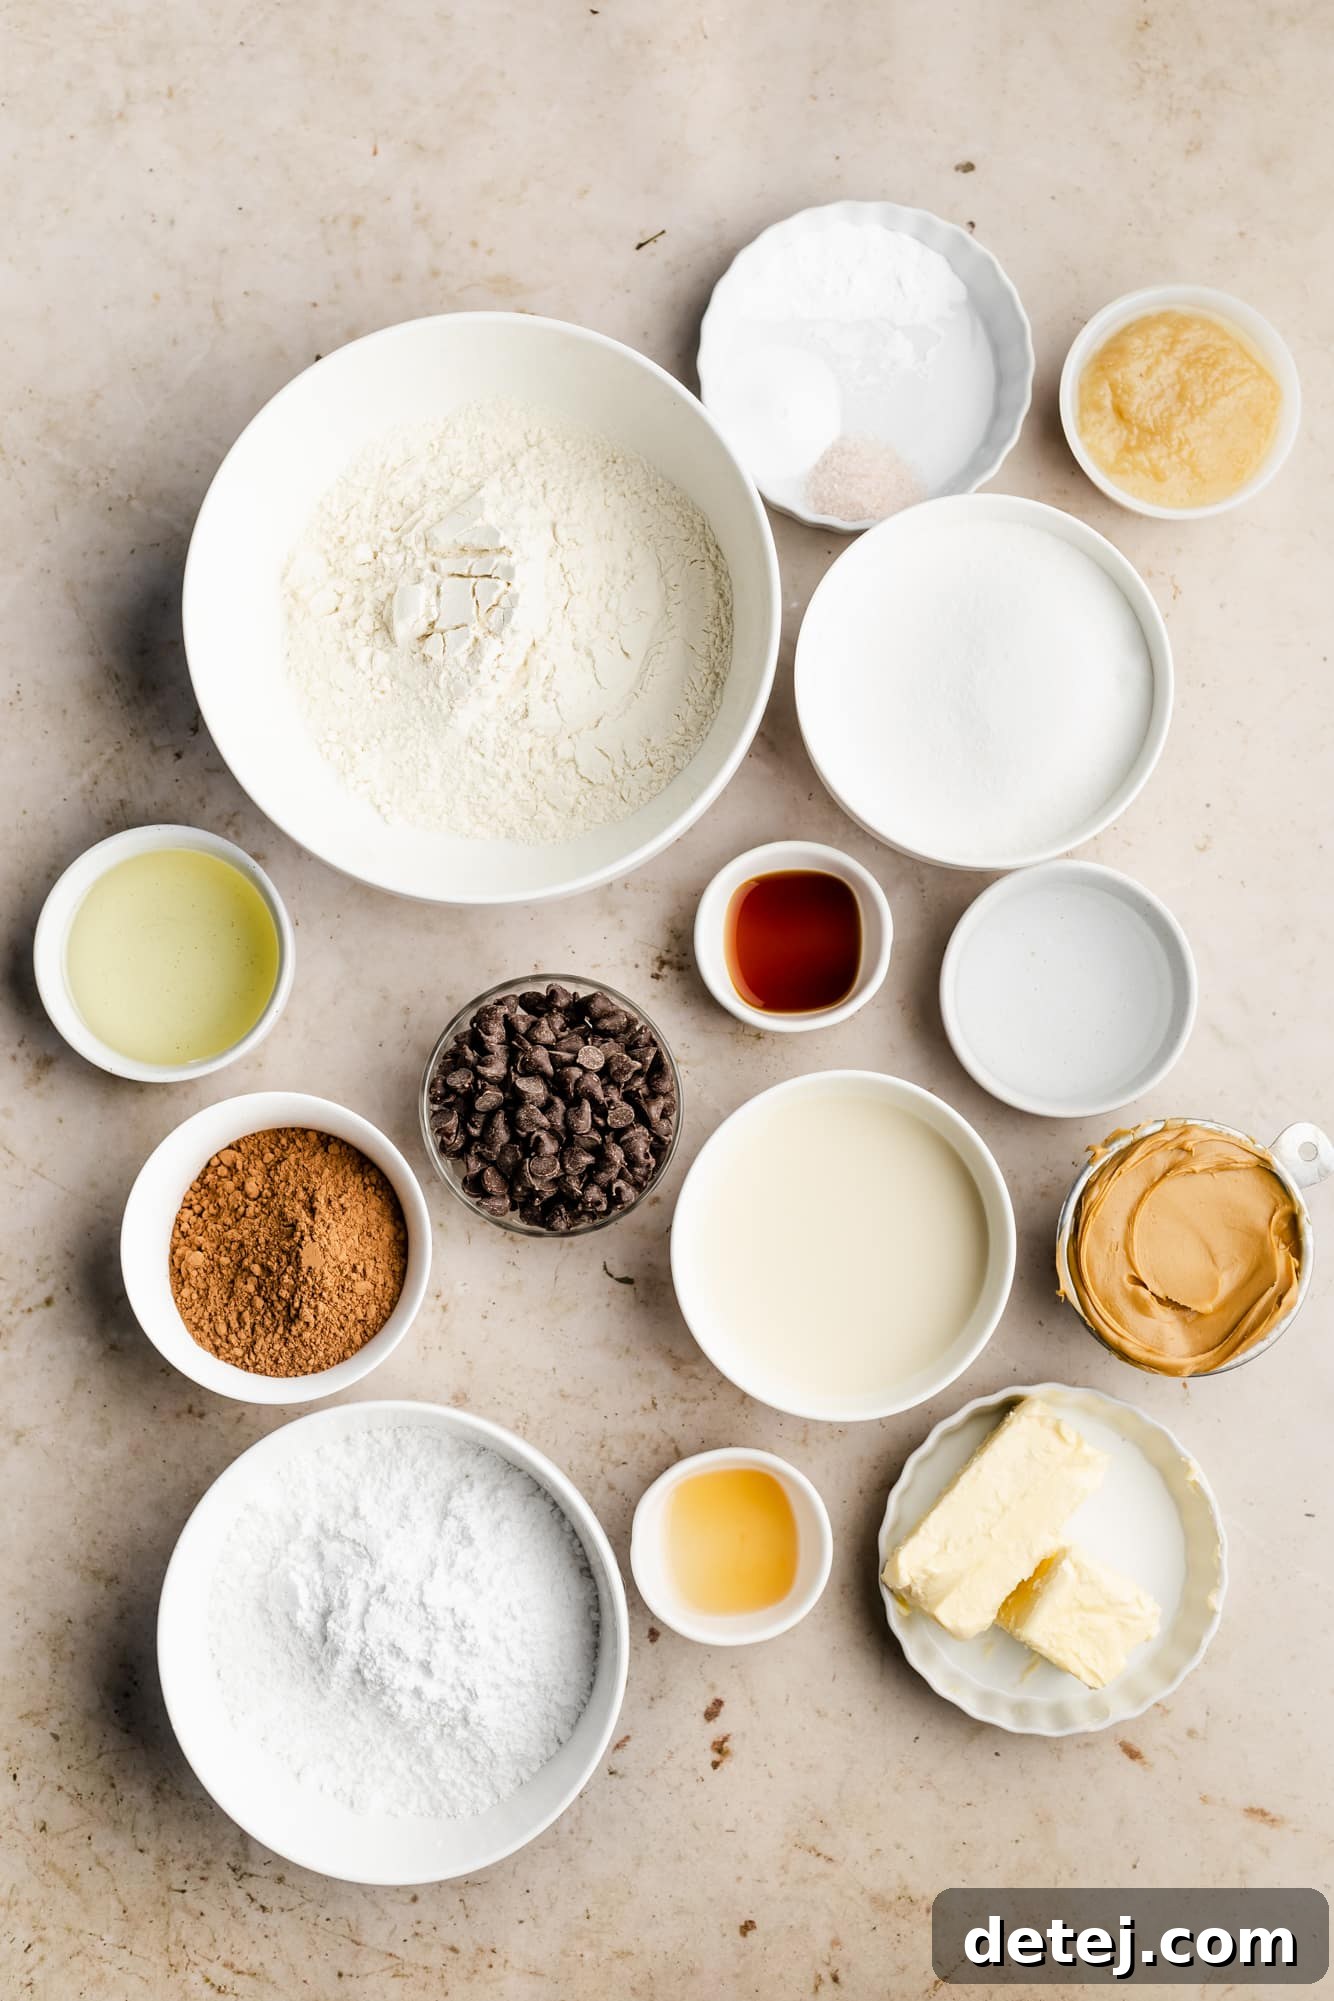
Essential Ingredients for Your Vegan Chocolate Peanut Butter Cake
Crafting this phenomenal cake requires a thoughtful selection of ingredients, each playing a crucial role in achieving its perfect texture and flavor. Here’s a detailed look at what you’ll need and potential substitutions:
- Soy Milk: This is our preferred non-dairy milk, as its higher protein content reacts beautifully with vinegar to create a rich, thick vegan buttermilk, essential for a tender crumb. If soy milk isn’t an option, almond milk or oat milk are excellent alternatives, though soy often yields the best results.
- Apple Cider Vinegar: When combined with non-dairy milk, apple cider vinegar curdles it into a homemade vegan buttermilk. This acidity is vital for activating the baking soda, leading to a light and fluffy cake. White vinegar or fresh lemon juice can be used interchangeably.
- All-Purpose Flour: For consistently great results, all-purpose flour is my go-to. It provides the ideal structure for this moist cake. For those needing a gluten-free option, please refer to our FAQs below for specific guidance.
- Granulated Sugar: Beyond sweetness, granulated white, cane, or coconut sugar contributes significantly to the cake’s structure, moisture, and golden-brown crust. It’s a fundamental ingredient that truly impacts the final texture and taste.
- Unsweetened Natural Cocoa Powder: Choose natural cocoa powder for its vibrant flavor and its interaction with baking soda. Avoid Dutch-processed cocoa powder, as it has been alkalized and reacts differently, affecting the cake’s rise and color.
- Baking Powder & Baking Soda: These leavening agents work in tandem to give the cake its impressive rise and airy texture. The baking soda reacts with the apple cider vinegar, while baking powder provides additional lift.
- Salt: A pinch of salt is crucial for enhancing all the other flavors, particularly the deep chocolate notes, and balancing the sweetness.
- Canola Oil: This neutral-flavored oil adds incredible moisture to the cake, ensuring it stays tender for days. Melted coconut oil or another mild vegetable oil like sunflower oil can be used as substitutes.
- Unsweetened Applesauce: Applesauce is a fantastic natural egg replacer and a powerhouse for adding moisture and tenderness to the cake. If you don’t have applesauce, you can use two flax eggs (2 tbsp ground flaxseed mixed with 6 tbsp water, allowed to gel) or an equivalent amount of another commercial egg replacer like Bob’s Red Mill Egg Replacer.
- Vanilla Extract: Pure vanilla extract is a must for any great cake. It rounds out the flavors and adds a warm, inviting aroma.
- Boiling Hot Water: This secret ingredient is a game-changer for chocolate cakes! It blooms the cocoa powder, intensifying the chocolate flavor and yielding a remarkably rich, almost fudgy consistency. Once you try it, you’ll never go back. For an even deeper flavor profile, consider substituting with freshly brewed hot coffee or espresso.
- Vegan Chocolate Chips: Folded into the batter, these chips add bursts of melted chocolate goodness. Tossing them in a tablespoon of flour first prevents them from sinking to the bottom of the pan. For an extra nutty crunch, you could swap some or all of the chocolate chips for chopped roasted peanuts.
- Vegan Butter (for Frosting): Ensure your vegan butter is softened to room temperature. This is key for achieving a smooth, creamy, and lump-free peanut butter frosting that spreads beautifully.
- Creamy Peanut Butter (for Frosting): For the best frosting consistency, use smooth, stir-free peanut butter, preferably from a freshly opened jar. Natural, drippy peanut butter can lead to a runny or unpredictable frosting texture due to its varying oil separation.
- Powdered Sugar (for Frosting): Also known as confectioners’ sugar, this provides sweetness and structure to the peanut butter frosting, creating that desirable fluffy texture.
Step-by-Step Guide to Crafting Your Vegan Chocolate Peanut Butter Cake
For precise measurements and a printable recipe card, scroll down to the dedicated recipe section below.
Creating this magnificent cake is a straightforward process, broken down into three main phases: baking the chocolate cake, preparing the luscious peanut butter frosting, and finally, assembling and decorating your masterpiece.
- Prepare the Vegan Buttermilk: Begin by measuring the specified amount of soy milk into a liquid measuring cup. Stir in the apple cider vinegar and set it aside for 5-10 minutes. During this time, the milk will visibly curdle, creating our tangy vegan buttermilk, which is essential for the cake’s tender texture.
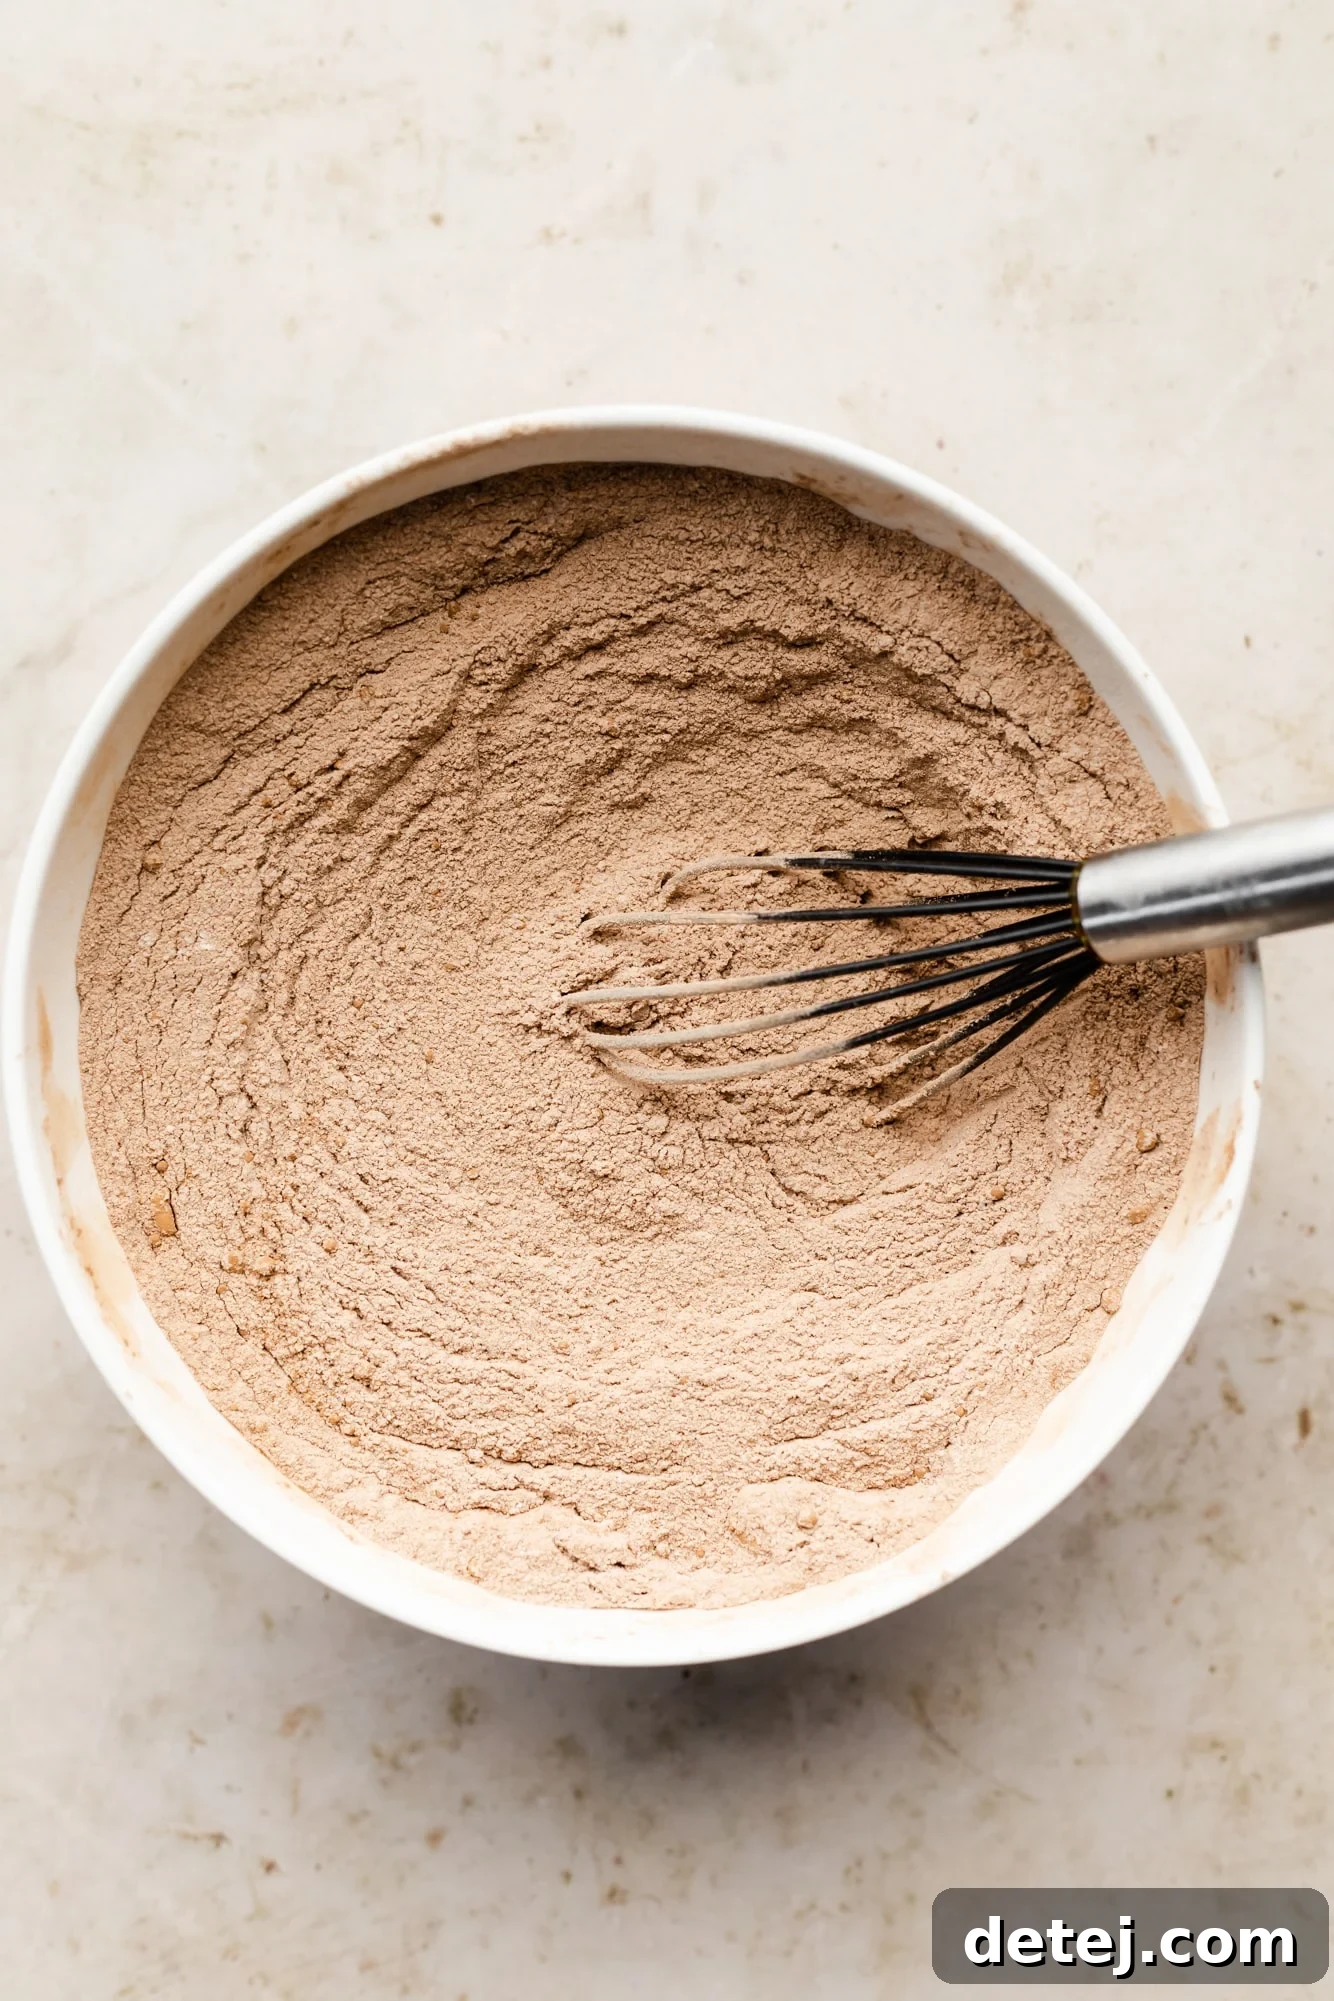
- Combine Dry Ingredients: In a large mixing bowl, whisk together the all-purpose flour, granulated sugar, unsweetened natural cocoa powder, baking powder, baking soda, and salt. Whisk thoroughly for about 30 seconds to ensure all ingredients are well combined and evenly distributed. This step is crucial for an even rise.
- Incorporate Wet Ingredients (Except Hot Water): To the bowl of dry ingredients, add the canola oil, unsweetened applesauce, vanilla extract, and your prepared vegan buttermilk mixture. Using an electric mixer (either handheld or stand mixer with a paddle attachment), begin mixing on low speed until all the ingredients are just combined and a smooth batter starts to form.
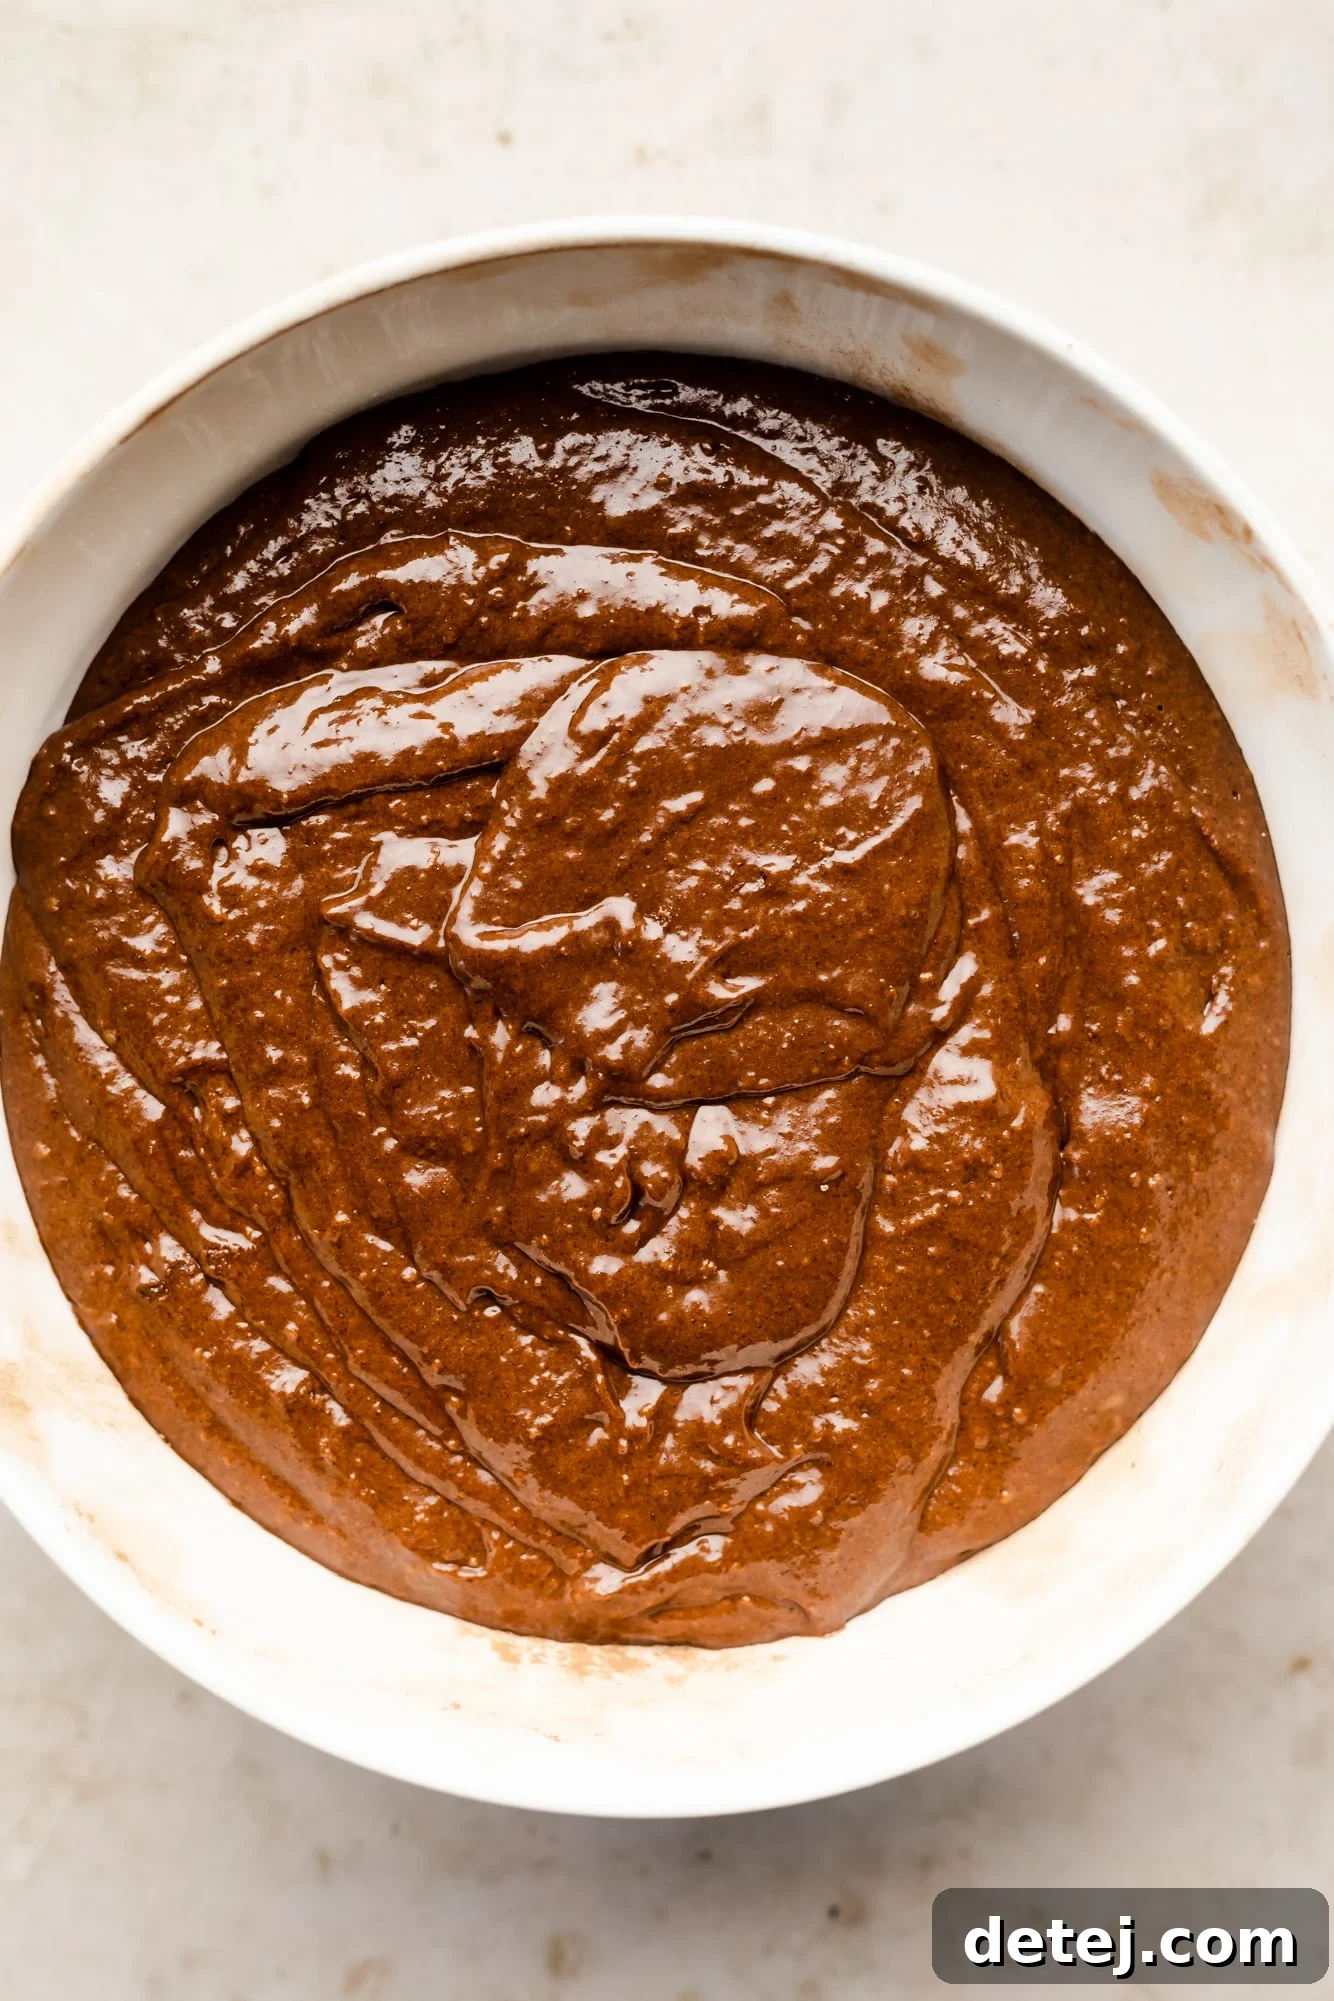
- Add Boiling Water: With the mixer still on low speed, carefully and slowly pour in the boiling hot water. Continue mixing until the water is fully incorporated into the batter. The batter will appear quite thin at this stage, but this is perfectly normal and contributes to the cake’s incredible moisture and fudgy texture.
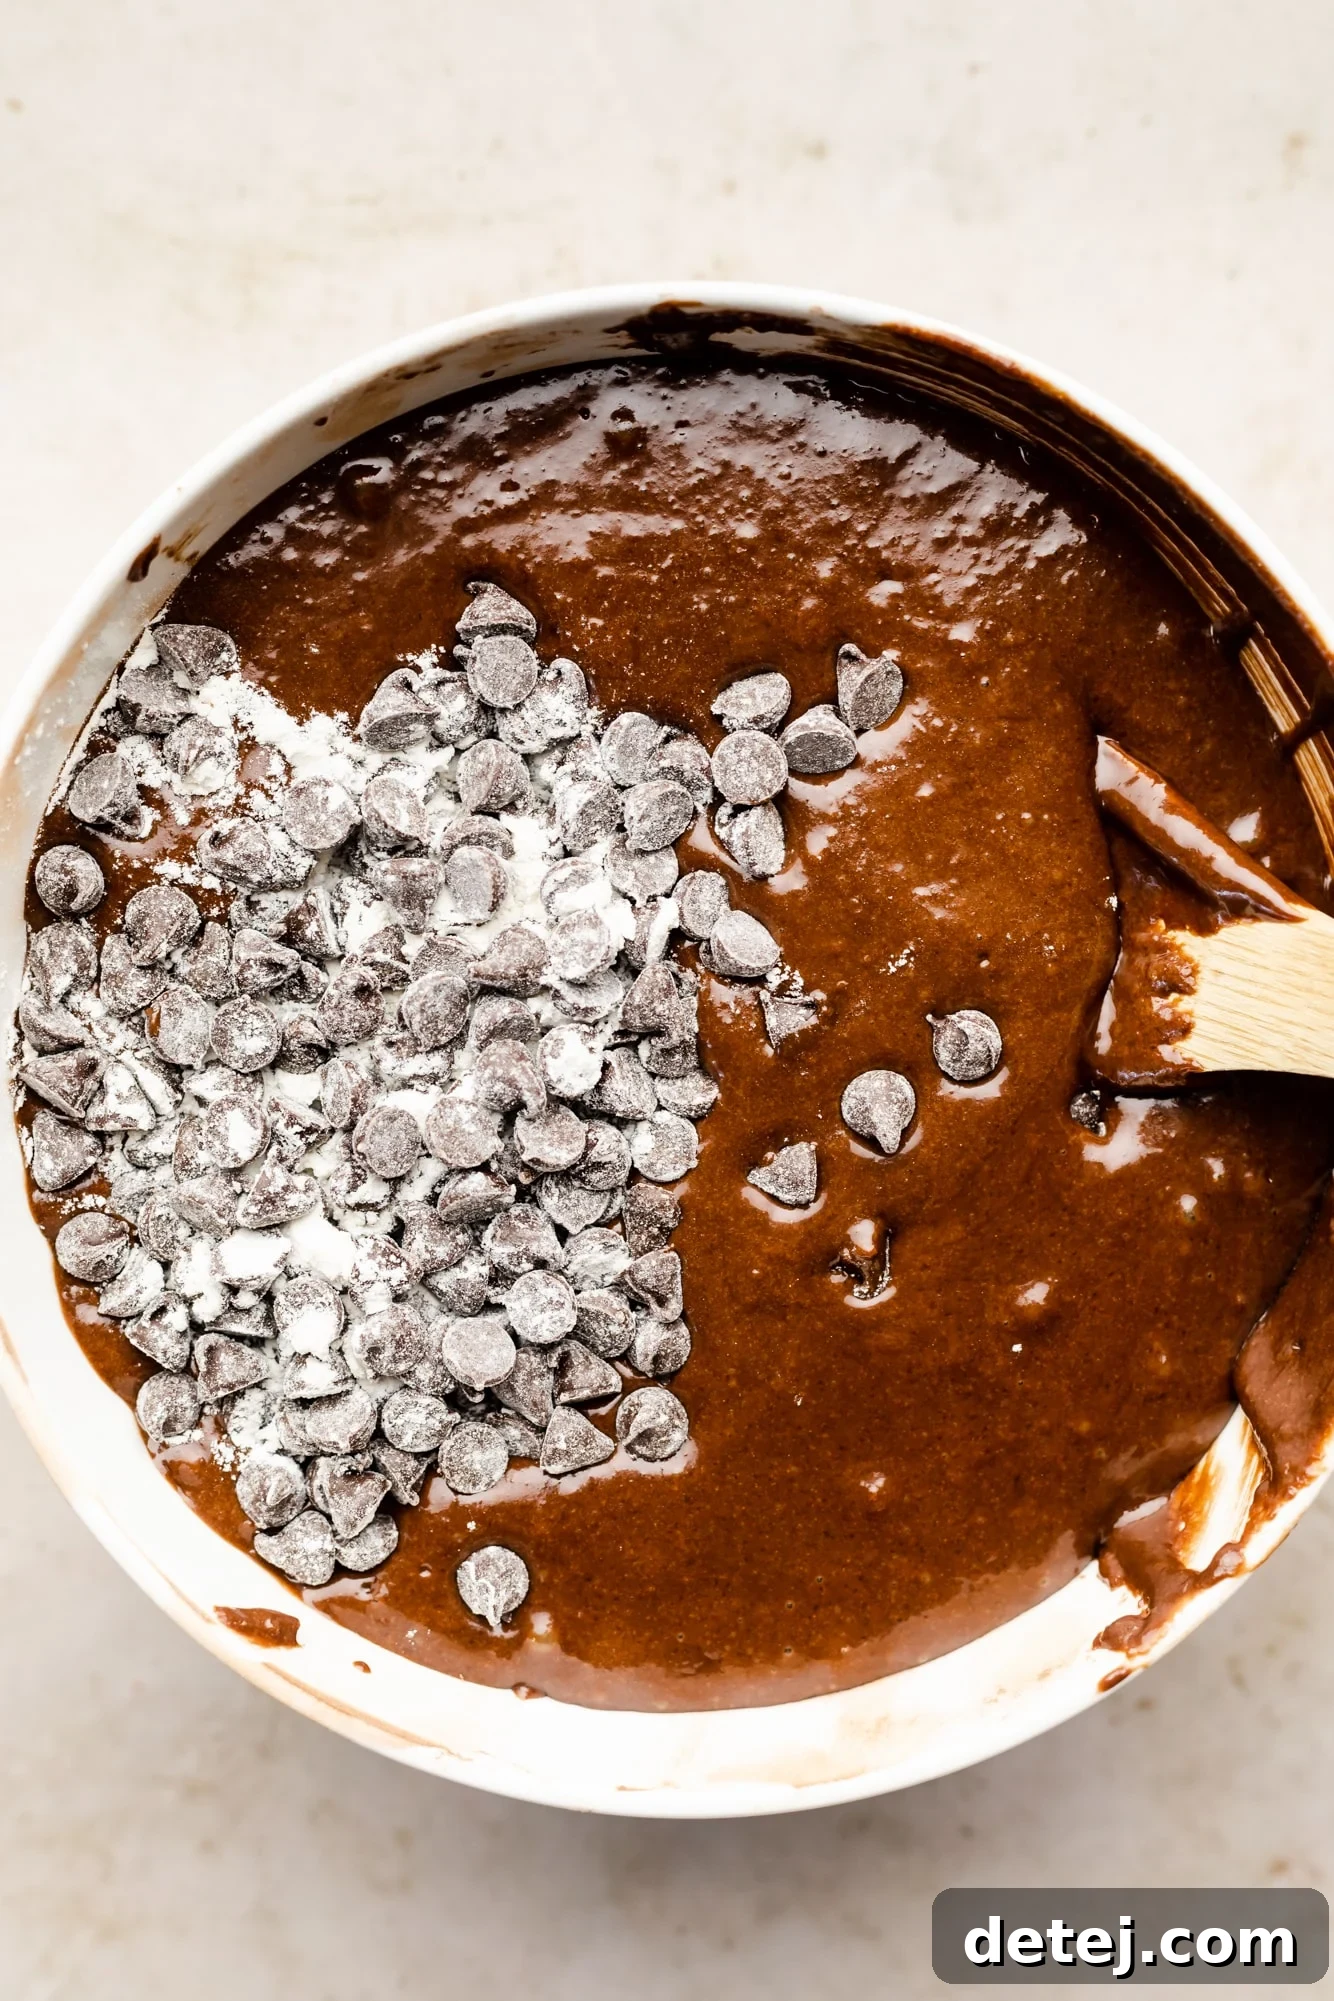
- Fold in Chocolate Chips: Gently fold in the flour-coated vegan chocolate chips using a spatula. Be careful not to overmix, as this can lead to a tough cake. Mix just enough until the chocolate chips are evenly distributed throughout the batter.
- Bake the Cake Layers: Divide the batter evenly between your two prepared 8-inch cake pans. Bake in a preheated oven (see recipe card for temperature) for 30-35 minutes, or until a toothpick inserted into the center of a cake layer comes out clean. Once baked, allow the cakes to cool in their pans for about 10 minutes before carefully inverting them onto a wire rack to cool completely. Cooling completely is crucial before frosting.
- Prepare the Peanut Butter Frosting: While the cakes are cooling, prepare the frosting. In a clean bowl, beat the softened vegan butter and creamy peanut butter together with an electric mixer on medium speed until the mixture is smooth, light, and creamy.
- Finish the Frosting: Add the powdered sugar, a splash of soy milk (or vegan creamer), and vanilla extract. Start mixing on low speed to prevent a cloud of powdered sugar, then gradually increase to high speed. Beat for 2-3 minutes until the frosting is wonderfully fluffy and airy. If it seems too thick, add a tablespoon of milk at a time until desired consistency is reached. If too thin, add more powdered sugar.
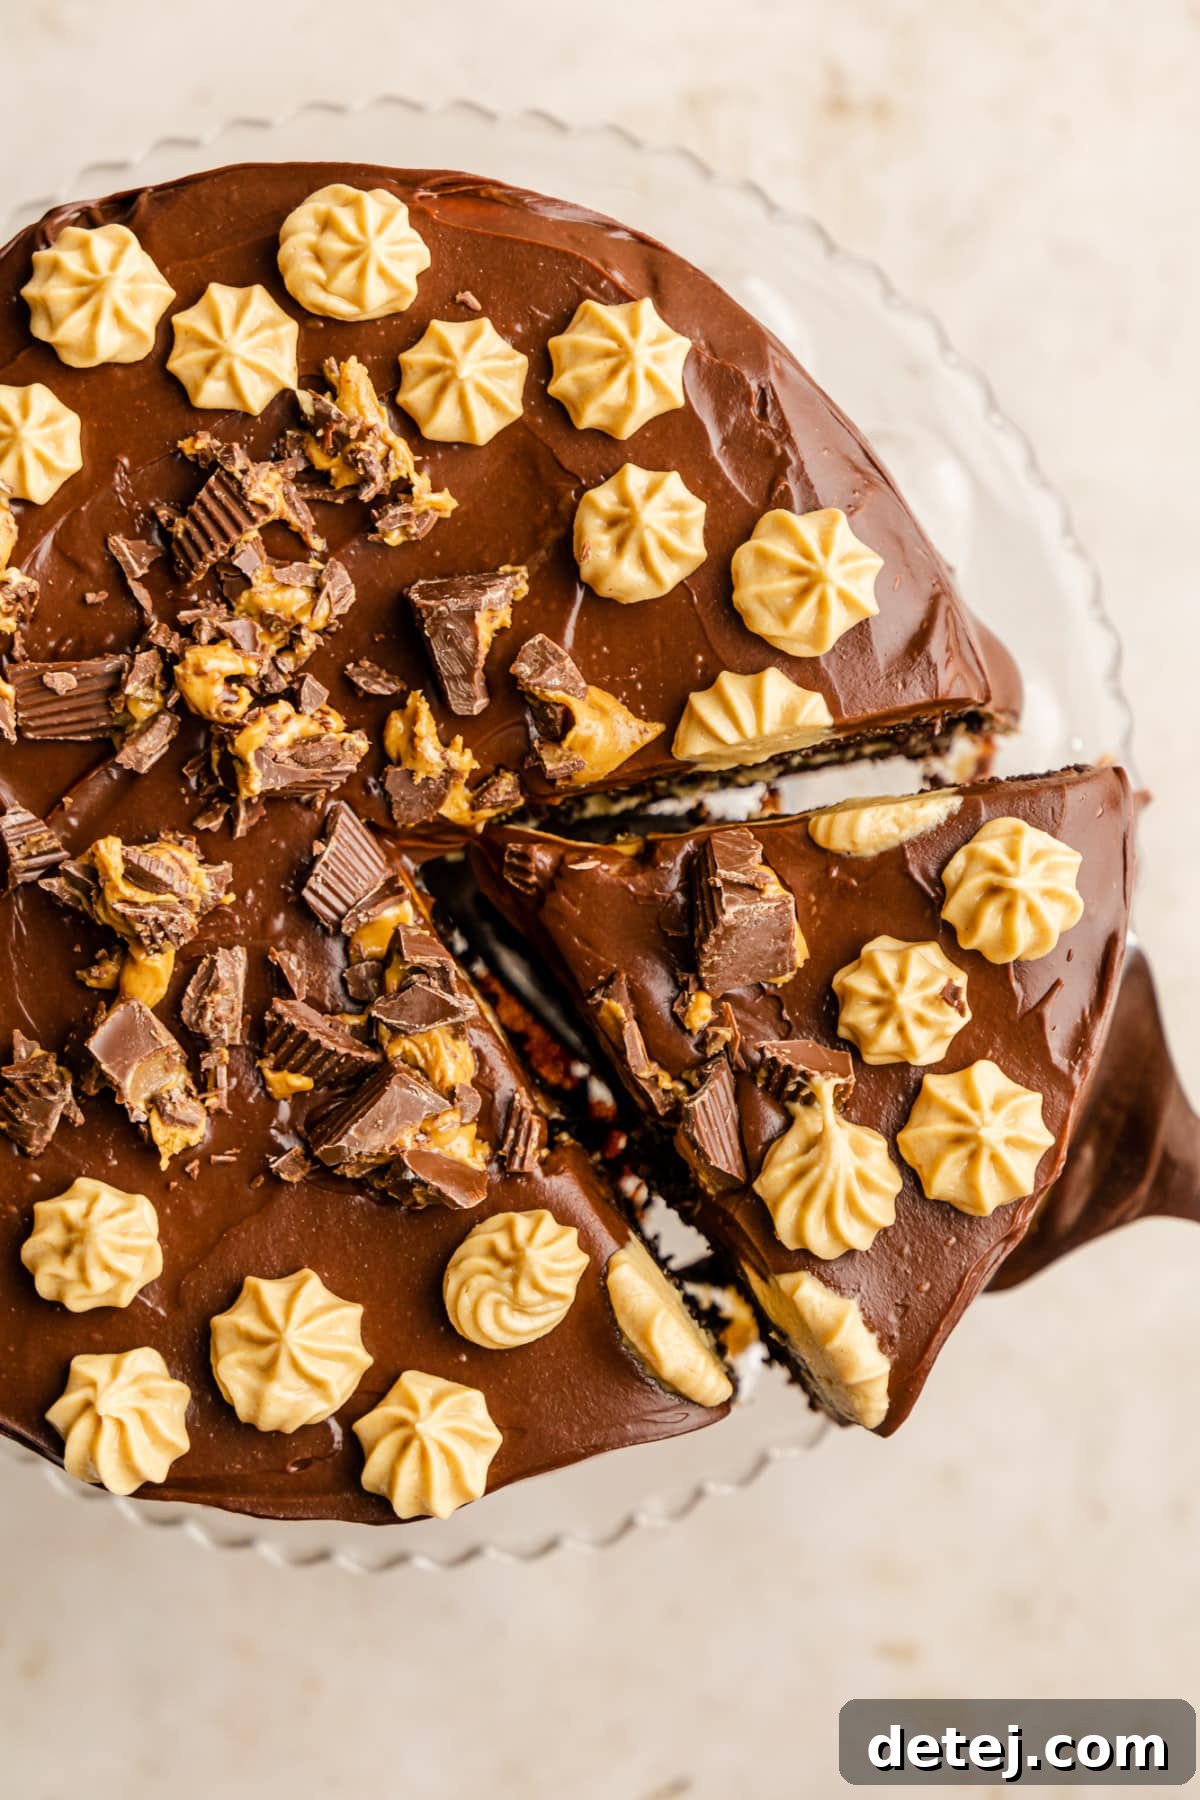
- Assemble and Decorate: Once the cake layers are completely cool, you can begin the frosting process. Spread a generous layer of peanut butter frosting onto the first cake layer, then carefully place the second layer on top. Cover the entire cake—top and sides—with the remaining peanut butter frosting, smoothing it out for a polished look. For an extra touch of elegance and flavor, prepare the vegan chocolate ganache (instructions can be found separately or use a quick homemade version). Drizzle or spread the ganache over the frosted cake, allowing some to drip down the sides. Finish with chopped vegan peanut butter cups or your favorite sprinkles. Serve immediately or chill for a firmer frosting and ganache. Enjoy this decadent treat!
- Avoid Overmixing the Batter: This vegan chocolate cake is particularly delicate. Overmixing develops the gluten in the flour, which can lead to a tough, dense cake by knocking out all the air that your leavening agents have worked hard to create. Mix only until the ingredients are just combined and no streaks of flour remain. A few small lumps are better than an overmixed, gummy batter.
- Ensure Room Temperature Ingredients: For the best emulsion and smoothest batter and frosting, ensure your soy milk, applesauce, and especially your vegan butter are at room temperature. Cold ingredients don’t combine as easily, potentially leading to a curdled batter or lumpy frosting. Plan ahead by taking them out of the refrigerator at least 30 minutes to an hour before you start baking.
- Understanding Pan Sizes and Baking Times: This recipe is designed for two 8-inch round cake pans, yielding beautiful, evenly sized layers. However, the versatile batter can also be used for other forms:
- For a Bundt pan: Bake for approximately 45 minutes. Ensure the pan is thoroughly greased and floured.
- For a 9×13-inch rectangular pan: Bake for 35 to 40 minutes. This creates a wonderful sheet cake that’s easy to serve.
Always use the toothpick test to confirm doneness, as oven temperatures can vary.
- Adjusting Frosting Consistency: Achieving the perfect peanut butter frosting consistency is key for easy spreading and piping.
- If your frosting seems too thick or stiff, gradually stir in additional soy milk (or vegan creamer), one tablespoon at a time, until it reaches your desired creamy texture.
- If, on the other hand, the frosting is too thin or runny, add more powdered sugar, a quarter cup at a time, beating well after each addition until it thickens sufficiently.
- Don’t Rush the Cooling Process: It’s tempting to frost a warm cake, but resist! Frosting a warm cake will cause the frosting to melt and slide right off, creating a messy situation. Allow your cake layers to cool completely on a wire rack before even thinking about frosting them. This can take a couple of hours.
- Level Your Cake Layers: For a professional-looking cake with even layers, it’s often helpful to gently level the tops of your cooled cake layers with a serrated knife. This ensures a flat surface for stacking and prevents your cake from leaning.
- Layering the Frosting:
- Begin by placing your first cooled cake layer on your serving plate or cake stand.
- Evenly spread a generous layer of the creamy peanut butter frosting over the top of this bottom layer. Use an offset spatula for a smooth finish.
- Carefully place the second cake layer directly on top, aligning it perfectly.
- Now, generously cover the top and sides of the entire cake with the remaining peanut butter frosting. Use your spatula to smooth the frosting all around, creating clean lines and an even surface.
- Chill for Stability: Once your cake is fully frosted with peanut butter frosting, place it in the refrigerator for at least 30 minutes. This chilling period is crucial as it allows the frosting to firm up and cool, providing a stable canvas for the chocolate ganache and preventing it from melting or running down the sides uncontrollably.
- The Glorious Ganache (Optional, but Highly Recommended!): For an extra layer of chocolatey decadence and a truly impressive finish, prepare our vegan chocolate ganache.
- Prepare the ganache according to the recipe. After stirring, let it chill in the fridge for 20-30 minutes, or until it reaches a pourable, yet thickened, smooth consistency – not too runny, not too firm. This ensures a beautiful drip.
- Once your cake is chilled and the ganache has thickened, spoon the ganache over the top of the chilled cake. Use the back of your spoon or an offset spatula to gently spread it evenly across the top, encouraging some of it to elegantly drip down the sides.
- Final Flourishes and Toppings:
- If you reserved some peanut butter frosting, transfer it to a piping bag fitted with your favorite star tip (or any decorative tip). Pipe beautiful swirls or rosettes around the top edge of the cake, or in the center.
- To finish, get creative with your toppings! Sprinkle chopped vegan peanut butter cups for extra texture and flavor, add chopped roasted peanuts for an enhanced nutty crunch, or use colorful sprinkles for a festive touch.
- Serve and Enjoy!: Slice your beautifully decorated cake and serve immediately. For even cleaner, prettier slices, you can chill the decorated cake in the fridge for another 1-2 hours before serving. This allows the ganache and frosting to fully set, making for a more refined presentation.
- Vegan Peanut Butter Cake: A pure peanut butter celebration in cake form!
- Peanut Butter Swirl Brownies: Fudgy brownies swirled with rich peanut butter.
- Vegan Peanut Butter Pie: A no-bake dream with a creamy, airy peanut butter filling.
- Chocolate Peanut Butter Bars: Simple, satisfying, and perfect for a quick treat.
- Chocolate Peanut Butter Balls: A classic no-bake favorite, easy and incredibly addictive.
- 1 cup unsweetened soy milk
- 1 tablespoon apple cider vinegar
- 2 cups all purpose flour
- 1 3/4 cups granulated sugar
- 3/4 cup unsweetened natural cocoa powder
- 2 teaspoons baking powder
- 1 1/2 teaspoons baking soda
- 1 teaspoon salt
- 1/2 cup canola oil
- 1/2 cup unsweetened applesauce
- 1 tablespoon pure vanilla extract
- 1/2 cup boiling hot water
- 1 cup vegan chocolate chips, tossed in a bowl with a tablespoon of flour
- 3/4 cup vegan butter, softened
- 1 cup creamy peanut butter NOT the natural kind, see Notes
- 2 cups powdered sugar
- 1 teaspoon pure vanilla extract
- 3 tablespoons soy milk or vegan creamer
- 1 Recipe Vegan Chocolate Ganache
- chopped vegan peanut butter cups
-
Preheat oven to 350 degrees F (175°C) and thoroughly grease two 8-inch round cake pans. For easier removal and to prevent sticking, I also recommend lining the bottom of each pan with parchment paper rounds and lightly flouring the sides after greasing.
-
Measure 1 cup of unsweetened soy milk into a liquid measuring cup, then stir in 1 tablespoon of apple cider vinegar. Set this mixture aside for 5-10 minutes to curdle and create vegan buttermilk.
-
In a large mixing bowl, add the all-purpose flour, granulated sugar, unsweetened natural cocoa powder, baking powder, baking soda, and salt. Whisk these dry ingredients together thoroughly for about 30 seconds to ensure they are well combined and uniformly distributed.
-
Now, add the canola oil, unsweetened applesauce, pure vanilla extract, and the prepared milk/vinegar mixture (vegan buttermilk) to the bowl of dry ingredients. Using an electric mixer (either handheld or a stand mixer with the paddle attachment), mix on medium speed until all ingredients are well combined and a smooth batter forms. Scrape down the sides of the bowl as needed.
-
Reduce the mixer speed to low. Carefully and slowly pour in the boiling hot water, continuing to mix until it is fully incorporated into the cake batter. The batter will become quite thin, which is exactly the desired consistency for a moist chocolate cake.
-
Gently fold in the flour-coated vegan chocolate chips using a spatula. Mix just until they are evenly distributed; avoid overmixing.
-
Divide the batter evenly between your two prepared cake pans. Bake for 30-35 minutes, or until a wooden toothpick inserted into the center of the cakes comes out clean with no wet batter. After 10 minutes of cooling in the pans, carefully invert the cakes onto a wire rack and allow them to cool completely before attempting to frost them.
-
Using either a handheld electric mixer or a stand mixer fitted with a paddle attachment, beat the softened vegan butter and creamy peanut butter on medium speed until the mixture is exceptionally smooth and creamy. This should take about 2-3 minutes.
-
Add the powdered sugar, soy milk, pure vanilla extract, and optional pinch of salt. Begin beating on a very low speed to prevent powdered sugar from flying everywhere, then gradually increase the speed to high. Continue to beat for 2 minutes until the frosting is wonderfully light, fluffy, and smooth.
-
If the frosting appears too thick, add more soy milk (or vegan creamer) one tablespoon at a time until the desired consistency is achieved. Conversely, if it becomes too runny, add additional powdered sugar, a quarter cup at a time, beating after each addition until it thickens appropriately.
-
Once the cake layers are completely cool, frost the cake. Spread a layer of peanut butter frosting on the bottom cake layer. Place the second layer on top, then generously cover the entire cake (top and sides) with the remaining peanut butter frosting, smoothing it out for a neat finish. If you plan to add chocolate ganache, place the frosted cake in the refrigerator for at least 30 minutes to chill and firm up the frosting. Remember to save some frosting for piping on top of the ganache if desired.
-
Prepare the vegan chocolate ganache, if you are using it. After mixing, allow the ganache to chill in the refrigerator for 20-30 minutes, stirring occasionally, until it reaches a thickened but still pourable consistency.
-
Spoon the thickened ganache over the top of the chilled, frosted cake. Gently smooth it around the top and sides, allowing some to artfully drip down the edges for a decorative effect.
-
Using a piping bag fitted with a star tip (or your preferred tip), pipe the reserved peanut butter frosting onto the top of the cake. Finish by sprinkling chopped vegan peanut butter cups or other desired toppings over the ganache and piped frosting.
-
Serve the cake immediately for optimal freshness. For cleaner, more defined slices and a firmer ganache/frosting, chilling the cake in the refrigerator for at least 4 hours (or up to overnight) before serving is highly recommended. Enjoy your magnificent Vegan Chocolate Peanut Butter Cake!
- While soy milk is preferred for the best vegan buttermilk, other non-dairy milks like oat, almond, or coconut milk will also work well in the chocolate cake recipe.
- If you don’t have apple cider vinegar, you may use fresh lemon juice or white vinegar as substitutes for making the vegan buttermilk.
- For the peanut butter frosting, it is crucial to use creamy, “no-stir” peanut butter (like Jif or Skippy) rather than natural, drippy peanut butter. Natural peanut butter often separates its oils and can result in an inconsistent frosting texture – it might be too runny or too thick, making it difficult to work with.
Expert Tips for a Flawless Vegan Chocolate Peanut Butter Cake
Achieving a perfect cake goes beyond just following the steps; a few expert tips can elevate your baking from good to extraordinary:
Elevate Your Presentation: Expert Decorating Tips
The presentation of your Vegan Chocolate Peanut Butter Cake is just as important as its delicious taste. With a few simple techniques, you can transform it into a stunning centerpiece. Remember to reserve some of your peanut butter frosting for decorative piping on top if you plan to add ganache and extra flourishes!
Frequently Asked Questions About Vegan Chocolate Peanut Butter Cake
While this specific chocolate cake recipe relies on all-purpose flour for its optimal texture, you can absolutely enjoy a gluten-free version! For the best results, I highly recommend making my dedicated Gluten-Free Chocolate Cake as your base. That recipe is specifically formulated to work with gluten-free flour blends and will provide the best crumb and moisture. Once you have your gluten-free chocolate cake layers, you can then proceed with decorating the cake as normal, using the peanut butter frosting and chocolate ganache from this recipe.
Yes, this versatile chocolate cake batter is perfect for cupcakes! This recipe will yield approximately 24 standard-sized cupcakes. To adapt: prepare the cake batter exactly as instructed. Then, line a muffin tin with cupcake liners and fill each liner about two-thirds full with batter. Bake for a shorter duration, typically 20 to 25 minutes, or until a toothpick inserted into the center of a cupcake comes out clean. Let them cool completely before frosting with the peanut butter frosting and adding any desired toppings.
For the most exquisite taste and texture, the frosted and decorated Vegan Chocolate Peanut Butter Cake is best enjoyed on the day it’s made, or within a few hours of assembly. However, if you have leftovers or need to make it slightly ahead, the cake can be covered loosely and stored in the refrigerator for up to 3-4 days. Ensure it’s in an airtight container to prevent it from drying out or absorbing refrigerator odors. Bring slices to room temperature for about 20-30 minutes before serving for the best flavor and texture.
While I don’t generally recommend freezing the fully decorated cake (the frosting and ganache might lose some of their pristine texture and appearance upon thawing), the baked chocolate cake layers themselves freeze beautifully! To freeze: once the cake layers are completely cooled, wrap each layer tightly in plastic wrap, then again in aluminum foil. They can be frozen for up to 2-3 months. Thaw frozen layers in the refrigerator overnight before frosting. If you do find yourself with extra frosted cake, it can be frozen in an airtight container, but be aware that the aesthetic quality might diminish slightly after thawing, though it will still taste delicious.
Craving More Peanut Butter Delights? Explore These Vegan Recipes!
If you’ve fallen in love with the magic of peanut butter in this cake, you’ll be thrilled to discover more of our irresistible plant-based recipes that celebrate this creamy, nutty ingredient:
Chocolate Peanut Butter Cake
Pin
Comment
SaveSaved
Ingredients