
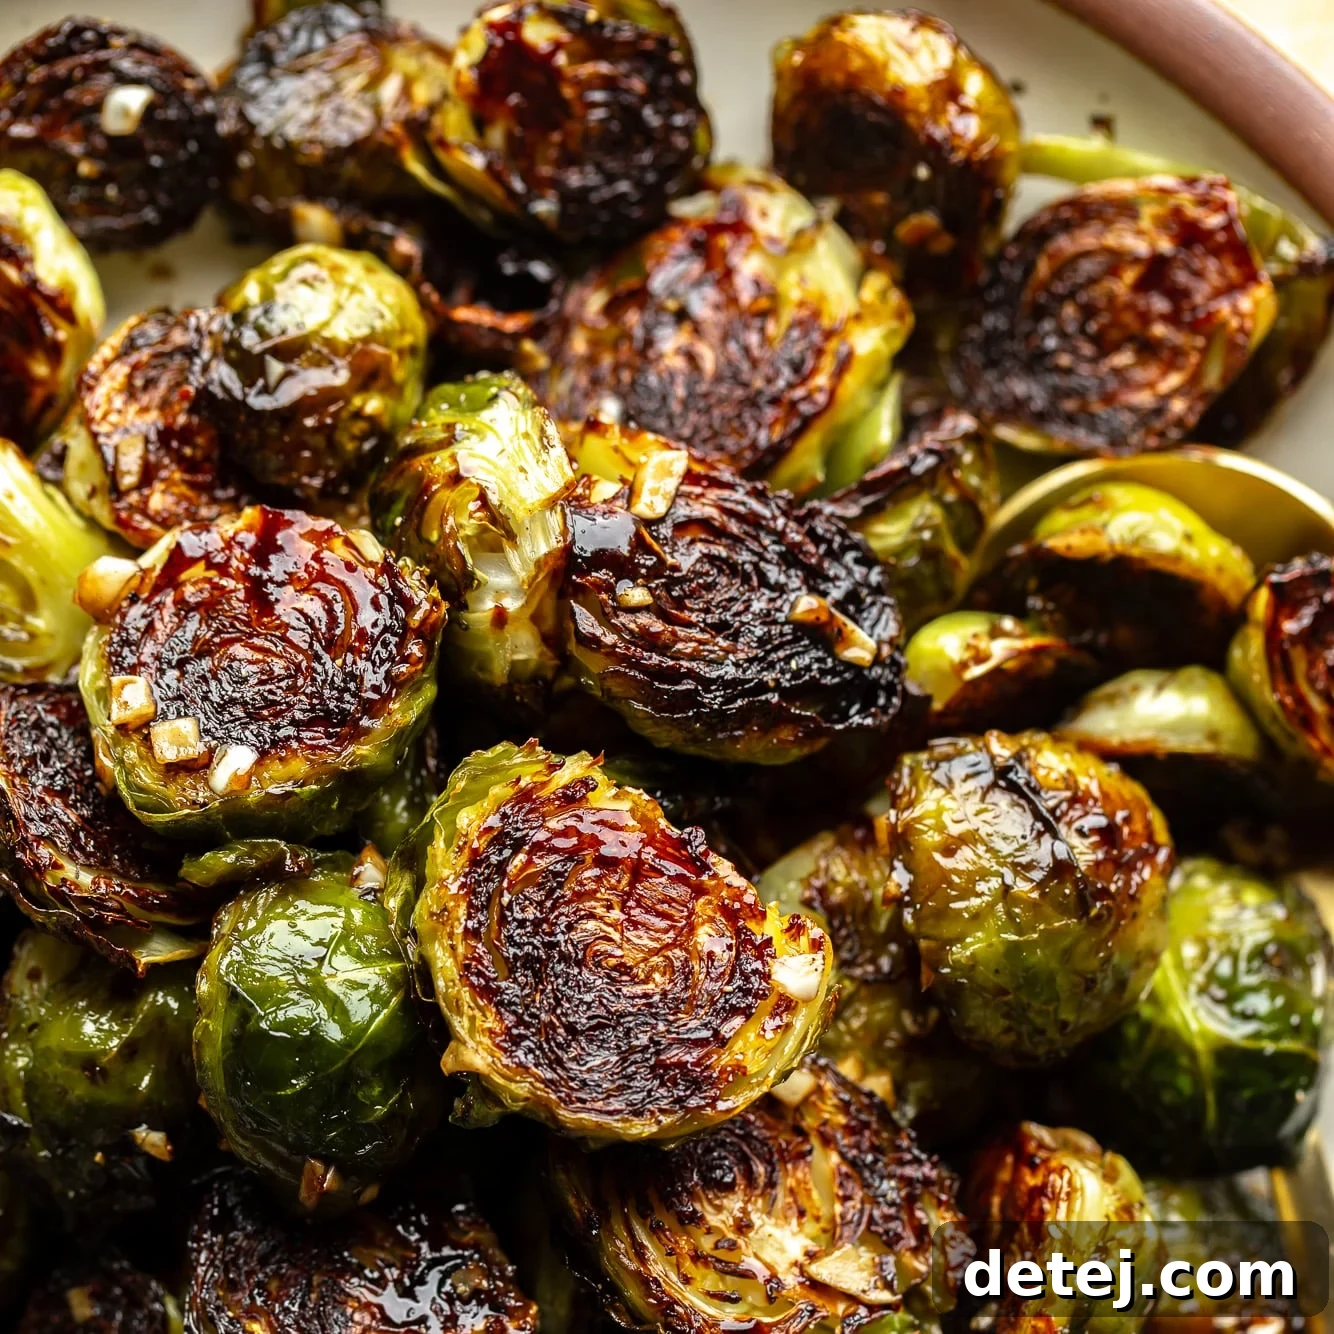
Welcome to the definitive guide for crafting the most delectable Roasted Brussels Sprouts! This recipe promises perfectly crisp exteriors, exquisitely tender interiors, and a sublime finish with a drizzle of tangy balsamic vinegar. It’s not just a side dish; it’s a revelation that will transform how you view this often-misunderstood vegetable. Quick, effortless, and guaranteed to be a crowd-pleaser for any meal or occasion.
For those eager to expand their repertoire of delicious and easy vegetable side dishes, be sure to explore our recipes for Roasted Squash and Zucchini, My Favorite Kale Salad, and this incredibly flavorful Roasted Cauliflower with Garlic. Each offers a unique way to bring vibrant, healthy flavors to your table.
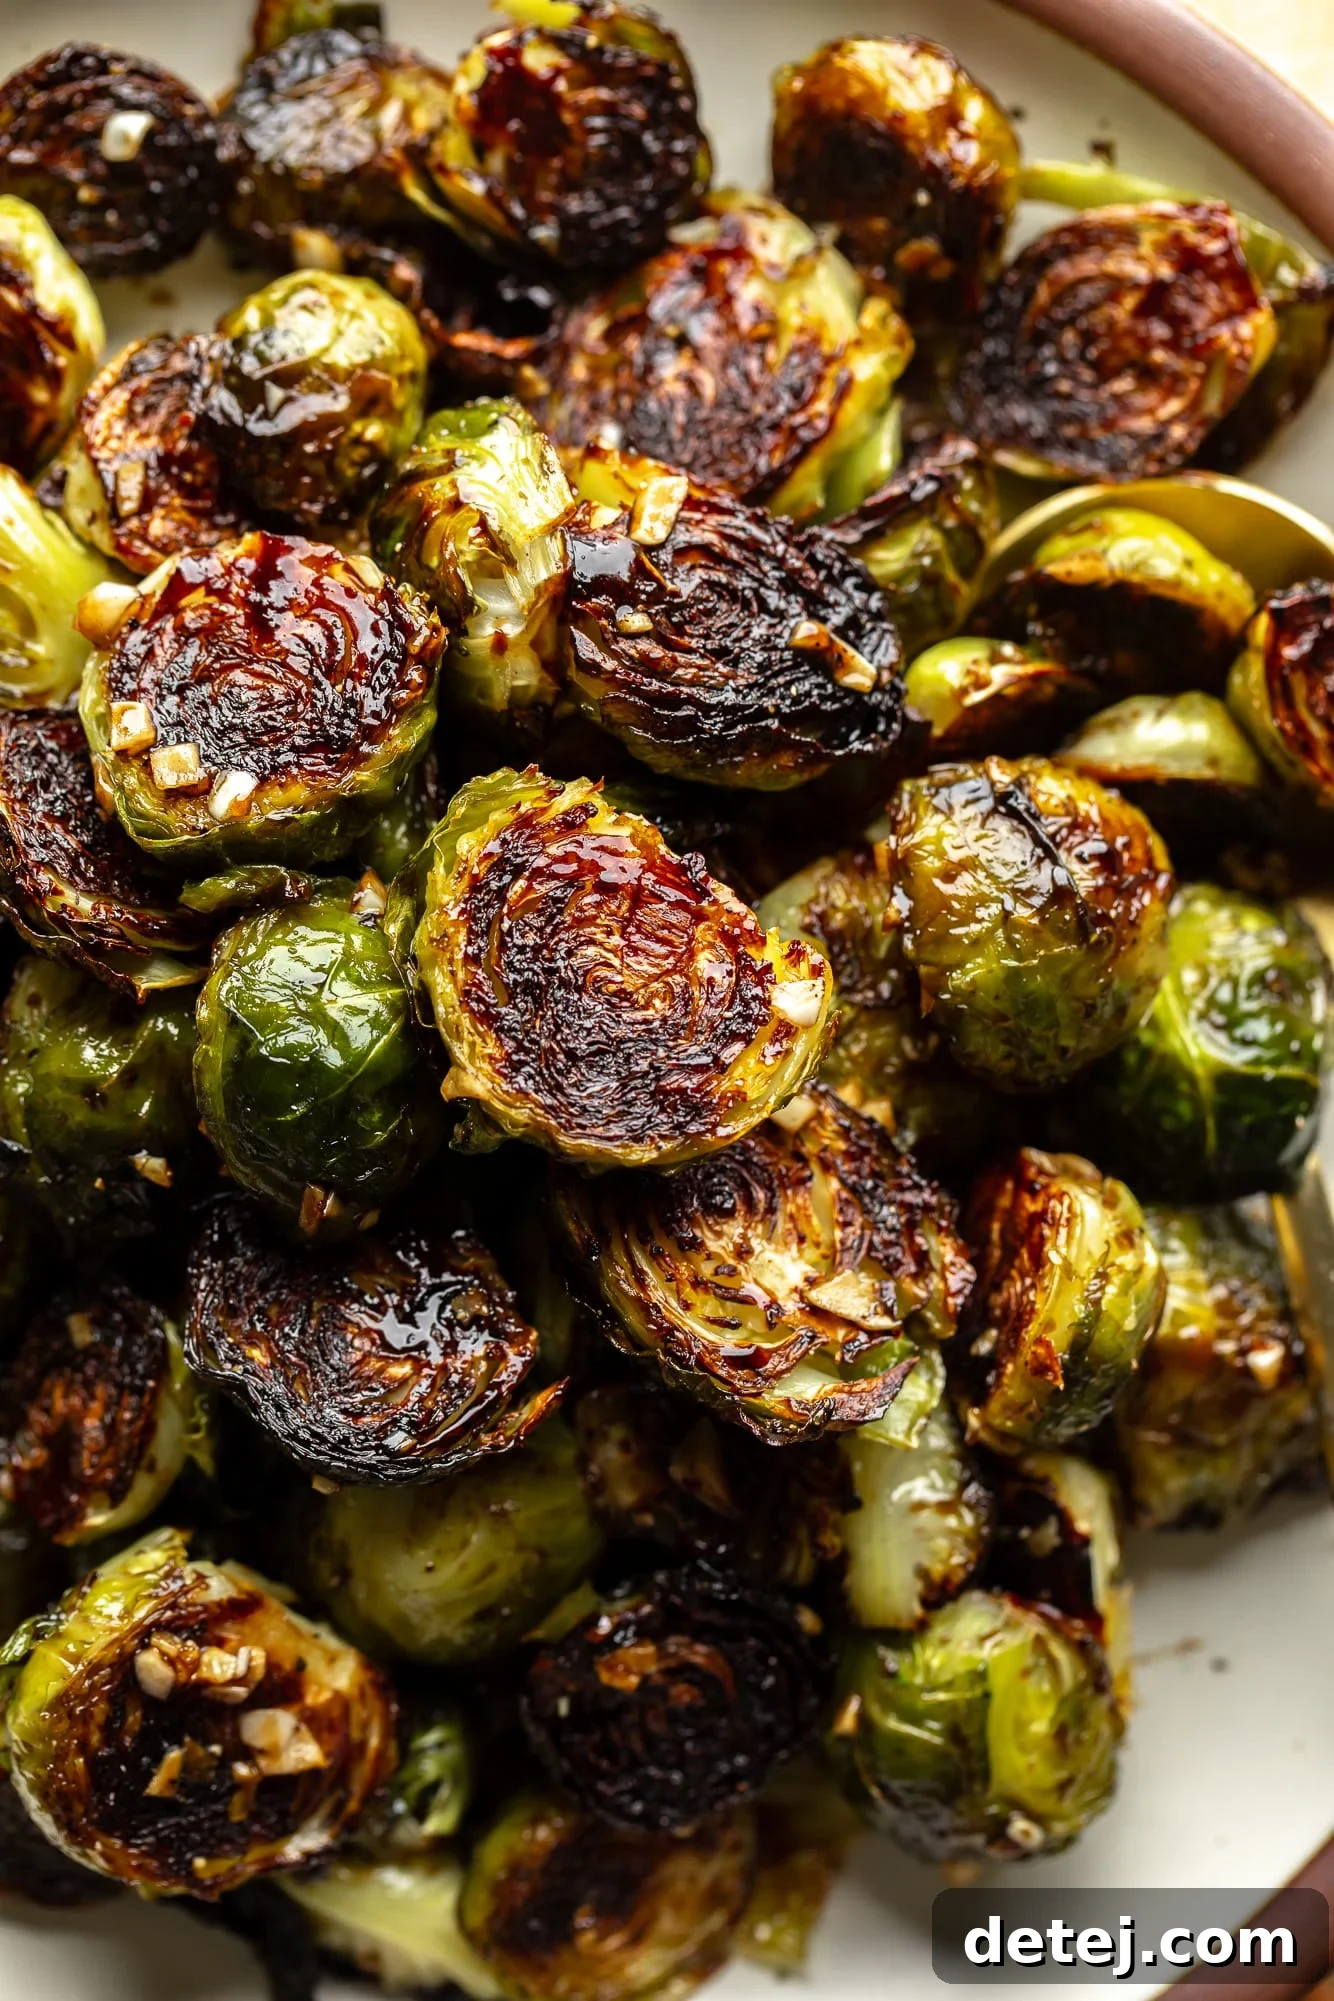
For years, Brussels sprouts were the bane of many dinner tables, often dismissed as bitter or mushy. But I’m thrilled to announce that I’ve finally uncovered the ultimate method for preparing them! This isn’t just a recipe; it’s a game-changer that transforms humble Brussels sprouts into a truly addictive vegetable. I never imagined these little green powerhouses would become my absolute favorite, yet here we are. The secret lies in achieving that irresistible contrast: crunchy, golden leaves that shatter with each bite, perfectly complementing the tender, succulent middles. They’re so bursting with savory flavor that you’ll find yourself yearning for them on a regular basis!
The journey to consistently perfect roasted Brussels sprouts is surprisingly simple, relying on just two fundamental techniques. These aren’t elaborate culinary secrets, but rather straightforward steps that yield spectacular results every single time. Firstly, it’s crucial to thoroughly toss them in oil and your chosen seasonings *before* they even touch the oven. This ensures every surface is evenly coated, leading to uniform crispness and infused flavor. Secondly, and perhaps most importantly, arrange them cut-side down on your baking pan. Adhere to these two easy principles, and you’ll be rewarded with a batch of sprouts that are beautifully tender on the inside and irresistibly crisp on the outside, never dried out or lacking in flavor.
These versatile roasted Brussels sprouts make an exceptional pairing for a variety of hearty meals. They’re particularly fantastic alongside comforting dishes like my savory Mushroom Wellington, a robust Lentil Loaf, or creamy Scalloped Potatoes, elevating any family dinner into a truly memorable experience.
Why This Is the Only Roasted Brussels Sprouts Recipe You’ll Ever Need
This isn’t just another Brussels sprouts recipe; it’s *the* recipe you’ll return to again and again. Here’s why it stands out:
- The Ultimate Versatile Side Dish: Roasted Brussels sprouts are incredibly adaptable, making them a perfect companion for almost any meal, regardless of the season. They effortlessly complement everything from weeknight dinners to festive holiday spreads. Their delightful texture and robust flavor make them an excellent standalone snack too – sometimes, I’ll prepare a batch just for dipping into a zesty chipotle sauce!
- Unrivaled Texture: Crispy Outside, Tender Inside: The hallmark of truly great roasted Brussels sprouts is the perfect textural contrast. With the two simple, yet effective, tips I’m sharing, you’ll achieve sprouts with beautifully caramelized, crunchy outer leaves and soft, succulent middles. No more soggy or overly dry sprouts – just pure deliciousness.
- Infinitely Customizable Flavors: While a simple sprinkle of salt and pepper is often all these sprouts need to shine, their mild, slightly nutty flavor provides a fantastic canvas for endless culinary creativity. Beyond the basics, consider enhancing them with aromatic garlic powder, a medley of fresh or dried herbs (rosemary, thyme, oregano), a bright squeeze of lemon juice, a generous sprinkle of vegan parmesan cheese, or even a touch of heat with red pepper flakes. The possibilities are truly boundless to match your personal taste preferences.
- Nutrient-Rich and Wholesome: Beyond their incredible taste, Brussels sprouts are a powerhouse of nutrition. Packed with vitamins C and K, fiber, and antioxidants, they contribute significantly to a healthy diet. Roasting is one of the best ways to prepare them, as it enhances their natural sweetness and nutrient availability without adding unnecessary fats. This recipe ensures you’re enjoying a wholesome side that’s as good for you as it tastes.
- Effortless Preparation for Any Skill Level: Whether you’re a seasoned chef or a novice in the kitchen, this recipe is incredibly forgiving and simple to follow. The minimal prep time and straightforward roasting process mean you can achieve gourmet-level results with very little fuss. It’s perfect for busy weeknights or when you need a reliable side dish for entertaining.
Mastering the Art of Roasting Brussels Sprouts: A Step-by-Step Guide
Achieving perfectly roasted Brussels sprouts is all about understanding a few key techniques. Below, you’ll find a detailed, narrative guide to walk you through each step. For precise measurements and a printable version, please refer to the complete recipe card further down the page.
Step 1: Preparation is Key
Begin by giving your fresh Brussels sprouts a thorough rinse under cold water. Pat them completely dry with a clean kitchen towel or paper towels – excess moisture will steam rather than roast, hindering crispness. Next, trim off the tough, woody ends of each sprout. Remove any loose or discolored outer leaves. Finally, slice each sprout in half lengthwise. If you encounter particularly large sprouts, cutting them into quarters will ensure more even cooking and provide more surface area for that desirable caramelization.
Step 2: Seasoning for Success
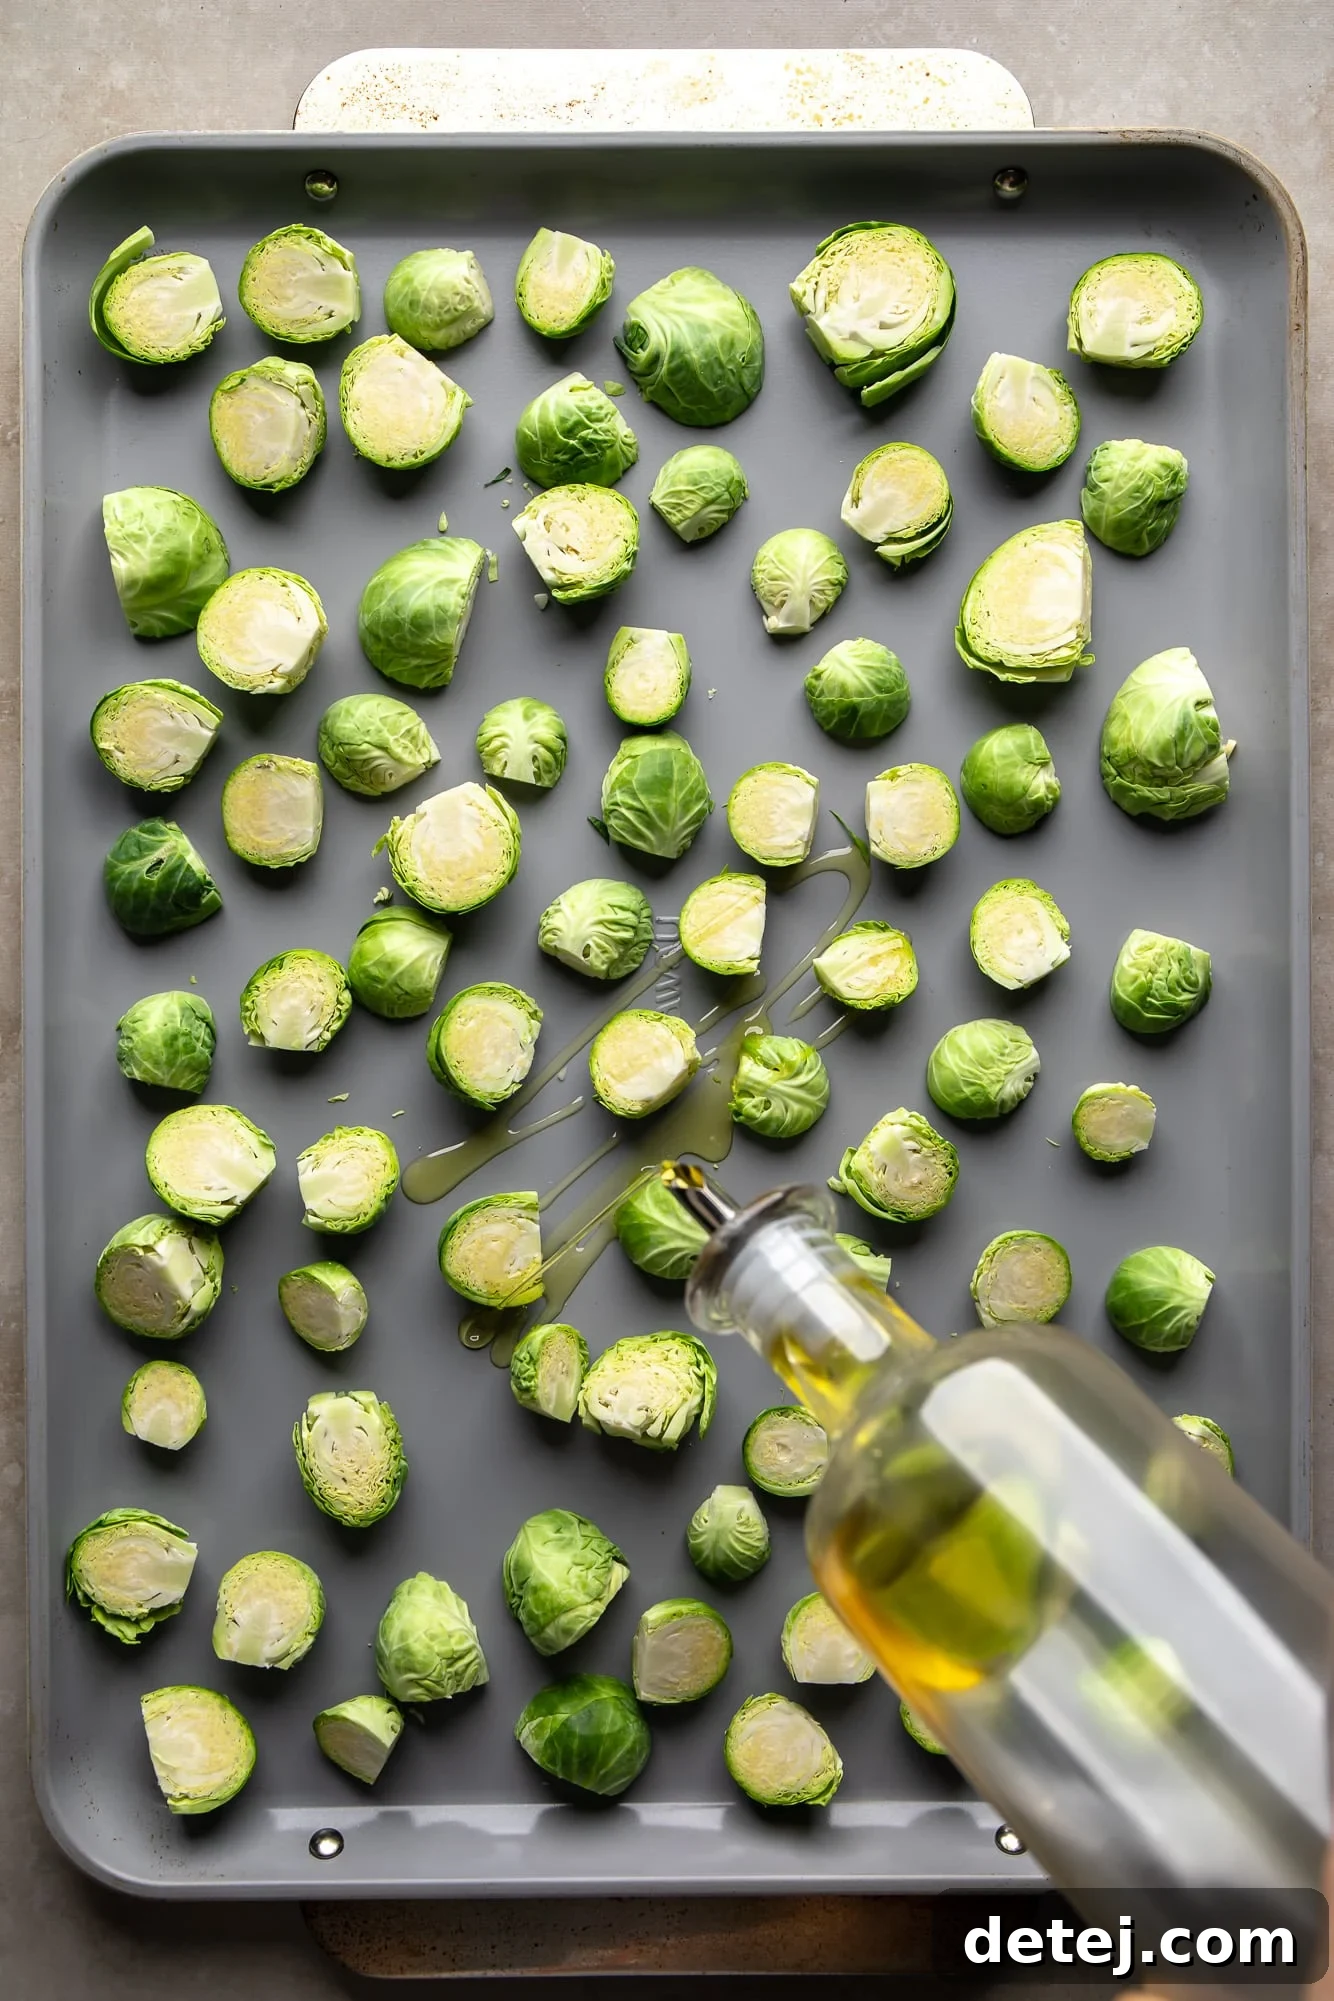
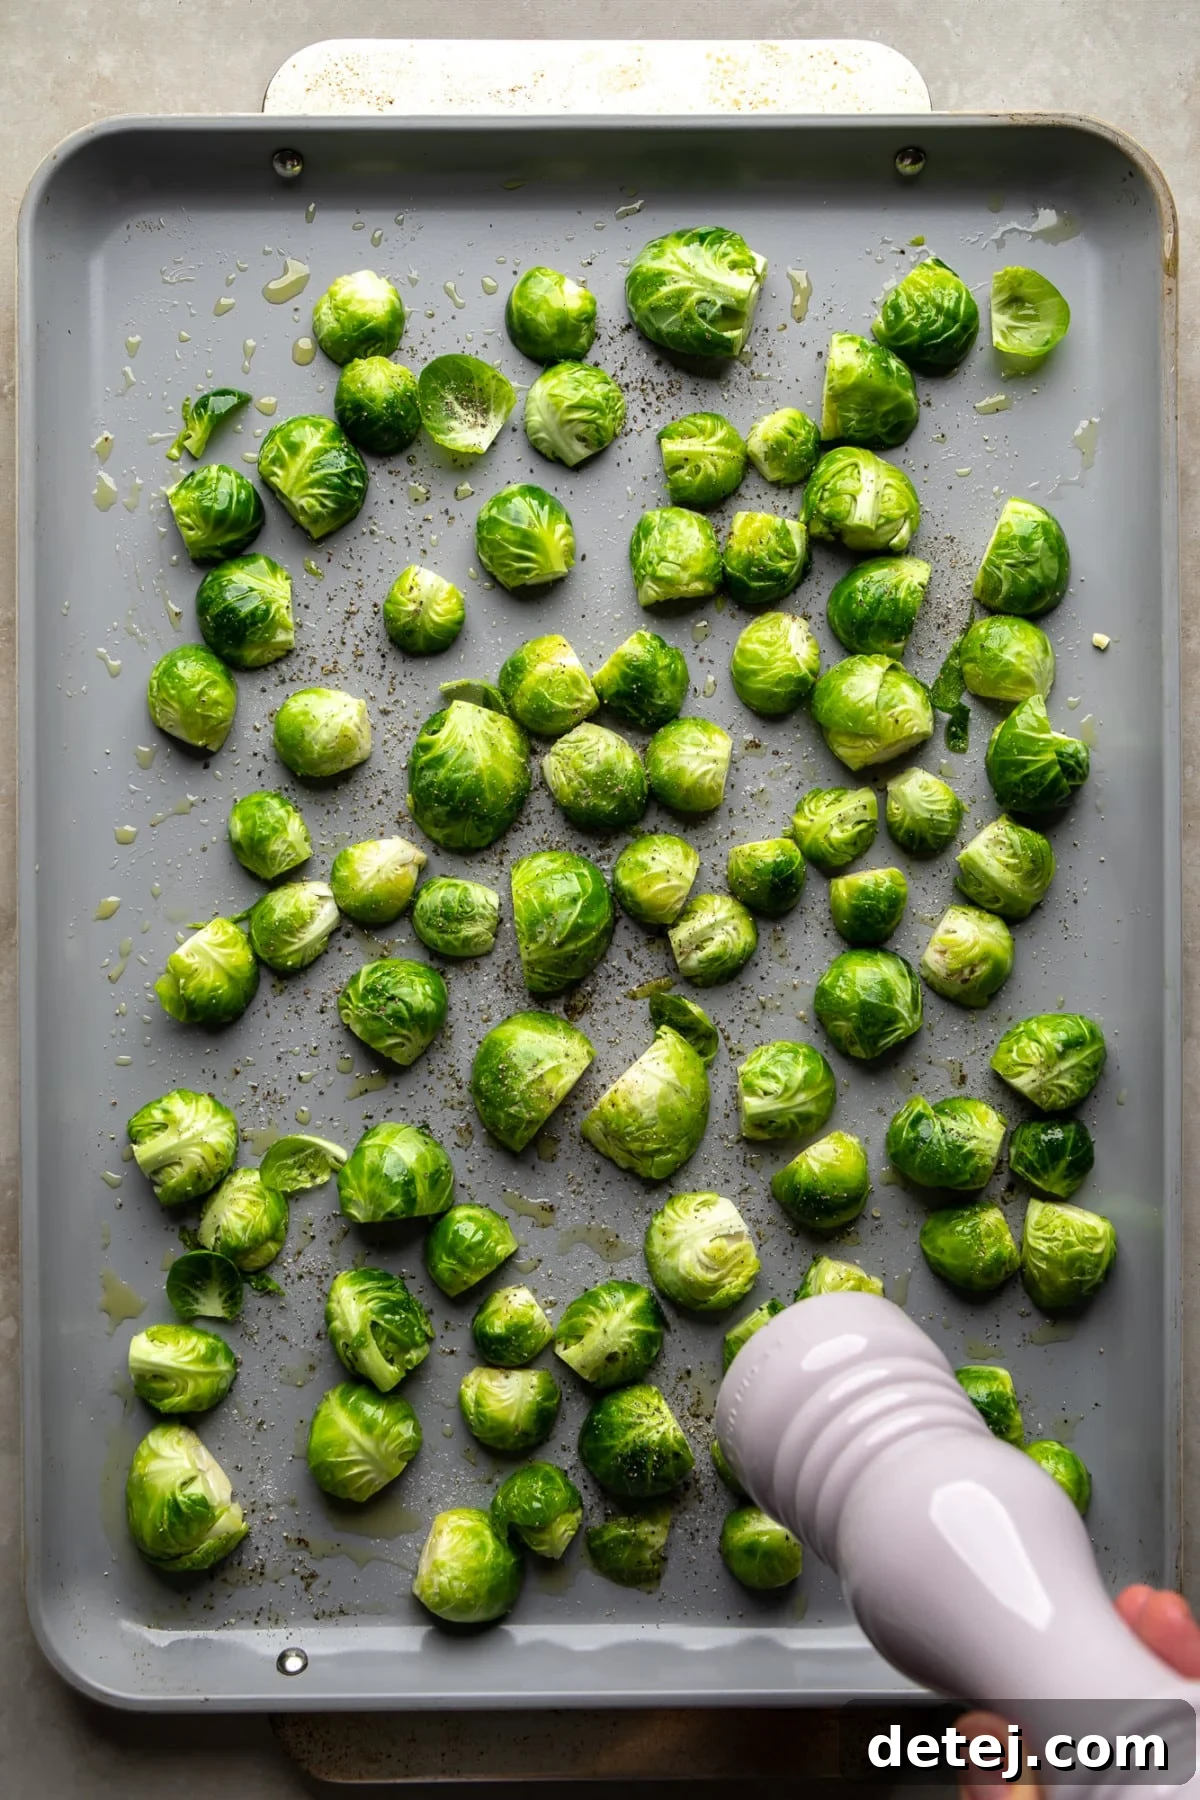
Transfer your prepared Brussels sprouts to a large, rimmed baking sheet. Drizzle generously with high-quality olive oil. The oil not only helps conduct heat for browning but also ensures the seasonings adhere beautifully. Sprinkle evenly with a good pinch of salt and a generous grind of fresh black pepper. Now, using your hands or a spatula, toss the sprouts right on the baking sheet until every single piece is well coated in oil and seasonings. This thorough coating is fundamental for developing flavor and achieving consistent crispness.
Step 3: The Secret to Crispy Edges and Tender Centers
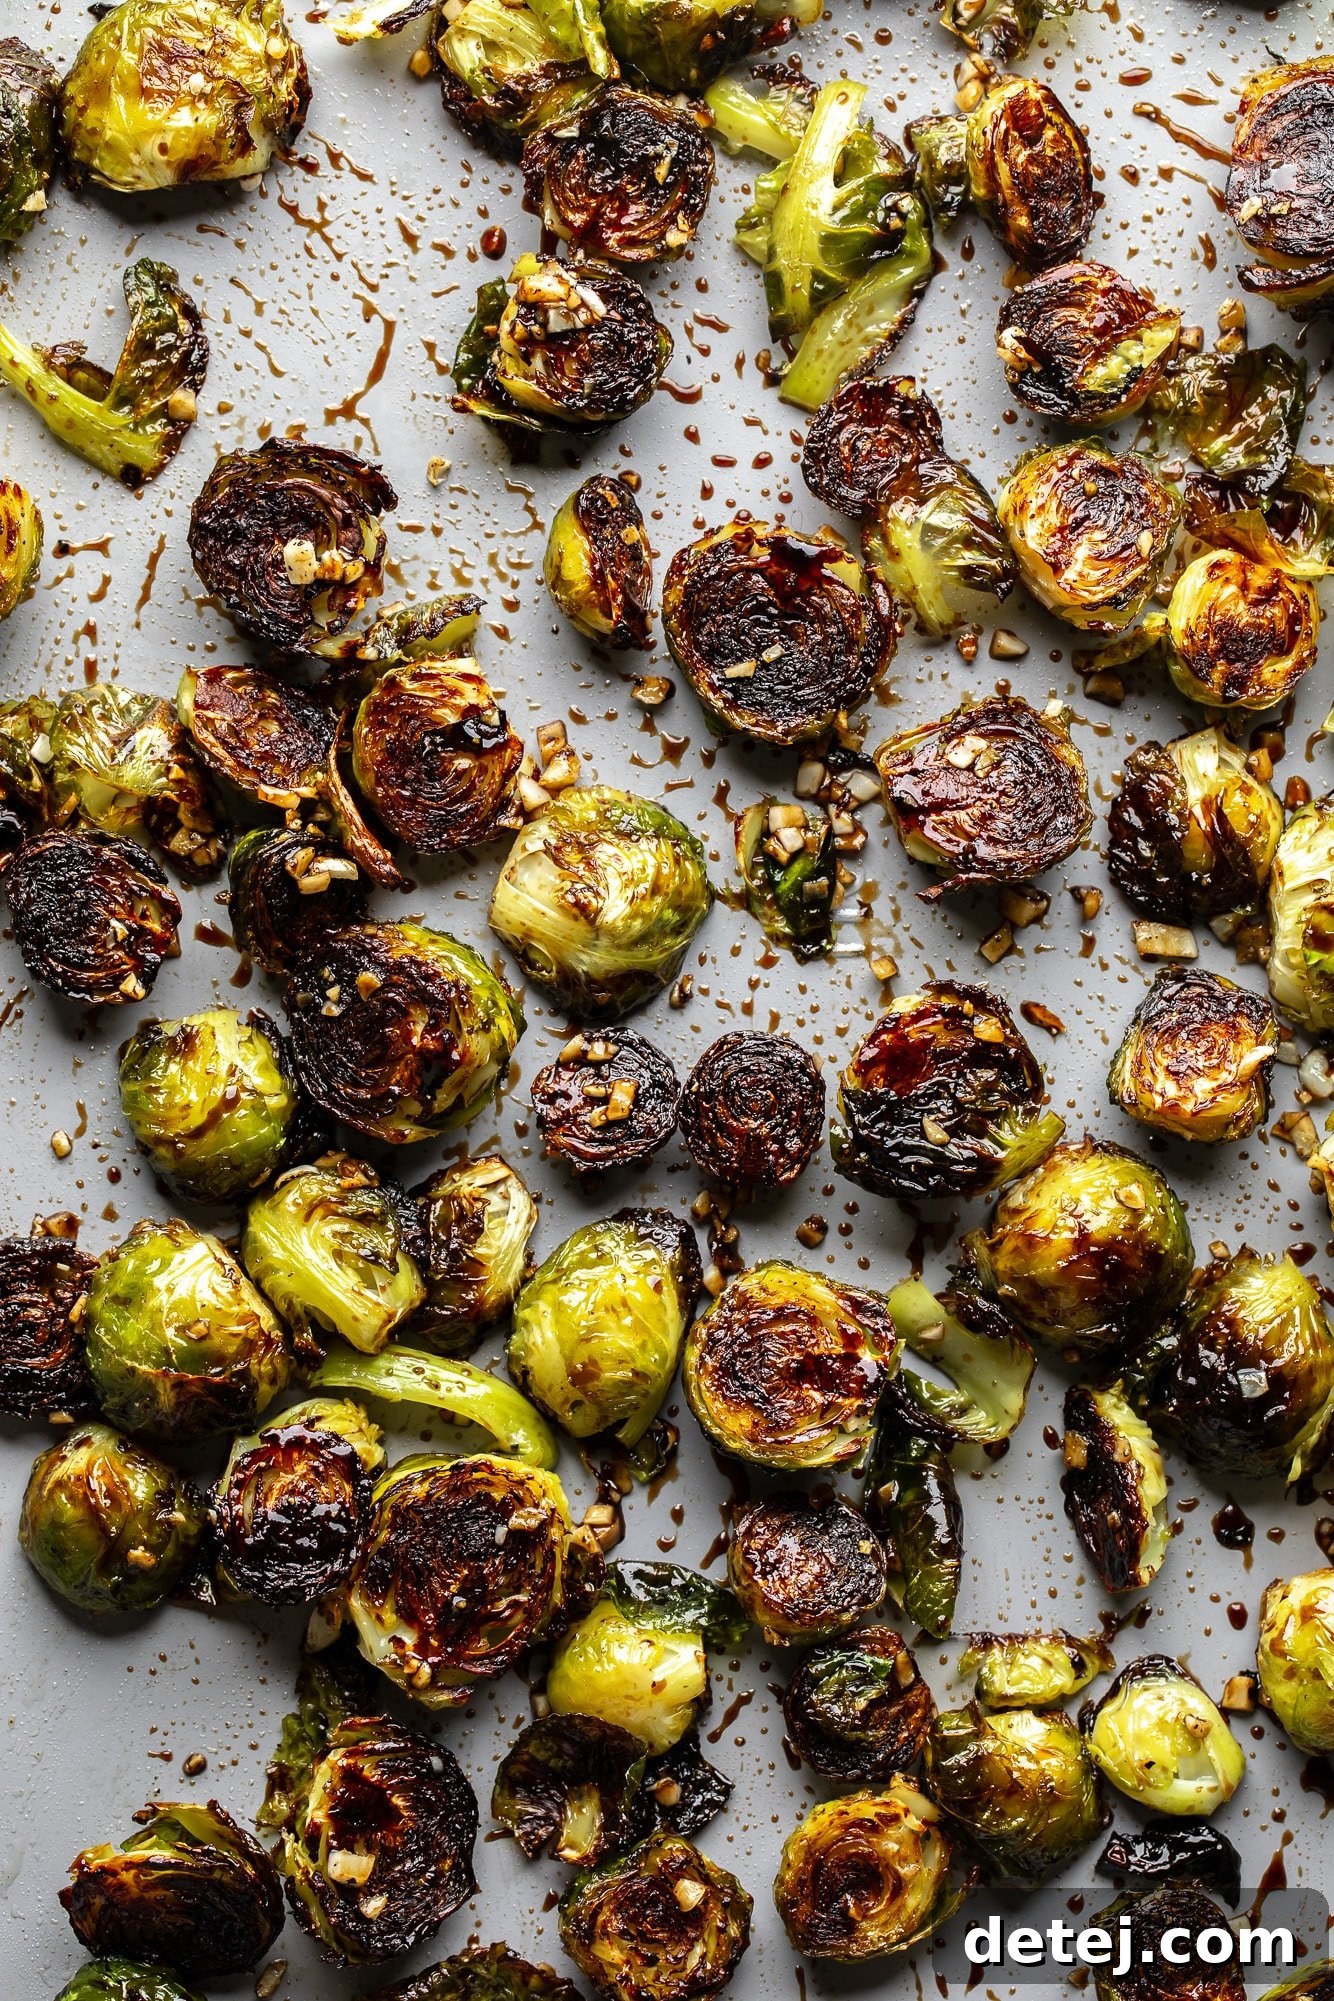
This is where the magic happens! Arrange all the seasoned Brussels sprouts on the baking sheet cut side down. This direct contact with the hot metal surface of the pan is critical for initiating the Maillard reaction, a chemical process responsible for creating those coveted deep golden-brown, crispy edges and complex savory flavors. Ensure they are in a single layer and not overcrowded. If your pan is too full, use a second baking sheet to avoid steaming the sprouts, which would result in a soggy texture.
Step 4: Roasting to Perfection
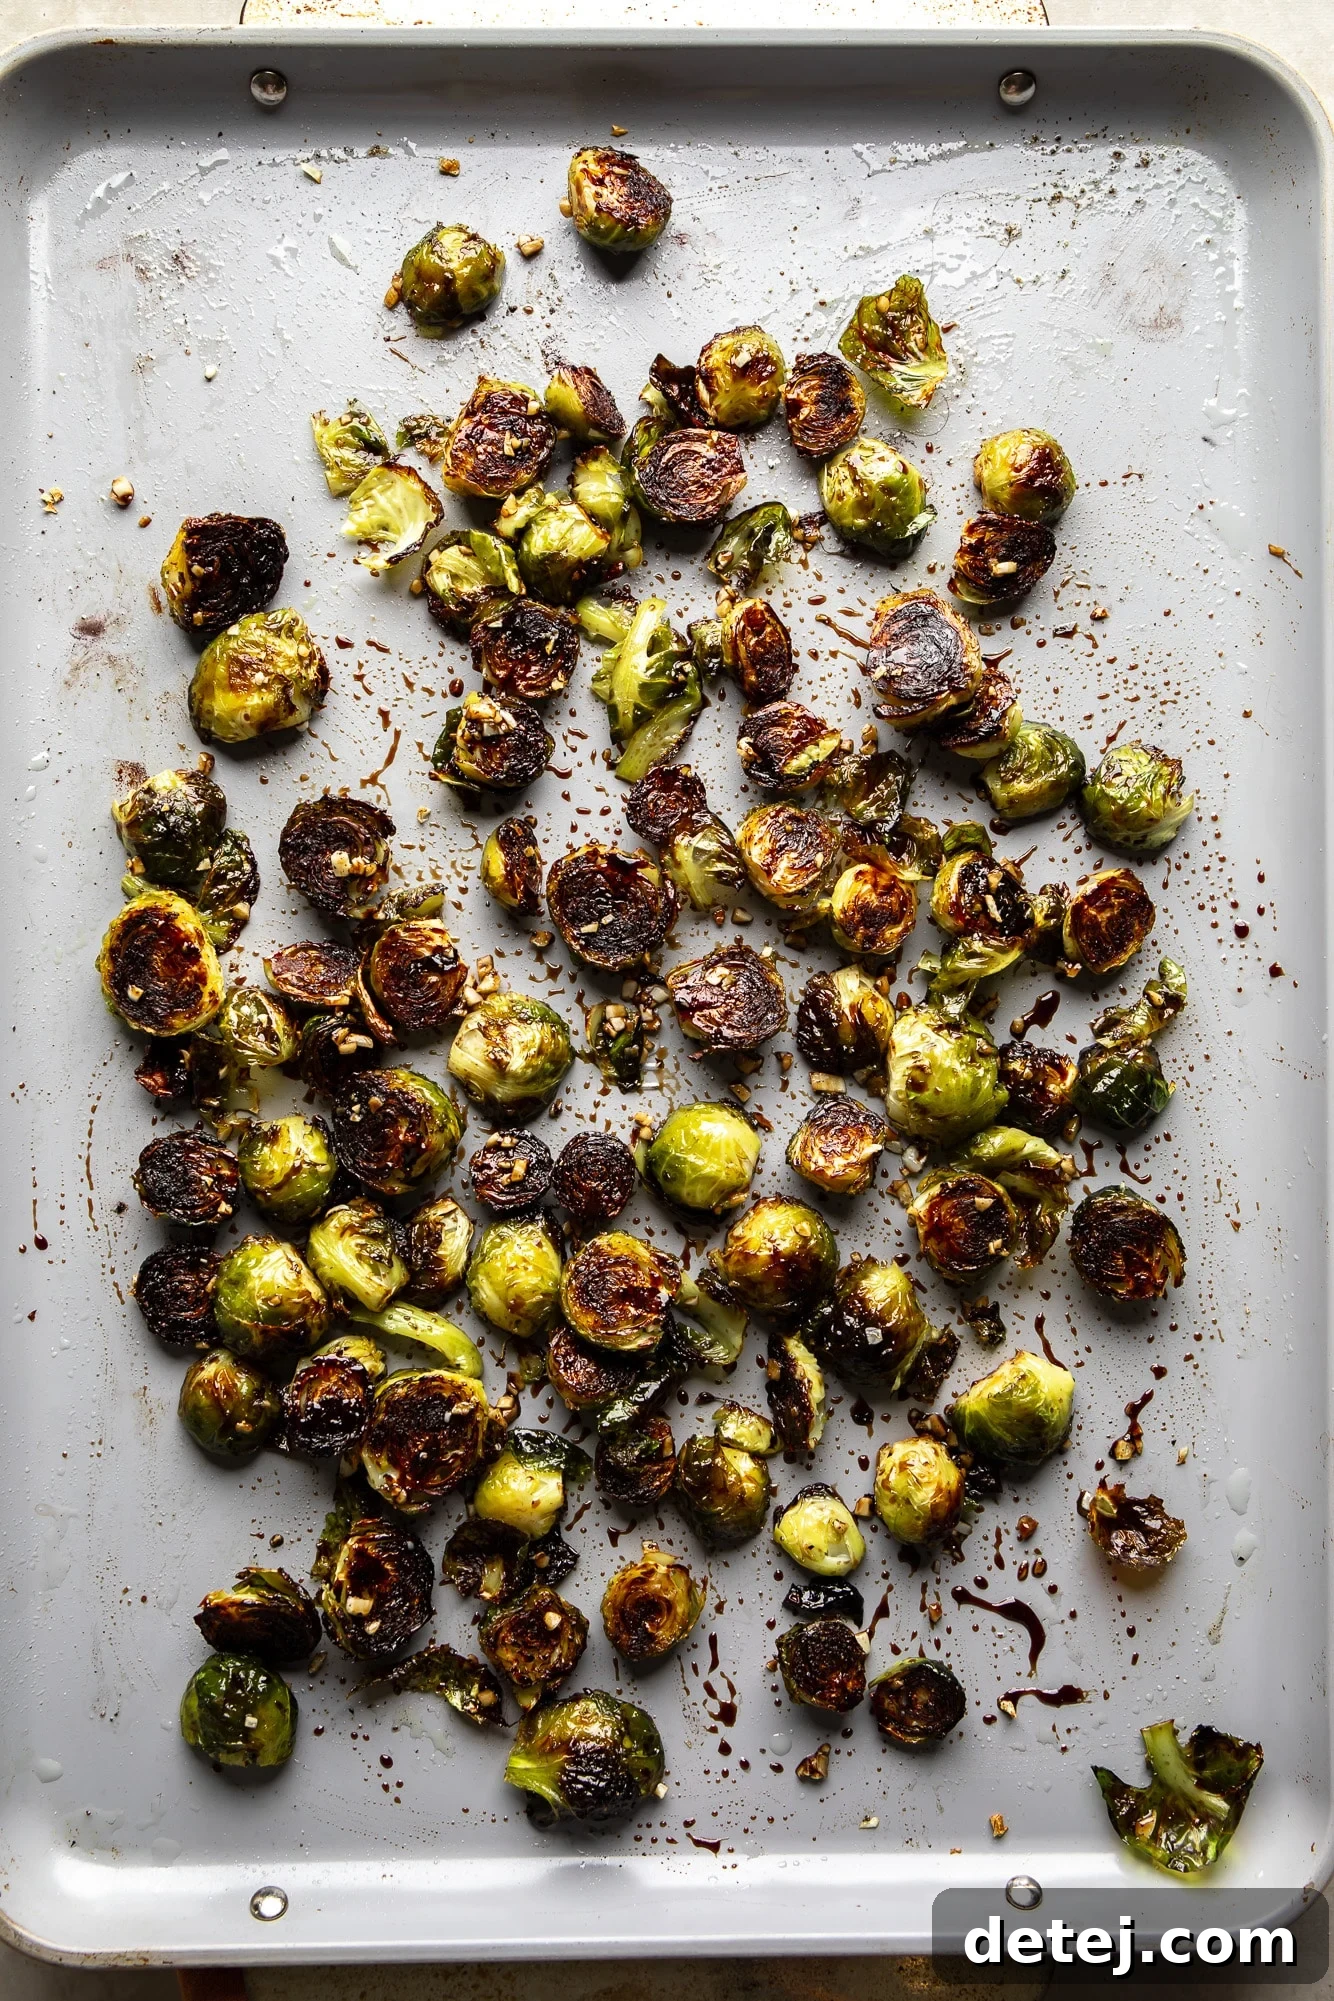
Preheat your oven to a robust 425 degrees F (220 degrees C). A high temperature is essential for achieving a crisp exterior quickly. Roast the Brussels sprouts for about 15 minutes initially, until you see their cut sides turn a beautiful golden-brown and become slightly charred. At this point, carefully remove the pan from the oven. Add your minced garlic, toss it quickly with the sprouts to distribute, and return the pan to the oven for an additional 5 minutes. Adding the garlic later prevents it from burning and turning bitter, ensuring its sweet, pungent flavor shines through. Once done, remove from the oven, give them a final taste, and adjust salt and pepper if needed.
Step 5: Garnish and Serve
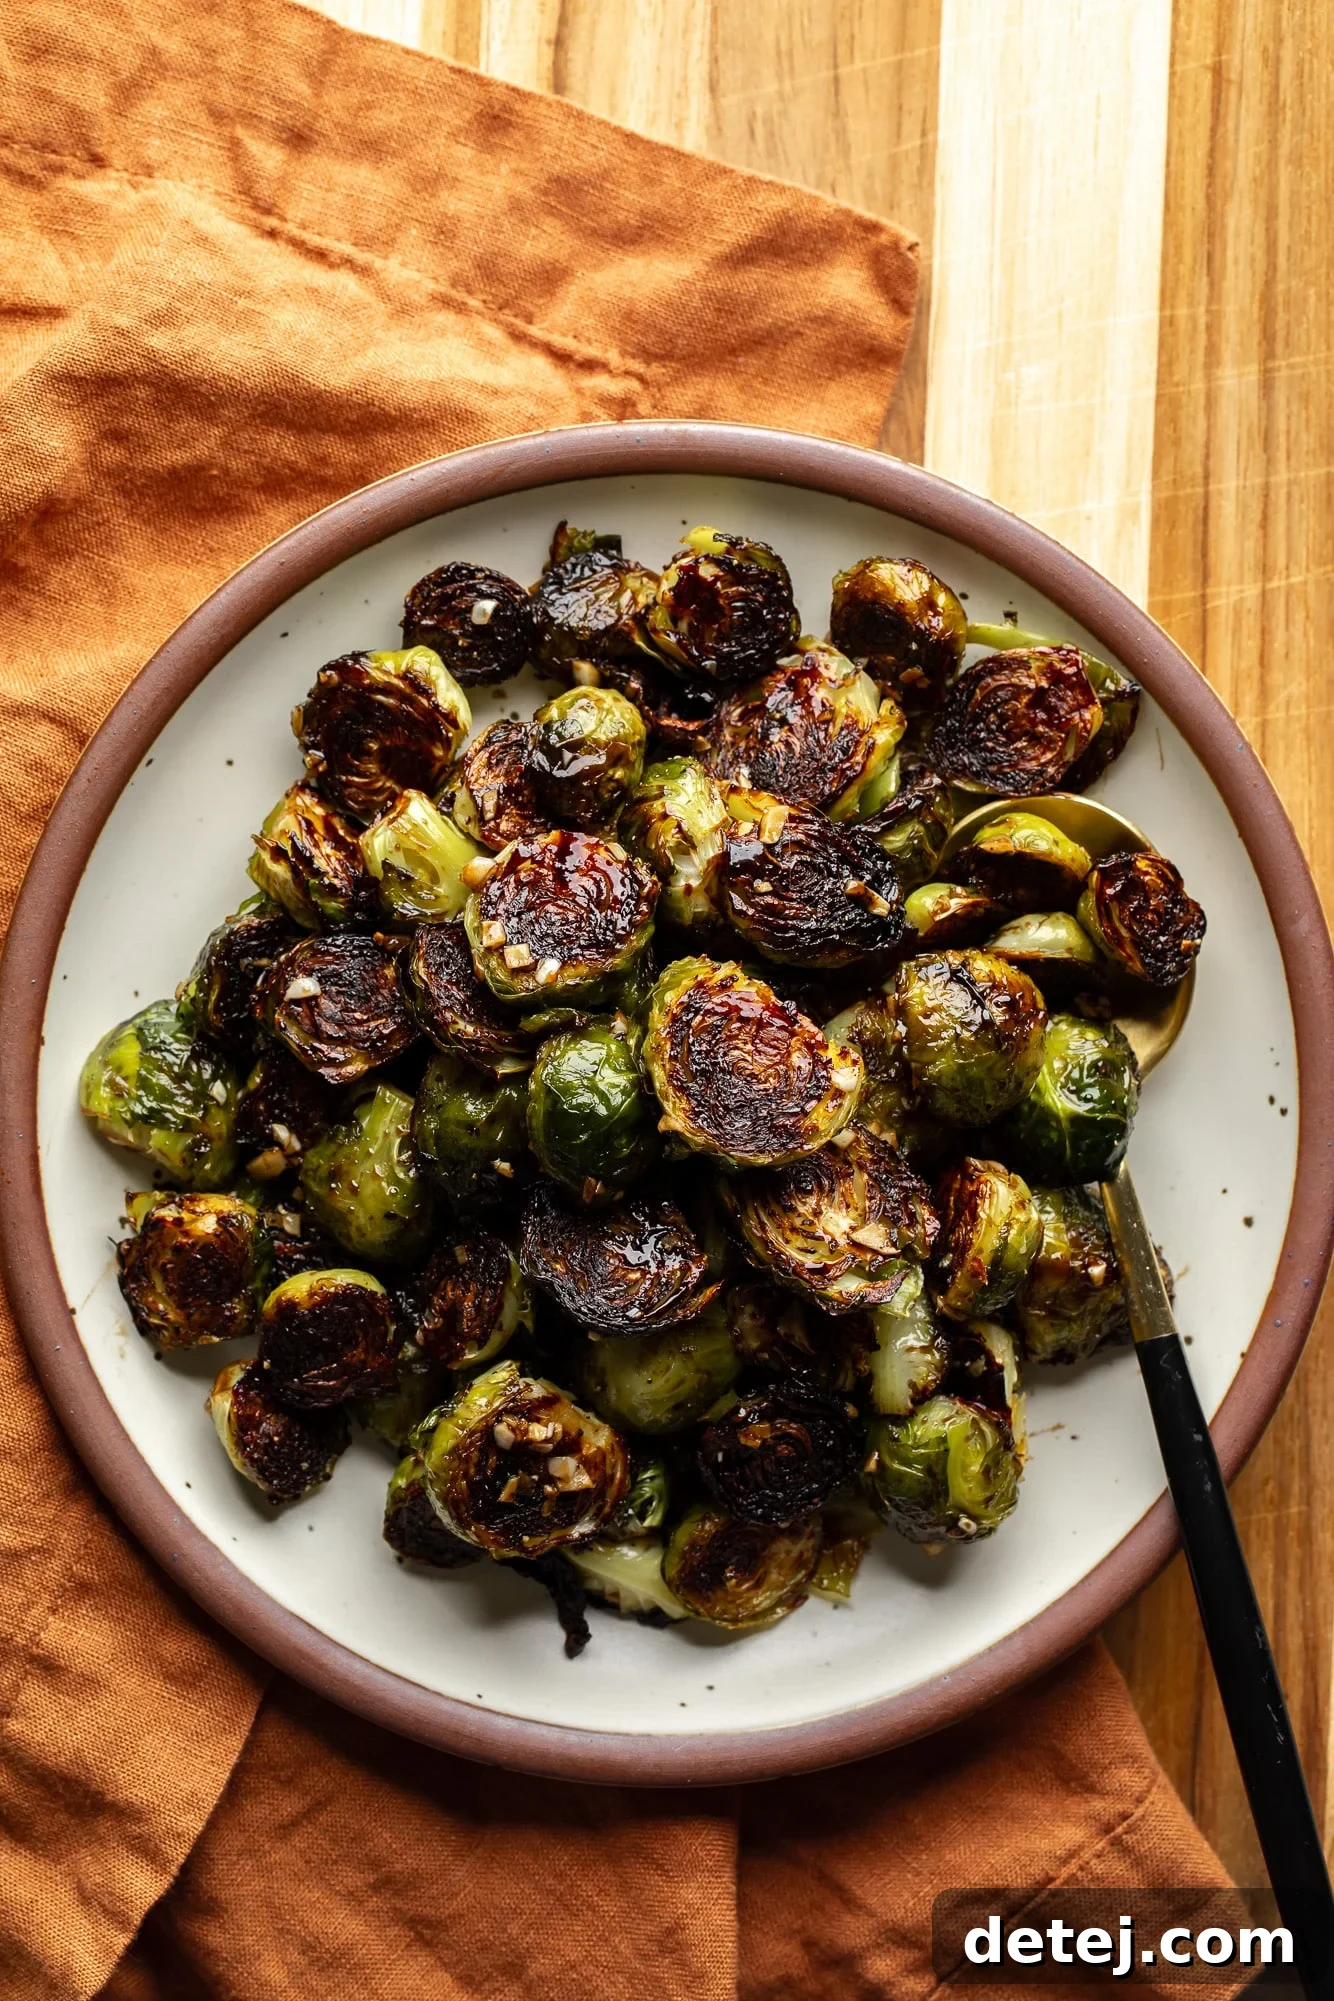
Serve these warm, irresistible roasted Brussels sprouts immediately. They are fantastic as-is, but for an elevated experience, drizzle them generously with a high-quality balsamic vinegar. The vinegar’s sweet and tangy notes perfectly complement the savory, caramelized sprouts. Enjoy this simple yet sophisticated side dish!
Endless Garnish and Flavor Variations: While balsamic is a classic choice, don’t hesitate to get creative with your finishing touches! Consider these delightful alternatives:
- Sweet & Spicy: A drizzle of maple syrup or hot honey, perhaps with a dash of chili oil for a kick.
- Herbal Freshness: Sprinkle with finely chopped fresh herbs like chives, parsley, dill, or thyme immediately after roasting.
- Citrus Brightness: A squeeze of fresh lemon juice or a sprinkle of lemon zest adds a vibrant, zesty lift.
- Umami Boost: Crumbled vegan bacon bits or a generous grating of shredded vegan parmesan cheese.
- Nutty Crunch: Toasted chopped nuts such as pecans, walnuts, or slivered almonds add wonderful texture and richness.
- Exotic Flavors: A dash of soy sauce or tamari, combined with a sprinkle of sesame seeds for an Asian-inspired twist.
- Garlic Lover’s Dream: Beyond the minced garlic during roasting, a sprinkle of garlic powder or roasted garlic cloves can further amplify the flavor.
Frequently Asked Questions About Roasted Brussels Sprouts
While olive oil is key to achieving that signature golden-brown crispness and helps seasonings adhere, you can certainly roast Brussels sprouts without it. The texture, however, will be less crispy and they might not achieve the same depth of flavor. If you’re looking for an oil-free alternative, try tossing them with an equal amount of balsamic vinegar or vegetable broth instead. Be sure to keep a very close eye on them in the oven, as they can burn more easily without the protective layer of oil. You might also consider lowering the oven temperature to around 400ºF (200ºC) and extending the roasting time as needed to ensure they cook through without scorching.
Absolutely! Frozen Brussels sprouts can be a convenient option. The most important step to ensure they achieve a good texture (and avoid sogginess) is to thaw them completely first. Once thawed, spread them out on a clean kitchen towel or paper towels and pat them as dry as possible. Removing excess moisture is crucial for caramelization. After drying, proceed with the recipe as directed, tossing them with oil and seasonings before roasting. They might take a few minutes longer to roast than fresh sprouts.
Yes, the air fryer is a fantastic alternative for roasting Brussels sprouts, often yielding even crispier results in less time! While the method is similar, the precise timing and temperature can vary slightly. For dedicated air fryer instructions, please check out my popular Air Fryer Brussels Sprouts recipe, which is specifically optimized for that appliance.
Brussels sprouts play well with many other vegetables, making them perfect for sheet pan meals! For an extra layer of savory depth, try adding half of a finely minced shallot or a small diced onion when you incorporate the garlic. If you have a larger assortment of veggies to use up, consider roasting them with hardier vegetables that have similar cooking times and require similar heat. Excellent choices include diced squash (butternut, acorn), cauliflower florets, carrots, sweet potatoes, white potatoes, or parsnips. Aim for a roughly 1:1 ratio of Brussels sprouts to other vegetables, ensuring all are cut to a similar size for even cooking.
Leftover roasted balsamic Brussels sprouts are still delicious! They will keep beautifully for 3 to 4 days when stored in an airtight container in the refrigerator. For longer storage, you can freeze them for up to 3 months. To bring them back to their crispy glory, avoid the microwave, which will make them soggy. Instead, reheat the leftovers in a preheated oven at 375ºF (190ºC) for 10-15 minutes, or in an air fryer at 350ºF (175ºC) for 5-8 minutes, until they are warmed through and crisp once more. They’re also delicious cold, tossed into salads or grain bowls!
When selecting fresh Brussels sprouts, look for ones that are bright green, firm, and tightly packed. Avoid any that are yellowing, soft, or have loose outer leaves, as these are signs of age. Smaller sprouts tend to be sweeter and more tender, while larger ones can sometimes be slightly more bitter. Freshness is key to achieving the best flavor and texture in your roasted dish.
Best Roasted Brussels Sprouts
These Roasted Brussels Sprouts are perfectly crisp on the outside, tender on the inside, and drizzled with balsamic vinegar. That’s why they’re the best! A quick and easy side dish to make for any occasion.
15 mins
20 mins
35 mins
6 servings
Pin Recipe
Comment
Save Recipe
Ingredients
- 16 ounces brussels sprouts
- 3-4 tablespoons olive oil
- 1/2 teaspoon salt
- fresh ground black pepper (to taste)
- 5 large cloves garlic, minced
- optional: 2 tablespoons high quality balsamic vinegar
Instructions
- Preheat oven to 425 degrees F (220 degrees C).
- Trim the bottom of the brussels sprouts, remove any loose outer leaves, then slice in half. For larger sprouts, quarter them for even cooking. Add to a large rimmed baking sheet.
- Drizzle the olive oil over the sprouts, and sprinkle with salt and a generous amount of fresh ground black pepper. Toss directly in the pan to ensure all sprouts are thoroughly coated in the oil and seasonings.
- Arrange each sprout cut side down on the baking sheet. This ensures direct contact with the hot pan, promoting tenderness inside and a beautiful golden crisp on the outside. Ensure they are in a single layer without overcrowding.
- Roast in the preheated oven for 15 minutes, or until the cut side is golden brown and slightly charred. Remove from the oven, add the minced garlic, toss quickly to combine, and return to the oven for an additional 5 minutes. This prevents the garlic from burning. Remove from the oven and taste; add additional salt and pepper as desired.
- Optional – For an enhanced flavor, toss with a few tablespoons of high-quality balsamic vinegar just before serving.
Notes
- Frozen Brussels Sprouts: If using frozen, thaw them completely and pat very dry with paper towels before tossing with oil and seasonings and roasting. This step is crucial for achieving crispness.
- Storage & Reheating: Leftover roasted Brussels sprouts will keep in an airtight container in the refrigerator for 3-4 days. To enjoy them crispy again, reheat in an air fryer or oven at 375ºF (190ºC) for 5-10 minutes, until warmed through and re-crisped. Avoid microwaving.
- Flavor Variations: For a simpler dish, omit the garlic. For a cheesy twist, add shredded vegan parmesan (such as Violife dairy-free parmesan) along with the garlic during the last few minutes of cooking.
Nutrition
Side Dish
American
Nora Taylor
Did you make this recipe?
Mention @nora_cooks_vegan_ or tag #noracooks!