
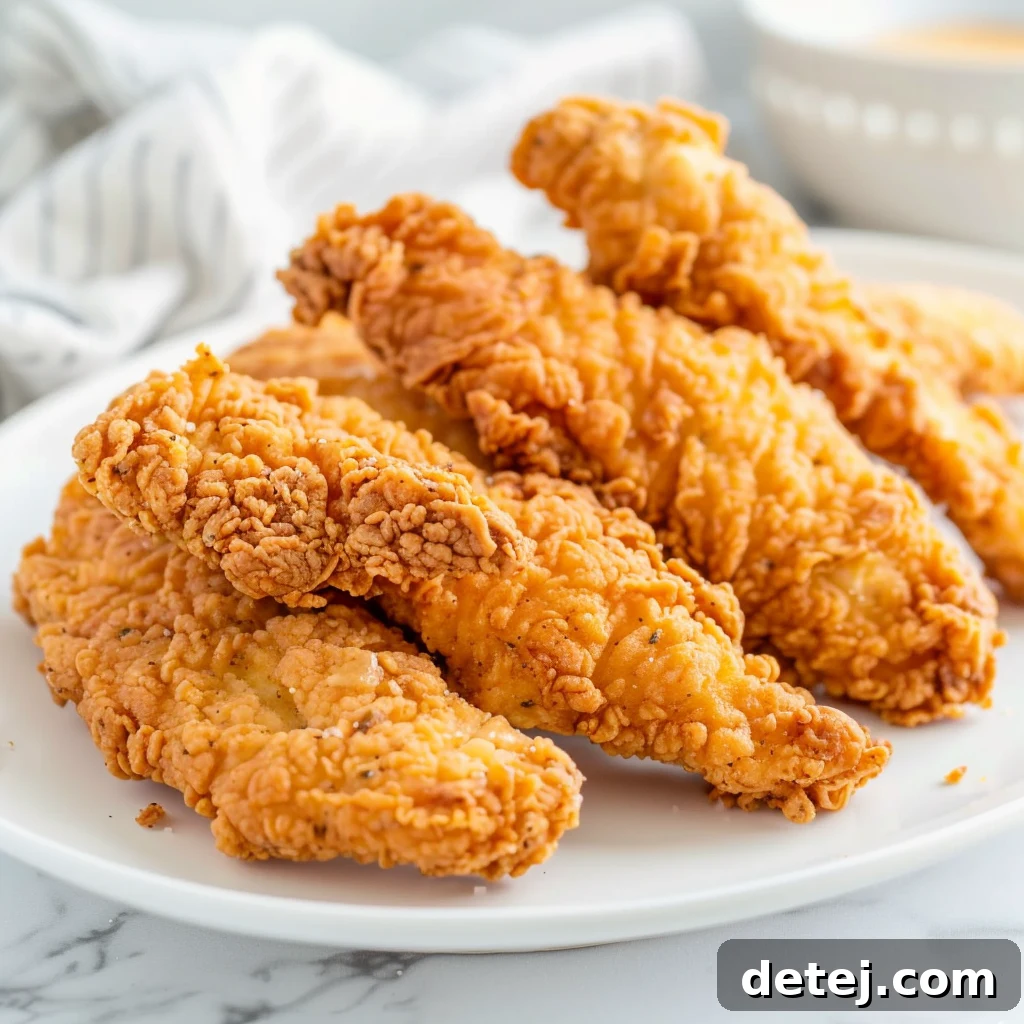
Golden Glory: Crafting the Ultimate Crispy Chicken Tenders
Unlocking the Secret to Perfectly Crispy Chicken Tenders at Home
There’s an undeniable allure to a perfectly cooked, extra crispy chicken tender. That satisfying crunch, the juicy interior, and the golden-brown perfection that promises a burst of flavor in every bite—it’s a culinary experience many of us crave, often leading us to wonder, “How can I achieve that restaurant-quality crispiness in my own kitchen?” You’re not alone in this quest for the ultimate homemade crispy chicken tenders. Forget soggy coatings or bland meat; this comprehensive guide will transform your cooking approach, taking you from basic boneless, skinless chicken tenderloins to a batch of golden, flavorful wonders that will have your whole family asking for more. We’ll delve into the foundational techniques, from marinading to frying to absolute perfection, ensuring each step contributes to an unforgettable meal.
What You’ll Discover:
- The Art of Marinade: Master the secrets to infusing your chicken with incredible flavor and unmatched tenderness, a crucial step for the best chicken tenders.
- Expert Breading Techniques: Learn how to set up an efficient breading station and apply the ideal crispy coating that sticks and crisps up beautifully.
- Frying Fundamentals: Achieve that coveted golden-brown crispness and ensure your extra crispy chicken tenders are cooked perfectly and safely, every time.
- Healthier Alternatives: Explore oven-baked and air-fried methods for those seeking less oil without sacrificing crunch.
- Customization Tips: Discover how to personalize your crispy chicken tenders with various spices and dipping sauces for a truly unique culinary journey.
Essential Ingredients for Unforgettable Crunch and Flavor
To craft truly exceptional crispy chicken tenders, selecting the right ingredients is paramount. Each component plays a vital role in achieving that sought-after texture and a robust flavor profile. Here’s a detailed look at what you’ll need to elevate your homemade chicken tenders:
- Boneless, Skinless Chicken Tenderloins: These are the undisputed stars of our dish. Their natural tenderness and uniform size make them ideal for quick cooking and consistent results. For larger chicken breasts, slice them lengthwise into approximately 1-inch thick strips to mimic tenderloins.
- The Crispy Coating Foundation:
- All-Purpose Flour: Forms the initial layer, helping the egg wash adhere and creating a sturdy base for the breadcrumbs.
- Panko Breadcrumbs: This Japanese-style breadcrumb is your secret weapon for superior crispiness. Unlike traditional breadcrumbs, Panko is lighter, flakier, and absorbs less oil, resulting in an airy, crunchy exterior that is simply irresistible.
- The Bonding Agent:
- Large Eggs & Milk: Whisked together, this mixture acts as the ‘glue,’ ensuring the flour and panko adhere firmly to the chicken, preventing a soggy or detached coating.
- Flavor Powerhouses (Spices):
- Garlic Powder & Onion Powder: These provide a savory, aromatic depth that is fundamental to classic fried chicken flavor.
- Paprika: Adds a beautiful reddish hue to the coating and a mild, sweet, peppery note.
- Black Pepper & Salt: Essential seasonings that enhance all other flavors.
- Cayenne Pepper: For those who appreciate a subtle kick, cayenne pepper introduces a delightful warmth without overpowering the dish. Adjust to your heat preference!
- The Marinade Enhancers:
- Milk (or Buttermilk): Integral for tenderizing the chicken and creating a juicy, flavorful interior. Buttermilk, with its mild acidity, is particularly effective at breaking down muscle fibers, yielding exceptionally tender chicken.
- Lemon Juice: A touch of acidity in the marinade brightens flavors and further aids in tenderization.
- Hot Sauce (e.g., Frank’s Red Hot): Beyond just heat, hot sauce in the marinade adds a layer of tangy flavor that complements the chicken beautifully.
- For Frying:
- Vegetable Oil (or Canola Oil): A neutral-flavored oil with a high smoke point is crucial for deep frying. It allows the chicken to cook thoroughly and crisp up without imparting unwanted flavors.
- Serving Suggestions:
- Honey Mustard Sauce, BBQ Sauce, Ranch, or Ketchup: The perfect crispy chicken tender is always paired with your favorite dipping sauces. Consider making your own homemade versions for an extra touch.
The Magic of Marinades: Tenderizing and Flavor Infusion
The secret to succulent, flavorful crispy chicken tenders begins long before they hit the hot oil: it starts with a magical marinade. This crucial step is often overlooked, but it’s what separates good chicken tenders from truly exceptional ones. Our preferred marinade uses a combination of milk (or buttermilk), lemon juice, and a dash of hot sauce.
Here’s why this blend works wonders:
- Tenderization: The mild acidity in milk or buttermilk, combined with lemon juice, gently breaks down the tough protein fibers in the chicken. This process, known as denaturing, results in incredibly tender and moist chicken that practically melts in your mouth after cooking. It’s like giving your chicken a spa treatment!
- Flavor Infusion: Beyond just tenderizing, the marinade acts as a vehicle for flavor. The chicken absorbs the savory notes from the milk, the bright zest from the lemon, and the subtle tang and heat from the hot sauce. This layering of flavors ensures that every bite, from the crispy exterior to the juicy interior, is packed with taste.
Patience is Your Best Friend: While a minimum of 30 minutes in the marinade will certainly make a difference, for next-level taste and tenderness, I highly recommend allowing your chicken tenderloins to marinate overnight, or for at least 4-6 hours. This extended soak time allows the flavors to fully penetrate the meat, yielding a much richer and more profound taste. Simply cover the bowl and refrigerate. Trust me, the extra wait is absolutely worth it for transforming ordinary chicken into something extraordinary your whole family will rave about.
Setting Up Your Breading Station Like a Pro
A well-organized breading station is the cornerstone of perfectly coated, extra crispy chicken tenders. Think of it as an assembly line, where each bowl plays a critical role in building that coveted golden crust. Proper setup ensures an even coating, minimizes mess, and speeds up the entire process. Here’s how to orchestrate your breading symphony:
- First Station: Seasoned Flour Mixture: In your first shallow bowl, combine the all-purpose flour with your chosen seasonings. This is where the bulk of your dry flavor comes from, so don’t be shy! Whisk together the flour, salt, black pepper, garlic powder, onion powder, paprika, and a touch of cayenne pepper for a subtle kick. Ensure all ingredients are thoroughly mixed to guarantee an even distribution of flavor on every tender.
- Second Station: The Egg Wash: In your second shallow bowl, beat the large eggs. To thin the mixture slightly and help it cling better, whisk in a tablespoon or two of milk (or even a splash of hot sauce for an extra flavor layer!). This egg wash acts as the essential binder, helping the dry ingredients adhere to the chicken and providing a moist surface for the breadcrumbs.
- Third Station: Panko Breadcrumbs (The Crispy Secret): In your third and final shallow bowl, place the panko breadcrumbs. For an added layer of savory goodness, consider mixing in a tablespoon of grated Parmesan cheese – it melts beautifully and adds a fantastic umami note. Panko, with its airy and flaky texture, is superior for creating that ultra-crispy finish.
Arrange these bowls in a line, from left to right if you’re right-handed (or right to left if you’re left-handed), with your marinated chicken ready at the start. This systematic approach allows for a clean, efficient, and consistent coating of each chicken tender, setting you up for success in achieving truly extra crispy fried chicken tenders.
Dredging and Coating: The Path to Ultimate Crispiness
The dredging and coating process is where the magic truly happens, transforming simple chicken into glorious crispy chicken tenders. This multi-layered approach ensures a robust, flavorful, and incredibly crunchy exterior. Follow these steps meticulously for the best results:
- Start with the Seasoned Flour Mixture: Take each marinated chicken tender and dredge it thoroughly in the first bowl containing your seasoned flour mixture. Ensure every nook and cranny is coated. Gently shake off any excess flour; you want a light, even layer, not a thick paste. This initial layer provides a dry surface for the egg wash to adhere to and begins building the flavor profile.
- Move to the Egg Wash: Next, carefully dip the flour-coated tender into the beaten egg mixture. Allow any excess egg to drip off naturally. The egg acts as a powerful adhesive, ensuring the breadcrumbs stick firmly to the chicken. A good, even egg coating is crucial for uniform crispiness.
- Finally, the Panko Breadcrumbs: Immediately transfer the egg-washed tender to the bowl of panko breadcrumbs (and Parmesan, if using). Press the chicken gently into the panko, turning to coat all sides thoroughly. Don’t be afraid to really press the breadcrumbs onto the chicken; this ensures maximum coverage and maximum crunch. The unique structure of panko creates a light, airy coating that crisps up perfectly.
- Let Them Set (The Crucial Resting Step): Once coated, place the chicken tenders on a wire rack set over a baking sheet. Repeat the dredging process for all remaining chicken pieces. This resting period, ideally 10-15 minutes, is often overlooked but is absolutely critical. It allows the breading to “set” and adhere firmly to the chicken, significantly reducing the chance of the coating falling off during frying. This step is a game-changer for consistently extra crispy chicken tenders.
By following this systematic dredging and coating method, you’re not just covering chicken; you’re building a delicious, crispy armor that will withstand the heat of frying and deliver an explosion of flavor and texture with every bite.
Frying to Perfection: Achieving Golden Brown & Juicy Results
Frying chicken tenders might seem daunting, but with careful attention to oil temperature and technique, you’ll achieve that coveted golden-brown crispness and juicy interior. This section guides you through the process, ensuring safety and deliciousness.
- Choose Your Vessel and Oil: Select a heavy-bottomed pot, such as a Dutch oven, or a deep fryer. A sturdy pot maintains heat more consistently. Pour in enough neutral-flavored oil (like canola or vegetable oil) to a depth of about 2-3 inches, ensuring the chicken tenders can be mostly submerged.
- The Golden Temperature Rule: Heat the oil gradually over medium-high heat. The magic number for perfectly crispy chicken tenders is 350 degrees Fahrenheit (175 degrees Celsius). Using a reliable kitchen thermometer is non-negotiable here. If the oil is too cool, the chicken will absorb too much oil and become greasy. If it’s too hot, the coating will burn before the chicken cooks through.
- Fry in Small Batches: Once the oil reaches the correct temperature, carefully place 3-4 coated chicken tenders into the hot oil. Avoid overcrowding the pot, as this will drastically drop the oil temperature and lead to soggy chicken. Frying in small batches ensures consistent temperature and even cooking.
- Cook Until Golden and Done: Fry each batch for approximately 5-7 minutes, flipping occasionally to ensure all sides achieve a beautiful golden-brown color. The exact time will depend on the thickness of your tenders and the consistency of your oil temperature.
- Check for Doneness: To ensure the chicken is cooked through and safe to eat, use an instant-read meat thermometer. Insert it into the thickest part of a tender; it should read an internal temperature of 165 degrees Fahrenheit (74 degrees Celsius). This guarantees safety while preserving the chicken’s inherent juiciness within its extra crispy shell.
- Careful Removal: Once cooked, use tongs to carefully remove the chicken tenders from the oil. Hold them over the pot for a moment to allow any excess oil to drip off before transferring them to a wire rack.
Resting, Draining, and Serving: The Final Touches
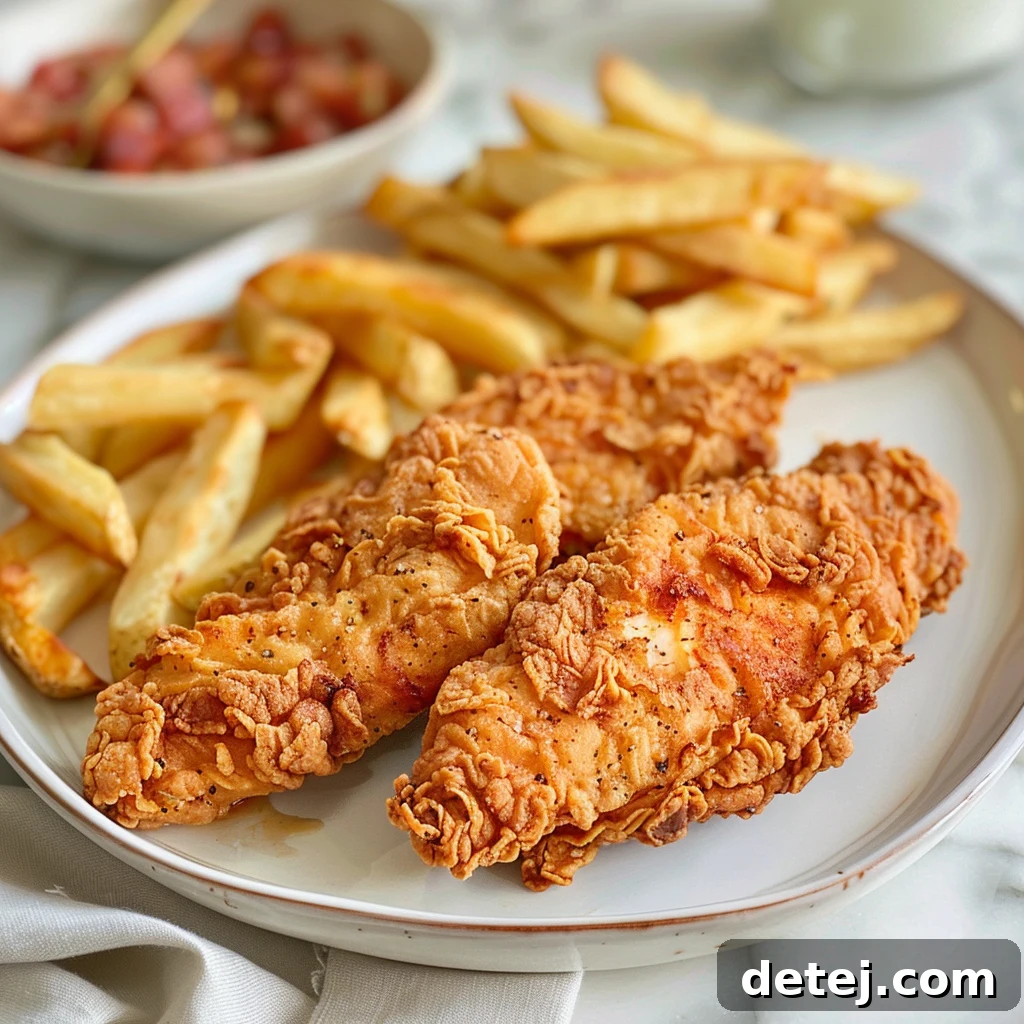
The journey to perfect crispy chicken tenders doesn’t end when they emerge from the fryer. The steps immediately following cooking are crucial for maintaining that coveted crunch and ensuring a delightful eating experience. This often-overlooked resting and draining period is what sets truly superior tenders apart.
- The Importance of a Wire Rack: As soon as your golden beauties are cooked through, use tongs to carefully transfer them directly onto a wire rack. This wire rack should be set over a baking sheet. Why a wire rack? It’s simple science! Placing the tenders on a rack allows air to circulate all around them, preventing steam from building up underneath. If you were to place them directly on a flat surface or paper towels (without a rack), the bottom side would inevitably become soggy from trapped moisture. The wire rack ensures every inch of your extra crispy chicken tenders remains gloriously crunchy.
- Brief Resting Period: Let the chicken tenders rest on the wire rack for a few minutes. This allows any residual oil to drain away, and, more importantly, it allows the internal juices of the chicken to redistribute. This results in a juicier, more tender bite, contrasting beautifully with the crispy exterior.
- Ready to Serve: Once rested, your homemade crispy chicken tenders are ready to be devoured! The beauty of chicken tenders is their versatility. They’re fantastic on their own, but truly shine when paired with an array of dipping sauces.
Dipping Sauce Extravaganza: Elevate your meal with your favorite dipping sauces. Consider a classic homemade honey mustard sauce, tangy BBQ sauce, creamy ranch, or even a spicy sriracha mayo for an extra kick. Don’t be afraid to set out a few options to let everyone pick their perfect pairing. Serve alongside a fresh salad, crispy fries, or fluffy mashed potatoes for a complete and satisfying meal that the whole family will adore.
Exploring Healthier Alternative Cooking Methods
While deep frying delivers unparalleled crispiness, it’s not the only route to delicious chicken tenders. For those seeking a healthier alternative without sacrificing flavor or crunch, the oven and air fryer are game-changing methods. These contemporary approaches significantly reduce the amount of oil used, offering a lighter option that’s just as satisfying.
Oven-Baked Crispy Chicken Tenders:
Baking can produce wonderfully crispy results with less oil. The key is high heat and proper technique:
- Preparation: Follow the same steps for marinading and breading your chicken tenders. The robust breading (especially with panko) is crucial for achieving crispiness in the oven.
- Preheat & Prep Baking Sheet: Preheat your oven to a higher temperature, typically 400-425°F (200-220°C). Lightly grease a wire rack and place it over a baking sheet. This setup mimics the air circulation of frying, allowing heat to hit all sides and preventing sogginess.
- Lightly Oil: For extra crispiness, lightly spray or drizzle the coated tenders with a little bit of cooking spray or olive oil before baking. This helps achieve that golden-brown color and crunchy texture.
- Bake Time: Bake for 18-25 minutes, flipping them halfway through, or until golden brown and the internal temperature reaches 165°F (74°C). The higher temperature helps to crisp up the breading effectively.
Air Fryer Crispy Chicken Tenders:
The air fryer has become a favorite for its ability to mimic deep-fried textures with minimal oil, making it perfect for extra crispy chicken tenders:
- Preparation: Again, the marinade and breading steps remain the same.
- Preheat Air Fryer: Preheat your air fryer to 375-400°F (190-200°C) for a few minutes.
- Arrange in Basket: Lightly spray the air fryer basket with cooking spray. Arrange the coated tenders in a single layer, ensuring they don’t overlap. You’ll likely need to cook in batches.
- Spray & Cook: Lightly spray the tops of the tenders with cooking spray. Air fry for 10-15 minutes, flipping them halfway through, until they are golden brown and cooked through (165°F/74°C internal temperature). The circulating hot air works wonders for creating a crisp exterior.
Both oven baking and air frying offer fantastic, healthier alternatives to deep frying. While the texture might be slightly different, you’ll still achieve wonderfully crispy, flavorful chicken tenders with significantly less grease. It’s about finding the method that best suits your lifestyle and preferences, allowing you to enjoy this beloved dish guilt-free.
A Crispy Culinary Journey Awaits: Unleash Your Inner Chef
Embarking on the journey to master homemade crispy chicken tenders is more than just following a recipe; it’s an invitation to explore your culinary creativity and infuse your kitchen with delightful aromas. Each batch you prepare offers a chance to refine your technique, experiment with flavors, and craft an unforgettable meal for your loved ones. This process is truly a blank canvas, encouraging you to customize and personalize to your heart’s content.
Feel empowered to venture beyond the traditional. Perhaps you’ll amplify the heat with an extra dash of cayenne pepper, or introduce new dimensions with smoky chipotle powder or a blend of Italian herbs. Consider integrating different hot sauces into your marinade or egg wash for a tangy twist. For those who love a rich flavor, a full buttermilk mixture in the marinade can take the tenderness to another level. The beauty of these homemade chicken tenders lies in their adaptability, allowing you to cater to every palate at your table.
Remember, cooking is an act of love and a source of joy. Embrace the process, from the careful selection of chicken tenderloins and crunchy panko breadcrumbs to the satisfying sizzle of the frying pan (or the hum of your air fryer). The smiles on your whole family’s faces as they bite into your perfectly golden, extra crispy chicken tenders will be your ultimate reward. So, tie on your apron, gather your ingredients, and let your kitchen become a hub of delicious memories.
If you’re eager to continue your chicken tender adventure, check out my Spicy BBQ Chicken Tender recipe for another family-friendly favorite!
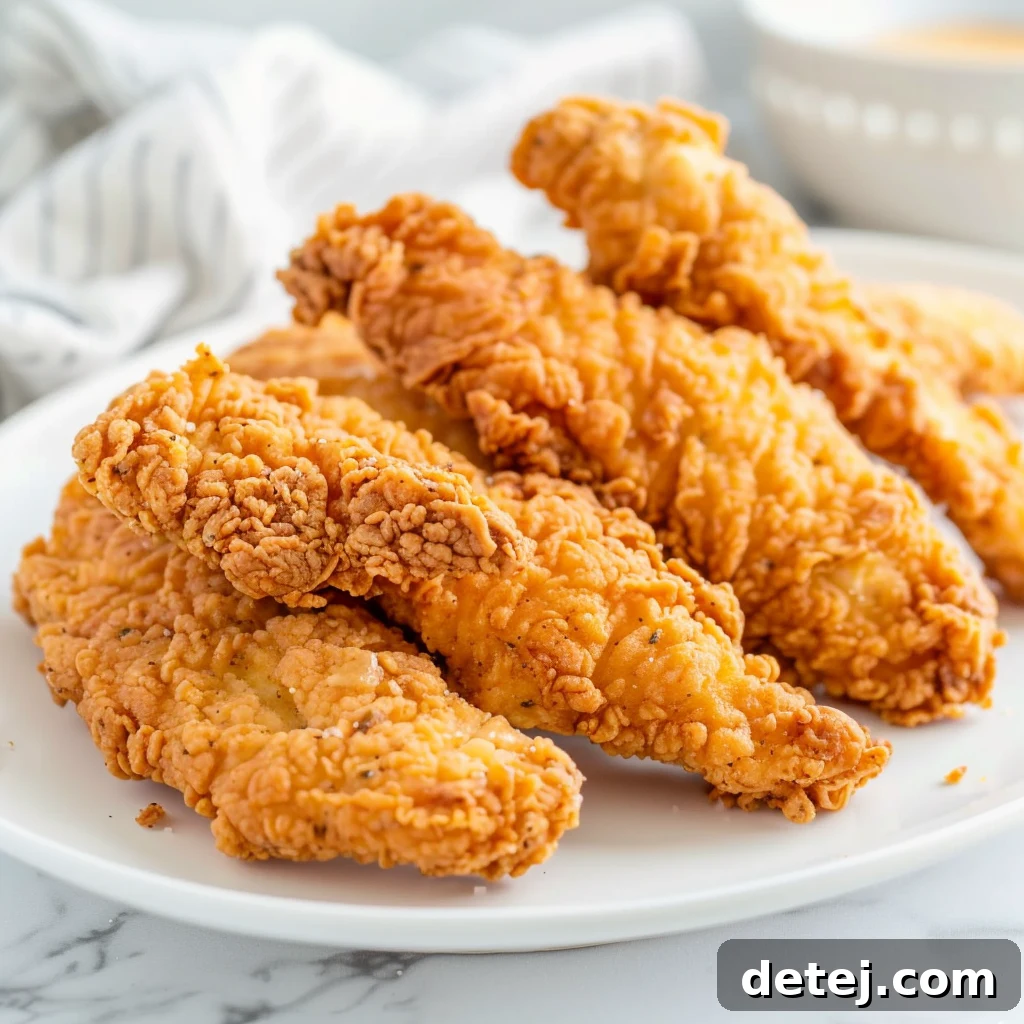
Extra Crispy Fried Chicken Tenders
Pin
Rate
Ingredients
- 4 chicken breasts, boneless, skinless
- 1 cup milk
- 2 large eggs, beaten
- 1 tablespoon lemon juice
- 1 tablespoon hot sauce, Frank’s Red Hot preferred
- 2 cups flour
- 2 1/2 teaspoons salt
- 1 teaspoon garlic powder
- 1 teaspoon paprika
- 3/4 teaspoon pepper
- ½ teaspoon baking powder
- vegetable oil, for frying
Instructions
-
Slice the chicken breasts into four tenders each and place them in a bowl with milk, lemon juice and hot sauce for 30 minutes.
-
Prepare two bowls: one with beaten eggs and the other with a mixture of flour and spices.
-
Coat each chicken piece first in the flour mixture, then dip in the eggs, and coat again in the flour mixture.
-
Gently remove excess flour and arrange the coated chicken on a baking sheet.
-
Repeat the process for all the pieces.
-
Heat about two inches of oil in a large deep pan over medium-high heat to reach 350 degrees.
-
Fry the chicken in small batches for 5-7 minutes or until they turn a golden brown color.