
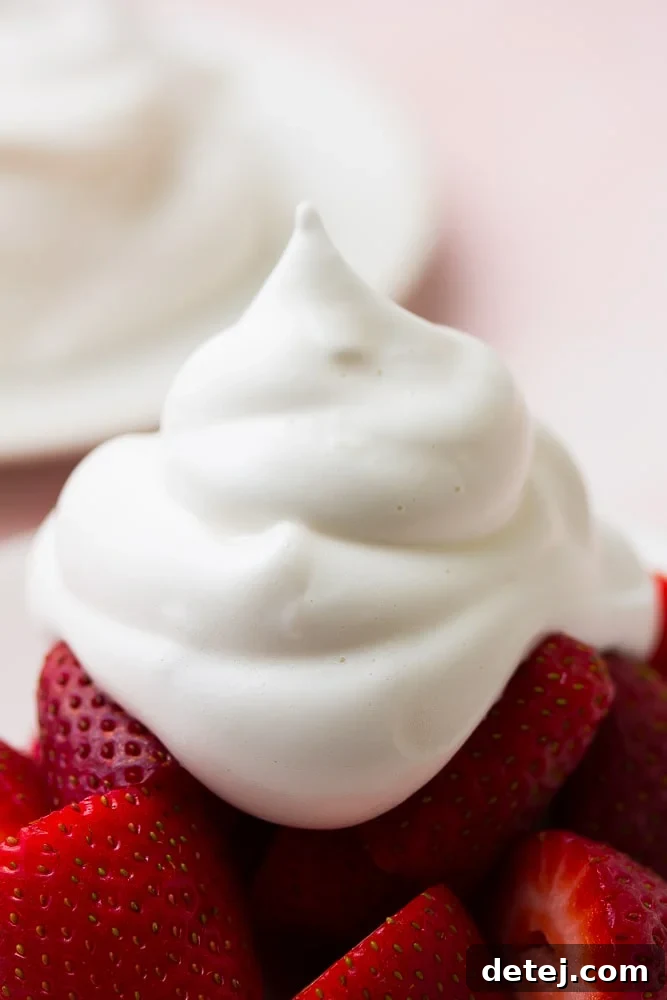
Effortless Vegan Whipped Cream: The Ultimate Coconut-Free & Dairy-Free Delight
Are you searching for a light, airy, and utterly delicious vegan whipped cream that’s completely free from coconut? Look no further! This innovative recipe harnesses the magic of aquafaba – the liquid from a can of chickpeas – to create the fluffiest, healthiest whipped topping you’ve ever tasted. It’s incredibly simple, taking just 5 minutes to prepare, and delivers perfect results every time. Say goodbye to the frustrations of coconut cream and hello to your new favorite dairy-free dessert companion!
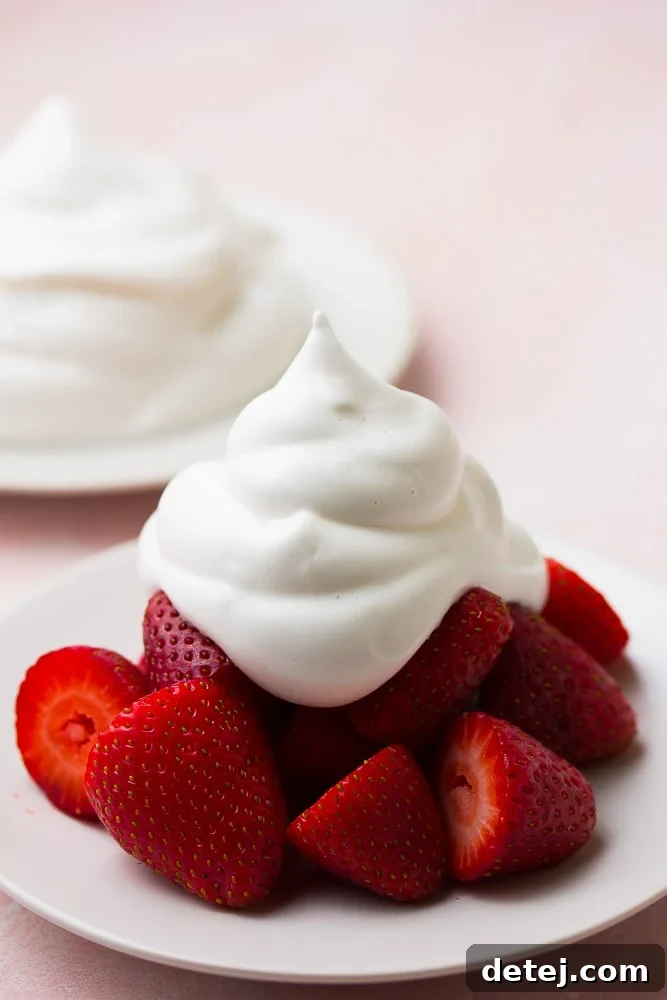
Why This Coconut-Free Vegan Whipped Cream is a Game Changer
For anyone with a coconut allergy, or simply those who aren't fond of the coconut flavor that often accompanies vegan whipped creams, this recipe is a true revelation. Traditional vegan whipped cream often relies heavily on chilled coconut cream, which can be inconsistent, tricky to perfect, and, of course, isn't an option for those avoiding coconut. This aquafaba-based alternative offers a neutral flavor profile and a consistently light, cloud-like texture that's reminiscent of traditional whipped cream without any dairy or allergens.
Since first sharing this amazing recipe in 2019, I've seen countless readers fall in love with its simplicity and incredible results. While I have since developed other fantastic vegan cream recipes, including a richer, more decadent Vegan Heavy Whipped Cream (perfect for when you crave that deep, luxurious texture), this aquafaba version remains my go-to for a light, fluffy, and undeniably healthy topping. It truly is in a league of its own, offering a unique texture profile that differs from fat-based vegan creams, making it incredibly versatile.
Unveiling the Magic of Aquafaba Whipped Topping
"Aquafaba" – a word that once sounded obscure to many, but is now celebrated in the vegan culinary world. It's simply the brine, or liquid, from a can of chickpeas. Yes, you read that right – bean water! I understand the skepticism; when I first considered using chickpea liquid for whipped cream, I thought, "Really? No fat? How can this possibly be good?" I was super skeptical, convinced it wouldn't work. But it did! And not just "worked," it transformed into something truly spectacular. It’s pure culinary magic, turning what was once a discarded byproduct into a star ingredient.
The science behind aquafaba's magic lies in its unique composition. The proteins and starches present in chickpea brine mimic the emulsifying and foaming properties of egg whites. When vigorously whipped, these compounds trap air, creating a stable, voluminous foam that holds its shape beautifully. This makes it an unparalleled plant-based alternative for meringues, mousses, and, of course, this incredible whipped topping.
Unlike the often-fickle nature of homemade coconut whipped cream – which demands the perfect can of full-fat coconut milk or cream, overnight refrigeration, and careful scooping to avoid the liquidy mess – aquafaba delivers consistent, reliable results time after time. Many aspiring vegan bakers have faced the disappointment of a can of coconut milk that just won't whip, leaving them with a sad, thin liquid instead of a fluffy topping. With aquafaba, those frustrations become a thing of the past. It whips up dependably, providing a wonderfully light and airy texture that's closer to a vegan "Cool Whip" than a rich, heavy cream, making it ideal for a wide range of desserts where a lighter touch is desired.
Beyond its incredible consistency and texture, this aquafaba whipped cream boasts an accidentally healthy profile. Compared to traditional dairy whipped cream, which is high in saturated fat and cholesterol, or even coconut-based versions, aquafaba whipped cream is remarkably low in calories and fat. It’s perfectly sweet, and you have complete control over the amount of powdered sugar added, allowing you to tailor it precisely to your taste preferences. Its neutral flavor also means it won't compete with or alter the taste of your desserts, letting their natural flavors shine through.
Step-by-Step Guide: Crafting Your Own Vegan Whipped Cream
Making this vegan whipped cream is surprisingly straightforward and requires only a few simple ingredients and a hand mixer. Here's how to achieve that perfect fluffy consistency:
**Ingredient Selection Tip:** For the best flavor profile, always opt for canned chickpeas with low or no sodium. This crucial step ensures that your whipped cream remains deliciously sweet and free from any unwanted salty undertones. If you prefer to cook your chickpeas from scratch, you can absolutely save the cooking liquid to use as aquafaba – it works just as wonderfully!
-
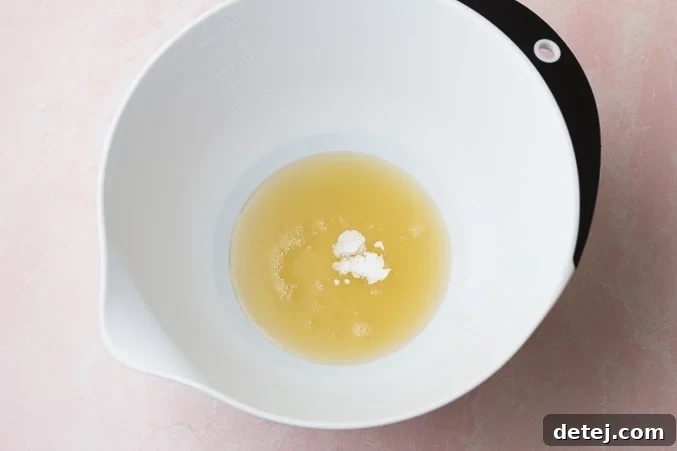
**Prepare the Aquafaba:** Carefully drain the liquid from one can of chickpeas into a large mixing bowl. Make sure to reserve the chickpeas for another delicious use, such as making hummus or adding them to salads. You'll typically end up with about 1/2 cup of aquafaba, but don't worry too much about exact measurements; a little more or less will work perfectly fine.
-
**Add Cream of Tartar:** To enhance the whipping process and provide greater stability to your whipped cream, add 1/8 teaspoon of cream of tartar to the aquafaba. Cream of tartar is an acidic salt that helps to stabilize the protein structure of the aquafaba, allowing it to whip up faster and hold its peaks for longer.
-
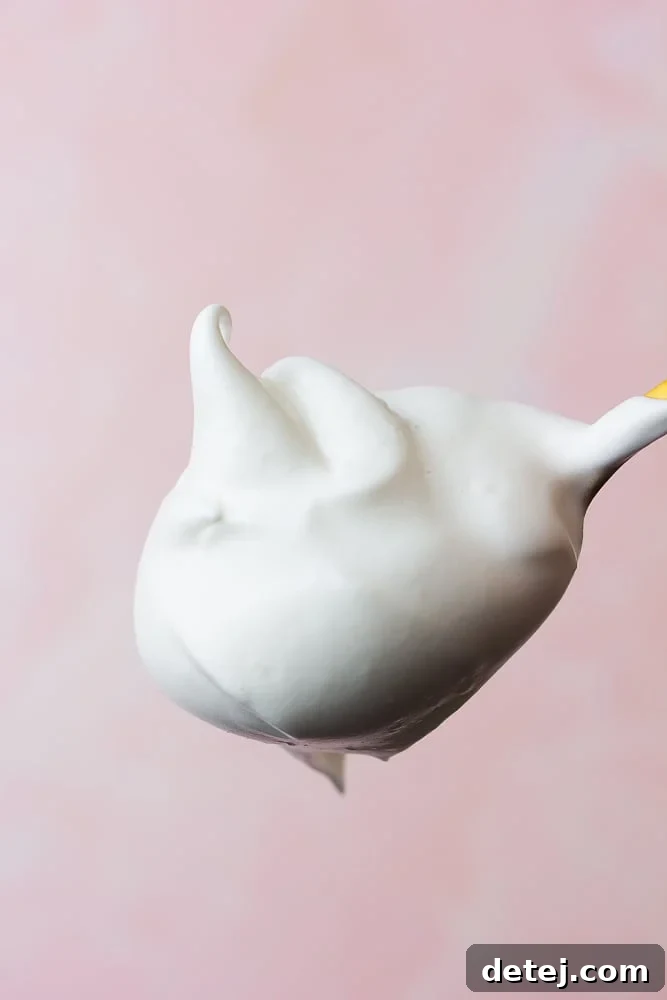
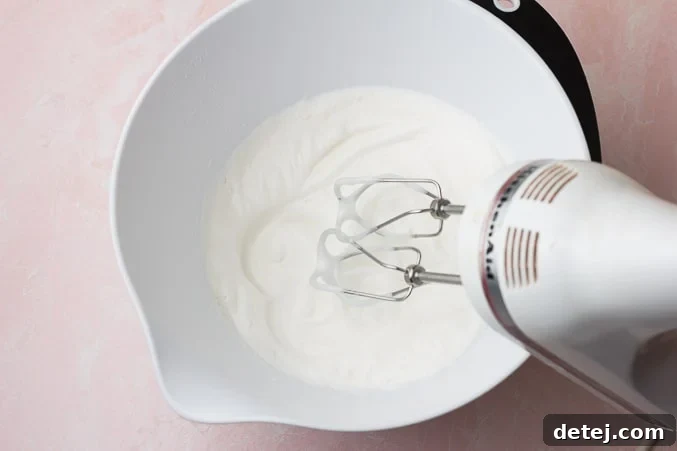
**Whip to Stiff Peaks:** Using a hand mixer, start beating the aquafaba and cream of tartar mixture on medium speed. Observe as it begins to foam up. Once it becomes slightly frothy, increase the mixer speed to high. Continue to beat vigorously for approximately 3-4 minutes. You'll know it's ready when stiff peaks form – meaning when you lift the beaters, the peaks hold their shape and don't collapse. While 3-4 minutes is typical, don't be discouraged if yours takes a minute or two longer; consistency is key. The cream of tartar significantly speeds up this process, making it surprisingly quick!
-
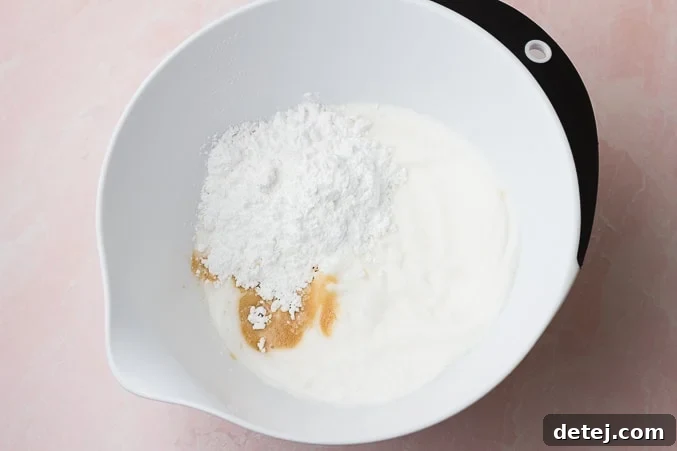
**Sweeten and Flavor:** Once stiff peaks are achieved, it's time to add the sweetness and flavor. Gradually incorporate 1/2 to 3/4 cup of powdered sugar and 1 teaspoon of pure vanilla extract. The powdered sugar is crucial for a smooth, non-grainy texture. Turn your mixer back on to high speed and continue to beat for about 1 more minute, until the mixture is beautifully fluffy, smooth, and perfectly combined. This final step integrates the sugar and vanilla evenly throughout the whipped cream, enhancing its taste and ensuring a uniform consistency.
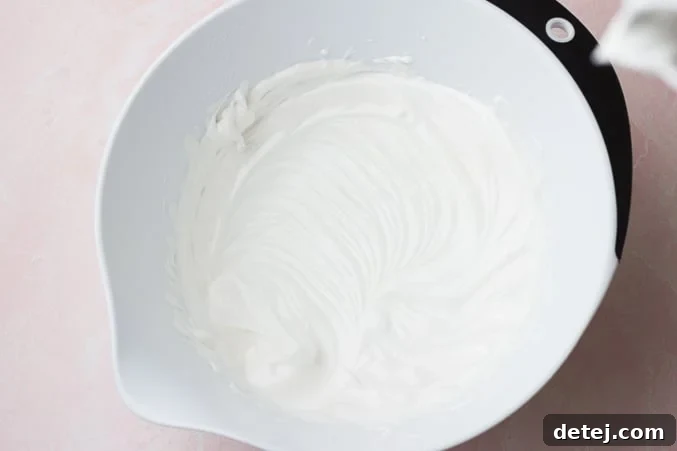
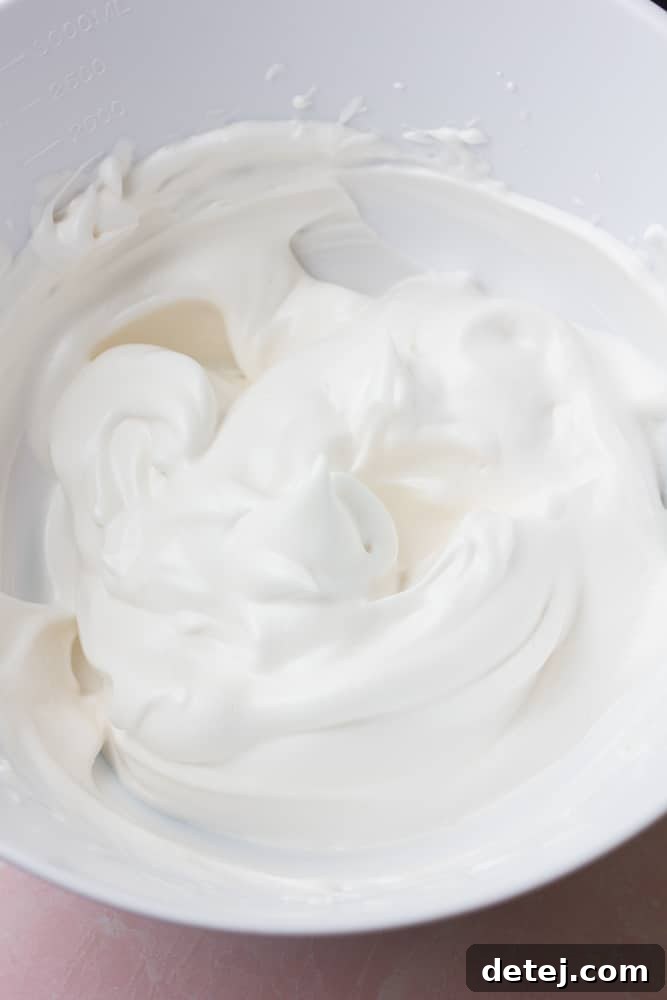
And just like that, you have homemade vegan whipped cream! It's remarkable how a mere 1/2 cup of chickpea liquid can expand to yield approximately 3 cups of delicious, fluffy whipped topping. The transformation is truly incredible, showcasing the immense potential of this humble ingredient.
Storing Your Vegan Whipped Cream: Tips for Freshness
While this aquafaba-based whipped topping is absolutely divine when served immediately, its delicate structure means it behaves a little differently than dairy whipped cream when stored. In the refrigerator, it will quickly begin to lose its fluffy, aerated quality and may deflate. This is because the protein bonds in aquafaba are not as robust as the fat globules in dairy cream, making them less stable over time in a cold, liquid environment.
However, if you find yourself with leftovers, fear not! This vegan whipped cream holds up remarkably well in the freezer. Simply transfer it to an airtight container and freeze. When enjoyed straight from the freezer, it takes on a delightful, almost ice cream-like texture, reminiscent of a frozen Cool Whip. It's a surprisingly delicious treat on its own or as a cold topping for warm desserts.
Can This Recipe Be Made Sugar-Free?
The question of a sugar-free version is a common one, and the good news is, yes, it’s certainly possible! You can successfully replace regular powdered sugar with powdered sugar substitutes like Monk Fruit Powdered Sugar or erythritol-based powdered sweeteners. The key is that the sweetener *must* be powdered. Granulated sugar will not dissolve properly in the aquafaba, resulting in a grainy and unpleasant texture.
Keep in mind that while these substitutes will allow you to create a sugar-free whipped topping, the flavor profile will naturally be different from that made with conventional powdered sugar. It’s a matter of personal preference and finding a powdered sugar alternative whose taste you genuinely enjoy. Experimentation is encouraged to discover your perfect sugar-free blend!
Creative Ways to Enjoy Your Vegan Whipped Cream
This versatile vegan whipped topping isn't just for special occasions; it's perfect for elevating everyday treats and comforting classics. Its light, neutral flavor makes it an ideal accompaniment for almost any dessert, beverage, or fruit platter. Here are some fantastic ideas to get your culinary creativity flowing:
- Dollop generously on a slice of warm Vegan Pumpkin Pie or Vegan Apple Cake.
- Float a cloud of it on top of a rich Pumpkin Spice Latte or a comforting Vegan Hot Chocolate.
- Serve alongside a comforting bowl of Vegan Apple Crisp, allowing it to melt slightly into the warm fruit.
- Elevate your breakfast or brunch by adding it to Vegan French Toast or pancakes.
- Transform a simple Chocolate Mug Cake or Best Vegan Brownies into a decadent dessert.
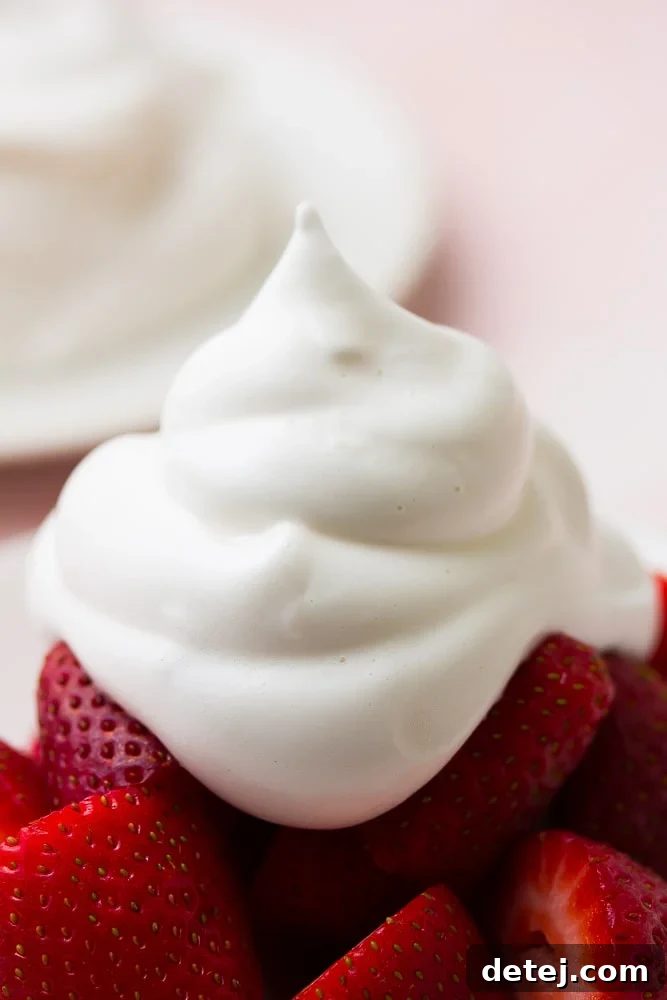
- Of course, it's absolutely divine with a fresh bowl of seasonal berries – strawberries, blueberries, raspberries, or mixed berries.
- Use it as a light frosting for cupcakes or a filling for cream puffs.
- Fold it into fruit salads for an extra creamy, light texture.
The possibilities are truly endless once you have this incredible, coconut-free vegan whipped cream in your arsenal!
Explore More Vegan Cream Recipes
If you're eager to expand your repertoire of dairy-free delights, be sure to check out these other fantastic vegan cream recipes, each offering a unique texture and application:
- Vegan Heavy Cream: For when you need a richer, thicker cream for cooking or baking.
- Vegan Pastry Cream (Vegan Custard): Ideal for tarts, eclairs, and fruit desserts.
- Vegan Condensed Milk: A sweet, thick base for many vegan confections.
- Cashew Cream: A versatile, rich, and creamy base for sauces, dressings, and desserts.
4.49 stars (52 ratings)
Vegan Whipped Cream (NO coconut!)
Easy Vegan Whipped Cream with NO coconut! This might be the healthiest and fluffiest whipped topping on the planet. 5 minutes is all you need!
Prep: 5 mins
Total: 5 mins
Servings: 10 servings
Ingredients
- 1/2 cup aquafaba (liquid from 1 can of chickpeas) low or no sodium added
- 1/8 teaspoon cream of tartar
- 1/2-3/4 cup powdered sugar
- 1 teaspoon pure vanilla extract
Instructions
-
Drain the liquid from a can of chickpeas into a large bowl. Reserve the chickpeas for another use. You should have about 1/2 cup of liquid, but it doesn't have to be exact; a little more or a little less is fine.
-
Add the cream of tartar; this helps with the whipping process. With a hand mixer, start mixing on medium speed. Once it gets a little foamy, increase the speed to high and beat for about 3-4 minutes, until stiff peaks form.
-
Add the powdered sugar and vanilla and continue to beat about 1 more minute, until fluffy and smooth. That's it!
-
Serve immediately for best results. Store leftover whipped cream in the freezer, it won't hold up as well in the refrigerator. It reminds me a lot of cool whip straight from the freezer!
Notes
- If you make chickpeas from scratch, you can save the liquid that they cooked in to make all things aquafaba, including this vegan whipped cream.
- If you don’t have cream of tartar or don’t want to use it, it is okay to leave it out. It will, however, take you longer to achieve stiff peaks, more like 10 minutes. It will not be as stable either.
- Buy organic powdered sugar to ensure vegan friendliness. I used 3/4 cup but you can use less or more to your own tastebuds.
- Even though you start with only 1/2 cup of liquid, you will get about 3 cups of whipped topping!
Nutrition
Serving: 1 serving | Calories: 25 kcal | Carbohydrates: 6 g | Sodium: 1 mg | Potassium: 6 mg | Sugar: 6 g
Course: Dessert
Cuisine: American
Author: Nora Taylor
Did you make this recipe?
Mention @nora_cooks_vegan_ or tag #noracooks!