
Unlock the Secret to Perfect Chewy Oatmeal Raisin Cookies: An Easy, Irresistible Recipe Guide
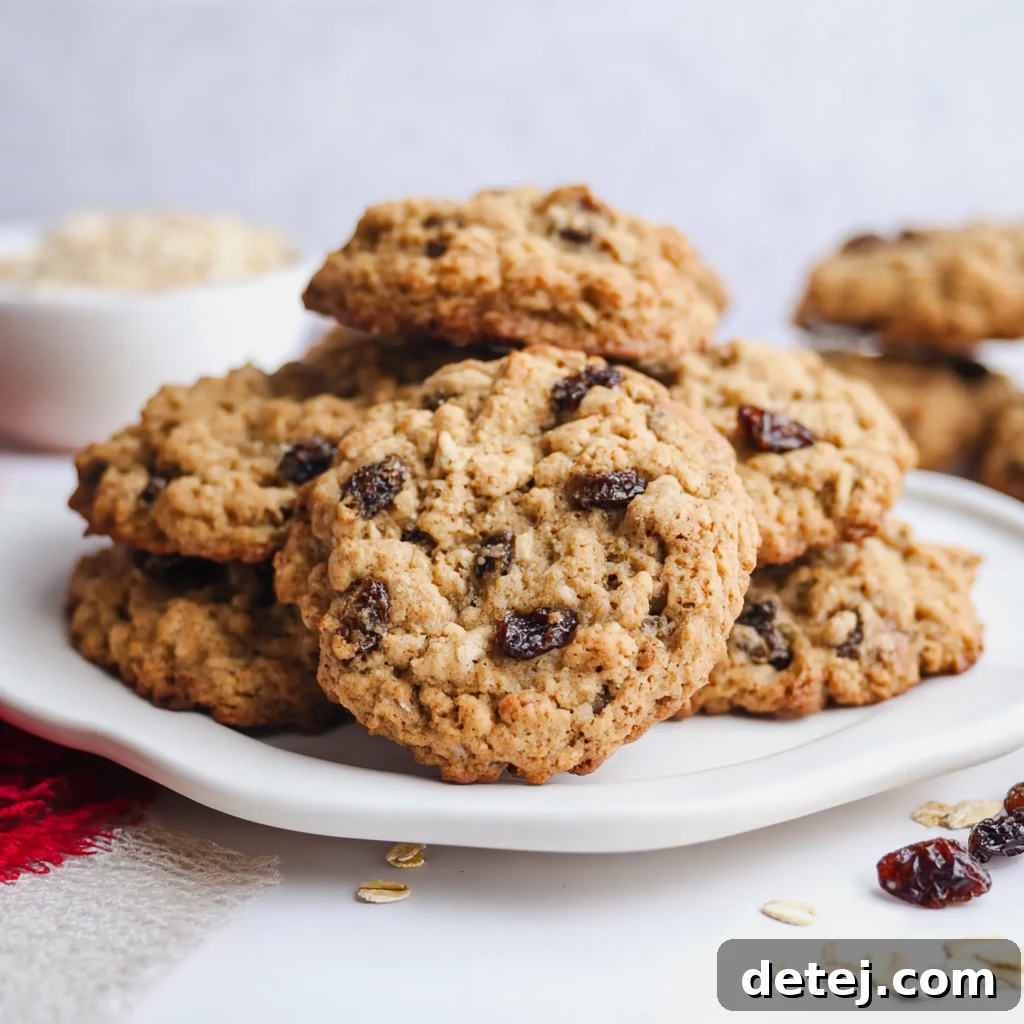
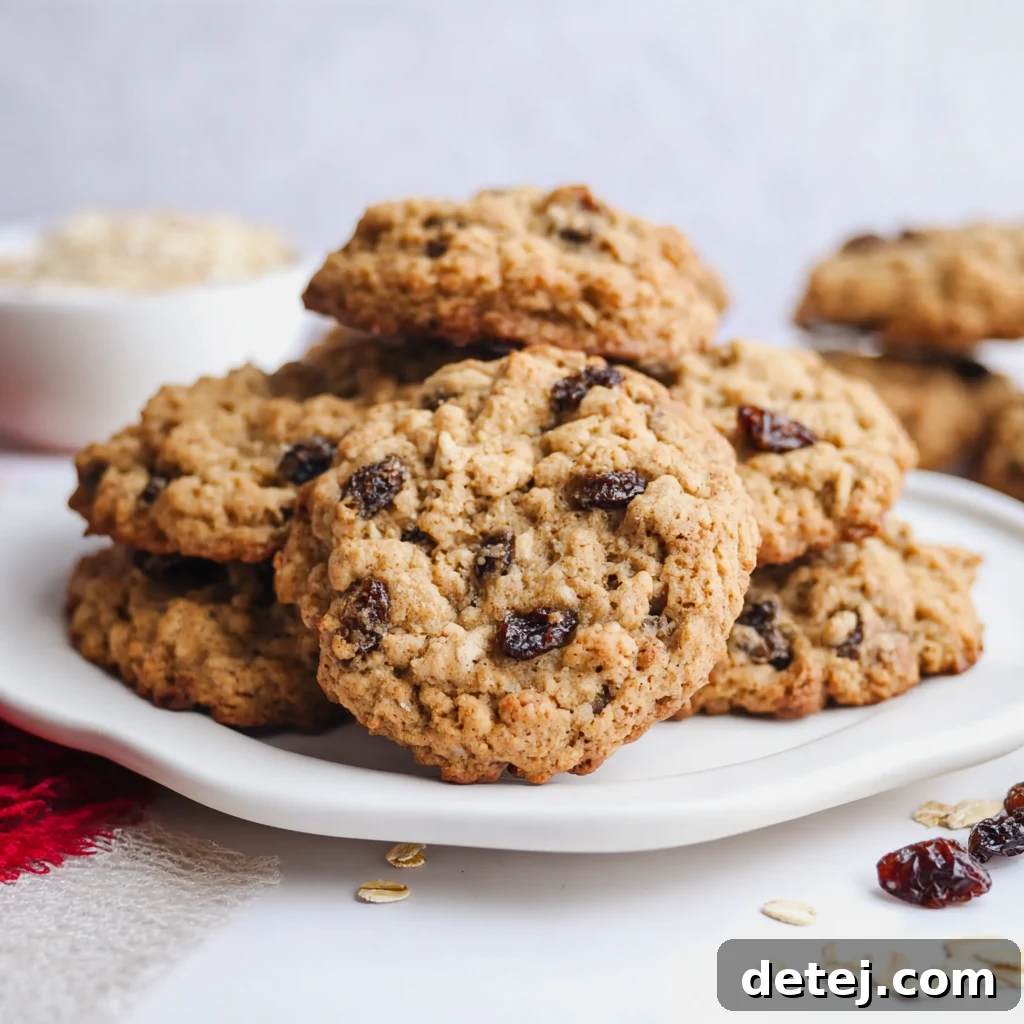
Welcome, fellow baking enthusiasts, to your ultimate guide for crafting the most heavenly chewy oatmeal raisin cookies you’ll ever experience. Forget dry, crumbly cookies; we’re diving into a world where every bite offers a perfect balance of rich chewiness, comforting spices, and the delightful burst of sweet, plump raisins. Imagine pulling a batch of these golden-brown masterpieces from your oven, filling your home with an aroma that speaks of warmth and pure indulgence. This guide will demystify the art of achieving that elusive chewy texture and ensure your cookies are nothing short of spectacular, from the very first ingredient to the last delicious crumb. Whether you’re a seasoned baker or just starting your culinary journey, these simple, straightforward steps promise success and a batch of classic cookies that taste like a warm hug.
Oatmeal raisin cookies hold a special place in the pantheon of classic American desserts. They evoke nostalgia, comfort, and the simple joy of a homemade treat. But what truly elevates an oatmeal raisin cookie from good to unforgettable is its texture and the thoughtful blend of flavors. We’re talking about a cookie that’s soft and bendy, never stiff, with juicy raisins that are practically bursting with sweetness, perfectly complemented by the warm embrace of cinnamon and nutmeg. It’s a symphony of textures and tastes designed to bring a smile to anyone’s face.
Key Takeaways for Baking Success:
- Achieve the Ultimate Chewy Texture: Discover the precise techniques and ingredient ratios that guarantee a soft, chewy cookie every time, avoiding common pitfalls that lead to dry or tough results.
- Master Flavor & Sweetness: Learn how to plump your raisins for maximum juiciness and perfectly balance the sweetness with comforting spices for a truly irresistible taste.
- Step-by-Step Simplicity: Follow our clear, easy-to-understand instructions, designed to make the baking process enjoyable and stress-free for bakers of all skill levels.
- Ensure Lasting Freshness: Get expert tips on proper cooling and storage methods to keep your homemade oatmeal raisin cookies wonderfully chewy and flavorful for days, or even weeks if frozen.
Essential Ingredients for Unforgettable Chewy Oatmeal Raisin Cookies
The foundation of any great cookie lies in the quality and careful preparation of its ingredients. For our irresistible chewy oatmeal raisin cookies, each component plays a vital role in achieving that sought-after texture and comforting flavor profile. Here’s a closer look at what you’ll need and why each element is crucial:
- Old-fashioned rolled oats: These are the true stars, providing the characteristic chewiness and hearty texture that define an oatmeal cookie. Avoid instant or quick oats, as they can lead to a mushy texture. Rolled oats maintain their structure, giving you that perfect bite.
- Sweet raisins (1 ½ to 2 cups): The juicy bursts of sweetness in every bite! Plumping them beforehand is a small step with a huge impact, ensuring they’re soft and succulent, rather than hard and dry. You can even experiment with golden raisins for a slightly different flavor profile.
- Unsalted butter, at room temperature (1 cup): The cornerstone of rich flavor and proper cookie spread. Using unsalted butter allows you to control the overall salt content. Room temperature butter is essential for creaming effectively with sugar, incorporating air for a lighter, fluffier dough.
- Granulated sugar (1 cup) and light brown sugar, packed (1 cup): This dynamic duo is key to both flavor and texture. Granulated sugar contributes to crisp edges, while light brown sugar adds moisture, depth of flavor (with its molasses content), and that signature chewiness we crave.
- All-purpose flour (2 ½ cups): The structural backbone of our cookies. It binds all the ingredients together, providing the necessary gluten for the dough without making the cookies tough, provided it’s mixed correctly.
- Baking soda (2 teaspoons): This leavening agent reacts with the brown sugar’s acidity to create lift, ensuring your cookies are soft and slightly puffy, with beautiful golden-brown edges.
- Pure vanilla extract (1 teaspoon): A splash of high-quality vanilla extract adds warmth, complexity, and a sweet, aromatic undertone that enhances all the other flavors in the cookie.
- Ground cinnamon (1 teaspoon) and a hint of nutmeg (1 teaspoon) & ginger (1 teaspoon): These aromatic spices are what give oatmeal raisin cookies their signature cozy, nostalgic charm. Cinnamon provides warmth, nutmeg adds a subtle, earthy sweetness, and ginger introduces a gentle, spicy kick, elevating the overall flavor profile.
- Large eggs, at room temperature (3): Eggs act as a binder, holding the dough together and adding moisture and richness. Like butter, room temperature eggs emulsify better with other ingredients, leading to a smoother, more uniform dough.
- Kosher salt (1 teaspoon): Often overlooked, salt is a flavor enhancer. It balances the sweetness of the sugars and raisins, bringing out the nuanced flavors of the spices and preventing the cookies from tasting overly sweet.
Mastering the Prep: Key Steps for Irresistible Cookie Dough
Before the real mixing magic begins, taking a few preparatory steps can significantly elevate your cookie game, ensuring a smooth process and a superior end product. These aren’t just extra tasks; they’re foundational techniques for the best oatmeal raisin cookies.
Plumping Your Raisins for Juicy Perfection
This is a game-changer! Dry, hard raisins can detract from an otherwise perfect cookie. By plumping your raisins, you infuse them with moisture, making them delightfully juicy and soft, bursting with sweetness in every bite. Simply place your 1 ½ to 2 cups of raisins in a small bowl, cover them with warm water (or even a splash of orange juice, apple juice, or rum for an extra layer of flavor), and let them soak for at least an hour. You can even do this overnight in the refrigerator. Once plumped, drain them thoroughly and pat them dry with a paper towel. This prevents excess moisture from altering your dough’s consistency.
The Golden Rule of Room Temperature Ingredients
You’ll notice our recipe calls for room temperature butter and eggs, and for good reason! When butter is softened (but not melted!), it creams beautifully with the sugars, creating a light, fluffy base that incorporates air. This aeration is crucial for a tender, chewy cookie texture. Similarly, room temperature eggs emulsify better, meaning they blend more evenly with the butter and sugar mixture, resulting in a cohesive and uniformly textured dough. Plan ahead by taking your butter and eggs out of the refrigerator about 30-60 minutes before you begin baking.
Preheating Your Oven and Preparing Baking Sheets
Always preheat your oven to 350°F (175°C) before you start mixing your dough. A consistently heated oven ensures even baking from the moment your cookies enter. Prepare your baking sheets by lining them with parchment paper or silicone baking mats. This prevents sticking, promotes even browning, and makes cleanup a breeze. Avoid greasing the pans directly, as this can cause the cookies to spread too much.
The Science of Mixing: Achieving Wet & Dry Harmony
This phase is where your individual ingredients transform into that glorious, cohesive cookie dough. The secret to perfect texture lies in understanding how to combine your wet and dry elements thoughtfully, preventing overmixing and ensuring an even distribution of flavor and chewiness.
Creaming the Wet Ingredients
In a large mixing bowl, begin by creaming together your softened unsalted butter with both the granulated sugar and the packed light brown sugar. Use an electric mixer on medium speed for about 2-3 minutes, or until the mixture is light, fluffy, and noticeably pale in color. This creaming process is vital; it incorporates air into the butter and sugar, which contributes significantly to the cookie’s final texture and lift. Next, beat in the room temperature large eggs, one at a time, ensuring each is fully incorporated before adding the next. Stir in the pure vanilla extract. The mixture should be smooth and emulsified, a velvety canvas ready for the dry components.
Whisking the Dry Ingredients Separately
In a separate, medium-sized bowl, whisk together your all-purpose flour, baking soda, kosher salt, ground cinnamon, ground nutmeg, and ground ginger. Whisking ensures that the leavening agent and spices are thoroughly distributed throughout the flour. This prevents pockets of unmixed ingredients and guarantees a consistent flavor and rise in every cookie. This simple step is crucial for an evenly textured and flavored cookie.
Combining for Perfection: The Art of Gentle Folding
Now, it’s time to bring the wet and dry elements together. Gradually add the dry flour mixture to the creamed butter and sugar mixture, mixing on low speed with your electric mixer or by hand with a rubber spatula. Mix *just until combined*. The key here is to avoid overmixing. Overworking the dough can develop the gluten in the flour too much, leading to tough, dense cookies instead of the desired chewy texture. As soon as you see no more streaks of dry flour, stop mixing.
Finally, gently fold in your plumped and drained old-fashioned rolled oats and the juicy raisins. Use your rubber spatula to incorporate them evenly throughout the dough. You want the oats and raisins distributed in every spoonful, ensuring each cookie delivers that perfect balance of texture and sweetness.
Crafting and Baking Your Golden Delights
With your perfectly prepared dough, you’re just a few steps away from warm, golden-brown cookie bliss. This stage requires precision and a watchful eye to achieve the ideal chewy center and slightly crisp edges.
Scooping for Uniformity
Using a tablespoon-sized cookie scoop is highly recommended for this part. It ensures that each cookie is roughly the same size, which is critical for even baking. Place spoonfuls of dough onto your parchment paper-lined baking sheets, leaving about 2 inches of space between each cookie. This allows them enough room to spread without merging into one giant cookie blob. For an extra touch of chewy goodness, you can gently flatten the tops of the dough balls slightly before baking, which can promote a slightly softer center.
Baking to Golden Perfection
Bake your cookies in the preheated 350°F (175°C) oven for 10-12 minutes. Baking times can vary depending on your oven, so keep a close watch. You’re looking for cookies with lightly golden-brown edges and centers that still look slightly soft and undercooked. This “underbaked” appearance is the secret to their ultimate chewiness. If you wait until the centers are fully firm, your cookies will likely be crispier rather than chewy once cooled. For even baking, you might want to rotate your baking sheets halfway through the baking time.
The Crucial Cooling Phase: Preserving Chewy Texture
Once those fragrant, golden-edged beauties emerge from the oven, it’s tempting to dive right in. However, patience during the cooling phase is paramount for achieving and preserving that perfect chewy texture we’ve worked so hard for.
First, allow the cookies to cool on the baking sheet for about 5 minutes. They are quite delicate when hot, and this brief resting period allows them to set up slightly, preventing them from breaking apart when moved. During these first few minutes, the residual heat from the baking sheet continues to cook the cookies gently, solidifying their structure while maintaining a soft interior.
After 5 minutes, carefully transfer the cookies to a wire rack. This step is crucial. Cooling on a wire rack allows air to circulate all around each cookie, preventing the bottoms from becoming soggy due to trapped steam. It promotes even cooling and helps to set the chewy texture, ensuring they firm up just enough on the outside while remaining delightfully soft and pliable on the inside. Resist the urge to stack them before they are completely cool, as this can also lead to sogginess and sticking. The aroma will fill your kitchen, building anticipation for the perfect chewy bite!
Storing Your Oatmeal Raisin Masterpieces for Lasting Freshness
You’ve poured your heart into baking the perfect chewy oatmeal raisin cookies, and now it’s time to ensure their freshness and delightful texture last as long as possible. Proper storage is key to preventing them from drying out or losing their signature chewiness.
Once your cookies have completely cooled on the wire rack – and I mean completely cool, no lingering warmth – transfer them to an airtight container. A sturdy plastic container with a tight-fitting lid, a cookie tin, or even a glass jar with a secure seal will work wonderfully. The goal is to minimize exposure to air, which is the primary culprit behind stale cookies. Place a piece of parchment paper or wax paper between layers if you’re stacking them to prevent sticking.
Store your airtight container at room temperature. Your chewy oatmeal raisin cookies should remain fresh and delicious for 3-5 days. If you’d like to extend their life, these cookies freeze beautifully! For freezing baked cookies, allow them to cool completely, then place them in a single layer on a baking sheet and freeze for about an hour until firm. Once firm, transfer them to a freezer-safe bag or container, removing as much air as possible. They can be stored in the freezer for up to 3 months. To enjoy, simply thaw at room temperature or warm them gently in a microwave for a few seconds for that “fresh from the oven” taste.
Sharing the Sweetness: More Than Just a Cookie
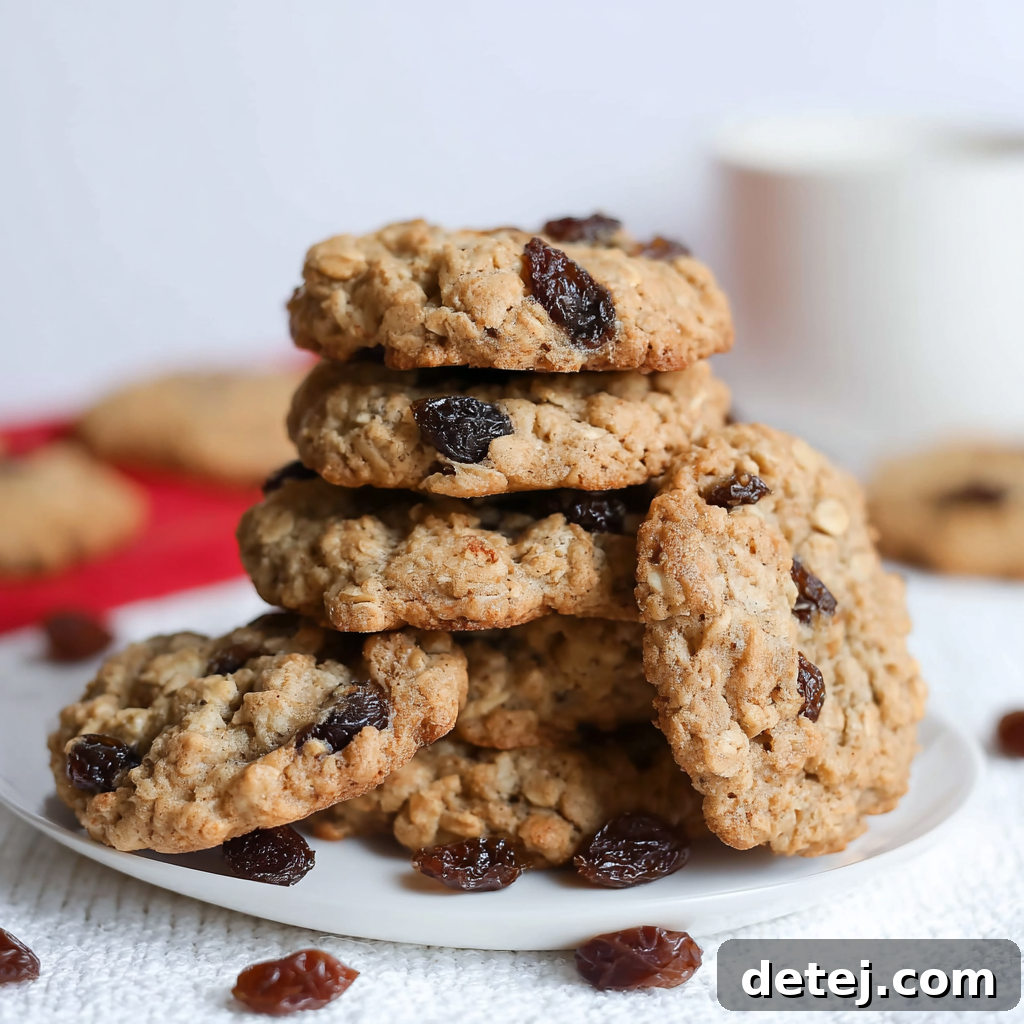
After the wonderful aroma of cinnamon and oats has filled your kitchen, and you’ve carefully cooled and stored your perfectly chewy oatmeal raisin cookies, comes perhaps the most rewarding part of the entire baking journey: sharing them. Baking, for me, has always been an act of love and a universal language of care. From the moment you gather your simple ingredients, to creaming the butter and sugars, and finally, scooping that delectable dough onto a parchment-lined baking sheet, every step is infused with intention and warmth.
These aren’t just cookies; they’re edible expressions of comfort and connection. Imagine the delight on a friend’s face as you hand them a small box filled with these soft, golden brown, chewy treats, perhaps still a little warm from a quick reheat. Picture the smiles at a family gathering when a platter of homemade oatmeal raisin cookies takes center stage, each one bursting with plump, sweet raisins and hearty rolled oats. They’re perfect for cozy evenings with loved ones, thoughtful gifts for neighbors, or a much-appreciated surprise for colleagues at work.
The act of sharing homemade goods transcends the mere transaction of food; it’s about fostering warmth, creating memories, and strengthening bonds. It’s in those moments, watching someone savor a cookie you made with your own hands, that you truly understand the profound joy of baking. So, go ahead, wrap a few in plastic wrap or tuck them into a pretty bag. Spread the cheer, one chewy bite at a time. These simple, perfect oatmeal raisin cookies offer more than just a sweet treat; they offer a piece of your heart, making them truly the best cookies of life.
Easy Chewy Oatmeal Raisin Cookies
A classic cookie recipe yielding soft, chewy, and perfectly spiced oatmeal raisin cookies that are irresistible.
Yield: 24 cookies
Prep Time: 10 mins (plus 1 hour chilling for raisins)
Cook Time: 10-12 mins
Author: Krystel
Ingredients
- 3 large eggs, at room temperature
- 1 ½ to 2 cups raisins, plumped
- 1 teaspoon pure vanilla extract
- 1 cup unsalted butter, softened
- 1 cup packed light brown sugar
- 1 cup granulated sugar
- 2 ½ cups all-purpose flour
- 2 teaspoons baking soda
- 1 teaspoon kosher salt
- 1 teaspoon ground nutmeg
- 1 teaspoon ground ginger
- 2 cups old-fashioned rolled oats
Instructions
- In a small bowl, beat the eggs. Stir in the vanilla and the plumped and drained raisins. Cover and refrigerate for at least 1 hour to allow the raisins to fully absorb moisture and become extra juicy.
- Preheat your oven to 350°F (175°C). Line two baking sheets with parchment paper or silicone mats.
- In a large mixing bowl, using an electric mixer, cream together the softened butter, light brown sugar, and granulated sugar until the mixture is smooth, light, and fluffy (about 2-3 minutes).
- Gradually beat in the egg–raisin mixture until evenly incorporated into the butter and sugar mixture.
- In a separate bowl, whisk together the all-purpose flour, baking soda, kosher salt, ground nutmeg, and ground ginger until well combined.
- Gradually add the dry mixture to the wet mixture, mixing on low speed or by hand with a rubber spatula, just until combined. Be careful not to overmix the dough.
- Fold in the old-fashioned rolled oats until well blended throughout the dough.
- Scoop spoonfuls of dough (approximately 1 tablespoon per cookie) onto the prepared baking sheets, spacing them about 2 inches apart to allow for spreading.
- Bake for 10–12 minutes, or until the edges are lightly golden brown and the centers still look slightly soft. This will ensure a chewy texture.
- Remove the baking sheets from the oven and let the cookies cool on the baking sheet for 5 minutes to set.
- After 5 minutes, carefully transfer the cookies to a wire rack to cool completely.
- Once fully cooled, store your chewy oatmeal raisin cookies in an airtight container at room temperature for up to 5 days, or freeze for longer storage.
Nutrition Information (per 1 cookie serving): Calories: 235kcal, Carbohydrates: 37g, Protein: 3g, Fat: 9g, Saturated Fat: 5g, Polyunsaturated Fat: 1g, Monounsaturated Fat: 2g, Trans Fat: 0.3g, Cholesterol: 41mg, Sodium: 202mg, Potassium: 112mg, Fiber: 1g, Sugar: 17g, Vitamin A: 266IU, Vitamin C: 0.3mg, Calcium: 21mg, Iron: 1mg