
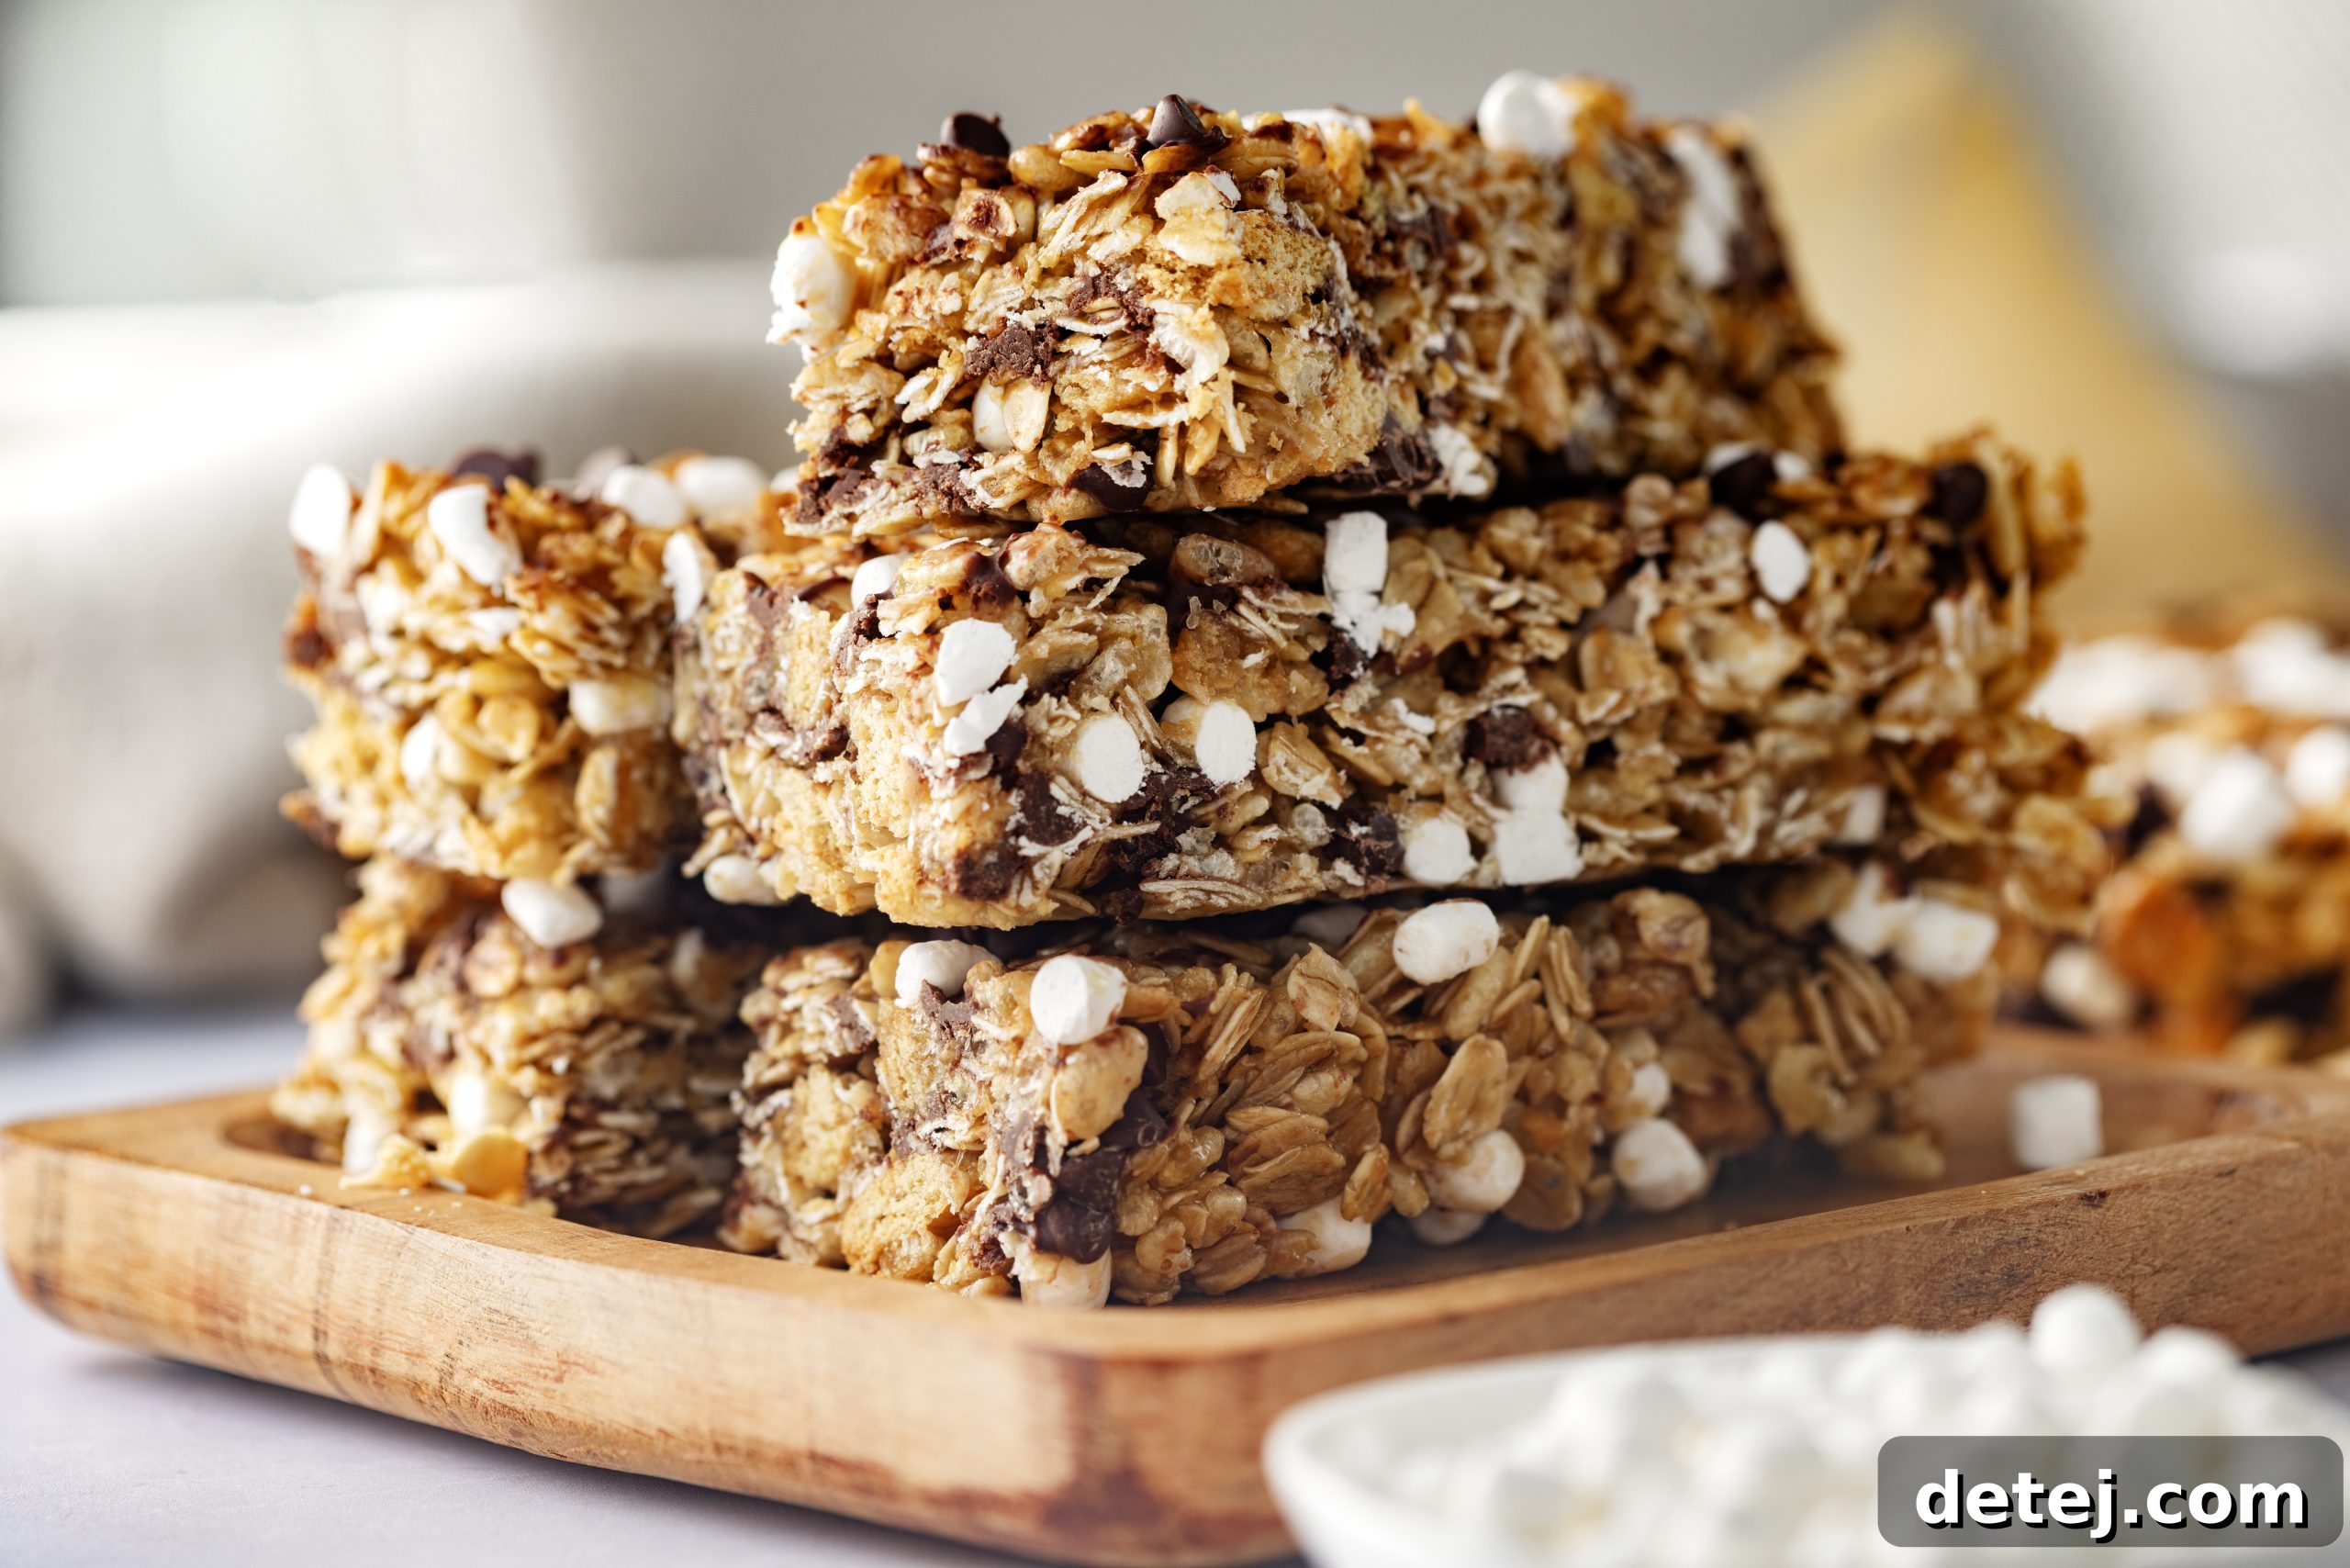
Chewy Homemade Granola Bars (Better Than Store-Bought!)
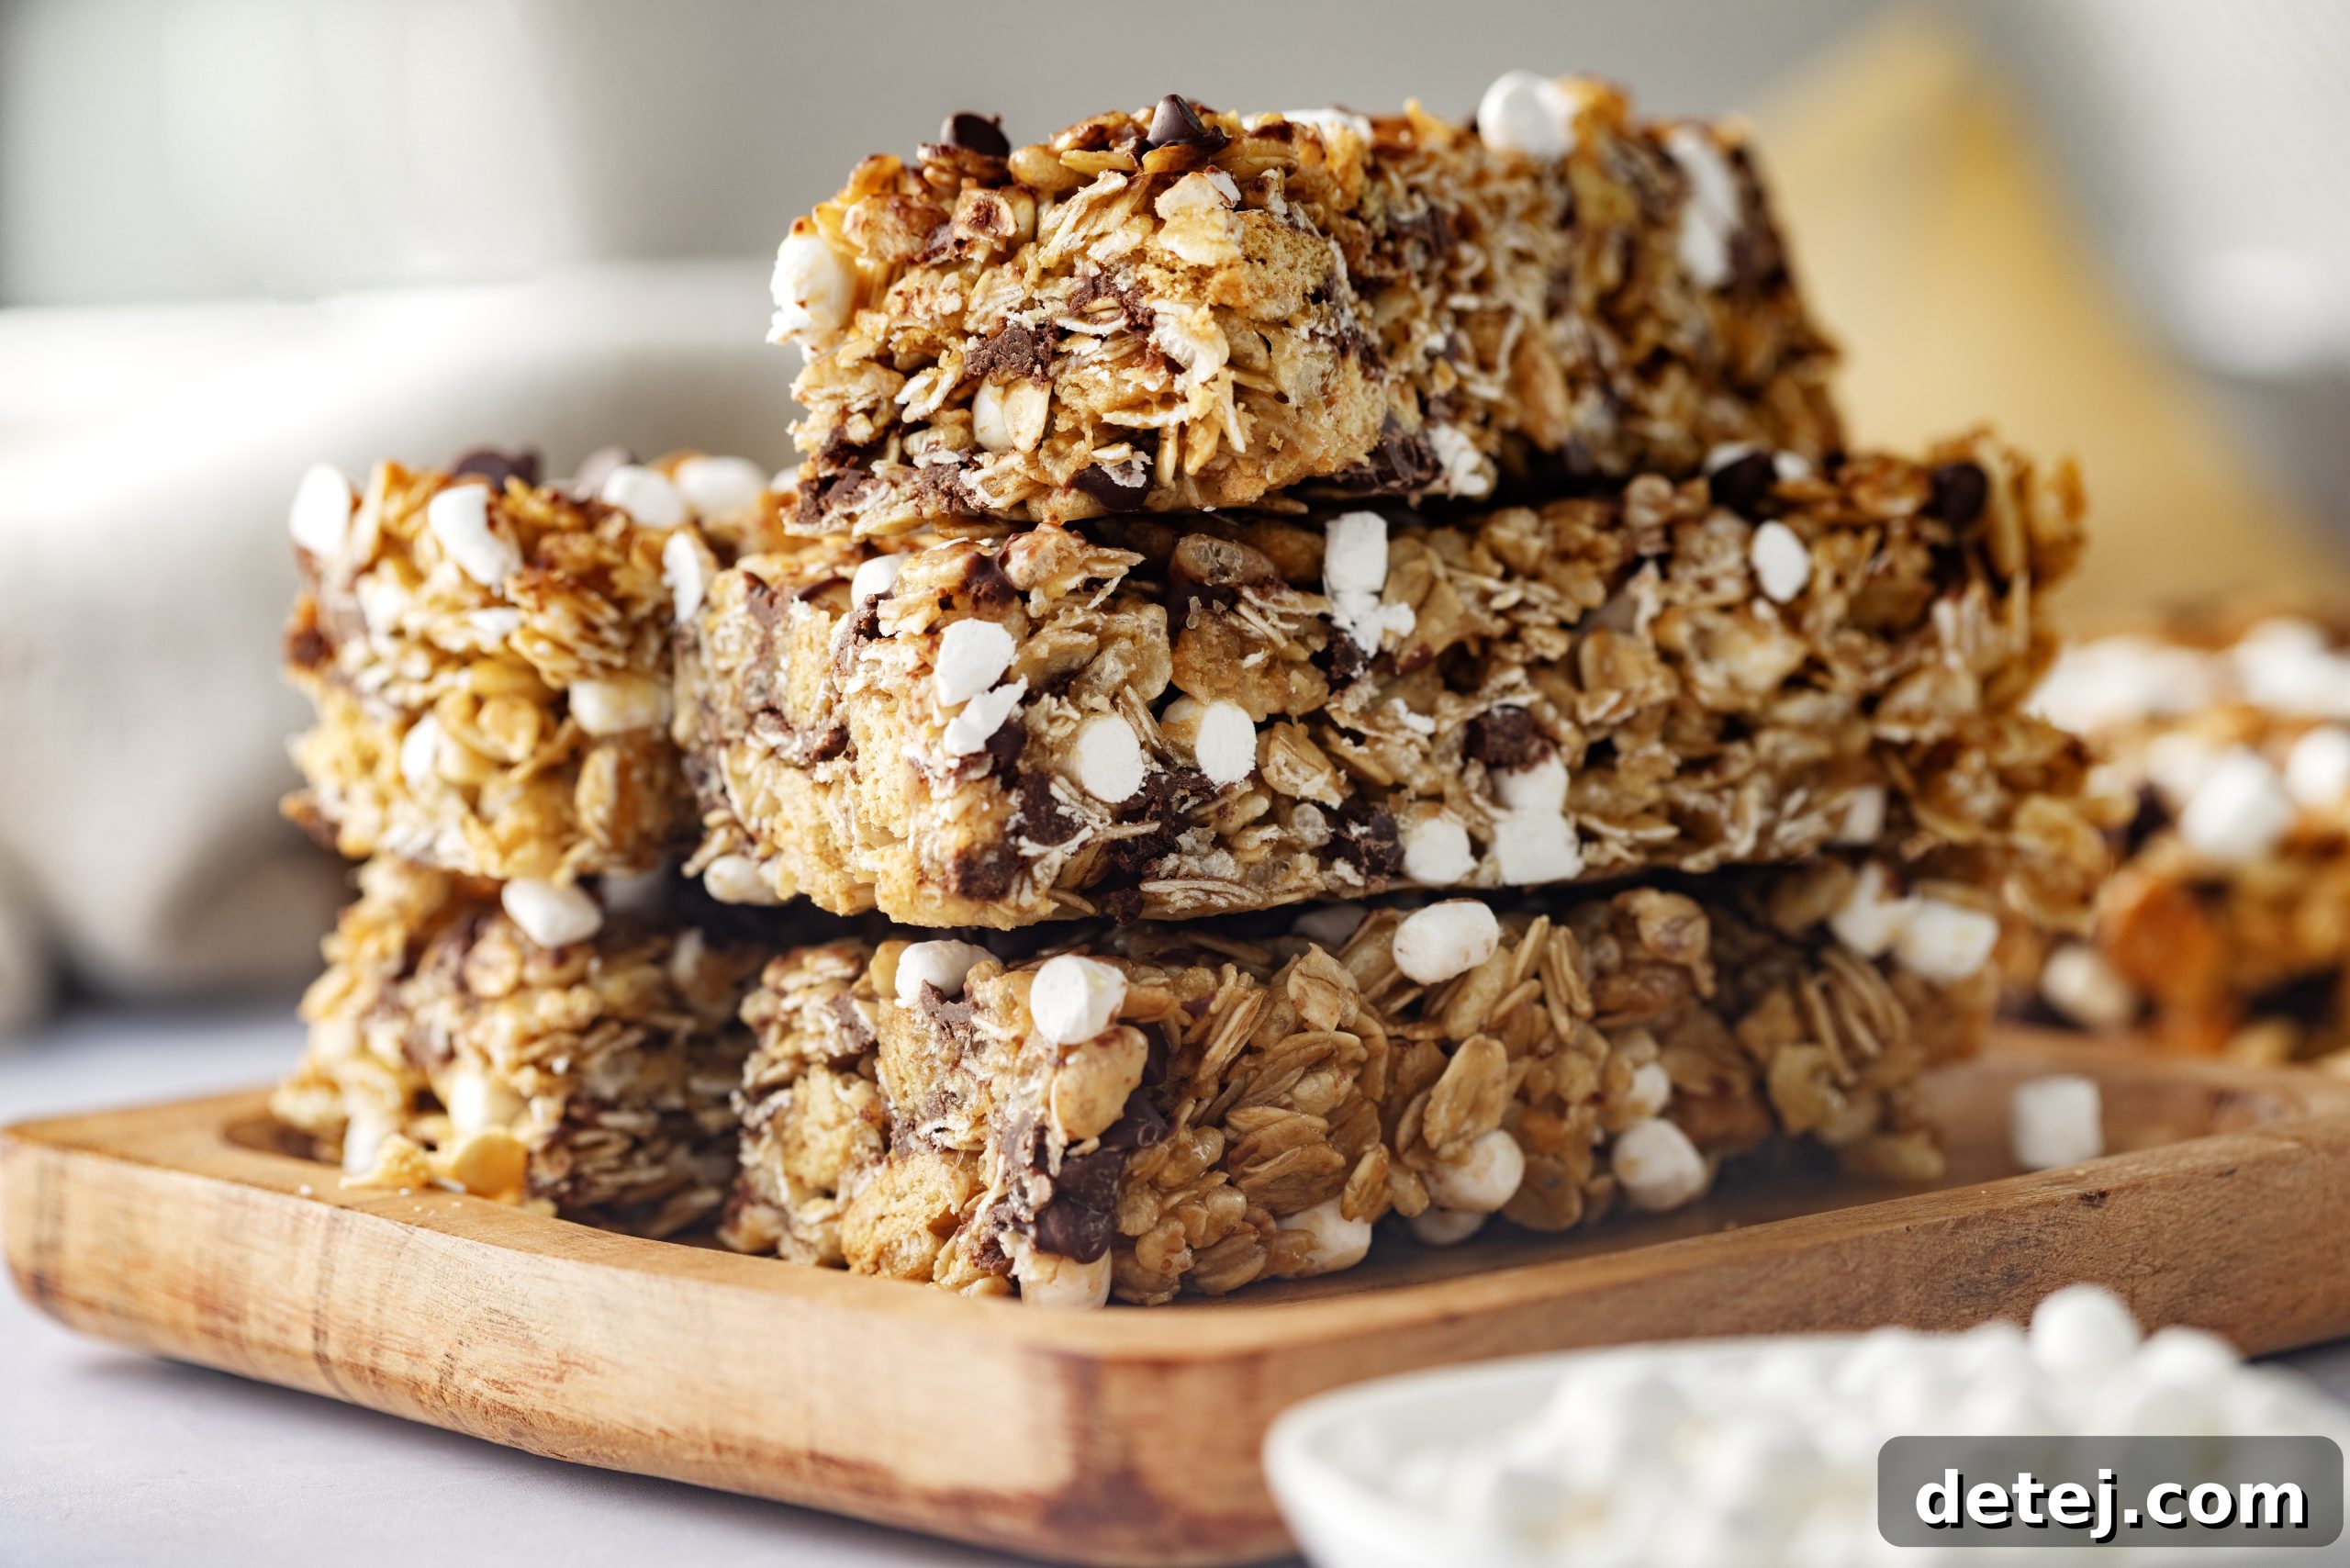
If you want a delicious, portable snack made from simple pantry ingredients, these Chewy Homemade Granola Bars are a perfect choice. Rolled oats toasted for extra flavor, crispy rice cereal for lightness, a honey‑and‑brown‑sugar binder, and mini chocolate chips combine to create bars that are soft, chewy, and far better than most store-bought options. They’re easy to customize, freezer-friendly, and ideal for breakfast on the go, lunchboxes, or an afternoon pick‑me‑up.
Why You’ll Love These Homemade Granola Bars
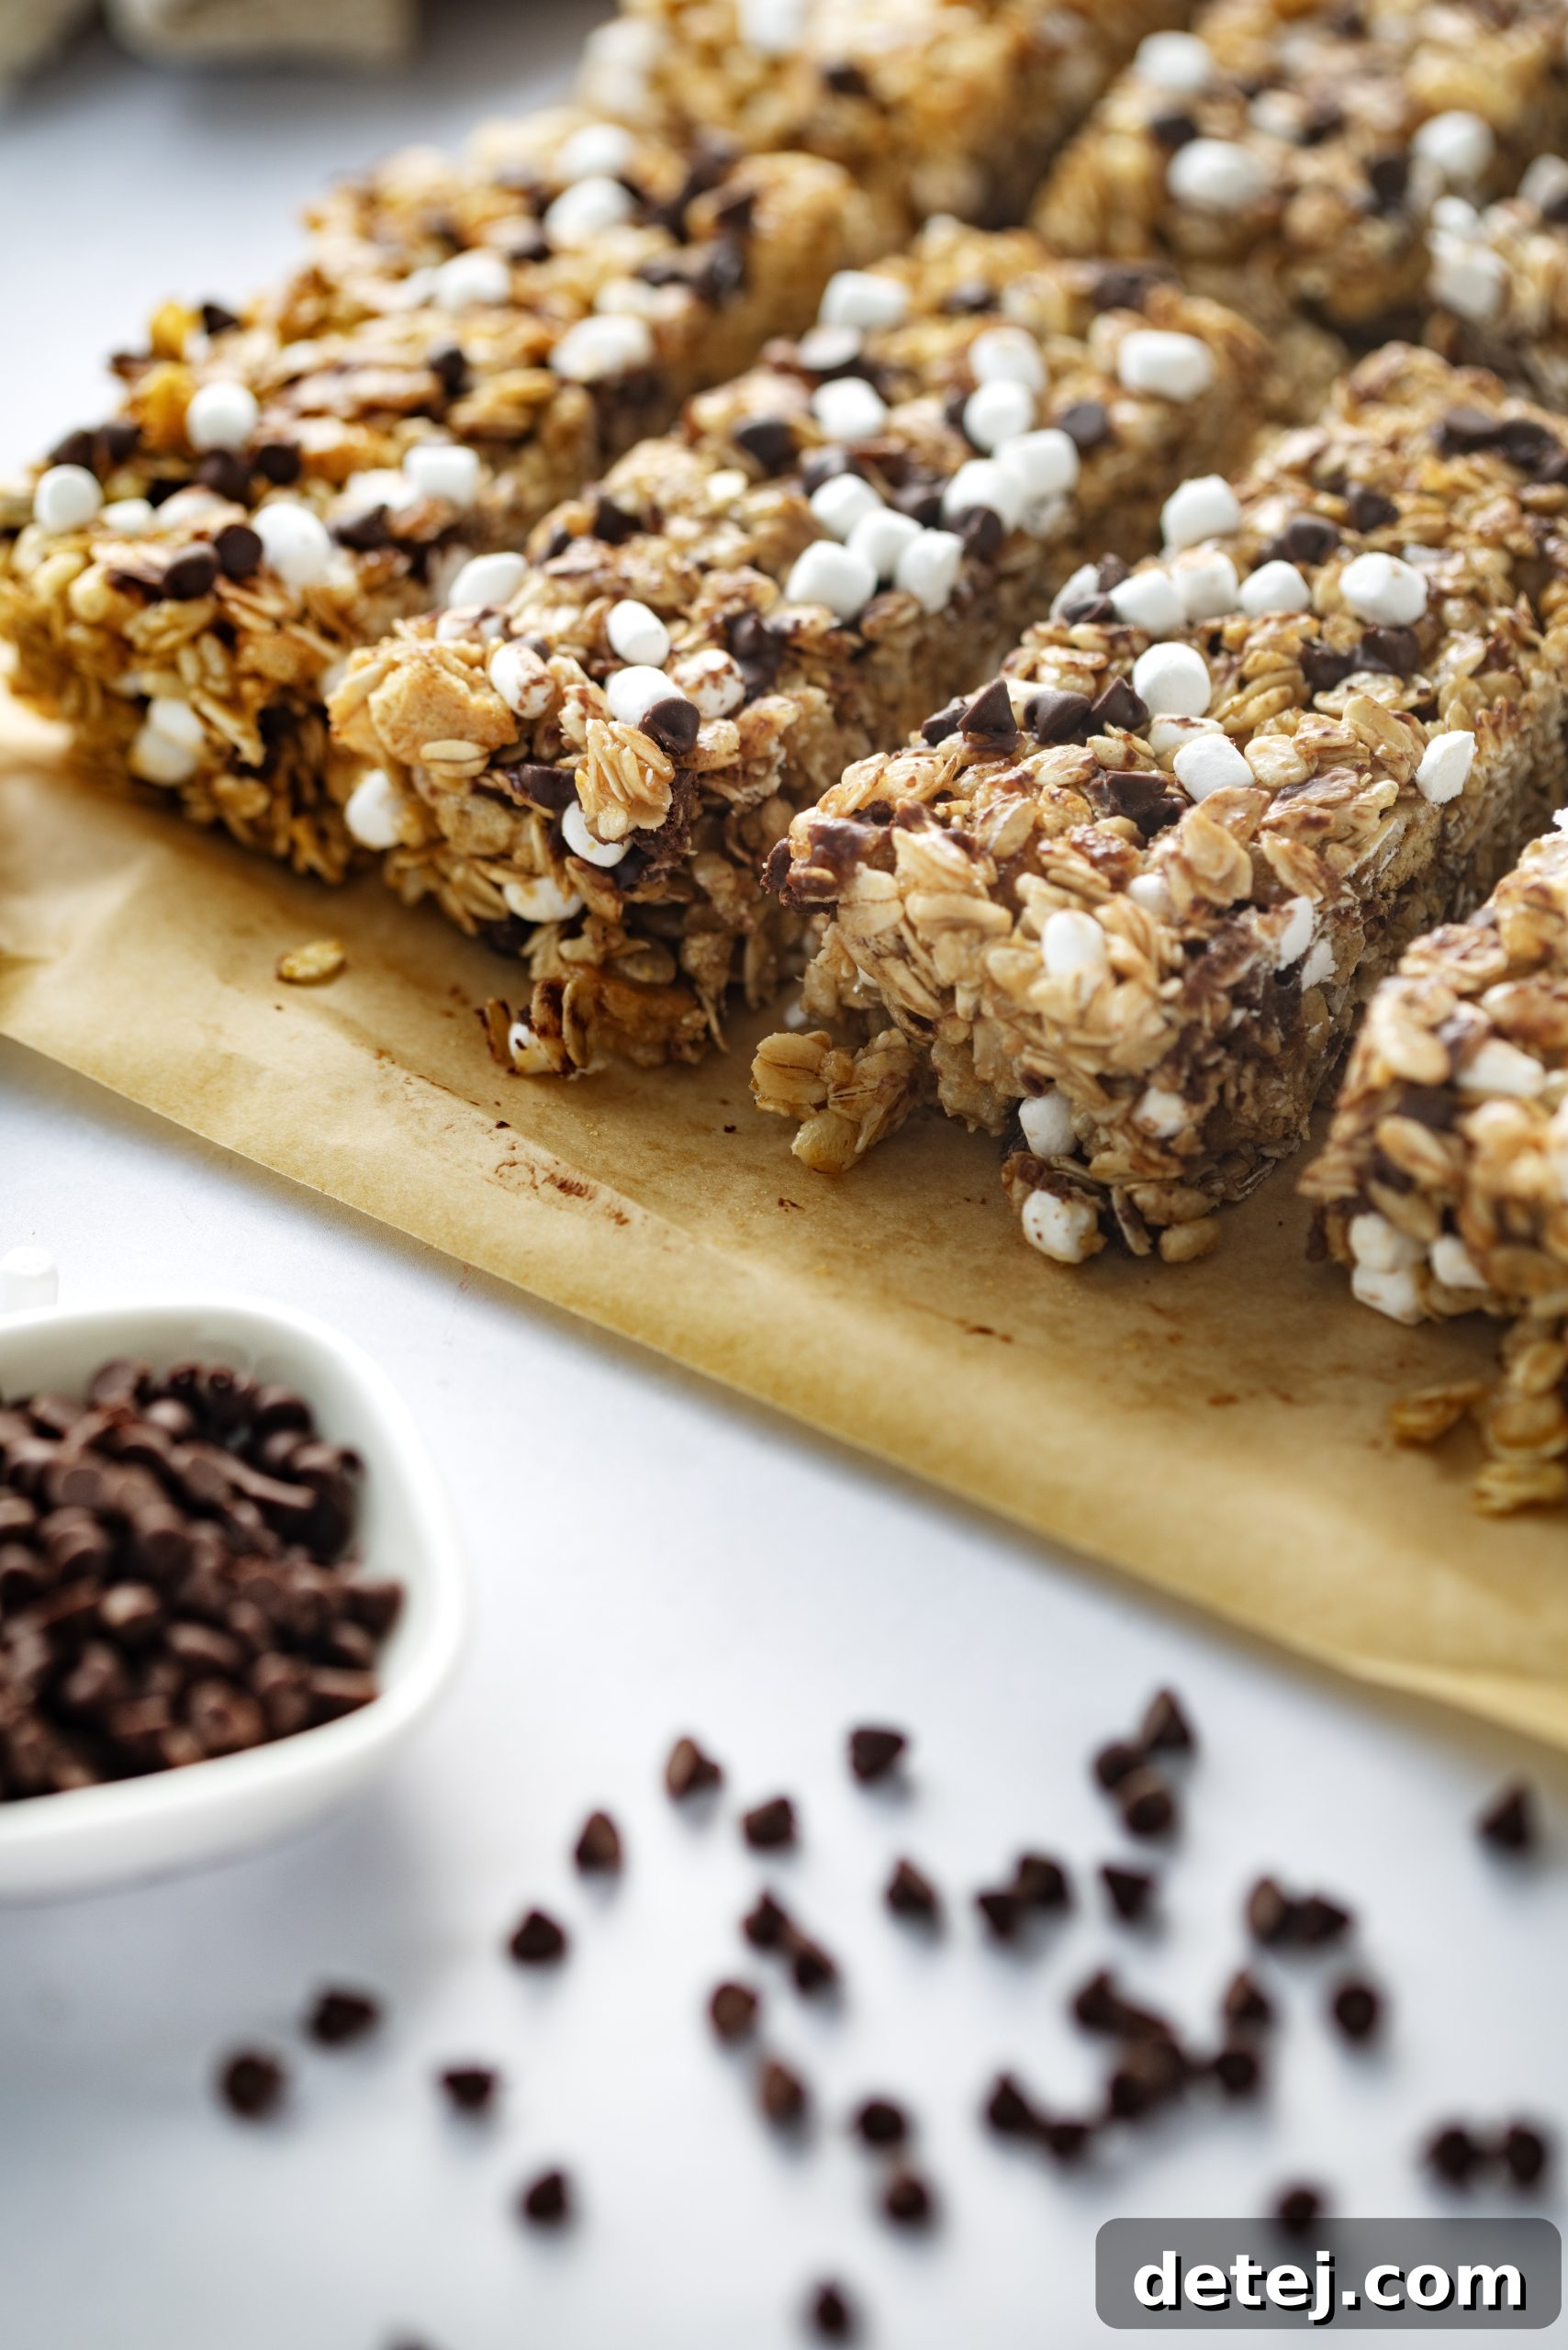
- Perfect chewy texture that holds together without being hard
- Made from simple, recognizable ingredients
- Customizable with your favorite mix‑ins
- Kid‑friendly and portable
- Great for meal prep and freezer storage
This is an easy recipe you’ll return to again and again because it balances flavor, texture, and convenience.
What Makes These Granola Bars So Chewy?
The key is the warmed butter, brown sugar, and honey mixture. When heated, the sugar melts and combines with the butter and honey to create a sticky binder that coats the oats and cereal. Toasting the oats first deepens the flavor, while pressing the mixture firmly into the pan and chilling it ensures the bars set and remain chewy instead of crumbly.
Ingredients You’ll Need
Dry Ingredients
- 2½ cups old‑fashioned oats
- 1 cup crispy rice cereal
- ½ teaspoon ground cinnamon
- ¼ teaspoon salt
- ¼ cup chopped pecans or walnuts (optional)
Wet Ingredients
- 6 tablespoons unsalted butter
- ⅓ cup brown sugar
- ⅓ cup honey
- 1 teaspoon vanilla extract
Mix‑Ins
- ½ cup mini chocolate chips
Why Toast the Oats?
Lightly toasting the oats improves the flavor by bringing out a gentle nuttiness and removes any raw edge. It’s a simple step that elevates the overall taste of the bars and makes them more satisfying than many commercial versions.
How to Make Chewy Homemade Granola Bars
Step 1: Toast the Oats
Preheat the oven to 350°F (177°C). Spread the oats in an even layer on a baking sheet and toast for 8–10 minutes, stirring halfway through. Allow to cool slightly.
Step 2: Prepare the Pan
Line an 8×8‑inch (20×20 cm) square pan with parchment paper, leaving an overhang to lift the bars out easily after chilling.
Step 3: Combine the Dry Ingredients
In a large bowl, mix the toasted oats, crispy rice cereal, cinnamon, salt, and nuts if using. Set aside.
Step 4: Make the Honey Mixture
In a small saucepan over medium heat, melt the butter. Stir in the brown sugar and honey and cook until the sugar dissolves and the mixture is smooth, about 2–3 minutes. Remove from heat and stir in the vanilla extract.
Step 5: Combine Everything
Pour the warm butter mixture over the dry ingredients. Stir until everything is evenly coated. Let the mixture sit for 2–3 minutes to cool slightly, then fold in the mini chocolate chips so they soften without fully melting.
Step 6: Press Into the Pan
Transfer the mixture into the prepared pan. Press very firmly into an even layer using the back of a measuring cup, a spatula, or your hands covered with parchment. Pressing firmly is essential to help the bars stick together and avoid crumbling.
Step 7: Chill and Cut
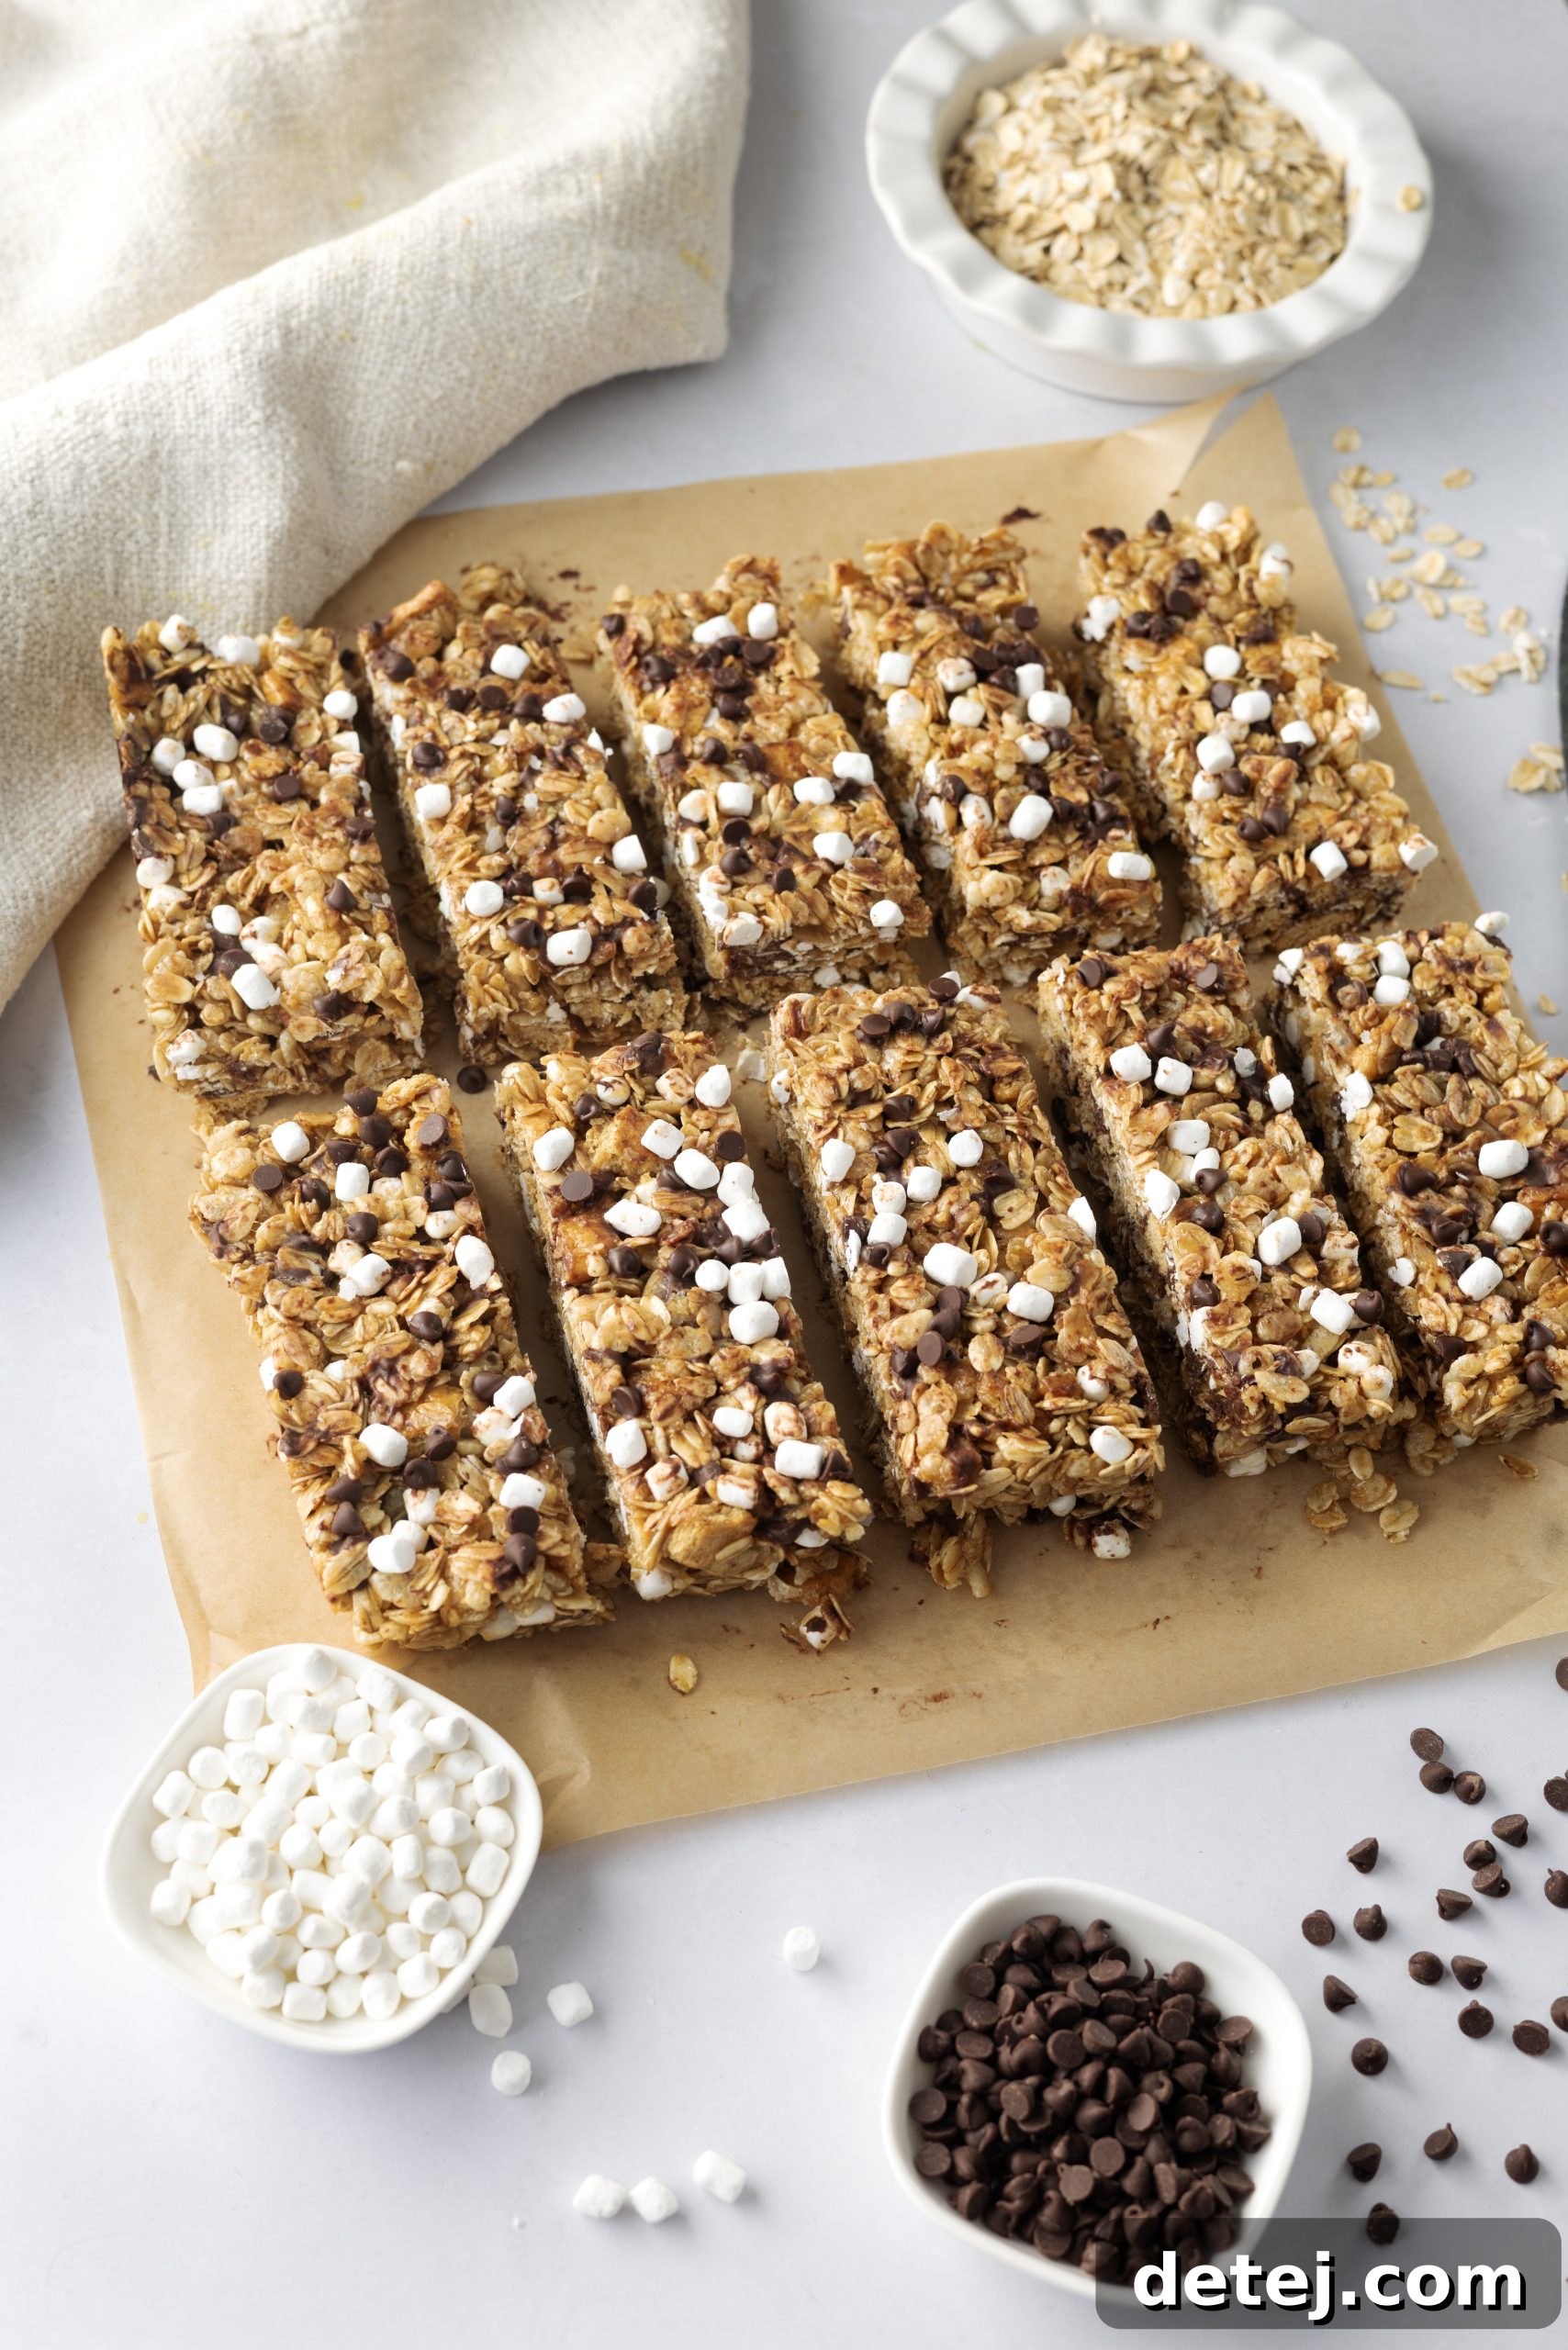
Refrigerate for at least 1 hour until firm. Use the parchment overhang to lift the slab from the pan, then cut into 12 bars. Store as directed below.
Tips for the Best Granola Bars
Press Firmly
Compact the mixture tightly to prevent crumbly bars.
Let the Binder Cool Slightly
Waiting a few minutes before adding chocolate chips prevents them from melting completely while still allowing them to soften into the bars.
Use Old‑Fashioned Oats
Old‑fashioned oats retain texture during toasting and create the ideal chewiness.
Chill Before Cutting
Chilling helps the bars set and makes clean slicing much easier.
Easy Variations
Customize these bars to suit your taste or dietary needs. Ideas:
- Dried fruit (raisins, cranberries, chopped apricots)
- Dark chocolate chips or chopped chocolate
- Coconut flakes
- Sunflower or pumpkin seeds
- Chia or flax seeds
- Different nuts or nut butters (peanut butter, almond butter)
- Swap part of the honey for maple syrup for a different flavor
What to Serve with Granola Bars
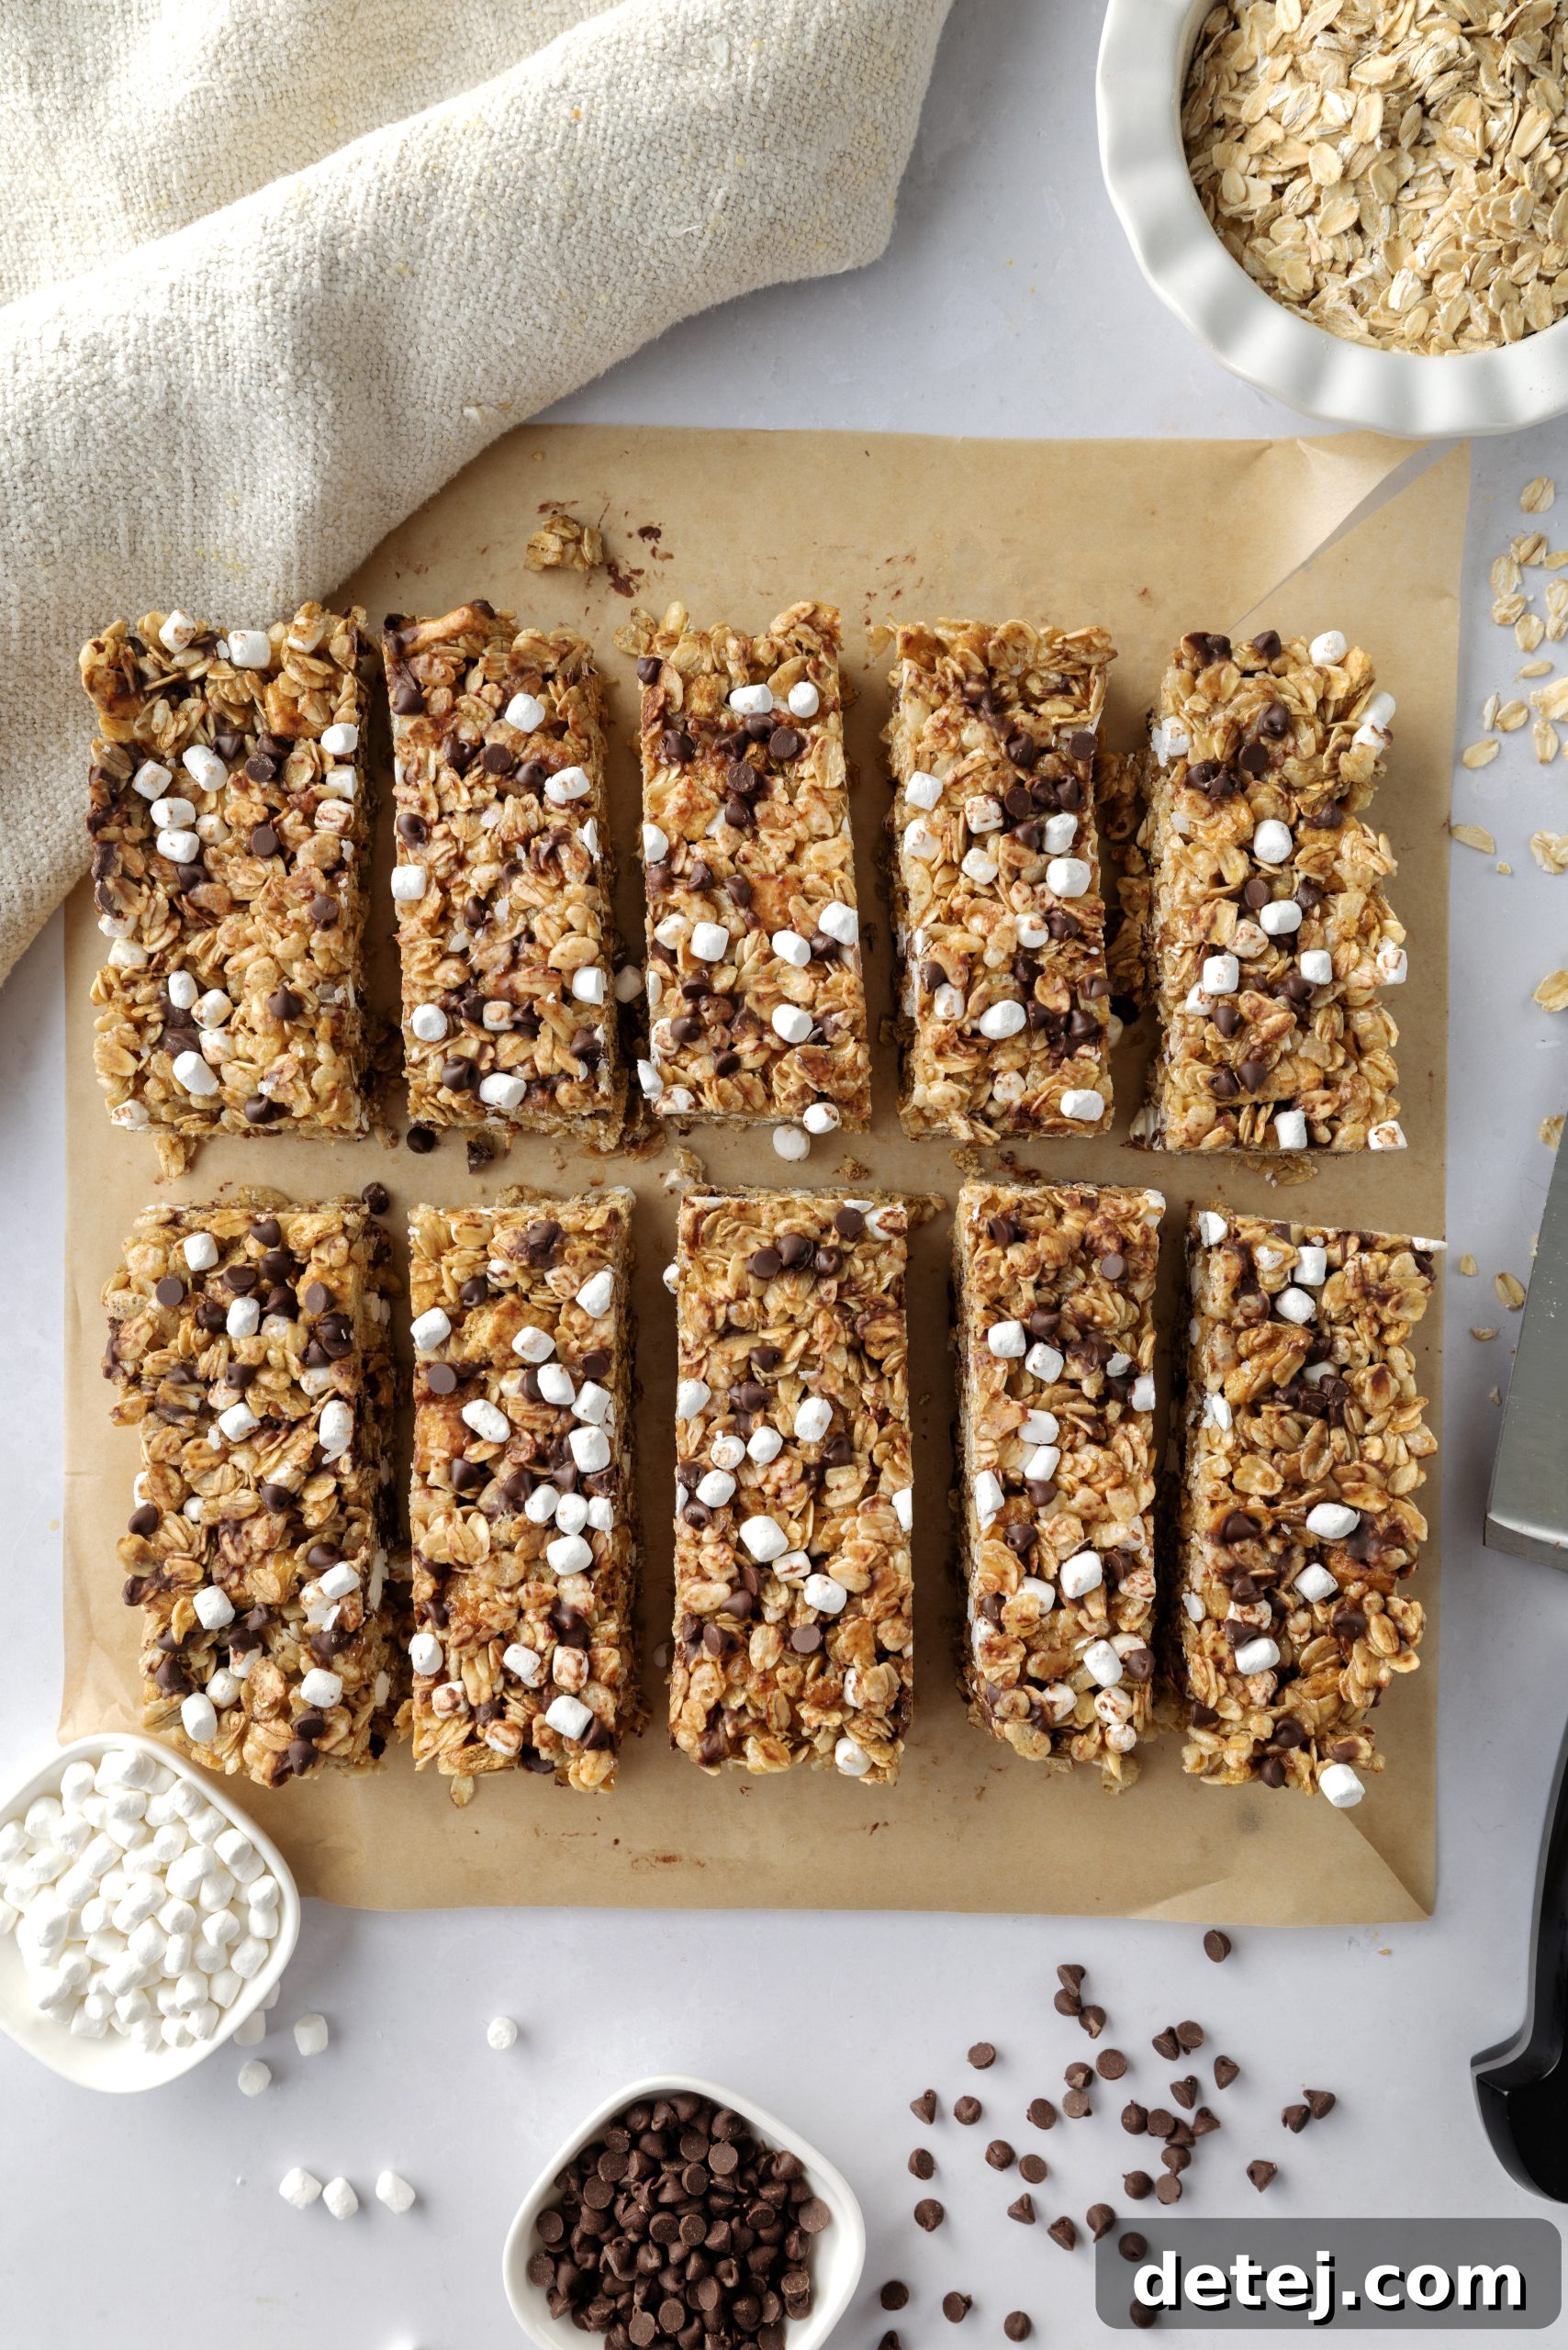
These bars are great on their own or paired with:
- Yogurt and fruit for a quick breakfast
- A piece of fruit and a coffee for a grab‑and‑go meal
- A smoothie for a balanced snack
Storage Instructions
Store finished bars in an airtight container at room temperature for up to 5 days. For longer storage, refrigerate up to 2 weeks or freeze up to 3 months. Wrap individual bars in plastic wrap or parchment for easy grab‑and‑go snacks and to prevent sticking.
Recipe Summary
Yield: 12 bars. Prep time: about 15 minutes plus 1 hour chilling. This recipe combines toasted oats, crispy rice cereal, a honey‑brown sugar binder, and mini chocolate chips to create chewy, satisfying granola bars that are easy to make and customizable to suit many tastes.
Frequently Asked Questions
Can I use quick oats?
Yes, but quick oats will make the bars softer and less textured than old‑fashioned oats.
Can I use maple syrup instead of honey?
Maple syrup works as a substitute, though the bars may be slightly softer and will have a different flavor profile.
Why are my bars falling apart?
Most often this happens when the mixture wasn’t pressed firmly enough or the bars didn’t chill long enough. Make sure to compact the mixture tightly and allow adequate chilling time.
Can I make these nut‑free?
Yes. Omit the nuts or replace them with seeds such as sunflower or pumpkin seeds for a nut‑free version.
Can I add peanut butter?
Yes. Stir in a few tablespoons of peanut butter with the warm binder for a richer flavor and added chewiness.
Final Thoughts
These Chewy Homemade Granola Bars deliver on flavor, texture, and convenience. With toasted oats, a sticky honey binder, and customizable mix‑ins, they’re an easy recipe that works for family snacks, meal prep, and on‑the‑road eating. Once you try them, you may find these homemade bars are the new go‑to over store‑bought varieties.