
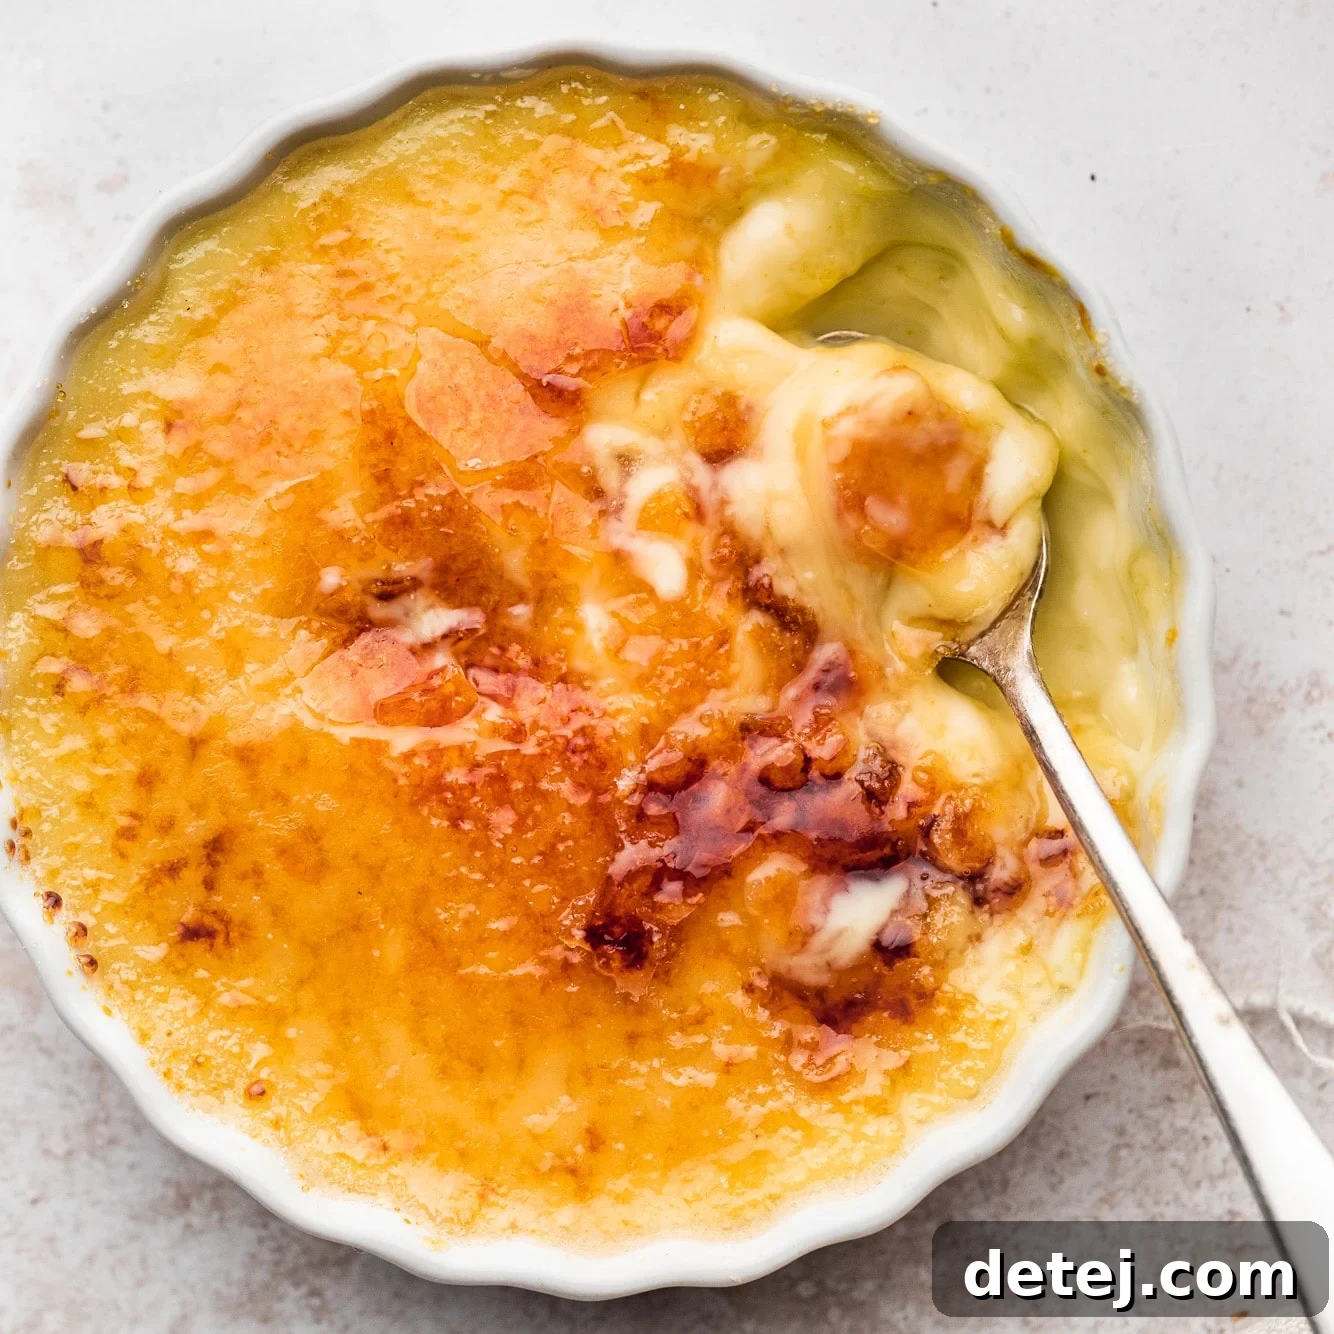
Indulge in pure decadence with this no-bake Vegan Creme Brulee, a sensational dessert crafted from just 8 simple ingredients. This effortless vegan vanilla custard, crowned with a crisp caramelized sugar crust, promises to be the highlight of any meal, served beautifully in individual ramekins or a grand shared dish.
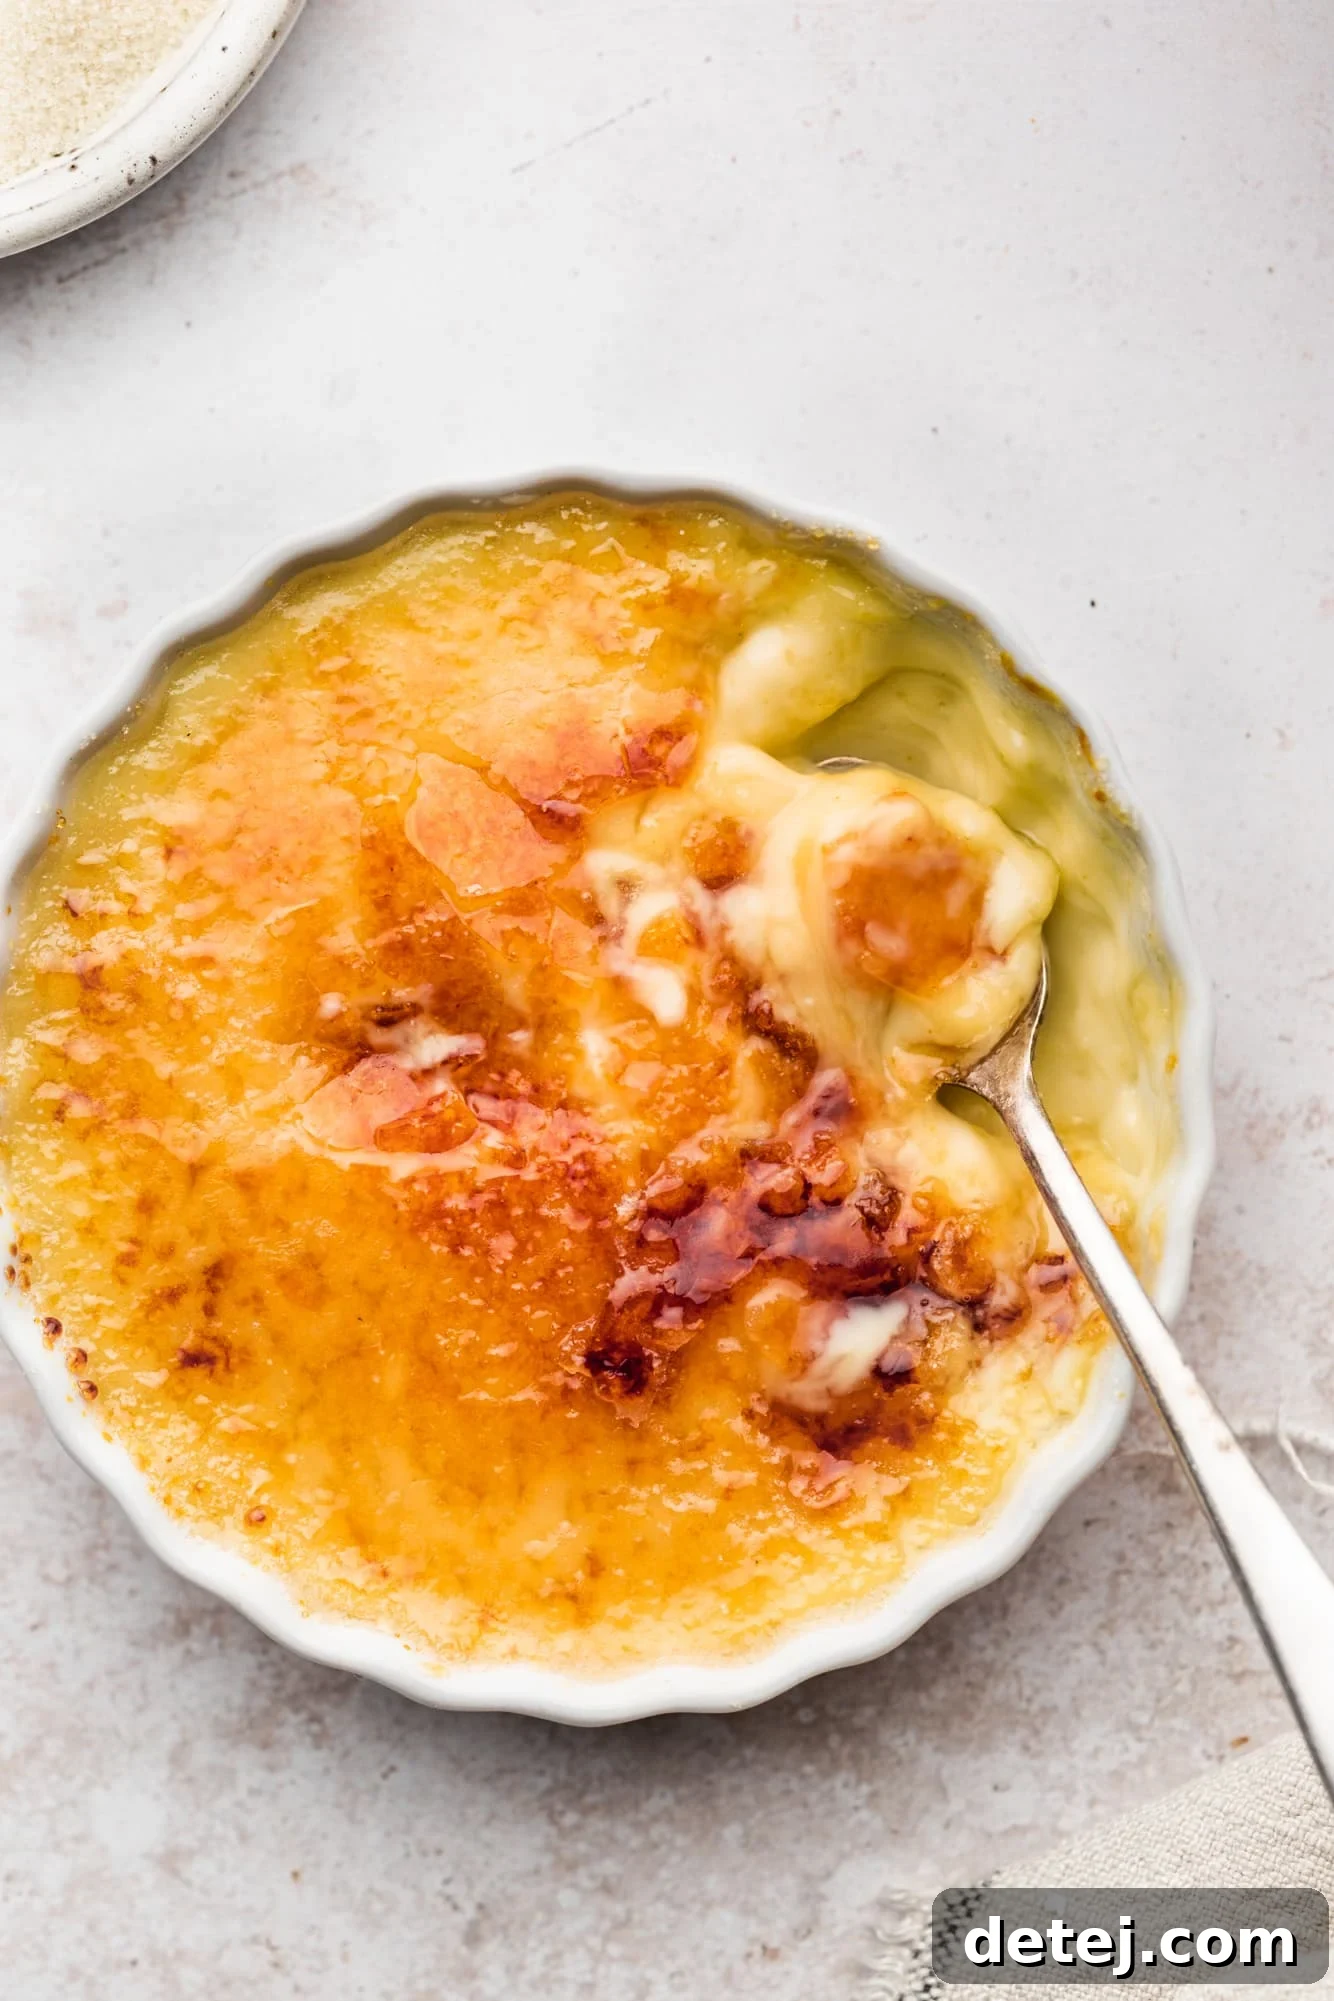
The Ultimate No-Bake Vegan Creme Brulee: A Recipe for Effortless Indulgence
Prepare to be amazed by this Vegan Creme Brulee recipe, a true testament to plant-based indulgence. We’re talking about a dessert so rich and luxurious, yet surprisingly simple to create. Featuring an exquisitely smooth, egg-free and dairy-free vanilla custard base, perfectly complemented by a shatteringly crisp caramelized sugar crust, this is one vegan treat that will undoubtedly earn rave reviews from all your guests.
What makes this recipe truly stand out is its incredible ease. Forget the oven – there’s absolutely no baking required! With just 8 readily available ingredients, you can whip up this elegant dessert in no time. The process involves crafting the creamy custard on your stovetop, allowing it to chill and set beautifully in the refrigerator, and then, just before serving, torching a sprinkle of sugar to create that signature crackly, golden-brown topping. The satisfying sound of a spoon breaking through that sugary crust is just the beginning of a truly delightful culinary experience. This recipe is perfect for those seeking a sophisticated dessert that’s both allergy-friendly and impressively delicious, proving that vegan alternatives can truly elevate classic dishes.
What is Crème Brûlée? A Classic Dessert Reimagined for Vegan Delights
At its heart, Crème Brûlée, French for “burnt cream,” is a sophisticated, pudding-like dessert renowned for its dual-texture appeal: a velvety smooth custard base beneath a contrasting hard, caramelized sugar shell. Traditionally, this iconic dessert is made from a rich blend of egg yolks, heavy cream, sugar, and vanilla. The custard mixture is gently heated, then poured into individual ramekins and baked in a water bath until just set. The grand finale involves sprinkling granulated sugar over the chilled custard and meticulously caramelizing it with a kitchen torch, forming that distinct, glass-like crust. The delightful ritual of tapping your spoon through the brittle sugar to reach the creamy interior is what makes Crème Brûlée so uniquely enchanting.
Our vegan adaptation of this beloved classic captures every essence of the original, offering the same exquisite qualities and luxurious flavors, but with an exciting twist. This dairy-free and egg-free version is not only just as light and creamy, but it’s arguably even simpler to prepare. The magic lies in a clever no-bake approach: our plant-based custard sets perfectly in the refrigerator, eliminating the need for delicate oven baking and the potential for scrambled eggs or curdled cream. By utilizing lighter, plant-based ingredients instead of heavy cream and eggs, we achieve a custard that is just as rich and satisfying, yet feels remarkably light on the palate. This recipe caters to a wider audience, including those with dietary restrictions or ethical preferences, without compromising on the gourmet experience. Get ready to experience the timeless charm of Crème Brûlée, now accessible to everyone with a plant-based twist.
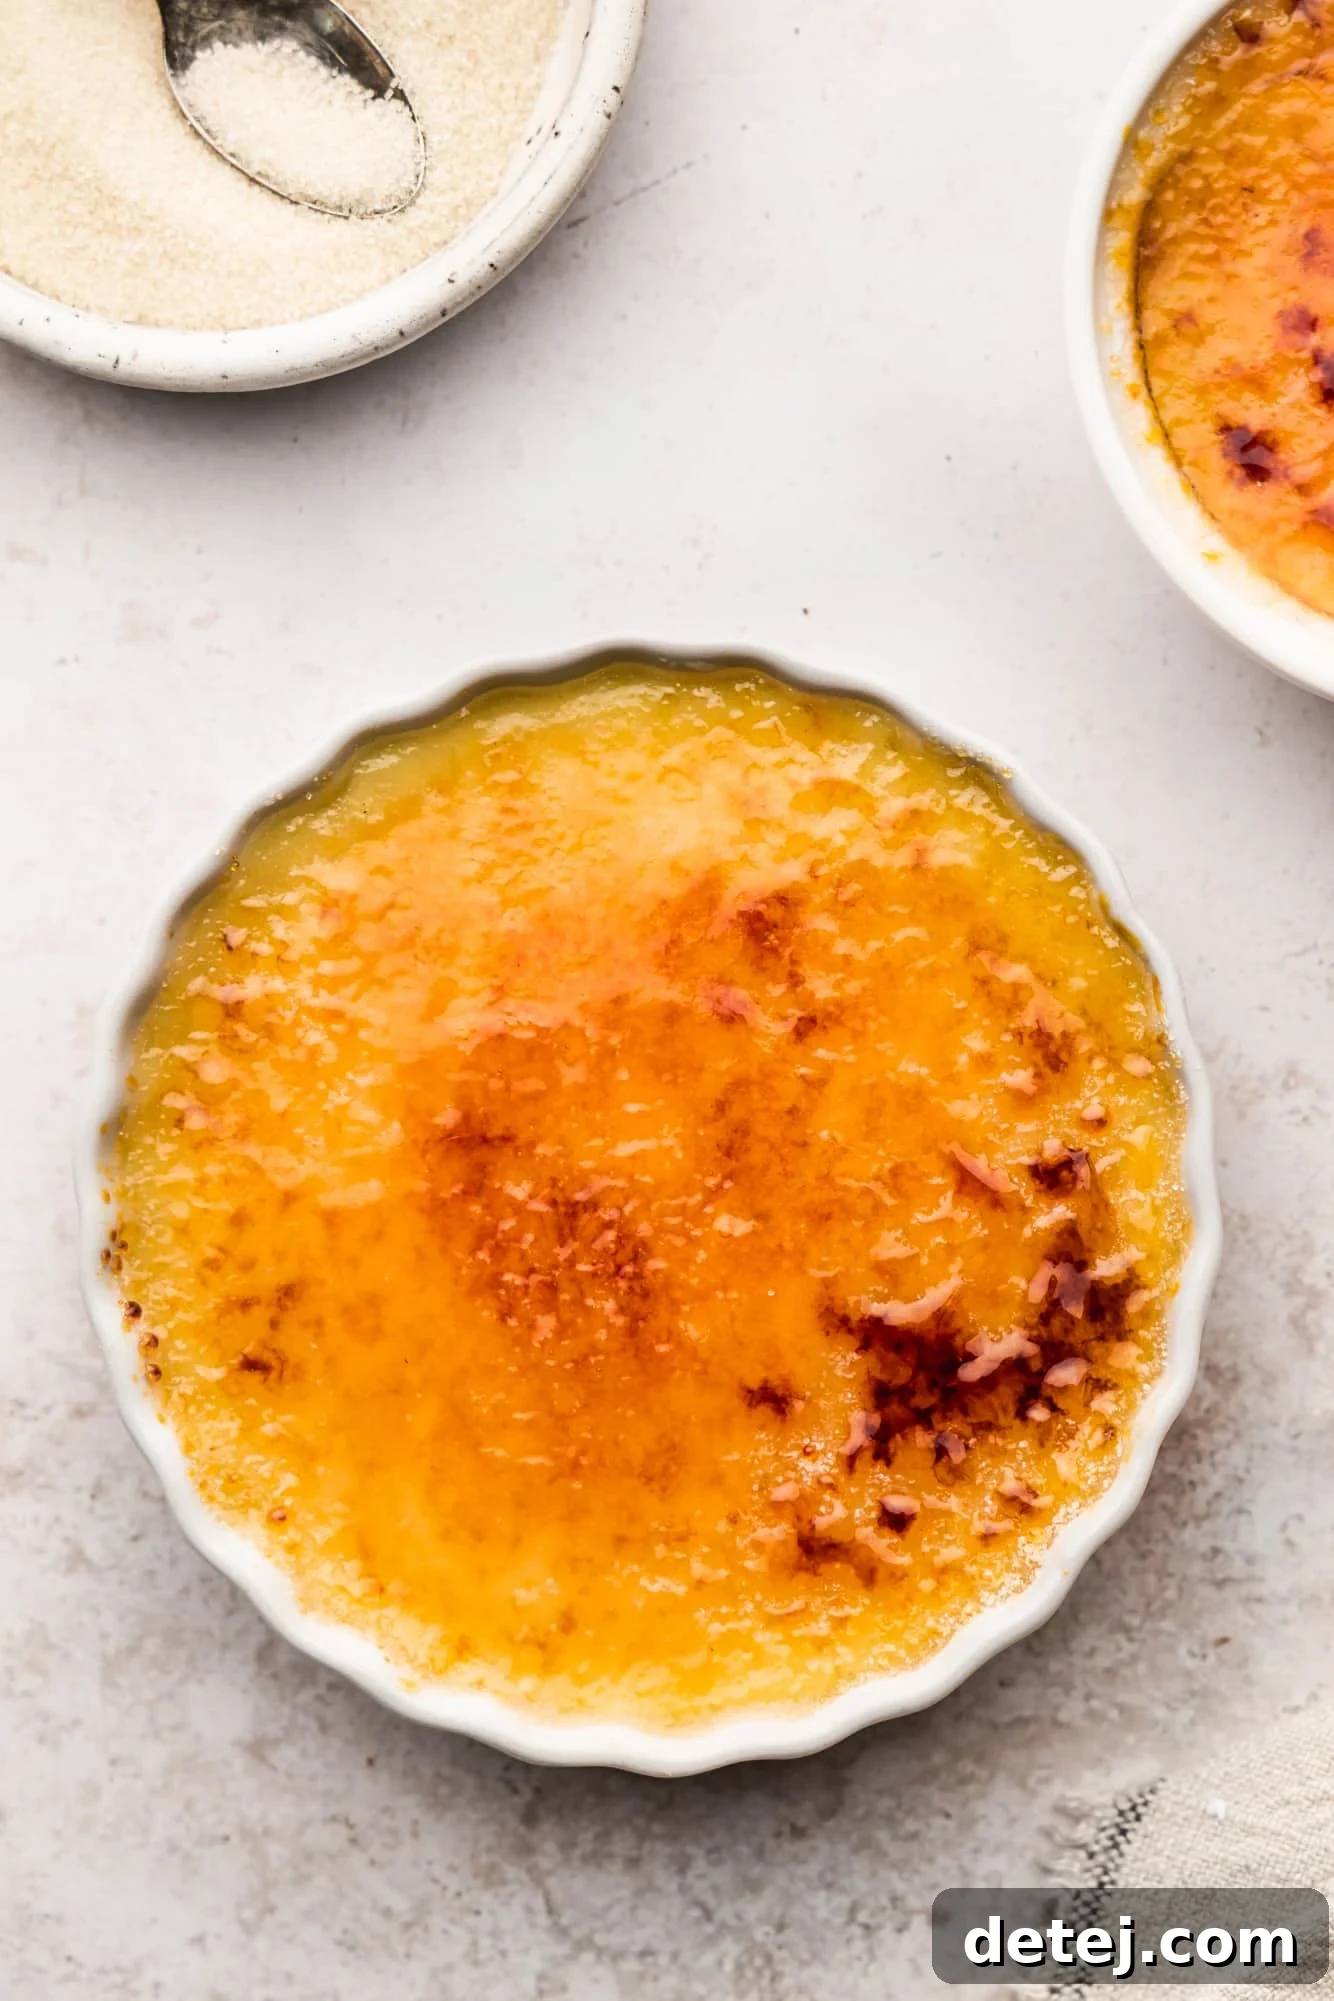
Essential Ingredients for Your Vegan Crème Brûlée (with Smart Substitutions)
Crafting the perfect vegan crème brûlée requires a careful selection of ingredients to achieve that signature creamy texture and rich flavor. Here’s a detailed look at what you’ll need, along with helpful tips for substitutions to ensure your dessert is nothing short of spectacular:
- Unsweetened Soy Milk: This forms the primary liquid base of our custard, providing a neutral canvas for the vanilla flavor to shine. Opting for unsweetened soy milk is crucial to control the overall sweetness of the dessert and prevent it from becoming cloying. If soy is not preferred or available, you have several excellent alternatives. Unsweetened almond milk provides a clean, neutral flavor, while cashew milk can offer an even creamier consistency due to its higher fat content. Oat milk can also work well, but be mindful that some brands can be quite sweet, so always check labels carefully for an unsweetened variety. Regardless of your choice, ensure it’s a plain, unflavored beverage.
- Full-Fat Canned Coconut Milk: This ingredient is a game-changer for achieving the luxurious richness and silky texture akin to traditional crème brûlée. It’s imperative to use full-fat coconut milk from a can, not the lighter, cartoned beverage variety. The high-fat content is essential for a truly decadent custard that sets beautifully and melts in your mouth. For those with an aversion to coconut flavor or simply looking for an alternative, various vegan creams can be used. Brands like Country Crock’s Plant Cream are excellent choices for their similar richness and texture. Alternatively, a homemade cashew cream, made from blended soaked cashews, can provide similar richness. While you could technically use more soy milk, the custard’s texture and richness would be noticeably compromised, resulting in a less authentic and less satisfying crème brûlée experience.
- Cornstarch: Our essential thickening agent for this no-bake marvel! Cornstarch is what gives the custard its beautiful, stable, and smooth consistency, allowing it to set perfectly in the refrigerator without any eggs. It’s a fundamental component that replaces the gelling properties of egg yolks. While I haven’t extensively tested it, arrowroot starch or tapioca starch might work as substitutes, but be aware that the final texture may vary slightly, possibly becoming gummier or less glossy. Cornstarch typically provides a wonderfully clear and glossy finish, which is ideal for a classic custard appearance.
- Granulated Sugar: You’ll use granulated sugar in two vital stages of this recipe, each with a distinct purpose. Firstly, it sweetens the luscious custard base, providing the necessary sweet foundation. Secondly, and perhaps most famously, it creates the iconic caramelized crust on top. According to culinary experts like Bon Appetit, regular granulated sugar is the optimal choice for the topping. Its fine granules melt consistently and evenly under the torch, transforming into a beautiful golden amber, which serves as a perfect visual cue that your crust is perfectly caramelized. Using alternatives like coconut sugar or demerara sugar might not yield the same consistent melting or visual indication of readiness, potentially leading to an uneven or burnt crust due to their larger crystal size and different caramelization points.
- Turmeric (optional): Traditional crème brûlée gets a subtle, inviting yellow hue from egg yolks. A tiny pinch of turmeric, though completely optional, can mimic this warm color without imparting any noticeable flavor. It’s purely for aesthetic appeal. If you prefer a pure white custard or simply don’t have turmeric on hand, feel free to omit it – the taste will remain unaffected.
- Salt: Just a pinch of salt is essential to balance the sweetness of the dessert and enhance all the other flavors, bringing out the depth of the vanilla and the richness of the milks. Don’t skip this small but mighty ingredient, as it elevates the overall taste profile.
- Pure Vanilla Extract: The soul of this crème brûlée! High-quality pure vanilla extract is key for that classic, comforting vanilla flavor that defines this dessert. For an even more intense and luxurious vanilla aroma and a sophisticated touch, consider simmering a scraped vanilla bean (both the pods and the seeds) with the milks in the saucepan before adding the other ingredients. Remember to remove the pod before stirring in the cornstarch and sugar to prevent any fibrous bits in your smooth custard.
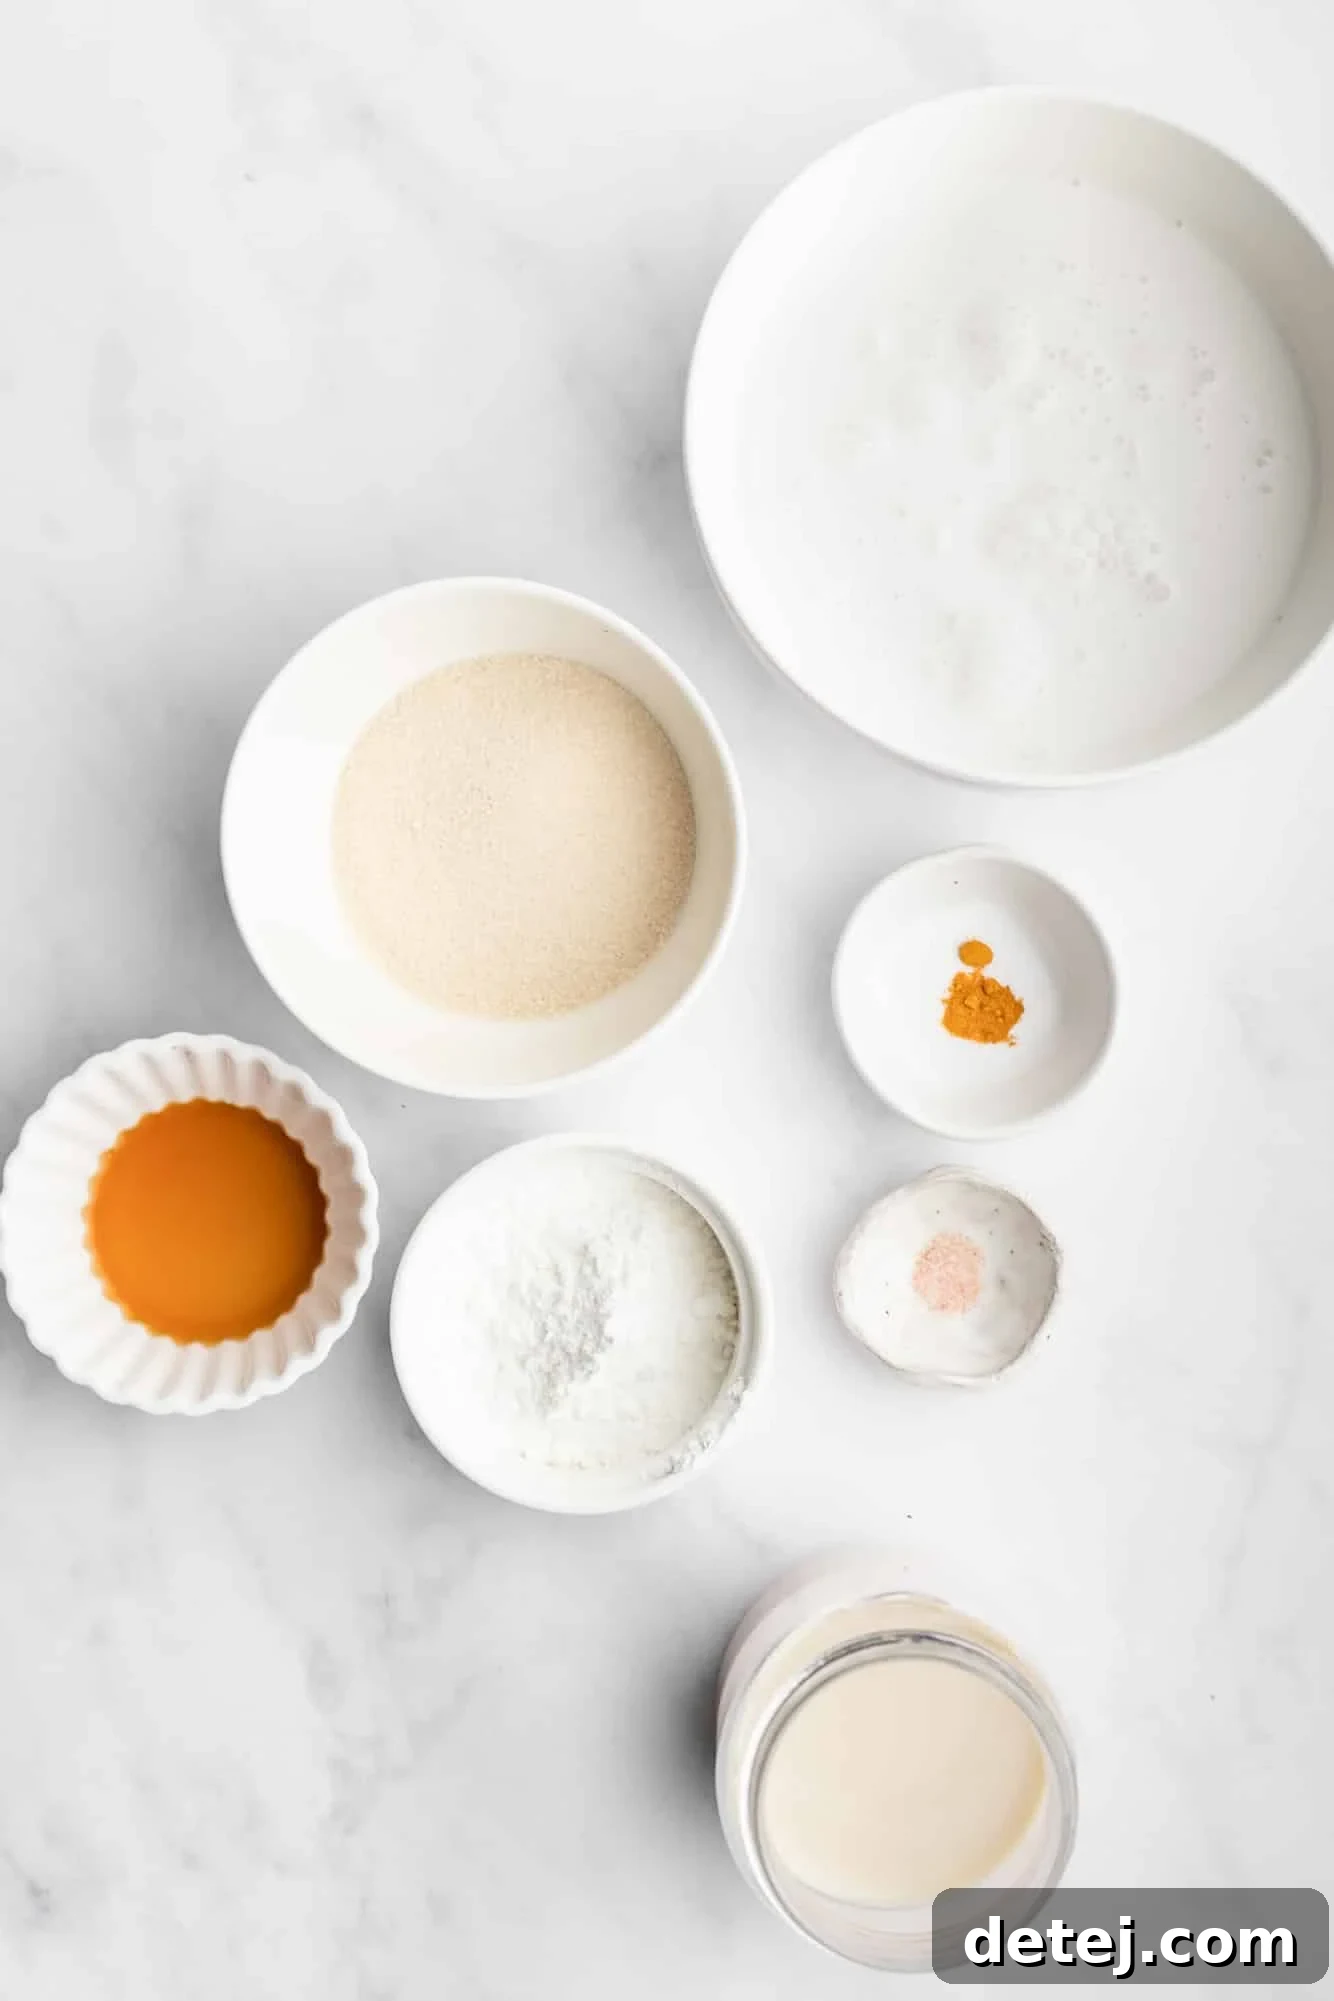
How to Make No-Bake Vegan Crème Brûlée: A Step-by-Step Guide
Making this vegan crème brûlée is a straightforward process, but efficiency and attention to detail are key to achieving a smooth, lump-free custard and a perfect caramelized crust. Here’s how to create this delightful dessert:
1. Prepare Your Dishes and Set Up Your Workspace
Before you begin cooking, ensure you have all your tools and ingredients ready. Gather 4 to 6 small individual ramekins. These are ideal for the classic crème brûlée presentation, allowing for individual servings. If you prefer a more relaxed, family-style dessert where guests can scoop their own portions, you can certainly use one larger baking dish, such as a pie plate or a small casserole dish. Ensure your chosen dishes are clean and ready, as the custard will be poured in immediately after cooking. Also, have your whisk, saucepan, and measuring cups easily accessible.
2. Whisk and Heat the Custard Base on the Stovetop
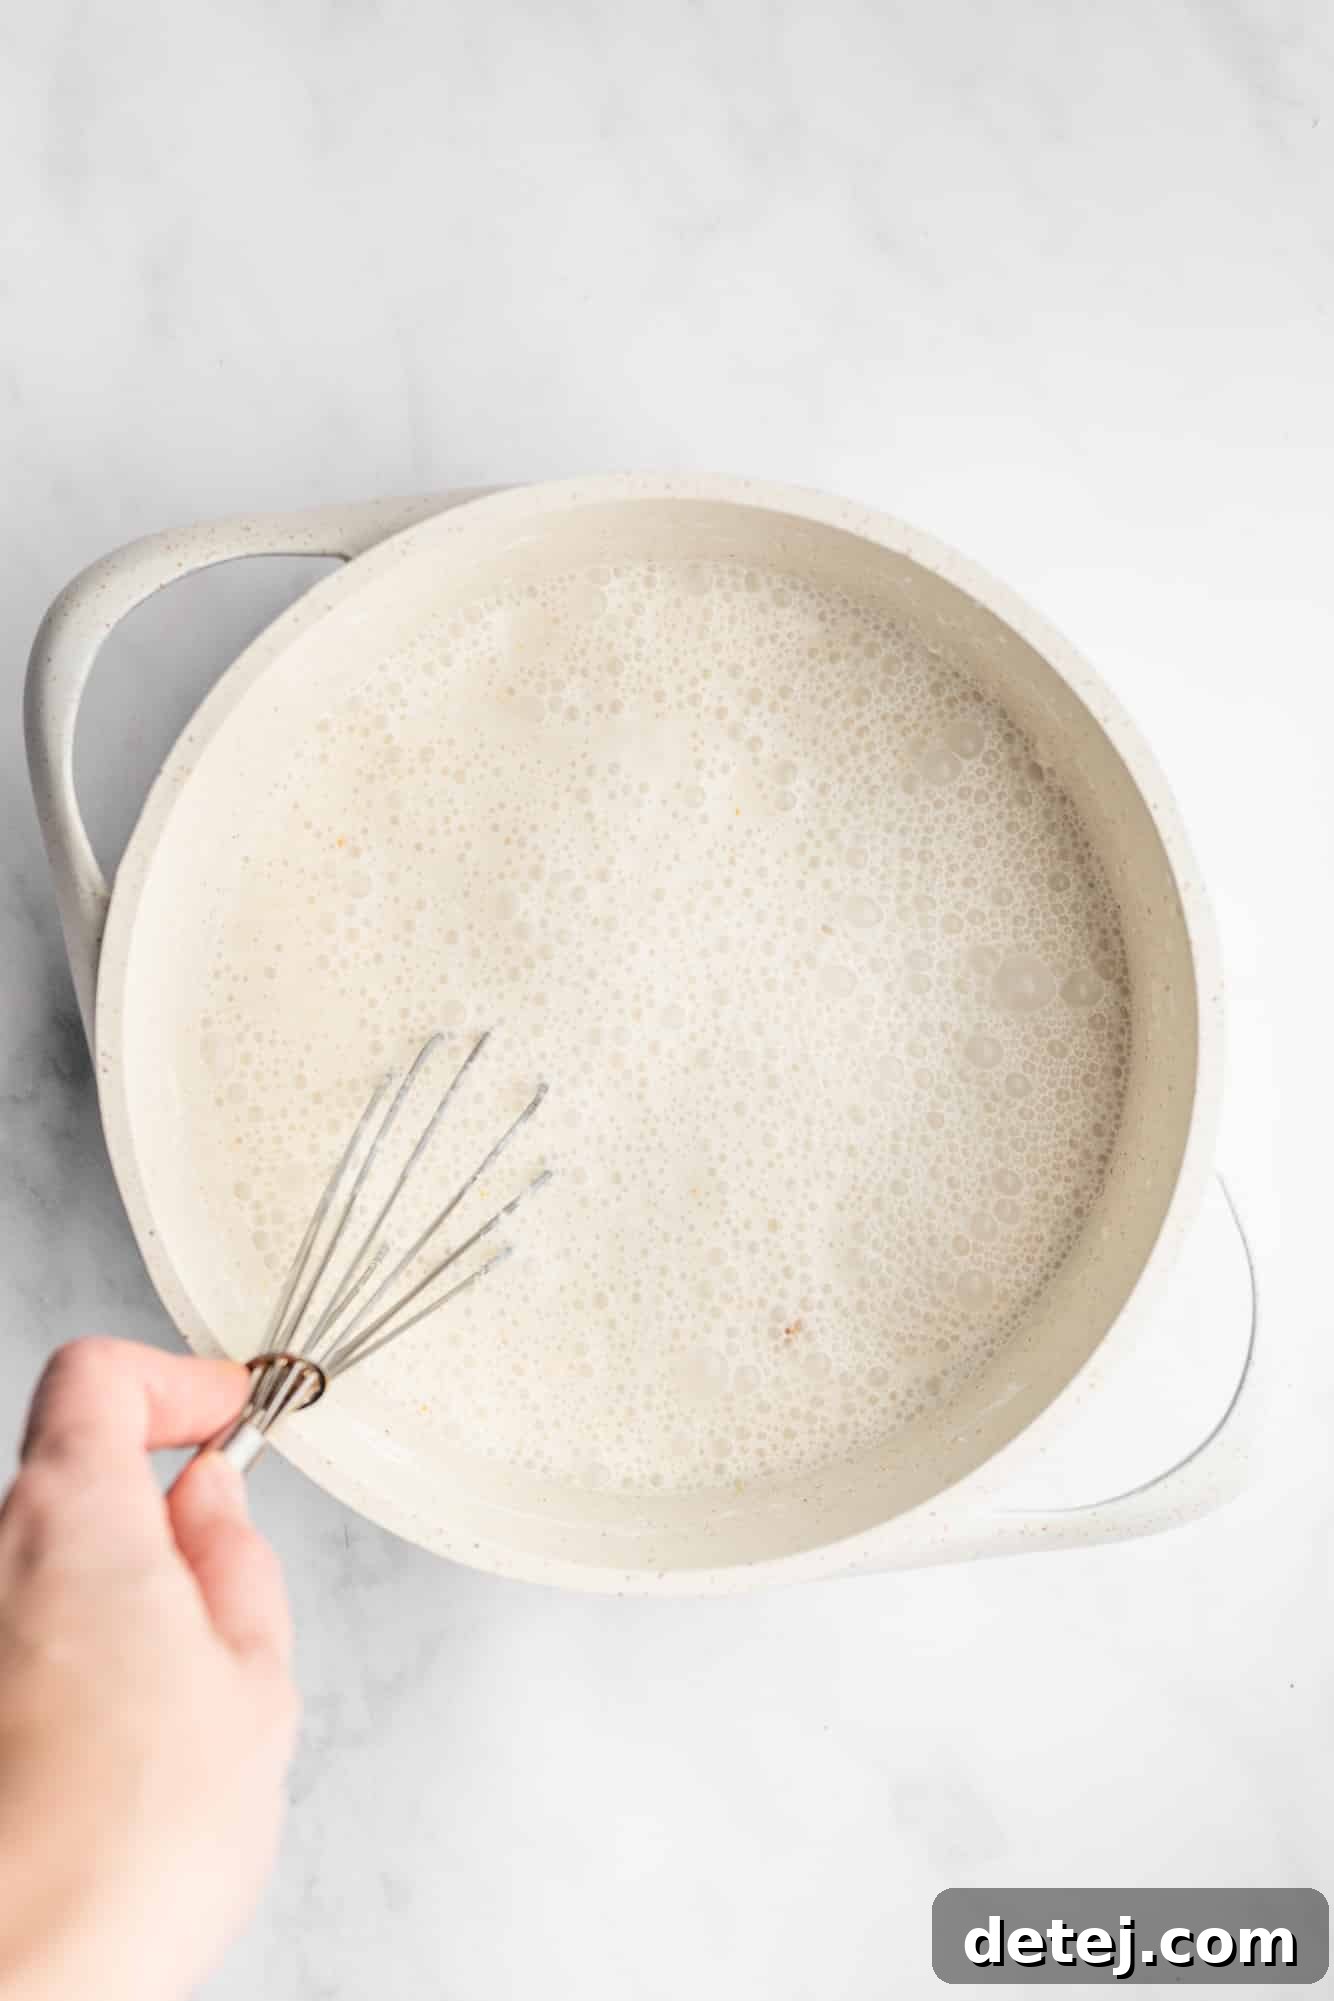
In a medium-sized saucepan, combine the unsweetened soy milk, full-fat canned coconut milk, cornstarch, the first portion of granulated sugar (1/3 cup, for the custard), and a pinch of salt. If you’re using turmeric for color, add it now. Using a whisk, vigorously blend all these ingredients together until every lump of cornstarch is completely dissolved and the mixture is perfectly smooth. Place the saucepan over medium-high heat. It’s crucial to whisk constantly as the mixture heats up. This continuous stirring prevents sticking to the bottom of the pan and ensures even thickening, creating a velvety smooth custard. The liquid will gradually transform from thin to a noticeably thicker, pudding-like consistency, coating the back of your spoon. This process can take anywhere from 2 to 8 minutes, depending on your stovetop’s heat and saucepan size. Do not stop whisking until it reaches the desired consistency.
3. Incorporate Vanilla and Promptly Pour
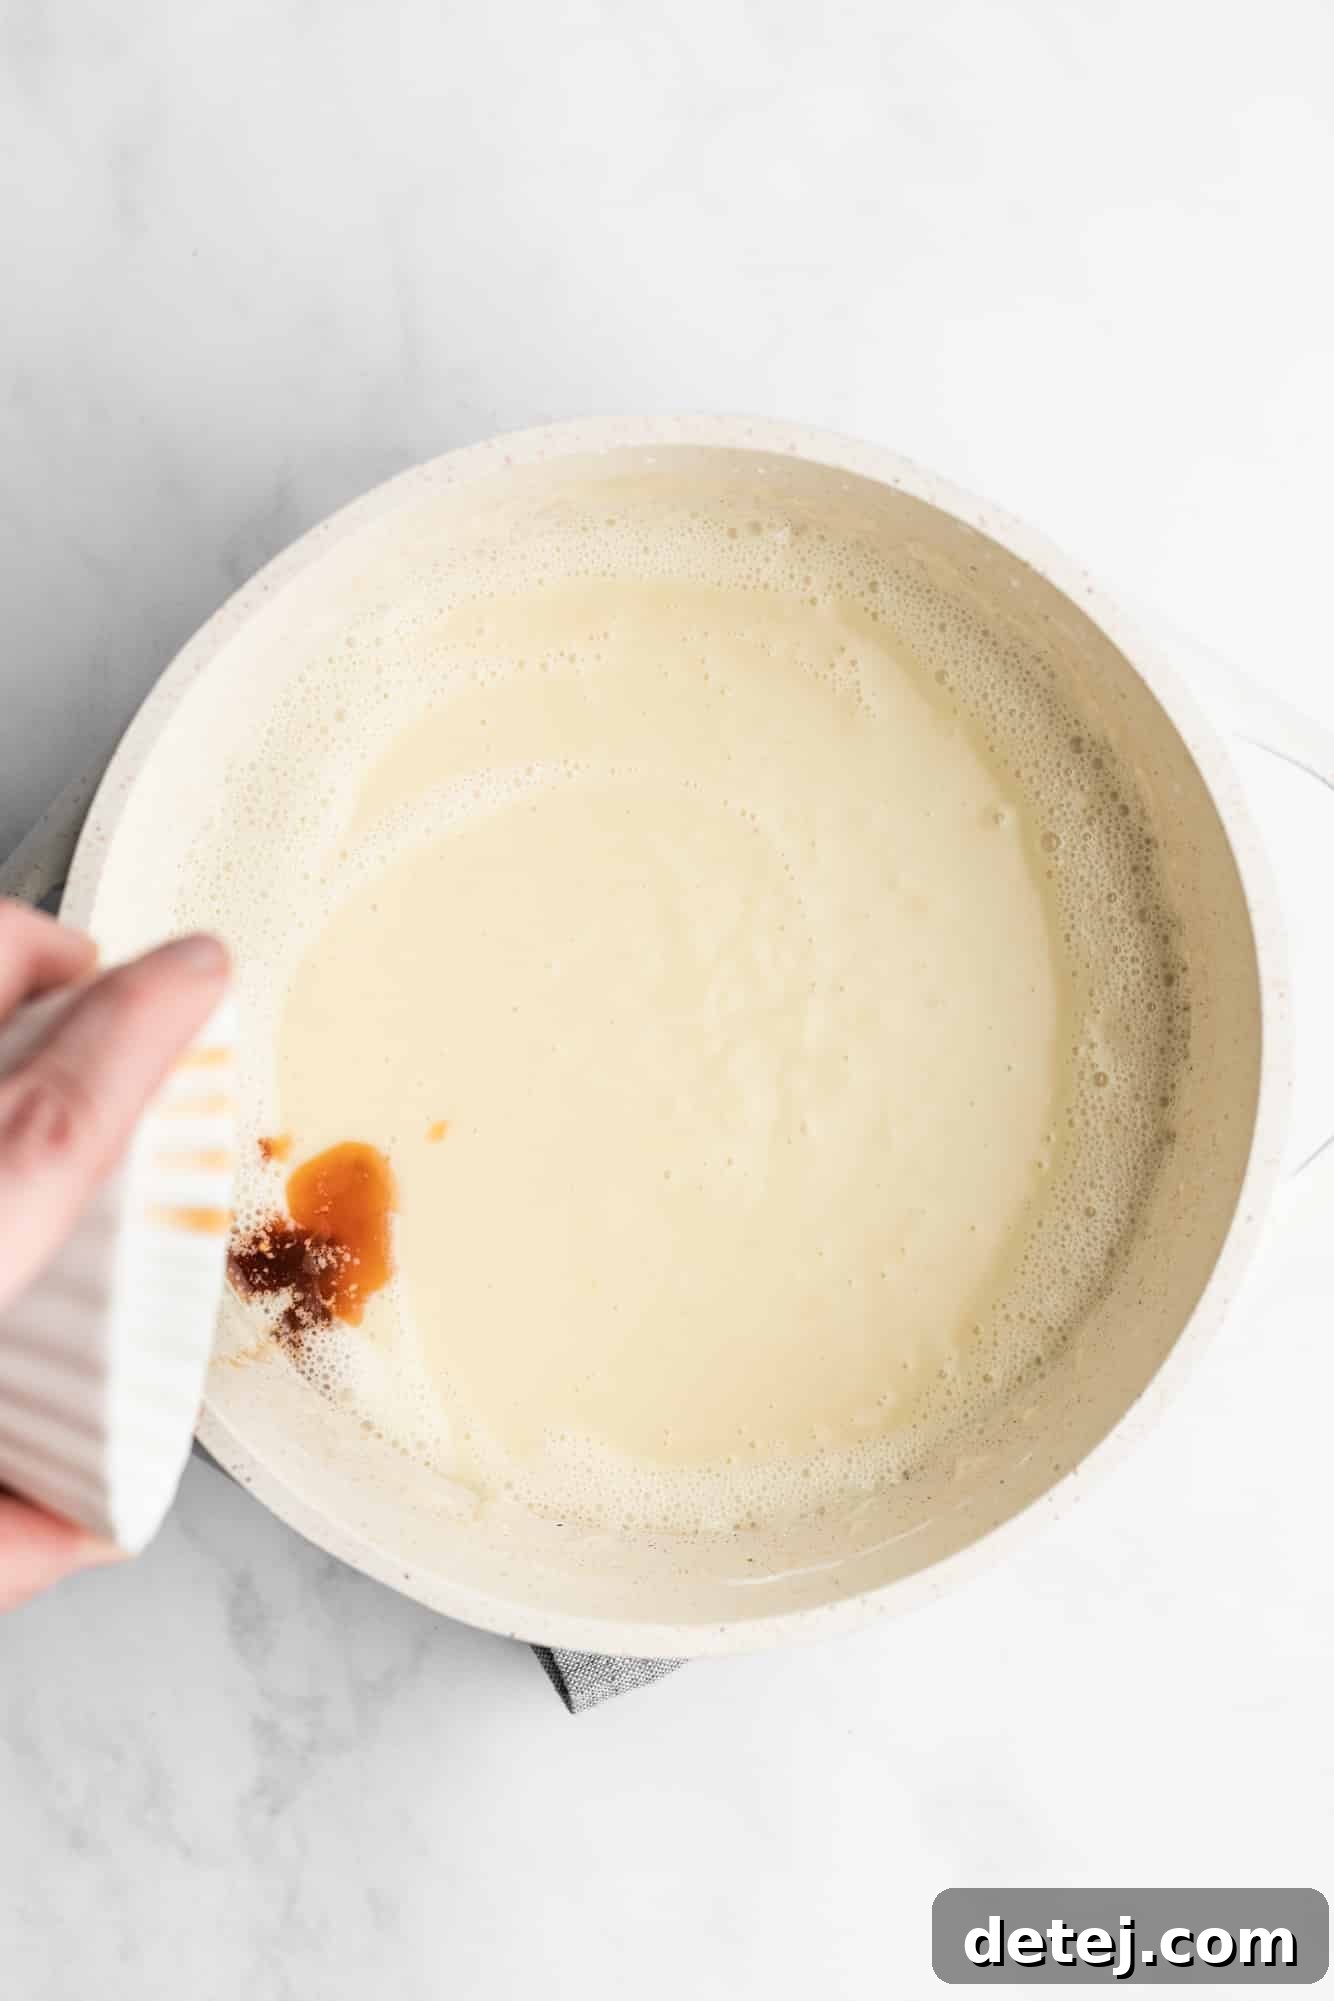
As soon as the custard has reached a thick, pudding-like consistency (it should resemble a thin pudding or gravy), immediately remove the saucepan from the heat. This prevents overcooking and ensures a silky texture. Stir in the pure vanilla extract. Adding it off the heat preserves its delicate flavor, preventing it from evaporating. Work quickly to pour the hot custard evenly into your prepared ramekins or large baking dish. Speed is important here, as the custard will start to set as it cools.
4. Chill to Perfection with Care
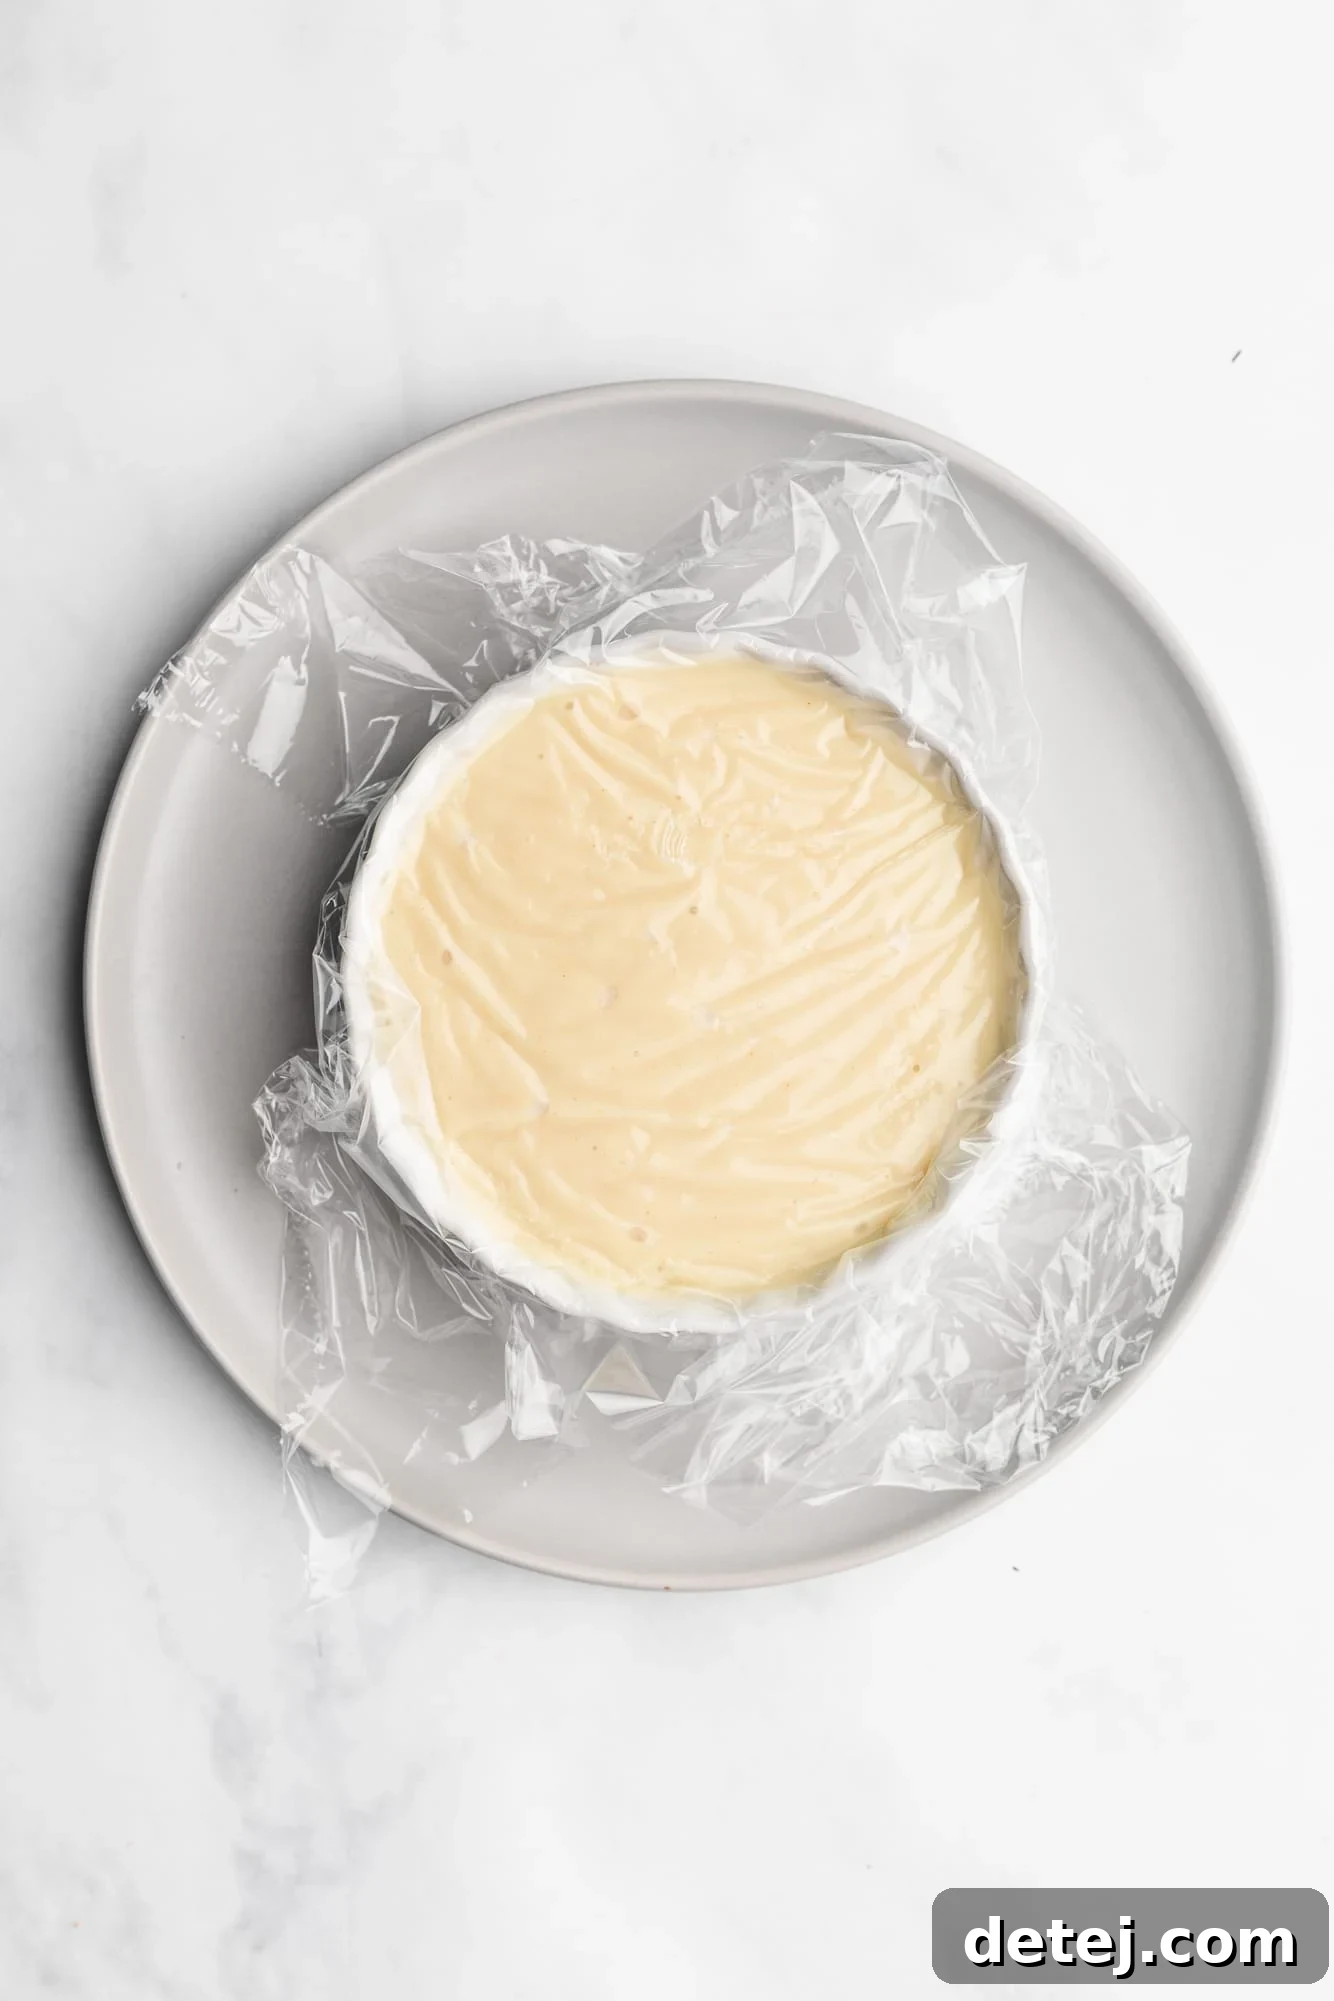
Once poured, place a layer of plastic wrap directly on the surface of the custard in each ramekin or dish. Gently press the plastic wrap down so it touches the entire top surface. This critical step prevents a “skin” from forming as the custard cools and sets, ensuring a perfectly smooth finish. Transfer the ramekins to the refrigerator to chill for a minimum of 4 hours. For the absolute best results and a thoroughly firm set, I highly recommend chilling them overnight. Patience truly pays off here, as a well-chilled custard is key to the crème brûlée experience.
5. Caramelize and Serve Immediately!
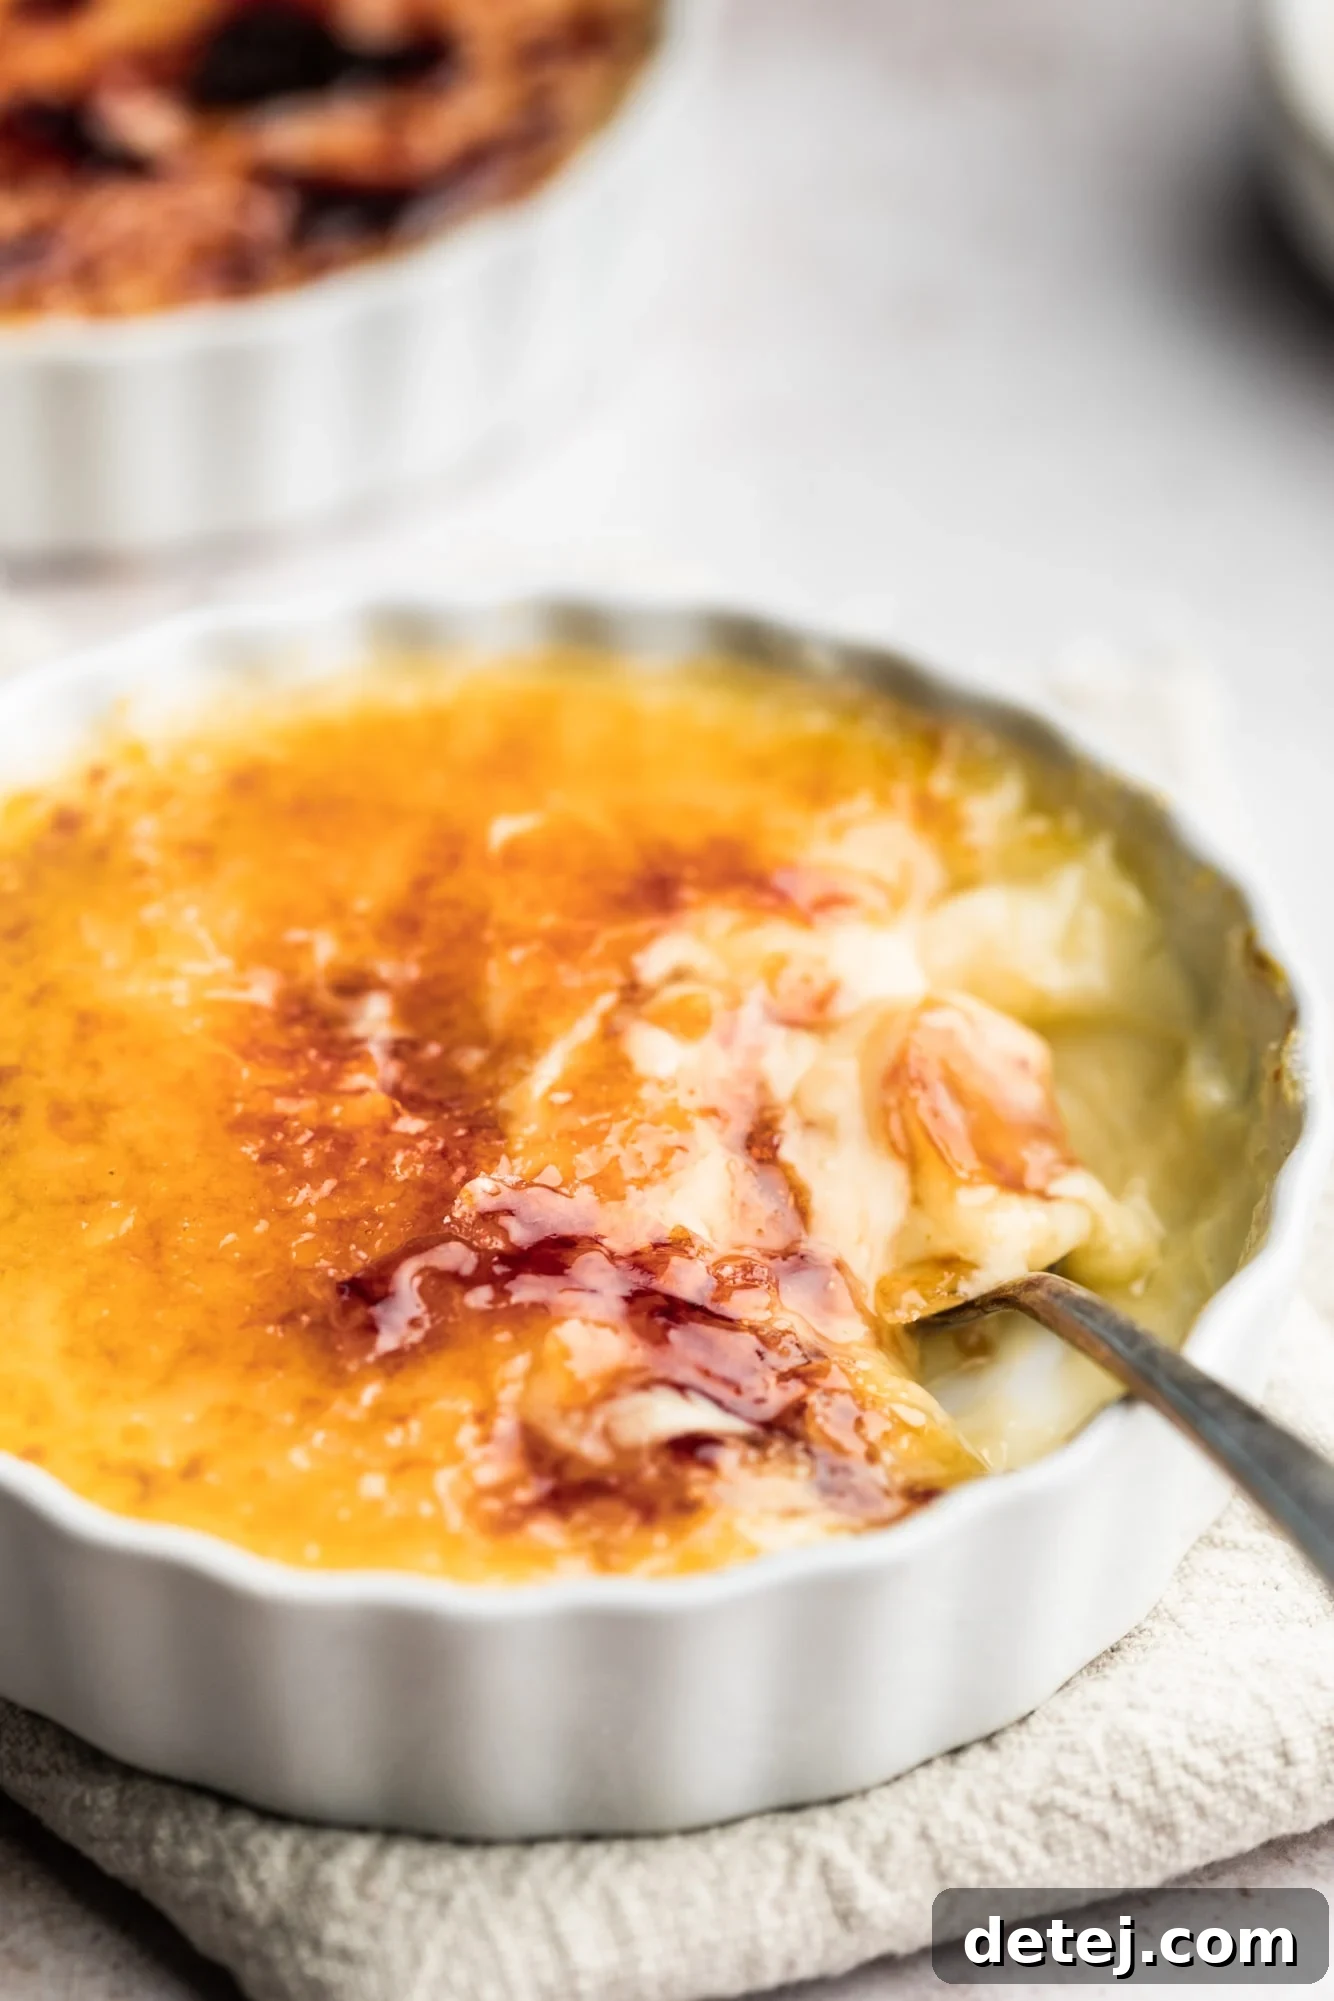
Once your vegan custard is beautifully chilled and set, it’s time for the show-stopping finale! Just before serving, sprinkle an even, thin layer of granulated sugar (the remaining 3-5 tablespoons) over the top of each individual serving, ensuring it completely covers the entire surface right to the edges. Using a kitchen torch, caramelize the sugar. Move the flame continuously in a steady circular motion, keeping it a few inches above the sugar, until it transforms into a rich, golden-brown, bubbly, and brittle crust. This process is quick, so keep a close eye to prevent burning. Serve your freshly torched crème brûlée immediately, either on its own to appreciate its classic flavors or garnished with fresh berries for a touch of fruity brightness. Enjoy the satisfying crack and the creamy indulgence!
Expert Tips for a Flawless Vegan Crème Brûlée
Achieving crème brûlée perfection, even in its simplified vegan form, benefits from a few expert tips that will elevate your dessert from good to absolutely outstanding:
- Preparation is Key (Mise en Place): This recipe moves quickly once you start heating the custard. Ensure all your ingredients are measured, your ramekins or baking dish are ready, and your whisk is at hand before you begin. This “mise en place” approach will prevent frantic scrambling, reduce the risk of lumps, and ensure a smooth cooking process.
- Preserve Vanilla Flavor: Always stir in the pure vanilla extract *after* you remove the custard from the heat. The delicate volatile compounds in vanilla can easily evaporate or diminish with prolonged high heat, stripping your dessert of its signature aroma. Adding it at the end locks in that decadent, full-bodied vanilla flavor.
- Chill Thoroughly for Best Texture: While a minimum of 4 hours chilling is required for the custard to set, leaving it in the refrigerator overnight yields the best results. A fully chilled and firm custard will provide the ideal contrast to the warm, brittle sugar topping, enhancing the overall sensory experience.
- Master Even Sugar Distribution: For a perfect, uniformly caramelized crust, it’s vital to sprinkle the granulated sugar in an even, thin layer that completely covers the top of the custard, extending right to the edges of the ramekin. This ensures consistent melting and caramelization, preventing patchy spots, burnt areas, or liquid sugar that can seep into the custard.
- Master the Torch Technique: When using your kitchen torch, continuously move the flame in a steady circular motion. Keep the torch about 2-3 inches above the sugar. Lingering in one spot will cause the sugar to burn very quickly, creating a bitter, acrid taste. The goal is a uniform golden-brown, bubbly, and brittle crust, not charred black spots.
- Torch Just Before Serving: This is perhaps the most crucial tip for crème brûlée. Caramelize the sugar literally minutes before you plan to serve. If you torch it too early, or God forbid, refrigerate the crème brûlée after caramelizing, the moisture from the custard will cause the brittle sugar crust to soften and melt. You’ll lose that signature satisfying crack, which is half the fun and a hallmark of a truly great crème brûlée.
- Troubleshooting Thin Custard: If, after simmering for the recommended time, your custard doesn’t thicken sufficiently, don’t panic. In a small separate bowl, whisk 1-2 teaspoons of cornstarch with an equal amount of cold plant milk until smooth (this is called a slurry). Slowly whisk this slurry into the simmering custard and continue stirring over medium heat for another 1-2 minutes until it reaches your desired thickness.
- Avoid Overfilling Ramekins: Leave a small amount of space at the top of each ramekin to allow for the sugar layer. This ensures the caramelized topping sits neatly without overflowing.
Frequently Asked Questions About Vegan Crème Brûlée
I don’t have a kitchen torch. What else can I use?
While a kitchen torch offers the most control and best results for creating that perfect crackly crust, you can try using your oven’s broiler as an alternative. Place the chilled crème brûlée ramekins on a baking sheet and position them under a preheated broiler (high setting) for just a few minutes. Crucially, watch them *very carefully* and do not walk away, as sugar can burn incredibly quickly under a broiler. The goal is a bubbling, golden-brown crust, not a black, burnt one. Ensure your ramekins are heat-proof (ceramic or oven-safe glass) before attempting this method.
Is this vegan crème brûlée recipe gluten-free?
Yes, this vegan crème brûlée recipe is naturally gluten-free! All the ingredients specified – including soy milk (or other plant milks), full-fat coconut milk, cornstarch, granulated sugar, pure vanilla extract, turmeric, and salt – are inherently gluten-free. This makes it a wonderful and safe dessert option for individuals with celiac disease, gluten sensitivities, or those following a gluten-free diet.
How can I customize my vegan crème brûlée with different flavors?
Vegan crème brûlée is wonderfully versatile and easily adaptable to various flavor profiles! For a delightful fruity twist, place a layer of fresh berries (such as raspberries, blueberries, or sliced strawberries) at the bottom of your ramekins before pouring in the custard. To create a rich vegan chocolate custard, simply whisk ¼ cup of unsweetened cocoa powder into the saucepan along with the rest of the custard ingredients before heating. Other creative ideas include adding a shot of espresso or a teaspoon of instant coffee powder for a coffee crème brûlée, incorporating a hint of orange zest or lavender extract, or even a touch of rum or almond extract for an extra layer of sophisticated flavor. The possibilities are endless!
How do you properly store vegan crème brûlée?
The prepared custard, once chilled and fully set in its ramekins or baking dish, can be stored covered. Tightly cover the surface of the custard directly with plastic wrap (ensuring it touches the surface to prevent a “skin” from forming) and refrigerate for about 3 to 4 days. However, it is essential to emphasize: *only add the sugar coating and caramelize it right before you plan to serve.* As mentioned in our tips, a torched crust will quickly soften and lose its delightful crunch if refrigerated or left exposed for too long, spoiling the signature texture.
Why is this a “no-bake” recipe, and how does it compare to traditional baked crème brûlée?
Traditional crème brûlée is typically baked in a water bath (bain-marie) to create a gentle, even heat that slowly sets the egg-based custard, preventing it from curdling. Our vegan version simplifies this process significantly by relying on cornstarch as a powerful and effective thickening agent instead of eggs. The custard is cooked entirely on the stovetop until it reaches a desired thickened consistency, and then it’s chilled to set firmly. This no-bake method eliminates the need for precise oven temperatures, water baths, and the delicate handling of egg custards, making the recipe much more accessible, quicker, and foolproof for home cooks without compromising on the luxurious, creamy texture that crème brûlée is famous for.
More Decadent Vegan Desserts to Explore
If you’ve fallen in love with the richness, elegance, and surprising simplicity of this vegan crème brûlée, you’ll be thrilled to discover a whole world of other incredible plant-based desserts that offer similar levels of indulgence without any animal products. Here are some of our personal favorites that we highly recommend you explore next:
- Vegan Chocolate Mousse: Light, airy, and intensely chocolatey, this dessert is a cloud of cocoa perfection.
- Vegan Coconut Cream Pie: A tropical dream in every creamy, luscious bite, perfect for a refreshing treat.
- The Best Vegan Cheesecake: Creamy, tangy, and utterly irresistible, proving that plant-based cheesecake can be just as good, if not better, than the dairy version.
- Vegan Meringues: Delicate, crisp, and surprisingly easy to make, these airy delights are perfect for a light finish.
- Vegan Lemon Meringue Pie: A zesty, sweet, and show-stopping classic, reimagined to be completely plant-based.
Vegan Crème Brûlée Recipe
This no-bake Vegan Creme Brulee is a decadent dessert made with just 8 simple ingredients! The easy vegan vanilla custard is topped with caramelized sugar and served in individual ramekins or one large dish.
Cook Time: 8 mins
Chilling Time: 4 hrs
Total Time: 4 hrs 13 mins
Yields: 6 servings
Ingredients
- 1 cup unsweetened soy milk (or almond, cashew, oat milk)
- 13.5 ounce can full fat coconut milk
- 1/3 cup cornstarch
- 1/3 cup granulated sugar (for custard)
- 1/8 teaspoon turmeric, optional (for color)
- 1/8 teaspoon salt
- 1 teaspoon pure vanilla extract
- 3-5 tablespoons granulated sugar (for topping)
Instructions
- Prepare Your Dishes: Get out 4-6 small ramekins or one large baking dish (like a pie plate or small casserole dish). Set them aside, ready for use.
- Whisk and Heat the Custard Base: In a medium saucepan, add the soy milk, coconut milk, cornstarch, the first portion of granulated sugar (1/3 cup), turmeric (if using), and salt. Whisk vigorously until all lumps are gone and the mixture is smooth. Place the saucepan over medium-high heat and whisk constantly. The mixture will gradually thicken into a pudding-like consistency, typically taking 2-8 minutes.
- Incorporate Vanilla and Pour: As soon as the custard thickens, remove it immediately from the heat. Stir in the pure vanilla extract. Quickly pour the hot custard evenly into the prepared ramekins or baking dish.
- Chill to Perfection: Cover each ramekin or the large dish directly with plastic wrap, pressing it lightly onto the surface of the custard to prevent a skin from forming. Transfer to the refrigerator and chill for a minimum of 4 hours, or ideally, overnight, until fully set.
- Caramelize and Serve: Once the custard is chilled and firm, just before serving, sprinkle an even layer of 3-5 tablespoons of granulated sugar over the top of each portion. Use a kitchen torch to caramelize the sugar until it’s golden-brown and bubbly. Move the torch continuously to prevent burning. Serve immediately and savor every crackling spoonful!
Notes
- Milk Substitutions: You may use unsweetened almond, cashew, or oat milk instead of soy milk. Be aware that sweetened varieties might make the dessert overly sweet.
- Coconut-Free Option: If you prefer to avoid coconut, you can substitute the full-fat coconut milk with a vegan cream, such as Country Crock’s Plant Cream or a homemade cashew cream. Using only soy milk will result in a less rich and creamy custard.
- Starch Alternatives: Tapioca starch or arrowroot powder might work in place of cornstarch, but the texture might vary. Cornstarch generally gives the best results for this recipe.
- Turmeric for Color: Turmeric is purely for mimicking the yellow color of traditional crème brûlée. It is optional and will not affect the flavor. Without it, the custard will be off-white.
- No Kitchen Torch? No Problem: If you don’t have a kitchen torch, you can use your oven’s broiler. Place the crème brûlée under a preheated broiler for a few minutes, watching very closely to prevent burning. Ensure your ramekins are broiler-safe.
Nutrition Information (per serving)
- Serving: 1 of 6 servings
- Calories: 234 kcal
- Carbohydrates: 26g
- Protein: 2g
- Fat: 14g
- Saturated Fat: 12g
- Polyunsaturated Fat: 1g
- Monounsaturated Fat: 1g
- Sodium: 73mg
- Potassium: 190mg
- Fiber: 0.3g
- Sugar: 17g
- Vitamin A: 84IU
- Vitamin C: 1mg
- Calcium: 62mg
- Iron: 2mg
Course: Dessert | Cuisine: French | Author: Nora Taylor
Did you make this delicious recipe? We’d love to see it! Share your creation on Instagram and mention @nora_cooks_vegan_ or tag #noracooks!