
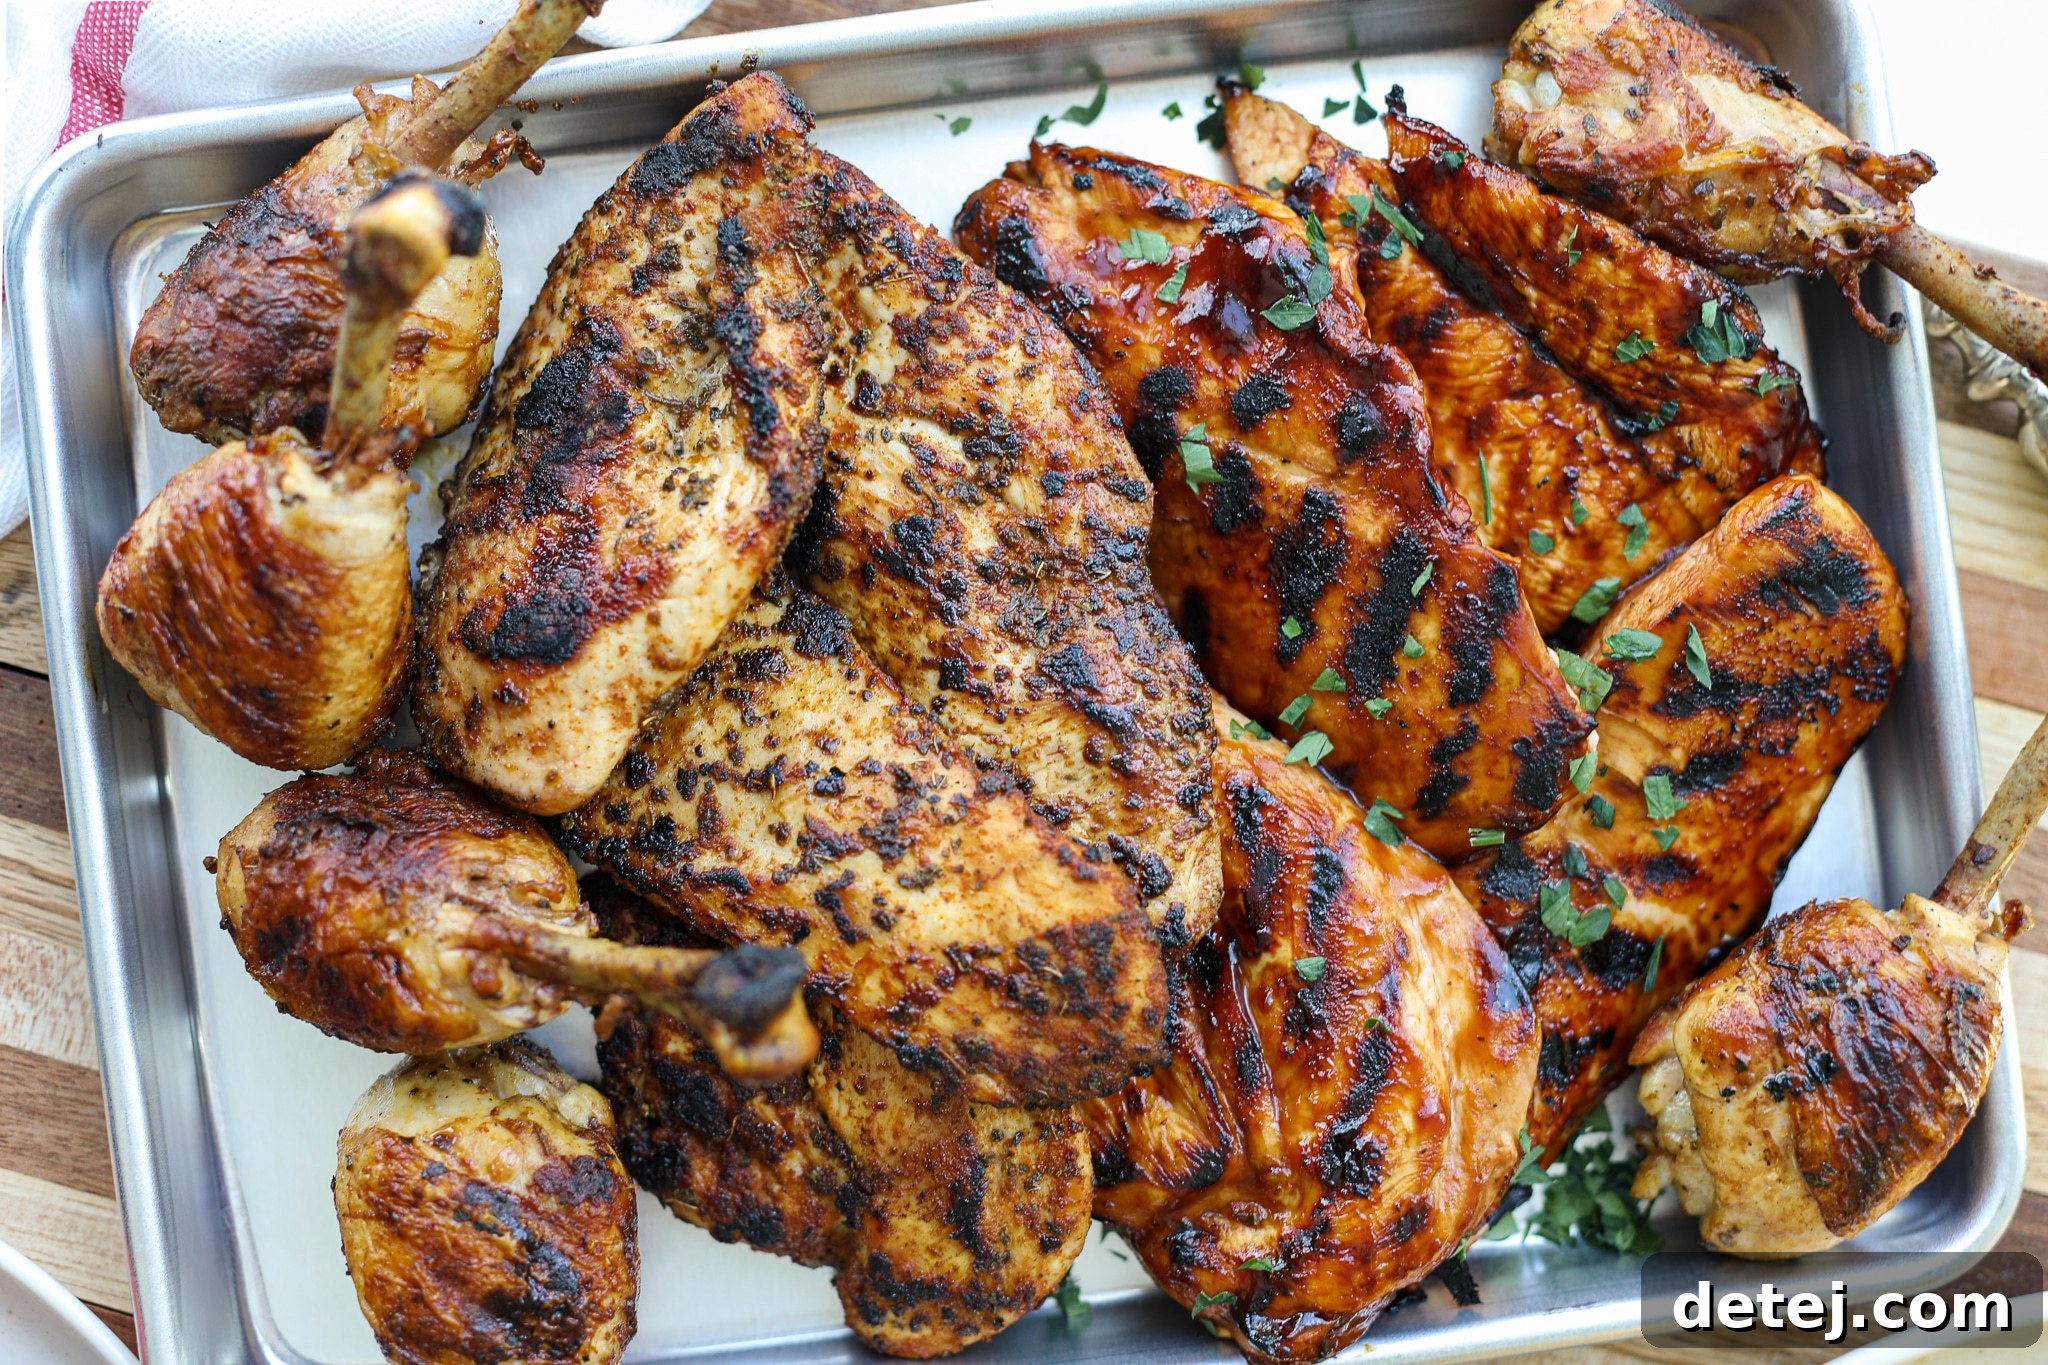
The Ultimate Grilled Chicken Platter: BBQ, Blackened, and Traditional Delights
Get ready to transform your backyard into the ultimate grilling destination with a show-stopping platter featuring not one, but three incredible grilled chicken variations! This comprehensive guide will walk you through creating a diverse and delicious spread of tangy BBQ chicken breasts, boldly seasoned blackened chicken, and perfectly marinated traditional chicken drumsticks. Whether you’re a seasoned grill master or just starting, our detailed tips, essential techniques, and mouth-watering recipes will ensure every piece of chicken is juicy, tender, and bursting with flavor. Prepare to ignite your grill and delight every guest with this magnificent triple-threat chicken feast, guaranteed to become a new summer favorite.
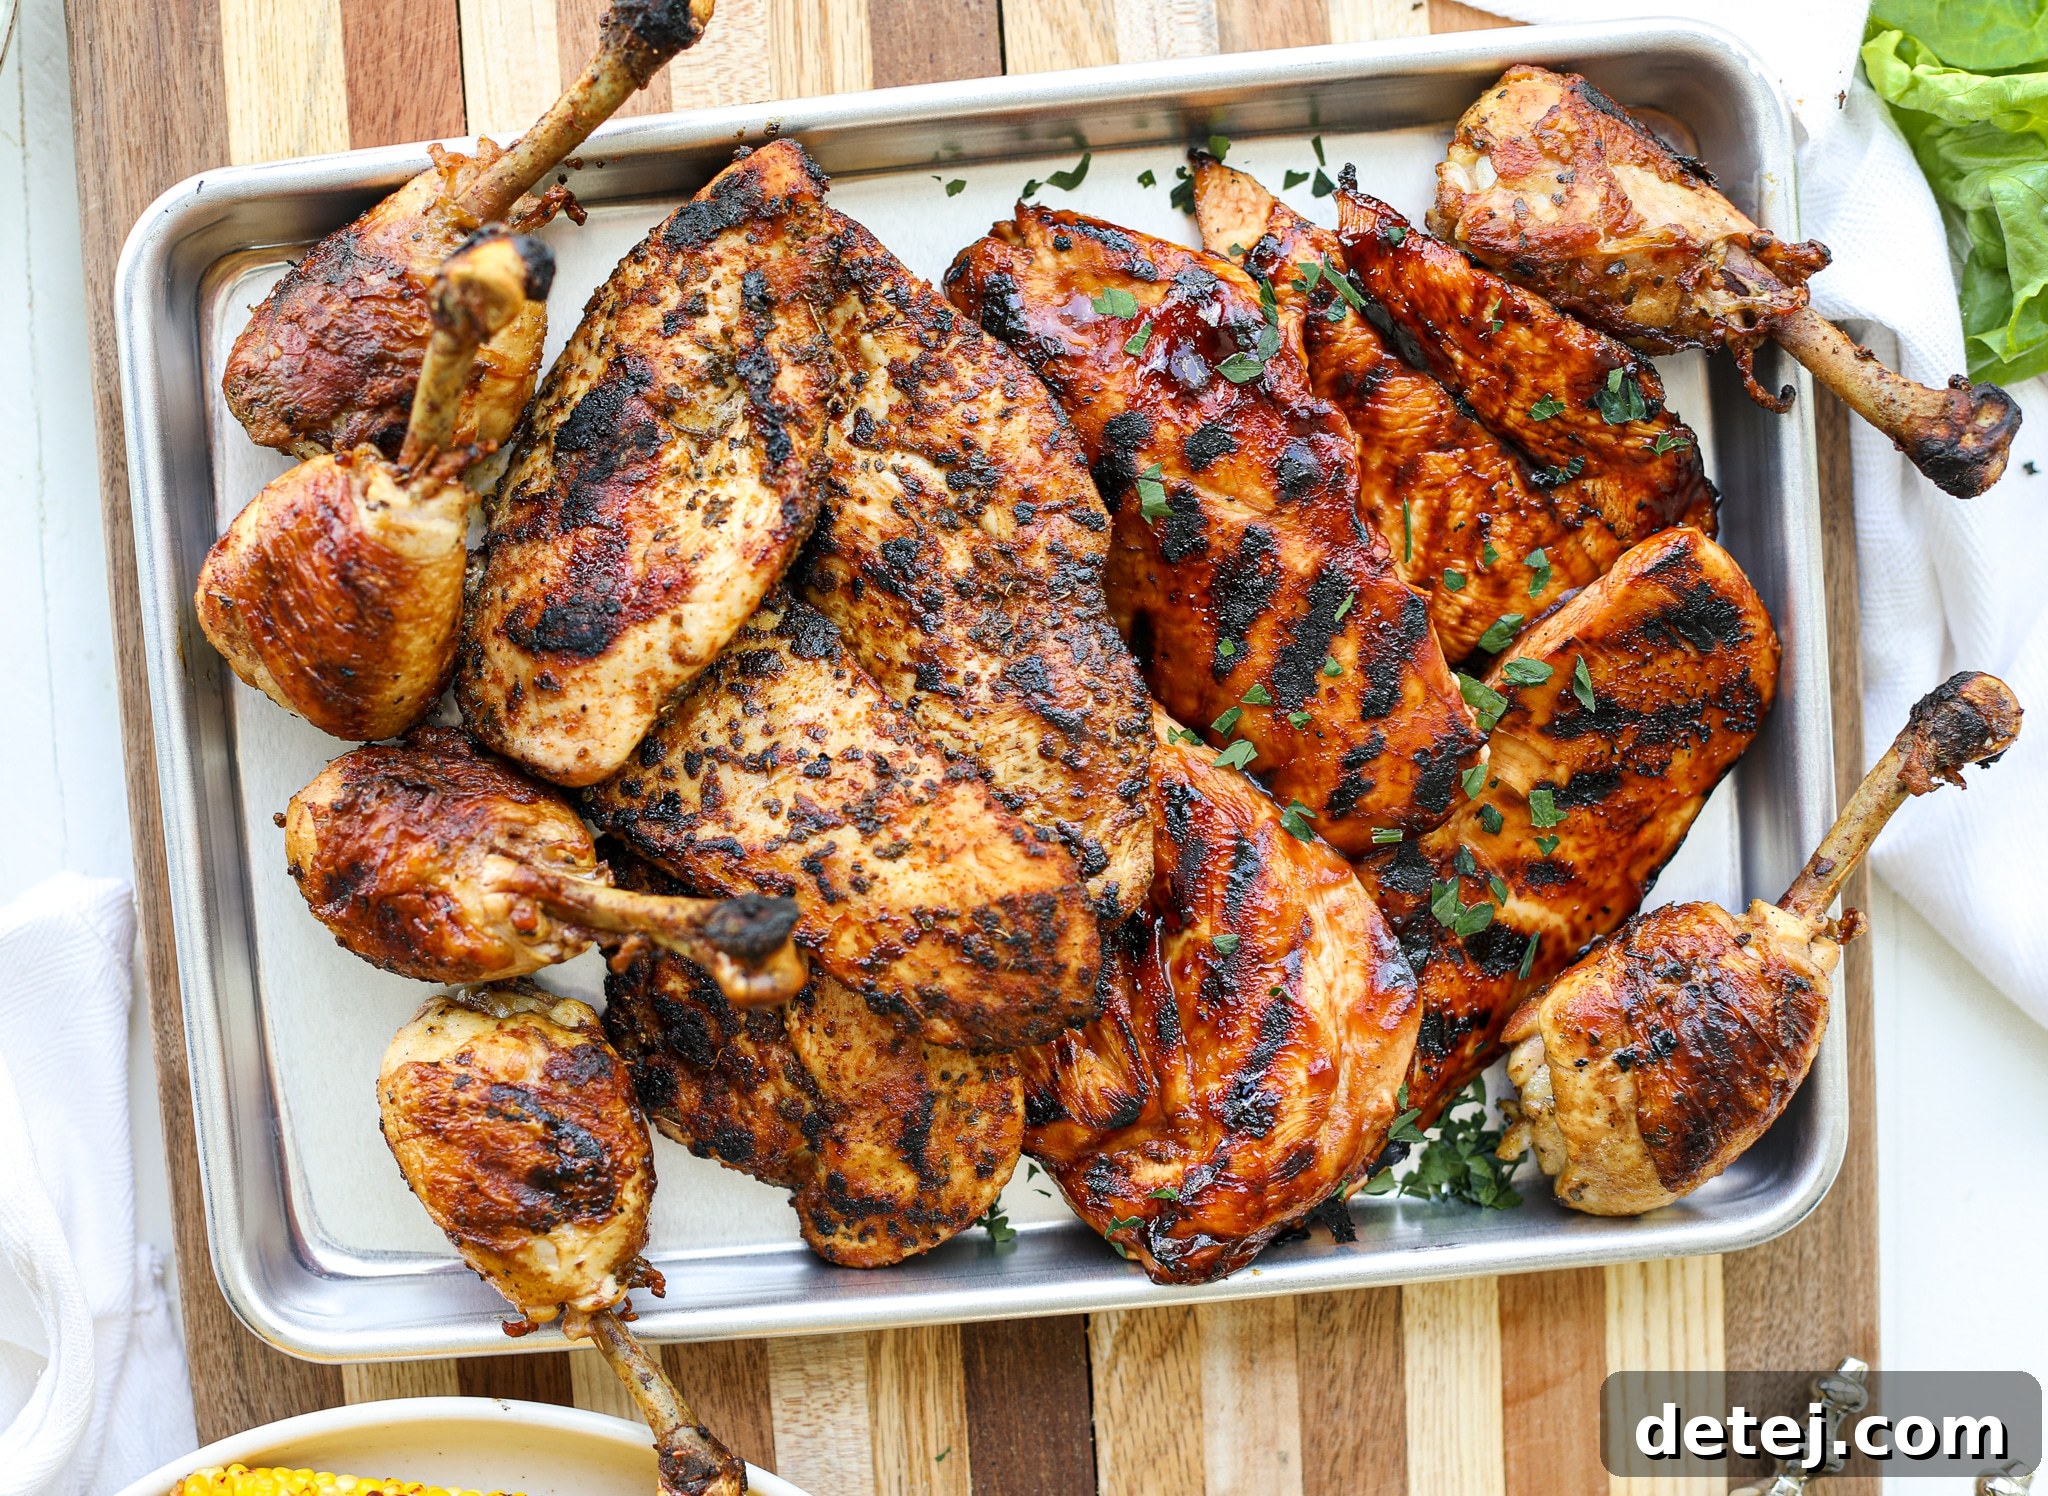
Why You’ll Love This Ultimate Grilled Chicken Recipe
This ultimate grilled chicken platter isn’t just a meal; it’s an experience designed to bring joy and incredible flavor to your table. It masterfully combines three distinct culinary profiles – the sweet and tangy notes of classic BBQ, the bold and smoky heat of blackened spices, and the timeless savory goodness of traditional grilled chicken. This variety ensures that every palate at your gathering, from the pickiest eater to the most adventurous food lover, will find something to adore. What truly elevates this recipe, beyond its impressive diversity, is the foundational quality of the chicken itself. For a truly superior result, we wholeheartedly recommend using Smart Chicken.
My personal journey with Smart Chicken began after a nine-year hiatus from eating poultry. Their unwavering commitment to ethical farming practices and exceptional product quality was the compelling reason I reintroduced chicken into my diet. Smart Chickens are exclusively raised on a certified organic, certified non-GMO diet, completely free from antibiotics, added hormones, or animal by-products. This rigorous program proudly holds a humane certification from HFAC (Humane Farm Animal Care), guaranteeing that every chicken enjoys ample space to roam and regular access to outdoor pastures. Additionally, Smart Chicken adheres to a USDA Process Verified pure air-chilled method, which means no water is added during processing, preserving the chicken’s natural flavor, tender texture, and making it more concentrated in taste. Each cut is also meticulously hand-trimmed for your convenience, saving you valuable prep time. This meticulous approach culminates in what many consider the best-tasting chicken available on the market, offering a clean, robust flavor that truly shines when grilled to perfection.
To maximize the appeal and texture variety of your platter, we encourage using an assortment of Smart Chicken cuts. Their boneless, skinless breasts and thighs are excellent for absorbing marinades and provide lean, succulent options. Tenderloins are fantastic for quick grilling and make delightful bite-sized pieces. For those who appreciate a wonderfully juicy and satisfying bite with a hint of crispiness, Smart Chicken’s bone-in, skin-on drumsticks are an absolute must-try. These are not only easy to handle and eat but also soak up marinades beautifully, adding a delightful, rustic element to your grilling repertoire.
This culinary adventure is proudly sponsored by Smart Chicken. While I received compensation for my efforts in developing and sharing this recipe, rest assured that all opinions expressed are genuinely my own and reflect my profound appreciation for the superior quality and ethical standards of their exceptional products.
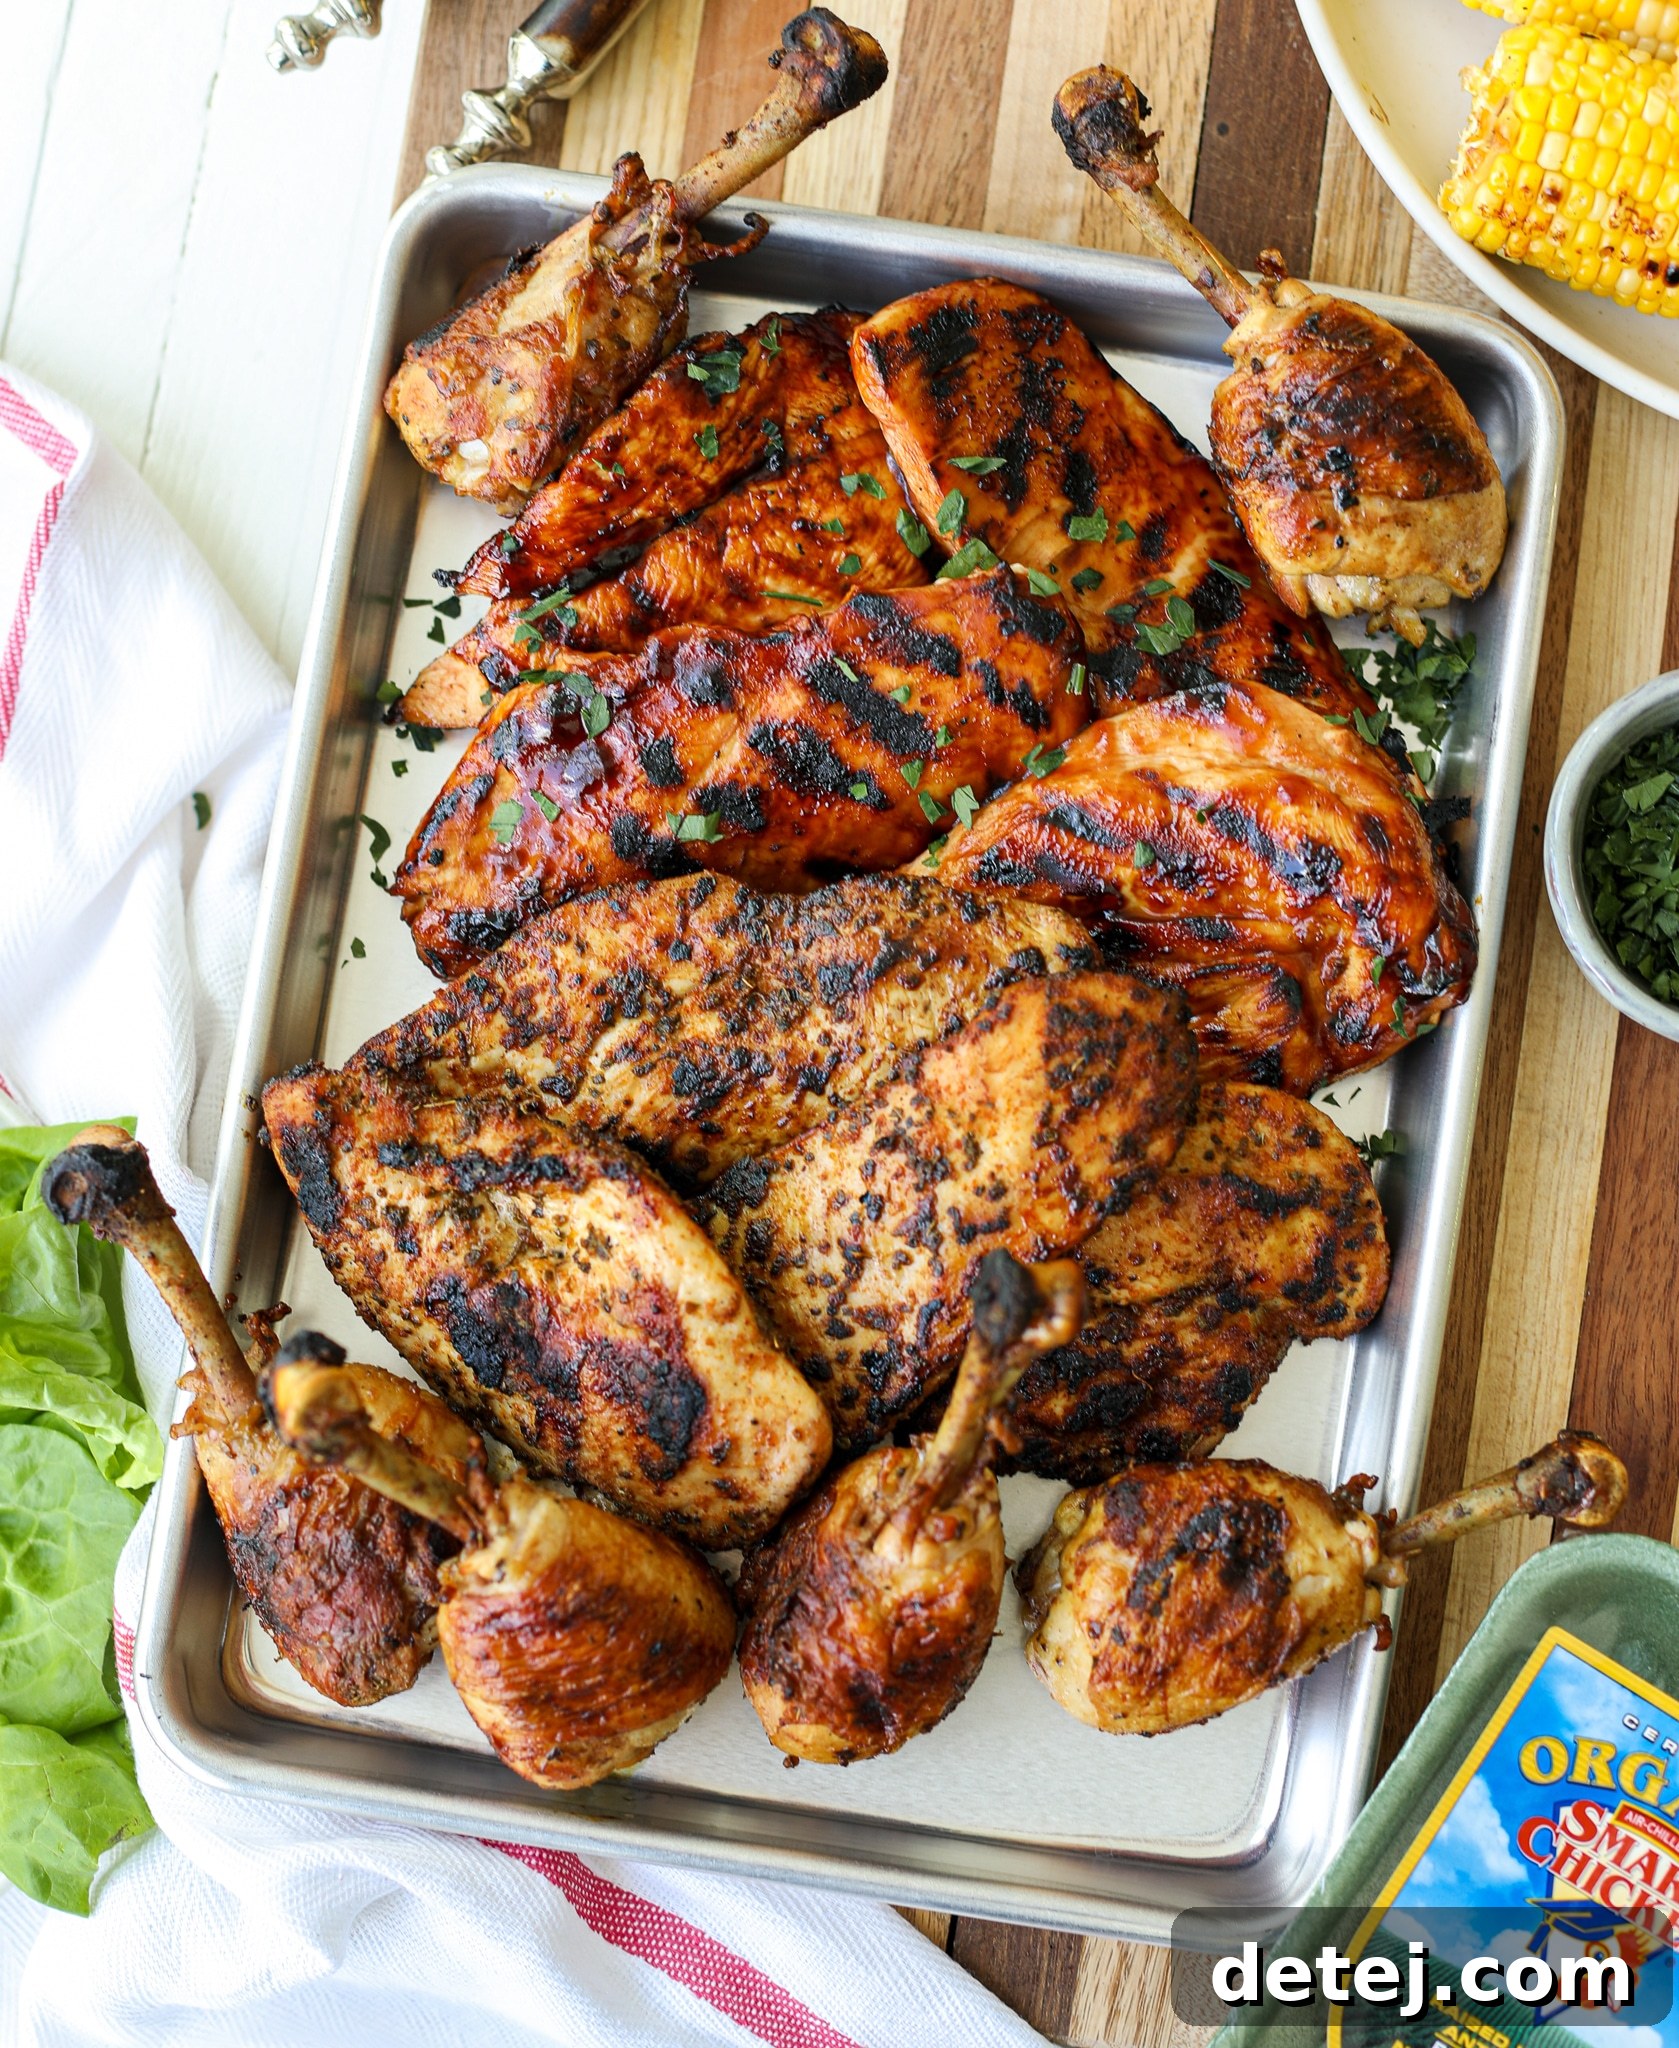
The Secret to a Perfect Grilled Chicken Platter: Essential Grilling Tips
Creating an exceptional grilled chicken platter requires attention to detail and adherence to proven grilling techniques. These expert tips are designed to help you achieve perfectly cooked, flavorful, and tender chicken every single time, ensuring your BBQ, blackened, and traditional varieties are nothing short of culinary masterpieces.
- Start with a Sparkling Clean Grill: This foundational step is often overlooked but is crucial for successful grilling. Before igniting your grill, ensure the grates are immaculately clean. Leftover carbonized food particles from previous cooks can stick to your fresh chicken, causing it to tear and imparting undesirable burnt flavors. Use a heavy-duty wire brush to thoroughly scrape away any residue. Clean grates are paramount for achieving those coveted, beautiful grill marks and, more importantly, for allowing the chicken to release easily, making flipping a breeze.
- Oil Your Grates for Non-Stick Perfection: Once your grill is preheated and clean, the next vital step is to lightly oil the grates. This creates an essential non-stick barrier between the hot metal and your delicate chicken, preventing it from adhering and tearing. Opt for a high-smoke-point oil such as avocado oil, grapeseed oil, or refined sunflower oil. Simply fold a paper towel into a small pad, saturate it with oil, grasp it firmly with long-handled tongs, and carefully wipe down the hot grates several times until they are lightly coated. This small effort goes a long way in ensuring your chicken cooks smoothly.
- Consider Using Foil for Easier Cleanup: If the thought of post-grill cleanup fills you with dread, laying down a sheet of heavy-duty aluminum foil over your grates can be an ingenious solution. While it might slightly diminish the intensity of direct grill marks, it still allows for excellent heat transfer and dramatically simplifies the cleanup process by catching drips and cooked-on bits. If using foil, be sure to puncture it in several places to allow excess fat and juices to drain, which helps prevent flare-ups and steam build-up.
- Preheat Your Grill to the Optimal Temperature: Patience during preheating is a virtue that pays off handsomely. A properly preheated grill ensures consistent cooking and an impressive sear. For grilling chicken, it’s advisable to preheat your grill to a high initial temperature, typically between 450-475 degrees Fahrenheit. This intense initial heat is key to creating a beautiful, flavorful crust on the exterior of the chicken, effectively “locking in” the natural moisture and resulting in a wonderfully juicy interior. After searing the first side, you’ll reduce the heat to a moderate 400 degrees Fahrenheit to gently finish cooking the chicken all the way through without burning the exterior.
- Butterfly and Pound Thick Chicken Breasts: Chicken breasts often come in varying thicknesses, which can lead to frustratingly uneven cooking where thinner parts dry out while thicker sections remain undercooked. To achieve uniform doneness and significantly reduce cooking time, consider butterflying and gently pounding thicker chicken breasts. Butterflying involves carefully slicing the breast horizontally almost all the way through its thickest part, then opening it up like a book. Next, place the butterflied breast between two sheets of plastic wrap and gently pound it with a meat mallet or rolling pin until it reaches an even thickness of approximately ¾ to 1 inch. This technique ensures that every part of the breast cooks simultaneously and also allows marinades and seasonings to penetrate more deeply and uniformly.
- Know Precisely When to Flip Your Chicken Breasts: Resisting the urge to constantly check or flip your chicken too early is paramount to achieving that perfect sear. When you place chicken breasts on the hot, oiled grates, allow them to cook undisturbed for the recommended time. Typically, after about 6-7 minutes, the chicken should have developed a beautiful golden-brown crust and will easily release from the grill grates. If it sticks or resists when you try to lift it with tongs, it’s not quite ready; give it another minute or two. Once it releases cleanly, it’s the ideal moment to flip. Remember that exact cooking times can vary based on your grill’s heat distribution and the precise thickness of your chicken. After flipping, reduce the grill heat to 400 degrees Fahrenheit, close the lid, and continue cooking until the chicken reaches the safe internal temperature.
Mastering Chicken Preparation for the Grill
Beyond the fundamental grilling techniques, these advanced preparation methods, particularly for drumsticks, will enhance both the flavor absorption and visual appeal of your grilled chicken.
- Frenching the Drumsticks for Elegant Presentation: Frenching is a professional culinary technique, most commonly applied to bone-in cuts like drumsticks or racks of lamb, where the meat, fat, and tendons are meticulously trimmed from the end of the bone. This process creates a clean, exposed bone, giving the drumstick a sophisticated “lollipop” appearance. Not only does this technique elevate the presentation, but it also provides a convenient handle for eating. To french a drumstick, begin by removing it from its packaging and placing it on a clean cutting board, one at a time. Using a very sharp knife, carefully make a circumferential cut through the skin, tendons, and fat precisely where the meaty portion of the drumstick meets the bone. Ensure you cut all the way around the bone. Once the cut is complete, use your knife or fingers to push the excess skin, tendons, and fat downwards towards the narrow tip of the bone. For a better grip, you can use a paper towel to carefully pull this detached portion completely off the bone, exposing the clean bone. Finally, push and compact the remaining meat on the drumstick downwards to form a neat, tight ball at the wider end. Repeat this process for all your drumsticks to achieve a uniform and impressive look that will surely impress your guests.
- Grilling Bone-In Drumsticks to Perfection: Due to the presence of the bone, drumsticks require a longer and often more carefully managed cooking time compared to boneless cuts. Typically, you can expect bone-in drumsticks to take anywhere between 30-35 minutes on the grill. The bone acts as a heat conductor, helping to cook the meat from the inside out, which can also mean they cook slower. It’s crucial to turn the drumsticks regularly, ideally every 5-6 minutes, using sturdy tongs to ensure even cooking, prevent any single side from charring excessively, and promote consistent browning. The ultimate goal is to reach an internal temperature of 180 degrees Fahrenheit in the thickest part of the meat (making sure your meat thermometer doesn’t touch the bone). This slightly higher temperature, compared to breasts, is beneficial for bone-in cuts as it helps to effectively break down the connective tissues and tendons, resulting in an exceptionally tender and juicy drumstick with clear-running juices.
- Achieving Safe and Delicious Chicken Temperatures: Ensuring your chicken is cooked to a safe internal temperature is not just about food safety, but also about optimal taste and texture. Always use a reliable digital meat thermometer to accurately check for doneness. For chicken breasts, aim for an internal temperature of 165 degrees Fahrenheit. For bone-in drumsticks, a slightly higher temperature of 180 degrees Fahrenheit is recommended. This difference accounts for the bone and the need for connective tissues to fully break down for maximum tenderness. Insert the thermometer into the thickest part of the chicken, making sure to avoid touching any bones, as bones heat faster than meat and can give a false reading. When properly cooked, the juices should run perfectly clear, and the meat should be opaque throughout with absolutely no pink remaining.
Preparing Your Chicken for Multiple Flavors
With your grilling skills sharpened and techniques mastered, let’s now immerse your chicken in the distinct and delectable flavors of BBQ, blackened spices, and traditional Italian marinade. This thoughtful preparation ensures a diverse and exciting platter that promises a delightful taste adventure with every bite.
For the BBQ and Blackened Chicken Breasts:
Begin by preparing your chicken breasts. If they are particularly thick, it’s highly recommended to butterfly and gently pound them to an even thickness, as detailed in our essential grilling tips section. This critical step ensures that the chicken cooks uniformly and allows the marinades to penetrate deeply and consistently throughout the meat. Once prepared, divide the butterflied chicken cutlets evenly into two separate mixing bowls. Each bowl should contain approximately four cutlets, making the coating process more manageable and efficient. Into the first bowl, pour a generous ½ cup of your preferred BBQ sauce. Don’t hesitate to use a high-quality store-bought brand for convenience, or your favorite homemade recipe if time allows. Toss the chicken thoroughly with tongs, ensuring every surface of each piece is lusciously coated in the rich, tangy sauce. For the second bowl, liberally sprinkle the carefully prepared blackening spice blend evenly over the chicken cutlets. Mix well to guarantee that every inch of the chicken is covered with the aromatic, bold seasoning. Once both batches are fully coated, cover the bowls securely with saran wrap or airtight lids and refrigerate. Allow the chicken breasts to marinate for a minimum of 30 minutes to allow the flavors to meld, or for up to 2 hours for a more intense flavor profile. Remember a crucial tip: remove the marinated chicken from the refrigerator approximately 20 minutes before you intend to grill. This allows the chicken to come closer to room temperature, which promotes more even cooking on the grill.
For the Traditional Italian Marinated Drumsticks:
Next, turn your attention to the drumsticks. If you wish to achieve the elegant “lollipop” presentation, proceed with the frenching technique described earlier; this not only enhances appearance but also makes them easier to eat. Once your drumsticks are prepared (frenched or not), carefully place them into a large, robust Ziploc bag. In a separate bowl, whisk together all the ingredients for your vibrant Italian marinade: high-quality olive oil, tangy red wine vinegar, savory Dijon mustard, freshly minced garlic, fragrant dried oregano, a pinch of salt, and a dash of black pepper. This balanced marinade will infuse the drumsticks with classic Mediterranean flavors, guaranteeing a juicy and aromatic result. Pour the entirety of this delicious marinade over the drumsticks within the Ziploc bag. Seal the bag tightly, expelling any excess air, and gently toss and massage the chicken from the outside to ensure every drumstick is thoroughly and evenly coated. For the most profound flavor development, ideally, marinate the drumsticks overnight in the refrigerator. If you’re pressed for time, a minimum of 1 hour will still yield excellent results. Similar to the breasts, take the drumsticks out of the refrigerator about 20 minutes before grilling to allow them to warm up slightly for better, more consistent cooking.
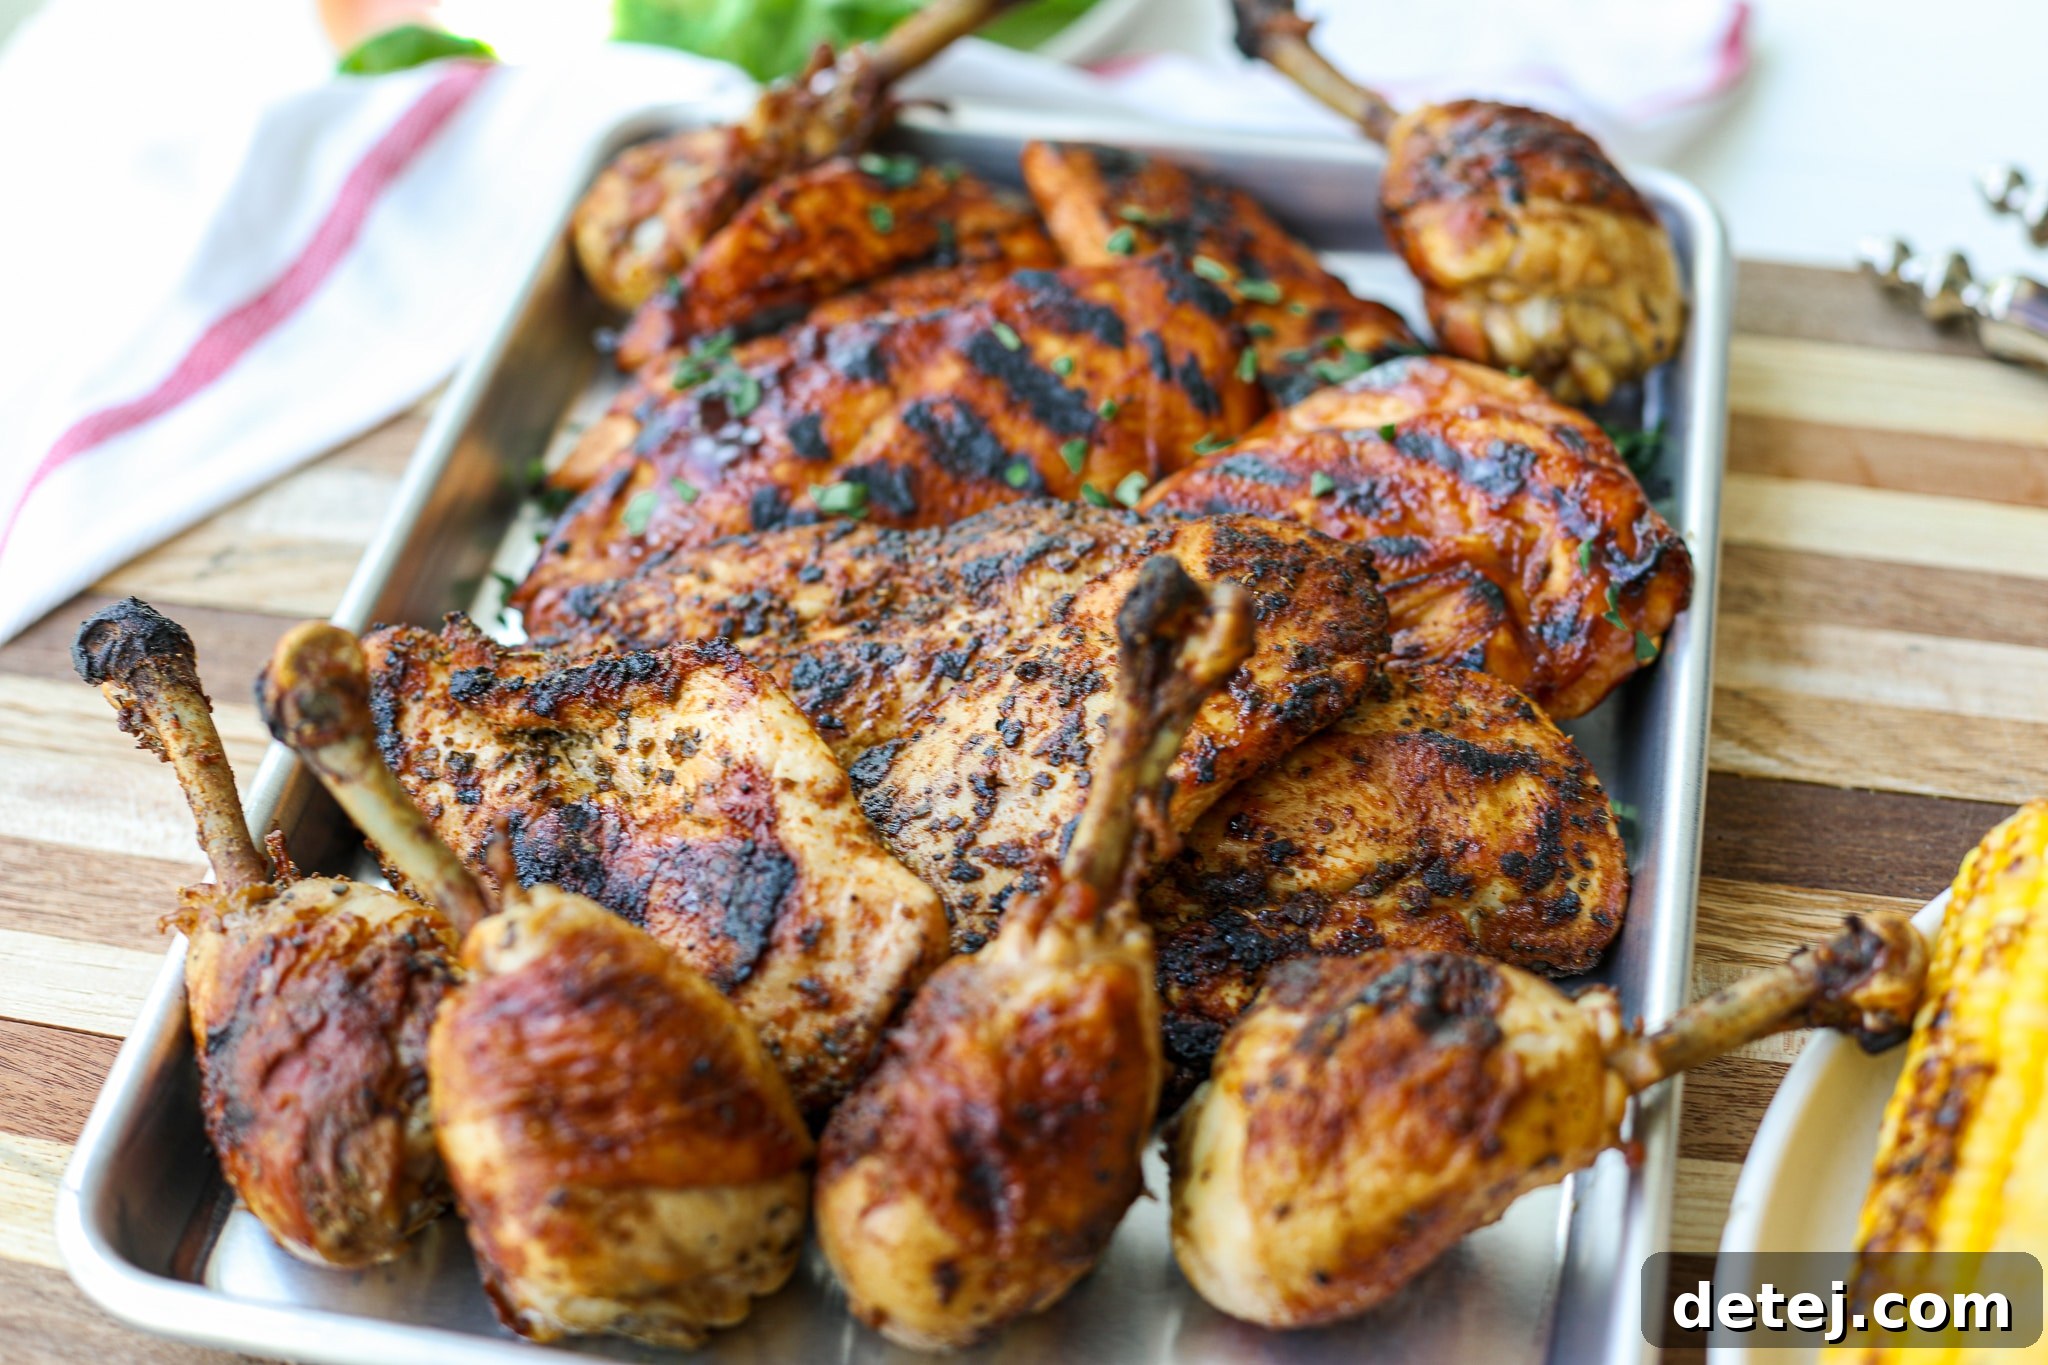
Step-by-Step Guide: How to Grill Chicken to Perfection
Executing the perfect grilled chicken platter involves precise timing and careful execution to ensure each piece, from the succulent breasts to the tender drumsticks, is cooked to juicy, flavorful perfection. Follow these detailed instructions to master the art of grilling and bring your magnificent platter to life.
- Prepare and Preheat the Grill: Begin by thoroughly cleaning your grill grates. Then, preheat your grill to a high temperature, aiming for a range of 450-475 degrees Fahrenheit. As emphasized in our grilling tips, achieving this initial high heat is critical for developing a desirable sear. Once the grill is hot, you have two options: either lay a sheet of heavy-duty aluminum foil on the grates (remembering to puncture it in a few places to allow for drainage and prevent steaming) for easier cleanup, or, if you prefer direct grill marks, thoroughly brush the clean grates with a high-smoke-point oil such as avocado oil to create a non-stick surface.
- Initiate Grilling with the Drumsticks: Carefully place the frenched and well-marinated drumsticks directly onto the preheated grill. Given their bone-in nature and greater thickness, drumsticks require a longer cooking time compared to chicken breasts, typically around 30-35 minutes. To ensure even cooking and to develop a beautiful, consistent crust without burning, it is essential to turn the drumsticks regularly. Using sturdy long-handled tongs, rotate them every 5-6 minutes. Continue this process until the internal temperature of the drumsticks, when measured with a reliable meat thermometer in the thickest part of the meat (taking care to avoid touching the bone), reaches a safe 180 degrees Fahrenheit. At this point, the juices should run perfectly clear.
- Introduce the Chicken Breasts to the Grill: After the drumsticks have had a good head start and have been cooking for approximately 20 minutes, it’s time to add the marinated and butterflied chicken breasts to the grill. Place them on the hot grates, allowing them to begin searing. Cook the first side for about 6-7 minutes. During this time, look for distinct grill marks to form and ensure the chicken releases easily from the grates without sticking, which indicates a good sear has been achieved.
- Flip and Finish Cooking the Breasts: Once the first side of the chicken breasts is beautifully seared and golden, reduce the grill heat to a more moderate 400 degrees Fahrenheit. Carefully flip the chicken breasts to their second side, then close the lid of the grill. Continue cooking for an additional 6-7 minutes. This combination of lower, more controlled heat and a closed lid will allow the chicken breasts to cook through completely without drying out or over-charring their delicate exterior, ensuring they remain wonderfully juicy.
- Final Temperature Check and Resting Period: Before removing any chicken from the grill, always perform a final temperature check with your meat thermometer for food safety and optimal texture. Chicken breasts should register an internal temperature of 165 degrees Fahrenheit, while the frenched drumsticks should reach 180 degrees Fahrenheit. Confirm that the juices run clear from both types of chicken. Once all chicken pieces have achieved their safe internal temperatures, carefully transfer them from the grill to a clean platter or cutting board. It is absolutely crucial to allow the grilled chicken to rest undisturbed for 10-15 minutes before slicing or serving. This vital resting period allows the muscle fibers to relax and the internal juices to redistribute evenly throughout the meat, guaranteeing an incredibly moist, tender, and flavorful result.
Storage
To preserve the deliciousness of your ultimate grilled chicken, store any leftovers promptly in an airtight container within the refrigerator. It will remain fresh and flavorful for up to 4-5 days, making it excellent for meal prepping. For reheating, gently warm the chicken in the microwave or oven until it is heated through, taking care not to overcook, which can lead to dryness.
Frequently Asked Questions About Grilled Chicken
This exceptionally versatile grilled chicken platter harmonizes beautifully with a wide array of side dishes. For a complete and refreshingly delicious meal, we highly recommend serving it alongside our vibrant Simple Summer Pasta Salad. Classic BBQ accompaniments like The Best Baked Beans offer a comforting, savory contrast. Additionally, creamy Corn Salsa or bright, tangy Quick Pickled Onions make excellent choices, adding layers of fresh flavors and delightful textures that perfectly complement the rich, smoky chicken.
Leftover grilled chicken is not only delicious but also incredibly convenient for future meals! When stored correctly in an airtight container in the refrigerator, it will retain its freshness and flavor for up to 4-5 days. This makes it an ideal component for healthy packed lunches, quick and easy weeknight dinners, or as a flavorful addition to salads, wraps, and sandwiches throughout your week.
Absolutely! Advanced preparation is key to stress-free grilling. Both the butterflying and pounding of chicken breasts, as well as the frenching of drumsticks, can be efficiently completed up to a day in advance. The marinades for the BBQ, blackened, and Italian chicken varieties are most effective when allowed to penetrate the meat for at least an hour; for maximum flavor development, they can be safely left to marinate overnight in the refrigerator. This strategic ahead-of-time preparation significantly reduces your workload on grilling day, allowing you more time to relax and enjoy your gathering.
For grilling chicken, it is paramount to select oils with a high smoke point to prevent them from burning and imparting an undesirable bitter taste to your food. Avocado oil is an outstanding choice due to its exceptionally high smoke point and neutral flavor. Other excellent alternatives include grapeseed oil or refined sunflower oil. While olive oil is fantastic for marinades, for directly oiling the hot grill grates, a higher smoke point oil is always preferable to ensure a clean, non-stick cooking surface.
Explore More Grilled Chicken Recipes
If you’ve enjoyed the diverse flavors and grilling techniques presented in this ultimate grilled chicken platter, you’re in for a treat! Discover even more fantastic ways to savor perfectly grilled chicken with these delectable recipes from our curated collection. Expand your grilling repertoire and explore new culinary horizons!
- Classic Grilled BBQ Chicken
- Flavorful Chimichurri Grilled Chicken Thighs
- Authentic Grilled Greek Chicken Souvlaki
- Zesty Mediterranean Grilled Chicken
- Spicy Peruvian Inspired Grilled Chicken Thighs
Recipe Card: BBQ, Blackened, and Traditional Grilled Chicken
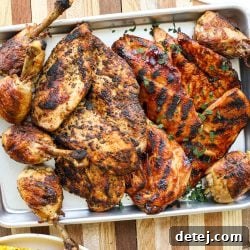
BBQ, Blackened, and Traditional Grilled Chicken Platter
Author: Sarah Thomas-Drawbaugh
Fire up your grill and enjoy this ultimate BBQ, blackened, and traditional grilled chicken feast, perfect for any gathering or family meal. This recipe offers diverse flavors and ensures tender, juicy results every time.
Yield: 8 servings
Prep Time: 12 hours (includes overnight marinating for best flavor)
Cook Time: 35 minutes
Total Time: 12 hours 35 minutes
Pin Recipe
Equipment
- 1 gas grill
- 2 mixing bowls
- 3 Ziploc bags (2 for pounding chicken breasts if needed, 1 for drumsticks and marinade)
- Saran wrap (or lids to cover bowls during marinating)
- 1 clean platter (for resting and serving)
- 1 pair of long-handled tongs
- 1 basting brush (for BBQ sauce)
- 1 sheet of heavy-duty foil (optional, for grill cleanup)
- Meat thermometer (essential for ensuring doneness)
- Sharp knife and cutting board
- Meat mallet or rolling pin (for pounding chicken breasts)
Ingredients
Chicken
- 2 lbs. Smart Chicken breasts, butterflied and pounded to an even ¾ to 1-inch thickness
- 2 lbs. Smart Chicken drumsticks, frenched (optional, for elegant presentation and easy handling)
BBQ Chicken (for 1 lb. butterflied chicken breasts)
- ½ cup BBQ sauce (your favorite store-bought or homemade)
Blackening Spice (for 1 lb. butterflied chicken breasts)
- 2 teaspoons dried oregano
- 1 teaspoon garlic powder
- ½ teaspoon onion powder
- ½ teaspoon salt
- ½ teaspoon paprika
- ¼ teaspoon black pepper
- ¼ teaspoon cayenne pepper (adjust quantity for desired heat level)
Italian Marinade (for 2 lbs. frenched drumsticks)
- ½ cup olive oil
- ¼ cup red wine vinegar
- 2 teaspoons Dijon mustard
- 1 teaspoon garlic, minced (about 2 cloves)
- 1 teaspoon dried oregano
- ½ teaspoon salt
- ¼ teaspoon black pepper
Instructions
- Prepare the Grill: Preheat your gas grill to a high temperature, targeting 450-475 degrees Fahrenheit. Once hot, lay a sheet of heavy-duty foil on the grates (punctured in a few spots) or thoroughly brush the clean grates with avocado oil to prevent sticking.
- Grill Drumsticks: Place the frenched and marinated drumsticks on the grill. Cook for approximately 30-35 minutes, turning them every 5-6 minutes with tongs to ensure even cooking and a consistent char. Continue grilling until the internal temperature reaches 180 degrees Fahrenheit in the thickest part (avoiding the bone). The juices should run clear.
- Add Chicken Breasts: After the drumsticks have cooked for about 20 minutes, add the marinated and butterflied chicken breasts to the grill. Cook the first side for 6-7 minutes until a beautiful sear is achieved and the chicken releases easily from the grates.
- Flip and Finish: Reduce the grill heat to 400 degrees Fahrenheit. Flip the chicken breasts to the other side, close the grill lid, and continue cooking for another 6-7 minutes until fully cooked through.
- Check Doneness & Rest: Ensure chicken breasts reach an internal temperature of 165 degrees Fahrenheit and drumsticks reach 180 degrees Fahrenheit using a meat thermometer. Once thoroughly cooked and juices run clear, remove all chicken from the grill. Transfer to a clean platter or cutting board and allow to rest for 10-15 minutes before slicing and serving. This resting period is crucial for juicy, tender chicken.
Notes
Store any leftover grilled chicken in an airtight container in the refrigerator for up to 4-5 days. To reheat, gently warm in the microwave or oven, being careful not to overcook to maintain moisture.
Nutrition Information (per serving, approximate)
Based on 8 servings.
- Serving: 1 serving
- Calories: 467 kcal
- Carbohydrates: 9g
- Protein: 44g
- Fat: 27g
- Saturated Fat: 5g
- Polyunsaturated Fat: 4g
- Monounsaturated Fat: 15g
- Trans Fat: 1g
- Cholesterol: 177mg
- Sodium: 740mg
- Potassium: 740mg
- Fiber: 1g
- Sugar: 6g
- Vitamin A: 176 IU
- Vitamin C: 2mg
- Calcium: 39mg
- Iron: 2mg
Course: Main Course
Cuisine: American
Calories: 467 (approximate per serving)