
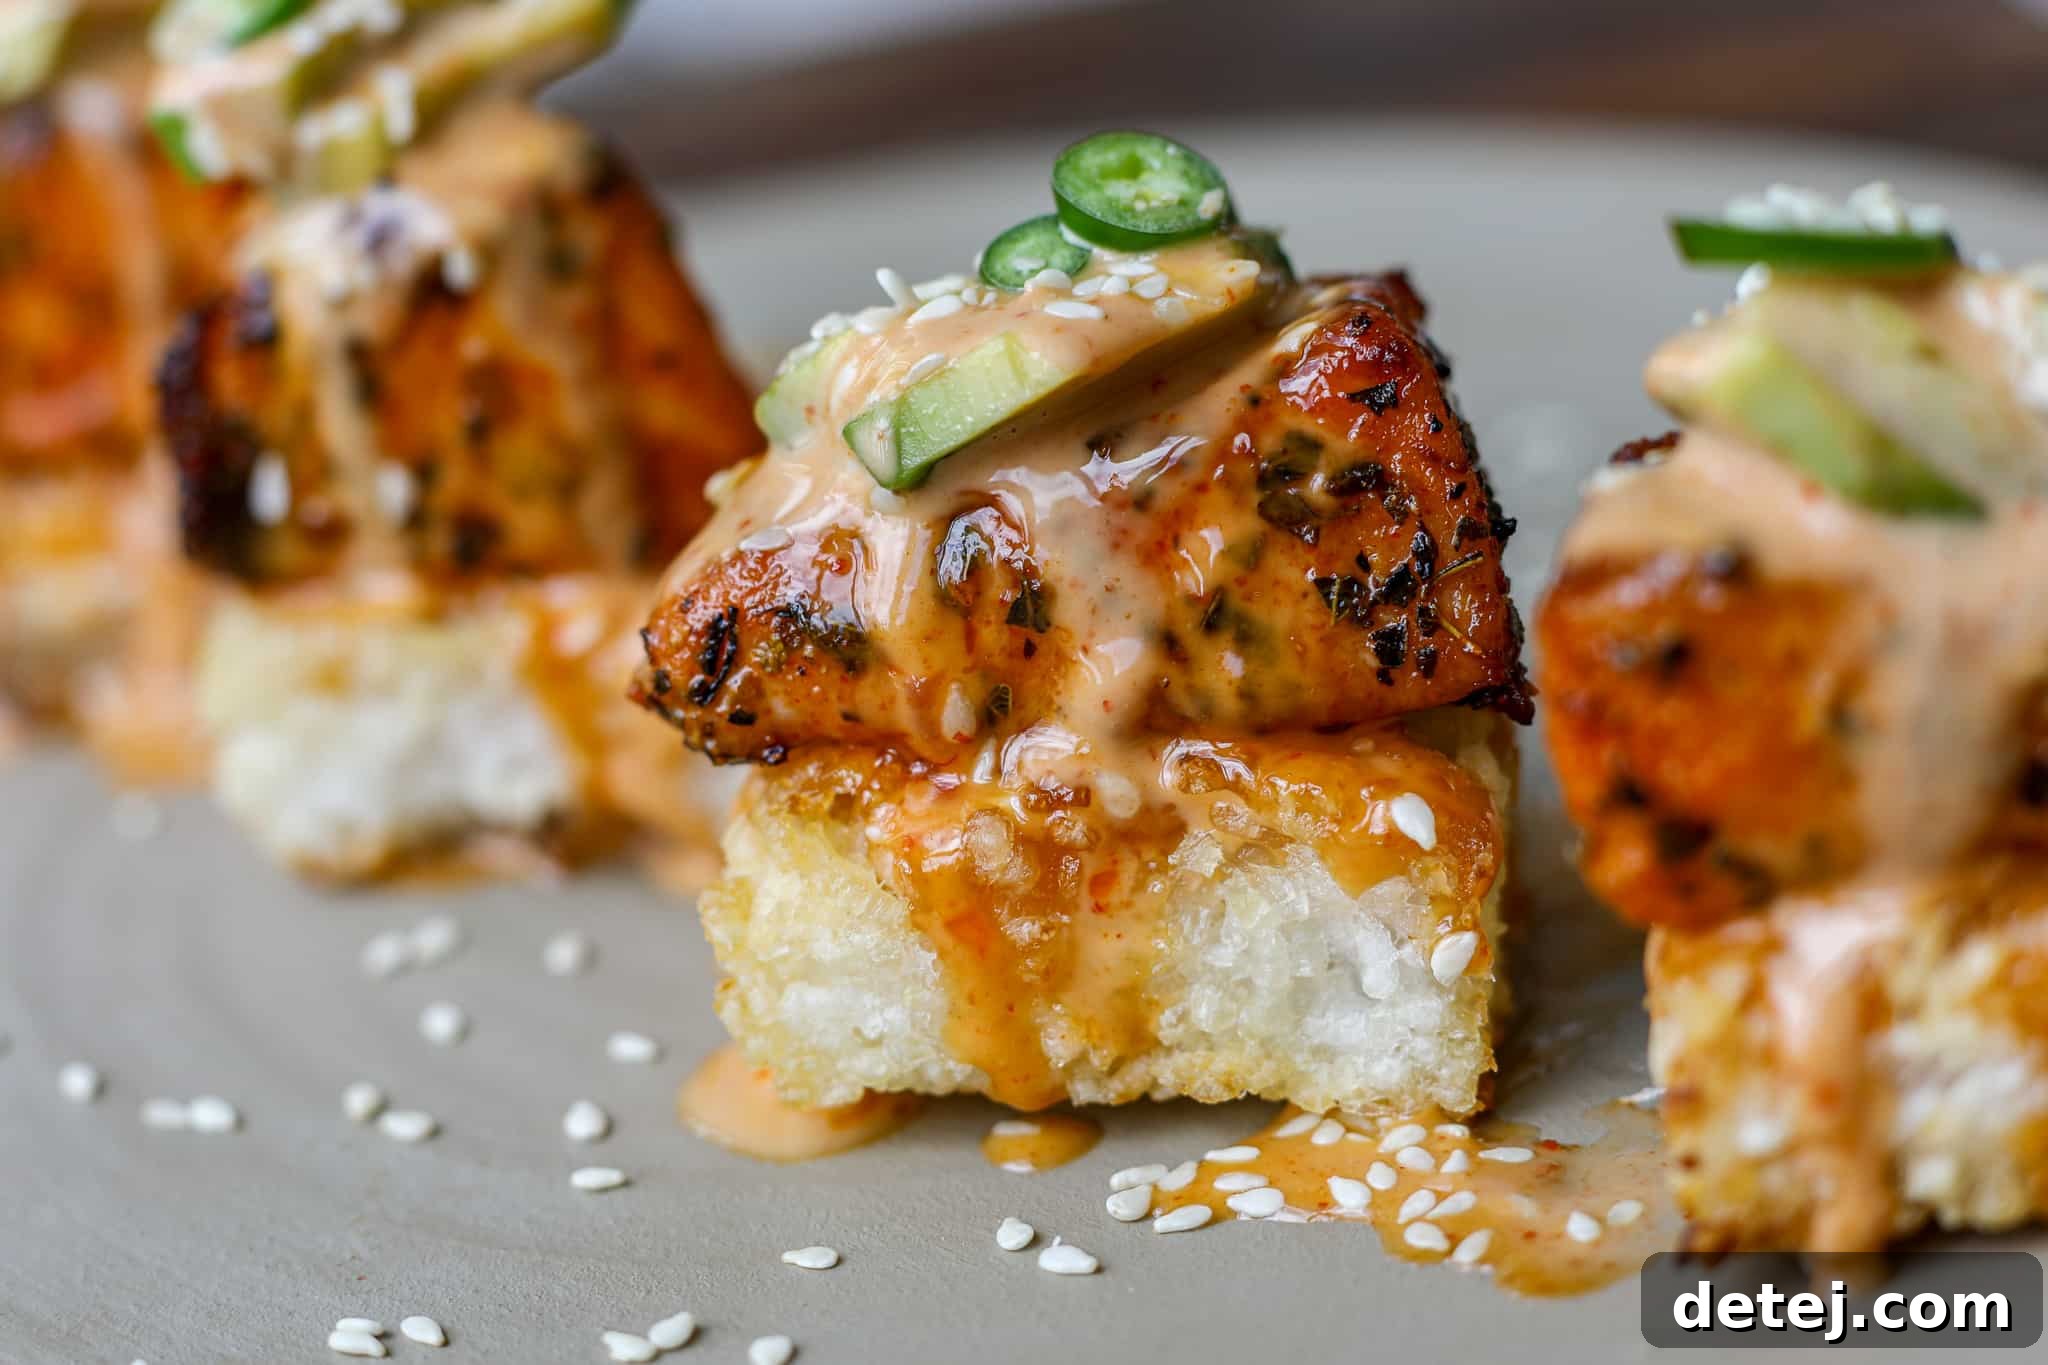
Air Fryer Spicy Salmon Crispy Rice: Your Ultimate Homemade Sushi Experience
Craving the vibrant flavors of a sushi restaurant but prefer the comfort of your own kitchen? Look no further! This incredible recipe brings you Spicy Salmon Crispy Rice, perfectly crafted in your air fryer. It’s a delightful fusion of textures and tastes, combining flaky, seasoned salmon with irresistibly crispy rice, all without needing to step out. Prepare for a flavor explosion that’s both satisfying and surprisingly simple to achieve at home.
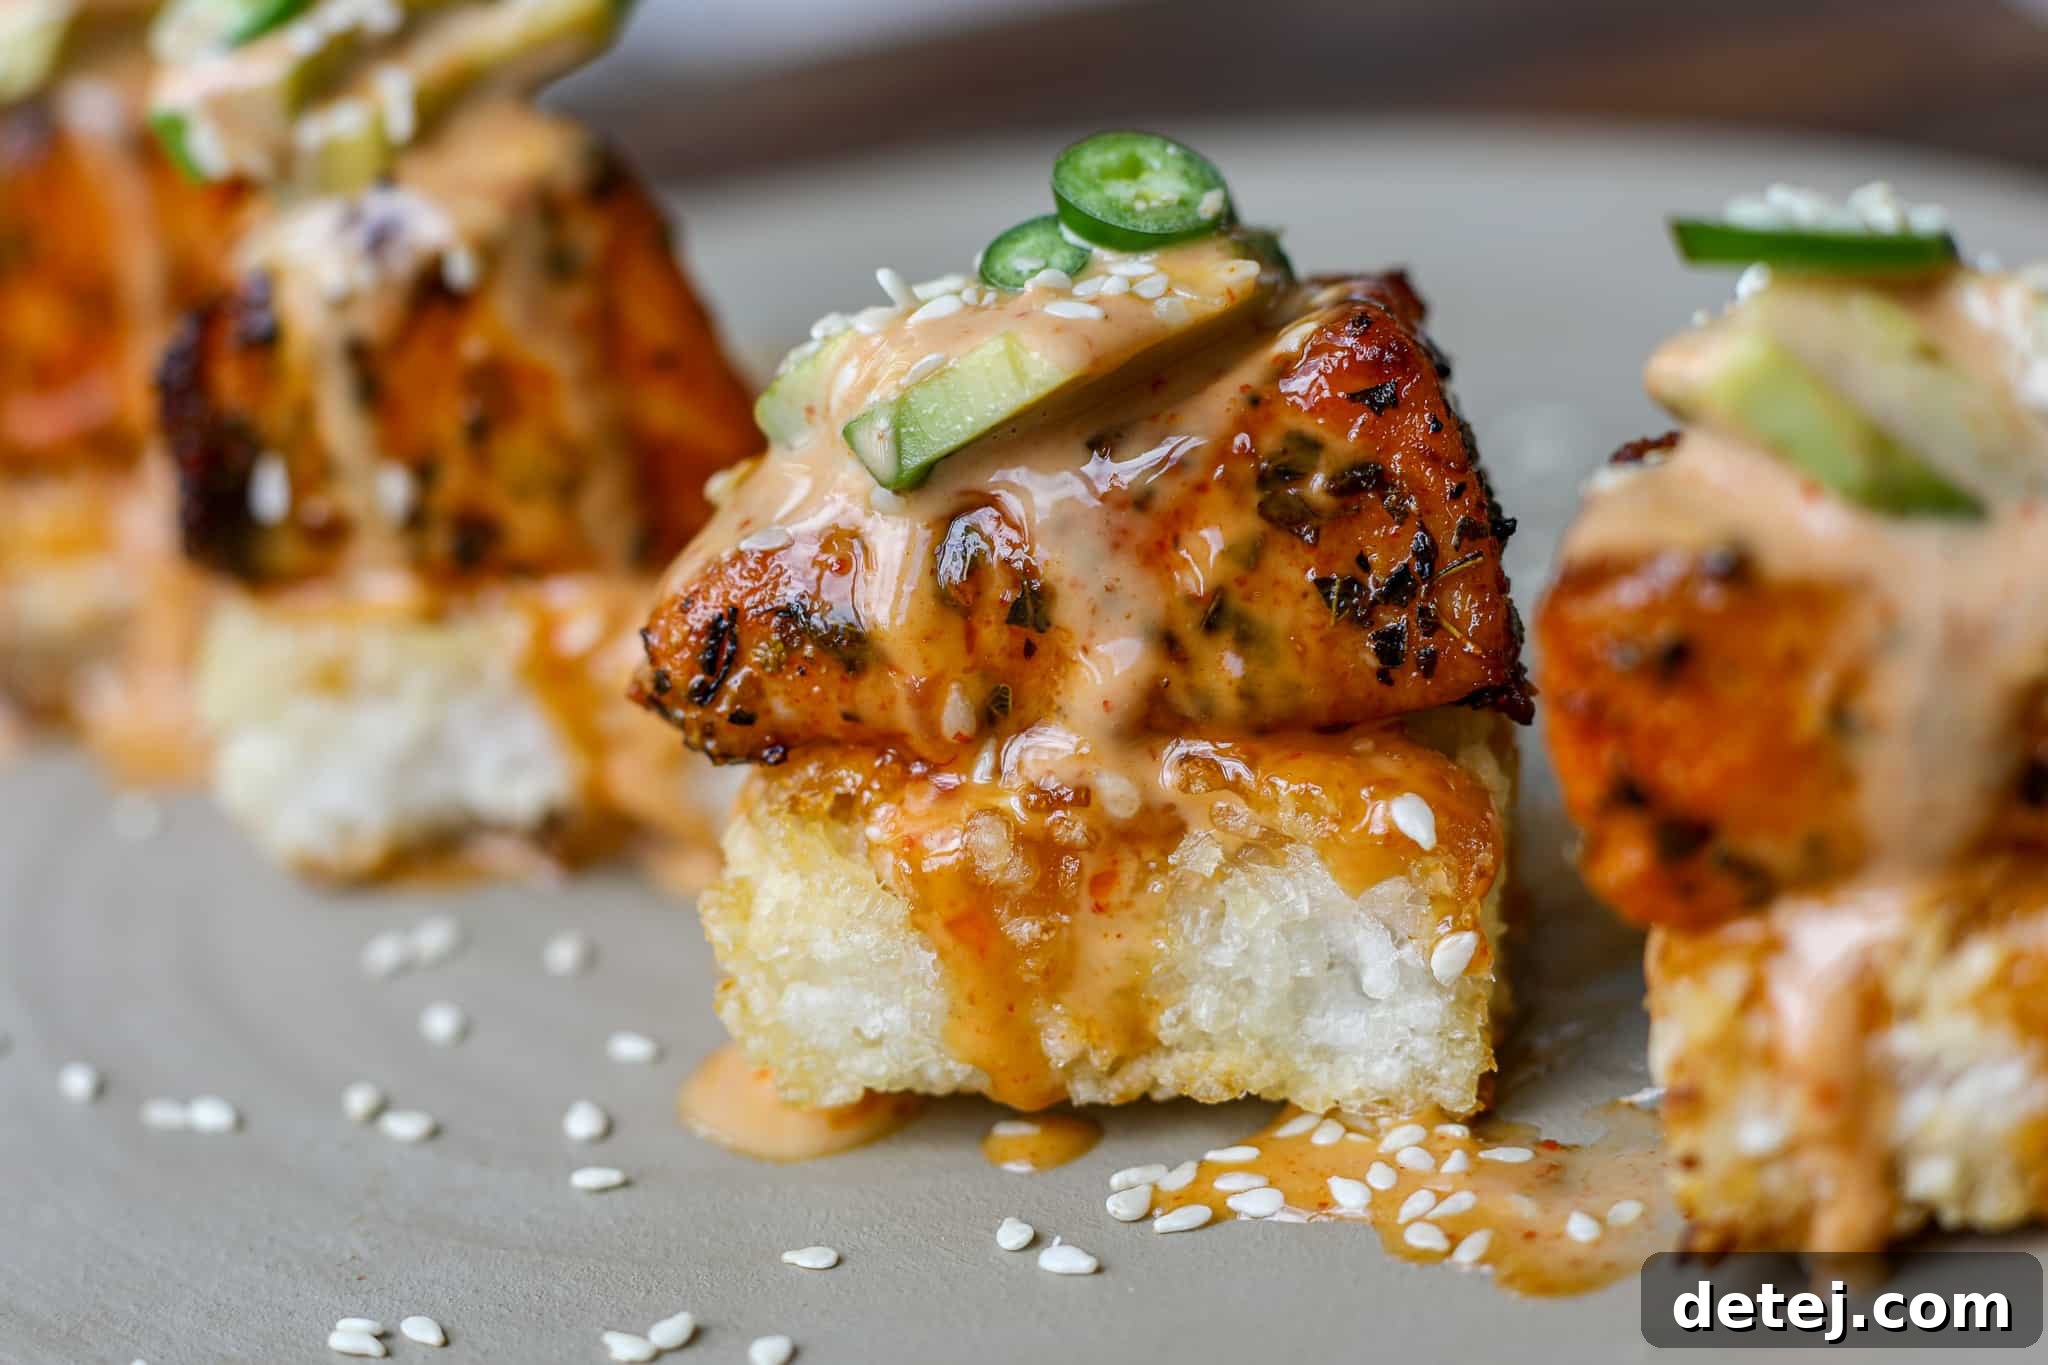
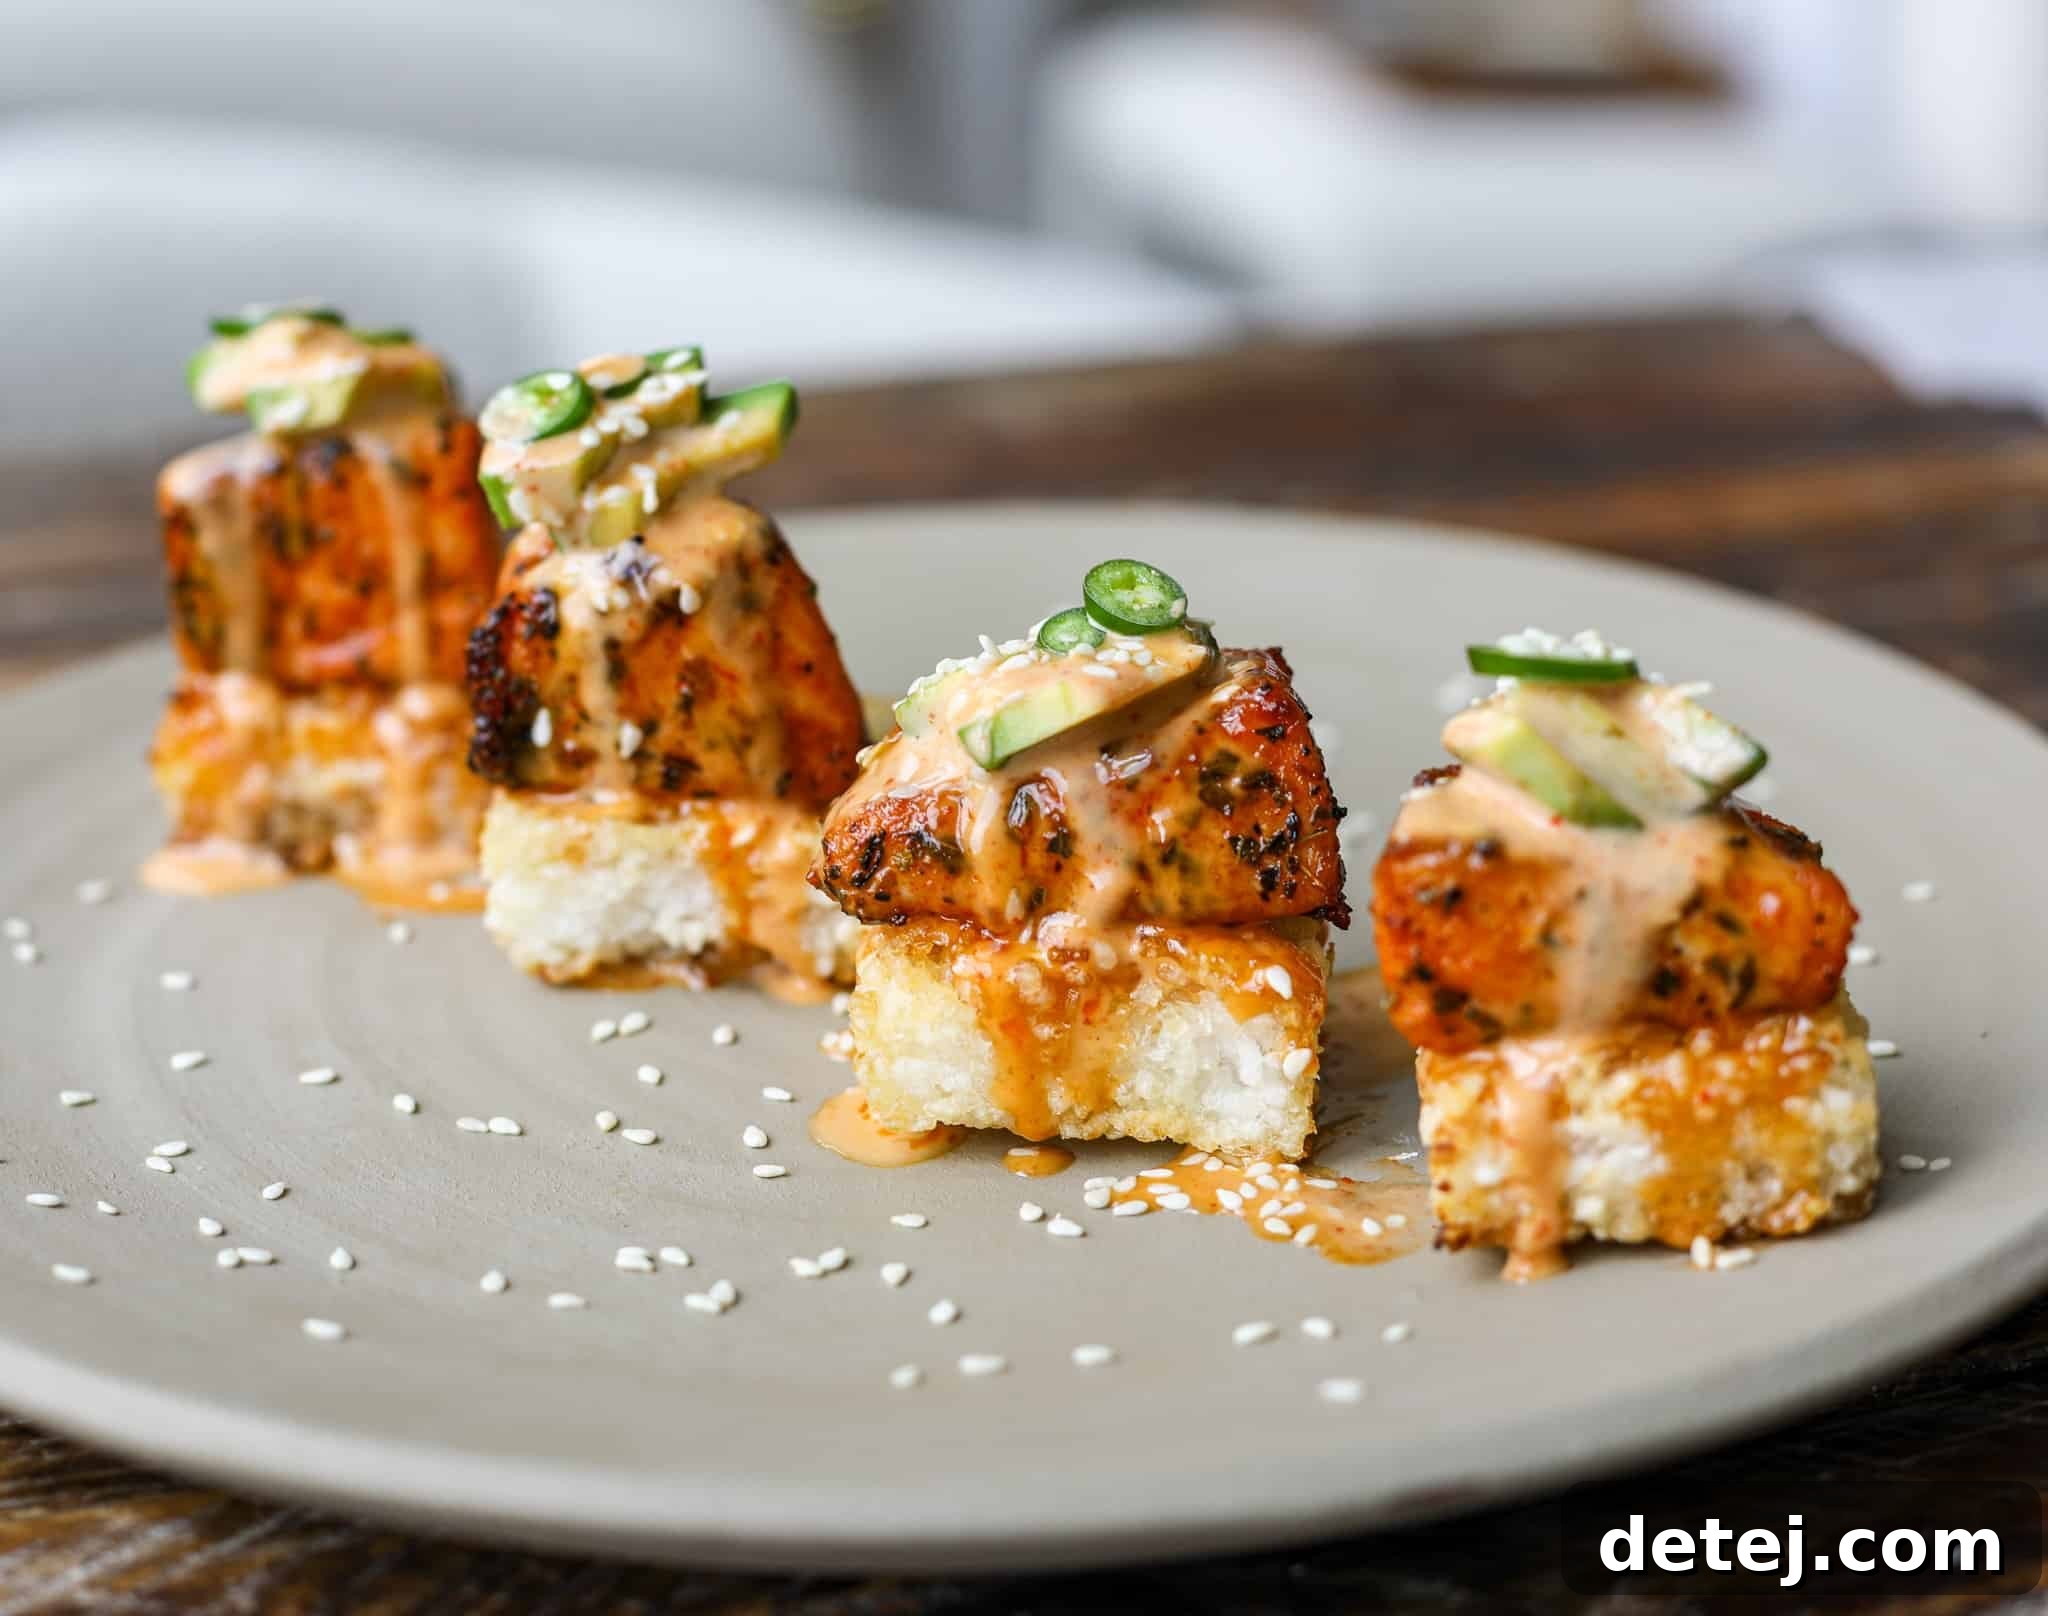
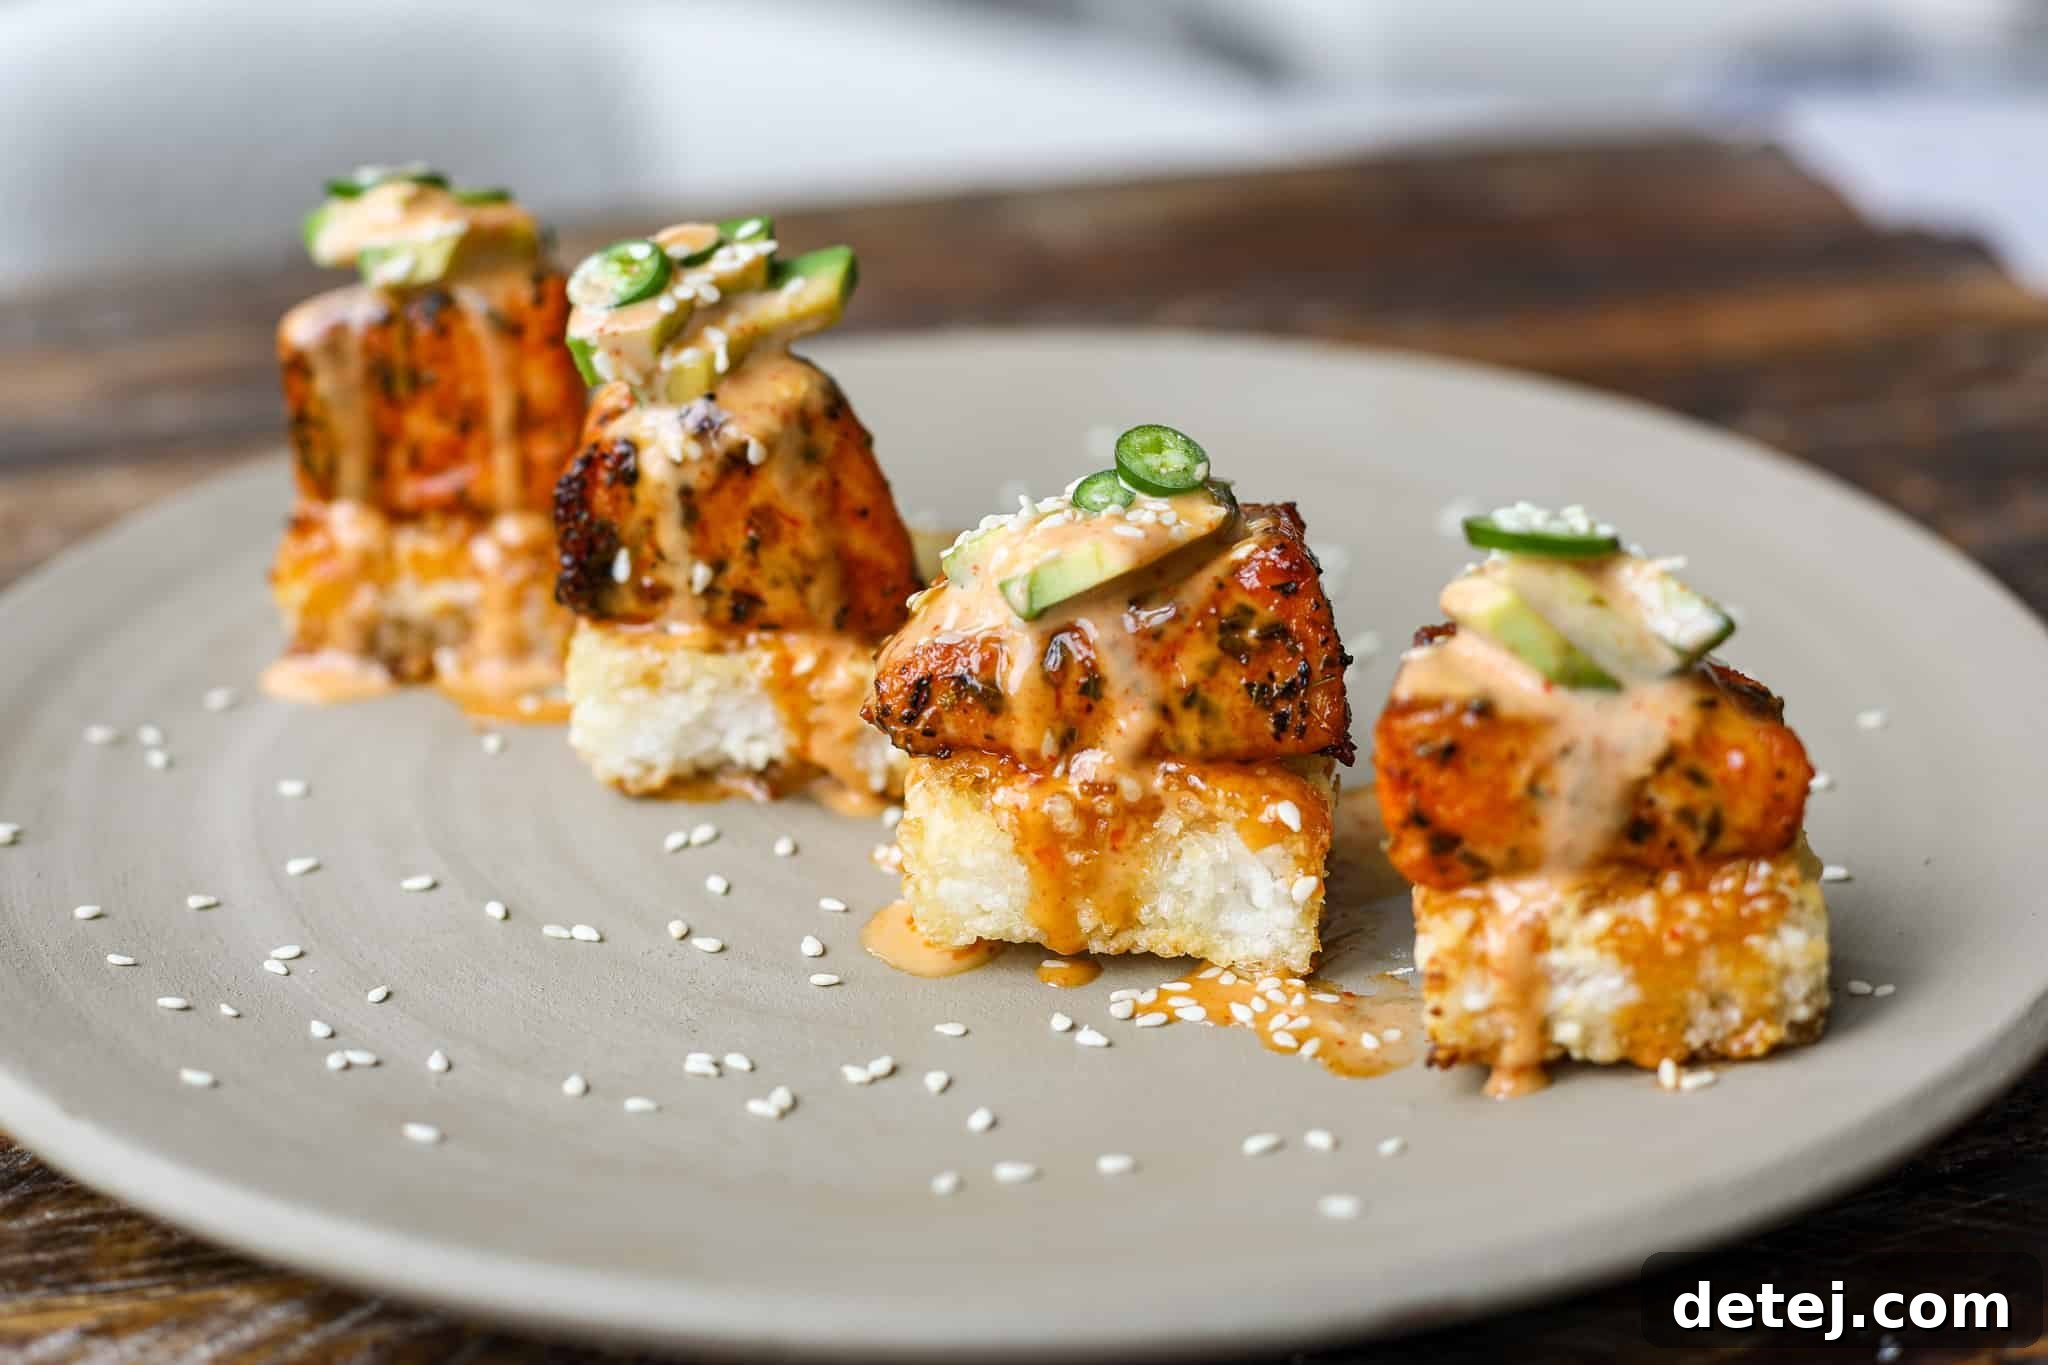
Elevate your culinary journey by topping this spicy salmon crispy rice with luscious, thinly sliced avocado, the bright heat of serrano peppers, a generous drizzle of our signature spicy creamy sauce, and a sprinkle of toasted sesame seeds. This combination creates the ultimate flavor bomb, promising a mouth-watering experience with every bite. Don’t just take our word for it—try this amazing recipe yourself and share your delicious results!
What Type of Rice to Buy for Crispy Perfection
Achieving the perfect crispy rice texture is paramount for this dish, and it all starts with the right foundation: sushi rice. When you’re at the grocery store, be sure to look for short-grain sushi rice. Its unique starch composition is what allows it to become wonderfully sticky when cooked, then beautifully crispy when air-fried or shallow-fried.
It’s crucial not to confuse sushi rice with sticky rice (also known as glutinous rice). While both are, well, sticky, they are totally different products with distinct characteristics. Sticky rice, often used in Southeast Asian cuisine, will yield a much softer, chewier texture that won’t crisp up in the same way, fundamentally altering the desired result of this recipe. For an authentic and satisfying spicy salmon crispy rice experience, short-grain sushi rice is non-negotiable.
Essential Recipe Ingredients
Gathering the right ingredients is the first step towards creating this delightful sushi-inspired dish. Here’s a breakdown of what you’ll need, along with tips for each component:
- Rice: This recipe utilizes 2 cups of dry, short-grain sushi rice. After cooking, it’s seasoned with rice vinegar, a touch of cane sugar, and a pinch of kosher salt. This seasoning not only enhances the flavor but also helps create the ideal sticky base for crisping.
- Salmon: You’ll need 1.5-2 pounds of high-quality salmon. Before cubing, ensure you meticulously remove any pin bones and carefully take off the skin. Cubing the salmon allows for even cooking and perfect bite-sized pieces that sit beautifully atop the crispy rice. The cubed salmon will then be coated in a flavorful homemade spice rub.
- Spice Rub: Our custom spice rub is a blend of garlic powder, onion powder, paprika for color and warmth, a hint of cayenne for a gentle kick, dried oregano for aromatic depth, kosher salt, and freshly ground black pepper. Mix these together until they are thoroughly combined, creating a uniform coating for your salmon.
- Spicy Creamy Sauce: This irresistible sauce brings everything together. It’s a simple yet incredibly flavorful combination of rich Kewpie mayonnaise, low-sodium soy sauce for umami, sriracha for that iconic spicy kick, and a touch of maple syrup to balance the heat with a hint of sweetness. Whisk until smooth and refrigerate until it’s time to drizzle.
- Toppings: The beauty of crispy rice is its versatility for toppings. While we recommend sliced avocado, crisp cucumber, toasted sesame seeds, and thinly sliced serrano peppers for extra heat, feel free to customize! Fresh cilantro also adds a lovely herbaceous note. Choose what you enjoy most to make this dish truly your own!
Creative Variations and Topping Ideas
One of the best aspects of this Spicy Salmon Crispy Rice recipe is its adaptability. While the core components are fantastic, there’s ample room to experiment and customize it to your liking:
- Switch up the toppings: Beyond our recommended avocado and serrano peppers, consider adding thinly sliced cucumber for a refreshing crunch, fresh cilantro for an herbal burst, or a dollop of chili crisp for an extra layer of texture and intense savory heat. Other great options include finely diced jalapeños, a squeeze of lime juice for acidity, or even a sprinkle of chopped scallions. Feel free to explore your favorite sushi roll toppings and incorporate them here!
- Protein alternatives: While salmon is a star, this recipe is incredibly versatile. For a different flavor profile, try using cooked shrimp, finely diced tuna (for a spicy tuna crispy rice!), or even grilled chicken. Ensure any protein is cooked, seasoned, and diced to a similar size as the salmon for optimal presentation and ease of eating.
- Sauce modifications: Adjust the heat level of the spicy creamy sauce by varying the amount of sriracha. For a less spicy option, reduce the sriracha or add a squeeze of lime juice for brightness. If you enjoy a touch more sweetness, a little extra maple syrup can balance the flavors beautifully. You could also explore other creamy sauces like a simple sriracha mayo or a sweet chili mayo.
Step-by-Step Guide: How to Make Spicy Salmon Crispy Rice
Creating this delicious dish involves a few distinct stages, each contributing to the final harmony of flavors and textures. Follow these steps carefully for the best results:
1. Prepare the Aromatic Spice Rub
In a small mixing bowl, combine garlic powder, onion powder, dried oregano, paprika, cayenne pepper (adjust to your preferred spice level), kosher salt, and freshly ground black pepper. Whisk these ingredients together until they are thoroughly blended and uniform. Set this flavorful mixture aside; it will be used to season the salmon.
2. Craft the Irresistible Spicy Creamy Sauce
In another small mixing bowl, combine the Kewpie mayonnaise, low-sodium soy sauce, sriracha, and maple syrup. Whisk diligently until all ingredients are well combined and the sauce is perfectly smooth and creamy. For convenient drizzling later, transfer the sauce to a squeeze bottle if you have one. Cover and refrigerate until you are ready to assemble your crispy rice, allowing the flavors to meld.
3. Master the Sushi Rice Preparation
The foundation of crispy rice is perfectly cooked and seasoned sushi rice. Here’s how to achieve it:
- Start by lining a 9×5-inch baking dish with parchment paper, allowing some overhang on the sides for easy removal later. Set this dish aside. While you can follow the package instructions for cooking sushi rice, some brands can be a bit vague. The following steps outline my preferred method for consistent results.
- Measure out 2 cups of dry, short-grain sushi rice. Place the rice in a mesh strainer and rinse it thoroughly under cold running water. Continue rinsing until the water runs completely clear, which typically takes about 5-6 minutes. This step is crucial for removing excess starch, preventing overly gummy rice, and ensuring distinct, firm grains.
- Once rinsed, let the rice rest in the strainer for a few minutes to drain any remaining water. Meanwhile, add 2.5 cups of water to a 3-quart pot. Bring the water to a rolling boil over high heat, then add the rinsed rice to the pot.
- As soon as the rice and water return to a boil, cover the pot tightly with a lid and immediately reduce the heat to its lowest setting. Allow the rice to simmer undisturbed for 12-14 minutes, or until all the water has been absorbed. Resist the temptation to lift the lid during this period, as it releases steam crucial for proper cooking.
- Once the rice is tender and has absorbed all the liquid (usually around 12-14 minutes), remove the pot from the heat. Keep the lid on and let the rice rest for another 10 minutes. This resting period allows the steam to redistribute, resulting in perfectly fluffy grains.
- While the rice rests, prepare the seasoning mixture: in a small bowl, combine the rice vinegar, cane sugar, and a pinch of kosher salt. Mix well until the sugar completely dissolves. This creates a balanced sweet-sour flavor profile for your sushi rice.
- After the rice has rested, gently pour the vinegar mixture over it. Using a rice paddle or a rubber spatula, delicately fluff and fold the rice to incorporate the seasoning evenly. This process is called “seasoning the rice” and is essential for authentic sushi flavor. For those making a smaller batch (e.g., 1 cup of dry rice), remember to adjust the seasoning: use 1 tablespoon rice vinegar, 1 teaspoon cane sugar, and a pinch of kosher salt.
- Transfer the hot, seasoned rice into the prepared 9×5-inch baking dish lined with parchment paper. Use your spatula or rice paddle to press the rice down very firmly and evenly into the dish. The goal is a compact layer about ½ to ¾ inch thick. For easier pressing without sticking, you can place another piece of parchment paper on top of the rice before applying pressure.
- Once the rice is densely packed, cover the dish with parchment paper or plastic wrap and place it in the refrigerator for at least 1 hour to cool completely. This chilling period is vital, as it allows the rice to firm up, making it easier to slice and ensuring it holds its shape during air frying. If you’re using 1 cup of dry rice, remember to use a smaller baking dish to maintain the desired thickness.
- After chilling, remove the rice from the refrigerator. Use the parchment paper overhangs to carefully lift the entire block of rice from the baking dish. Place it on a clean cutting board and, using a sharp, wet knife, slice it into uniform squares. From 2 cups of dry rice, you should be able to yield approximately 24 crispy rice squares. One cup of dry rice typically yields about 12 cooked rice squares.
4. Air Fry the Sushi Rice to Crispy Perfection
There are generally two popular methods to achieve crispy rice: shallow frying in hot oil or air frying. Today, we’re focusing on the air frying method, which offers a lighter, less greasy, yet equally delicious result.
- Preheat your air fryer to 380°F (195°C). While it heats up, lightly spray the air fryer basket with a non-stick cooking spray, such as avocado oil spray. This prevents the rice from sticking.
- Arrange a single layer of your chilled rice squares in the preheated air fryer basket, ensuring they do not overlap. Overlapping will prevent even crisping. Generously spray the top of the rice squares with avocado oil spray.
- Air fry for 16 minutes, making sure to flip the squares halfway through the cooking time. When you flip them, be sure to generously spray the second side with avocado oil spray as well. This double spray ensures an even golden crisp on both sides.
- Upon completion, you’ll have perfectly crispy rice squares – beautifully crunchy on the outside and wonderfully soft in the center. While air-fried crispy rice may not achieve the deep golden-brown color of shallow-fried versions, its texture is absolutely perfect and delightful.
- Immediately transfer the crispy sushi rice squares to a wire rack to cool. Placing them on a rack is important, as it allows air circulation and prevents condensation, which could make the bottoms soggy as they cool.
- Remember that air frying times can vary slightly depending on the exact size and thickness of your rice squares, as well as the specific model and wattage of your air fryer. Keep an eye on them during the last few minutes to prevent over-crisping or burning.
5. Prepare and Season the Salmon
While your rice is crisping, prepare your salmon for cooking:
- Begin by carefully inspecting your salmon fillet for any lingering pin bones and gently remove them with tweezers if found. Then, meticulously remove the skin from the fillet.
- Once clean, cube the salmon into uniform, bite-sized pieces. Aim for a size that will easily fit and balance on top of your crispy rice squares.
- Transfer the cubed salmon to a mixing bowl. Add the prepared spice rub and toss gently but thoroughly, ensuring each piece of salmon is well coated with the aromatic seasoning.
6. Air Fry the Seasoned Salmon
Cooking the salmon in the air fryer ensures it’s tender, flaky, and full of flavor:
- Preheat your air fryer to 400°F (200°C).
- Arrange the seasoned cubed salmon in a single layer in the air fryer basket. Avoid overcrowding the basket, as this can steam the salmon instead of air frying it, leading to less desirable texture. Depending on the size of your air fryer, you may need to cook the salmon in two or more batches.
- Lightly spray the salmon with avocado oil spray to promote even cooking and a slight crispness.
- Air fry for 5-7 minutes. The exact cooking time will depend on the thickness of your salmon cubes and your desired level of doneness. Salmon is perfectly cooked when it flakes easily with a fork and reaches an internal temperature of 145°F (63°C).
7. Assemble Your Spicy Salmon Crispy Rice
With all your components ready, it’s time for the exciting final step:
Lay out your freshly air-fried crispy rice squares on a serving platter. Carefully place a few pieces of the cooked, seasoned salmon onto each rice square. Generously top each with thinly sliced avocado, a drizzle of your prepared spicy creamy sauce, a scattering of fresh, thinly sliced serrano peppers for an extra pop of heat, and a sprinkle of toasted sesame seeds for aroma and crunch. Serve immediately and enjoy this spectacular homemade sushi-inspired treat!
Storage Instructions
While this dish is best enjoyed fresh, here’s how to store leftovers:
- Crispy Rice: Extra crispy rice squares are best stored in an airtight container in the refrigerator for up to 3 days. To restore their crispness, reheat them in the oven or air fryer until warmed through and re-crisped. Microwaving is not recommended as it will make them soft.
- Salmon: Store any leftover cooked salmon in an airtight container in the refrigerator for up to 4 days. Reheat gently in the microwave or air fryer until warmed through.
- Spicy Creamy Sauce: The spicy creamy sauce can be stored separately in an airtight container in the refrigerator for up to 5 days. Give it a quick whisk before serving if it has separated slightly.
Frequently Asked Questions
In my experience, shallow frying the rice can sometimes feel easier because you have direct visual control over the browning and crisping process. You can easily monitor its doneness, adjusting heat and timing precisely. However, air frying offers a healthier alternative with less oil and hands-on attention, though it might require a few attempts to master your specific air fryer’s nuances for optimal crispness.
Absolutely! This recipe is wonderfully adaptable. While salmon is a fantastic choice, you can easily substitute it with other proteins. Cooked shrimp is an excellent alternative, offering a similar texture and marine flavor. You could also try finely diced seared tuna, cooked chicken, or even plant-based options like firm tofu or tempeh, all seasoned with a complementary spice rub and cooked to perfection.
Rinsing sushi rice thoroughly under cold water is a critical step. It washes away excess starch from the surface of the grains. If not rinsed, this starch can make your cooked rice overly gummy and pasty. A proper rinse ensures that the rice grains cook separately yet remain slightly sticky, which is ideal for forming the compact squares that will become crispy. This also contributes to a cleaner, more pleasant texture for your crispy rice.
Several factors contribute to perfectly crispy yet tender rice squares. First, ensure your rice is properly chilled and firmly pressed before air frying, as this density helps it hold shape and crisp evenly. Second, don’t overcrowd the air fryer basket; allow air to circulate around each piece. Third, generously spray both sides with avocado oil spray – this helps achieve that golden crispness. Finally, place the hot crispy rice on a wire rack immediately after cooking to prevent steam from making the bottoms soggy.
More Delicious Salmon Recipes to Explore
If you’re a fan of salmon, there’s a world of culinary delights waiting for you! Here are some other fantastic salmon recipes to inspire your next meal:
- Four Ingredient Salmon Burgers
- Crispy Smashed Salmon Salad
- Air Fryer Spicy Hasselback Salmon
- Pan Seared Salmon with Creamed Spinach
- Salmon Tacos with Apple Cabbage Slaw
- Air Fryer Spinach and Feta Stuffed Hasselback Salmon
- Air Fryer Summer Salmon
- Air Fryer Spicy Garlic Dijon Salmon

Air Fryer Spicy Salmon Crispy Rice
Sarah Thomas-Drawbaugh
Yield:
24
pieces
1 hour
30 minutes
30 minutes
2 hours
Pin Recipe
Leave a Review »
Equipment
- 1 mesh strainer
- 1 3-quart pot with lid
- 3 mixing bowls
- 1 air fryer
Ingredients
Rice
- 2 cups dry sushi rice, short grain
- 2 tablespoons rice vinegar
- 2 teaspoons cane sugar
- pinch kosher salt
Salmon
- 1.5 – 2 lbs. salmon, remove pin bones and skin, cube
- 1.5 teaspoons dried oregano
- ¾ teaspoon paprika
- ¾ teaspoon garlic powder
- ¼ teaspoon onion powder
- ¼ teaspoon cayenne
- kosher salt, to season, about 1/2 teaspoon
- black pepper, to season
SPICY CREAMY SAUCE
- ¼ cup kewpie mayonnaise
- 1 tablespoons sriracha
- 1.5 teaspoons low sodium soy sauce
- 1-2 teaspoons maple syrup
Instructions
How to Make Air Fryer Spicy Salmon Crispy Rice
Combine the Spice Rub
-
Combine garlic powder, onion powder, dried oregano, paprika, cayenne pepper, kosher salt, and black pepper in a small mixing bowl. Set aside.
Make the Spicy Creamy Sauce
-
Combine kewpie mayonnaise, low sodium soy sauce, sriracha, and maple syrup in a small mixing bowl. Whisk until well combined. Option to add it to a squeeze bottle for easy squeezing. Refrigerate until ready to use.
Make the Sushi Rice
-
Line a 9×5-inch baking dish with parchment paper. Set it aside. Make the sushi rice according to the package.
However, sometimes the directions on the package are not very clear. Which is why I’ve included the steps I followed to make my sushi rice.
-
Portion out 2 cups of dry, short grain sushi rice. Add it to a mesh strainer and rinse under cold water until the water runs clear. This will take about 5-6 minutes. Let the rice rest for a few minutes while the remaining water drains out.
-
Next, add 2.5 cups of water to a 3-quart pot. Bring the water to a boil and add the rice. Once the rice and water are boiling, cover with a lid and reduce the heat to low. Let it simmer for 12-14 minutes or until the rice has absorbed all the water. (1.25 cups water per cup of dry rice)
-
As tempting as it might be, DO NOT lift the lid until you’ve reached at least 12 minutes. Once the rice is tender and has absorbed all the water, remove it from the heat and let it rest covered for 10 minutes.
While the rice is resting, combine the rice vinegar, cane sugar and kosher salt. Mix well until the sugar dissolves. Once the rice has rested, pour the vinegar mixture over the rice and gently fluff the rice with a rice paddle or rubber spatula to incorporate it. This is called seasoning the rice and it will add great flavor.
Keep in mind, that if you’re making 1 cup of dry rice, you’ll use 1 tablespoon rice vinegar, 1 teaspoon cane sugar and a pinch salt.
-
Now that the rice is seasoned, add the hot rice to a 9×5-inch baking dish that’s been lined with parchment paper. Use a spatula or rice paddle to press the rice firmly into the dish. You’ll want the rice to be ½ – ¾ -inch thick. Option to use another piece of parchment paper to press the rice without sticking.
Once it’s well pressed into the dish, cover with parchment paper and place in the refrigerator for 1 hour to cool.
Keep in mind, that if you’re making one cup of dry rice, you’ll need to use a smaller baking dish when pressing the rice down, so it doesn’t get too thin.
-
Remove the rice from the refrigerator and pull it out from the dish using the sides of the parchment. Slice it into squares. I was able to get 24 squares.
Keep in mind, that 1 cup of dry rice will yield about 12 cooked rice squares.
Air Fry the Sushi Rice
-
There are 2 ways to make the rice crispy. One is to shallow fry the squares in a hot neutral oil. The second is what we are focusing on today, which is air frying. Air frying the squares will keep them light, but just as delicious.
-
Preheat the air fryer to 380 degrees. Once it is hot, spray the basket with avocado oil spray. Add a layer of rice squares making sure they do not overlap. Spray them generously with avocado oil spray. Air fry for 16 minutes turning halfway through.
BE SURE to spray the second side with avocado oil spray once you turn them over. Also, DO NOT overcrowd the basket.
-
Place the crispy sushi rice on a wire rack to cool. This will prevent it from getting soft on the bottom as it cools.
Keep in mind, that air frying time will slightly vary based on the size and thickness of your sushi rice squares and based on the type of air fryer you have at home.
Prepare the Salmon
-
Remove any pin bones from your salmon and carefully remove the skin. Cube the salmon into bite sized pieces that will easily fit on top of the crispy rice squares. Add the cubed salmon to a mixing bowl. Toss it with the spice rub and make sure the salmon is well coated.
Air Fry the Salmon
-
Preheat the air fryer to 400 degrees. Add the seasoned cubed salmon to the air fryer basket in one layer. You may need to work in batches depending on the size of your air fryer. Do not let the salmon overlap in the basket.
Spray it with avocado oil spray and air fry for 5-7 minutes depending on preferred doneness.
Assemble the Spicy Salmon Crispy Rice
-
Lay out your crispy rice squares. Add the cubed salmon to the squares, top with sliced avocado, spicy creamy sauce, sliced serrano peppers, and sesame seeds. Enjoy!
Video
Notes
Nutrition
Serving:
1
serving – includes one cripsy rice square, one piece of cooked salmon and a drizzle of spicy creamy sauce
,
Calories:
57
kcal
,
Carbohydrates:
13
g
,
Protein:
1
g
,
Fat:
0.1
g
,
Saturated Fat:
0.02
g
,
Polyunsaturated Fat:
0.03
g
,
Monounsaturated Fat:
0.03
g
,
Sodium:
1
mg
,
Potassium:
12
mg
,
Fiber:
0.4
g
,
Calcium:
2
mg
,
Iron:
0.2
mg
Appetizer
American
57
Sarah Thomas-Drawbaugh