
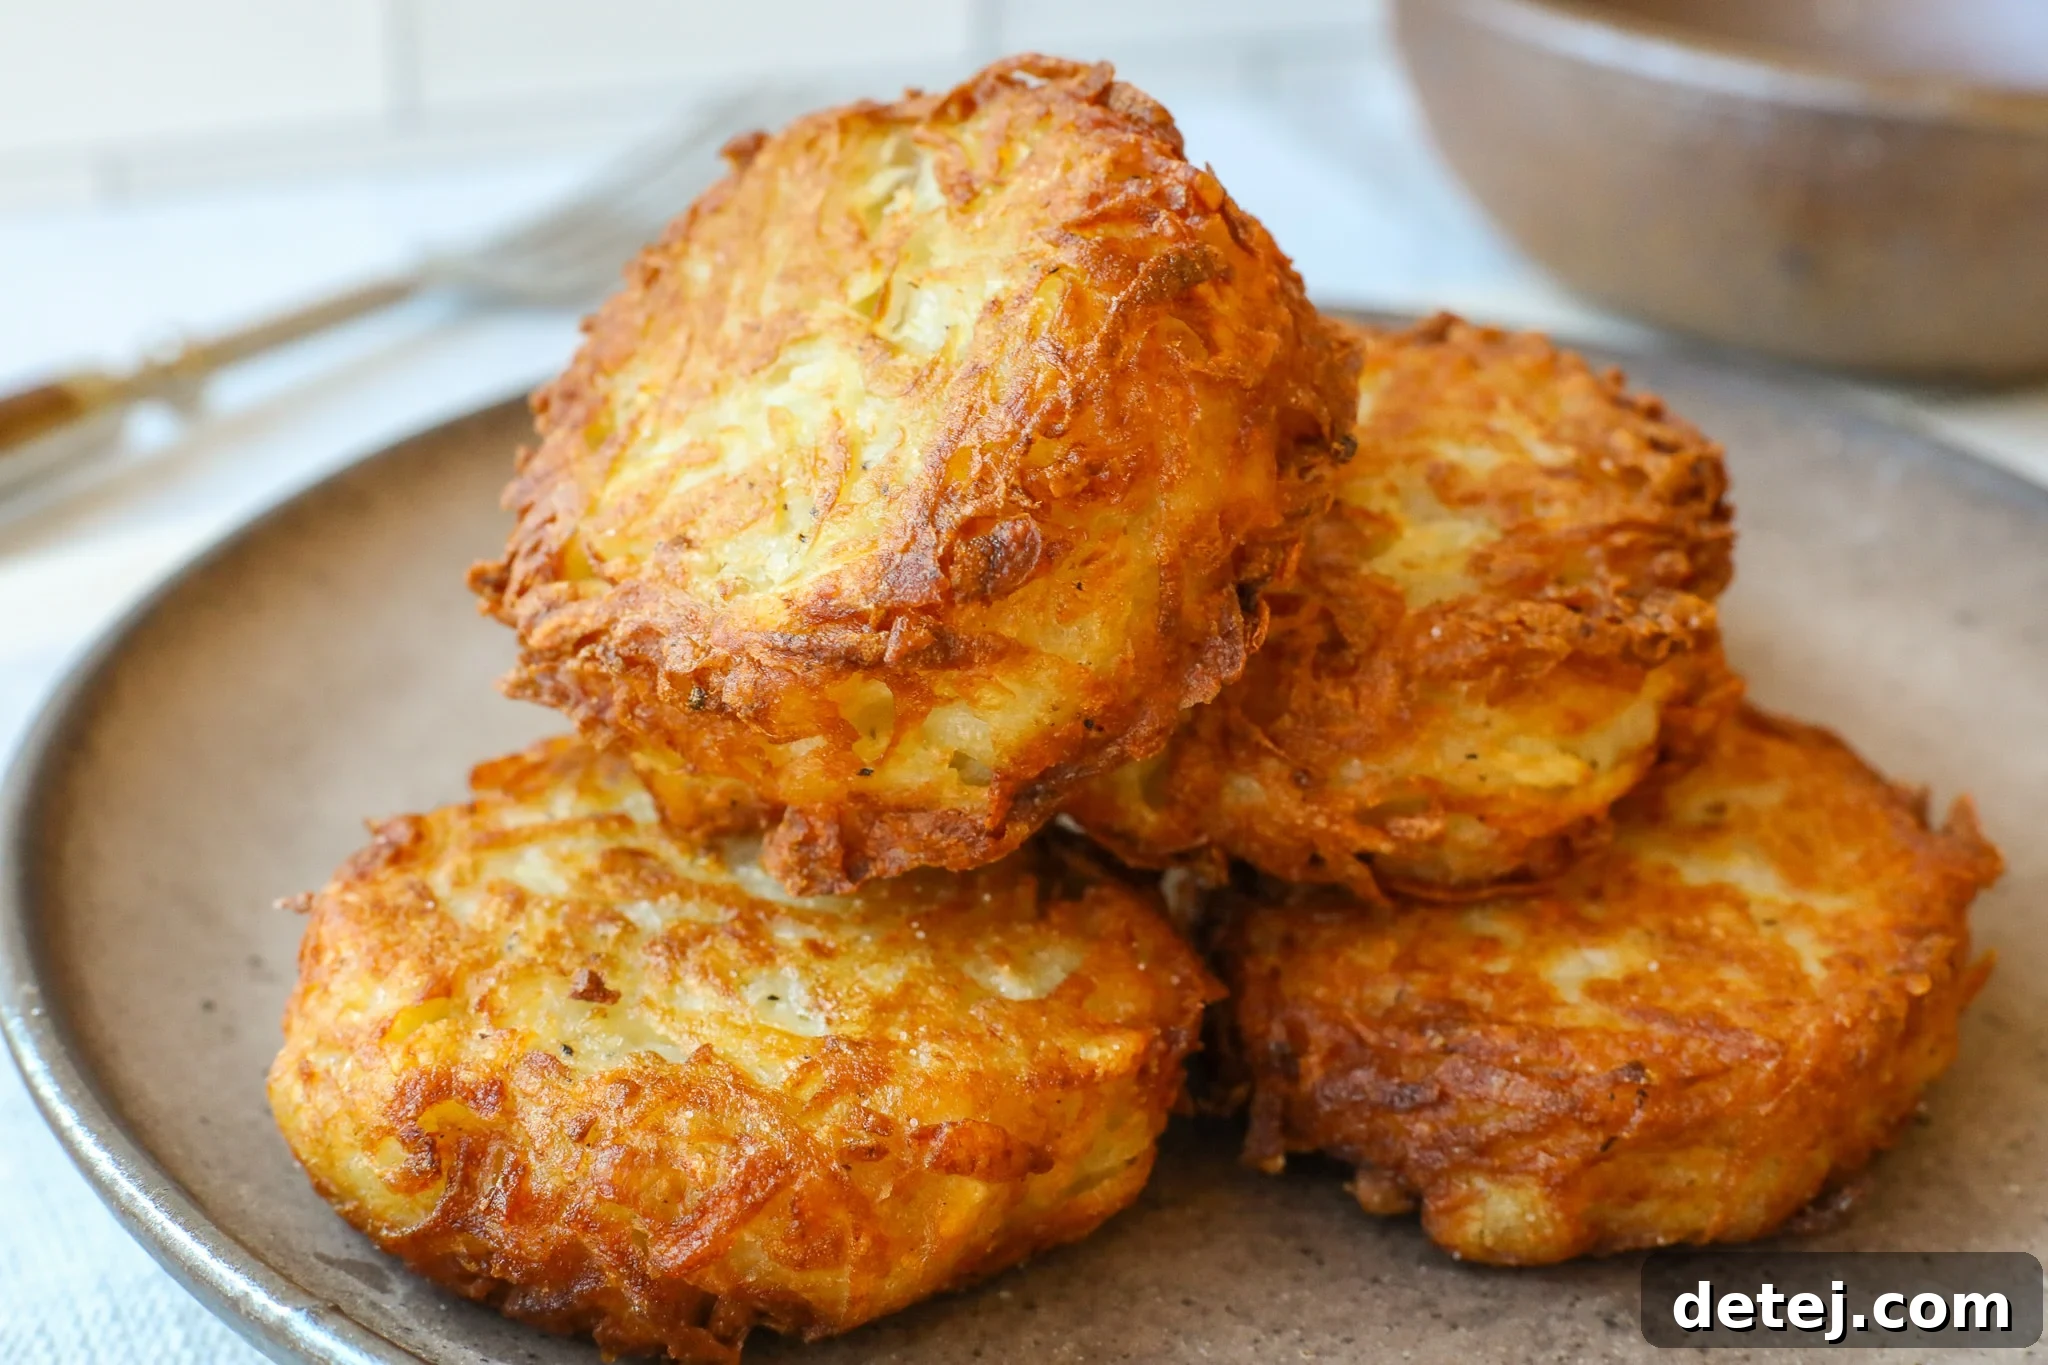
The Ultimate Guide to Making Crispy Homemade Hash Browns
Unlock the secrets to crafting incredibly crispy, golden-brown hash browns right in your own kitchen! Forget soggy, bland potatoes; this comprehensive guide will show you how to achieve that coveted restaurant-quality crunch with a soft, savory interior. Perfect for elevating any breakfast, brunch, or even as a unique side for dinner.
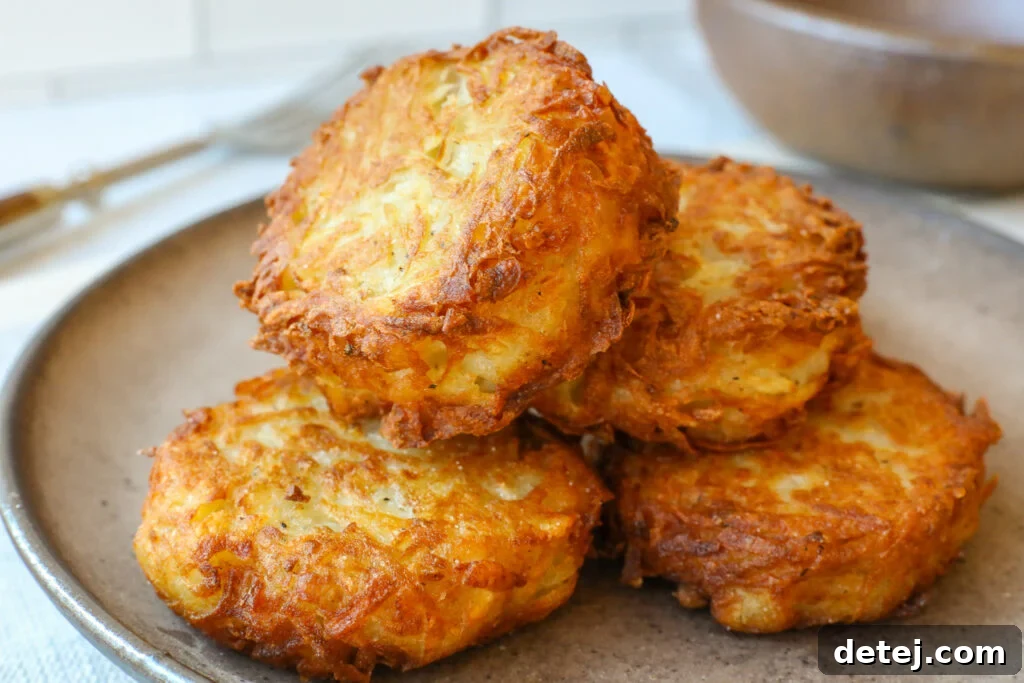
The Perfect Crispy Hash Browns Recipe
If you’ve ever dreamt of recreating those irresistible diner-style hash browns with their signature golden crust and fluffy interior, you’ve come to the right place. This recipe is meticulously designed to guide you through every step, transforming simple potatoes into a breakfast masterpiece. While it does involve a little preparation, the payoff in flavor and texture is immense, making it entirely worth the effort. Once you master this technique, you’ll wonder why you ever bought frozen hash browns!
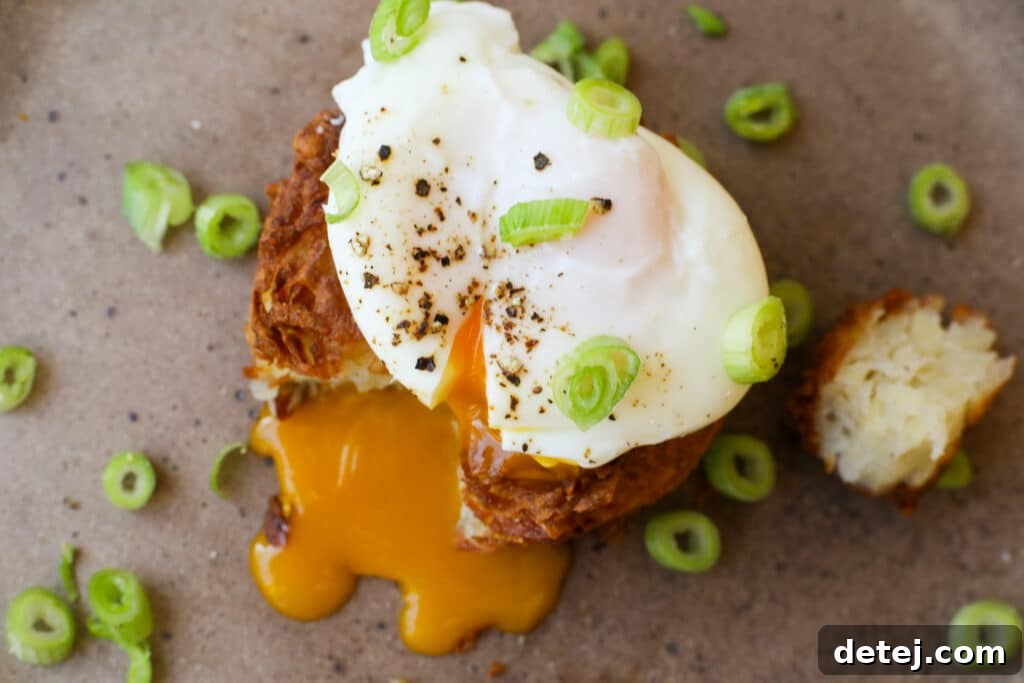
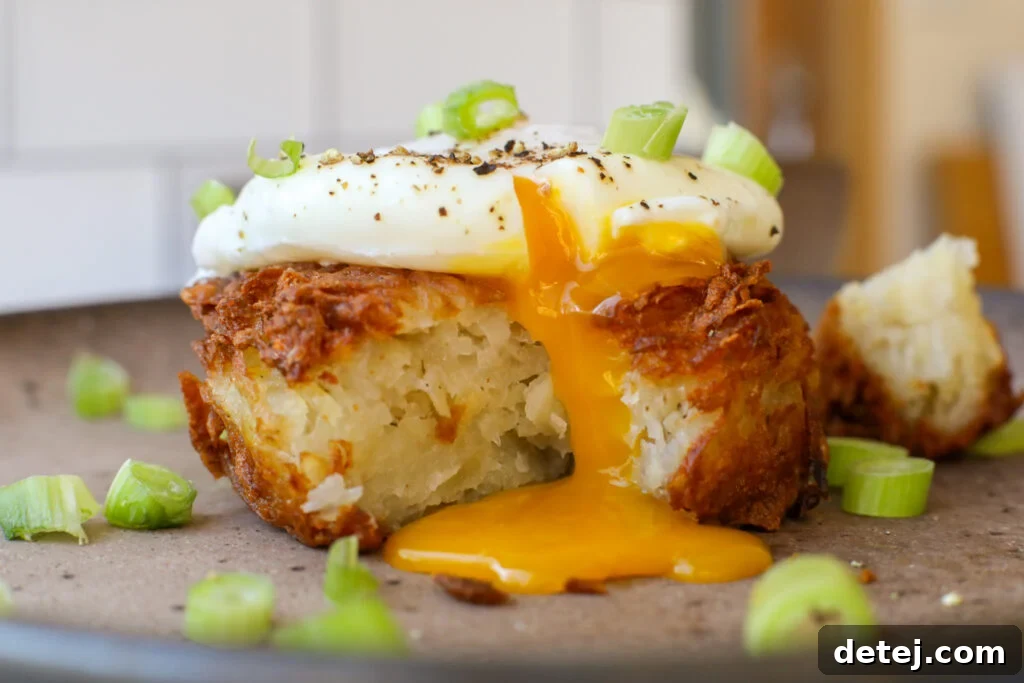
This recipe emphasizes a handful of key ingredients and precise techniques to ensure optimal crispiness and a rich, savory flavor. The result is a dish that’s not only incredibly delicious but also versatile enough to be enjoyed beyond breakfast. Imagine crisp hash browns complementing your favorite Egg Roll Ups or Easy Baked Eggs. Beyond traditional pairings, they can serve as an amazing base for runny poached eggs, luxurious smoked salmon, a dollop of cooling sour cream, or a kick of hot sauce. They’re a guaranteed crowd-pleaser for any occasion, from a busy weekday morning to a festive holiday brunch spread.
The beauty of homemade hash browns also lies in their ability to be prepared ahead of time, ensuring you can enjoy delicious, crispy potatoes whenever the craving strikes. With proper storage, leftovers are just as delightful, offering convenience without compromising on quality.
Choosing the Best Potatoes for Hash Browns: Russets Reign Supreme
The type of potato you select is paramount to achieving truly crispy hash browns. For that iconic golden, crunchy texture, starchy Russet potatoes are unequivocally the best choice. Their high starch content and relatively low moisture allow them to become incredibly dry and crisp when cooked, developing a beautiful exterior while remaining tender inside. When grated, their starch creates a natural binder that helps the hash browns hold their shape without becoming dense or gummy.
While Russets are ideal, you do have alternatives. Yukon Gold potatoes can also be used, though they are less starchy and more waxy. They tend to hold their shape better than Russets due to their waxy nature, but you’ll find they don’t achieve quite the same level of crispiness. If using Yukon Golds, ensure you dry them even more thoroughly than Russets to compensate for their higher moisture content. Other waxy varieties like red potatoes or new potatoes are generally not recommended for hash browns as they tend to be too moist and lack the starch needed for that characteristic crisp exterior.
Ultimately, for hash browns that truly rival your favorite diner’s, stick with Russet potatoes. Their unique composition is the secret ingredient for an unparalleled texture experience.
Essential Ingredients for Perfect Hash Browns
Crafting the perfect batch of crispy hash browns requires just a few simple, fresh ingredients. Each component plays a crucial role in developing both the texture and the savory depth that makes this dish so irresistible.
- Russet Potatoes: You’ll need about 2½ to 3 cups of peeled and freshly grated potatoes. Grating them finely ensures an even cook and maximizes the surface area for crisping. Remember, the quality of your potatoes directly impacts the final result, so choose firm, unblemished ones.
- All-Purpose Flour: This acts as a vital binder, helping to hold the grated potato shreds together as they cook. Just a couple of tablespoons are enough to create a cohesive patty without making them heavy. If you’re looking for a gluten-free option, most gluten-free all-purpose flour blends should work effectively, mimicking the binding properties of wheat flour.
- Large Egg White: The egg white is a secret weapon for achieving that coveted crispy texture. It helps create a light, airy structure and contributes to a beautiful golden-brown crust. Additionally, it provides a slight protein boost, making your hash browns a little more substantial.
- Grated Shallots: For an unexpected yet delightful burst of aromatic flavor, finely grated shallots are key. Unlike onions, shallots offer a milder, sweeter, and more delicate onion-garlic flavor that blends seamlessly with the potatoes, infusing every bite with savory goodness without overpowering the dish. Ensure they are grated very finely so they integrate well and don’t create chunky bits.
- Kosher Salt and Freshly Ground Black Pepper: These fundamental seasonings are crucial for enhancing the natural flavors of the potatoes and shallots. Start with the recommended amounts, but always taste and adjust to your personal preference. A good sprinkle of salt after frying also helps to bring out the crispiness.
- Vegetable Oil: For pan-frying, a neutral oil with a high smoke point is essential. Vegetable oil is an excellent choice as it can withstand the high heat needed to develop a super crispy exterior without burning or imparting unwanted flavors. Canola oil, sunflower oil, or even grapeseed oil are also suitable alternatives. The goal is to use enough oil so that the hash brown patties are submerged halfway, ensuring even cooking and maximum crispiness.
Step-by-Step: How to Make Hash Brown Potatoes
Follow these detailed instructions to create hash browns that are crispy on the outside and tender on the inside, just like your favorite diner.
- Prepare and Soak the Potatoes: Begin by peeling your Russet potatoes using a potato peeler. Once peeled, use a box grater to shred the potatoes into fine strands. Immediately transfer the grated potatoes to a large bowl and cover them with cold water, allowing them to soak for at least five minutes. This critical step helps to remove excess starch from the potatoes, which is the secret to achieving that wonderfully crisp texture and preventing them from becoming gummy. The cleaner the starch, the crisper the result!
- Thoroughly Drain and Dry: After soaking, pour the shredded potatoes into a colander to drain. Now comes the most important step for crispiness: removing as much moisture as possible. Use your hands to firmly squeeze handfuls of the potatoes over the sink, expelling significant amounts of water. For even better results, transfer the squeezed potatoes to a clean, thick dish towel or several layers of paper towels. Wrap them up and wring out any remaining moisture with all your might. The drier the potatoes, the crispier your hash browns will be.
- Combine the Ingredients: Transfer the thoroughly dried potato shreds back into the large, dry bowl. Add the all-purpose flour, egg white, finely grated shallots, kosher salt, and black pepper. Using your hands, gently but thoroughly mix all the ingredients together. Ensure that the potatoes are completely coated with the flour and seasonings, distributing the shallots evenly throughout the mixture. This even coating is crucial for uniform binding and flavor.
- Heat the Oil Correctly: Pour approximately 1 cup of vegetable oil (or another neutral, high-smoke-point oil) into a large sauté pan. You’ll want the oil to come about halfway up the side of your hash brown patties. Heat the oil over medium-high heat. It’s absolutely vital that the oil is hot before you add the potato patties; otherwise, they will absorb the oil and become soggy instead of crisp. To test if the oil is ready, toss a tiny shred of potato into the pan. If it sizzles and bubbles immediately, the oil is at the correct temperature. If it merely sinks to the bottom without much activity, the oil needs more time to heat up.
- Shape and Fry the Patties: Once the oil is hot, use a ½-cup measuring cup or a similar tool to portion and gently shape the potato mixture into uniform patties. This helps create a consistent size and round shape. Carefully place two patties into the hot oil at a time. It’s important not to overcrowd the pan, as this will drop the oil temperature and prevent proper crisping. Cook each side until it’s beautifully golden brown and deeply crispy, typically 4-6 minutes per side, depending on your stove and oil temperature.
- Drain and Finish: As each batch of hash browns finishes cooking, transfer them immediately to a plate lined with paper towels to absorb any excess oil. This step helps maintain their crispiness. Repeat the shaping and frying process with the remaining potato mixture. Once all your hash browns are fried, sprinkle them with a pinch of flaky sea salt for an extra touch of flavor and texture. Serve them warm and enjoy the satisfying crunch!
Expert Tips for Unbeatable Hash Browns
Achieving truly spectacular, diner-style hash browns at home is entirely possible with a few key techniques. Pay close attention to these expert tips to ensure every batch turns out perfectly golden and delightfully crispy.
- Maximize Moisture Removal: This cannot be stressed enough. Soggy hash browns are often the result of insufficient drying. After soaking, don’t just drain the potatoes; actively squeeze and wring them out using your hands, then again with a clean kitchen towel or several layers of paper towels. Imagine you’re trying to extract every last drop of water. The less moisture, the more space for crispiness to develop. You can even use a potato ricer for this step for maximum efficiency.
- Ensure the Oil is Piping Hot: The initial temperature of your cooking oil is critical. If the oil isn’t hot enough, the potatoes will absorb it like a sponge, becoming greasy and soft instead of developing a crisp crust. A simple test: drop a small piece of potato into the hot oil. If it immediately sizzles vigorously and floats to the surface, your oil is ready. If it just sits there or bubbles sluggishly, give it more time to heat up. Patience here is a virtue.
- Avoid Overcrowding the Pan: Resist the urge to cook too many hash browns at once. Placing too many patties into the pan significantly lowers the oil’s temperature. This temperature drop slows down the cooking process, causing the hash browns to steam rather than fry, resulting in a limp, soggy texture. Cook in batches, usually no more than two or three patties at a time, to maintain a consistent high temperature and ensure optimal crisping.
- Do Not Disturb While Frying: Once the hash brown patties are in the hot oil, leave them alone! Constantly flipping or stirring them before a crust has formed will cause them to crumble and prevent them from developing that beautiful golden-brown exterior. Allow each side to cook undisturbed until a deep golden color is achieved, typically 4-6 minutes, before carefully flipping them with a sturdy spatula. This patience ensures a perfect, intact, and crispy hash brown.
- Season Thoughtfully: While salt and pepper are added during the mixing stage, a final sprinkle of flaky sea salt immediately after frying enhances the flavor and adds an extra layer of textural crunch. The residual heat will help the salt adhere beautifully.
- Consistent Patty Thickness: Aim for uniform thickness in your hash brown patties. This ensures even cooking and consistent crispiness across the entire batch. Using a measuring cup to scoop and shape helps maintain this consistency.
Creative Hash Brown Serving Suggestions
Crispy hash browns are incredibly versatile and can elevate a wide array of meals beyond just a simple breakfast side. Here are some delicious ideas to inspire your culinary creations:
Breakfast & Brunch Classics:
- The Ultimate Breakfast Plate: Serve alongside scrambled or fried eggs, crispy bacon or sausage, and a slice of avocado for a hearty start to your day.
- Eggs Benedict Base: Replace traditional English muffins with a crispy hash brown patty for a delightful textural contrast under your poached eggs, hollandaise sauce, and Canadian bacon.
- Breakfast Burrito Bowls: Use a bed of hash browns as the foundation for a breakfast bowl loaded with beans, cheese, salsa, and eggs.
- Smoked Salmon & Cream Cheese: Top warm hash browns with a smear of cream cheese, a slice of smoked salmon, a sprinkle of fresh dill, and capers for an elegant brunch option.
- Sweet & Savory Combo: Pair with a drizzle of maple syrup and a side of fresh fruit for a delightful contrast.
Lunch & Dinner Pairings:
- Steak & Eggs Remix: Enjoy your hash browns with a perfectly cooked steak and an egg, making for a sophisticated comfort meal any time of day.
- Burger Alternative: Use two large hash brown patties as a “bun” for a slider or mini-burger, offering a unique gluten-free option.
- Gourmet Side Dish: Serve alongside roasted chicken, grilled fish, or pork chops for a more substantial and satisfying side than plain potatoes.
- Loaded Hash Browns: Top with chili, melted cheese, green onions, and sour cream for a fun, shareable appetizer or a casual meal.
- As a Canape Base: For appetizers, create mini hash brown patties and top them with various savory ingredients like caramelized onions, goat cheese, or a dollop of crème fraîche and caviar.
Don’t be afraid to experiment with your favorite toppings and flavor combinations. From spicy to sweet, hash browns provide a fantastic canvas for culinary creativity.
Storage and Reheating for Maximum Crispiness
One of the many benefits of homemade hash browns is their excellent storage potential, allowing you to enjoy them for days after cooking. The key is knowing how to store and reheat them properly to maintain that coveted crispiness.
Refrigeration:
Once your hash browns have cooled completely to room temperature, transfer them to an airtight container. They can be stored in the refrigerator for 4 to 5 days. Ensure they are completely cool before storing to prevent condensation, which can lead to sogginess.
Freezing:
For longer storage, hash browns freeze beautifully. After they have cooled completely, arrange the hash brown patties in a single layer on a baking sheet and flash freeze them for about 30-60 minutes, or until solid. This prevents them from sticking together. Once firm, transfer them to a freezer-safe bag or airtight container. To prevent clumping, place a sheet of parchment paper between each patty if stacking. Frozen hash browns will keep well for 1 to 2 months.
Reheating Tips to Preserve Crispiness:
The goal when reheating is to bring them back to life with a fresh crunch, not a chewy texture. Avoid the microwave if crispiness is your priority!
- Oven Method: Preheat your oven to 375°F (190°C). Arrange the hash browns in a single layer on a baking sheet. Bake for 10-15 minutes, flipping halfway through, until heated through and re-crisped. For frozen hash browns, you may need to add an extra 5-10 minutes.
- Stovetop Method: Heat a nonstick pan over medium heat with a small amount of oil or cooking spray. Add the hash browns and cook for 3-5 minutes per side, pressing gently, until golden and crispy. This method is excellent for reheating a few patties quickly.
- Air Fryer Method: For the ultimate reheat and crisp, an air fryer is a fantastic tool. Preheat your air fryer to 350°F (175°C). Place the hash browns in a single layer in the air fryer basket (do not overcrowd). Cook for 5-8 minutes, shaking the basket halfway through, until hot and crispy.
By following these storage and reheating guidelines, you can ensure your delicious homemade hash browns remain a convenient and delightful treat for days or weeks to come!
Frequently Asked Questions About Hash Browns
Here are answers to some common questions about making and enjoying homemade hash browns:
- Can I make homemade hash browns ahead of time?
- Absolutely! You can prepare the potato mixture (after soaking and drying) a few hours in advance and store it in the refrigerator. However, for the crispiest results, it’s best to fry them right before serving. Cooked hash browns can be stored in an airtight container in the fridge for 4-5 days.
- Can I freeze leftover hash browns?
- Yes, cooked hash brown patties freeze wonderfully! Once completely cooled, place them on a baking sheet and flash freeze for about 30 minutes until firm. Then, transfer them to a freezer-safe bag or container, placing parchment paper between layers to prevent sticking. They’ll keep for 1-2 months.
- How do I prevent my hash browns from becoming soggy?
- Sogginess is the arch-nemesis of a good hash brown. The most critical steps are: 1) Squeezing out as much water as physically possible from the grated potatoes after soaking. 2) Ensuring your oil is piping hot before adding the patties. 3) Not overcrowding the pan, which lowers the oil temperature. 4) Avoiding excessive flipping, allowing a crust to form.
- What’s the best way to grate potatoes for hash browns?
- A standard box grater with the large holes works perfectly for creating the classic shredded texture. You can also use a food processor with a shredding disc for quicker preparation, but be careful not to over-process them into a paste.
- Can I add other seasonings or vegetables to the hash brown mixture?
- Certainly! While this recipe focuses on classic flavor, feel free to experiment. Finely diced onions, chives, garlic powder, paprika, or a pinch of cayenne pepper can all add delicious variations. Just ensure any added vegetables are finely minced and don’t introduce too much extra moisture.
- Can I bake or air fry hash browns instead of pan-frying?
- Yes, you can! For a healthier or less hands-on approach, you can bake them. Preheat oven to 400°F (200°C), brush patties with oil, and bake for 20-30 minutes, flipping halfway. Air frying also works wonders for crispiness: preheat air fryer to 375°F (190°C), lightly oil patties, and air fry for 12-18 minutes, flipping halfway. While these methods are great, pan-frying often yields the absolute crispiest results.
Have another question? Don’t hesitate to experiment and find your perfect hash brown technique!

Homemade Crispy Hash Browns
Author: Sarah Thomas-Drawbaugh
Yield: 4 servings
Prep Time: 25 mins
Cook Time: 25 mins
Total Time: 50 mins
Learn how to make hash brown potatoes with just seven simple ingredients and a crispy consistency for a breakfast or brunch addition everyone will love!
Pin Recipe
Equipment
- 1 nonstick sauté pan
- 1 colander
- 1 box grater
- 1 kitchen towel or paper towels
Ingredients
- 2.5-3 cups Russet potatoes, peeled and grated
- 2 tablespoons all-purpose flour
- 1 large egg white
- 2 tablespoons shallots, finely grated
- 1 teaspoon kosher salt
- ¼ teaspoon black pepper
- Vegetable oil, for pan frying the hash browns
Instructions
- Peel and grate the Russet potatoes. Place the grated potato shreds in a large bowl and soak them in cold water for 5 minutes. This helps remove excess starch. Drain the potatoes thoroughly in a colander. Using your hands, squeeze out as much water as possible. Then, use a clean dish towel to wring out any remaining moisture. Transfer the very dry grated potatoes back to the dry bowl. Add the flour, egg white, grated shallots, kosher salt, and pepper. Mix well to combine all ingredients and ensure potatoes are fully coated.
- Pour approximately 1 cup of vegetable oil into a sauté pan and heat over medium-high heat. It is crucial that the oil is hot before adding the potatoes to prevent them from becoming soggy. Test the oil by dropping a small shred of potato in; if it bubbles immediately, it’s ready. If it sinks, the oil needs more time to heat.
- Form the potato mixture into patties using a measuring cup (e.g., ½ cup) for consistent size and shape. Add the patties to the hot oil two at a time to avoid overcrowding the pan, which would drop the oil temperature and lead to soggy hash browns.
- Cook each side until golden brown and crispy, about 4-6 minutes per side. Once fried, transfer the hash browns to a paper towel-lined plate to absorb any excess oil. Repeat with the remaining potato mixture. Finish with a pinch of flaky sea salt and serve warm. Enjoy!
Notes
The nutritional values below do not reflect the vegetable oil used for frying.
Storage: Store cooked and cooled hash browns in an airtight container in the fridge for 4 to 5 days.
Freezing: Once cool, transfer hash brown patties to a freezer-safe container and freeze for 1 to 2 months. Place parchment paper between each patty to prevent sticking.
Nutrition
Serving: 1 serving, Calories: 105kcal, Carbohydrates: 22g, Protein: 4g, Fat: 1g, Saturated Fat: 1g, Polyunsaturated Fat: 1g, Monounsaturated Fat: 1g, Sodium: 651mg, Potassium: 434mg, Fiber: 2g, Sugar: 1g, Vitamin A: 2IU, Vitamin C: 6mg, Calcium: 23mg, Iron: 1mg
Course: Appetizer, Breakfast, Side Dish
Cuisine: American
Calories: 105
Author: Sarah Thomas-Drawbaugh