
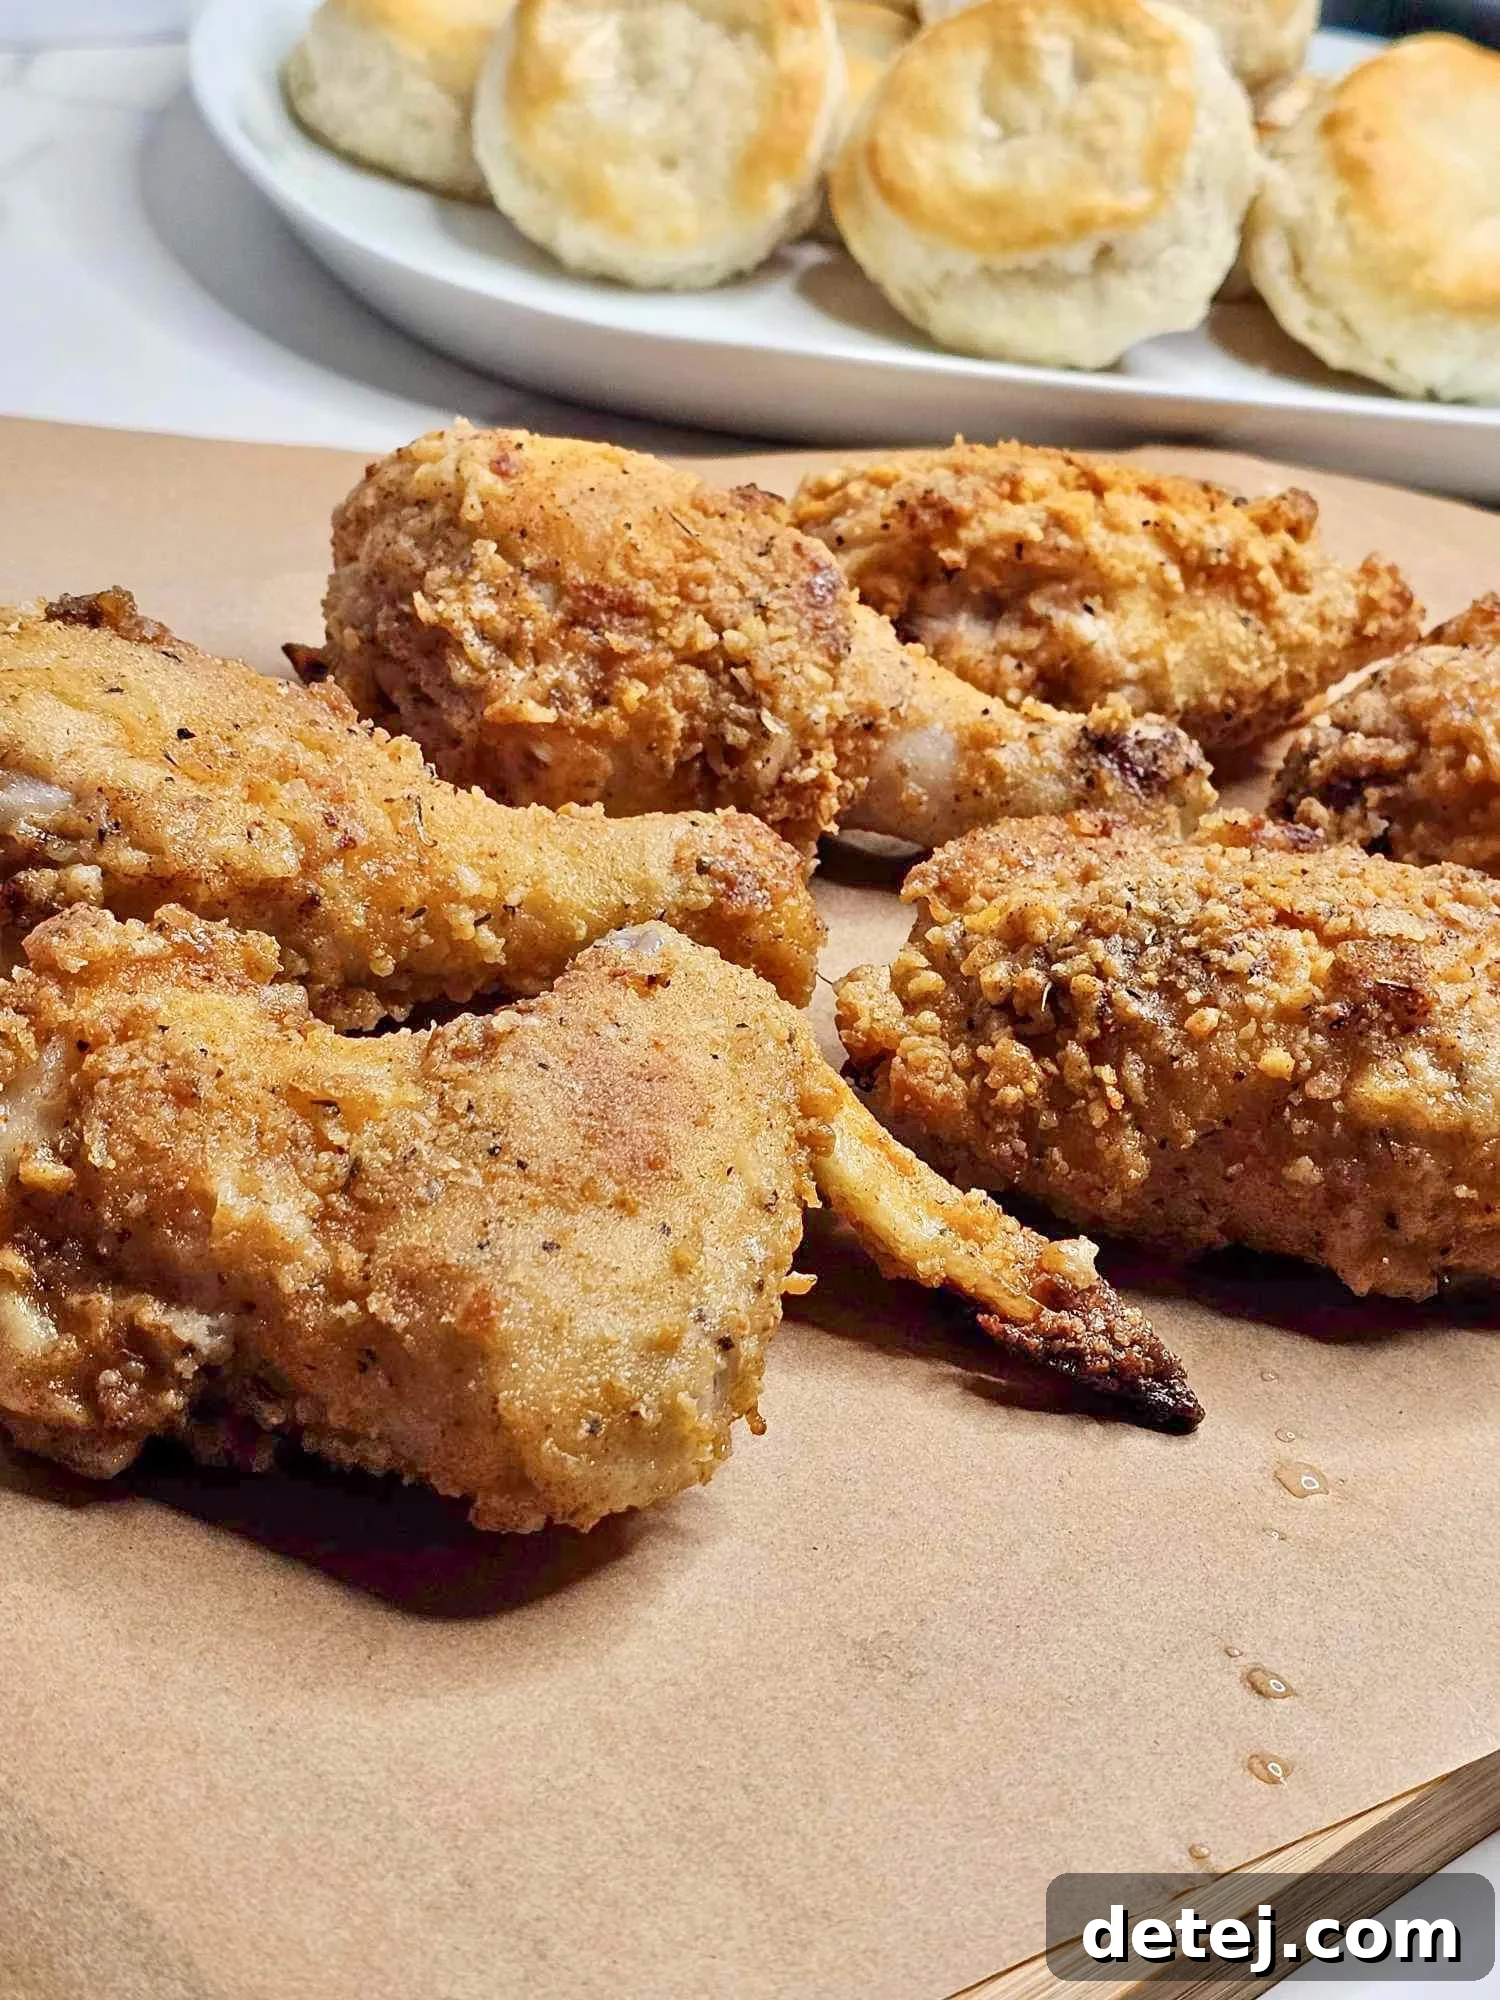
Crispy, Golden Perfection: Your Guide to Easy Oven Fried Chicken
Discover the Secret to Healthier Oven Fried Chicken
Craving that irresistible crunch and juicy tenderness of classic fried chicken but wary of the deep-frying mess and added calories? You’re not alone. Many home cooks seek a healthier, simpler alternative that doesn’t compromise on flavor or texture. That’s where the magic of oven fried chicken comes in. This comprehensive guide will transform your perception of “fried” chicken, proving that you can achieve a beautifully golden, perfectly crispy coating and succulent meat right from your oven. Forget the splattering oil and heavy cleanup; this easy oven fried chicken method is a true game-changer for weeknight dinners, family gatherings, or any time you desire comforting, delicious chicken without the guilt.
We’ll delve into every essential step, from selecting the best chicken pieces and mastering the crucial marination process to crafting the ultimate breading and achieving flawless baking. You’ll learn the secrets to an exceptional crispy oven texture, ensuring each bite is a delightful experience. Whether you’re a seasoned chef or a kitchen novice, preparing this healthier, hassle-free version of a beloved classic is within your reach. Get ready to elevate your culinary skills and make crispy oven fried chicken a new staple in your recipe collection.
What You’ll Learn:
- Healthier Indulgence: Enjoy crispy chicken without the deep-frying oil.
- Effortless Preparation: Simple steps for a stress-free cooking experience.
- Flavor Mastery: Tips for achieving optimal tenderness and a rich, spiced flavor profile.
- Perfectly Crispy Results: Techniques for a consistently golden and crunchy exterior.
- Essential Safety: Ensuring your chicken is cooked to perfection and safe to eat.
Assembling Your Ingredients for the Best Oven Fried Chicken
The foundation of any exceptional dish begins with quality ingredients, and our easy oven fried chicken is no exception. To achieve that coveted crispy coating and juicy interior, selecting the right components is paramount. For this recipe, we recommend using chicken pieces, especially chicken thighs, as their natural fat content contributes significantly to moisture and flavor, preventing dryness during baking. However, feel free to use a mix of bone-in, skin-on chicken parts—wings, drumsticks, or breasts—just adjust baking times accordingly.
The secret to tender chicken lies in a good soak, and for that, you’ll need rich, tangy buttermilk. This humble ingredient works wonders, breaking down tough proteins and infusing the chicken with a subtle tanginess that enhances its overall taste. For the star of our show—the crispy breading—we’ll combine all-purpose flour with the undeniable crunch of panko breadcrumbs. Panko, a Japanese-style breadcrumb, is known for its light, airy, and flaky texture, which creates a superior crispiness compared to regular breadcrumbs. A critical addition for extra puff and golden hue is baking powder. Our carefully curated spice blend, including garlic powder, smoked paprika, a pinch of cayenne pepper for subtle heat, and a generous seasoning of kosher salt and freshly ground black pepper, will elevate the flavor profile. Don’t shy away from experimenting with other herbs like dried mustard, thyme, oregano, and basil to truly personalize your breading mixture. For those with dietary considerations, almond flour or crushed cornflakes can be explored as gluten-free alternatives for the breading. This thoughtful combination of ingredients ensures every piece of chicken emerges from the oven as a heavenly, crispy, and flavorful delight.
The Art of Marination: Why Buttermilk is Key
Let’s talk about the transformative power of buttermilk marination—it’s truly the secret weapon behind exceptionally tender and flavorful oven fried chicken. If you’ve ever wondered how restaurant-quality fried chicken achieves its signature juiciness and depth of flavor, much of it can be attributed to this simple yet effective step. Buttermilk isn’t just for baking; it’s a culinary marvel that acts as a natural tenderizer. Its mild acidity gently breaks down the tough protein fibers in the chicken, resulting in meat that is incredibly soft, moist, and receptive to absorbing all the delicious spices you’ll add later.
The process is straightforward: place your chosen chicken pieces into a large ziplock bag or a shallow, non-reactive dish. Pour enough buttermilk to fully submerge the chicken, ensuring every surface is coated. Seal the bag or cover the dish tightly and refrigerate. While an hour of marination will yield noticeable results, allowing the chicken to soak overnight—or even up to 24 hours—will truly enhance its tenderness and flavor absorption to an extraordinary degree. This extended marination time allows the buttermilk’s enzymes to work more deeply, ensuring a melt-in-your-mouth experience with every bite. The wait is undeniably worth it, as this step lays the crucial groundwork for your perfectly crisp and juicy oven fried chicken.
Crafting the Perfect Breading Station
Now that your chicken is tenderly marinating, it’s time to prepare the star of our crispy oven fried chicken: the breading. This dry mixture is responsible for that irresistible golden crust and flavor explosion. Creating an efficient breading station is crucial for a smooth and mess-free cooking process. You’ll need at least one large, shallow bowl for this step.
Start with a generous base of 1 cup all-purpose flour and 1 cup Panko breadcrumbs in your bowl. The Panko is essential for achieving that characteristic light, airy crunch that distinguishes oven-fried chicken from its deep-fried counterpart. Now, let’s infuse it with flavor. Add 1 teaspoon of baking powder, which aids in creating a lighter, crispier coating. Introduce your carefully selected spices: 1 ½ teaspoons of white pepper, ¼ teaspoon basil, ⅛ teaspoon oregano, 1 teaspoon kosher salt, 1 teaspoon garlic powder, 1 teaspoon black pepper, 1 teaspoon dried mustard, 2 teaspoons smoked paprika, ½ teaspoon ground ginger, ¼ teaspoon thyme, and ¼ teaspoon cayenne pepper. The combination of these spices creates a complex, savory, and slightly smoky profile that will make your chicken truly stand out. Whisk all the dry ingredients together thoroughly until they are evenly combined. This ensures every chicken piece gets an equal distribution of flavor. Feel free to adjust the spice levels to your preference – add more cayenne for a spicier kick or less for a milder taste. This breading mixture is where your personal touch shines, transforming a great recipe into your signature dish.
Prepping Your Oven for Crispy Excellence
Getting your oven ready is a critical, often underestimated, step in achieving truly crispy oven fried chicken. The right temperature and setup are paramount to ensuring your chicken develops that beautiful golden-brown crust and cooks evenly throughout. Begin by preheating your oven to a robust 425°F (220°C). This high initial temperature is key; it provides a powerful burst of heat that helps the breading crisp up quickly, sealing in the chicken’s juices and preventing it from becoming soggy. Think of it as kickstarting the crisping process the moment the chicken enters the oven.
Next, choose your baking vessel wisely. Opt for a heavy-duty, non-glass baking dish (such as a metal roasting pan or a cast-iron pan). Non-glass dishes tend to conduct heat more efficiently and consistently, which is vital for developing a perfectly golden and crunchy crust on the bottom of the chicken pieces. Glass dishes, while versatile, can sometimes lead to uneven cooking or a less crispy underside. Before adding the chicken, place your chosen baking dish in the preheated oven for a few minutes to get it nice and hot. This preheating of the pan is another crucial trick for ensuring immediate crisping upon contact. Then, carefully remove the hot pan and add 4 tablespoons of melted butter, swirling it to coat the entire base. The melted butter not only prevents sticking but, more importantly, actively fries the bottom of the chicken as it bakes, contributing significantly to that sought-after deep-fried flavor and gorgeous golden color. For an even crispier result, consider placing a wire rack inside your baking dish, allowing air to circulate all around the chicken pieces, ensuring every surface becomes delightfully crunchy.
The Breading and Baking Ritual: A Path to Golden Glory
This is where the magic truly unfolds – transforming those marinated chicken pieces into golden, crispy delights. Follow these steps carefully for success:
- Dredge the Chicken: One piece at a time, remove the chicken from the buttermilk, allowing any excess to drip off. Immediately transfer it to your prepared breading mixture. Roll and press firmly to ensure every inch of the chicken is thoroughly coated. This thick, even layer of breading is your foundation for crispiness and flavor.
- Prepare Baking Sheet: Line a large baking sheet with parchment paper or aluminum foil for easy cleanup. If using a wire rack in your baking dish (as recommended for maximum crispiness), ensure it’s positioned correctly.
- Arrange for Success: Place the breaded chicken pieces in a single layer on the prepared baking sheet or wire rack, ensuring there’s ample space between each piece. Overcrowding the pan will steam the chicken instead of crisping it, resulting in a less desirable texture.
- Initial Bake: Carefully place the baking dish with the chicken into your preheated 425°F (220°C) oven. Bake for an initial 12 minutes with the chicken skin-side up. This initial blast of heat helps set the breading and begin the crisping process.
- Flip and Finish: After 12 minutes, carefully remove the pan from the oven. Using tongs, gently flip each piece of chicken to ensure even browning and crisping on both sides. Return to the oven and continue baking for another 12 to 15 minutes, or until the chicken reaches a safe internal temperature.

Remember, ovens can vary, so keep a close eye on your chicken, especially during the final baking stage. The goal is a beautiful golden-brown color and a visibly crispy texture all around.
Ensuring Food Safety: The Importance of Internal Temperature
While achieving a perfect crispy exterior is a triumph, ensuring your oven fried chicken is cooked safely is paramount. The most reliable way to guarantee doneness and eliminate any food safety concerns is by checking the internal temperature with a trusted meat thermometer. Poultry, including chicken, must reach an internal temperature of 165°F (74°C) in its thickest part, avoiding the bone.
Insert the thermometer into the thickest part of the chicken piece, making sure not to touch the bone, as bone temperature can read higher than the surrounding meat. If some pieces cook faster than others – which is common with mixed chicken parts – don’t hesitate to remove the smaller or quicker-cooking pieces from the oven first and let them rest on a plate while the others catch up. This prevents overcooking and drying out the smaller pieces. A properly calibrated meat thermometer is an indispensable tool in any kitchen, ensuring your delicious, crispy oven fried chicken is not only flavorful but also perfectly safe for everyone to enjoy. Never rely solely on visual cues like skin color or juiciness, as these can be misleading when it comes to internal doneness.
Savoring Your Masterpiece: Resting and Serving
Congratulations! You’ve successfully prepared a batch of irresistible crispy oven fried chicken. But before you dive in, there’s one final, crucial step to ensure maximum enjoyment: resting the chicken. Just like a perfectly cooked steak, allowing your chicken to rest for at least 5-10 minutes after it comes out of the oven is a game-changer. This brief pause allows the internal juices, which have been pushed towards the center during cooking, to redistribute throughout the meat. The result is chicken that is unbelievably tender, juicy, and flavorful from edge to edge, rather than having juices spill out onto your plate with the first cut.
While your chicken rests, you can put the finishing touches on your meal. Arrange your golden-brown masterpieces alongside your favorite side dishes. Classic pairings include creamy mashed potatoes, tangy coleslaw, fresh green beans, roasted Brussels sprouts, or a vibrant garden salad. A sprinkle of fresh parsley or chives can add a pop of color and herbaceous freshness. Don’t be afraid to get creative with your serving suggestions! This is also an opportune moment to reflect on your culinary journey and consider future variations. Perhaps next time you’ll experiment with a smoky chipotle powder in the breading, a hint of lemon zest, or a drizzle of hot honey for a sweet and spicy kick. Oven fried chicken is incredibly versatile, inviting you to continually explore and personalize this beloved dish. Enjoy every crispy, juicy, and delicious bite!
A Golden Finale: Wrapping Up Your Crispy Chicken Adventure
As the aroma of freshly baked, crispy oven fried chicken fills your kitchen, there’s a profound sense of accomplishment. This journey has been more than just cooking; it’s an exploration of flavor, texture, and healthier eating without compromise. You’ve mastered the art of creating a golden-brown, crunchy coating that rivals traditional deep-frying, all while ensuring each piece is tender and juicy within. This recipe isn’t just about the meal itself; it’s about the joy of cooking, the warmth of shared experiences, and the satisfaction of a delicious, homemade dish.
The beauty of this easy oven fried chicken lies in its adaptability. Think of the endless possibilities for customization: a touch of rosemary and thyme for an herby aroma, a sprinkle of parmesan cheese for a savory crust, or even a daring blend of Indian spices for an exotic twist. Your kitchen is a playground for culinary creativity, and this recipe serves as a fantastic canvas. Pair it with a medley of colorful roasted vegetables, a refreshing summer salad, or comforting mac and cheese. Each meal becomes an opportunity to experiment, to discover new favorite combinations, and to create lasting memories around the dinner table. This dish is a testament to the fact that healthy eating doesn’t mean sacrificing flavor or excitement. It encourages you to continue your culinary adventures, one delicious, crispy bite at a time.
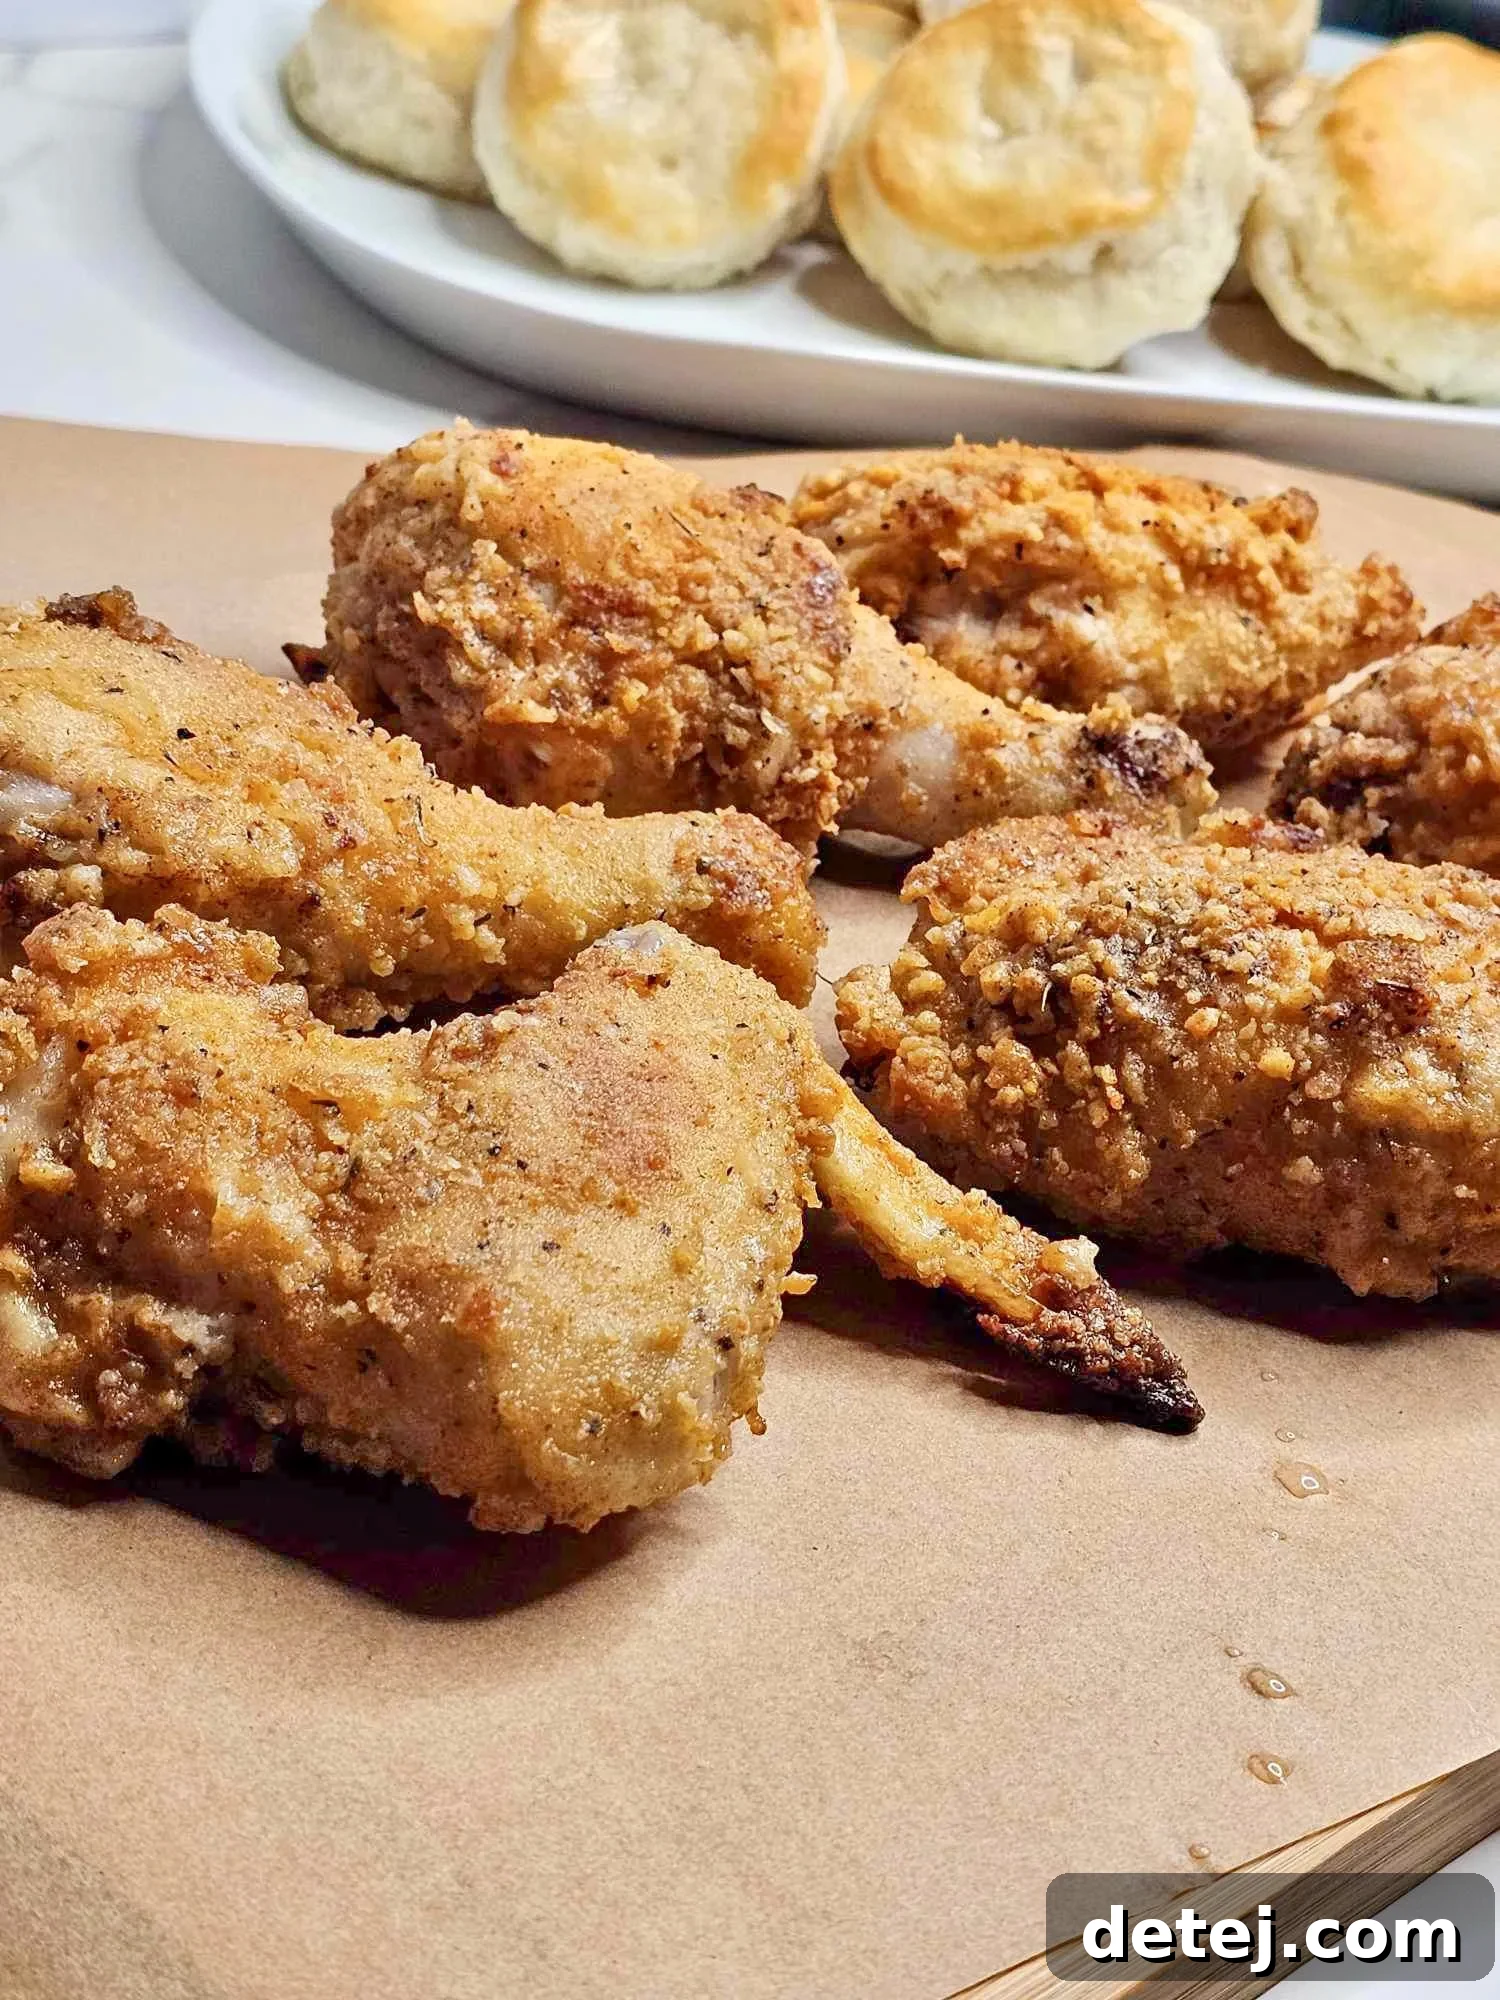
Recipe: Easy Oven Fried Chicken
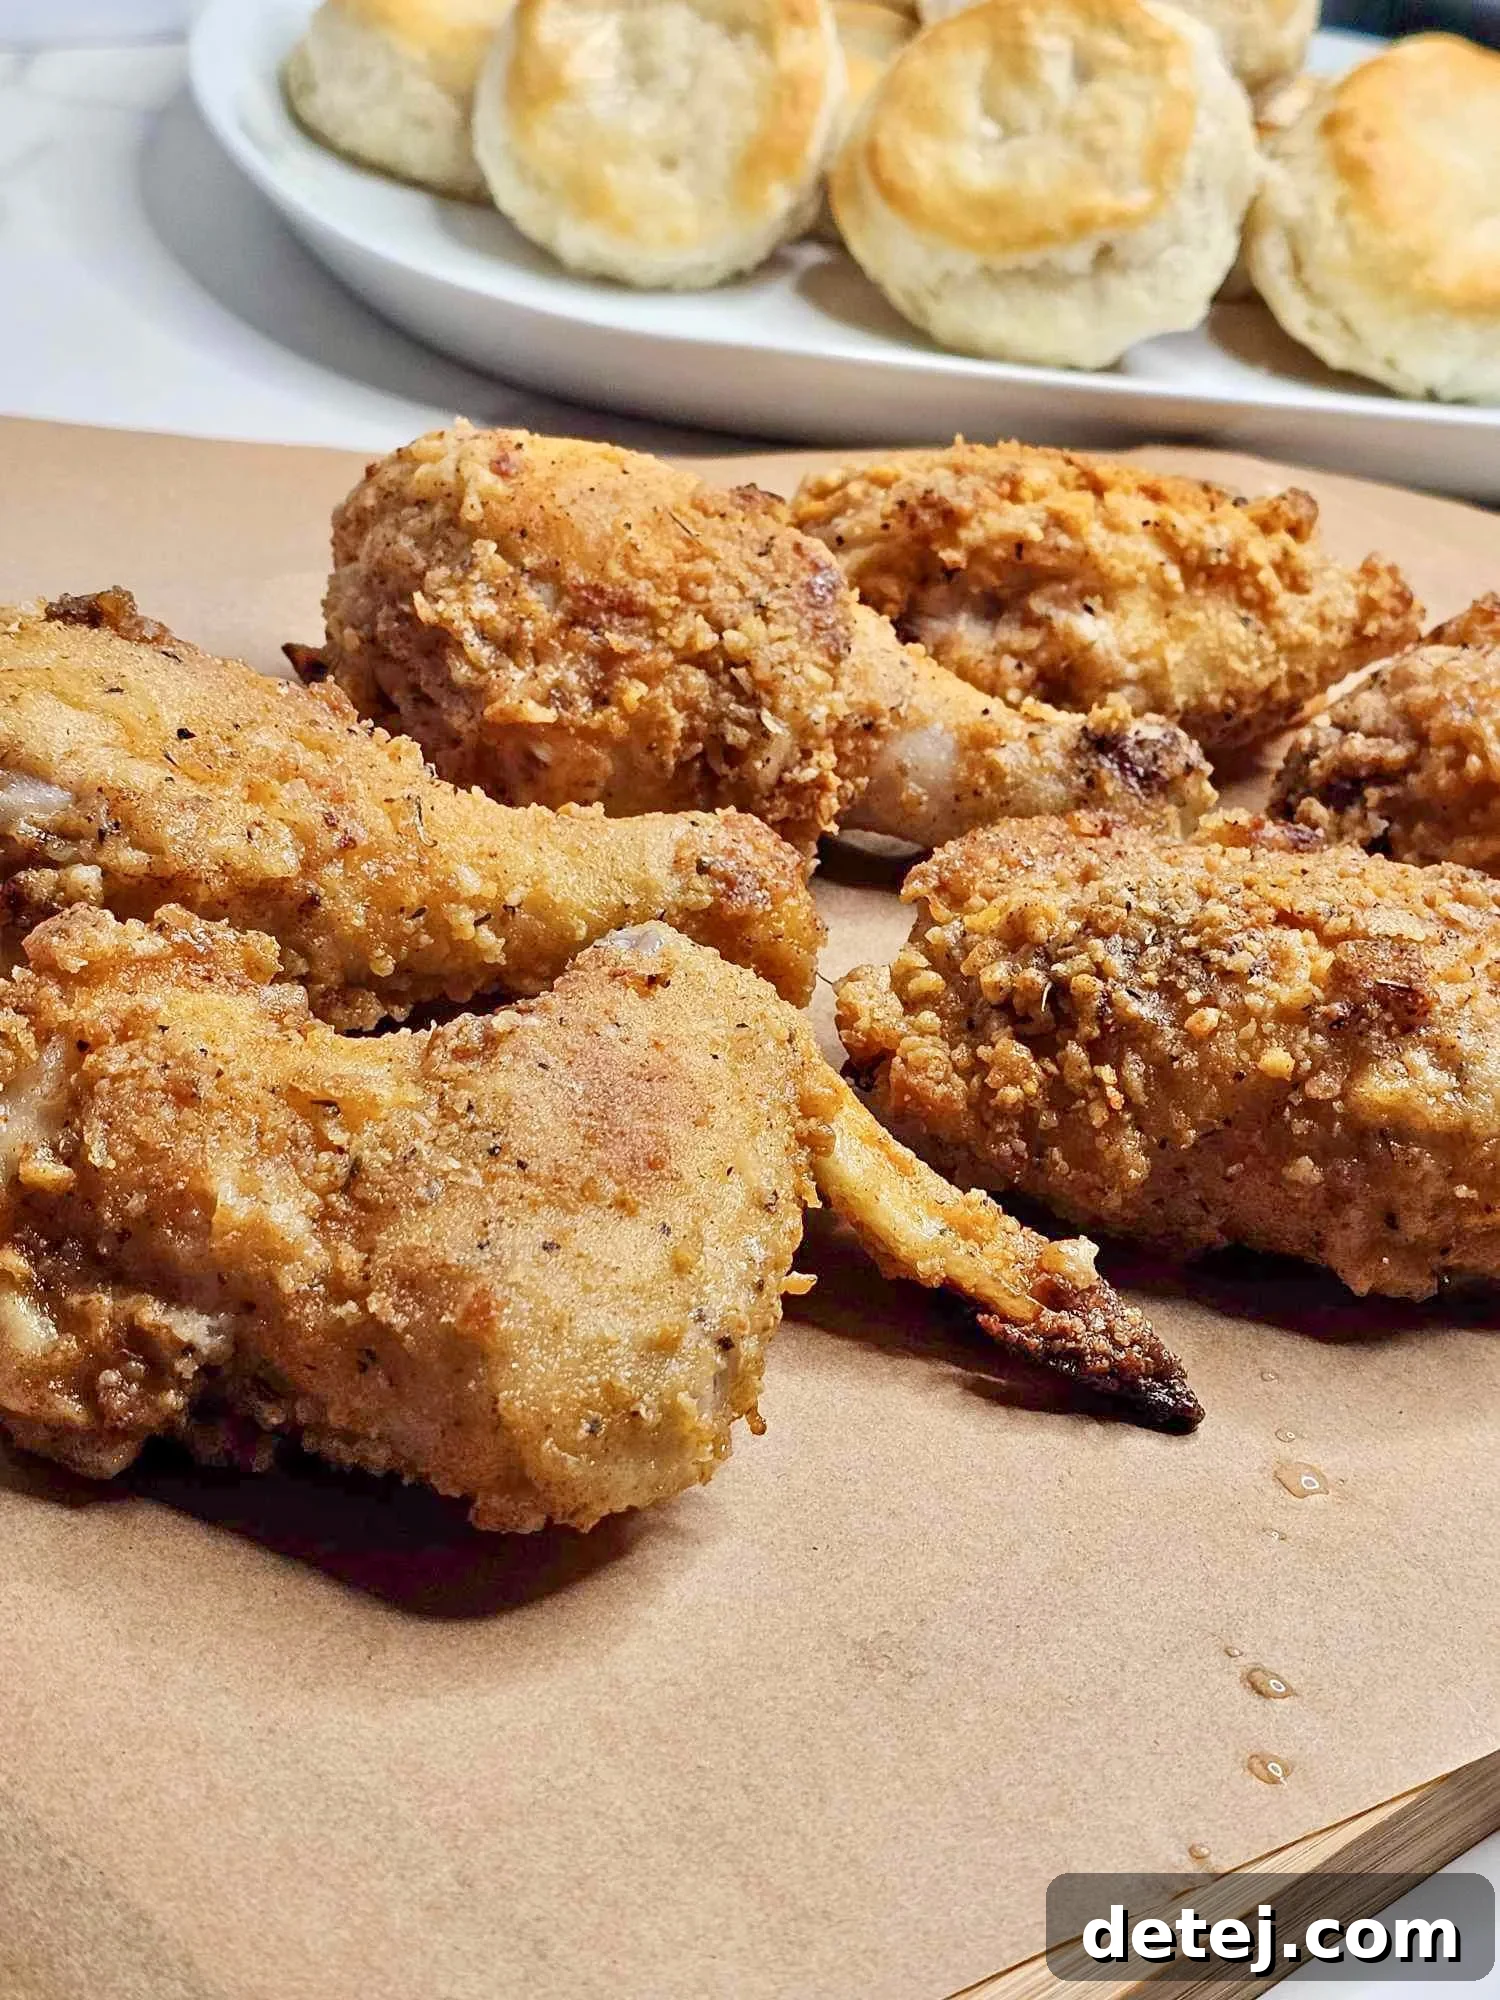
Easy Oven Fried Chicken
Pin
Ingredients
- 2 1/2 lbs fryer chicken pieces
- 2 cups buttermilk
- 4 tablespoons butter
- Breading:
- 1 cup all-purpose flour
- 1 cup Panko breadcrumbs
- 1 teaspoon baking powder
- 1 1/2 teaspoon white pepper
- 1/4 teaspoon basil
- 1/8 teaspoon oregano
- 1 teaspoon kosher salt
- 1 teaspoon garlic powder
- 1 teaspoon black pepper
- 1 teaspoon dried mustard
- 2 teaspoon paprika
- 1/2 teaspoon ground ginger
- 1/4 teaspoon thyme
- 1/4 teaspoon cayenne
Instructions
-
Place the chicken pieces in a plastic bag and pour in the buttermilk. Massage the buttermilk into the chicken until all pieces are well coated. Refrigerate for at least an hour (or up to 24 hours for best results).
-
Preheat the oven to 425°F (220°C).
-
In a medium bowl, combine all the dry breading ingredients and set aside.
-
Place a 13×9” non-stick baking dish (not glass) in the oven to heat up while it preheats.
-
Take the chicken out of the buttermilk, shaking off any excess. Dredge each piece thoroughly in the flour mixture, making sure they are fully coated and pressed onto the chicken.
-
Carefully remove the hot baking dish from the oven. Add the butter to the hot dish and let it melt, ensuring it covers the bottom of the dish.
-
Arrange the breaded chicken pieces in the pan in a single layer, leaving space between each piece for optimal crisping.
-
Bake for 12 minutes. Then, carefully turn the pieces over and bake for another 12-15 minutes, or until a meat thermometer inserted into the thickest part reads an internal temperature of 165°F (74°C).
-
Remove from the oven and let rest for 5-10 minutes before serving. This allows the juices to redistribute, ensuring tender and flavorful chicken.
In Conclusion: Your Journey to Perfect Oven Fried Chicken
You’ve embarked on a delightful culinary adventure, mastering the creation of easy oven fried chicken that is both crispy and incredibly flavorful, all while being a healthier alternative to traditional deep-frying. From the tenderizing buttermilk marinade to the perfectly spiced panko breading and the strategic baking techniques, every step contributes to a meal that is satisfying and guilt-free. This recipe isn’t just about cooking; it’s about empowering you to create delicious, wholesome food for yourself and your loved ones with confidence and ease.
We encourage you to make this recipe your own. Don’t hesitate to experiment with different spices, try various chicken cuts, or explore diverse side dish pairings. Whether it’s fresh parsley for garnish or roasted Brussels sprouts for a vibrant accompaniment, the possibilities are endless. Remember, the best part of cooking is the joy it brings and the memories it creates. Keep your oven warm, your heart open to new flavors, and your kitchen a place of endless exploration and happiness. Happy cooking, my friends, and may your journey with crispy chicken recipes be filled with delicious moments!
Looking for other great chicken recipes? Check out my Honey Lemon Pepper Chicken Tenders!