
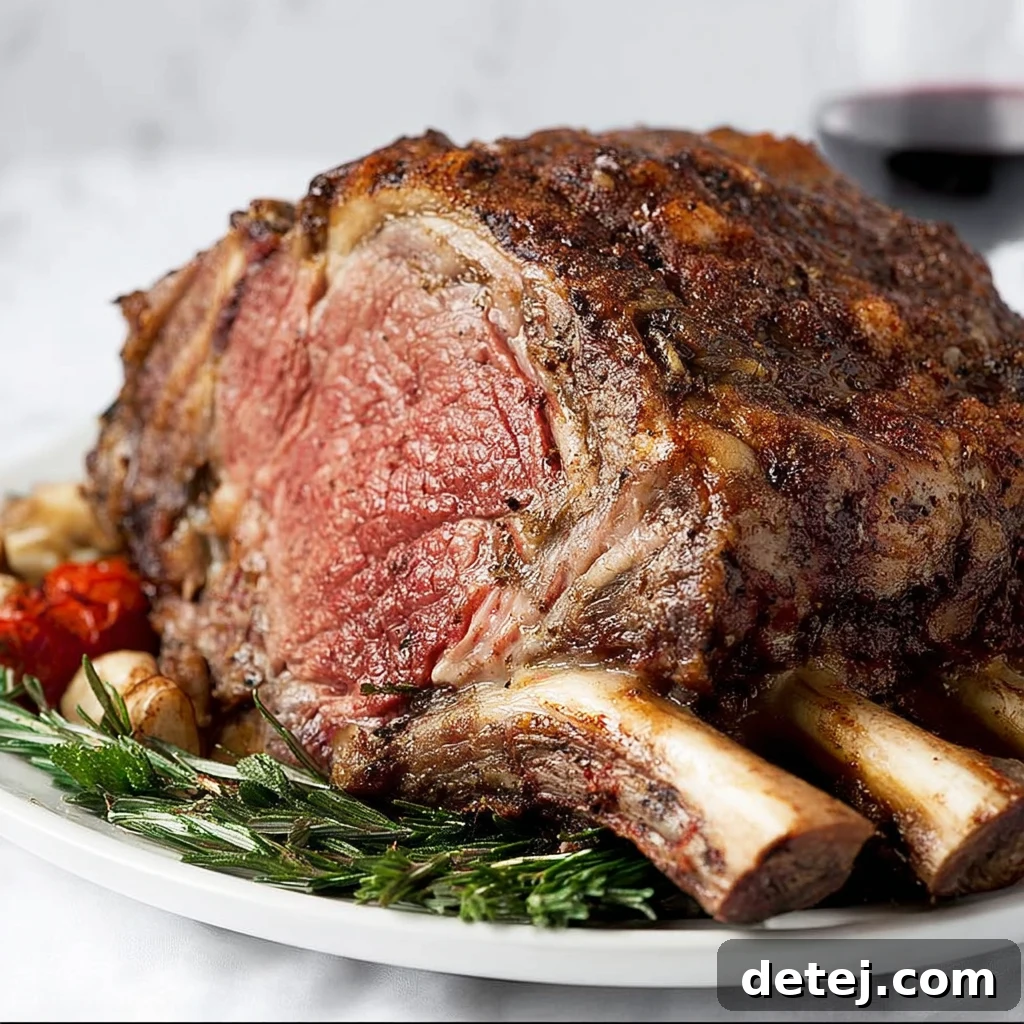
Mastering the Easy Prime Rib Roast: Your Guide to a Flawless Feast
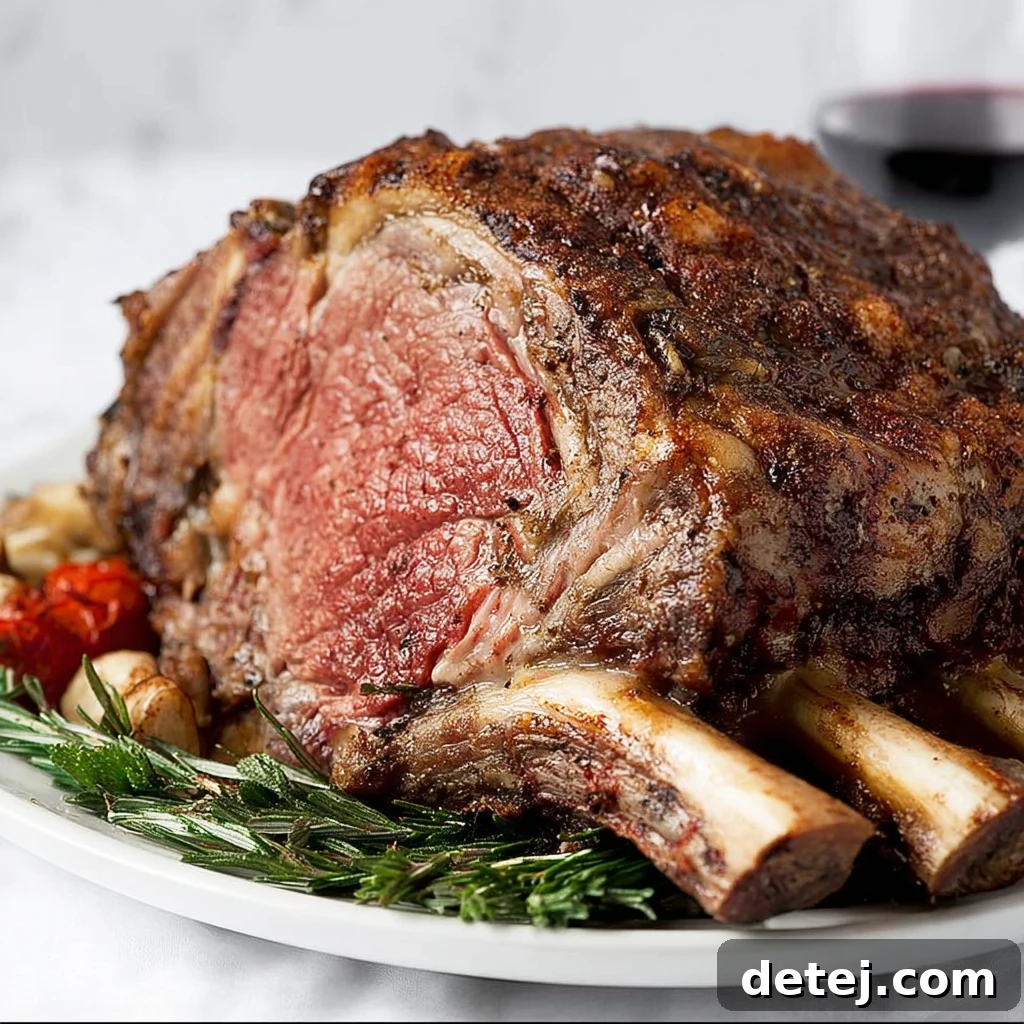
There’s an undeniable magic that happens when loved ones gather around a table, sharing laughter and creating cherished memories. At the heart of many such unforgettable occasions lies a magnificent centerpiece: a perfectly cooked prime rib roast. It’s more than just a meal; it’s a statement, a testament to culinary celebration that effortlessly commands attention. Perhaps the thought of preparing such a grand dish seems daunting, conjuring images of complex techniques and gourmet expertise. Yet, I assure you, mastering an easy prime rib roast recipe is not only achievable for every home cook but also incredibly rewarding. Imagine the satisfaction of presenting a prime rib with its incredibly tender, juicy interior, encased in a beautifully seasoned, savory crust. This guide is designed to demystify the process, turning what might seem like a challenge into a joyous and confident culinary endeavor. It’s about more than just exceptional food; it’s about crafting experiences that resonate long after the last bite.
Key Takeaways for Your Perfect Prime Rib Experience:
- Prime Rib Roast as the Ultimate Centerpiece: An extraordinary choice for any special occasion, creating lasting culinary memories.
- Simplicity in Preparation: Master a straightforward recipe, ensuring a confident and stress-free cooking experience.
- Unmatched Satisfaction: Discover the immense joy and pride in serving a beautifully cooked prime rib roast that impresses every guest.
- Essential Techniques: Learn critical steps from selection to carving, guaranteeing a succulent and flavorful result.
- Beyond the Plate: Understand how a perfectly executed prime rib enhances shared moments and holiday traditions.
Selecting the Perfect Prime Rib Roast
Embarking on the journey to a spectacular prime rib begins long before you even preheat your oven. It starts with selecting the right cut, a step that significantly impacts the final taste and texture of your roast. Walking into your local butcher shop or a reputable grocery store can feel a bit overwhelming, but with a few key insights, you’ll confidently choose the ideal prime rib for your gathering.
First, let’s consider the size. A good rule of thumb is to calculate about ½ pound per person for a boneless prime rib roast. If you opt for a bone-in roast, which often adds to the flavor, aim for about ¾ to 1 pound per person to account for the weight of the bones. It’s always a good idea to err on the side of a little extra; leftover prime rib is a delightful treat!
Next, the grade of the meat is paramount. For the most tender, flavorful, and exquisitely marbled prime rib, look for USDA Prime grade. This signifies the highest quality with abundant marbling – those tiny streaks of fat that melt into the meat during cooking, infusing it with incredible juiciness and flavor. While USDA Choice is also an excellent option, offering great quality at a slightly lower price point, Prime is truly the gold standard for a special occasion roast. Don’t hesitate to engage with your butcher; they are an invaluable resource, often providing specific recommendations and even preparing the roast to your specifications, such as tying it for even cooking or removing bones for easier carving. Whether it’s a festive Christmas dinner or a memorable New Year’s Eve feast, a carefully selected prime rib roast sets the stage for a truly unforgettable holiday dinner experience.
Essential Preparation Basics for a Tender Roast
With your magnificent prime rib roast chosen, the next critical phase is preparation. These foundational steps, though seemingly simple, are crucial for achieving that perfectly cooked, tender, and juicy result we all crave. Neglecting them could mean the difference between a good roast and an absolutely exceptional one.
The first and most important step is bringing your roast to room temperature. This isn’t just a suggestion; it’s a non-negotiable step for even cooking. Imagine a cold roast hitting a hot oven – the outside cooks much faster than the inside, leading to uneven doneness. By allowing your prime rib to sit out on the kitchen counter for about 1.5 to 2 hours (depending on its size), the meat relaxes and warms up slightly. This ensures that when it enters the oven, the heat penetrates more uniformly, resulting in that beautiful edge-to-edge pinkness without overcooking the outer layers.
Next, let’s talk about the fat cap. Prime rib typically comes with a layer of fat on one side. This fat is your friend – it renders during cooking, basting the meat and adding immense flavor and moisture. However, sometimes the fat cap can be excessively thick. You’ll want to trim it down to about a ¼ to ½ inch thickness. This allows some fat to melt and baste the roast, but prevents it from creating too thick a barrier that could inhibit the development of a crispy crust. Additionally, scoring the fat cap lightly in a crosshatch pattern (without cutting into the meat) helps the fat render more effectively and allows your rub to penetrate deeper into the flavorsome layer.
Finally, and often overlooked, is patting your roast dry. Using paper towels, thoroughly pat every surface of the prime rib until it’s as dry as possible. Moisture on the surface will create steam in the oven, preventing a beautiful, caramelized crust from forming. A dry surface, on the other hand, allows for a superior sear and crisping, locking in juices and enhancing the texture and flavor of the exterior. These preparation basics are the secret handshake to a prime rib that’s not just cooked, but masterfully prepared.
Crafting the Perfect Prime Rib Rub
The rub is where your prime rib truly begins its transformation, moving from a simple cut of beef to a symphony of flavors. This aromatic coating is responsible for developing that irresistible, savory crust that complements the tender interior. Finding the perfect prime rib rub doesn’t require exotic ingredients; often, the magic happens with common kitchen staples that, when combined, create an extraordinary flavor profile.
My go-to blend is a harmonious mix of robust flavors: generous amounts of coarse kosher salt, freshly ground black pepper for a pungent kick, fragrant garlic powder, and earthy dried thyme leaves. To elevate this classic combination, I love adding a hint of dried rosemary, finely crushed to release its essential oils, and a touch of smoked paprika for a subtle depth and beautiful color. The key here is balance; each ingredient plays a vital role without overpowering the natural richness of the beef.
The application of this rub is an art in itself. Don’t be shy – generously coat every inch of your prime rib roast. Think of it as painting a masterpiece, ensuring no nook or cranny is left untouched. This thorough coverage is paramount for that burst of flavor in every single bite. Once coated, here’s a crucial tip for maximum flavor penetration: let the seasoned roast sit at room temperature for at least an hour, or even better, refrigerate it uncovered overnight. This allows the salt to draw out moisture from the surface, mingle with the spices, and then reabsorb, creating a deeper, more concentrated flavor within the meat. This extra step, often referred to as dry brining, works wonders in tenderizing and seasoning the prime rib from the outside in, promising a roast that is nothing short of spectacular, with a crust that crackles with flavor.
Optimal Roasting Pan Setup
The foundation of a successful roast often lies in the seemingly simple act of setting up your roasting pan. This step is far more critical than you might imagine, directly influencing how evenly your prime rib cooks and the quality of the pan drippings. Achieving culinary excellence means paying attention to these details.
Start by choosing a sturdy, heavy-duty roasting pan that is appropriately sized for your prime rib roast. It should be large enough to comfortably hold the roast without crowding, allowing for ample air circulation around all sides. The next essential element is a roasting rack. Placing your beautiful prime rib on a rack within the pan elevates it, preventing the bottom from steaming and ensuring that the hot air circulates evenly around the entire roast. This uniform heat distribution is key to developing that coveted all-around crispy crust and consistent doneness.
Now, for a trick that will make your post-dinner cleanup infinitely easier: line your roasting pan with heavy-duty aluminum foil before placing the rack. Trust me, scrubbing a pan caked with caramelized drippings after a festive meal is no one’s idea of a good time. The foil acts as a protective layer, catching all those delicious juices and rendered fat, which you can later use to create an incredible au jus or gravy. This simple act turns a dreaded chore into a swift disposal, letting you focus on enjoying the company and the feast.
Most importantly, position your prime rib roast with the fat side facing upwards. As the roast cooks, this layer of fat will slowly render and melt, naturally basting the meat below it. This self-basting action keeps the roast incredibly moist and imbues it with rich, savory flavor. By following this optimal roasting pan setup, you’re not just preparing to cook; you’re orchestrating the conditions for the most tender, juicy, and flavorful prime rib roast, a secret weapon for any holiday dinner or special occasion that will impress even the most discerning palates.
Mastering Cooking Time and Temperature for Perfection
Achieving a perfectly cooked prime rib roast, with its ideal doneness and succulent juiciness, is a true culinary triumph that hinges on mastering the cooking time and temperature. This is where precision and patience become your best allies in the kitchen. Guesswork simply won’t do for such a magnificent cut of meat; a precise approach ensures flawless results every single time.
The foundation of perfect prime rib cooking involves a reliable meat thermometer. This isn’t just a tool; it’s your indispensable guide to internal temperature, which is the ultimate indicator of doneness. Whether you’re aiming for a glorious medium-rare, a tender rare, or a slightly more cooked medium, knowing the exact internal temperature is non-negotiable. I recommend a good quality probe thermometer that can stay in the roast throughout the cooking process and be read from outside the oven, or an instant-read thermometer for quick checks.
When it comes to roasting methods, many chefs advocate for a two-stage approach: a high initial temperature to sear the exterior and create a crust, followed by a lower temperature for the remainder of the cooking. For instance, you might start your oven at 450°F (232°C) for 15-20 minutes, then reduce it to a more moderate 325°F (160°C) until your desired internal temperature is reached. This method helps to develop a beautiful crust while gently cooking the interior.
Here’s the golden rule for pulling your prime rib from the oven: always aim for about 5 to 10 degrees Fahrenheit lower than your desired final doneness. This crucial step accounts for “carryover cooking.” As the roast rests outside the oven, the residual heat will continue to cook the meat, causing its internal temperature to rise further. For example, if your target is 130°F for a perfect medium-rare, you should remove the roast when its internal temperature reads around 120-125°F. This applies whether you’re cooking a boneless rib roast or its bone-in counterpart; the principle of carryover cooking remains the same. Trust your meat thermometer, keep the oven door shut during cooking, and meticulously track the internal temperature. This meticulous approach guarantees the most amazing prime rib roast, cooked to your exact preference, ready to impress at any special occasion.
The Critical Art of Letting the Meat Rest
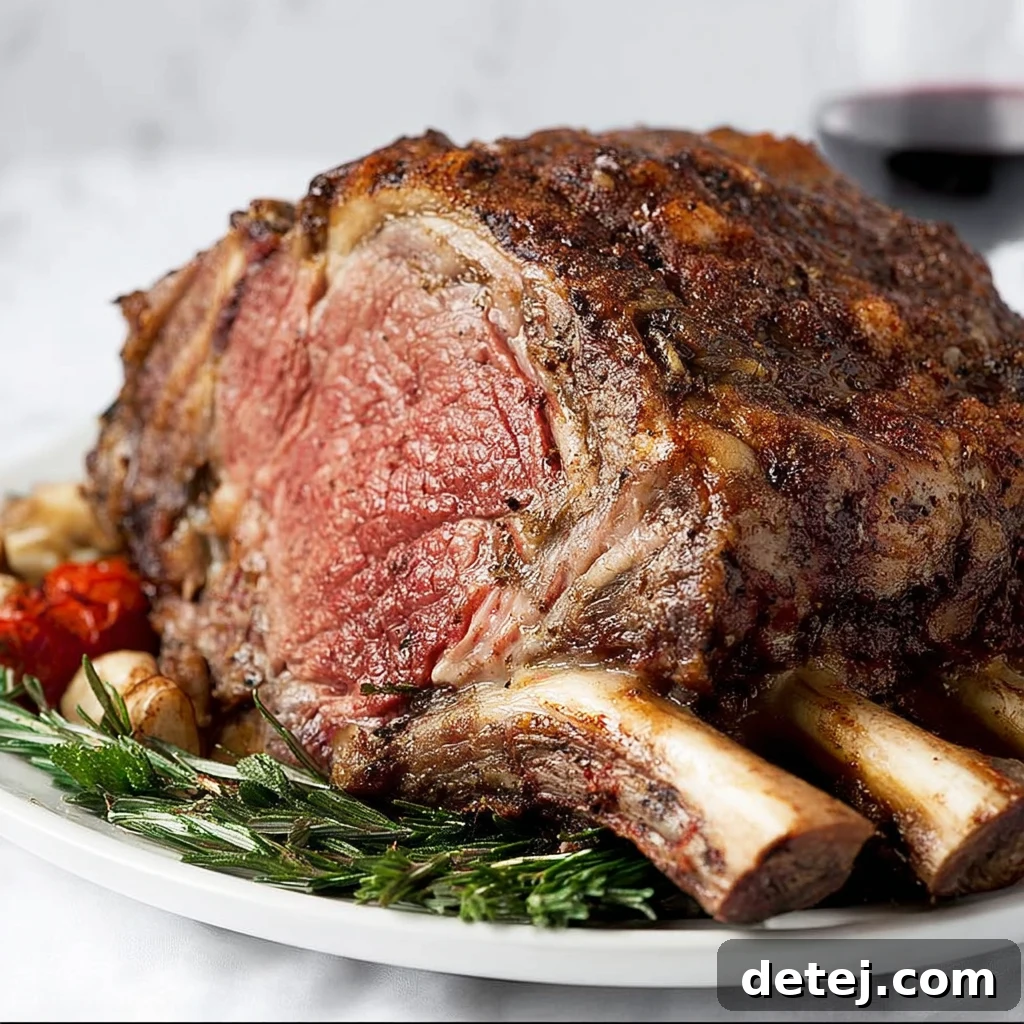
After the delightful aromas have filled your kitchen and your prime rib roast has emerged gloriously from the oven, radiating warmth and promise, it’s incredibly tempting to dive right in. However, this is precisely when patience becomes your most valuable virtue. The step of letting the meat rest is not merely a suggestion; it is a fundamental and critical stage that profoundly impacts the succulence and overall quality of every single slice. To skip this step is, in essence, to commit a culinary misstep, allowing all those precious, flavorful juices to escape.
When meat cooks, its muscle fibers contract, pushing the internal juices towards the center. If you were to carve the roast immediately, these juices, under immense pressure, would rush out onto your cutting board, leaving the meat dry and less flavorful. This is where resting performs its magic. What I always do, and what I strongly advise you to adopt, is to gently tent the roast with aluminum foil. This tenting isn’t primarily to keep the roast piping hot, though it does contribute to warmth. Its main purpose is to allow the roast to relax and the magic of redistribution to occur.
During this crucial resting period, typically around 20 to 30 minutes for a prime rib, the contracted muscle fibers begin to relax. This relaxation allows the accumulated juices in the center to gradually redistribute themselves throughout the entire roast. The result is consistently moist and flavorful meat from edge to edge. Furthermore, the internal temperature of the roast will continue to rise by another 5–10 degrees Fahrenheit during this time, a phenomenon known as carryover cooking, ensuring it reaches that ideal level of doneness you painstakingly aimed for. By resisting the immediate urge to carve and embracing the art of resting, you elevate your prime rib from merely great to truly unforgettable, ensuring every bite is a testament to perfect preparation. Your taste buds, and those of your appreciative guests, will undoubtedly thank you.
Expert Tips for Carving Your Masterpiece
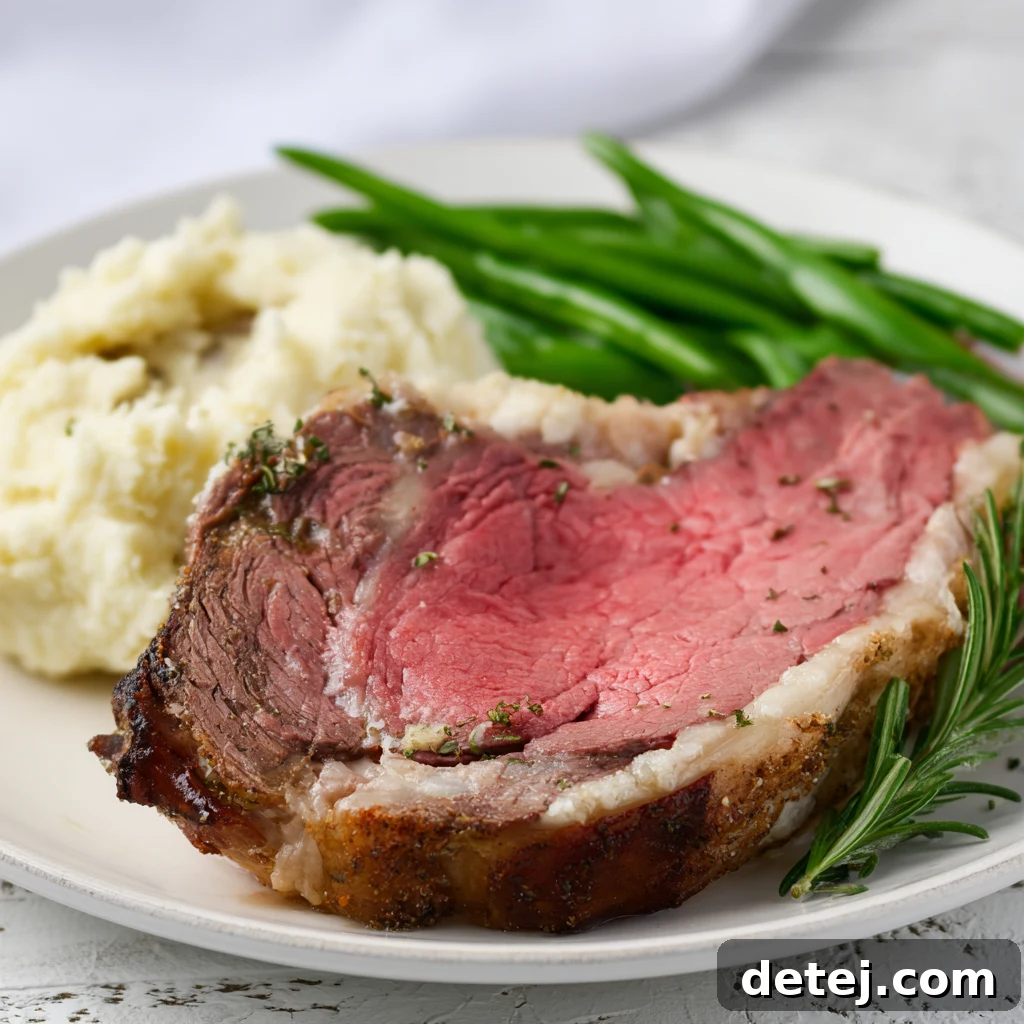
You’ve navigated the selection, the meticulous preparation, the precise cooking, and the all-important resting phase. Now, your gorgeous prime rib roast, aromatic and perfectly rested, awaits its grand finale: carving. While it might seem intimidating to approach such a magnificent cut, proper carving technique ensures that every slice is tender, presentable, and truly celebrates the effort you’ve invested. I’ve refined my approach over time, and here’s the easiest way to carve your masterpiece like a seasoned chef.
- The Indispensable Tool: A Razor-Sharp Knife. This is absolutely non-negotiable. A long, sharp carving knife, or even a good chef’s knife, is essential. A dull knife will tear the meat, leaving you with ragged, unappealing slices and frustrated efforts. Before you begin, give your knife a quick sharpen or hone to ensure it glides through the meat effortlessly. A carving fork is also highly recommended to stabilize the roast as you slice.
- Handling Bone-In Roasts: Separating the Bones. If you’ve chosen a bone-in prime rib (also known as a standing rib roast), your first step is to remove the bones. Place the roast with the bone side up, or stand it upright if stable. Using your sharp knife, carefully slice along the curve of the bones, separating them from the bulk of the roast in one clean section. Once the bones are removed, you can easily slice the boneless portion of the roast. Don’t discard those bones! They’re fantastic for making stock or can be served as a chef’s treat.
- The Golden Rule: Slice Against the Grain. This is the most crucial tip for tender slices. Observe the meat closely to identify the direction of the muscle fibers – this is the “grain.” Always cut across these fibers, not parallel to them. Cutting against the grain shortens the muscle fibers, making each bite significantly more tender and easier to chew. Aim for slices about ½ to ¾ inch thick, or adjust to your guests’ preferences. Maintain a steady, confident hand and let the sharp knife do the work.
Carving your prime rib roast is not just about getting it onto plates; it’s about honoring the time, care, and love you’ve poured into its preparation. With these simple yet effective techniques and the right tools, you’ll be presenting perfectly carved, tender slices of prime rib, impressing everyone at your table and making the meal truly memorable.
Elevating Your Meal with Thoughtful Serving Suggestions
After all the meticulous effort and anticipation that goes into creating a perfect prime rib roast, the final presentation and accompanying dishes are what truly complete the feast. The prime rib is undeniably the star, but a thoughtfully curated supporting cast of side dishes and sauces will elevate your special occasion dinner to an extraordinary culinary experience. This is where you can showcase your creativity and ensure every element on the plate complements the rich flavors of the beef.
Classic accompaniments are beloved for a reason. Imagine creamy, rich mashed potatoes, perfect for soaking up the flavorful pan juices. Crisp-tender green beans, perhaps with a hint of garlic or toasted almonds, offer a refreshing contrast. And, of course, no prime rib experience is complete without light, airy, and golden Yorkshire puddings, ready to capture every drop of that delicious au jus. These traditional sides provide comfort and familiarity, enhancing the overall dining experience.
But don’t feel confined by tradition! This is an excellent opportunity to introduce a modern twist or an unexpected side dish that will surprise and delight your guests. Consider a vibrant root vegetable medley roasted with herbs, a sophisticated gratin, or even a seasonal salad with a zesty vinaigrette to cut through the richness of the meat. For sauces, a classic au jus made from the pan drippings is a must, but also think about a creamy horseradish sauce, which provides a wonderful piquant counterpoint to the rich beef. A red wine reduction can also add a touch of elegance.
The goal is to create a balanced plate where textures, flavors, and colors harmonize. By carefully selecting your serving suggestions, you’re not just filling plates; you’re crafting an unforgettable meal that will leave your guests completely satisfied and eager to return for your next holiday dinner or special gathering. It’s about making those plates come back empty and those faces light up with joy, celebrating not just the food, but the shared experience.
Maximizing Flavor: Storing and Reimagining Leftovers
One of the true joys of preparing a magnificent prime rib roast, especially for a special occasion, is the delightful prospect of leftovers. A perfectly cooked prime rib is a gift that keeps on giving, transforming into entirely new and equally delicious meals if handled correctly. Proper storage is key to preserving its incredible flavor and texture, ensuring you can savor it for days to come.
Once your dinner is complete and the roast has cooled to room temperature (this is crucial to prevent bacterial growth), it’s time to prepare it for storage. The best way to maintain its freshness and prevent it from drying out is to wrap any leftover prime rib tightly. Use a combination of plastic wrap, ensuring it’s airtight, followed by a layer of aluminum foil for extra protection. This dual-layer wrapping helps to shield the meat from air and moisture loss, keeping it succulent. Immediately after wrapping, pop it into the refrigerator. Properly stored prime rib leftovers can be safely kept in the fridge for 3 to 4 days.
But here’s where the real fun begins: reimagining your leftovers! Don’t just settle for reheating slices. While a gentle reheat in the oven (at a low temperature, covered with foil, with a splash of beef broth) can work wonders, prime rib is incredibly versatile. Think beyond the ordinary. Slice it thin for gourmet prime rib sandwiches, perhaps on a crusty baguette with caramelized onions and a dab of horseradish cream. Dice it and toss it into a hearty salad for a protein-packed lunch, or use it to elevate a classic beef hash for a luxurious breakfast. Shredded prime rib can even make incredible tacos or quesadillas. The possibilities are as endless as they are delicious, allowing you to extend the joy of your special occasion roast well beyond the main event.
The Unforgettable Joy of Sharing a Perfect Prime Rib
There is an inherent magic in the act of preparing and serving a perfect prime rib roast, especially during the holiday season. It transcends the mere act of cooking; it becomes a cherished ritual, a cornerstone of family gatherings, and a centerpiece that embodies both the warmth and the splendor of a truly special occasion. Whether it’s the focal point of a cozy Christmas dinner, a grand New Year’s Eve celebration, or an intimate anniversary feast, the standing rib roast commands attention, its presence symbolizing abundance, comfort, and shared joy.
The journey from selecting the finest ribeye roast at your local butcher to meticulously mastering each step in your kitchen, from crafting the perfect rub to precise temperature control in the roasting pan, culminates in a moment of pure triumph. When you finally present that beautifully rested masterpiece on the cutting board, ready to be carved, it’s not just a dish you’re unveiling; it’s the culmination of effort, care, and a deep appreciation for good food and good company.
This profound joy extends far beyond the succulent flavors of the meat itself or how effortlessly it falls off the rib bones. It’s deeply rooted in the shared experiences it fosters, the holiday traditions it helps to build, and the sheer delight evident on the faces of your loved ones as they savor each tender bite. The process of creating this dish teaches us valuable lessons: the importance of patience, the virtue of precision, and, most significantly, the immense satisfaction that comes from mastering a culinary challenge. Therefore, I wholeheartedly encourage you to fully embrace and bask in the pride of your culinary achievements. Let this easy prime rib recipe serve as a testament to your dedication and inspire you to continue exploring, learning, and perfecting your skills in the kitchen. Because, ultimately, it is these moments of shared joy, these unforgettable experiences created around a table, that make all the effort truly worthwhile and leave lasting impressions for years to come.
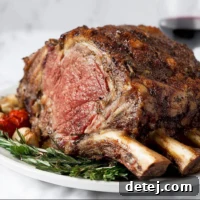
Easy Prime Rib Roast
Ingredients
- 1 ribeye roast, about 5 pounds (bone-in or boneless)
- ½ cup unsalted butter, softened
- 1 teaspoon kosher salt
- 1 teaspoon dried rosemary, finely crushed
- 1 teaspoon dried thyme
- ½ teaspoon smoked paprika
- ½ teaspoon freshly ground black pepper
Instructions
-
Take the ribeye out of the refrigerator and let it rest at room temperature for about 1½ hours. Allowing it to warm up slightly ensures more even cooking.
-
In a small bowl, mix the softened butter with rosemary, thyme, paprika, salt, and black pepper until well combined.
-
Rub the seasoned butter mixture all over the roast, coating every side.
-
Set the roast on a rack inside a roasting pan lined with foil. Insert a meat thermometer into the thickest part of the roast, making sure it doesn’t touch bone or large pockets of fat.
-
Roast, uncovered, following the cooking time guide below for your preferred level of doneness (times may vary depending on weight and whether the roast is bone-in or boneless).
-
Once done, remove the roast from the oven and loosely cover with foil. Let it rest for 20 minutes before slicing—the internal temperature will continue to rise by 5–10 degrees as it rests.
-
Notes:
-
Ribeye Roast Cooking Guide (Approximate times per pound at 350°F):
-
Rare (120–125°F / 49–52°C)
-
15–17 minutes per pound
-
Center will be cool to warm red
-
Medium-Rare (130–135°F / 54–57°C)
-
18–20 minutes per pound
-
Center will be warm pink with a hint of red
-
Medium (140–145°F / 60–63°C)
-
20–22 minutes per pound
-
Center will be mostly pink
-
Medium-Well (150–155°F / 65–68°C)
-
23–25 minutes per pound
-
Slightly pink center
-
Well Done (160°F+ / 71°C+)
-
26–28 minutes per pound
-
Fully cooked with little to no pink
-
Always check doneness with a meat thermometer inserted in the thickest part of the roast, away from bone and fat. Remember, the temperature will rise about 5–10°F while the roast rests.