
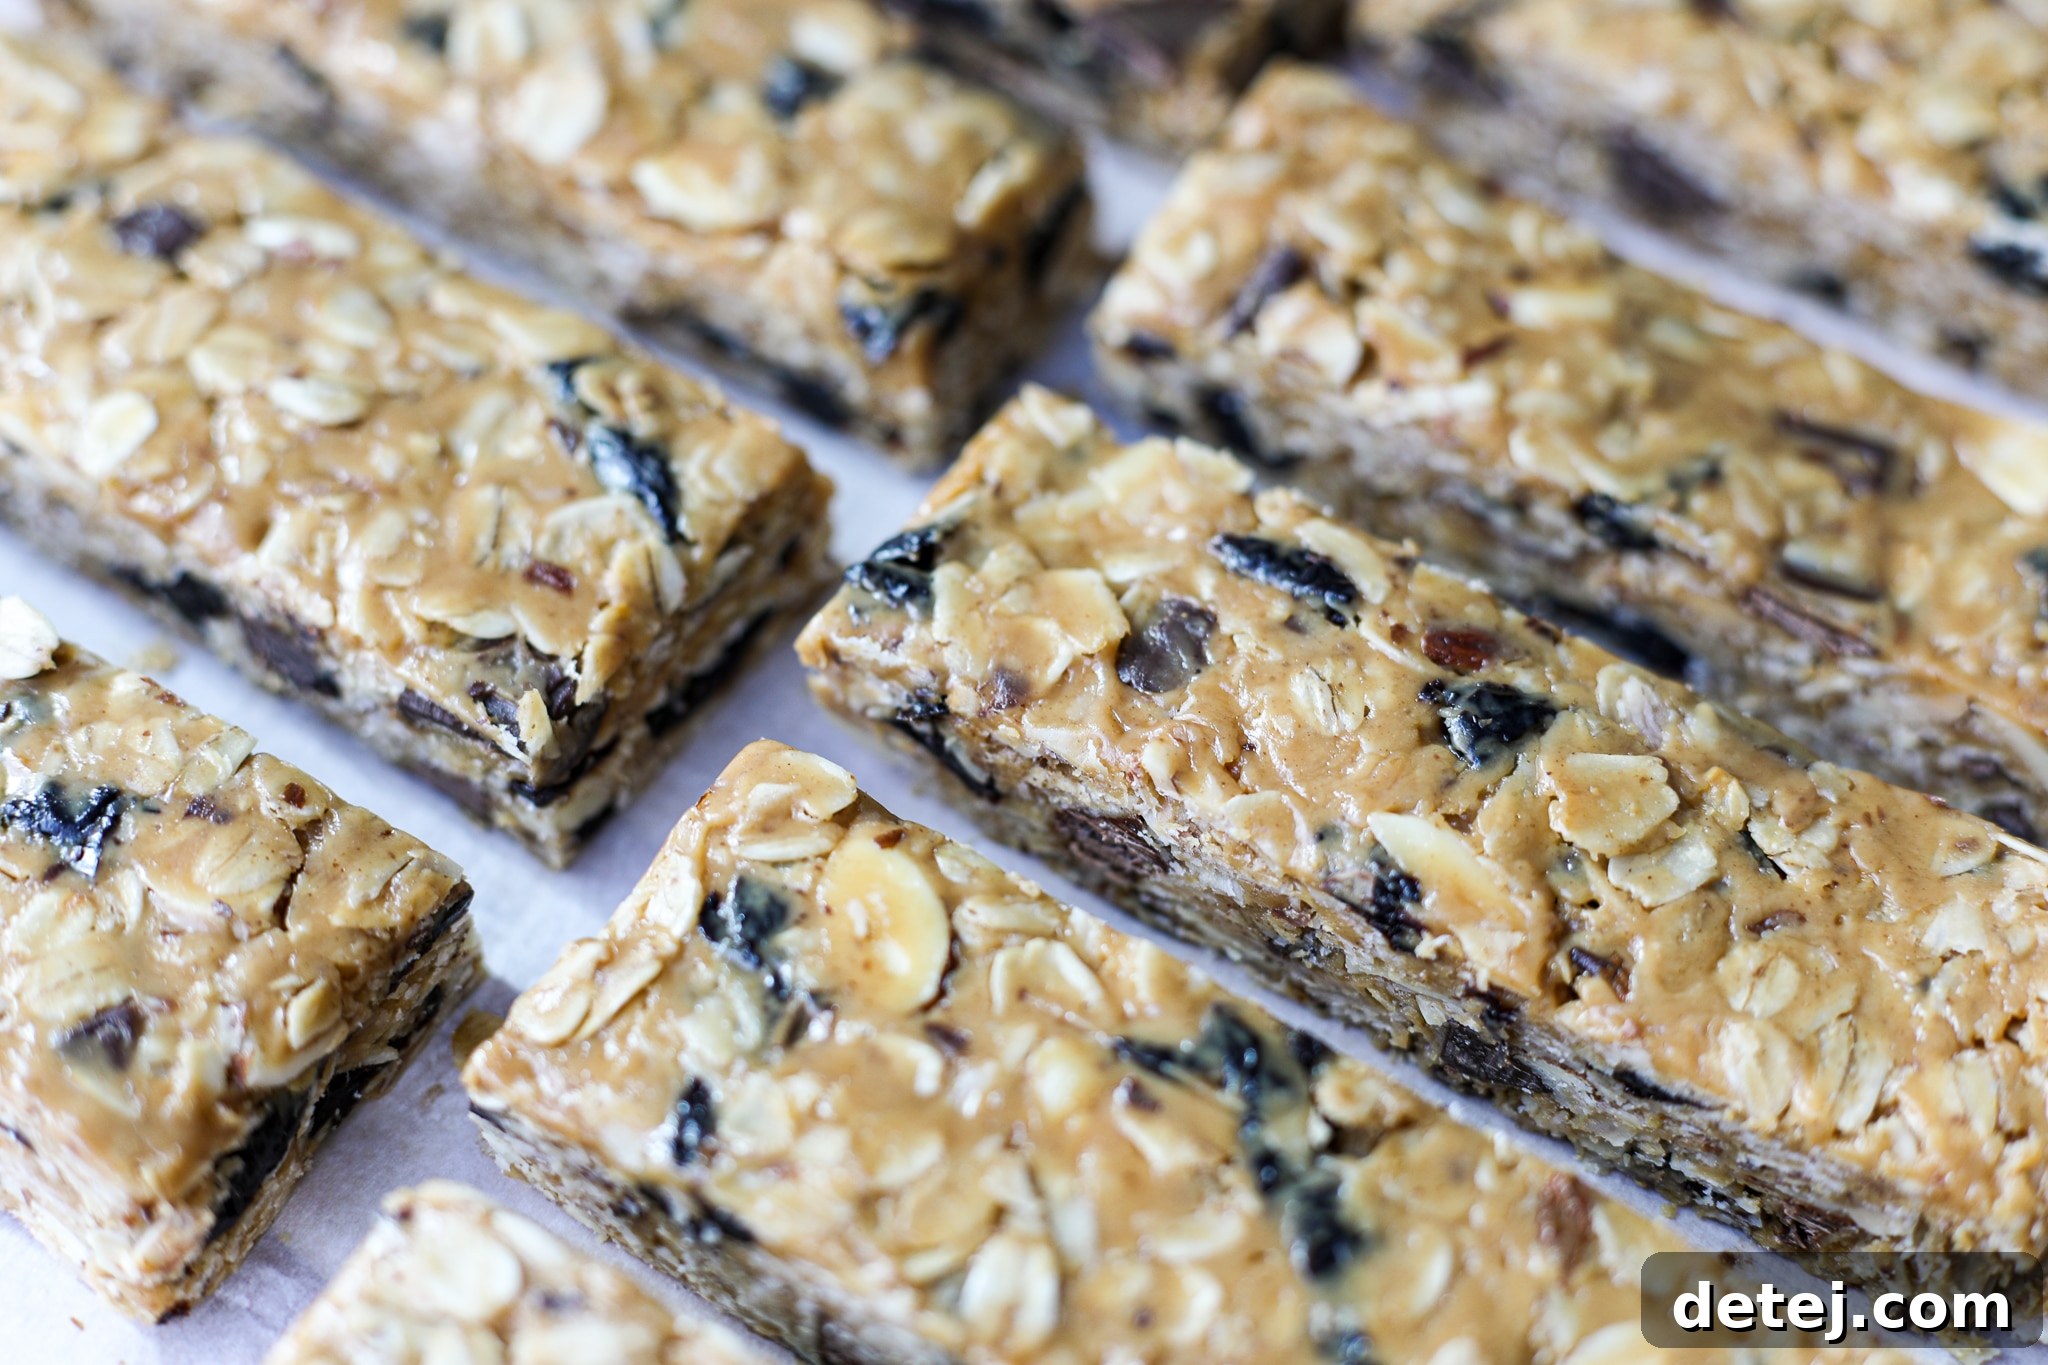
Craving a wholesome, delicious, and convenient snack that fuels your day? Look no further than these incredible Cherry Chocolate Almond Granola Bars. Far from your average store-bought options, these homemade bars are packed with robust flavors and satisfying textures. Each bite delivers the perfect harmony of tart dried bing cherries, rich semi-sweet chocolate chunks, and crunchy toasted almonds, all bound together in a chewy, oat-filled bar. They are truly irresistible and an absolute game-changer for anyone looking to simplify their meal prep and enjoy healthier treats throughout the week.
Whether you’re grabbing a quick breakfast on the go, needing an energizing mid-day pick-me-up, or seeking a guilt-free dessert, these versatile granola bars fit every occasion. Their homemade charm makes them superior to anything you’ll find on supermarket shelves, allowing you to control the quality of ingredients and customize them to your exact preferences. The inspiration for this recipe comes from my sister, a dedicated teacher who constantly whips up variations of these bars to power through her busy work week. Her practical approach to healthy eating truly sparked the creation of this delightful recipe, and I encourage you to make it your own by experimenting with different additions and modifications.
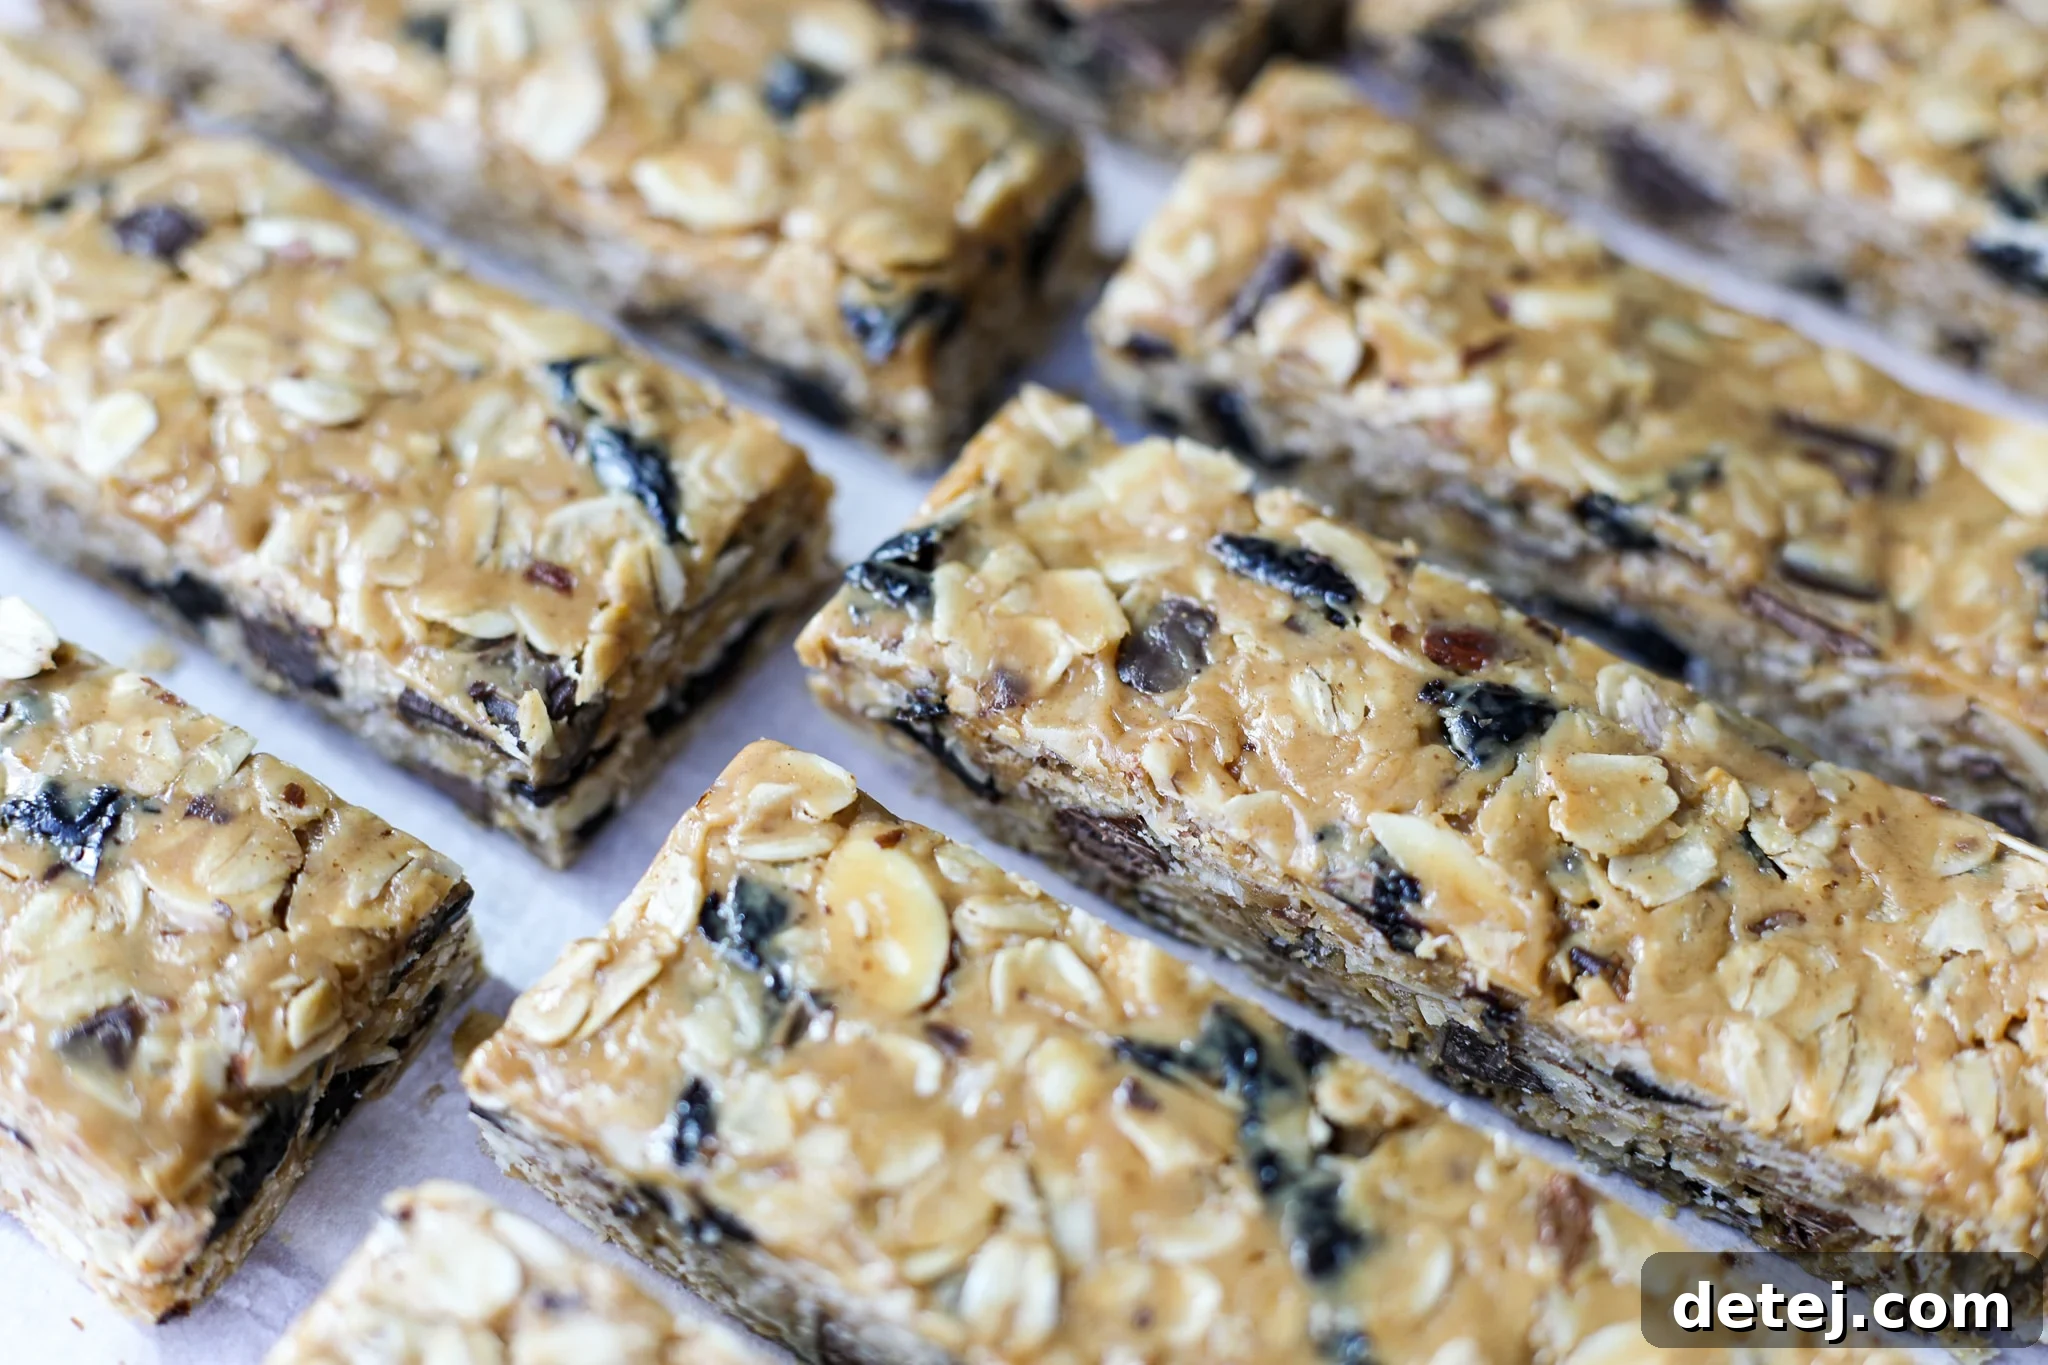
Why Make Your Own Granola Bars?
In today’s fast-paced world, convenience often trumps nutrition. However, making your own granola bars bridges that gap beautifully. Beyond the sheer joy of creating something delicious in your own kitchen, there are numerous compelling reasons to ditch the store-bought alternatives:
- Control Over Ingredients: Commercial granola bars often hide excessive sugars, unhealthy fats, and artificial preservatives. When you make them at home, you dictate every ingredient, ensuring a wholesome and nutritious product free from unwanted additives. You can opt for organic, non-GMO, or allergy-friendly components with ease.
- Cost-Effective: Buying individual granola bars can quickly add up. Crafting a batch at home is significantly more economical, especially when you buy ingredients in bulk. This recipe yields 12 servings, providing a week’s worth of snacks for a fraction of the price.
- Unmatched Freshness and Flavor: There’s simply no comparison to the taste of freshly made granola bars. The aroma of toasted oats and almonds, the vibrant burst of dried cherries, and the melted pockets of chocolate create a flavor profile that is truly superior and deeply satisfying.
- Customization Opportunities: This recipe is a fantastic starting point, but the real fun begins with customization. You can easily adapt it to suit dietary needs, personal taste preferences, or whatever ingredients you have on hand. It’s a culinary canvas awaiting your creative touch.
- Perfect for Meal Prep: Granola bars are the quintessential meal prep item. Prepare a batch on Sunday, and you’ll have healthy, portion-controlled snacks ready to grab all week long. This saves time during busy mornings and prevents impulsive, less healthy food choices.
Key Ingredients for Perfect Granola Bars
Each ingredient in these Cherry Chocolate Almond Granola Bars plays a crucial role in achieving their delightful flavor and satisfying texture. Let’s delve into what makes them so special:
- Whole Grain Rolled Oats: The foundation of our granola bars! Using whole grain rolled oats (sometimes labeled “old-fashioned oats”) is essential. Quick-cooking or instant oats will result in a mushier texture and lack the hearty bite we’re aiming for. The magic touch here is lightly toasting the oats and almonds before mixing. This simple step elevates their natural nuttiness and depth of flavor, adding an irresistible dimension that makes these bars truly stand out. Spread them evenly on a baking tray and watch for a subtle golden hue and fragrant aroma.
- Delectable Inclusions: This recipe features a winning combination:
- Chopped Semi-Sweet Chocolate: Provides pockets of rich, indulgent sweetness. Using a chopped chocolate bar rather than just chips allows for delightful irregular melt spots, though chocolate chips work perfectly well too for convenience.
- Dried and Chopped Bing Cherries: These provide a wonderful tart counterpoint to the sweetness of the chocolate and honey. Bing cherries are known for their vibrant flavor and chewy texture when dried. Chopping them ensures an even distribution throughout the bars.
- Sliced Almonds: Toasted alongside the oats, sliced almonds contribute a fantastic crunch and a delicate, nutty flavor that complements the cherries and chocolate beautifully. Their thin shape integrates seamlessly into the bars.
- Peanut Butter: This is the primary binder that holds our bars together, providing both structure and a delicious, creamy richness. I recommend using natural peanut butter (the kind where oil separates and needs stirring) because its thinner consistency makes it easier to mix and helps achieve a smoother, more evenly bound bar. Regular, thicker peanut butter can be used, but you might need to warm it slightly to make it more pliable.
- Honey: The second crucial binder and natural sweetener. Honey’s stickiness is paramount for giving these granola bars their characteristic chewiness and ensuring they don’t crumble apart. It also lends a unique, complex sweetness. It’s important to note that maple syrup is not a suitable substitute in this recipe, as it is not sticky enough to bind the ingredients effectively, leading to crumbly bars.
- A Touch of Salt: Don’t underestimate the power of a pinch of kosher salt! Added to the wet ingredients, it doesn’t make the bars salty but instead enhances and balances all the other flavors—making the chocolate richer, the cherries brighter, and the honey more nuanced. It’s a flavor amplifier.
- Vanilla Extract: A splash of vanilla adds a warm, comforting aroma and a layer of sophisticated flavor that rounds out the overall taste profile. It’s a subtle addition that makes a significant difference, adding a depth that’s hard to resist.
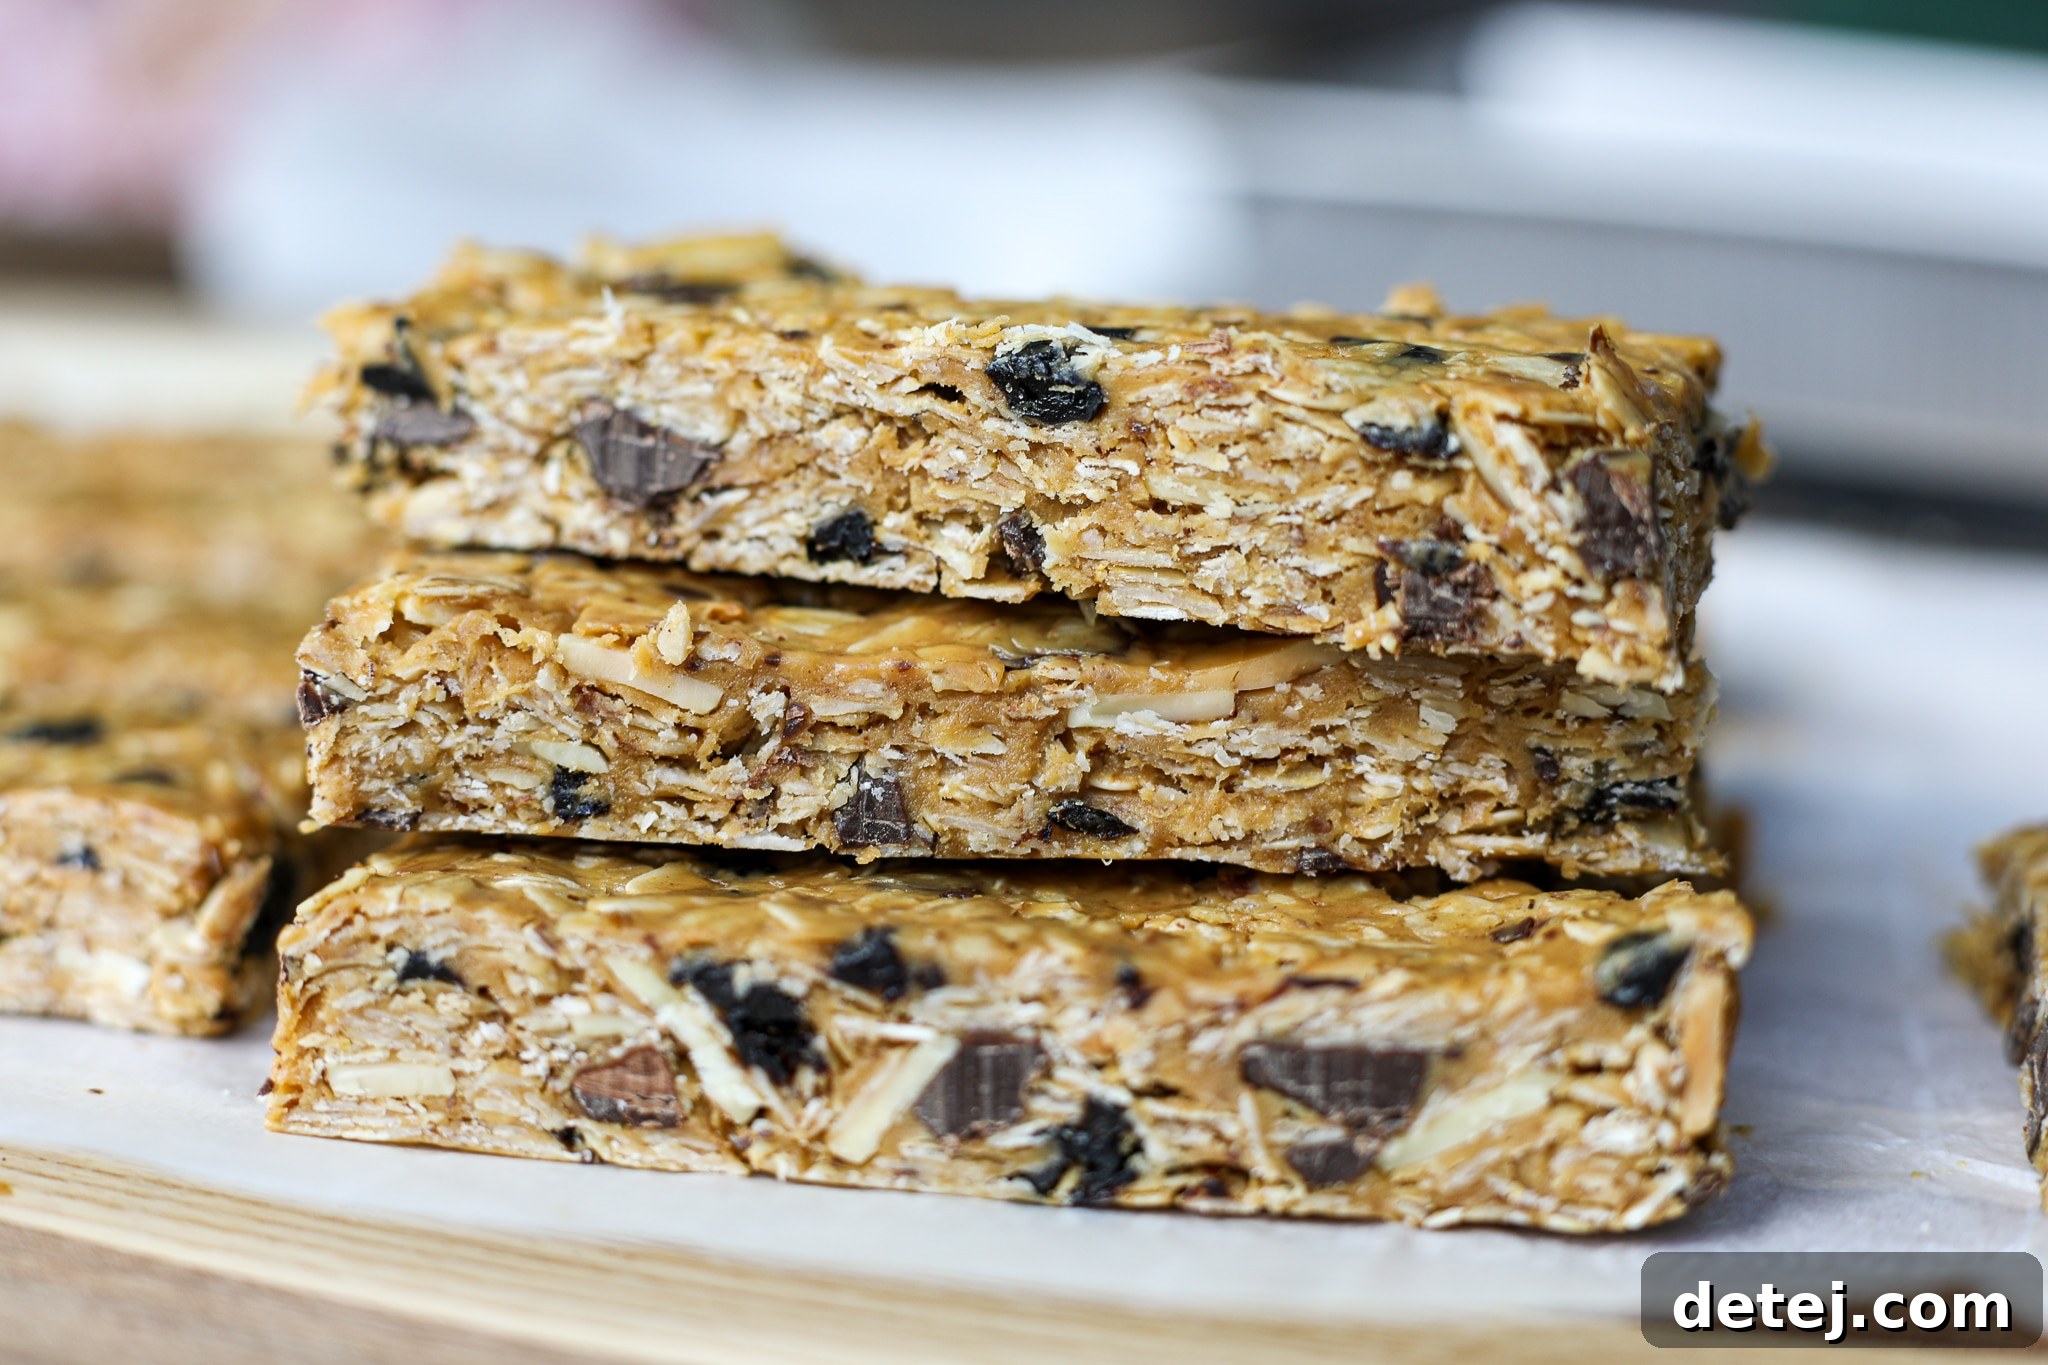
How to Master Cherry Chocolate Almond Granola Bars
Making these delightful granola bars is straightforward, but a few key steps ensure perfection every time. Follow these instructions closely for chewy, flavorful, and perfectly set bars:
- Prepare Your Workspace: Begin by preheating your oven to 350°F (175°C). This ensures it’s ready for toasting. Line an 8×8 inch baking dish with parchment paper, leaving an overhang on the sides. This parchment paper sling will be your best friend when it comes to lifting the finished bars out for easy slicing. Set this prepared dish aside.
- Toast for Flavor: Spread the whole grain rolled oats and sliced almonds evenly on a separate baking tray. Toast them in the preheated oven for 5 to 10 minutes. Keep a close eye on them; you’re looking for a light golden color and a wonderfully fragrant, nutty aroma. Toasting is crucial as it deepens the flavor of both the oats and almonds, making your bars much more complex and delicious. Once toasted, remove them from the oven and allow them to cool slightly.
- Combine the Wet Ingredients: In a medium-sized mixing bowl, combine the natural peanut butter, honey, kosher salt, and vanilla extract. Stir these ingredients together vigorously until they are thoroughly combined and create a smooth, cohesive mixture. The natural peanut butter will blend more easily due to its thinner consistency.
- Integrate the Dry Mix-ins: Add the cooled, toasted oats and almonds to the peanut butter and honey mixture. Next, finely chop your dried bing cherries and semi-sweet chocolate bar (if not using chips) and add them to the bowl as well. Using a sturdy spatula, mix everything together until all the dry ingredients are completely coated and evenly distributed throughout the wet mixture. This step requires a bit of muscle to ensure every oat and cherry gets its share of the delicious binder.
- Press and Chill: Transfer the entire granola mixture into your prepared 8×8 inch baking dish. This is where patience and technique come into play for firm bars. Using the back of a measuring cup, a flat spatula, or even your hands (lightly dampened to prevent sticking), press the mixture down firmly and evenly across the entire surface of the pan. The harder you press, the more compact and less crumbly your bars will be. Aim for a very dense, flat layer.
- The Crucial Chill Time: Once pressed, cover the baking dish with another layer of parchment paper or plastic wrap and refrigerate for at least 45 minutes to an hour. This chilling period is non-negotiable; it allows the honey and peanut butter to solidify and bind the ingredients together, ensuring your bars hold their shape when sliced. For an even firmer set, or if you’re in a hurry, you can opt to freeze them for about 20-30 minutes.
- Slice and Enjoy: After chilling, lift the entire slab of granola from the baking dish using the parchment paper overhang. Place it on a cutting board. Using a sharp knife, slice the large slab into 12 equally sized bars or customize them to your preferred portion size. Now they are ready to be enjoyed!
Storage
Proper storage is key to maintaining the freshness and integrity of your homemade granola bars. Store them in an airtight container. They will last for up to 5-6 days in the refrigerator. For longer storage, these bars freeze beautifully. Wrap individual bars in parchment paper or plastic wrap, then place them in a freezer-safe bag or container for up to 2-3 months. If you choose to freeze them, simply let the bars sit at room temperature for 20-25 minutes before enjoying for the best texture.
Customization and Serving Suggestions
One of the greatest advantages of making your own granola bars is the endless potential for customization. This recipe is wonderfully adaptable, allowing you to tailor it to your taste, dietary needs, or whatever ingredients you have on hand. Here are some ideas to inspire your creativity:
Granola Bar Variations:
- Fruit Swaps: Not a fan of cherries? No problem! Substitute with other dried fruits like cranberries, chopped apricots, golden raisins, blueberries, or even finely diced dried apples. Each will lend a unique flavor profile.
- Nut & Seed Alternatives: Instead of almonds, try chopped walnuts, pecans, cashews, or even sunflower or pumpkin seeds for an allergy-friendly option (ensure all other ingredients are also safe). Toasting these alongside the oats will bring out their best flavor.
- Chocolate Choices: Experiment with different types of chocolate. Dark chocolate for a more sophisticated, less sweet bar, milk chocolate for a creamier texture, or even white chocolate for a different aesthetic and flavor. Mini chocolate chips can also be used for easier distribution.
- Binder Boosts: While peanut butter and honey are ideal, you could try almond butter, cashew butter, or even sunflower seed butter for a nut-free version. Remember that the consistency might vary, so adjust liquid content slightly if needed. For a vegan option, you could experiment with agave nectar or brown rice syrup, though the binding might be less firm than with honey.
- Spice It Up: Add a pinch of cinnamon, nutmeg, or a dash of cardamom to the wet mixture for a warm, spiced flavor. A hint of orange zest can also brighten the cherry and chocolate notes.
- Protein Power-Up: For an extra protein boost, consider stirring in a scoop of your favorite protein powder (unflavored or vanilla works best) along with the dry ingredients. You might need to add a touch more honey or peanut butter to maintain the binding consistency.
- Coconut Love: Toasted shredded coconut can add a delightful chewiness and tropical flavor.
Creative Serving Ideas:
- Classic Grab-and-Go: The most obvious and beloved way to enjoy these bars is straight out of the fridge for a quick breakfast or snack.
- With Your Morning Coffee or Tea: Pair a bar with your favorite hot beverage for a delightful morning ritual.
- Post-Workout Refuel: The combination of carbs, protein, and healthy fats makes these an excellent choice for replenishing energy after a workout.
- Lunchbox Treat: A wholesome and satisfying addition to school or work lunchboxes.
- Crumbled Topping: Crumble a bar over yogurt, oatmeal, or a fruit salad for added texture and flavor.
- “Dessert” with a Scoop of Ice Cream: Warm a bar slightly and serve it with a scoop of vanilla bean ice cream for a surprisingly satisfying and slightly healthier dessert.
Frequently Asked Questions
When stored in an airtight container in the refrigerator, these homemade granola bars will remain fresh and delicious for up to 5-6 days. For longer storage, they can be frozen for up to 2-3 months.
Absolutely! This recipe is incredibly versatile. You can easily substitute the dried bing cherries with other dried fruits such as apricots (chopped), cranberries, golden raisins, blueberries, or even chopped prunes. Each will offer a unique flavor profile that works wonderfully with the chocolate and almonds.
Yes, these bars can be easily made gluten-free! Simply ensure you use certified gluten-free rolled oats, as conventional oats can sometimes be cross-contaminated with gluten during processing. All other ingredients in this recipe are naturally gluten-free.
To make these granola bars vegan, you would need to substitute the honey. Agave nectar or brown rice syrup are common vegan alternatives, but be aware that their binding properties might be slightly different from honey. You might need to adjust the quantities slightly or press the bars even more firmly for them to hold together well.
For neat and even slices, ensure the bars are thoroughly chilled in the refrigerator for the full recommended time (or frozen briefly). Use a large, sharp knife and press down firmly rather than sawing. Wiping the knife blade with a warm, damp cloth between cuts can also help prevent sticking and create cleaner edges.
Other Healthy Snack Recipes to Explore
If you’ve enjoyed making these Cherry Chocolate Almond Granola Bars, you might be interested in exploring other delicious and healthy snack recipes from Healthyish Foods. Expand your repertoire of wholesome treats with these fantastic ideas:
- BBQ Chicken Flatbread Pizza – A savory and satisfying option for a quick meal or hearty snack.
- No Bake Peanut Butter Protein Bars – If you prefer a no-bake option, these protein-packed bars are incredibly easy and delicious.
- Almond Coconut Clusters – Simple, crunchy, and naturally sweet, these clusters are perfect for satisfying a sweet craving.
- Healthy Homemade Dog Treats – Don’t forget your furry friends! A special recipe for your canine companions.
Cherry Chocolate Almond Granola Bars
Sarah Thomas-Drawbaugh
Yield:
12
servings
20 minutes
1 hour
1 hour
20 minutes
Pin Recipe
Leave a Review »
Equipment
- 1 baking tray
- 1 mixing bowl
- 1 8×8 baking dish lined with parchment
- 1 measuring cup or spatula to press the bars
Ingredients
-
2.5
cups
whole grain rolled oats,
lightly toasted -
½
cup
sliced almonds,
lightly toasted -
1
cup
natural peanut butter -
½
cup
honey -
1
teaspoon
vanilla extract -
¼
teaspoon
kosher salt -
⅓
cup
semi-sweet chocolate bar,
chopped into small pieces or chocolate chips -
⅓
cup
dried bing cherries,
chopped small
Instructions
-
Preheat the oven to 350°F (175°C). Line an 8×8 baking dish with parchment paper, leaving an overhang on the sides for easy removal. Set aside.
-
Add the whole grain rolled oats and sliced almonds to a baking tray. Lightly toast them in the preheated oven for 5-10 minutes, or until fragrant and lightly golden. Remove from oven and set aside to cool slightly.
-
In a small mixing bowl, combine the natural peanut butter, honey, kosher salt, and vanilla extract. Stir until well combined and smooth. Add the toasted oats and almonds to this wet mixture. Finely chop the dried bing cherries and semi-sweet chocolate bar (if not using chips), then add them to the bowl. Mix thoroughly until all ingredients are well combined and coated.
-
Transfer the granola mixture to the prepared 8×8 baking dish. Using the back of a measuring cup or a sturdy spatula, press the mixture down very firmly and evenly across the entire pan. This step is crucial for ensuring the bars hold together well.
-
Cover the baking dish with another layer of parchment paper or plastic wrap and refrigerate for 45 minutes to 1 hour (or freeze for 20-30 minutes) before slicing. This chilling process allows the bars to set completely. Once chilled, lift the slab out using the parchment paper overhang and slice into 12 even bars.
Notes
Nutrition
Serving:
1
serving
,
Calories:
332
kcal
,
Carbohydrates:
35
g
,
Protein:
10
g
,
Fat:
19
g
,
Saturated Fat:
4
g
,
Polyunsaturated Fat:
4
g
,
Monounsaturated Fat:
9
g
,
Trans Fat:
1
g
,
Cholesterol:
1
mg
,
Sodium:
143
mg
,
Potassium:
290
mg
,
Fiber:
5
g
,
Sugar:
18
g
,
Vitamin A:
122
IU
,
Vitamin C:
1
mg
,
Calcium:
53
mg
,
Iron:
2
mg
Breakfast
American
332
Sarah Thomas-Drawbaugh