
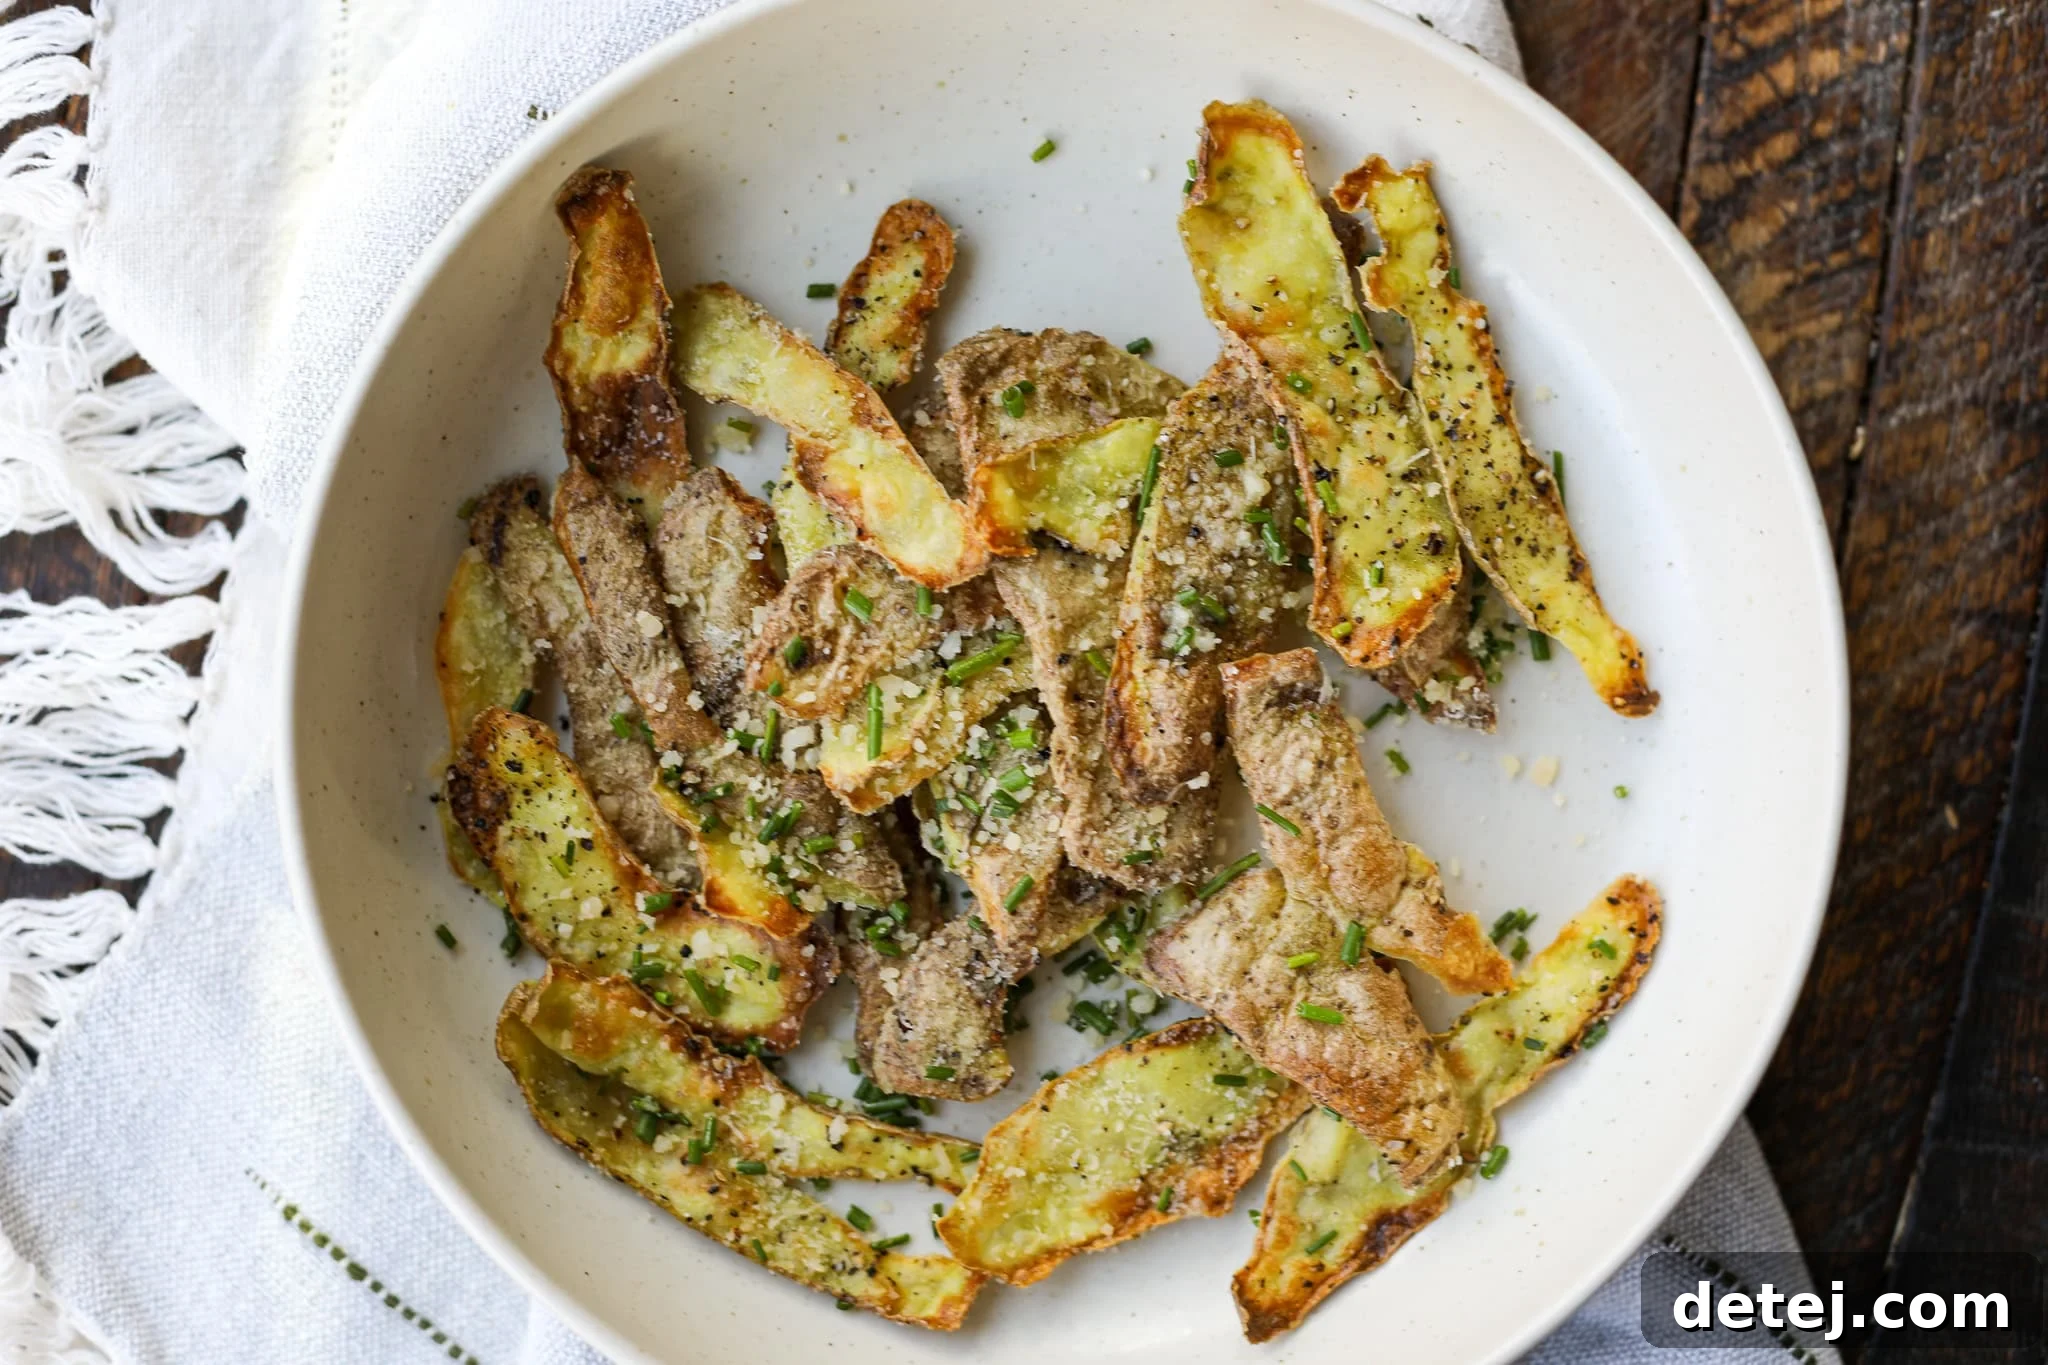
Crispy Potato Skin Chips: The Ultimate Zero-Waste Snack and Appetizer
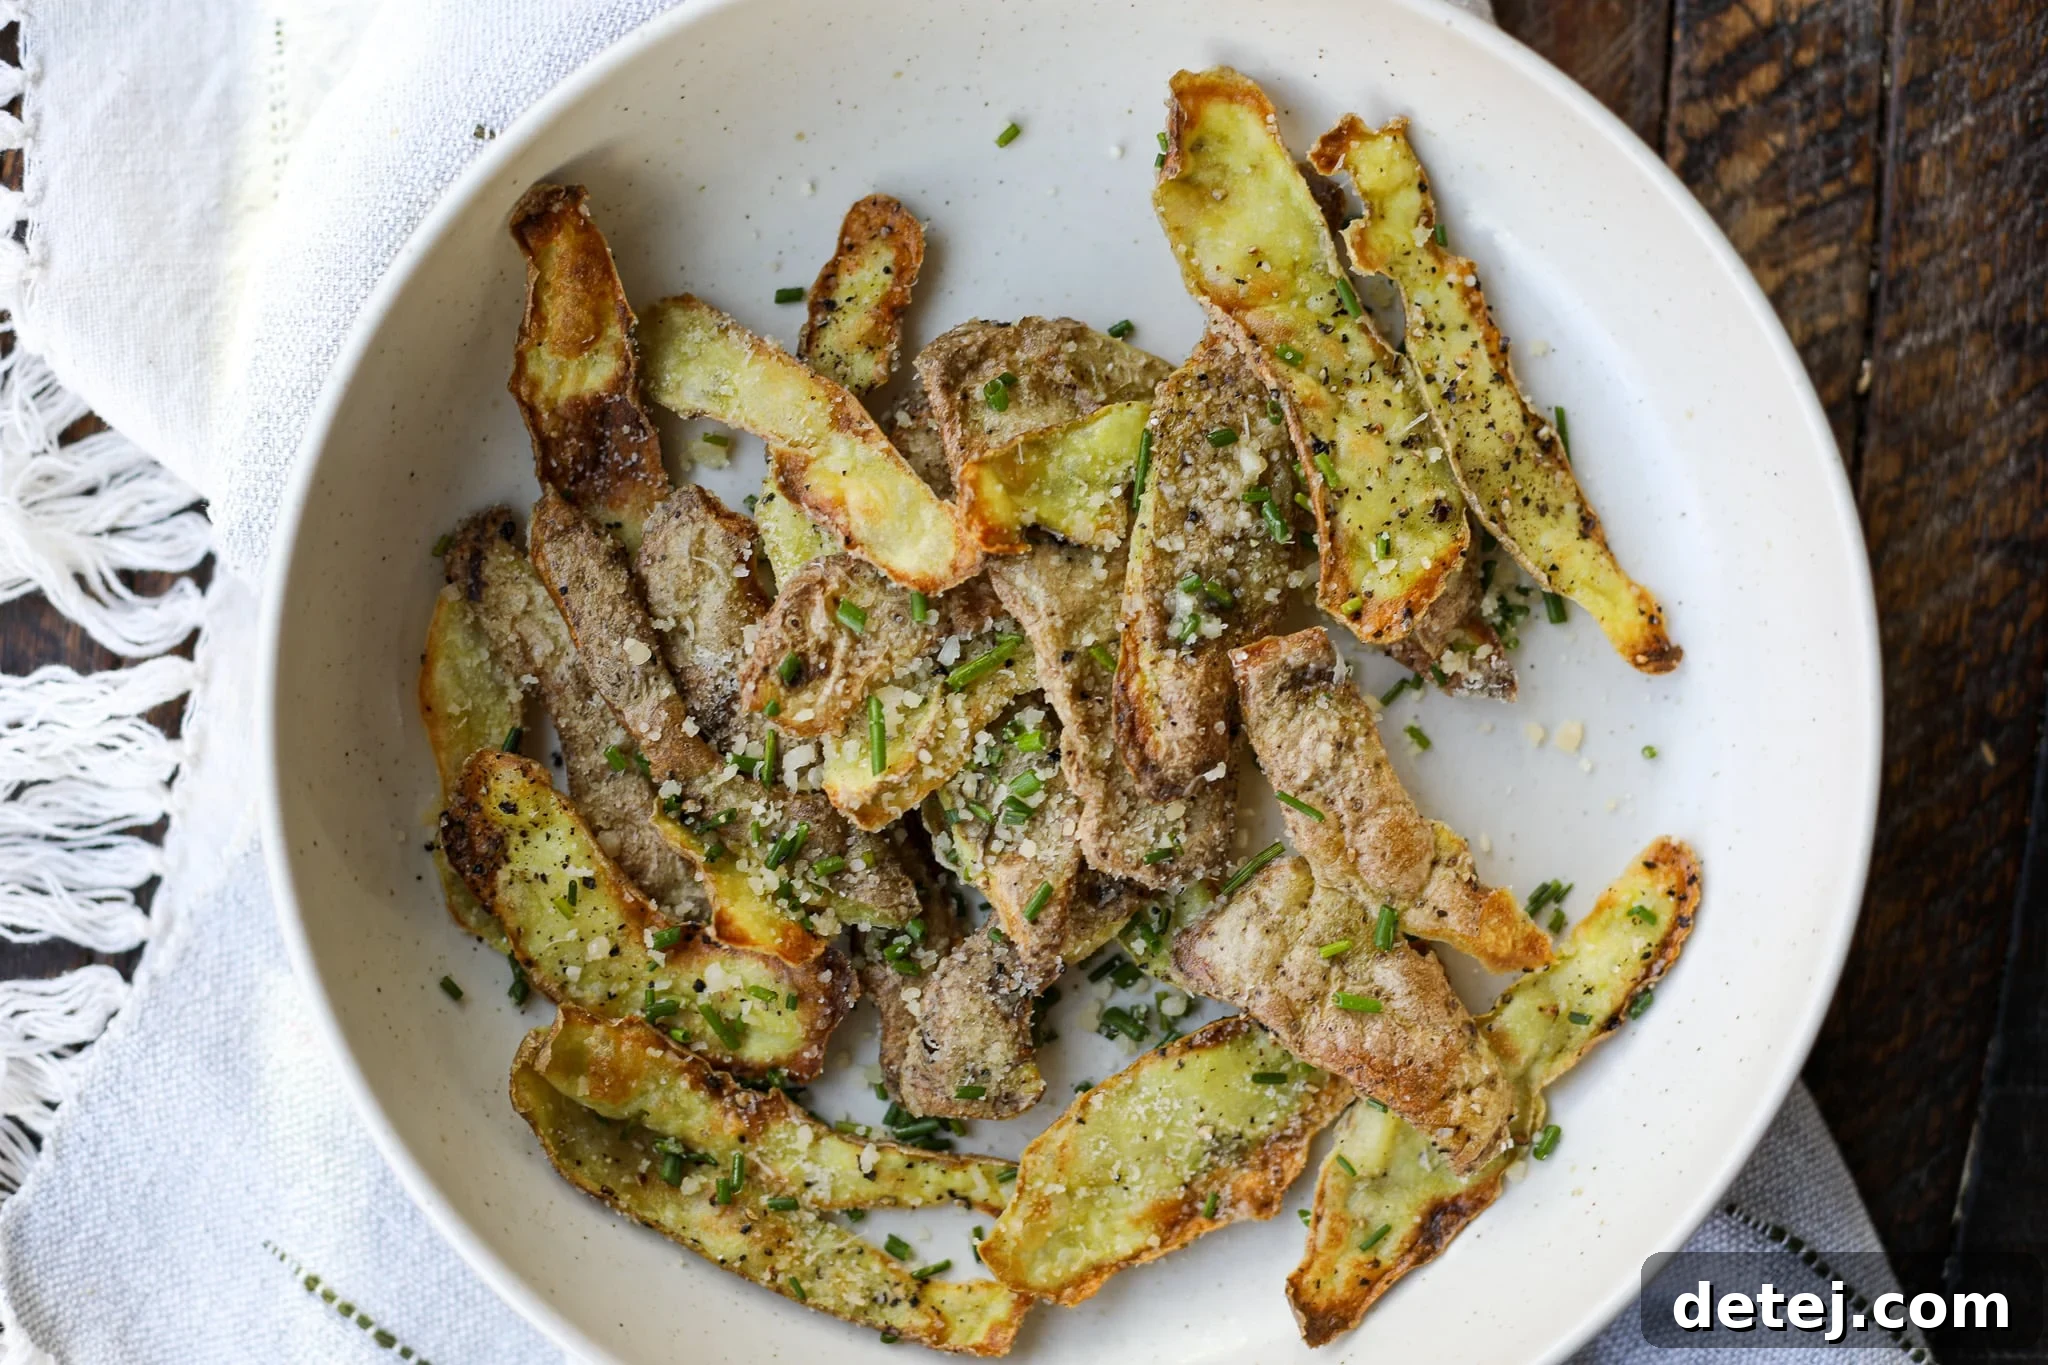
Don’t toss those potato skins! Transform them into incredibly delicious and satisfyingly crunchy Crispy Potato Skin Chips. This ingenious recipe is not only a fantastic way to minimize food waste but also creates a surprisingly gourmet snack or party appetizer that everyone will rave about. Forget store-bought chips; these homemade delights are bursting with flavor, easy to make, and undeniably addictive. Perfect for game day, a casual get-together, or simply as a guilt-free snack, you’re about to discover your new favorite potato recipe.
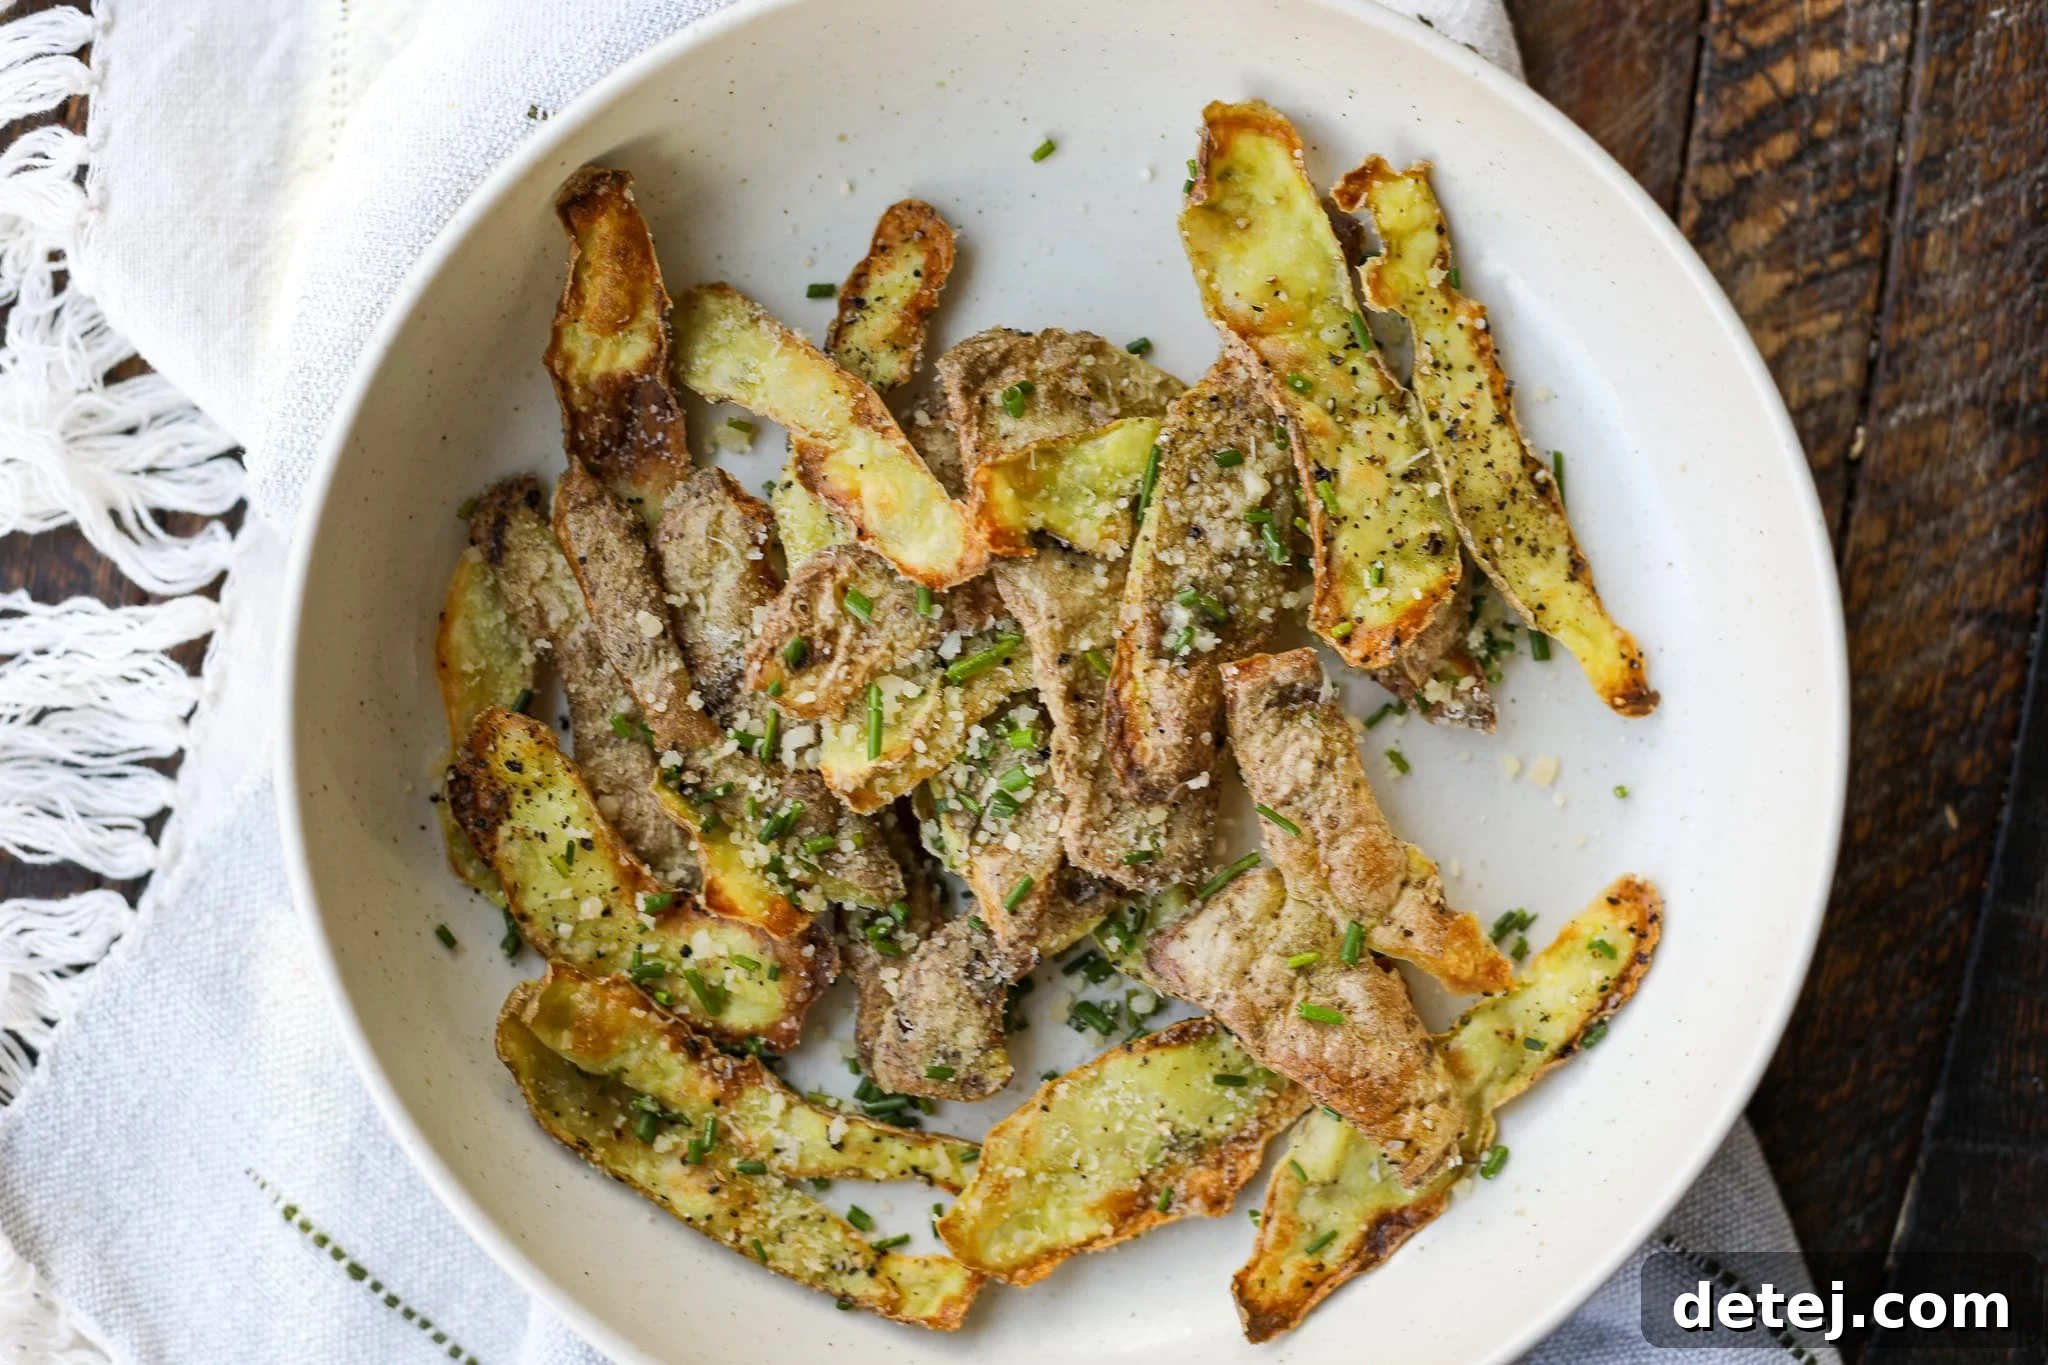
Table of Contents
Why Make Potato Skin Chips?
Every time you peel potatoes for mashed potatoes, roasted potatoes, or any other dish, you’re left with a pile of nutrient-rich skins that often end up in the bin. This recipe offers a simple and delicious solution to food waste, transforming those seemingly insignificant scraps into a star snack. Not only are you being environmentally conscious, but you’re also unlocking a hidden world of flavor and texture. Potato skins are packed with fiber, vitamins, and minerals, making these chips a slightly healthier alternative to many processed snacks. Plus, the satisfaction of creating something so delicious from what would otherwise be discarded is truly rewarding.
Essential Ingredients for Crispy Perfection
Achieving the perfect crispy potato skin chip requires just a few key ingredients. Each component plays a vital role in ensuring that delightful crunch and savory taste. Here’s a detailed look at what you’ll need:
- Potatoes: We recommend using the skins from about two pounds of Yukon gold potatoes, which typically amounts to 6 medium-sized potatoes. Yukon golds are ideal because their skins are thin, tender, and develop a beautiful golden crisp when baked. When peeling, try to create long, thin strips rather than small, choppy pieces, as longer strips result in more satisfying chips. While Yukon golds are fantastic, feel free to experiment with Russet potato skins for a slightly thicker, more rustic chip, or even red potato skins for a vibrant color.
- Cornstarch: This is your secret weapon for ultimate crispiness! A light coating of cornstarch creates an extra layer of texture that transforms the potato skins into truly crunchy chips. It helps to absorb any residual moisture and provides that desirable shatter-crisp texture when baked. Don’t skip this step for maximum crunch.
- Olive Oil: A good quality olive oil provides the necessary fat for the potato skins to crisp up beautifully in the oven. It also helps the seasonings adhere and adds a lovely depth of flavor. If you prefer, avocado oil or another high smoke point oil can be used as a substitute.
- Seasoning: The basic seasoning includes kosher salt and freshly cracked black pepper. The timing of when you add the salt is crucial: always season the skins right before they go into the oven. If salt sits on the potato skins for too long, it will draw moisture to the surface, preventing them from getting as crispy as possible. For an extra layer of flavor, consider adding a pinch of garlic powder, onion powder, or smoked paprika to your basic salt and pepper mix.
- Garnish: Elevate your potato skin chips with a sprinkle of grated Parmesan cheese and finely chopped chives immediately after they come out of the oven. The warmth of the chips will slightly melt the Parmesan, creating a savory coating, while the chives add a fresh, oniony brightness. Other garnish ideas include a dollop of sour cream, a sprinkle of fresh dill, or a dash of your favorite hot sauce.
How to Make Crispy Potato Skin Chips: Step-by-Step
Creating these crispy delights is straightforward. Follow these steps for perfect results:
- Prepare Your Workspace: Preheat your oven to 400°F (200°C). Line a large baking tray with parchment paper. This prevents sticking and makes cleanup a breeze.
- Peel and Soak: Carefully peel your potatoes, aiming for long, continuous strips of skin. Once peeled, immediately place the potato skins into a bowl of cold water and let them soak for 10-15 minutes. This crucial step helps remove excess starch, which is key to achieving that superior crispiness. We recommend using skins from about 6 medium-sized Yukon gold potatoes.
- Dry Thoroughly: After soaking, drain the potato skins and spread them out on a clean paper towel or a kitchen towel. Gently pat them dry, ensuring all excess moisture is absorbed. This step is non-negotiable for crispy results; any lingering water will steam the skins instead of crisping them.
- Coat with Flavor: Transfer the thoroughly dried potato skins to a large mixing bowl. Add the cornstarch and olive oil, then toss gently until the skins are evenly coated. Make sure every piece has a light dusting of cornstarch and a sheen of oil.
- Arrange and Season: Spread the coated potato skins in a single layer on the prepared baking tray. It’s essential not to overlap them, as overcrowding will lead to steaming rather than crisping. Give them a pinch of kosher salt and a few turns of freshly cracked black pepper. Remember to season just before they go into the oven to avoid drawing out moisture.
- Bake to Perfection: Bake for 8-10 minutes. Keep a close eye on them, as oven temperatures can vary. You’re looking for a beautiful golden-brown color and a visibly crispy texture. For extra-crispy chips, like I prefer, bake for 10 minutes and then broil for an additional 1-2 minutes. Watch them very carefully during broiling, as they can burn quickly.
- Garnish and Serve: Once baked to your desired crispiness, remove the potato skin chips from the oven. Transfer them to a mixing bowl and toss immediately with a sprinkle of grated Parmesan cheese and finely chopped chives. The residual heat will warm the cheese and release the aroma of the chives. Serve them hot and enjoy every crunchy bite!
Storage and Serving Suggestions
These crispy potato skin chips are undeniably best enjoyed immediately after baking when their crunch is at its peak. However, if you happen to have leftovers, store them in an airtight container at room temperature for up to 24 hours. To revive some of their crispiness, you can briefly reheat them in a toaster oven or an air fryer at 350°F (175°C) for a few minutes until re-crisped.
These chips are incredibly versatile! Enjoy them:
- As a standalone snack: A healthyish alternative to traditional potato chips.
- With dips: Serve alongside sour cream and onion dip, ranch dressing, guacamole, salsa, or even a spicy sriracha mayo.
- As a side dish: A fantastic accompaniment to sandwiches, burgers, or grilled chicken.
- Salad Topping: Crush them lightly and use them as a crunchy topping for salads, in place of croutons.
- Soup Garnish: Sprinkle over creamy soups for added texture.
Frequently Asked Questions
Yukon gold potatoes are highly recommended due to their thin, tender skins that crisp up beautifully. Russet potatoes can also be used, offering a slightly thicker and more robust chip. Red potato skins work well too for a colorful touch.
Soaking the skins helps to remove excess starch. Starch can make the chips chewy or soggy instead of crispy. This simple step is crucial for achieving that desirable light, airy crunch.
Absolutely! An air fryer is an excellent tool for making crispy potato skin chips. Follow the same prep steps (soak, dry, coat). Then, place them in a single layer in your air fryer basket and cook at 375°F (190°C) for 8-12 minutes, shaking the basket halfway through, until golden and crispy. Cooking times may vary depending on your air fryer model.
Several factors contribute to maximum crispiness: thoroughly drying the skins after soaking, coating them evenly with cornstarch, arranging them in a single layer without overcrowding the baking sheet, and salting them just before baking. Don’t be afraid to broil them for the last minute or two for an extra golden finish, but watch them closely to prevent burning.
You can peel the potatoes and soak the skins in cold water in the refrigerator for a few hours. However, it’s best to dry them, coat them, and bake them right before you plan to serve to ensure peak crispiness.
Beyond salt and pepper, you can get creative! Try garlic powder, onion powder, smoked paprika, chili powder, a pinch of cayenne for heat, Italian seasoning, or even nutritional yeast for a cheesy, savory flavor without dairy. Everything bagel seasoning is also a fantastic option!
Flavor Variations and Pro Tips
While the classic Parmesan and chive combination is always a hit, don’t hesitate to experiment with different flavor profiles to suit your taste. Here are a few ideas to inspire you:
Flavor Variations:
- Spicy Kick: Add a pinch of cayenne pepper, red pepper flakes, or a dash of your favorite chili powder along with the salt and pepper. Serve with a spicy sriracha mayo for dipping.
- Garlic Herb: Mix in garlic powder, dried oregano, and dried thyme with the cornstarch and oil. Garnish with fresh parsley or rosemary after baking.
- Smoky Paprika: Incorporate smoked paprika into the seasoning for a rich, smoky flavor. A touch of cumin can also complement this profile.
- Cheesy Deluxe: For an even cheesier experience, in addition to Parmesan, you can lightly dust with a fine cheddar cheese powder or nutritional yeast before baking.
- Everything Bagel: After coating with oil and cornstarch, sprinkle generously with everything bagel seasoning before baking for a truly unique and addictive flavor.
Pro Tips for Success:
- Peeling Technique: Use a sharp vegetable peeler and try to get uniform, long strips of potato skin. This helps them cook evenly.
- Don’t Rush Drying: This is arguably the most critical step. If the skins aren’t completely dry, they will steam rather than crisp. Lay them on paper towels, cover with more, and press firmly. You can even let them air dry for an additional 10-15 minutes after patting.
- Single Layer is Key: Overcrowding your baking sheet is the enemy of crispiness. If you have a large batch of skins, bake them in multiple batches to ensure adequate space for air circulation.
- Watch the Broiler: Broiling can turn your chips from golden to burnt in seconds. Stay by the oven and check frequently.
- Season to Taste: While the recipe provides guidelines, always taste and adjust the seasoning to your preference.
Other Delightful Potato Recipes to Try
If you’re a potato enthusiast, there are countless ways to enjoy this versatile vegetable. After mastering these crispy potato skin chips, consider exploring some of these other fantastic potato-centric dishes:
- Crispy Roasted Potatoes
- Greek Lemon Potatoes
- Crispy Sweet Potatoes
- Creamy Mashed Potatoes
- Miso Butter Sweet Potatoes
- One Pan Potatoes

Crispy Potato Skin Chips
Author: Sarah Thomas-Drawbaugh
Yield: 4 servings
Prep Time: 10 mins
Cook Time: 10 mins
Total Time: 20 mins
Repurpose your extra potato skins into these amazingly crispy chips! They’re an incredible, zero-waste snack perfect for game day or as a delightful party appetizer.
Pin Recipe
Equipment
- 1 parchment-lined baking tray
- 1 potato peeler
- 1 mixing bowl
Ingredients
- 2 lbs. Yukon gold potatoes (about 6 medium potatoes), peeled (use only the skins)
- 2 teaspoons cornstarch
- 2 tablespoons olive oil
- Pinch of kosher salt
- Few turns of cracked black pepper
- 1 tablespoon grated Parmesan cheese (for tossing with crispy chips at the end)
- 1 tablespoon chives, chopped (for tossing with crispy chips at the end)
Instructions
How to Make Crispy Potato Skin Chips
- Preheat the oven to 400°F (200°C). Line a baking tray with parchment paper.
- Peel the potato skins from 6 medium-sized Yukon gold potatoes and soak them in cold water for 10-15 minutes.
- Place the skins on a paper towel and pat them thoroughly dry to absorb all excess moisture. Once dry, add them to a mixing bowl and toss with the cornstarch and olive oil until well-coated.
- Spread the coated skins on the prepared baking tray in a single layer, ensuring they do not overlap. Season with a pinch of kosher salt and freshly cracked black pepper right before placing them in the oven. (Important: If you let the salt sit too long, it will draw moisture to the surface of the skins, preventing them from getting crispy).
- Bake for 8-10 minutes, or until they reach your desired crispiness and are golden brown. For extra crispy chips, I recommend baking for 10 minutes and then broiling for an additional 1-2 minutes (watch carefully!).
- Remove from the oven, transfer to a mixing bowl, and toss immediately with a sprinkle of grated Parmesan cheese and chopped chives. Serve hot and enjoy!
Video
Notes
Best enjoyed immediately for optimal crispiness. Leftovers can be stored in an airtight container at room temperature for up to 24 hours and reheated in a toaster oven or air fryer for a few minutes to regain crispness.
Nutrition
Serving: 1 serving or 1/4 of the chips
- Calories: 71kcal
- Carbohydrates: 1g
- Protein: 0.4g
- Fat: 7g
- Saturated Fat: 1g
- Polyunsaturated Fat: 1g
- Monounsaturated Fat: 5g
- Cholesterol: 1mg
- Sodium: 22mg
- Potassium: 5mg
- Fiber: 0.03g
- Sugar: 0.01g
- Vitamin A: 43IU
- Vitamin C: 0.4mg
- Calcium: 12mg
- Iron: 0.1mg
Course: Appetizer
Cuisine: American
Calories: 71
Author: Sarah Thomas-Drawbaugh