
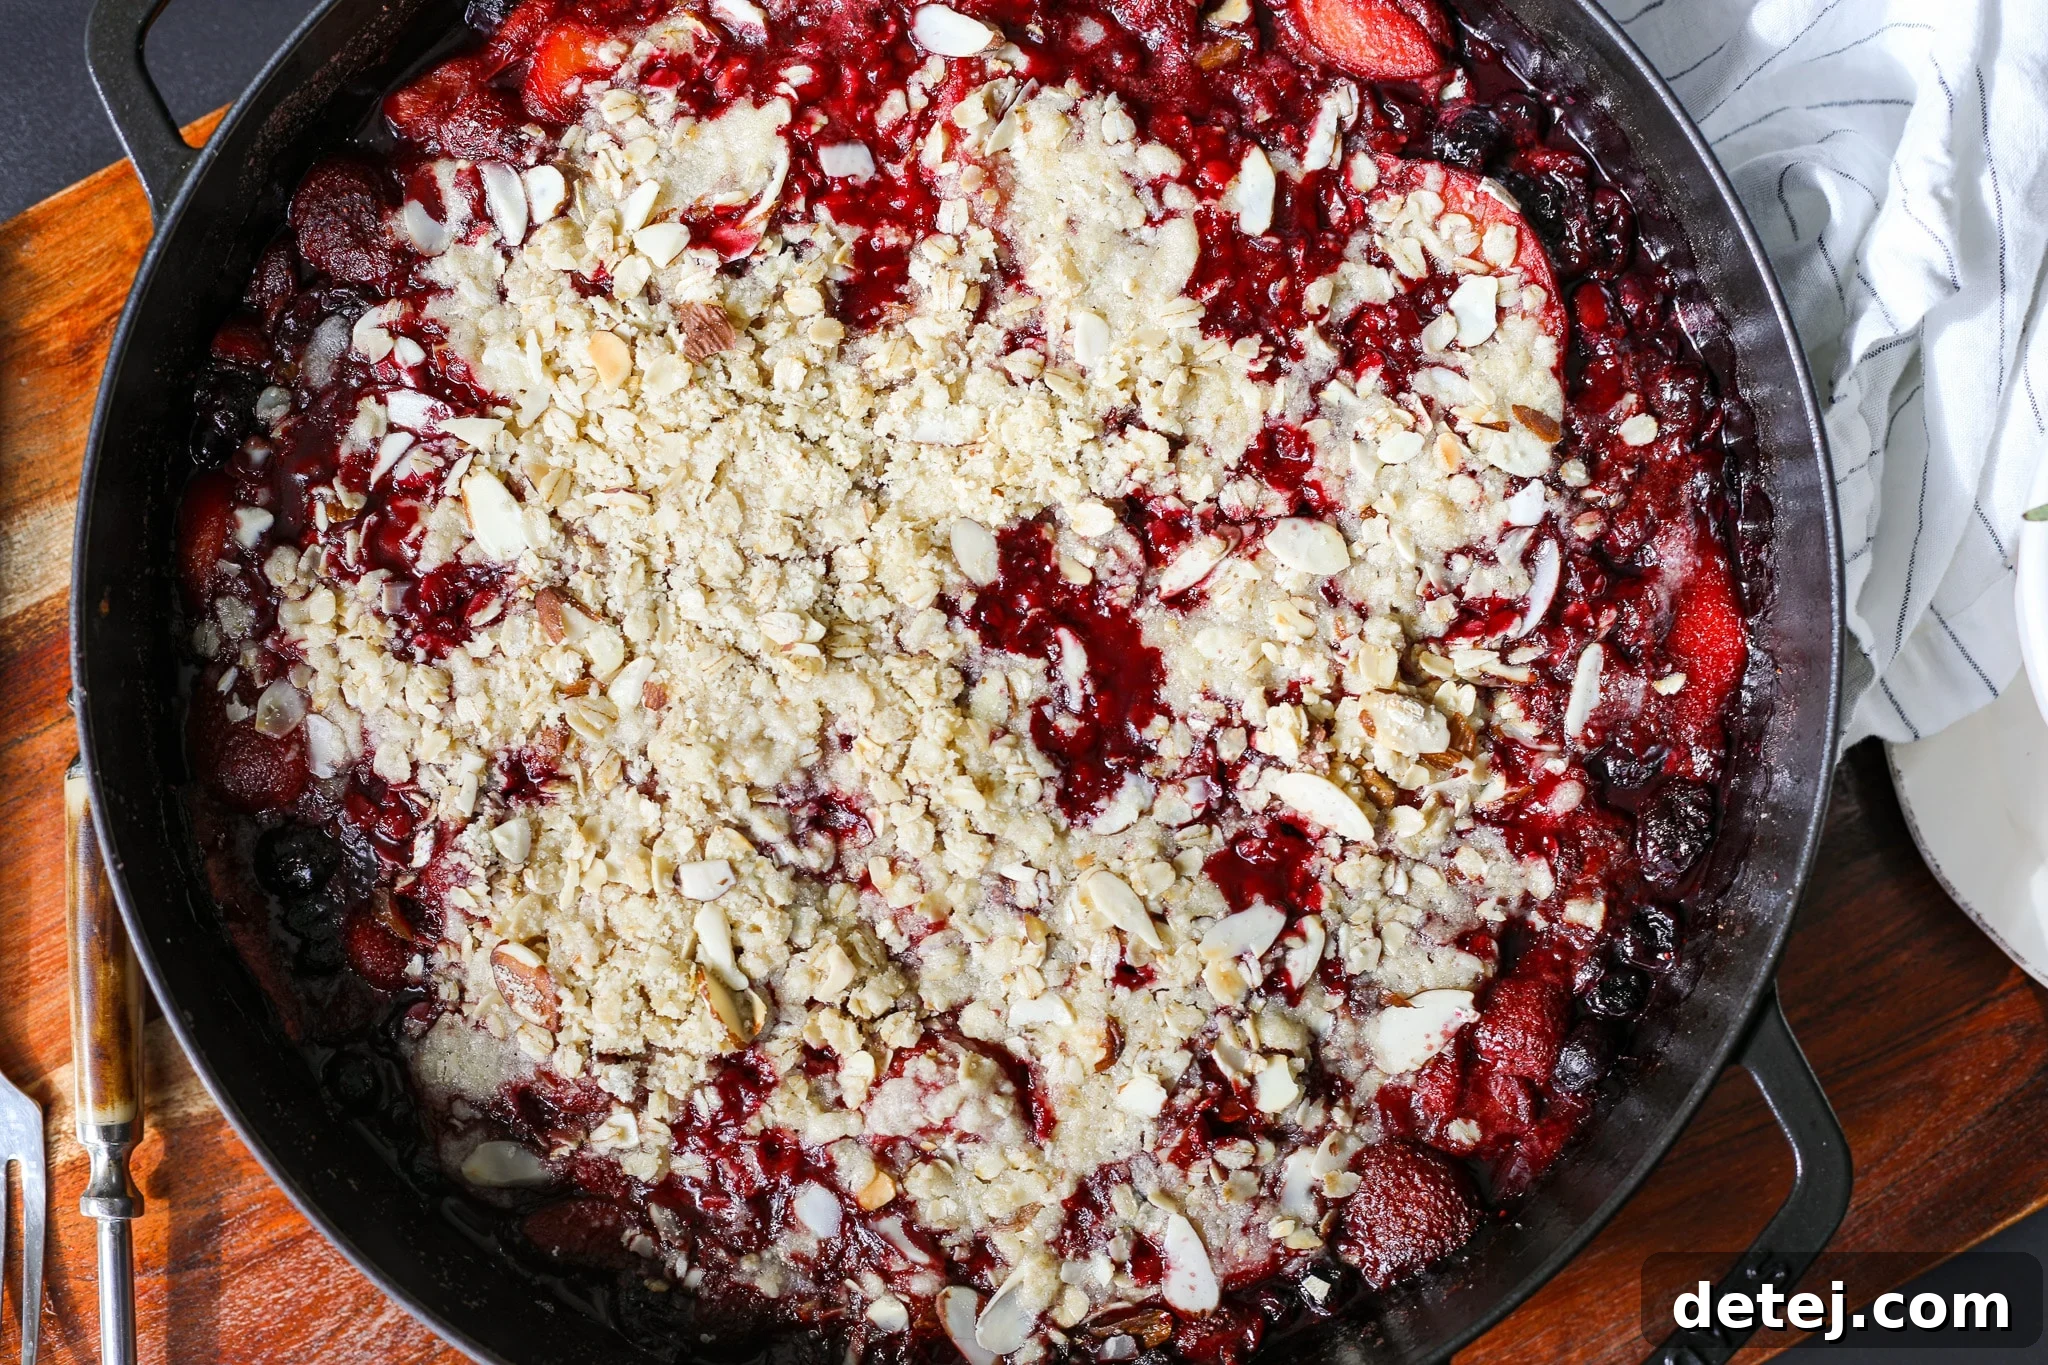
The culinary journey often begins with an unexpected discovery. For me, that moment arrived earlier this year when my partner, Dan, and I explored a vibrant Pittsburgh farmers’ market. Amidst the array of fresh produce and artisanal goods, a unique offering caught our eye: “peachberry pie.” Intrigued, I inquired about this intriguing name, to which the friendly vendor enthusiastically replied, “It’s a perfect blend of sweet peaches and luscious berries, baked to perfection!” Of course, such a tantalizing description demanded a taste test. And truly, it was an unforgettable culinary delight.
That exquisite farmers’ market experience sparked an immediate desire to recreate that magical flavor combination in my own kitchen, and now, to share it with you. This Peachberry Crisp captures all the bright, fresh, and complex flavors of that original pie, yet it’s incredibly easy to make. It’s the ideal dessert for any gathering, promising to impress with its effortless charm and sensational taste. Forget complicated baking; this crisp comes together quickly, leaving you more time to savor the moment and the delectable results.
Embrace the bounty of the season with this irresistible peachberry crisp! If you’re a fan of comforting, fruit-filled desserts, you’ll adore this recipe. Looking for more crowd-pleasing treats? Be sure to explore my Reese’s Cocoa Puff Krispies or my Classic Peanut Butter Blossoms for other delightful options.
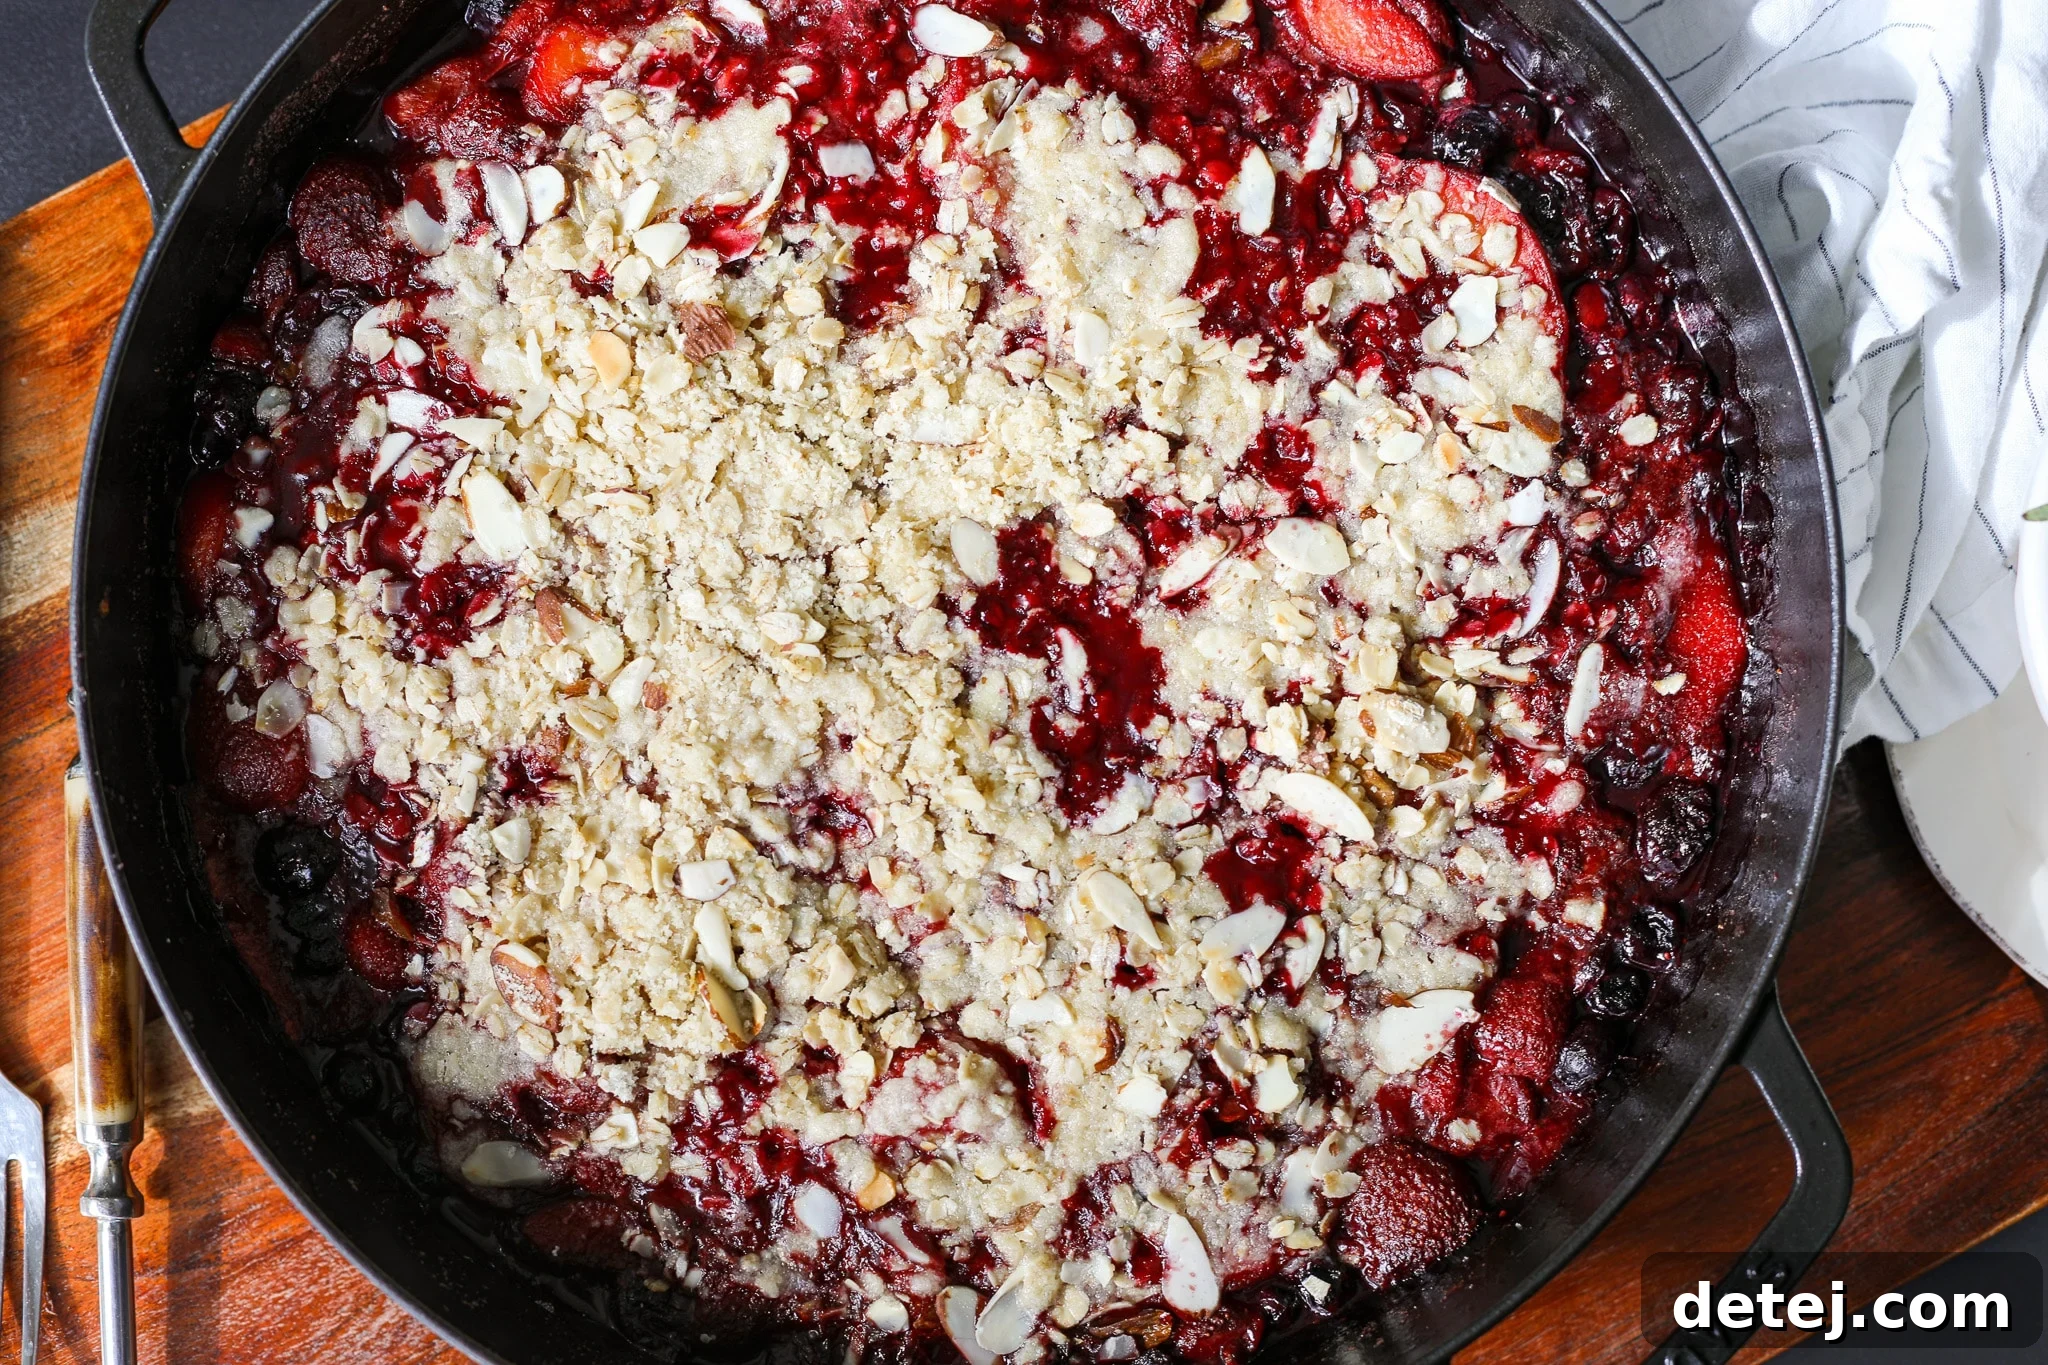
Table of Contents
Why You’ll Love This Peachberry Crisp
This Peachberry Crisp isn’t just a dessert; it’s an experience. It brings together the best of summer in one delightful dish, making it a staple for your seasonal entertaining or a comforting treat for a quiet evening. Here’s why this recipe deserves a spot in your baking repertoire:
- A True Celebration of Summer Flavors: Imagine sun-ripened peaches, juicy strawberries, tart cherries, and sweet blueberries all mingling in a warm, bubbly filling. This crisp perfectly encapsulates the vibrant tastes of summer, delivering a burst of fruity goodness with every spoonful. It’s a nostalgic nod to classic fruit desserts, elevated by a unique fruit blend that sings of sunny days and fresh harvests.
- Effortlessly Simple to Create: Despite its impressive appearance and rich flavor, this peachberry crisp is surprisingly easy to prepare. You don’t need to be an experienced baker to achieve perfect results. The steps are straightforward, and the ingredients are readily available. It’s a fantastic option for a last-minute dessert or when you want to impress guests without spending hours in the kitchen. Plus, it’s designed to be shared, making it an ideal centerpiece for family dinners, BBQs, or potlucks.
- An Explosion of Irresistible Flavor: The combination of peaches and a medley of berries creates a flavor profile that is both familiar and exciting. The natural sweetness of the fruit is perfectly balanced by a hint of lemon, while the almond extract adds a sophisticated depth. Topped with a golden, buttery, and crunchy oat crumble, each bite offers a delightful contrast of textures and tastes. Serving it warm with a generous scoop of creamy vanilla ice cream or a dollop of fresh whipped cream elevates it to the ultimate comfort dessert. Prepare for rave reviews!
Essential Ingredients for Peachberry Crisp
Crafting the perfect Peachberry Crisp starts with understanding each ingredient and its role in creating this harmonious dessert. Here’s a closer look at what you’ll need:
- Frozen Fruit Medley: The heart of our crisp! You’ll need a total of 6.5 cups of frozen fruit: two cups each of frozen whole strawberries and peaches, and 1.25 cups each of frozen dark sweet cherries and blueberries. Freezing fruit at its peak ripeness locks in maximum flavor, ensuring a delicious outcome even outside of fresh fruit season. However, if fresh, ripe fruit is available, feel free to use it – just be sure to adjust cooking times slightly as fresh fruit contains more water.
- Butter: Essential for both the rich fruit filling and the crispy topping. You’ll use a touch of regular butter to sauté the fruit, enhancing its natural sweetness and helping it break down slightly. For the crisp topping, cold unsalted butter is crucial. When cut into the dry ingredients, it creates pockets of butter that melt during baking, resulting in that wonderfully crumbly texture.
- Almond Extract: This ingredient is a secret weapon for depth of flavor. While vanilla extract is a common choice, almond extract beautifully complements the toasted almonds in the crisp topping, creating a cohesive and sophisticated flavor profile. If almond extract isn’t available, vanilla extract can be substituted, but for the best experience, I highly recommend the almond. Find quality almond extract here.
- Fresh Lemon Juice: A splash of fresh squeezed lemon juice is vital for balance. It brightens the sweet fruit flavors and cuts through any excessive sweetness, ensuring the crisp is perfectly balanced and refreshing. Always opt for fresh lemon juice over bottled for superior flavor. A handy citrus juicer makes this task a breeze.
- Cornstarch Slurry: To achieve that perfectly sweet, sticky, and thickened fruit sauce, a cornstarch slurry is indispensable. Simply combine cornstarch with a small amount of cold water in a separate measuring cup before adding it to the simmering fruit. This prevents lumps and ensures a smooth, glossy filling that coats the fruit beautifully.
- Crisp Topping Essentials: The star of any crisp! This delicious topping combines all-purpose flour, cane sugar, cold cubed unsalted butter, and rolled oats. The key is to cut the cold butter into the dry ingredients using a fork or pastry blender until the mixture resembles coarse crumbs. This technique ensures a light, crumbly, and crispy topping, not a dense dough. As a final flourish, lightly toasted almonds are gently folded in, adding a delightful crunch and nutty aroma.
- Flaky Sea Salt: A finishing touch that makes all the difference. A pinch of flaky sea salt sprinkled over the baked crisp just before serving enhances all the sweet and fruity notes, adding a subtle complexity and a “pop” of flavor that elevates the entire dish. Maldon sea salt is a favorite for its texture and clean taste.
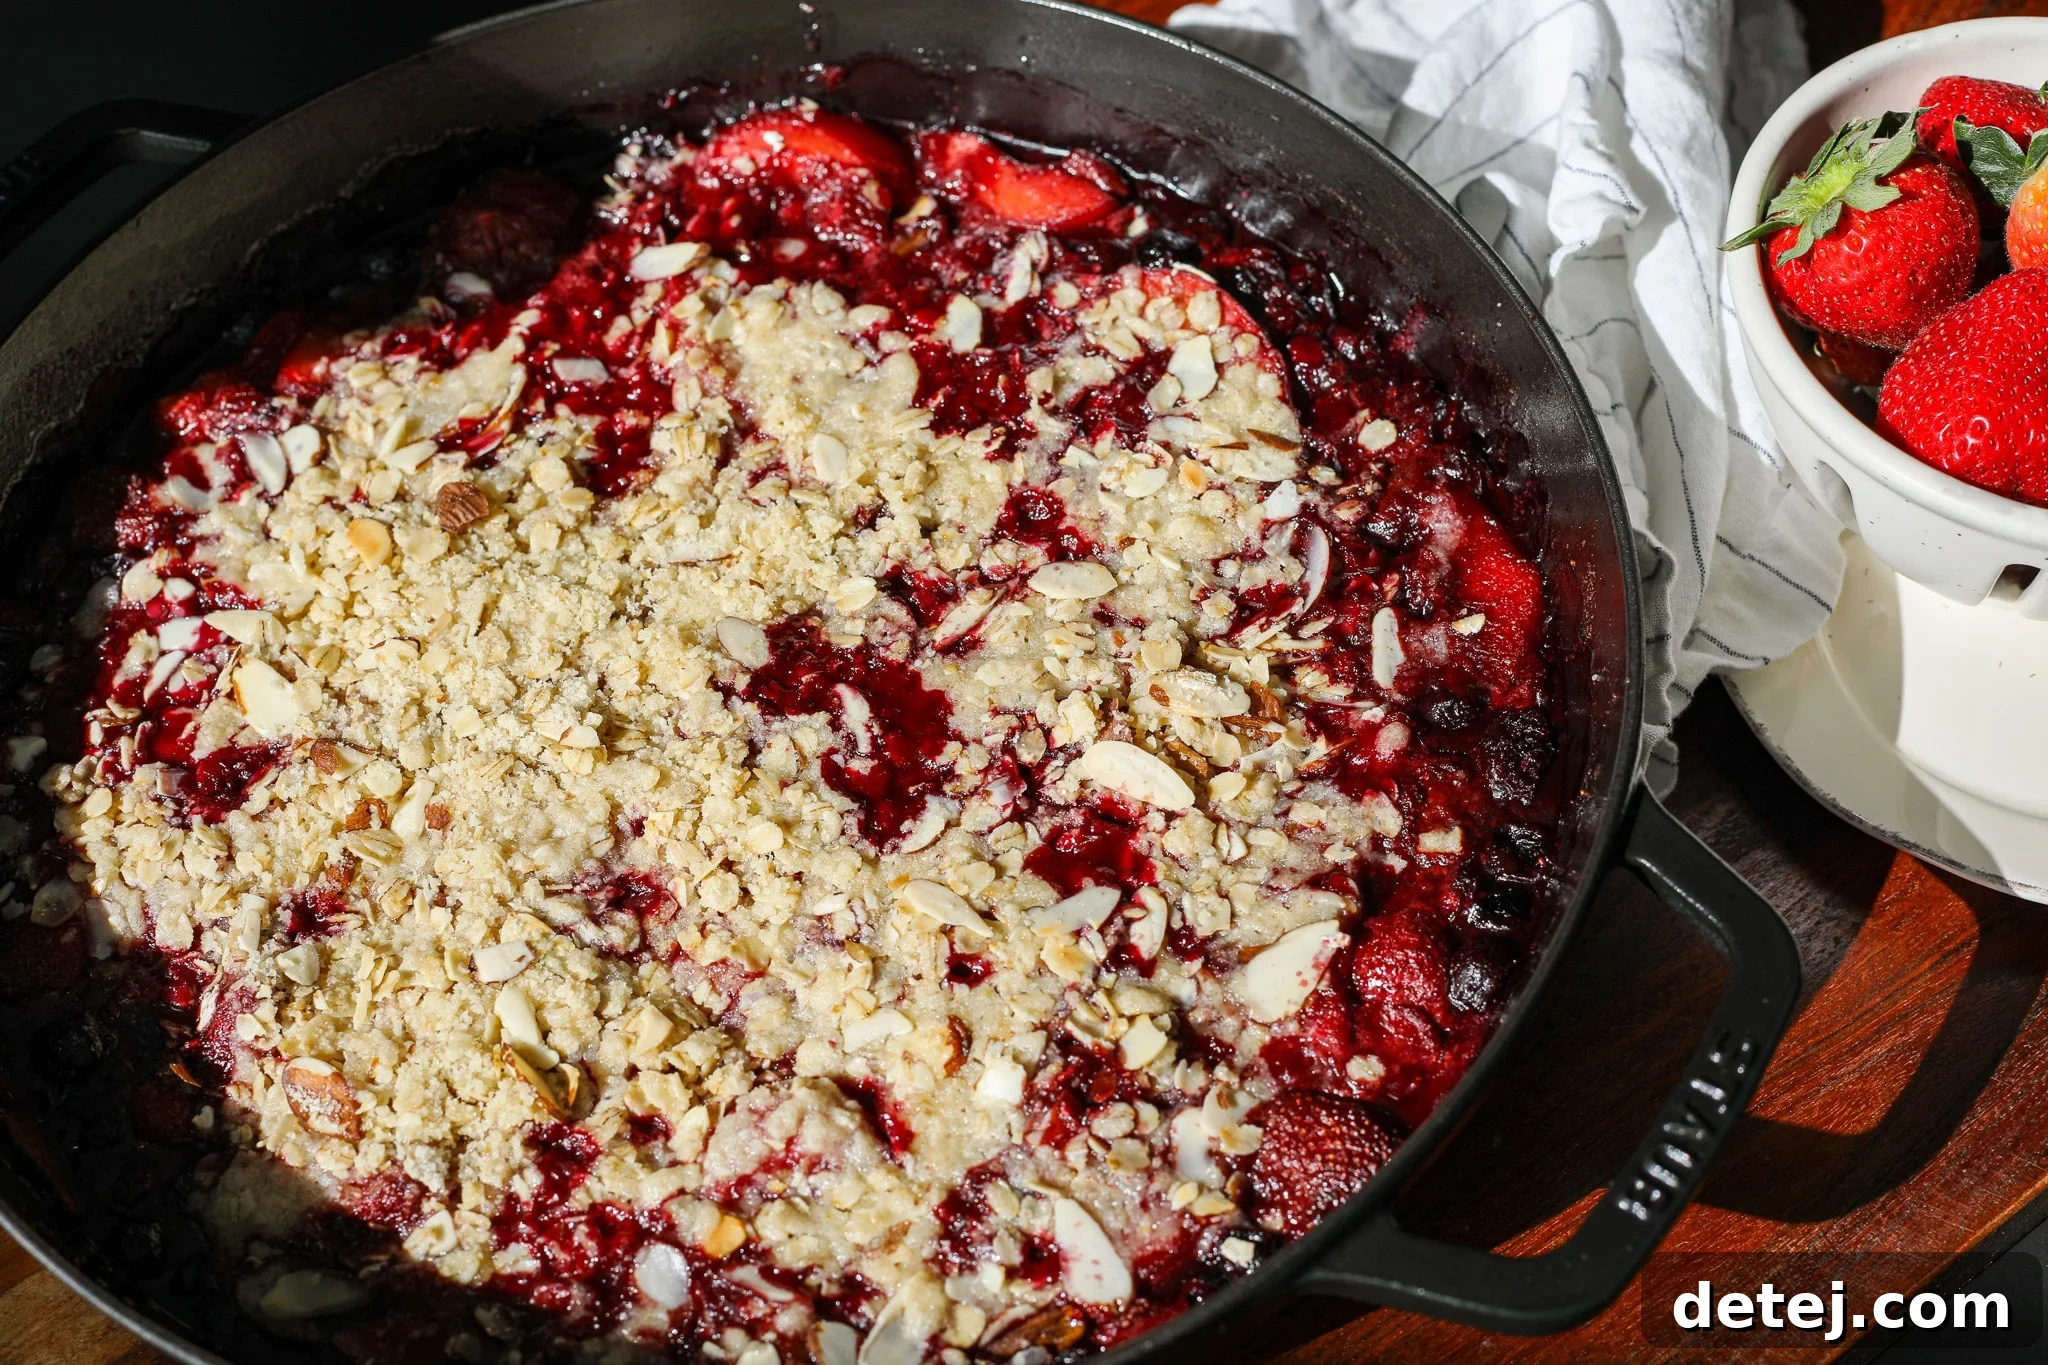
Step-by-Step Guide: How to Make Peachberry Crisp
Creating this irresistible Peachberry Crisp is a straightforward process, broken down into simple, manageable steps. Follow these instructions carefully to ensure a perfectly golden and bubbly dessert every time.
Toast the Almonds for Extra Flavor
Before you begin assembling, preheat your oven to 350 degrees Fahrenheit (175 degrees Celsius). This ensures it’s ready when your crisp is.
In a small, nonstick skillet, gently toast the sliced almonds over medium-low heat. Keep a close eye on them, stirring frequently, as they can burn quickly. You’re looking for a light golden color and a fragrant, nutty aroma. Once toasted, immediately remove them from the heat and transfer them to a plate or bowl to cool completely. This cooling step is crucial to maintain the crispness of the topping later on.
Craft the Perfect Crisp Topping
In a spacious mixing bowl, combine your dry topping ingredients: all-purpose flour, cane sugar, and rolled oats. Give them a quick whisk to ensure they’re well integrated. Next, add the cold, cubed unsalted butter. Using a fork, a pastry blender, or even your fingertips, work the butter into the dry mixture. The goal is to break the butter into small, pea-sized crumbs. It’s important to avoid overworking the mixture; if you over-mix, the butter will melt, and you’ll end up with a doughy topping rather than a light, crumbly crisp. The key to a fantastic crisp is maintaining those distinct butter pieces.
Once the butter is evenly distributed and the mixture resembles coarse crumbs, it’s time for the toasted almonds. Gently fold the completely cooled, lightly toasted almonds into the crumble mixture. If the almonds are still warm, they will melt the cold butter, negatively impacting the texture of your topping. Ensure they are fully cooled before this final step to preserve that perfect crumbly texture.
Sauté the Luscious Peachberry Filling
Place your baking pan or a large, oven-safe skillet (like a 13-inch Staub skillet) over medium heat on your stovetop. Add the butter and allow it to melt and coat the bottom of the pan. Once melted, carefully add the frozen fruit: strawberries, blueberries, dark cherries, and peaches. Remember, you’ll need approximately 6.5 cups of frozen fruit in total. While frozen fruit works wonderfully here, providing a consistent texture and flavor, you can certainly use fresh fruit if it’s in season and perfectly ripe. These silicone spatulas are excellent for gentle stirring.
To the fruit, add the cane sugar, fresh squeezed lemon juice, and almond extract. Stir everything gently to combine. As the fruit begins to thaw and release its juices, you’ll notice a delicious aroma filling your kitchen. Once the berries are partially thawed and simmering in the pan, add the cornstarch slurry (cornstarch mixed with water). Continue to simmer for about 5 minutes, stirring occasionally, until the fruit juices thicken into a beautiful, glossy, and sticky sauce. This ensures your crisp filling is perfectly saucy, not watery.
Assemble, Bake, and Indulge
With your fruit filling simmering and thickened in the pan, carefully spoon the prepared crisp topping evenly over the peachberry mixture. Ensure the topping covers the fruit almost entirely, creating a protective, crispy layer. Then, transfer the dish to your preheated oven.
Bake for 25-30 minutes, or until the crisp topping achieves a beautiful golden-brown hue and the fruit sauce beneath is visibly bubbling around the edges and perfectly thickened. The bubbling indicates the fruit is hot and the sauce is setting. Once baked, remove the crisp from the oven and let it rest for 10-15 minutes before serving. This resting period allows the fruit filling to settle and further thicken, preventing it from being too runny when scooped. For an extra touch of gourmet flavor, consider sprinkling a pinch of flaky sea salt over the top while it’s still warm.
Storing Your Peachberry Crisp for Freshness
While this Peachberry Crisp is best enjoyed fresh and warm from the oven, leftovers are absolutely delicious and easy to store. To maintain its freshness, allow the crisp to cool completely to room temperature before covering. Transfer any remaining crisp to an airtight container and store it in the refrigerator for three to four days. This prevents it from drying out and helps preserve its wonderful flavors and textures.
When you’re ready to enjoy it again, you have a couple of options. You can eat it cold straight from the fridge – sometimes a chilled fruit crisp can be surprisingly refreshing, especially on a warm day. Alternatively, for that comforting warmth, reheat individual portions in the microwave until warmed through. For a crispier topping, or if reheating a larger portion, you can warm it gently in the oven at a low temperature (around 300°F or 150°C) until it’s heated through and the topping crisps up again. This helps revive its original glory.
Serving Suggestions for Fruit Crisp
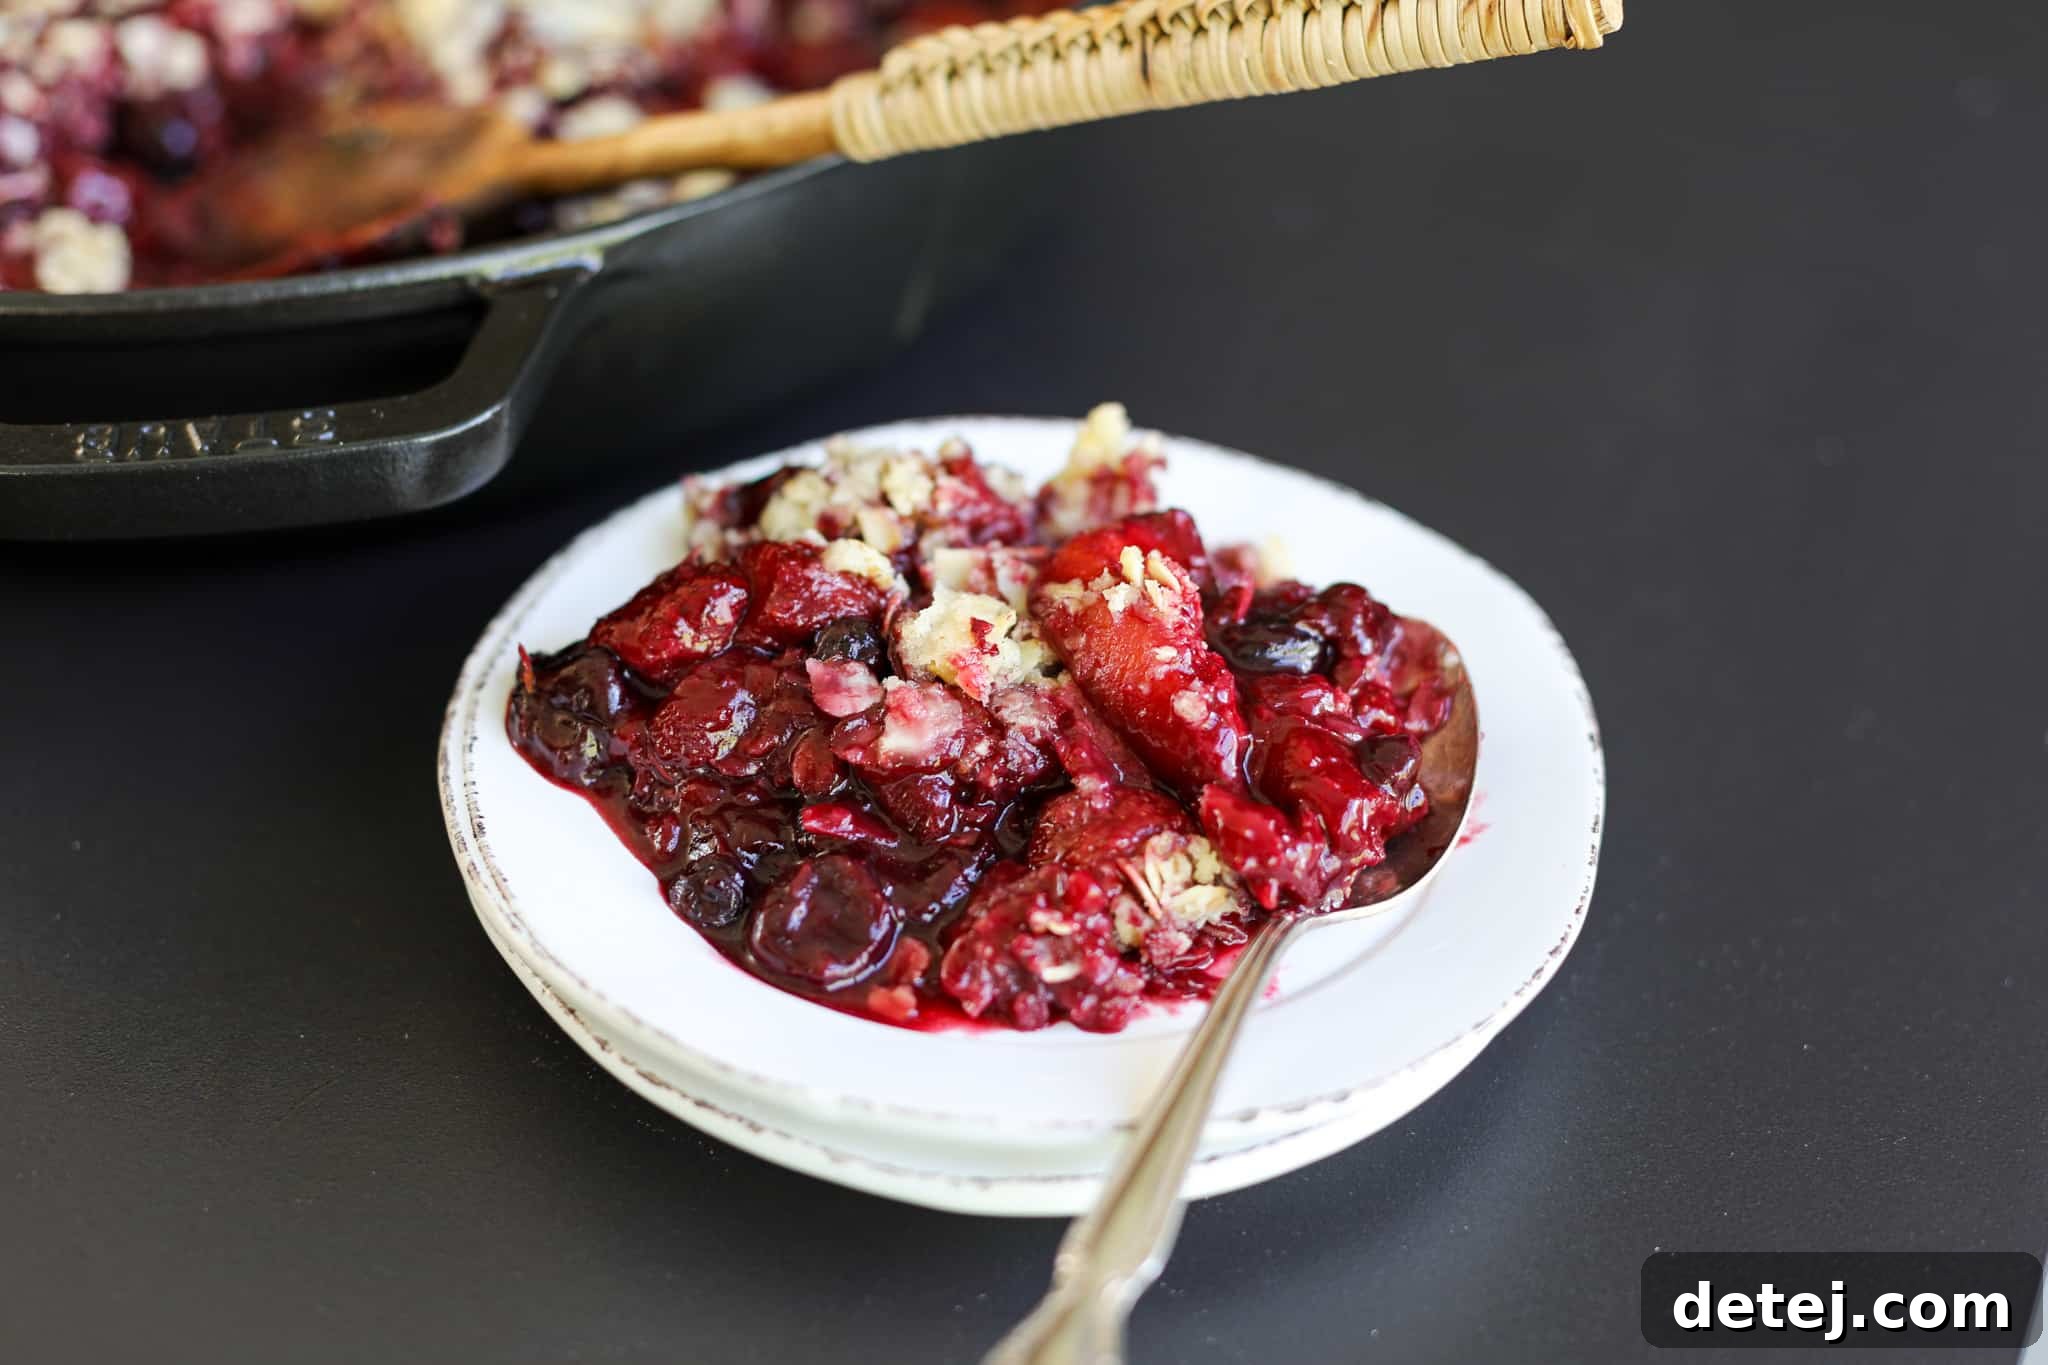
Once your Peachberry Crisp has baked to golden perfection, and after its brief rest period of 10-15 minutes, it’s ready to be served and savored. The resting time is crucial as it allows the fruit filling to set and thicken, ensuring each scoop is perfect. For an elevated experience, and to truly make the flavors sing, consider these serving suggestions:
- Classic à la Mode: The most popular and arguably the best way to enjoy a warm fruit crisp is with a generous scoop of high-quality vanilla ice cream. The cold, creamy ice cream beautifully contrasts with the warm, sweet, and tangy fruit filling, creating a symphony of temperatures and textures.
- With Whipped Cream: A dollop of freshly whipped cream adds a lighter, airy richness that perfectly complements the fruit. You can sweeten the whipped cream lightly and add a hint of vanilla for extra flavor.
- A Sprinkle of Flaky Salt: As mentioned in the baking instructions, a final pinch of flaky sea salt sprinkled over the top just before serving can truly enhance the flavors, adding a subtle complexity and brightness that makes the fruit taste even fruitier.
- Plain and Simple: Sometimes, the crisp is so good on its own that it needs no accompaniment. The vibrant fruit and crunchy topping are perfectly satisfying all by themselves.
- Breakfast or Brunch Treat: Don’t limit crisp to just dessert! A small portion of cold or gently reheated crisp can make a delightful addition to a special breakfast or brunch, perhaps alongside yogurt or a sprinkle of granola.
Frequently Asked Questions About Peachberry Crisp
Frozen berries are fantastic for crisps, cobblers, pies, and crumbles because they are harvested at their peak ripeness and then flash-frozen, locking in all their vibrant flavor and nutrients. This ensures you get consistently delicious and sweet fruit, regardless of the season. However, this recipe is incredibly versatile; you can absolutely use fresh berries if they are in season and perfectly ripe. Just ensure you have a total of 6.5 cups of fruit, whether fresh or frozen.
Yes, absolutely! Fresh berries are a wonderful option when they are in season and at their best. When using fresh fruit, I recommend keeping the total quantity the same (6.5 cups). For larger fruits like strawberries, slice them into medium-sized pieces; this helps them break down nicely during baking without becoming mushy. Medium-sized berries like blueberries and cherries can generally be left whole. Keep an eye on the crisp as it bakes, as fresh fruit might release more liquid, potentially requiring a slightly longer bake time or a bit more cornstarch if you prefer a very thick filling.
Yes, you can certainly use granulated white sugar as a 1:1 swap for cane sugar in this recipe. While cane sugar is often less processed and retains a slight golden hue and larger crystals due to not having all its molasses stripped out, from a molecular composition and baking function standpoint, they are virtually the same. The slight difference in processing doesn’t significantly impact the final taste or texture of the crisp, so use whichever you have on hand or prefer. You can find cane sugar here if you prefer it.
For this recipe, I personally used a 13-inch Staub skillet, which has a generous capacity of 3 liters (approximately 12.5 cups). This size works perfectly for the specified amount of fruit and topping, allowing for even baking and a beautiful presentation directly from oven to table. However, if you don’t have a large skillet, a 9×9 square baking dish is an excellent alternative. It holds about 8 cups, which is ample room for this recipe, ensuring a delicious and well-proportioned crisp.
For this specific recipe, I have only tested the crumble topping using all-purpose flour. It provides the ideal texture and structure for a classic crisp. While other flours like whole wheat pastry flour or gluten-free blends might work, I cannot guarantee the same results without testing them myself. If you do experiment with different flours, be aware that adjustments to butter or liquid content might be necessary to achieve a similar crumbly texture.
Frequently Asked Questions Continued
Absolutely! While almonds add a lovely flavor and crunch, you can easily substitute them with your preferred type of nut. Pecans are an excellent choice and would pair wonderfully with the peach and berry flavors, offering a rich, buttery note. Walnuts or even chopped hazelnuts could also be interesting alternatives. Just make sure to lightly toast whichever nut you choose and allow it to cool completely before folding into the crumble mixture for the best texture and flavor.
This is a common and excellent question! While often used interchangeably, there’s a subtle distinction in the baking world. A “crisp” traditionally includes rolled oats in its topping, which contributes to a more pronounced crispy and crunchy texture when baked. A “crumble,” on the other hand, typically features a streusel-like topping made from flour, sugar, and butter, but without oats, resulting in a softer, more cake-like texture. “Cobblers” are yet another related dessert, distinguished by a biscuit or scone-like dough topping. Our Peachberry Crisp, with its oat-laden topping, firmly falls into the “crisp” category!
Yes, this crisp is a fantastic make-ahead dessert! You have a couple of options. You can prepare the fruit filling and the crisp topping separately and store them in the refrigerator until you’re ready to bake. Then, simply assemble and bake as directed. Alternatively, you can fully bake the crisp, let it cool completely, cover it, and refrigerate it. When ready to serve, reheat the entire dish in the oven at a moderate temperature (around 325°F or 160°C) until warmed through and the topping is crisp again. This makes it perfect for entertaining, as you can do much of the work in advance!
More Delightful Summer Dessert Recipes to Consider Trying
If you’ve enjoyed this Peachberry Crisp, you’re likely a fan of delicious, comforting desserts. Here are a few more recipes from my collection that are perfect for summer gatherings or any time you need a sweet treat:
- Reese’s Cocoa Puff Krispies: A fun, no-bake treat that’s always a hit.
- Classic Peanut Butter Blossoms: Timeless cookies that melt in your mouth.
- Easy Mini Cheesecakes: Individual portions of creamy goodness.
- Grilled Banana Split: A healthier twist on a summer classic.
- Peach Crisp: For the purists who love a single-fruit crisp.
- Upside Down Apple Tart: Elegant and bursting with apple flavor.
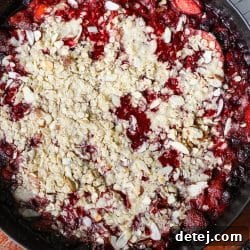
Peachberry Crisp
Sarah Thomas-Drawbaugh
Yield:
9 servings
10 mins
30 mins
40 mins
📌 Pin Recipe
Equipment
- 1 13-inch Staub skillet (or a 9×9 inch baking dish)
- 1 mixing bowl (for the topping)
- 1 measuring cup (to mix the cornstarch slurry)
Ingredients
Peachberry Filling
- 2 cups frozen peaches (about 16 ounces)
- 2 cups frozen whole strawberries (about 16 ounces)
- 1.25 cups frozen dark sweet cherries (about 10 ounces)
- 1.25 cups frozen blueberries (about 10 ounces)
- 2 tablespoons butter
- ¼ cup cane sugar
- 1.5 tablespoons lemon juice (fresh squeezed)
- 1 teaspoon almond extract
- 2.5-3 teaspoons cornstarch (depending on preferred thickness, + 2 teaspoons of water to form a slurry)
Crisp Topping
- ¾ cup rolled oats
- ½ cup AP flour
- ½ cup cane sugar
- ½ cup unsalted butter (1 stick cold butter, cubed)
- ½ cup sliced almonds (lightly toasted and cooled completely)
Instructions
How to Make Peachberry Crisp
- Preheat the oven to 350 degrees Fahrenheit (175°C).
Toast the Almonds
- In a small nonstick skillet, LIGHTLY toast the sliced almonds over medium-low heat until fragrant and lightly golden. Remove them from the heat and allow them to completely cool.
Make the Crisp Topping
- In a mixing bowl, combine AP flour, cane sugar, cubed unsalted butter, and rolled oats. Use a fork, pastry blender, or your fingertips to cut the cold unsalted butter into the dry mixture until it forms coarse crumbs. DO NOT overwork the crisp mixture, as this will result in a dense topping instead of a crumbly, crispy one.
- As a final step, gently fold the completely cooled, lightly toasted almonds into the crumble mixture. Ensure the almonds are completely cool before adding them; otherwise, their warmth will melt the butter and negatively impact the topping’s texture.
Make the Peachberry Filling
- Place your baking pan or skillet over medium heat on the stovetop and add the butter. Once the butter is melted and coats the bottom of the pan, add the frozen strawberries, blueberries, dark cherries, and peaches. You’ll need 6.5 cups of fruit total. (Option to use fresh fruit if desired).
- Add the cane sugar, fresh squeezed lemon juice, and almond extract to the fruit. Once the berries are partially thawed in the pan, add the cornstarch slurry. Simmer for 5 minutes, stirring occasionally, until the mixture is well combined and the juices have thickened into a glossy sauce.
Assemble and Bake
- Evenly spoon the crisp topping over the peachberry mixture in the pan. Place the dish in the preheated oven and bake for 25-30 minutes, or until the crisp is golden brown on top and the fruit sauce is visibly bubbling and thickened.
- Let the crisp rest for 10-15 minutes before serving. This allows the fruit filling to set properly. Option to add a pinch of flaky sea salt over the top for enhanced flavor.
Notes
How to Store: Leftovers can be stored in an airtight container in the refrigerator for three to four days. Enjoy it cold or reheat in the microwave or oven until warmed through.
Nutrition
Serving: 1 serving (1/9th of the entire dish)
- Calories: 310 kcal
- Carbohydrates: 40g
- Protein: 4g
- Fat: 16g
- Saturated Fat: 8g
- Polyunsaturated Fat: 1g
- Monounsaturated Fat: 5g
- Trans Fat: 1g
- Cholesterol: 34mg
- Sodium: 27mg
- Potassium: 226mg
- Fiber: 4g
- Sugar: 26g
- Vitamin A: 532 IU
- Vitamin C: 25mg
- Calcium: 33mg
- Iron: 1mg
Dessert
American
310
Sarah Thomas-Drawbaugh