
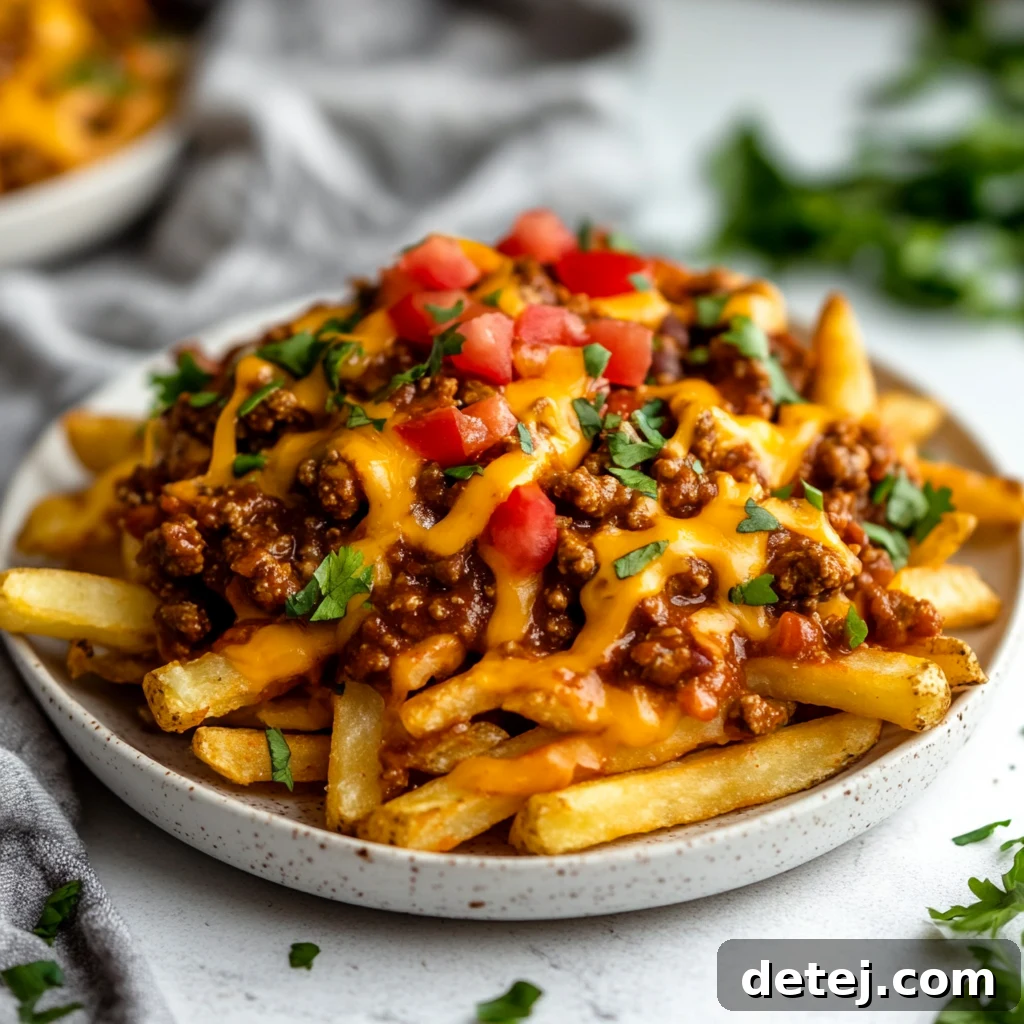
The Ultimate Guide to Perfect Homemade Chili Cheese Fries
Introduction: Unlock the Secret to Irresistible Chili Cheese Fries
Welcome to your culinary haven, where simplicity meets sensational flavor! Today, we’re embarking on a delicious journey to master the art of semi-homemade chili cheese fries – a dish that promises to be a warm embrace for your taste buds and a guaranteed crowd-pleaser. Imagine crisp, golden fries, generously smothered in a rich, deeply spiced chili, all blanketed under a gooey cascade of melted cheese. This isn’t just another recipe; it’s your new secret weapon for game nights, relaxed movie marathons, or those moments when only the most comforting food will do. The true charm of this creation lies in its effortless preparation and incredible adaptability. Whether you lean on the convenience of a quality store-bought chili to save time or prefer to simmer your own homemade masterpiece, these chili cheese fries are destined to deliver an explosion of savory flavors with minimal fuss.
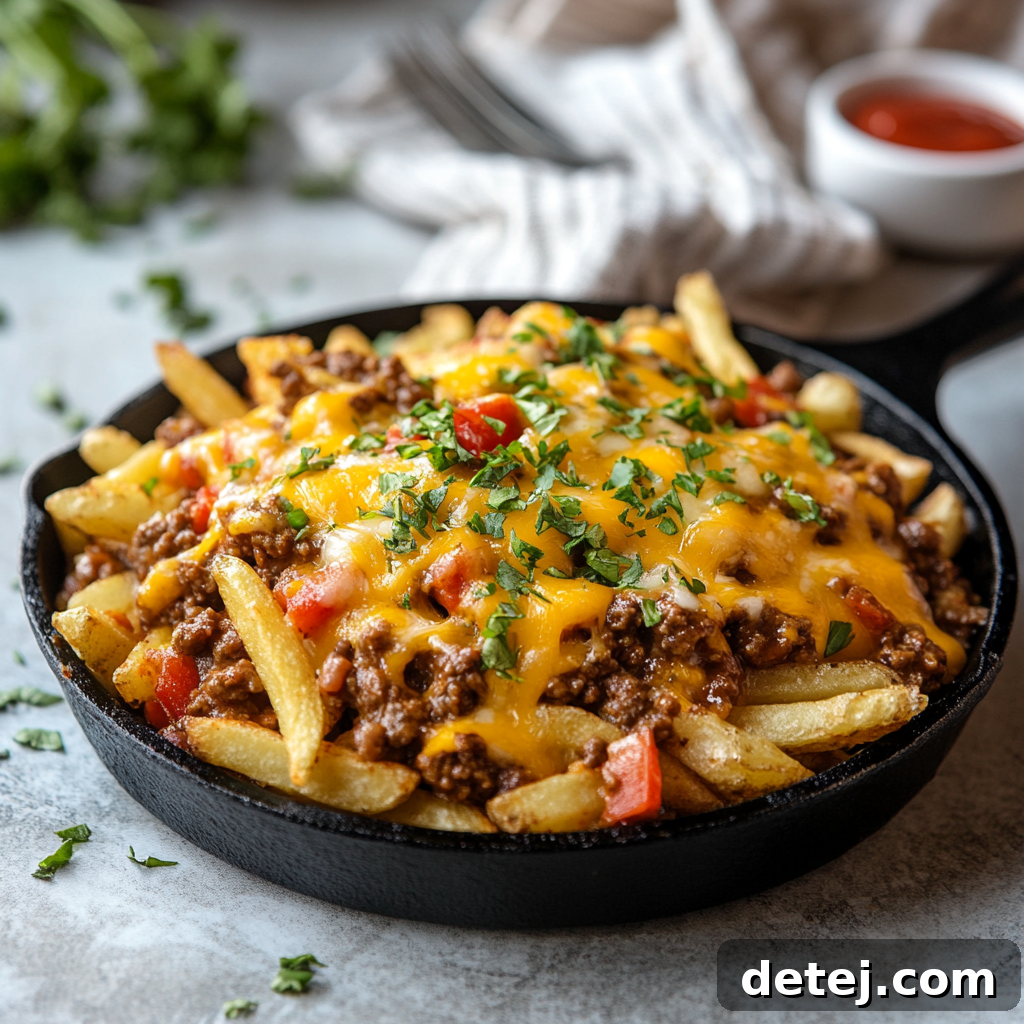
Often considered the quintessential American comfort food, chili cheese fries hold a special place in our hearts for their perfect blend of textures and tastes. This guide will walk you through every step, ensuring you achieve that ideal balance of crispy, hearty, and utterly cheesy goodness right in your own kitchen. Prepare to impress your family and friends with a dish that’s not just a snack, but an experience!
Gathering Your Ingredients: The Foundation of Flavor
Creating these irresistible chili cheese fries starts with selecting the right components. The beauty is that most of these ingredients are readily available at any local grocery store, making your culinary adventure both convenient and satisfying. Let’s break down what you’ll need:
- The Fries: Your Crispy Canvas. The base of this delicious dish is, of course, the fries. Frozen french fries are your best friend for convenience. Don’t be afraid to experiment with different styles – classic straight-cut fries offer a traditional experience, while crinkle-cut or waffle fries provide more surface area for that delicious chili and cheese to cling to. Sweet potato fries can also be an excellent alternative, adding a subtle sweetness that wonderfully complements the savory chili. For an extra touch of flavor, a sprinkle of seasoning salt before baking can elevate the humble fry to new heights.
- The Chili: The Hearty Soul. This is where the dish truly shines. You have two excellent options:
- Store-Bought Chili: For speed and simplicity, choose your favorite canned chili. Look for brands known for robust flavor and a good consistency – not too watery, not too thick. Chili without beans is often preferred for chili cheese fries, but if you love beans, go for it!
- Homemade Chili: If you have a little more time, a homemade chili recipe offers unparalleled depth of flavor. Start with ground beef or ground turkey for a leaner option. Combine it with diced tomatoes, tomato sauce, kidney beans (or your preferred bean), and a generous blend of spices like chili powder, cumin, paprika, and a touch of cayenne for warmth. Simmering homemade chili allows the flavors to meld beautifully, creating a truly rich and aromatic experience.
- The Cheese: The Melty Blanket. A generous layer of cheese is non-negotiable! Sharp cheddar cheese is a classic choice, providing a tangy contrast to the chili. However, feel free to explore other meltable cheeses such as Monterey Jack, Colby, or a Mexican blend. Grating your own block of cheese often results in a smoother, more luxurious melt compared to pre-shredded varieties, which sometimes contain anti-caking agents.
- Optional Toppings: The Flavor Enhancers. These additions elevate your chili cheese fries from great to extraordinary:
- Sour Cream: A dollop of cool, creamy sour cream provides a delightful contrast to the warmth and spice.
- Green Onions or Chives: Finely chopped, they add a fresh, pungent bite and a vibrant pop of color.
- Jalapeño Slices: For those who love a kick, fresh or pickled jalapeños introduce a welcome heat.
- Diced Red Onion: Offers a sharper, more intense crunch and flavor than green onions.
- Cilantro: Freshly chopped cilantro brings a bright, herbaceous note.
- Hot Sauce: A drizzle of your favorite hot sauce for an extra layer of spice.
With these ingredients at hand, you’re well on your way to crafting a memorable comfort food experience.
Crafting the Perfect Chili: The Heart of the Dish
Whether you opt for the convenience of store-bought or the richness of homemade, your chili sets the stage for these mouthwatering fries. If you’re making your own, the process is incredibly rewarding and simpler than you might think. I always begin with browning a pound of lean ground beef or ground turkey in a large pot or Dutch oven over medium heat. Drain off any excess fat to ensure a less greasy chili. Once the meat is browned, it’s time to build the flavor profile.
Introduce aromatic vegetables like finely diced onions and minced garlic, sautéing them until softened and fragrant. This step is crucial for laying a robust flavor foundation. Next, stir in your spices: chili powder and cumin are essential for that classic chili taste, often complemented by paprika, a pinch of cayenne pepper for heat, and a dash of oregano. Toasting these spices for a minute with the meat and aromatics before adding liquids helps to release their full flavor potential.
Now, pour in your liquids – typically canned crushed tomatoes, tomato sauce, and a splash of beef or vegetable broth. Add in your preferred beans, such as kidney beans or black beans, if using. Bring the mixture to a gentle simmer, then reduce the heat to low, cover, and let it cook for at least 30 minutes, or even an hour, stirring occasionally. The longer it simmers, the more the flavors deepen and meld, transforming into a truly rich and satisfying chili. For an even more profound flavor, consider making your chili a day in advance; the flavors truly intensify overnight, creating a more complex and harmonious taste for your chili cheese fries.
Prepping the Fries: Achieving Golden, Crispy Perfection
The foundation of stellar chili cheese fries is, without a doubt, perfectly crispy fries. No one enjoys soggy fries under a blanket of chili and cheese! Here’s how to ensure your fries reach their full golden potential:
- Oven Baking (Recommended for Ease):
- Preheat your oven to a robust 425°F (220°C). High heat is key for crispiness.
- Spread your chosen frozen french fries in a single layer on a large baking sheet. Crowding the pan will steam the fries instead of crisping them, so use two sheets if necessary.
- For an extra flavor boost, sprinkle the fries evenly with seasoning salt, garlic powder, or even a little paprika before baking.
- Bake for approximately 20-30 minutes, or until they are deeply golden brown and delightfully crispy. Flip them halfway through for even cooking.
- Air Fryer Method (For Extra Crispness):
An air fryer is a fantastic tool for achieving extra crispy fries with minimal oil. Arrange the fries in a single layer in your air fryer basket, making sure not to overcrowd it. Cook at 375-400°F (190-200°C) for 15-20 minutes, shaking the basket every 5 minutes, until they are golden and incredibly crisp. Adjust cooking times based on your air fryer model.
- Homemade Fries (For the Dedicated Chef):
If you’re truly ambitious, making homemade fries from scratch adds a wonderful element of freshness. Peel and cut Russet potatoes into your desired fry shape (shoestring, steak, or wedges). Soak them in cold water for at least 30 minutes (or up to a few hours) to remove excess starch, which helps with crispiness. Pat them thoroughly dry before baking or frying. You can then bake them as above, or for ultimate indulgence, deep-fry them until golden brown. Remember, homemade fries will require more time and effort, but the result is a truly superior texture and flavor.
No matter your chosen method, the goal is a fry that can stand up to the hearty chili and gooey cheese, maintaining its structural integrity and delightful crunch.
The Cheesy Topping: A Melted Dream
The cheese layer is what brings everything together, creating that irresistible ooey-gooey texture that defines chili cheese fries. While simply sprinkling shredded cheese works wonderfully, mastering a silky cheese sauce can elevate your dish to gourmet levels.
- Simple Shredded Cheese:
The easiest approach is to use pre-shredded cheese or grate your own. Sharp cheddar is a popular choice for its robust flavor, but a blend of cheddar and Monterey Jack creates a fantastic melt and milder taste. Once your fries are hot and topped with chili, liberally sprinkle the shredded cheese over the top. The residual heat from the fries and chili will start the melting process, which you’ll finish under the broiler.
- Homemade Cheese Sauce (For Ultimate Creaminess):
For an extra luxurious experience, consider making a quick cheese sauce. In a small saucepan, melt 2 tablespoons of butter over medium heat. Whisk in 2 tablespoons of all-purpose flour to create a roux, cooking for about 1 minute. Gradually whisk in 1 cup of milk (whole milk works best for richness), stirring constantly until the mixture thickens. Remove from heat and stir in 1.5 to 2 cups of freshly grated sharp cheddar or a blend of cheeses until completely melted and smooth. Season with a pinch of salt, pepper, and perhaps a dash of hot sauce or dry mustard for extra flavor. This velvety sauce will drape beautifully over your fries and chili.
The key to perfect cheesy fries is ensuring the cheese is fully melted and slightly bubbly, creating a golden, delicious blanket over the savory chili and crispy fries.
Assembling Your Masterpiece: The Art of Layering
Now for the exciting part – bringing all the components together! This is where your perfectly cooked fries, rich chili, and decadent cheese unite to form the ultimate comfort food. Follow these steps for an impeccable assembly:
- Prepare Your Base: Once your fries are golden and crispy from the oven or air fryer, carefully transfer them to a heat-resistant serving plate or an oven-safe dish. Ensure they are spread out evenly, forming a stable bed for the layers to come.
- Spoon on the Chili: Generously spoon the hot, steaming chili over the fries. Don’t be shy! Make sure every fry gets a good coating of that savory goodness. Distribute it as evenly as possible.
- Layer the Cheese: Now comes the glorious cheese. If using shredded cheese, sprinkle a hearty layer over the chili. For a cheese sauce, pour it evenly over the chili, allowing it to cascade down and coat everything beautifully. For maximum gooeyness, I often recommend two layers of cheese – one directly over the chili and another lighter sprinkle on top.
- Broil to Perfection: Place your assembled chili cheese fries under the broiler in your oven. Keep a very close eye on them, as cheese can go from perfectly melted to burnt in seconds. Broil for 2-4 minutes, or until the cheese is fully melted, bubbly, and slightly golden at the edges. This quick blast of heat ensures an irresistible, stretchy cheese pull.
- Add Final Flourishes: Once out of the broiler, it’s time for the optional toppings. A dollop of cool sour cream, a scatter of vibrant green onions, a sprinkle of fresh cilantro, or some fiery jalapeño slices will add contrasting textures, colors, and flavors, taking your dish from simply delicious to absolutely extraordinary.
Serve immediately, while everything is piping hot and the cheese is at its peak meltiness. This custom symphony of flavors and textures doesn’t just feed the stomach; it truly enchants the soul.
Serving Suggestions and Enhancements
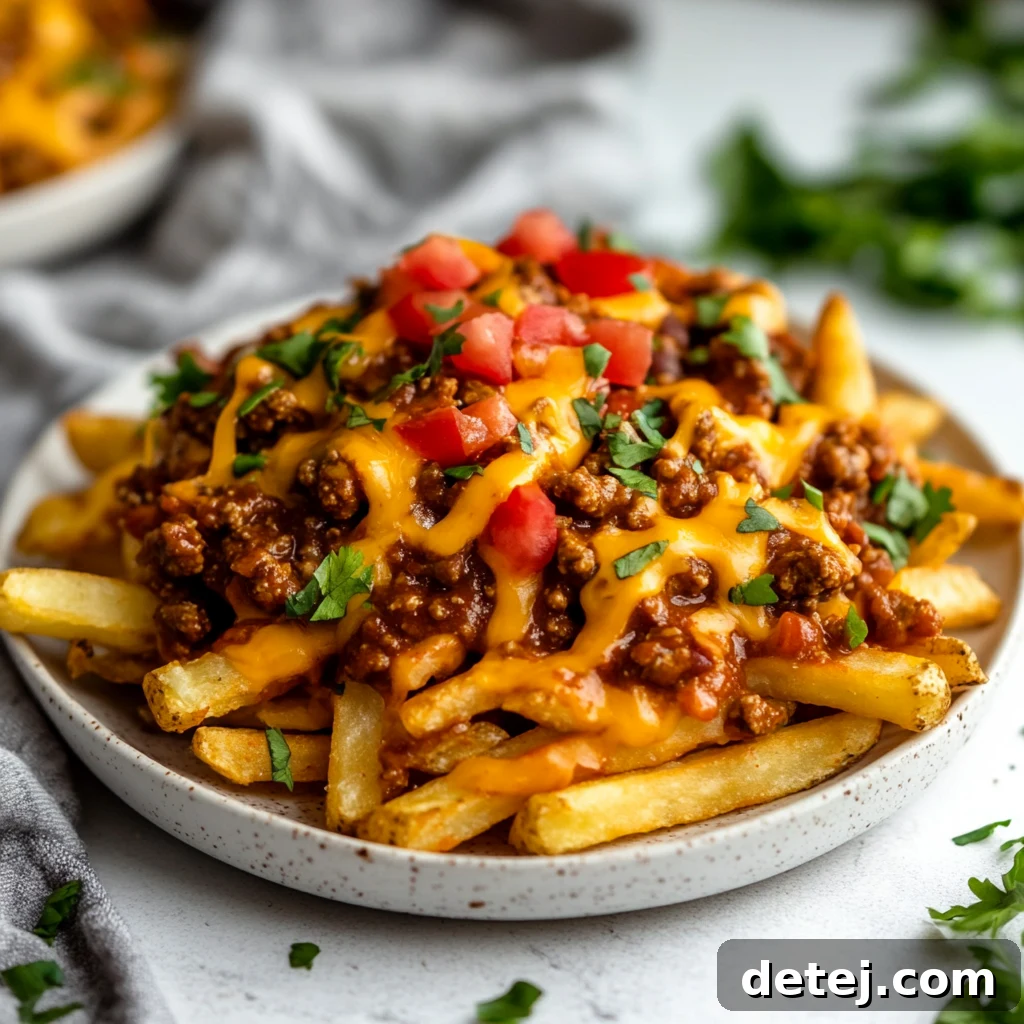
Serving these semi-homemade chili cheese fries is just as enjoyable as preparing them! Their versatility makes them suitable for a wide array of occasions and can be further enhanced with thoughtful pairings and garnishes. Here are some ideas to make your serving experience truly special:
- Dips and Sauces:
- Homemade Ranch Dressing: A creamy, tangy ranch adds a refreshing counterpoint to the rich chili and cheese.
- Classic Ketchup and Mustard: Don’t underestimate the timeless appeal of these staple condiments for dipping stray fries.
- Hot Sauce Bar: Offer a selection of different hot sauces, from mild Sriracha to fiery habanero, allowing guests to customize their heat level.
- Guacamole or Avocado Slices: The creamy texture and fresh flavor of avocado can balance the richness of the dish.
- Fresh Garnishes:
- Chopped Fresh Cilantro: Brightens the flavors with an herbaceous note.
- Diced Red Onion: Provides a sharp, crunchy contrast.
- Pickled Jalapeños: Adds a zesty kick and a beautiful pop of color.
- Black Olives: Sliced black olives offer a mild, briny flavor that complements chili well.
- Occasion Pairings:
- Game Day Essential: These are the ultimate finger food for cheering on your favorite team, perfect for sharing (or not!).
- Movie Night Indulgence: Transform a simple movie night into a cinematic feast with a generous platter of chili cheese fries.
- Casual Dinners: Serve them as a fun, interactive appetizer or even as a standalone main dish for a laid-back meal.
- Potlucks and Gatherings: They are always a hit at parties, easily transportable (serve chili and fries separately, then assemble and heat on-site).
- Beverage Pairings:
Consider pairing your chili cheese fries with a cold craft beer, a refreshing soda, or even an iced tea to complement the rich flavors.
There’s an undeniable magic in gathering around a heaping plate of crispy, cheesy, chili-topped fries that elevates any occasion into a memorable celebration of comfort food.
Pro Tips and Final Touches for Unforgettable Chili Cheese Fries
Through countless kitchen experiments, I’ve discovered that creating the ultimate homemade chili cheese fries isn’t just about following a recipe – it’s about infusing your own personality and embracing the joyful mess. You are more than capable of whipping up a batch of these glorious creations, oozing with rich cheese and smothered in your best chili (whether from scratch or your favorite grocery store find – absolutely no judgment here!).
Here are some essential tips to ensure your chili cheese fries are always a resounding success:
- Start with a Solid Fry Base: Prioritize crispiness! Whether you opt for the convenience of frozen french fries or the rustic charm of homemade, ensure they are cooked to a perfect golden crisp. Spread them in a single layer on your baking sheet or air fryer basket; overcrowding is the enemy of crispiness, leading to soggy results. A little seasoning salt goes a long way here.
- Flavorful Chili is Key: Your chili is the heart of this dish. If making it from scratch, take your time building layers of flavor with browned meat, sautéed aromatics (onions, garlic), and a well-balanced spice blend including chili powder and cumin. For an easy vegetarian chili, black beans and corn can make a delicious base. Don’t rush the simmering process; patience yields depth.
- The Right Cheese Matters: While convenience is tempting, grating your own block of sharp cheddar or a blend of meltable cheeses will consistently provide a smoother, gooier melt without the starchy texture sometimes found in pre-shredded varieties.
- Master the Broiler: The broiler is your best friend for achieving that perfect bubbly, golden-brown cheese crust. However, it requires vigilance. Keep the oven door slightly ajar and watch carefully; cheese can burn quickly. Aim for a beautiful melt with just a hint of golden-brown bubbling.
- Don’t Be Afraid to Customize: This dish is incredibly forgiving and open to your personal preferences. Experiment with different types of fries (sweet potato, waffle, curly), varied chili recipes (spicy, smoky, bean-heavy), and an array of toppings. Fresh diced red onion, pickled jalapeños, a drizzle of creamy ranch, a dollop of guacamole, or even a sprinkle of crumbled bacon can elevate your fries to new heights.
- Leftover Love: If, by some miracle, you have leftovers, store the chili separately in an airtight container in the refrigerator. Reheat the chili gently, cook a fresh batch of fries, and then assemble. This prevents the fries from becoming overly soggy. Leftover chili is also fantastic over baked potatoes, hot dogs, or as a base for tacos.
My first attempt at chili cheese fries was a glorious, albeit messy, learning curve. What it taught me is this: don’t stress perfection. Revel in the messy, delicious glory of your creation. This, my friends, is the ultimate comfort food dream, and with these tips, you’ve got it down to an art. Enjoy every single, cheesy, chili-laden bite!
Semi-Homemade Chili Cheese Fries Recipe
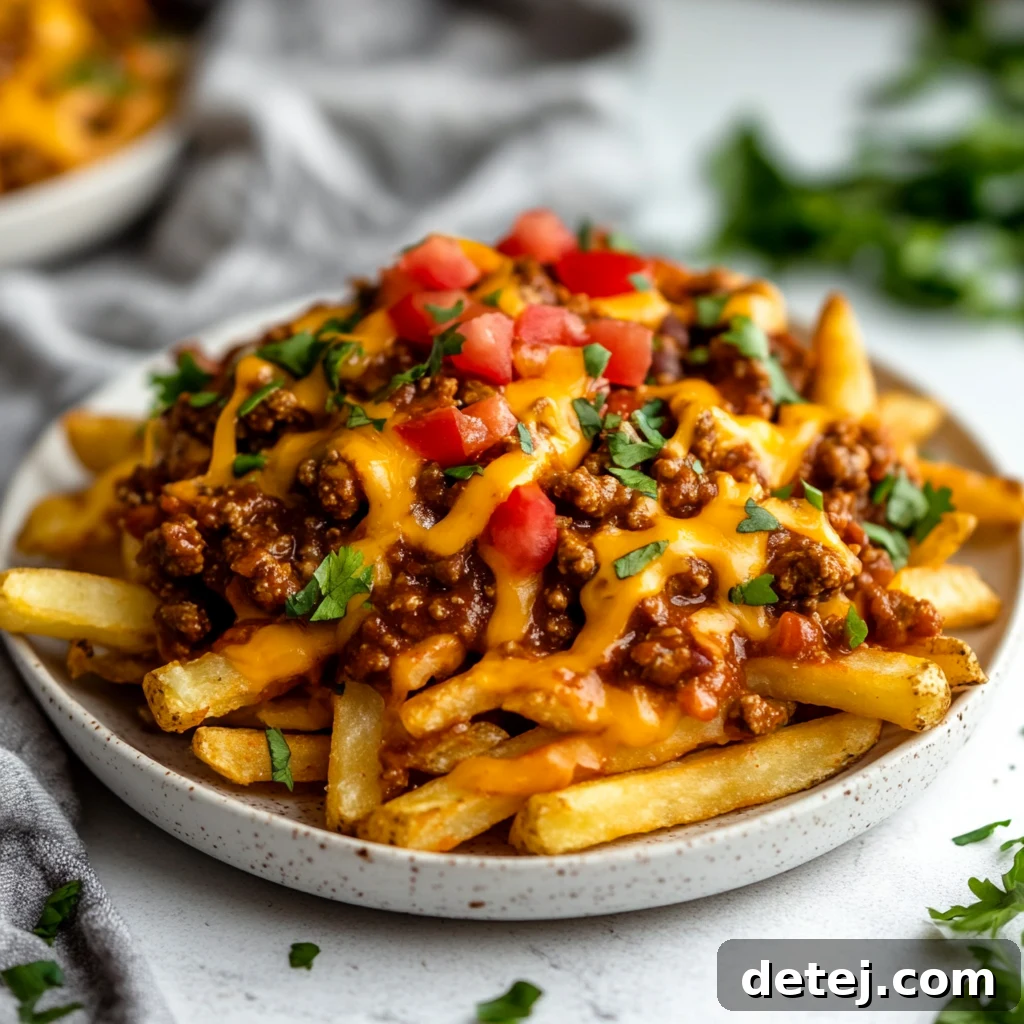
Semi-Homemade Chili Cheese Fries
Prep Time: 5 mins
Cook Time: 25 mins
Total Time: 30 mins
Author: Krystel
A delightful and easy recipe for cheesy, comforting chili cheese fries, perfect for any occasion. Get ready for a delicious treat straight from your oven!
Pin Recipe
Rate This Recipe
Ingredients
- 1 (28 ounce) bag hand-cut style frozen fries
- 2 teaspoons seasoning salt (optional)
- 1 (20 ounce) can of your favorite brand of chili (no beans, or with beans if preferred)
- 2 cups shredded cheese (sharp cheddar recommended)
- Optional Toppings:
- Sour cream
- Fresh chives or green onions, chopped
- Sliced jalapeño peppers (fresh or pickled)
Instructions
- Preheat your oven to 425 degrees Fahrenheit (220°C).
- Arrange the frozen fries in a single layer on a baking sheet. Ensure they have enough space to crisp up. Sprinkle with seasoning salt if desired.
- Bake the fries for approximately 20-25 minutes, or until they are golden brown and wonderfully crispy.
- While the fries are baking, heat the chili in a saucepan over medium heat, stirring occasionally, until it is hot and bubbling.
- Once the fries are ready, carefully transfer them to an oven-safe plate or individual serving dishes.
- Generously top the hot fries with the heated chili.
- Sprinkle a hearty amount of shredded cheese over the chili.
- Place the plate into the oven under the broiler for 3-5 minutes, or until the cheese is completely melted and bubbly with a slight golden hue. Watch carefully to prevent burning.
- Remove from oven, add any desired optional toppings like sour cream, green onions, or jalapeños, and serve immediately. Enjoy your delicious, cheesy chili fries!