
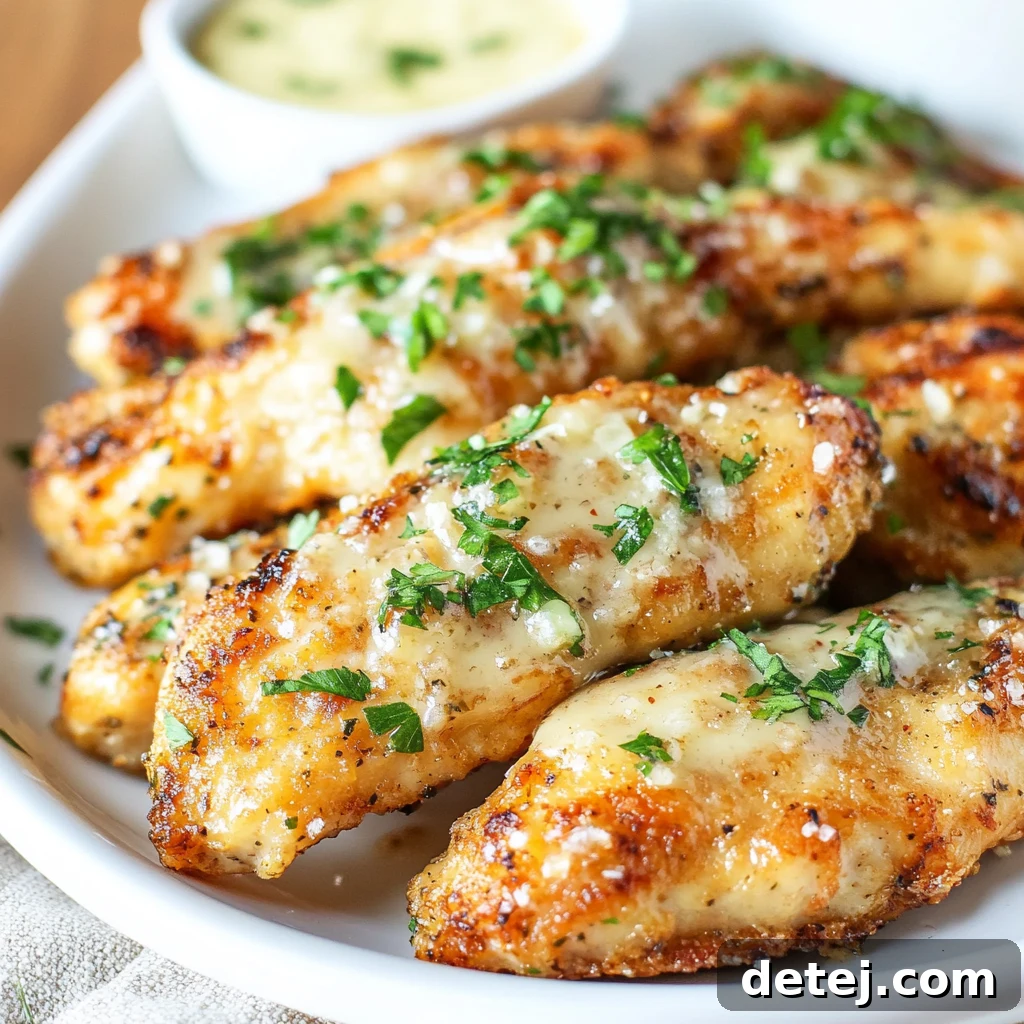
Golden Brown Delight: The Ultimate Crispy Garlic Parmesan Chicken Tenders Recipe
Introduction: Unlocking the Secret to Perfectly Crispy Chicken Tenders
In today’s fast-paced world, finding a dish that satisfies cravings, delights the entire family, and is simple to prepare can feel like a culinary quest. If you’ve ever scrolled through social media and stopped dead in your tracks at the sight of perfectly golden-brown, irresistibly crispy chicken, then you know the magic I’m talking about. My personal obsession began with Garlic Parmesan Chicken Tenders – a dish that quickly escalated from a viral sensation to a staple in my kitchen. The allure lies in the harmonious blend of rich, pungent garlic, the nutty and sharp notes of Parmesan cheese, all encapsulated within an extraordinary crispy coating. This isn’t just another chicken tender recipe; it’s an elevated experience that transforms humble chicken pieces into a gourmet delight.
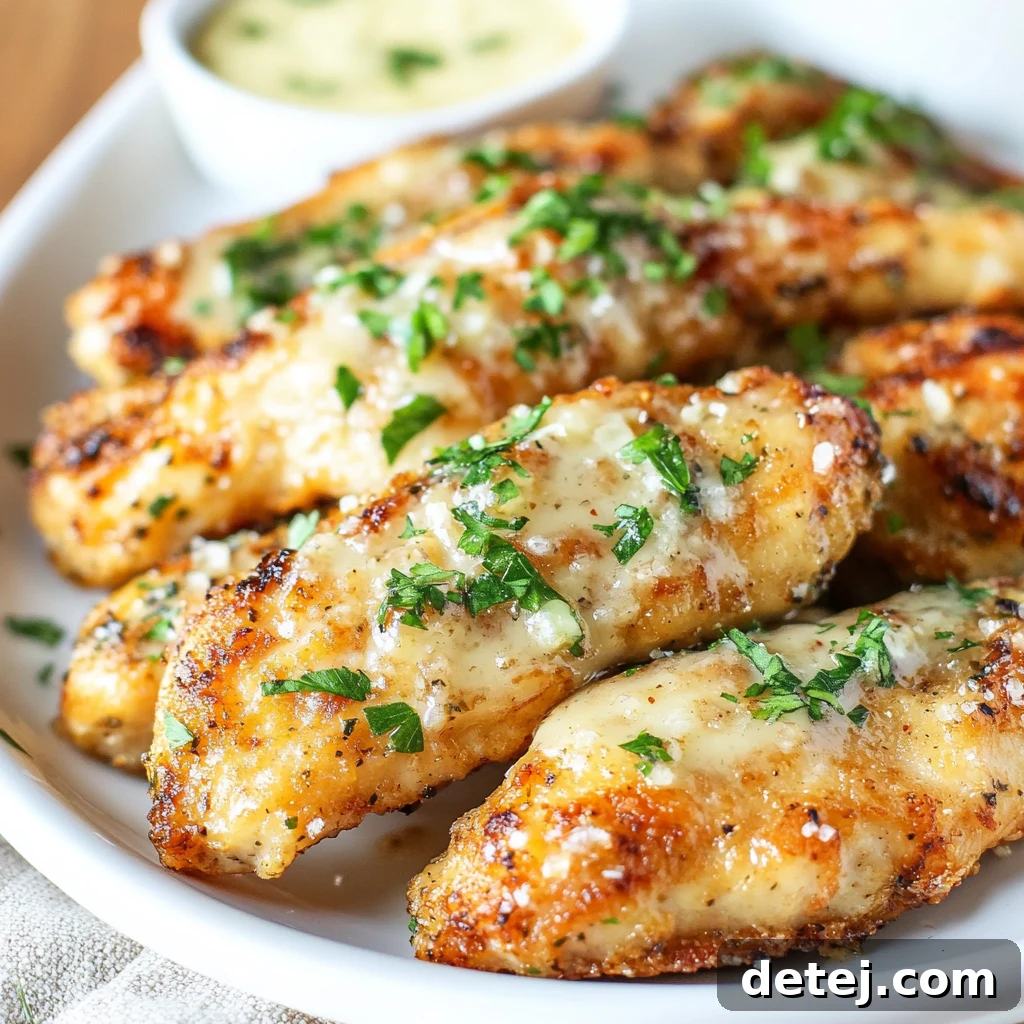
This culinary masterpiece is more than just a treat for the taste buds; it’s a genuine game-changer in home cooking. It has captivated foodies and families globally, proving that restaurant-quality, crispy chicken tenders are entirely achievable in your own kitchen. The secret, as you’ll discover, lies in a few key steps, including the strategic use of garlic butter and a unique breading mixture that guarantees that coveted golden perfection. It’s no wonder this recipe has taken social media by storm, becoming a firm favorite for even the pickiest eaters and discerning gourmands alike. Prepare to transform your weeknight meals with this easy, yet incredibly flavorful, garlic parmesan chicken tenders recipe.
Key Takeaways from This Recipe:
- Garlic Parmesan Chicken Tenders: A beloved dish that elevates chicken with an irresistible combination of aromatic garlic, savory Parmesan, and a gloriously crispy coating.
- Popularity Surge: This recipe has earned widespread acclaim, becoming a viral sensation and a go-to meal for families and food enthusiasts, especially on platforms like TikTok.
- Culinary Game Changer: Learn how to bring restaurant-quality, crispy tenders directly into your home kitchen, making it an ideal choice for a delicious and easy weeknight meal that everyone will love.
- Achieving Golden Perfection: Discover the simple techniques and ingredients that ensure every bite is perfectly crunchy and bursting with flavor.
Why Choose Chicken Tenders? The Versatile Star of Your Kitchen
There’s an undeniable charm to chicken tenders that resonates with all ages, evoking a sense of nostalgic comfort food while offering incredible versatility. For me, chicken tenders are the ultimate blank canvas in the kitchen – perfectly portioned and ready to absorb any flavor profile you throw at them. Their inherent tenderness makes them a forgiving protein, ideal for experimenting with a myriad of coatings and seasonings. Whether you’re seeking the classic crunch of simple breadcrumbs or aiming for the sophisticated, nutty undertones of rich Parmesan cheese, these slender pieces of chicken consistently transform into something spectacular with the right ingredients.
Beyond their adaptability, chicken tenders offer significant practical advantages. They cook quickly and evenly, making them an excellent choice for easy weeknight meals when time is of the essence. Their kid-friendly shape and mild flavor make them a guaranteed hit with picky eaters, effortlessly bridging the gap between child-approved dishes and gourmet guest-worthy fare. From whipping up a batch of garlic parmesan chicken tenders to satisfy a craving for indulgent fast food (but healthier!) to crafting a novel creation for the entire family, these tenders adapt beautifully across a wide spectrum of cuisines and preferences. It’s truly amazing how such a simple cut of meat can pave the way for unforgettable family dinners and stress-free culinary adventures.
Essential Ingredients for Your Ultimate Crispy Tenders
Achieving the perfect batch of golden-brown garlic parmesan chicken tenders begins with a meticulous selection and preparation of your ingredients. Think of it as laying the groundwork for a masterpiece – having all your components ready makes the cooking process smoother and more enjoyable. Let’s dive into what you’ll need to create this family-favorite dish.
For the Irresistible Egg Mixture:
- 2 Large Eggs: These are the binding agents, crucial for adhering the flavorful dry coating to the chicken.
- ¾ cup Buttermilk: The true hero of our egg wash! Buttermilk tenderizes the chicken, adding a subtle tang and ensuring a wonderfully moist interior. If you don’t have buttermilk on hand, don’t fret! A quick kitchen hack involves mixing ¾ cup of regular milk with 1 tablespoon of lemon juice or white vinegar. Let it sit for 5-10 minutes until it slightly curdles – voilà, homemade buttermilk!
For the Signature Crispy Dry Mix:
This is where the magic happens, transforming ordinary chicken into extraordinary crispy tenders.
- 1 cup White Flour: The foundation of our coating, providing structure and a base for crispiness.
- ¾ cup Finely Grated Parmesan Cheese: This is the “secret ingredient” that elevates these tenders from basic to brilliant. Use good quality, finely grated Parmesan for maximum flavor and an even coating. Its nutty, savory essence is key to the garlic parmesan experience.
- 4 tablespoons Breadcrumbs: Whether you choose regular or panko breadcrumbs, they contribute significantly to the desired crunch and golden-brown texture.
- Flavor Powerhouses (Spices):
- 3 teaspoons Garlic Powder: For that essential aromatic garlic kick.
- 2 teaspoons Salt: Or adjust to taste, enhancing all the other flavors.
- 1 teaspoon Ground Paprika: Adds a subtle warmth and a beautiful reddish hue to the coating.
- 1 teaspoon Onion Powder: Complements the garlic, adding depth to the savory profile.
- ½ teaspoon Black Pepper: Freshly ground for the best flavor.
- 1 teaspoon Baking Powder: A crucial addition for a little lift, contributing to a lighter, airier, and ultimately crispier coating. This simple ingredient makes a significant difference in texture.
For the Chicken and Baking:
- 2 lbs Chicken Tenderloins: Opt for high-quality chicken tenderloins for the best results. These are naturally tender and perfectly sized for this recipe. If you have chicken breasts, you can easily slice them into 1-inch thick strips.
- ⅓ cup Melted Butter: This generous amount of melted butter, preheated in the pan, is fundamental to achieving that coveted golden-brown, crunchy coating. It acts as a flavorful cooking medium and helps the breading crisp up beautifully in the hot oven.
Trust me, laying out your ingredients meticulously not only streamlines the cooking process but also instills a sense of calm and confidence in your culinary endeavors. It allows you to truly immerse yourself in the art of creating something delicious, whether it’s for a celebratory family dinner or a special treat for yourself. Either way, preparing these crispy chicken tenders is a win!
Mastering Your Kitchen Setup: The Path to Crispy Perfection
Before you even think about coating a single chicken tender, let’s talk about setting the stage for success. A well-prepared kitchen is your best friend when aiming for those glorious golden brown, garlic parmesan chicken tenders. Believe me, a little foresight and organization go a long way in ensuring that crispy perfection we’re all chasing, and making the cooking process as enjoyable and stress-free as possible.
First and foremost, the oven: our primary tool for achieving that irresistible crunch. You’ll want to preheat your oven to a robust 410°F (210°C). This high temperature is absolutely crucial for kick-starting the crisping process as soon as the chicken enters, locking in moisture while developing a deeply golden exterior. A hot oven is our secret weapon for guaranteeing uniform browning and preventing soggy tenders.
Next, consider your workspace – your kitchen counter. I always recommend clearing a generous, uncluttered area. Think of it as preparing your culinary stage, with your chicken tenders as the star of the show. Lay out all your measured ingredients and necessary utensils in an assembly line fashion. This “mise en place” approach means you won’t be scrambling for ingredients mid-coating, ensuring a smooth and efficient process from start to finish.
Now, let’s talk about the unsung heroes of crispy chicken: your baking equipment. A dark roasting pan without a non-stick coating or a sturdy rimmed baking sheet is absolutely essential. These types of pans conduct heat more effectively than lighter ones, contributing significantly to a beautifully browned and crispy crust. Place your chosen pan directly into the preheating oven. Heating the pan along with the oven ensures that when the butter is melted and the breaded chicken pieces are added, they immediately begin to sizzle and crisp, preventing them from sticking and promoting that coveted golden perfection. So, grab that dark roasting pan or rimmed baking sheet, get it hot, and let’s embark on our journey to garlic parmesan crispy chicken tenders glory!
Step-by-Step Cooking Process: Crafting Your Golden Tenders
Here’s exactly how I make the crispiest, most flavorful garlic parmesan chicken tenders that consistently bring smiles and requests for seconds from my entire family. Follow these detailed steps to achieve perfect results every time:
- Initial Oven Prep: Begin by preheating your oven to 410°F (210°C). As it heats, place your chosen dark roasting pan (without a non-stick coating) or a sturdy rimmed baking sheet inside to get it nice and hot. This is a critical step for an instant sizzle and superior crispiness.
- Prepare the Egg Mixture: In a medium-sized, shallow bowl, whisk together the large eggs and buttermilk until the mixture is thoroughly combined and smooth. This creates the essential “glue” for our delicious coating.
- Assemble the Dry Coating Mixture: In a separate, larger bowl, combine the white flour, finely grated Parmesan cheese, breadcrumbs, baking powder, garlic powder, salt, ground paprika, onion powder, and ground black pepper. Whisk all these ingredients together well to ensure an even distribution of flavor and texture throughout the breading. This parmesan breadcrumb mixture is what will give these tenders their signature golden perfection and incredible taste.
- The Double-Dipping Breading Technique: This is the secret to a thick, extra-crispy coating.
- First Flour Coat: Lightly coat each chicken tenderloin by tossing it in the dry flour mixture. This initial layer helps the egg wash adhere better.
- Egg Wash Dip: Generously dip each flour-coated chicken piece into the egg and buttermilk mixture, ensuring it’s fully covered.
- Second Dry Coat (The Final Layer): Return each egg-washed tender to the dry flour mixture. This time, ensure each piece is very evenly and thickly coated. I like to use the back of a tablespoon to gently press the breading onto the chicken, which also helps to flatten the pieces slightly for more even cooking and a more substantial crust. Make sure there’s enough of the dry mix under each piece to prevent sticking.
- Bake to Golden Brown Perfection: Carefully remove the preheated pan from the oven. Melt two-thirds of the ⅓ cup of butter directly onto the hot pan, ensuring it coats the surface. Arrange the coated chicken tenders on the buttered pan in a single layer, making sure not to overcrowd the pan. Dot the tops of the chicken pieces with the remaining melted butter. Bake for 10-15 minutes, or until the bottoms are beautifully golden and crisp.
- Flip and Continue Baking: Using an offset spatula – which is invaluable for preventing the breading from detaching – carefully flip each chicken tender. Return the pan to the oven and bake for another 5-10 minutes, or until the chicken is cooked through and reaches an internal temperature of 165°F (74°C). The exact time will depend on the thickness of your chicken pieces.
- The Broiler Finish (Optional, but Recommended for Extra Crisp): For an ultimate crispy finish and that perfect golden brown exterior, move the pan to the broiler for 2-3 minutes. Watch them very carefully during this stage, as broilers can quickly burn food. The goal is just a final crisping and browning.
- Rest and Serve: Once baked to perfection, carefully transfer the crispy chicken tenders from the hot pan to a wire cooling rack. Allow them to rest for about 5 minutes before serving. This resting period allows the juices to redistribute, ensuring your chicken remains incredibly tender and juicy on the inside. Serve immediately and enjoy your homemade golden brown delight!
Tips and Essential Tools for Your Crispy Chicken Success
To truly master this Garlic Parmesan Chicken Tenders recipe and ensure every batch is a resounding success, a few key tips and the right tools can make all the difference. Beyond the recipe itself, these insights will elevate your cooking experience and guarantee consistent crispy perfection.
- Don’t Overcrowd the Pan: This is a golden rule for anything you want to be crispy. Ensure there is enough space between each chicken tender on the baking sheet. Overcrowding leads to steaming rather than crisping, resulting in a soggy coating. If necessary, use two baking sheets.
- Achieve the Perfect Internal Temperature: Always use a meat thermometer to ensure your chicken is cooked to a safe internal temperature of 165°F (74°C). This guarantees food safety while keeping the chicken juicy and tender, preventing it from drying out.
- The Magic of a Hot Pan: As mentioned in the prep steps, preheating your roasting pan or baking sheet in the oven is crucial. When the breaded chicken hits the hot, buttered surface, it immediately begins to crisp, forming that beautiful golden-brown crust and preventing sticking.
- Buttermilk is Key: Don’t skip the buttermilk! Its acidity tenderizes the chicken and helps the breading adhere better, resulting in a juicier, more flavorful tender. If you don’t have it, remember the milk and lemon juice hack.
- Pat the Chicken Dry: Before coating, gently pat your chicken tenderloins dry with paper towels. Excess moisture can prevent the breading from sticking properly and hinder crispiness.
- Resting Period: After baking, let your crispy chicken tenders rest on a wire rack for 5 minutes. This allows the internal juices to redistribute, ensuring maximum tenderness and juiciness. Plus, resting on a rack prevents the bottom from getting soggy.
My Recommended Kitchen Essentials:
Check out my kitchen essentials, where you’ll find my favorite kitchen tools, spices, and more to make your cooking journey even better!
- Good Large Sized Mixing Bowls: Essential for efficiently coating your chicken tenders. Having separate bowls for the egg wash and dry mix keeps things organized and clean.
- Dark Roasting Pan or Rimmed Baking Sheet: For best results, use a dark roasting pan without a non-stick coating or a sturdy rimmed baking sheet. These conduct heat better and are key to achieving that deep golden brown, crispy crust.
- Offset Spatula: This tool is incredibly useful for carefully flipping the chicken tenders during baking. Its thin, angled blade helps to prevent the delicate breading from falling off, ensuring your tenders remain perfectly coated.
- Instant-Read Meat Thermometer: While not linked in the original, this is an indispensable tool for any home cook. It ensures your chicken is cooked through to a safe temperature of 165°F (74°C) without overcooking, keeping it juicy.
Serving Suggestions: Elevating Your Crispy Chicken Experience
Once you’ve achieved that magnificent golden perfection with your garlic parmesan chicken tenders, the real fun begins: serving them up! Presentation and thoughtful pairings can transform a great meal into an unforgettable culinary event. I wholeheartedly encourage a dash of creativity when it comes to serving these crispy delights. Why not arrange your freshly baked tenders on a sheet of parchment paper? Not only does it make for an effortless cleanup, but it also lends a charming, rustic, and inviting vibe that makes everyone eager to dive in.
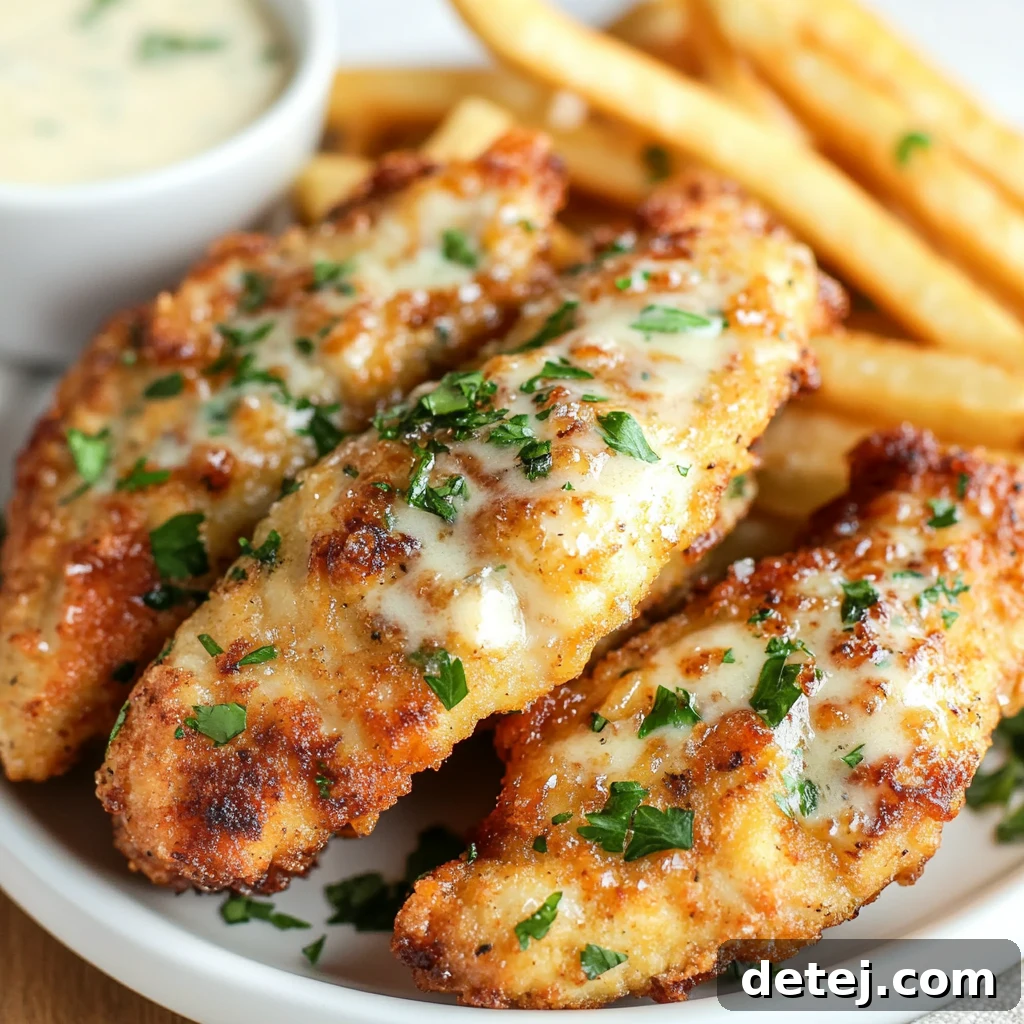
When it comes to dipping sauces, the world truly is your oyster! The savory richness of these tenders pairs beautifully with a wide array of flavors. Consider classics like a sweet and tangy honey mustard sauce, a rich and herby marinara sauce, or perhaps a creamy ranch or blue cheese dressing for an extra layer of indulgence. For those who enjoy a bit of heat, a spicy sriracha mayo or a sweet chili sauce would be fantastic. There’s truly no wrong choice – pick what you and your family love!
As for sides, think about complementing the hearty chicken with something light and fresh to balance the flavors. A simple green salad with a vibrant vinaigrette, steamed seasonal vegetables (like broccoli, green beans, or asparagus), or even a fluffy rice pilaf would do wonders. For a more substantial meal, consider pairing them with crispy oven-baked fries, creamy mashed potatoes, or a vibrant coleslaw. Remember, this meal is ultimately about bringing joy and comfort to your table, so serve it up in a style that perfectly reflects your personal taste and the preferences of your loved ones. Enjoy the golden feast!
Storage & Reheating Tips: Keeping Your Tenders Crispy
So, you’ve savored the crispy, golden-brown delights of your homemade Garlic Parmesan Chicken Tenders, and miraculously, there are a few pieces left! The good news is that these tenders can remain just as enchanting for your next meal with the right storage and reheating techniques. Picture this: you want those leftover crispy tenders to retain their tempting texture and flavor for another day. Here’s my tried-and-true method:
First, allow the cooked chicken tenders to cool completely at room temperature. This is crucial to prevent condensation, which can lead to sogginess. Once cooled, gently wrap each individual tender in a paper towel. This simple yet effective step helps to wick away any residual moisture, which is the enemy of crispiness. Then, transfer the paper-towel-wrapped chicken pieces into an airtight container. Think of this container as a little treasure chest for your tenders, sealing in their delicious flavor and protecting their texture.
If you’re wondering about the shelf life of these culinary treasures, they’re your best companions for a quick meal from the refrigerator for up to 3-4 days. For longer-term planning, the freezer extends their delicious adventure to 2-3 months. When freezing, place the wrapped tenders in a freezer-safe bag or container, removing as much air as possible to prevent freezer burn. For best results, freeze them in a single layer on a baking sheet first until solid, then transfer to a bag; this prevents them from sticking together.
When it’s time to bring them back to life, proper reheating is key to resurrecting that perfect crispy texture and golden perfection. Avoid the microwave, as it will inevitably make them soft and rubbery. Instead, a hot oven or air fryer works wonders:
- Oven Reheating: Preheat your oven to 375°F (190°C). Place the tenders (unwrapped from paper towels) on a baking sheet and heat for about 10-15 minutes, or until heated through and crisped to your liking.
- Air Fryer Reheating: If you have an air fryer, this is an excellent option for maximum crispiness. Place the tenders in a single layer in the air fryer basket and air fry at 350°F (175°C) for 5-8 minutes, shaking the basket halfway through.
Always ensure the chicken is piping hot before serving. With these tips, your leftover Garlic Parmesan Chicken Tenders will be almost as good as fresh!
Gather Around the Golden Feast: A Culinary Invitation
There’s something profoundly special and heartwarming about gathering loved ones around a golden feast of homemade garlic parmesan crispy chicken tenders. The sight of that glorious golden brown perfection, the inviting aroma filling your home, and the satisfying crunch of the crispy coating mingled with the savory notes of Parmesan and garlic create more than just a meal – they create an experience, a memory to cherish. As we’ve journeyed together through the steps, from meticulously mixing the breadcrumbs and spices to carefully pulling those tender pieces of chicken out of the hot oven, it’s been about more than just food; it’s been about the joy of creation, the satisfaction of craft, and the delight of sharing.
I wholeheartedly encourage you to try making these incredible garlic parmesan chicken tenders in your own kitchen. Imagine the anticipation building as the delicious smells waft through your home, transforming an ordinary evening into something extraordinary. This isn’t merely an easy weeknight meal; it’s an opportunity to infuse a piece of culinary magic into your regular schedule, bringing restaurant-quality comfort food right to your dining table. It’s a dish that promises to become a firm family favorite, appealing to palates of all ages and preferences.
And when you do embark on this delicious adventure and give these crispy tenders a try, please don’t keep the deliciousness to yourself! Share your magnificent masterpiece on social media, showcasing your golden perfection for all to admire. Let us all in on your favorite dipping sauces or unique side dishes that you pair with these tenders. Your creative twists, your personal tender story – every kitchen experiment and every shared meal adds to the collective joy and inspiration of cooking. So, grab your parchment paper or your favorite baking sheet, get those chicken tenderloins ready, and let’s make some wonderful memories, one incredibly crispy, flavorful garlic parmesan chicken tender at a time. Happy cooking!
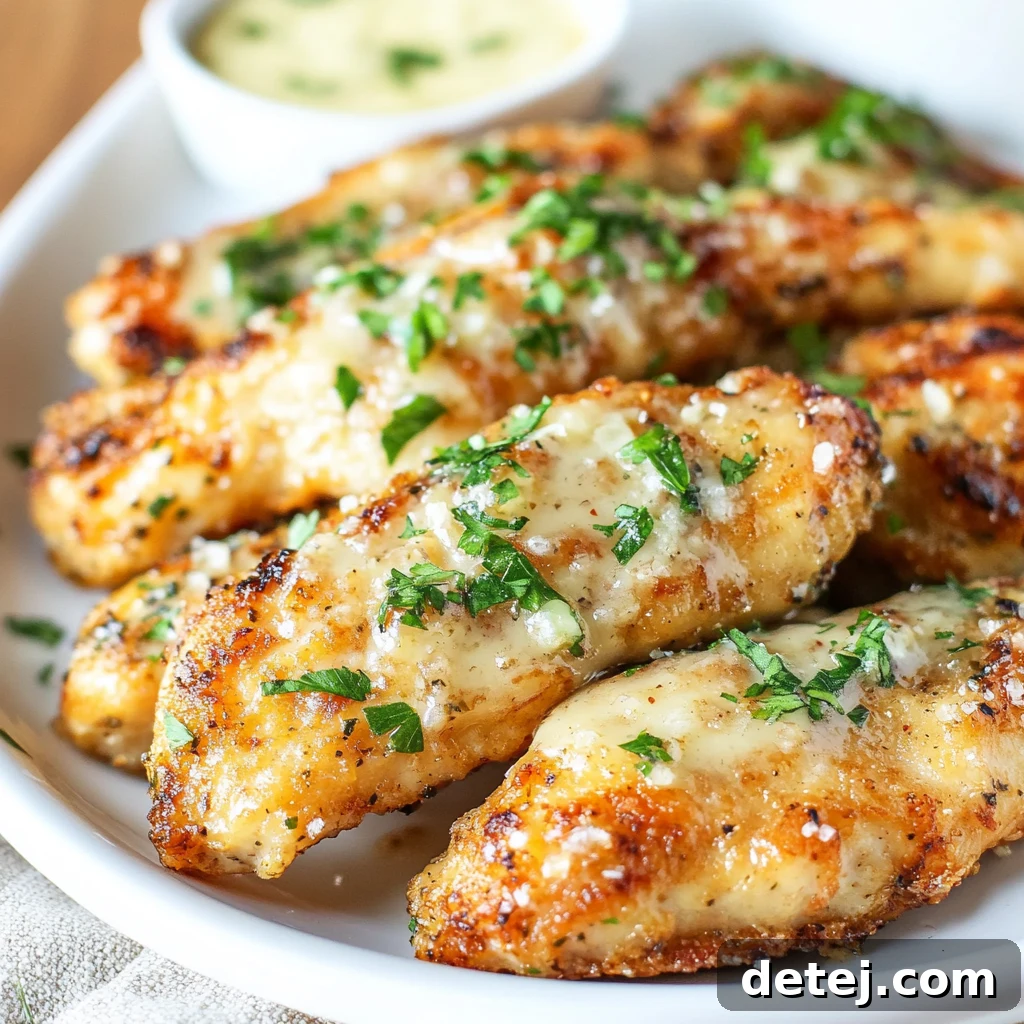
Garlic Parmesan Crispy Chicken Tenders
Pin
Ingredients
- egg mix:
- ⅔ cup buttermilk
- 2 large eggs
- dry mix:
- 1 cup white flour
- ⅔ cup grated Parmesan cheese
- 4 tablespoons breadcrumbs
- 3 teaspoons garlic powder
- 2 teaspoons salt or less to taste
- 1 teaspoon baking powder
- 1 teaspoon onion powder
- 1 teaspoon ground paprika
- ½ teaspoon ground black pepper
- chicken:
- 2 lbs chicken tenders
- ⅓ cup butter
Instructions
-
Prep: Preheat your oven to 410°F (210°C). Place a dark roasting pan without a non-stick coating (or a rimmed baking sheet) in the oven to heat.
-
Prepare egg mixture: In a medium bowl, whisk together the eggs and buttermilk until well combined.
-
Prepare dry flour mixture: In another bowl, combine the flour, Parmesan, breadcrumbs, baking powder, and seasonings.
-
Bread the chicken:
-
First, lightly coat all the chicken pieces by tossing them in the dry flour mixture.
-
Then, generously coat the chicken by dipping them into the egg mixture.
-
Finally, coat each piece again in the dry flour mixture, ensuring a thick layer. Be sure to have enough of the mixture under each piece of chicken to prevent sticking, and generously cover the top with the flour mix. Use the back of a tablespoon to press the breading onto the chicken, flattening the pieces slightly for even thickness and a thick coating.
-
Bake: Remove the heated pan from the oven and melt two-thirds of the butter on it. Place the breaded chicken pieces on the pan and dot with the remaining butter. Bake for 10-15 minutes until the bottoms are golden and crisp.
-
Carefully flip the chicken using an offset spatula to prevent the breading from falling off, and bake for another 5-10 minutes, depending on the thickness of the chicken pieces.
-
Finish by broiling for 2-3 minutes until the chicken is golden brown and crispy.
-
Rest: Carefully transfer the chicken from the pan to a cooling rack. Let it rest for 5 minutes before serving immediately.