
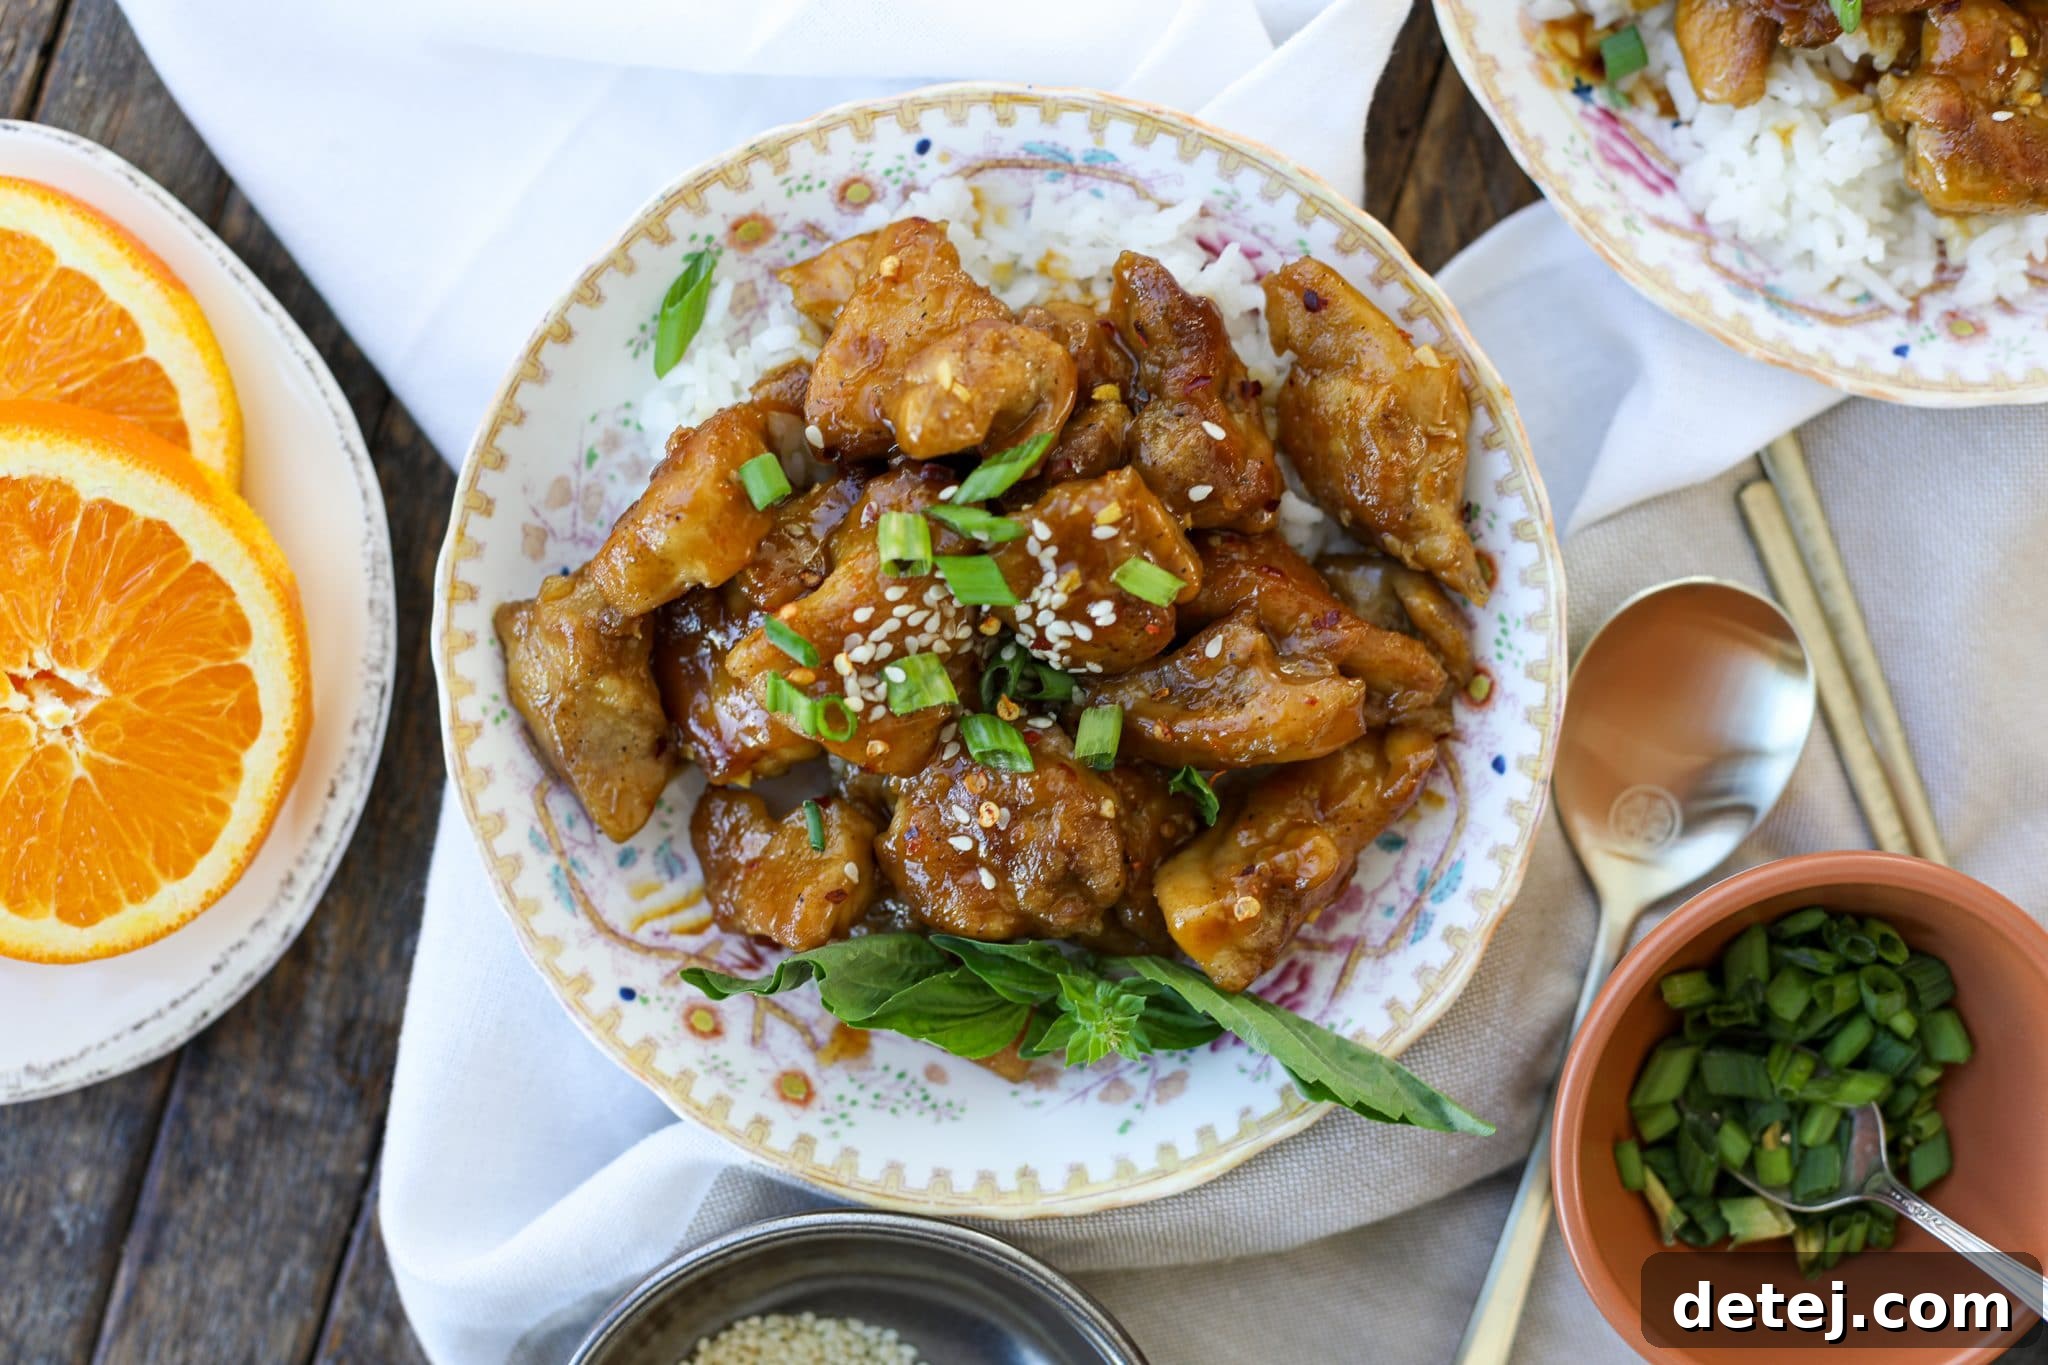
Tired of reaching for the takeout menu every time a craving for Orange Chicken strikes? Prepare to revolutionize your weeknight dinners with this incredible Easy Orange Chicken recipe. Forget greasy restaurant versions; this homemade rendition is simple, fresh, and bursting with vibrant flavor that will leave your taste buds singing. We’re talking perfectly crispy chicken thighs, enveloped in the most delectable, glossy, sweet, and tangy orange sauce. Finished with a sprinkle of fresh green onions, toasted sesame seeds, and a touch of red pepper flakes for an optional kick, this dish promises a restaurant-quality experience right from your own kitchen.
Imagine serving a generous portion of this golden, saucy chicken over a fluffy bed of steaming white or brown rice – a complete and satisfying meal that’s quicker and healthier than delivery. Once you master this straightforward recipe, the thought of ordering in will genuinely become a distant memory. Get ready to impress your family and friends with a dish so good, they’ll swear it came from their favorite Chinese eatery, but with the undeniable warmth and quality of a homemade masterpiece.
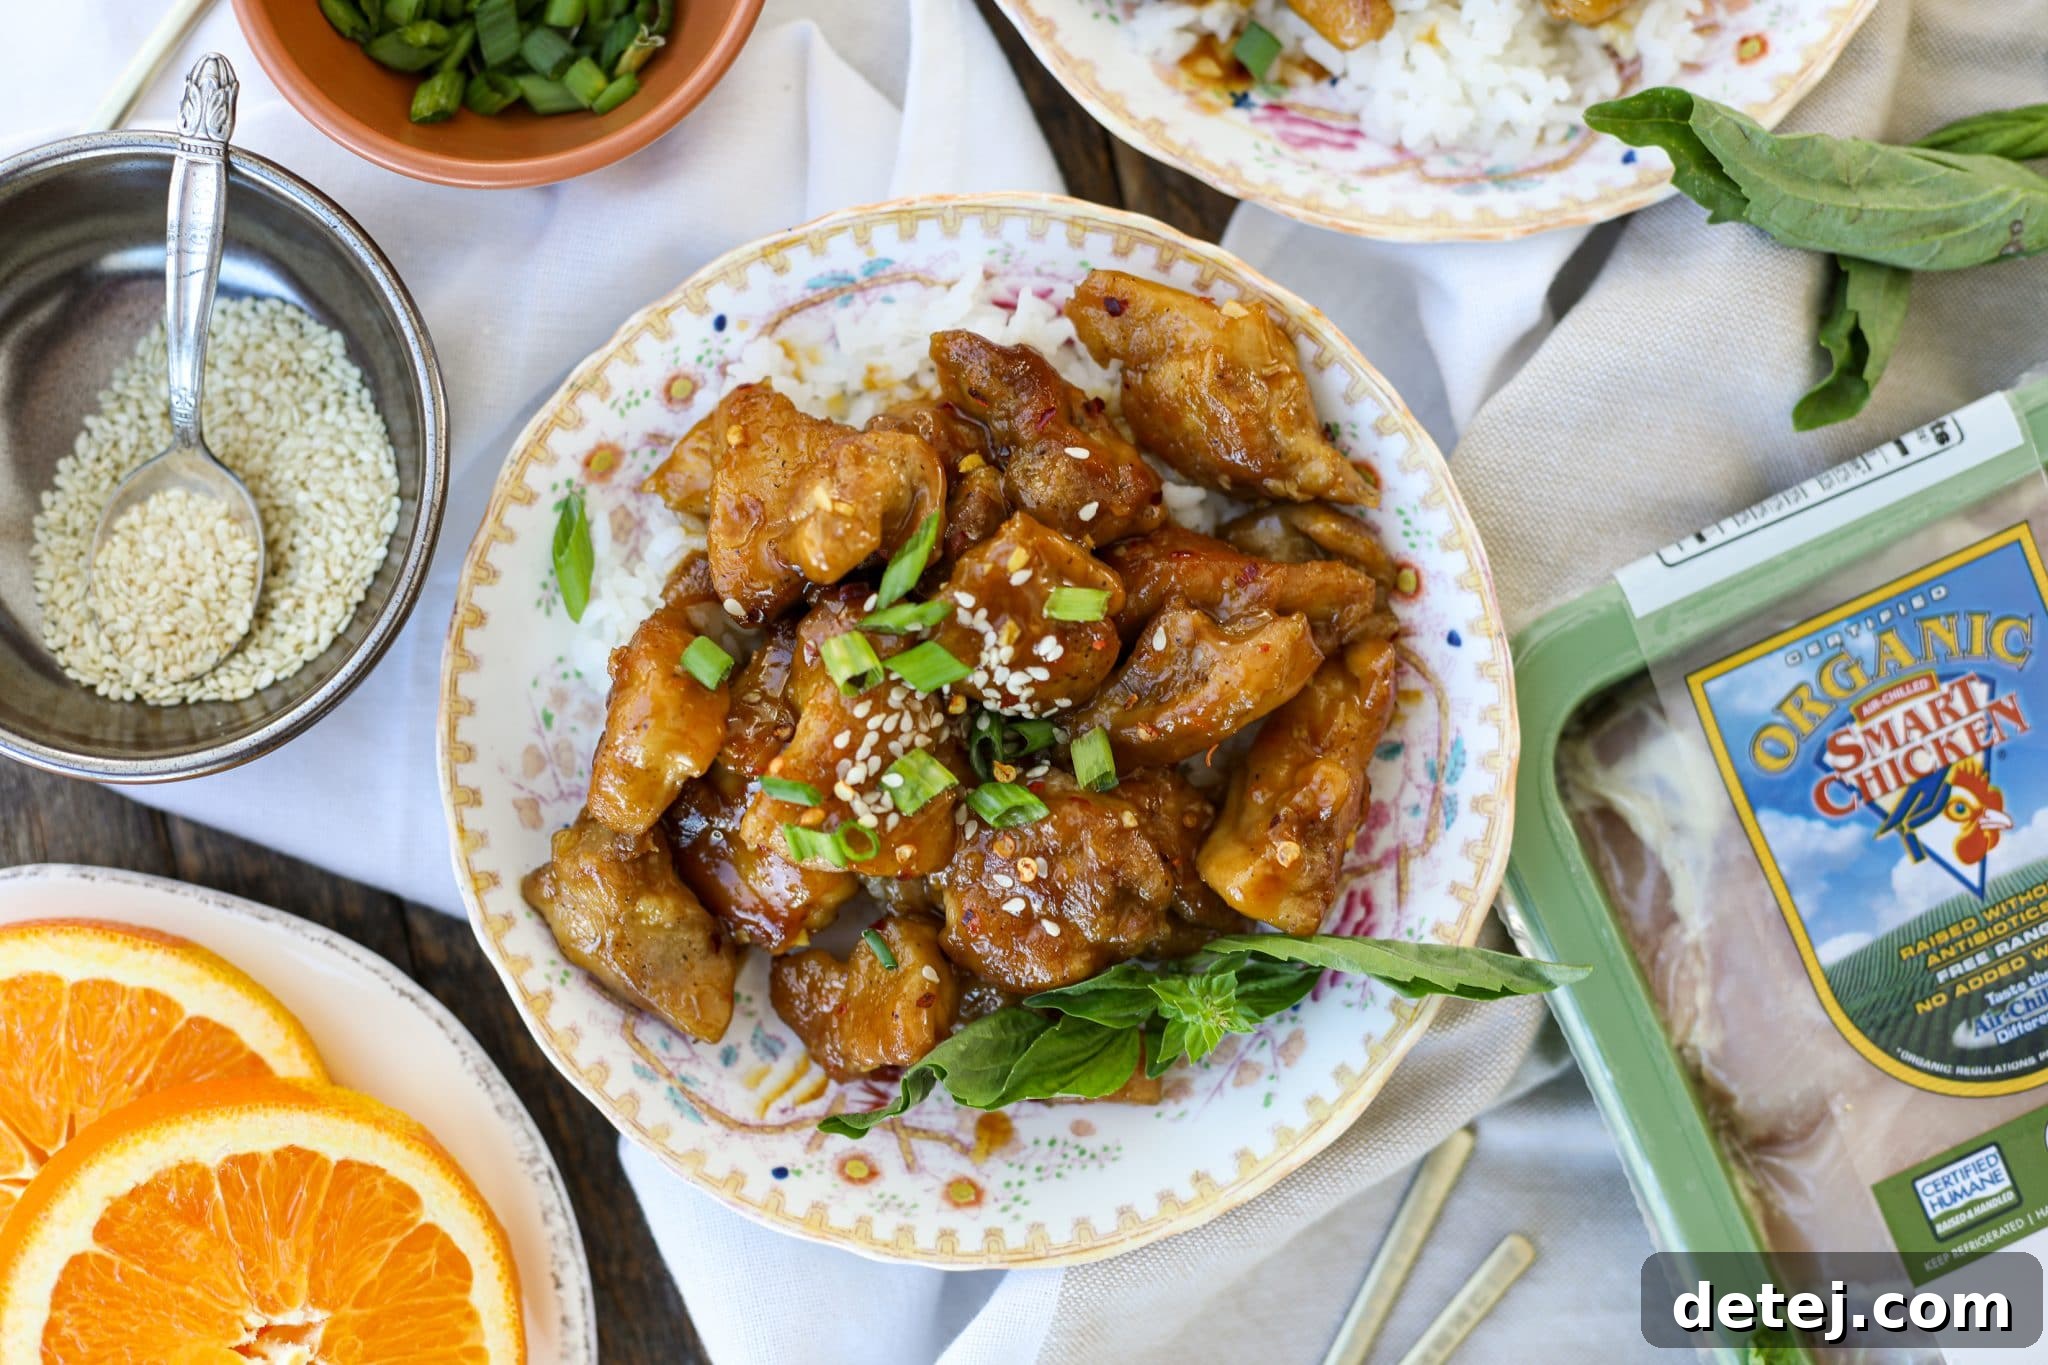
Table of Contents
Why You’ll Adore This Easy Orange Chicken
This isn’t just another chicken recipe; it’s an experience designed to delight. Here’s why this homemade Easy Orange Chicken will become a cherished part of your culinary rotation:
- Unrivaled Flavor: Our orange sauce hits all the right notes – a delightful balance of sweet brown sugar, tangy orange juice and zest, umami-rich soy sauce, and aromatic garlic and ginger. It’s a sophisticated flavor profile that truly outshines typical sugary takeout sauces.
- Achieve Perfect Crispy Texture: The secret to truly great orange chicken lies in its texture. We guide you to achieve beautifully crisp chicken pieces that hold up wonderfully against the sticky sauce, providing that satisfying crunch in every bite.
- Surprisingly Simple to Make: Don’t let the gourmet taste fool you. This recipe is designed for home cooks of all skill levels, with clear, easy-to-follow steps that minimize complexity and maximize enjoyment. You’ll be amazed at how quickly you can create such a delicious meal.
- Healthier Than Takeout: By preparing orange chicken at home, you gain full control over the ingredients. You can choose high-quality chicken, adjust the sugar and sodium levels, and avoid artificial additives often found in restaurant dishes. It’s a flavorful indulgence you can feel good about.
- Versatile & Adaptable: Whether you’re feeding a family, cooking for a dinner party, or meal prepping for the week, this recipe is incredibly versatile. It pairs well with various sides and can be customized to suit different dietary preferences or spice tolerances.
For this outstanding recipe, I highly recommend using premium boneless, skinless chicken thighs. The inherent richness and slightly higher fat content of thigh meat ensures that your chicken remains incredibly juicy and tender, even after being pan-fried to crispy perfection. This quality makes a significant difference, resulting in a far more succulent and flavorful dish compared to leaner cuts. For those new to quality meat, brands that prioritize ethical practices and natural diets, like Smart Chicken, are a game-changer. Their chickens are raised on a high-quality diet, handled humanely, and are never given antibiotics, hormones, or animal by-products. This meticulous approach yields a superior product that truly shines in recipes like this. I speak from personal experience, as discovering such quality was what brought me back to eating meat after a nine-year break. While this post is sponsored, my enthusiasm for high-quality ingredients is genuinely rooted in how they elevate the home cooking experience, turning a simple meal into something truly extraordinary.
Essential Recipe Ingredients & Smart Choices
The magic of this Easy Orange Chicken lies in a few key ingredients, each playing a vital role in creating its iconic flavor and texture. Here’s a closer look at what you’ll need and some tips for selection:
- Chicken Thighs: For the most tender and flavorful results, boneless, skinless chicken thighs are highly recommended. Their natural moisture content prevents them from drying out during frying. Ensure you cut them into uniform 1-inch bite-sized pieces for even cooking. If you prefer, chicken breast can be substituted, but reduce frying time slightly to maintain tenderness.
- Cornstarch for Chicken & Seasoning: This is your secret weapon for achieving that signature crispy coating. When tossed with chicken before frying, cornstarch forms a light, golden crust. Don’t forget to season the chicken first with kosher salt and freshly cracked black pepper; this ensures every piece is flavorful from the inside out. Shake off any excess cornstarch to avoid a gummy texture.
- Frying Oil: Choose an oil with a high smoke point, such as vegetable oil, canola oil, or avocado oil. These oils can withstand the medium-high heat required for shallow frying without burning, ensuring your chicken fries to a beautiful golden crisp. After frying, immediately transfer the chicken to a paper towel-lined plate to absorb any excess oil, preserving its crunch. Always wipe out remaining oil from the pan before proceeding to the sauce step to prevent a greasy final dish.
- The Irresistible Orange Sauce: This sweet, savory, and tangy sauce is the heart of your orange chicken. Each component contributes to its complex flavor:
- Orange Juice: Freshly squeezed orange juice offers the brightest, most authentic flavor. However, a high-quality, pulp-free bottled orange juice works perfectly for convenience.
- Brown Sugar: Light brown sugar adds a deep, caramel-like sweetness that beautifully complements the citrus notes and provides a lovely richness to the sauce.
- Orange Zest: Critical for intensifying the orange flavor and aroma. Zest contains concentrated oils that give the sauce an incredible burst of fresh citrus, distinguishing it from recipes that only use juice.
- Low Sodium Soy Sauce: Provides the essential umami depth and savory foundation without making the sauce overly salty. This allows for better control over the overall seasoning.
- Rice Vinegar: A touch of rice vinegar introduces a mild, sweet acidity that expertly balances the sweetness of the sugar and orange, preventing the sauce from becoming cloying.
- Minced Garlic & Ginger: These fresh aromatics are indispensable. They infuse the sauce with a warm, pungent, and slightly spicy backbone, characteristic of classic Asian-inspired dishes. Always use fresh for the best results.
- Cornstarch (for sauce): This acts as the thickening agent, transforming the liquid mixture into a glossy, sticky sauce that clings perfectly to the crispy chicken. Remember to whisk it into cold liquids before heating to prevent lumps.
- Red Pepper Flakes (Optional): For those who appreciate a hint of heat, red pepper flakes add a subtle warmth that complements the sweet and savory elements, making the flavor profile even more dynamic. Adjust the quantity to your personal preference.
- Rice: The ideal companion to soak up every last drop of that amazing orange sauce. White rice (Jasmine or Basmati are popular choices) or brown rice for a healthier, earthier flavor, are both excellent options. Prepare your rice ahead of time to streamline your cooking process.
How to Master Homemade Orange Chicken: A Step-by-Step Guide
Follow these detailed instructions to create your own perfectly crispy and flavorful Easy Orange Chicken:
- Whip Up the Orange Sauce: In a medium-sized mixing bowl, combine the orange juice, fresh orange zest, low sodium soy sauce, light brown sugar, rice vinegar, minced garlic, minced ginger, and the 2 teaspoons of cornstarch designated for the sauce. Whisk all these ingredients together vigorously until they are thoroughly combined and the cornstarch has completely dissolved, ensuring a smooth, lump-free mixture. Set this tantalizing sauce aside.
- Prepare the Chicken for Frying: Take your boneless, skinless chicken thighs and, using either poultry scissors or a sharp knife, cut them into uniform 1-inch bite-sized cubes. Consistency in size is key for even cooking. Place these cubed chicken pieces into a separate large mixing bowl. Season the chicken generously with kosher salt and freshly cracked black pepper. Next, add the 2 tablespoons of cornstarch for coating the chicken. Toss the chicken thoroughly until every piece is evenly coated in a light layer of cornstarch and seasonings. Shake off any noticeable excess cornstarch before frying.
- Fry the Chicken to Golden Perfection: Heat approximately 1/2 to 1 inch of your chosen vegetable oil (or avocado oil) in a large sauté pan or wok over medium-high heat. The oil should be shimmering and hot. To test, you can drop a tiny piece of coated chicken into the oil; it should immediately sizzle vigorously. Carefully add the coated chicken to the hot oil in a single layer, making sure not to overcrowd the pan. Frying in batches ensures consistent crispiness. Cook each batch for about 3-5 minutes per side, turning occasionally, until the chicken is beautifully golden brown, wonderfully crispy, and cooked through to an internal temperature of 165°F (74°C).
- Drain Excess Oil from Chicken: As each batch of chicken reaches its crispy perfection, remove the pieces from the pan using a slotted spoon or tongs. Transfer them to a plate lined with paper towels. This crucial step allows any excess oil to drain away, maintaining the chicken’s desirable crisp texture and preventing the final dish from becoming greasy.
- Clean the Pan & Reintroduce Chicken: Once all the chicken is fried and drained, carefully (and safely!) use a fresh paper towel to wipe out any remaining excess oil from the sauté pan. Be extremely cautious as the pan will still be hot. Once the pan is relatively clean, return all the crispy chicken pieces to it.
- Thicken the Sauce and Coat the Chicken: Give your prepared orange sauce one final quick whisk to ensure the cornstarch is still fully incorporated. Pour the entire sauce mixture evenly over the chicken in the pan. Bring the contents to a gentle simmer over medium heat, stirring the chicken gently to ensure every piece is thoroughly coated in the sauce. Continue to simmer, stirring occasionally, for about 3-5 minutes, or until the sauce thickens to your desired glossy, sticky consistency that beautifully clings to the chicken.
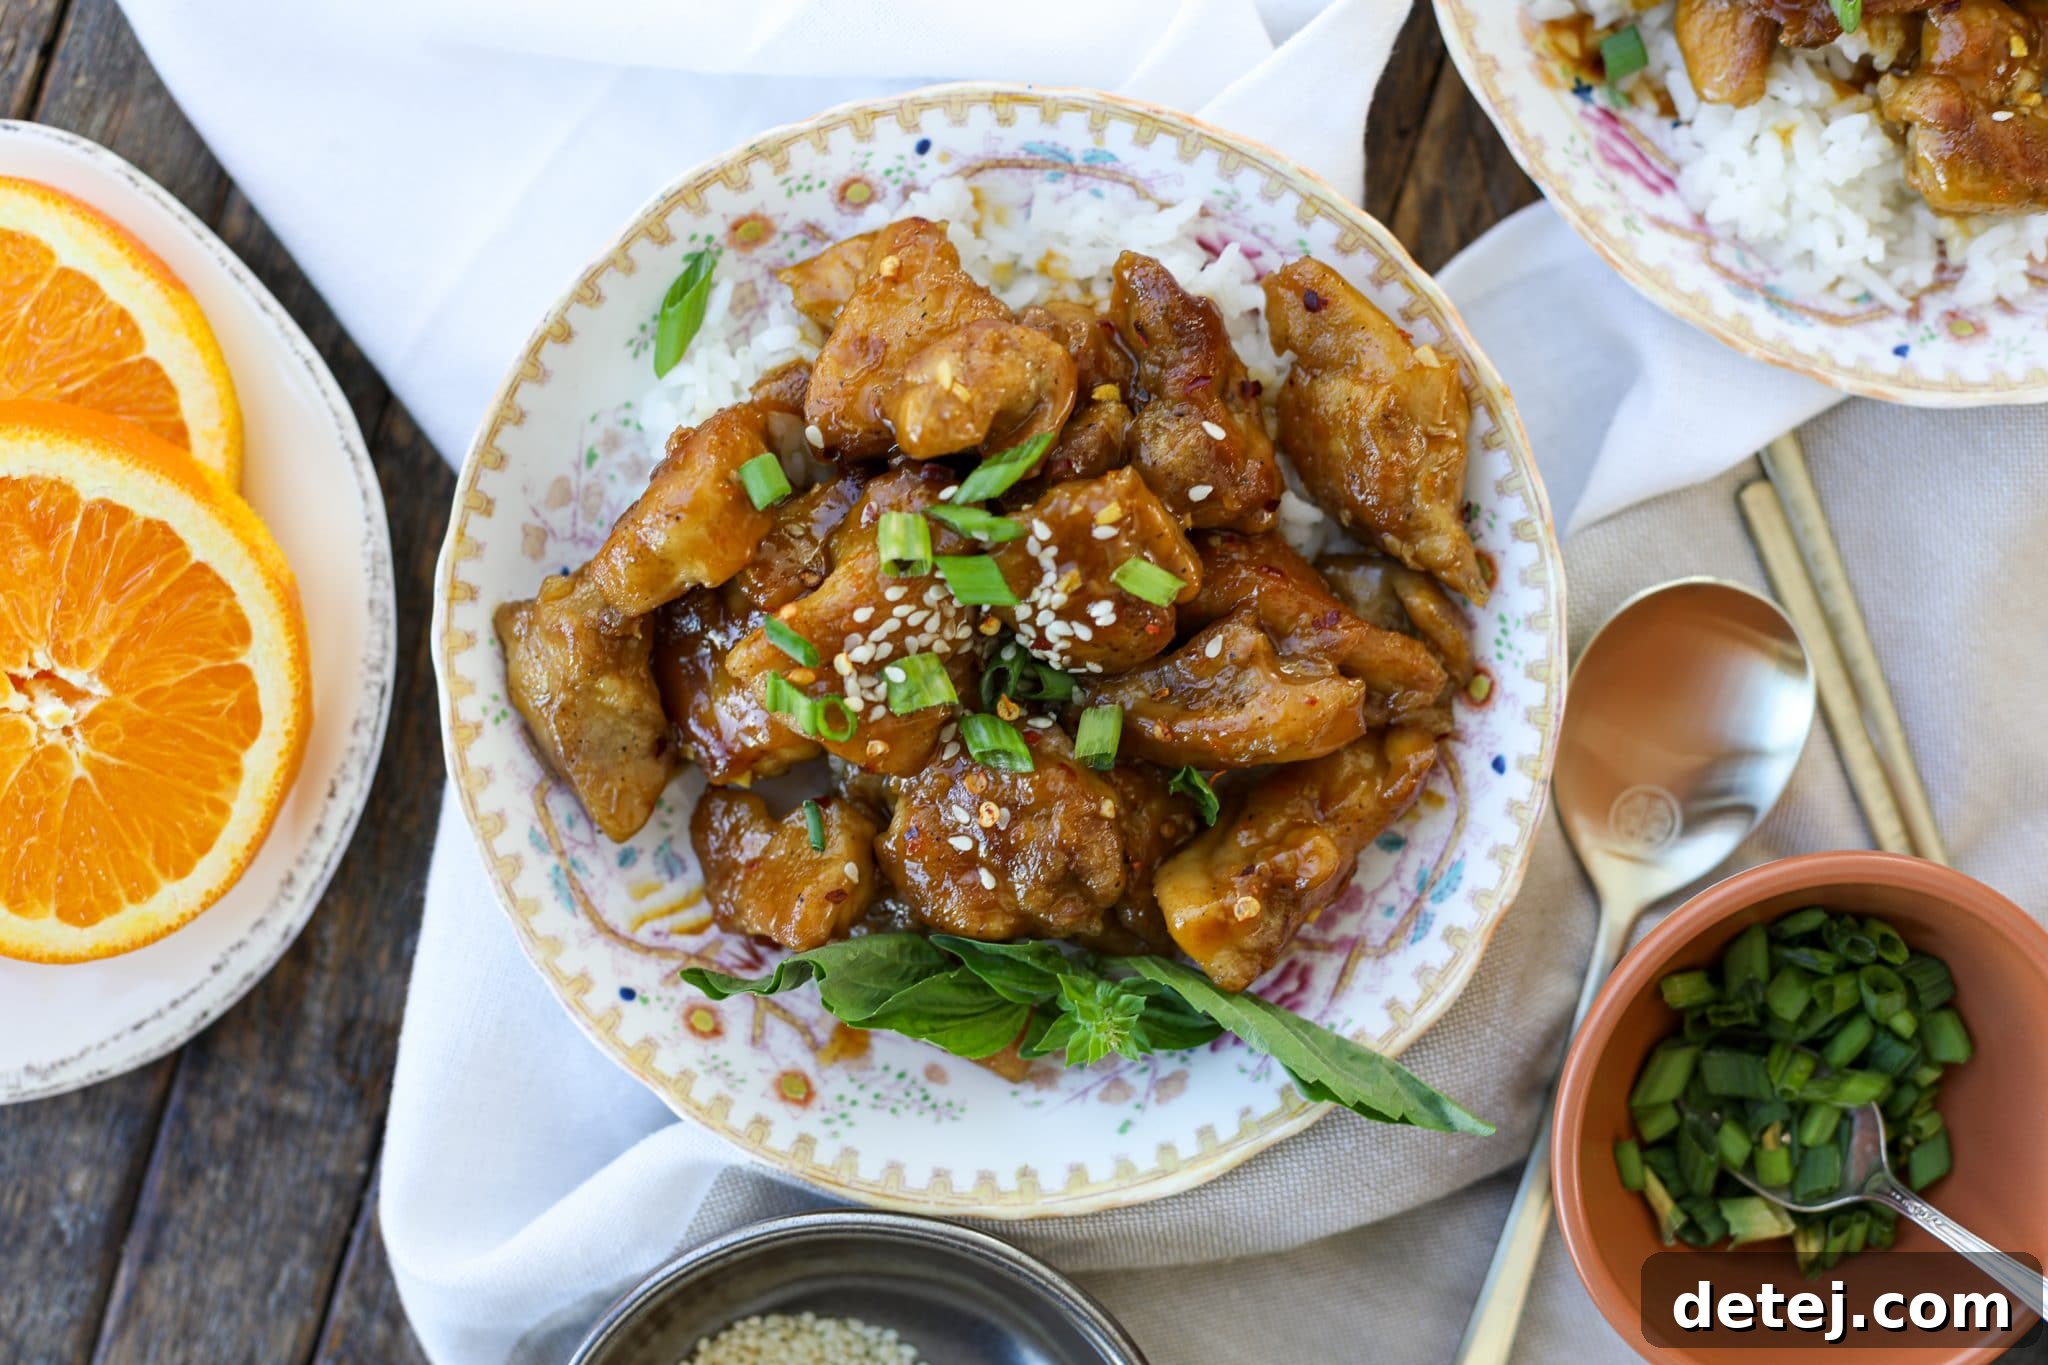
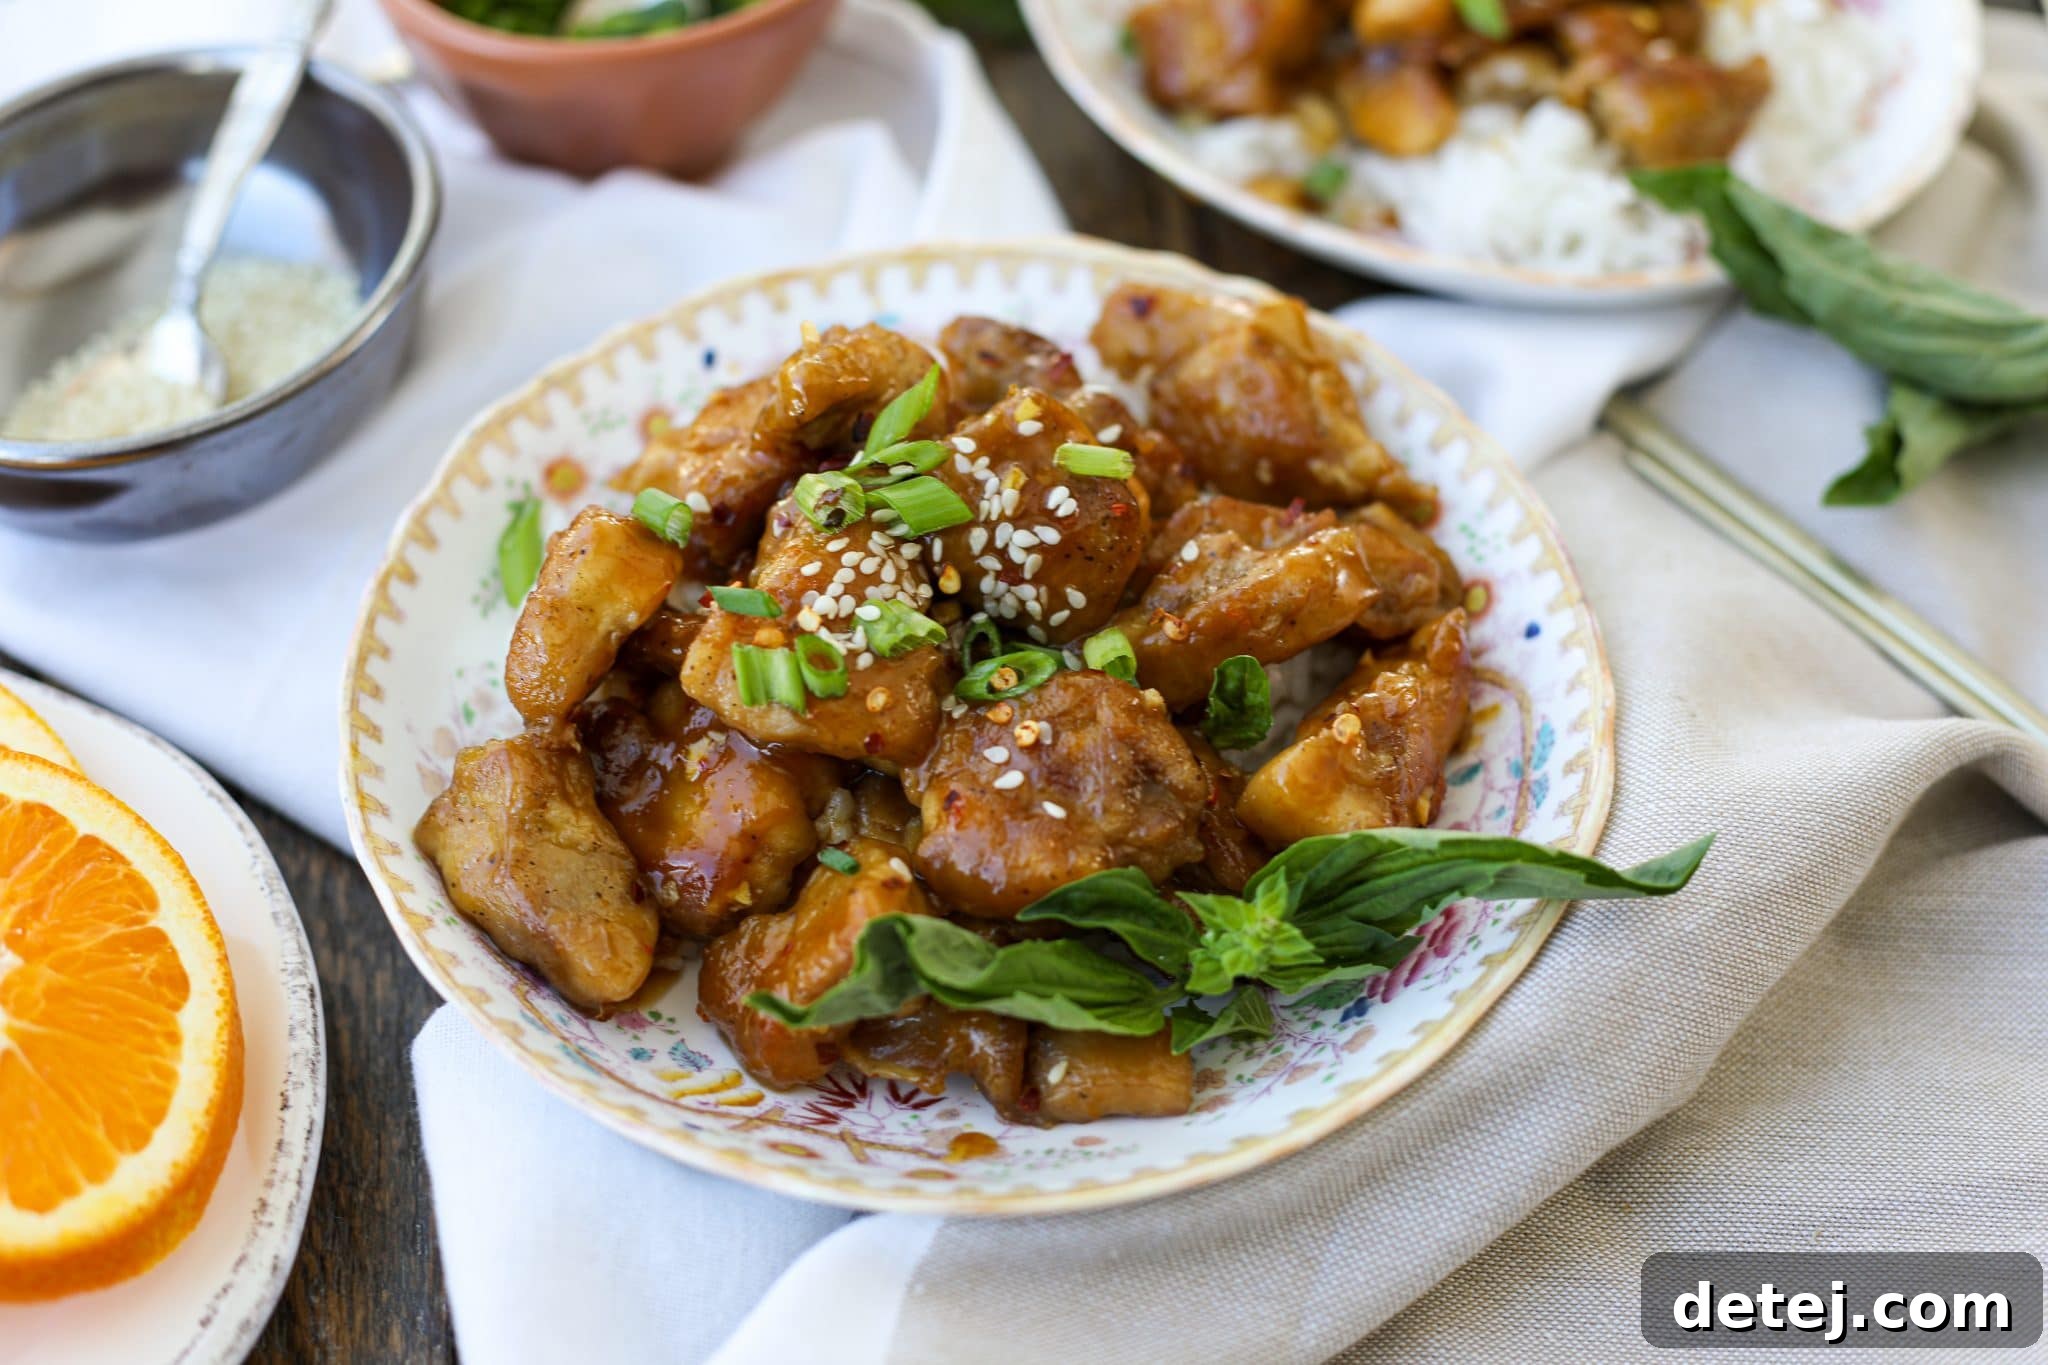
- Serve Your Masterpiece: As soon as the sauce has thickened to your liking, remove the pan from the heat. Serve your homemade orange chicken piping hot and generously spooned over a bed of freshly cooked rice. For a final flourish, garnish with vibrant chopped green onions, a sprinkle of toasted sesame seeds, and, if you desire a touch of warmth and color, a few red pepper flakes. Enjoy this superior homemade version of a classic takeout favorite!
Pro Tips for the Best Crispy Orange Chicken
Mastering homemade orange chicken is easy with these insider tips and tricks:
- Don’t Skip the Cornstarch Coating: This is paramount for achieving that coveted crispy exterior. A light, even coating creates a barrier that fries beautifully.
- Avoid Overcrowding the Pan: Frying chicken in batches is non-negotiable for true crispiness. Overcrowding drops the oil temperature, leading to steamed, soggy chicken rather than fried.
- Maintain Optimal Oil Temperature: If the oil isn’t hot enough, the chicken will soak up too much grease. If it’s too hot, the exterior will burn before the inside cooks through. Medium-high heat is typically perfect for achieving a golden, crispy crust.
- Taste and Adjust the Sauce: Before pouring it over the chicken, taste your orange sauce. This is your opportunity to adjust the sweetness (add more brown sugar), tanginess (more rice vinegar or orange juice), or spiciness (extra red pepper flakes) to perfectly suit your palate.
- Make it Gluten-Free Friendly: Easily adapt this recipe by substituting traditional soy sauce with tamari or a certified gluten-free soy sauce alternative. Always double-check your cornstarch to ensure it’s pure.
- Boost the Spice Level: For those who love a fiery kick, feel free to increase the amount of red pepper flakes in the sauce. A dash of sriracha or chili garlic sauce can also be whisked into the sauce for an extra layer of heat.
- Alternative Cooking Methods for Chicken: While pan-frying delivers the most authentic crispy texture, you can opt for lighter methods:
- Air Fryer: Arrange the cornstarch-coated chicken in a single layer in your air fryer basket. Cook at 400°F (200°C) for 12-15 minutes, flipping halfway through, until golden brown and thoroughly cooked.
- Oven Baked: Place the coated chicken on a wire rack set over a baking sheet. Bake at 400°F (200°C) for 20-25 minutes, flipping halfway, until crispy and cooked through.
Perfect Serving & Pairing Suggestions
This Easy Orange Chicken is delicious on its own, but here are some ideas to make it a complete and memorable meal:
- Classic Rice Sides: The most popular choice! Serve over fluffy white rice (Jasmine or Basmati are excellent), or opt for brown rice for added fiber and a nutty flavor.
- Noodle Bowls: For a heartier alternative, serve the orange chicken over stir-fried lo mein or other Asian noodles.
- Steamed or Stir-Fried Vegetables: Complement the rich chicken with a vibrant side of steamed broccoli, stir-fried bell peppers, snap peas, green beans, or asparagus. These add freshness, color, and essential nutrients.
- Light Salad: A simple, crisp green salad with a light vinaigrette can provide a refreshing contrast to the sweet and savory chicken.
Storage & Reheating Tips
Want to enjoy your delicious Easy Orange Chicken for days? Here’s how to properly store and reheat your leftovers:
Store any leftover Orange Chicken in an airtight container in the refrigerator for up to three to four days. Ensure the chicken and sauce have cooled completely before transferring them to the container to prevent condensation and maintain freshness. When reheating, for the best possible results and to retain some of the chicken’s original crispiness, gently warm it in a non-stick skillet over medium heat until it’s heated through. Stir occasionally to ensure even warming. While the microwave is a convenient option, be aware that the chicken may lose some of its crispy texture, but the fantastic flavor will certainly remain!
Frequently Asked Questions About Homemade Orange Chicken
Absolutely! While chicken thighs are recommended for their superior moisture and flavor, boneless, skinless chicken breasts or tenderloins can be used as a leaner alternative. Just be sure to cut them into similar bite-sized pieces and watch the frying time carefully, as breast meat cooks faster and can dry out if overcooked. Adjust accordingly for best results.
For optimal crispiness, this dish is best enjoyed immediately after cooking. However, you can certainly prepare some components in advance to save time. The orange sauce can be made up to 3 days ahead and stored in an airtight container in the refrigerator. The chicken can be cubed a few hours before cooking and kept chilled. For the crispiest chicken, we recommend coating and frying it just before you plan to serve. The full dish makes fantastic leftovers, though the chicken’s crispness will soften.
If your sauce isn’t reaching your desired thickness, create a quick cornstarch slurry by mixing 1 teaspoon of cornstarch with 1 tablespoon of cold water until smooth. Gradually whisk this into the simmering sauce, letting it cook for another minute, until it thickens. If the sauce becomes too thick, simply thin it out by stirring in a tablespoon or two of water or extra orange juice until it achieves the perfect consistency.
The base recipe features a balanced sweet and tangy flavor with savory undertones. The red pepper flakes are entirely optional and allow you to control the heat level. If you prefer a spicier dish, feel free to add more red pepper flakes, or even a dash of sriracha or chili garlic sauce to the orange sauce mixture.
Absolutely! To reduce calories and fat, consider baking or air frying the cornstarch-coated chicken instead of shallow frying (refer to “Pro Tips” for instructions). You can also slightly reduce the amount of brown sugar in the sauce or use a natural sweetener alternative if desired. Serving it with a larger portion of steamed vegetables and brown rice will further boost the nutritional value and fiber content.
More Must-Try Chicken Recipes for Your Kitchen
If you enjoyed making and devouring this Easy Orange Chicken, we’re confident you’ll love these other fantastic chicken recipes from our collection:
- Easy Chicken Marsala
- Lemon Pepper Chicken
- Sesame Chicken Cutlets
- Sweet and Sour Chicken
Easy Orange Chicken Recipe Card

Easy Orange Chicken
Author: Sarah Thomas-Drawbaugh
This homemade Easy Orange Chicken recipe is simple to make and packed with incredible flavor. Enjoy perfectly crispy chicken thighs coated in the most delicious sticky orange sauce. A true takeout favorite made better at home!
Yield: 3 servings
Prep Time: 10 mins
Cook Time: 25 mins
Total Time: 35 mins
Equipment
- 1 large sauté pan or wok
- 2 mixing bowls
- Poultry scissors or sharp knife (for cubing chicken)
- Whisk
- Measuring cups and spoons
- Slotted spoon or tongs
- Paper towels
Ingredients
For the Crispy Chicken Thighs
- 1 lb. boneless, skinless chicken thighs, cubed into uniform 1-inch bite-sized pieces
- Pinch of kosher salt, to season
- Few turns of freshly cracked black pepper, to season
- 2 tablespoons cornstarch, for coating chicken (toss chicken until well coated, shake off excess)
- Vegetable oil or avocado oil, for shallow frying (approximately 1/2 to 1 inch deep in the pan)
For the Irresistible Orange Sauce
- 1 cup orange juice, pulp-free (freshly squeezed preferred)
- 2 teaspoons fresh orange zest
- 2 tablespoons low sodium soy sauce (use tamari for a gluten-free option)
- ¼ cup light brown sugar, packed
- 2 tablespoons rice vinegar
- 2 teaspoons cornstarch (for thickening the sauce)
- ½ teaspoon minced garlic (equivalent to 1-2 cloves)
- ½ teaspoon minced fresh ginger (peeled)
- ½ teaspoon red pepper flakes, optional (adjust to your preferred heat level)
For Serving & Garnish
- 1 cup cooked white, brown, or basmati rice
- Fresh chopped green onions, for garnish
- Sesame seeds, for garnish
Instructions
- Prepare the Orange Sauce: In a medium mixing bowl, combine the orange juice, orange zest, low sodium soy sauce, light brown sugar, rice vinegar, minced garlic, minced ginger, and the 2 teaspoons of cornstarch. Whisk vigorously until all ingredients are fully incorporated and the cornstarch has dissolved. Set aside.
- Prepare the Chicken: Cut the chicken thighs into uniform 1-inch bite-sized cubes. In a separate large mixing bowl, season the chicken with kosher salt and cracked black pepper. Add the 2 tablespoons of cornstarch and toss until all chicken pieces are evenly coated. Shake off any excess cornstarch.
- Fry the Chicken: Heat vegetable oil in a large sauté pan or wok over medium-high heat (about 1/2 to 1 inch deep). Once hot and shimmering, carefully add the coated chicken in batches, ensuring not to overcrowd the pan. Fry for 3-5 minutes per side, turning as needed, until the chicken is golden brown, crispy, and cooked through to an internal temperature of 165°F (74°C).
- Drain Excess Oil: Remove the crispy chicken from the pan with a slotted spoon or tongs and transfer it to a plate lined with paper towels to absorb any excess oil. Repeat with any remaining chicken batches.
- Combine with Sauce: Carefully wipe out any remaining oil from the pan using a paper towel. Return all the crispy chicken to the cleaned pan. Give the prepared orange sauce another quick whisk and pour it over the chicken.
- Simmer and Thicken: Bring the sauce to a gentle simmer over medium heat. Cook, stirring occasionally, for 3-5 minutes, or until the sauce thickens and becomes glossy, coating the chicken beautifully.
- Serve: Remove from heat and serve the hot orange chicken immediately over a bed of cooked rice. Garnish with fresh chopped green onions, sesame seeds, and red pepper flakes (if using) for a perfect finish.
Notes
Storage: Store any leftover Easy Orange Chicken in an airtight container in the refrigerator for three to four days. Reheat gently in a pan over medium heat for best results, or in the microwave until thoroughly warm. For more detailed storage and reheating advice, refer to the Storage & Reheating Tips section above.
Nutrition Information (Approximate)
Serving Size: 1 serving (approximately 1/3rd of the chicken and sauce recipe, does not include rice or oil used for frying)
- Calories: 476kcal
- Carbohydrates: 34g
- Protein: 27g
- Fat: 25g
- Saturated Fat: 7g
- Polyunsaturated Fat: 5g
- Monounsaturated Fat: 10g
- Trans Fat: 0.1g
- Cholesterol: 148mg
- Sodium: 799mg
- Potassium: 538mg
- Fiber: 1g
- Sugar: 25g
- Vitamin A: 388IU
- Vitamin C: 43mg
- Calcium: 44mg
- Iron: 2mg
Disclaimer: Nutritional values are estimates only and can vary significantly based on specific ingredient brands, preparation methods, and exact quantities used.
Course: Main Course
Cuisine: American (Asian-inspired)
Calories: 476 (per serving, without rice/frying oil)
Author: Sarah Thomas-Drawbaugh