
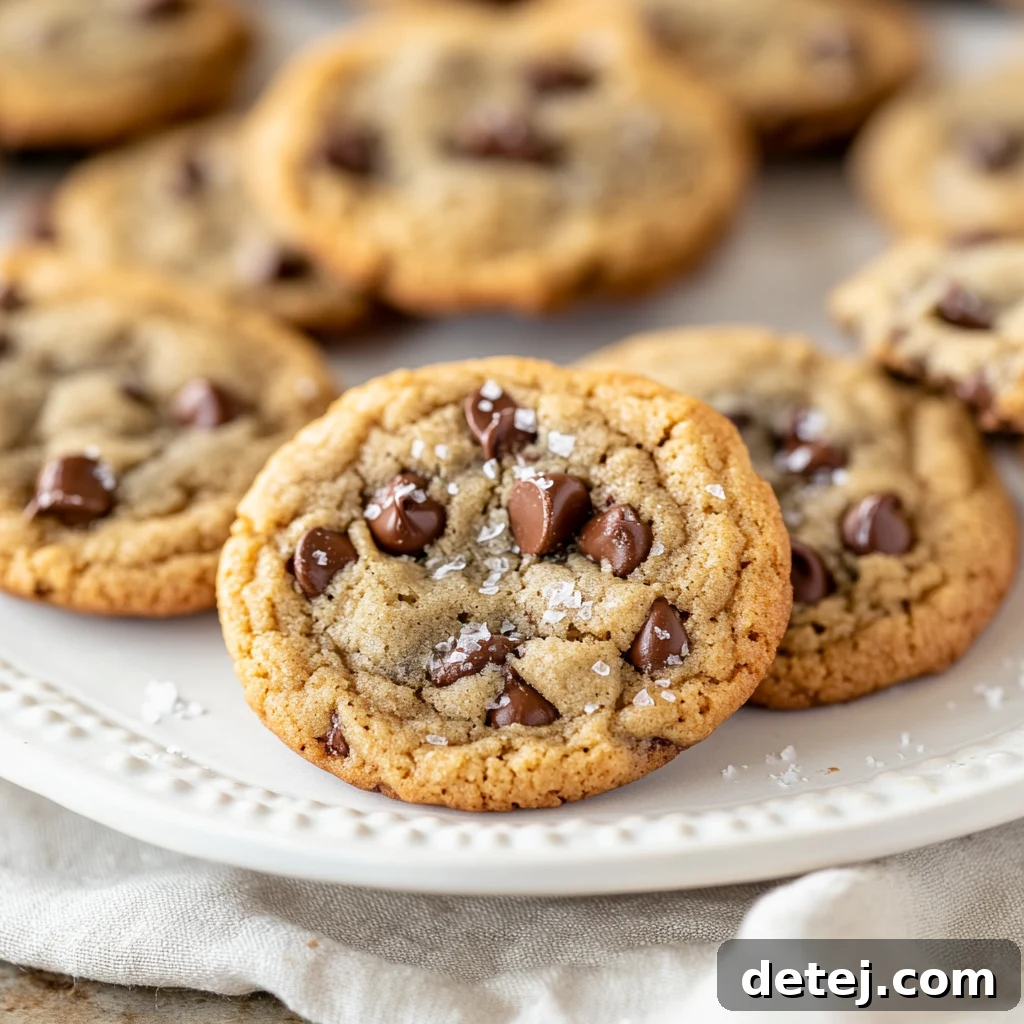
Unlock the Secret to Perfect Brown Butter Chocolate Chip Cookies: A Gourmet Guide
Introduction: Elevating Your Classic Chocolate Chip Cookie Experience
Welcome, fellow baking enthusiast! I’m thrilled you’re joining me on an exciting culinary adventure into the world of brown butter chocolate chip cookies. If you share my passion, you understand that a truly exceptional cookie transcends a mere dessert; it’s an unforgettable experience. Imagine the classic, comforting chocolate chip cookie, but with an added layer of sophistication and depth. This is precisely what brown butter brings to the table – a rich, nutty aroma and an unparalleled depth of flavor that transforms a beloved treat into a gourmet masterpiece. It’s not just about the perfectly melted chocolate chips or the delightful contrast between crispy edges and a sumptuously gooey center; it’s about the complex, caramelized notes of browned butter that dance through every single bite. This seemingly simple ingredient change makes these cookies a profound game-changer in your baking repertoire. So, let’s embark on this journey together and unlock the delicious secrets to crafting the perfect brown butter chocolate chip cookies, shall we?
Key Takeaways:
- The Transformative Power of Brown Butter: Discover how browning butter infuses your cookies with an irresistible nutty aroma and a complex, caramelized flavor.
- Mastering the Ingredients: Learn the precise roles of each component in achieving the ideal texture and taste profile for your cookies.
- Baking Excellence: Acquire essential tips for forming, baking, and storing your cookies to ensure flawless crispy edges, a perfectly gooey center, and lasting freshness.
The Art of Brown Butter: A Flavor Revolution
Let’s talk about the absolute magic that brown butter bestows upon your chocolate chip cookies, transforming them from merely delicious to utterly irresistible. The journey begins modestly, on your stovetop, in a light-colored medium saucepan – the light color is key for observing the butter’s transformation. Over medium heat, unsalted butter melts, bubbling gently. As the water evaporates, the milk solids within the butter begin to toast, changing from white to a beautiful golden brown. This is where patience is truly a virtue. You’ll need to watch closely, stirring frequently, as those tiny milk solids sink to the bottom of the pan, releasing a captivating nutty aroma and imparting a profound nutty flavor that is truly out of this world. This alchemical process is known as the Maillard reaction, a complex chemical change that creates hundreds of new flavor compounds, elevating simple butter into a culinary gem.
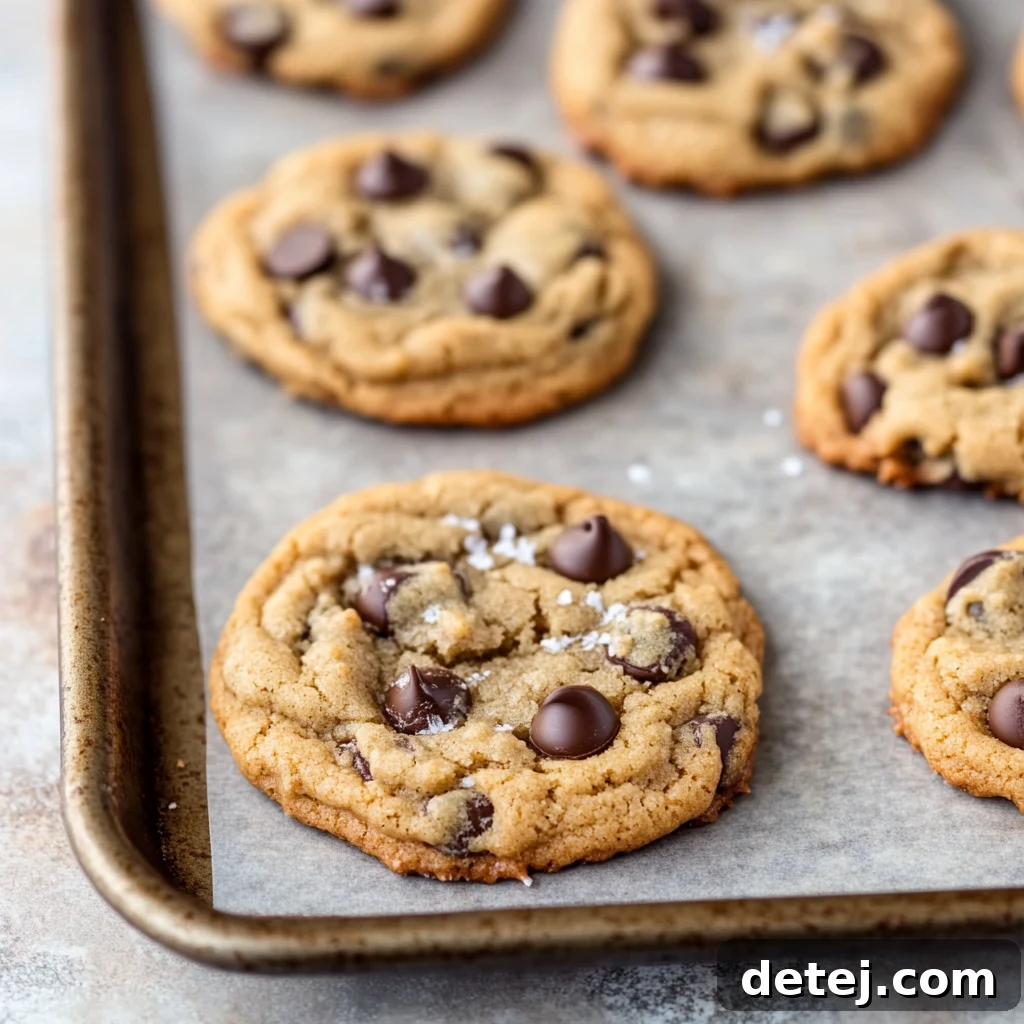
Incorporating this beautifully browned butter into your cookie dough is more than just an extra step; it’s a fundamental game-changer. Every bite is imbued with a depth of flavor that is simply unmatched by cookies made with regular butter. It’s this nutty, slightly caramelized taste, a direct gift from the browning process, that elevates your brown butter chocolate chip cookies beyond good, positioning them firmly in the realm of the best cookies you’ll ever bake. Trust me, after one bite of these exceptionally rich and flavorful cookies, you’ll likely wonder why you ever considered making chocolate chip cookies any other way. By taking this simple yet impactful step of allowing the butter to achieve that lovely brown color and reveling in its nutty aroma, you’re not just baking; you’re crafting an experience, a symphony of flavors that culminates in the perfect chocolate chip cookie.
The Symphony of Ingredients: Crafting Your Perfect Cookie
Embarking on the creation of brown butter chocolate chip cookies means assembling a cast of stellar ingredients, each playing a crucial role in the final masterpiece. Let me guide you through the essentials that will bring these cookies to life, ensuring a harmonious balance of texture and taste.
Our undisputed star, as you now know, is unsalted butter. Its transformation into nutty, golden-browned butter is the foundation of our cookie’s unique flavor profile. Opt for unsalted to control the overall saltiness of your dough. Following this, we introduce the classic baking triumvirate: all-purpose flour, measured meticulously by spooning it into a measuring cup and leveling it off (never scoop directly from the bag, as this compacts the flour and can lead to dense cookies), baking soda, which provides the necessary lift and contributes to a tender crumb, and a generous pinch of flaky sea salt. This salt is not merely for seasoning; it’s a flavor enhancer, balancing the sweetness and making the chocolate taste even more vibrant. Its flaky texture also provides delightful little bursts of saltiness that cut through the richness.
Next in line are the sugars: a strategic blend of dark brown sugar and granulated sugar. Dark brown sugar, with its higher molasses content, is responsible for the cookies’ signature chewiness and adds another layer of deep, caramel-like flavor. Granulated sugar, on the other hand, contributes to spread and the delightful crispness of the edges. The perfect ratio of these two sugars is vital for achieving that coveted texture—crispy on the outside, soft and chewy on the inside. Eggs, preferably at room temperature, act as the crucial emulsifier, binding all our ingredients together and adding richness. Room temperature eggs integrate more smoothly into the batter, creating a more uniform dough. Finally, vanilla extract whispers sweet complexities into the mix; a good quality vanilla can truly elevate the overall aroma and taste. And, of course, we cannot forget the true MVPs: a generous quantity of high-quality semi-sweet chocolate chips or chunks. While chips are classic, using chopped chocolate or chocolate chunks often results in more decadent, melty pockets of chocolate throughout the cookie. Each of these components, from the nutty essence of our browned butter to the burst of chocolate, is indispensable in achieving the title of the best chocolate chip cookies you’ll ever make. Prepare your measuring cups and mixing bowls, because we’re about to create perfect chocolate chip cookies boasting gooey centers, wonderfully crisp edges, and a depth of flavor that feels like a warm, cozy hug in cookie form.
The Art of Preparing Brown Butter
Turning ordinary unsalted butter into that irresistible golden-brown, nutty delight is the pivotal moment in crafting extraordinary brown butter chocolate chip cookies. This process requires a bit of attention but is incredibly rewarding. Begin by melting your butter in a medium, light-colored saucepan over medium heat. The light color allows you to easily monitor the color changes, preventing accidental burning. As the butter melts, it will begin to foam. Continuously stir or swirl the pan to ensure even cooking and to prevent the milk solids from sticking and burning at the bottom. The foam will eventually subside, and you’ll start to see tiny amber-colored specks forming at the bottom of the pan. These are the toasted milk solids, responsible for that incredible depth of flavor. The moment you detect a rich, warm, and distinctly nutty scent, along with a beautiful golden-brown color, immediately remove the pan from the heat. Pour the browned butter, along with all those precious brown bits, into a heatproof bowl to halt the cooking process. This crucial step prevents the butter from burning, which can happen very quickly if left in the hot pan. The cooling process is equally important; allow the butter to cool to room temperature. This might take an hour or more, but it’s essential for the butter to properly emulsify with the sugars and eggs in the next step, ensuring a perfect cookie texture. Watching this transformation is witnessing the ordinary become extraordinary, turning a simple dairy product into the heart and soul of the best chocolate chip cookies you’ll ever taste. Remember, patience and attentiveness during this initial step will reward you with a complex, nutty flavor that makes all the difference.
Mastering the Mix: Wet and Dry Ingredients Harmony
Once your rich, nutty browned butter has cooled to the ideal room temperature, and your dry ingredients are perfectly whisked, we arrive at the crucial stage of combining them. I’ve discovered a game-changing approach that ensures every batch of brown butter chocolate chip cookies turns out exactly as you dream: tender, chewy, and exquisitely flavored. In a separate bowl, whisk together your all-purpose flour, baking soda, and flaky sea salt until thoroughly combined. This ensures even distribution of leavening and seasoning throughout the dough. Now, in the bowl of your stand mixer (or a large mixing bowl if hand-mixing), cream the cooled brown butter with both the dark brown sugar and granulated sugar. Beat on medium speed for about 2-3 minutes until the mixture becomes light, fluffy, and significantly paler. This creaming process incorporates air, contributing to the cookies’ texture. Next, beat in the vanilla extract until just combined, then add the room temperature eggs one at a time, beating well after each addition until fully incorporated. Scrape down the sides of the bowl as needed to ensure everything is mixed evenly.
Now for the dry ingredients: here’s where the gentle hand comes in. With the mixer on low speed, or using a wooden spoon or rubber spatula, gradually add the dry ingredients to the wet. Mix them together *just until combined*. You’re not aiming for muscle development here; you’re coaxing these ingredients into a perfect, cohesive dough. Overmixing is the sworn enemy of the perfect chocolate chip cookie – it develops the gluten in the flour too much, leading to tough, dense cookies, not the wonderfully soft and chewy kind we aspire to create. Once the flour is mostly incorporated, fold in your chosen chocolate chips or chunks. Stop mixing as soon as no streaks of flour remain visible. This isn’t just mixing; it’s alchemy, carefully transforming simple components into gold-standard cookies with those irresistible crispy edges and deeply satisfying gooey centers. A properly mixed dough is the secret to a superior cookie texture.
From Dough to Delight: Forming and Baking Your Cookies
Now, let’s transition our perfectly crafted cookie dough into those irresistible, aromatic morsels we’re all eagerly anticipating. For consistent results and beautifully uniform cookies, I always rely on a trusty cookie scoop. It’s like my personal secret weapon for achieving baking perfection every single time. My preferred size is one that yields about 3 tablespoons of dough per ball. This particular portion size is just right for ensuring that delightful balance of crispy, golden-brown edges that give way to an incredibly soft, gooey center – the hallmark of an exceptional chocolate chip cookie. Remember, precision in portioning is key to even baking and consistent texture across your entire batch, avoiding cookies that are overbaked on the edges and raw in the middle.
Once you’ve expertly portioned your cookie dough, gently place these uniform cookie dough balls onto your lined baking sheets. Lining your sheets with parchment paper or a silicone baking mat is crucial; it prevents sticking and promotes even browning, making cleanup a breeze. And here’s a critical tip: ensure you leave ample space—at least 2-3 inches—between each dough ball. Think of it as providing each cookie with its own personal space to spread out comfortably and bake evenly without merging into a giant cookie conglomerate. This simple yet vital step is a significant game changer in achieving perfectly round, beautifully textured cookies every single time. It allows for proper air circulation around each cookie, which contributes to those coveted crispy edges.
Beyond the quality of your ingredients and the carefulness of your mixing, the true magic of a flawless batch often lies in how you treat your dough in these final moments before it enters the oven. For an even more enhanced flavor and texture, I highly recommend chilling your cookie dough for at least an hour, or even overnight. Chilling allows the flavors to meld and the butter to solidify, resulting in less spread and a richer, more complex taste. So, take your time with these steps, allowing patience to guide your hands, and I promise, the end result will be the kind of transcendent homemade brown butter chocolate chip cookies that not only make everyone’s day a bit sweeter but also become an instant favorite, earning you rave reviews from friends and family.
Preserving Perfection: Cooling and Storing Your Brown Butter Cookies
The moment your kitchen fills with the intoxicating nutty aroma of brown butter, signaling that your batch of perfect chocolate chip cookies has achieved that beautiful golden-brown hue, it’s time for the crucial cooling process. To preserve that ideal texture—crispy edges giving way to a wonderfully gooey center—I’ve found that transferring the freshly baked cookies to a wire rack after just a few minutes on the baking sheet is the absolute best practice. This simple yet vital step ensures that air circulates freely around each cookie, preventing condensation from forming on the bottom, which can lead to a soggy texture. Allowing them to cool completely on the wire rack is paramount for maintaining their structural integrity and that perfect balance we all adore in a cookie.
Now, when it comes to storing these truly exceptional cookies, an airtight container is your ultimate ally. This is not merely a suggestion; it’s a necessity for preserving their delightful crunch and the coveted gooey center. Place your cooled cookies in a single layer if possible, or separate layers with parchment paper to prevent them from sticking together. Stored at room temperature, these brown butter chocolate chip cookies will retain their peak freshness for up to 3-4 days. And here’s a delightful secret: if you can resist the urge to devour them all in one go, you’ll often find that these little delights are just as fantastic, if not even more flavorful, the next day, as the flavors have had more time to meld and deepen. For longer storage, you can freeze baked cookies in an airtight container for up to 2-3 months, or even freeze portioned cookie dough balls to bake fresh whenever a craving strikes!
Why Your Next Batch Absolutely Demands Brown Butter
You might find yourself pondering, “Why deviate from the flawless classic chocolate chip cookie recipe?” Let me assure you, the integration of brown butter into your upcoming batch is not merely a tweak, but a monumental game changer. This ingenious twist takes the universally adored standard chocolate chip cookie recipe and profoundly enriches it, infusing it with an extraordinary depth of flavor and an aroma that will convince anyone walking into your home that a professional bakery has just opened its doors. It’s an upgrade that elevates home baking to an art form, making every cookie a memorable culinary experience.
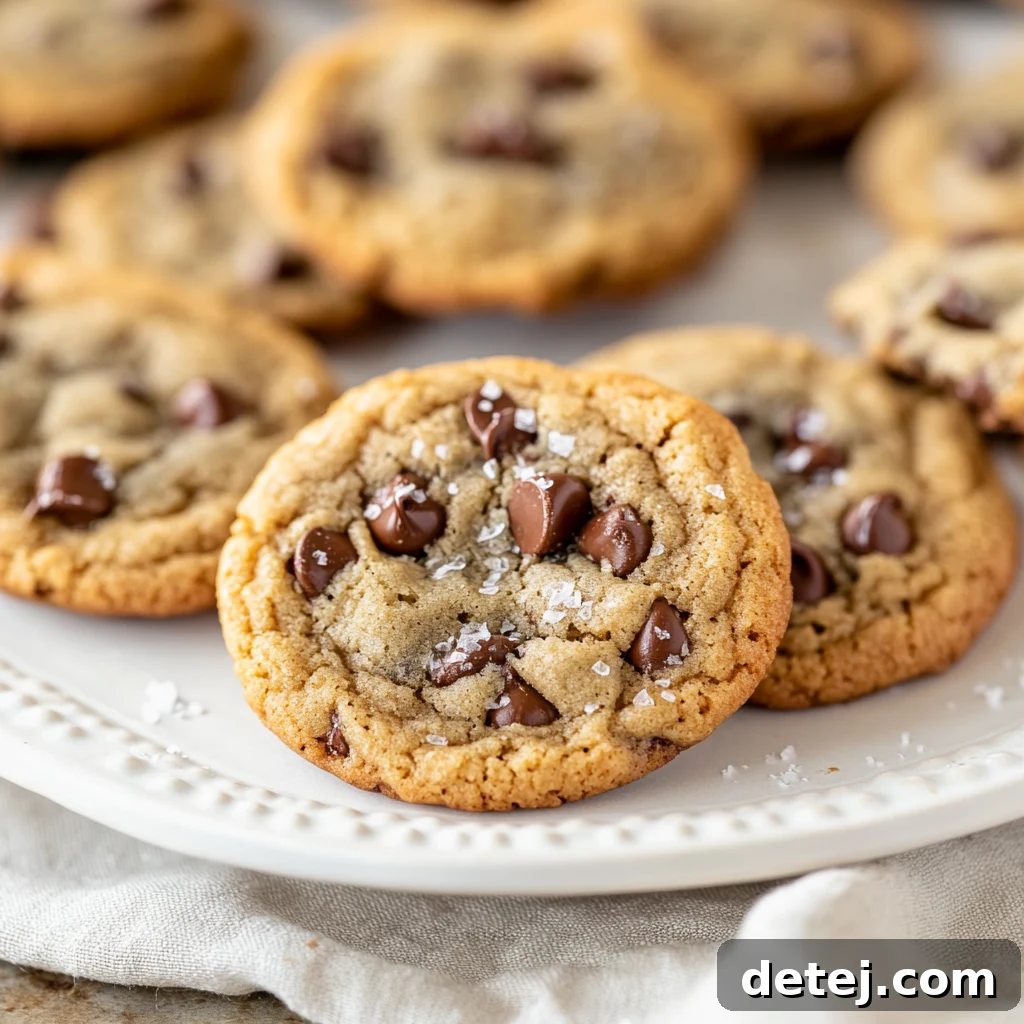
While the act of making brown butter might appear to be an additional step in an already familiar process, it is this very browning process that magically transforms humble unsalted butter into a nutty, golden-amber liquid gold. This golden elixir then permeates your cookies with an unparalleled taste profile – a delightful medley of toasted nuts, caramel, and a subtle sweetness that traditional butter simply cannot achieve. Picture this: the alluring nutty flavor, the beautifully golden-brown edges offering a satisfying snap, and that incredibly moist, gooey cookie center bursting with melty chocolate. This intricate interplay of textures and flavors is precisely what makes these brown butter chocolate chip cookies truly exceptional and effortlessly stand out from any other cookie. The moment those edges become perfectly crisp while the interior remains wonderfully soft and chewy, further enhanced by the perfect balance of flaky sea salt, the richness of dark brown sugar, and a generous mix of various chocolate chips and chunks, you’ll instantly realize you’ve struck culinary gold.
So, why not allow brown butter to take center stage in your next baking adventure? Whether you’re preparing for a cozy family gathering, celebrating a special occasion, or simply indulging your own sweet tooth with a deliciously unique treat, these cookies promise an extraordinary and deeply satisfying experience. The delightful bonus? You’ll witness the sheer joy and delight on the faces of your friends and family as they savor that very first, unforgettable bite. Trust me, once you experience the profound difference that brown butter brings to your chocolate chip cookies, you might very well find yourself never wanting to revert to the conventional recipe again. This is more than just a recipe; it’s an invitation to transform your baking, one delicious, nutty, browned-butter cookie at a time.
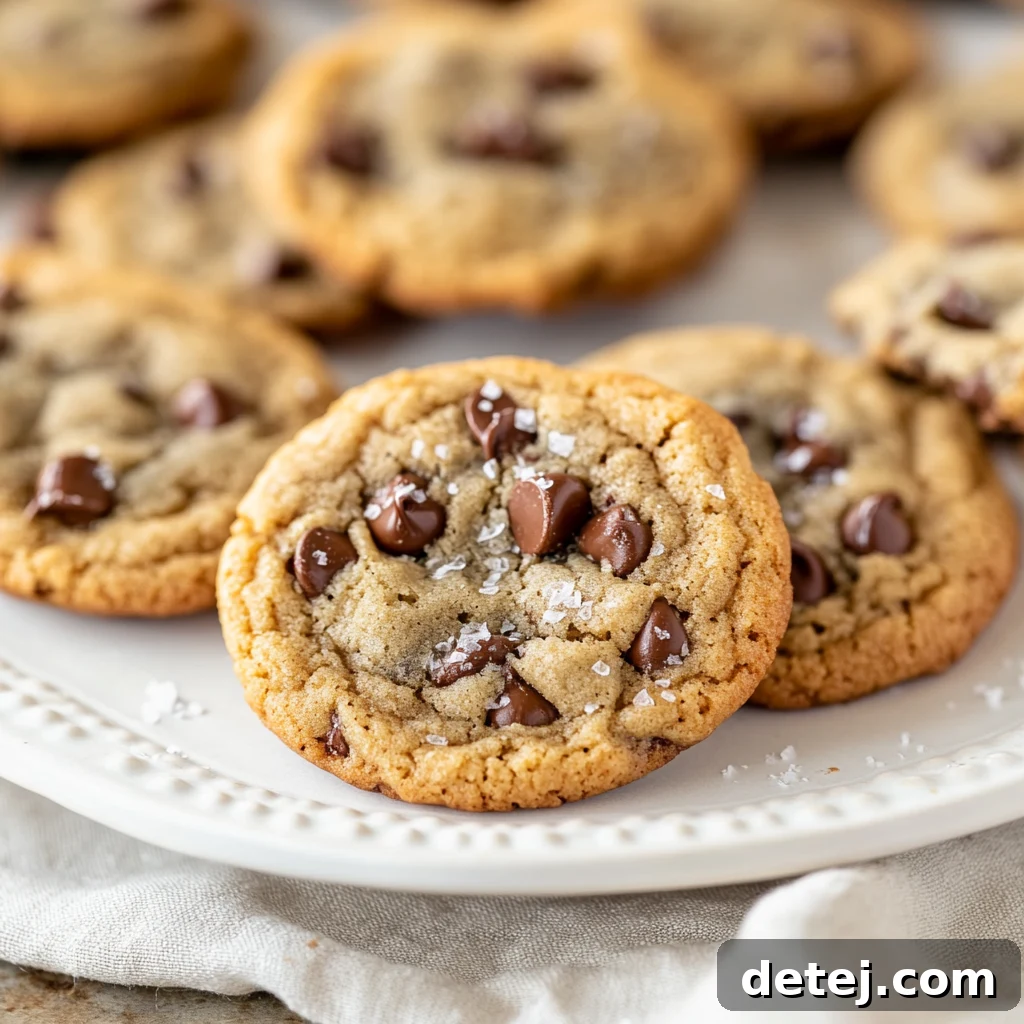
Brown Butter Chocolate Chip Cookies
Pin Recipe
Ingredients
- 3/4 cup plus 2 tablespoons unsalted butter
- 2 large eggs, room temperature
- 2 teaspoons vanilla extract
- 2 1/2 cups all-purpose flour, spooned and leveled
- 2 cups semi-sweet milk chocolate chips or chunks
- 1 cup plus 2 tablespoons dark brown sugar, packed
- 1/2 cup granulated sugar
- 1 teaspoon baking soda
- 1/2 teaspoon flaky sea salt
Instructions
- Melt the butter in a light-colored small saucepan over medium heat, stirring frequently. Continue to cook for about 5-7 minutes until the butter foams, then subsides, and amber-colored milk solids appear at the bottom, giving off a nutty aroma. Immediately remove from heat.
- Transfer the browned butter, including all the brown specks, to a heatproof bowl to stop the cooking. Place the bowl in the refrigerator for about 1 hour to 1 hour and a half, or until the butter reaches room temperature and re-solidifies slightly to a soft consistency.
- Once the butter is at room temperature:
- Preheat your oven to 375°F (190°C). Line two large baking sheets with parchment paper and set them aside.
- In a medium bowl, whisk together the all-purpose flour, baking soda, and flaky sea salt. Set this dry mixture aside.
- In the bowl of a stand mixer fitted with the paddle attachment (or using a hand mixer), beat the chilled brown butter and both sugars (dark brown sugar and granulated sugar) on medium speed for about 2-3 minutes until the mixture is light, fluffy, and well combined.
- Add the vanilla extract and mix until smooth. Add the room temperature eggs one at a time, beating well after each addition and scraping down the sides of the bowl as needed, until fully incorporated. Turn off the mixer.
- Using a wooden spoon or a rubber spatula, gently fold in the dry flour mixture. Stir just until the flour is mostly incorporated and no visible streaks remain. Be careful not to overmix.
- Fold in the semi-sweet chocolate chips or chunks until evenly distributed throughout the dough.
- Using a cookie scoop (approximately 3 tablespoons of dough per ball), form uniform balls of dough. Place the dough balls onto the prepared baking sheets, ensuring you leave at least 2-3 inches of space between each for spreading.
- Bake the cookies in the preheated oven, one sheet at a time, for about 10-12 minutes, or until the edges are beautifully golden brown and set, but the centers still appear soft and slightly underbaked.
- Allow the baked cookies to cool on the baking sheet for 5-10 minutes. This allows them to set up without breaking. Then, carefully transfer them to a wire rack to cool completely. Enjoy!