
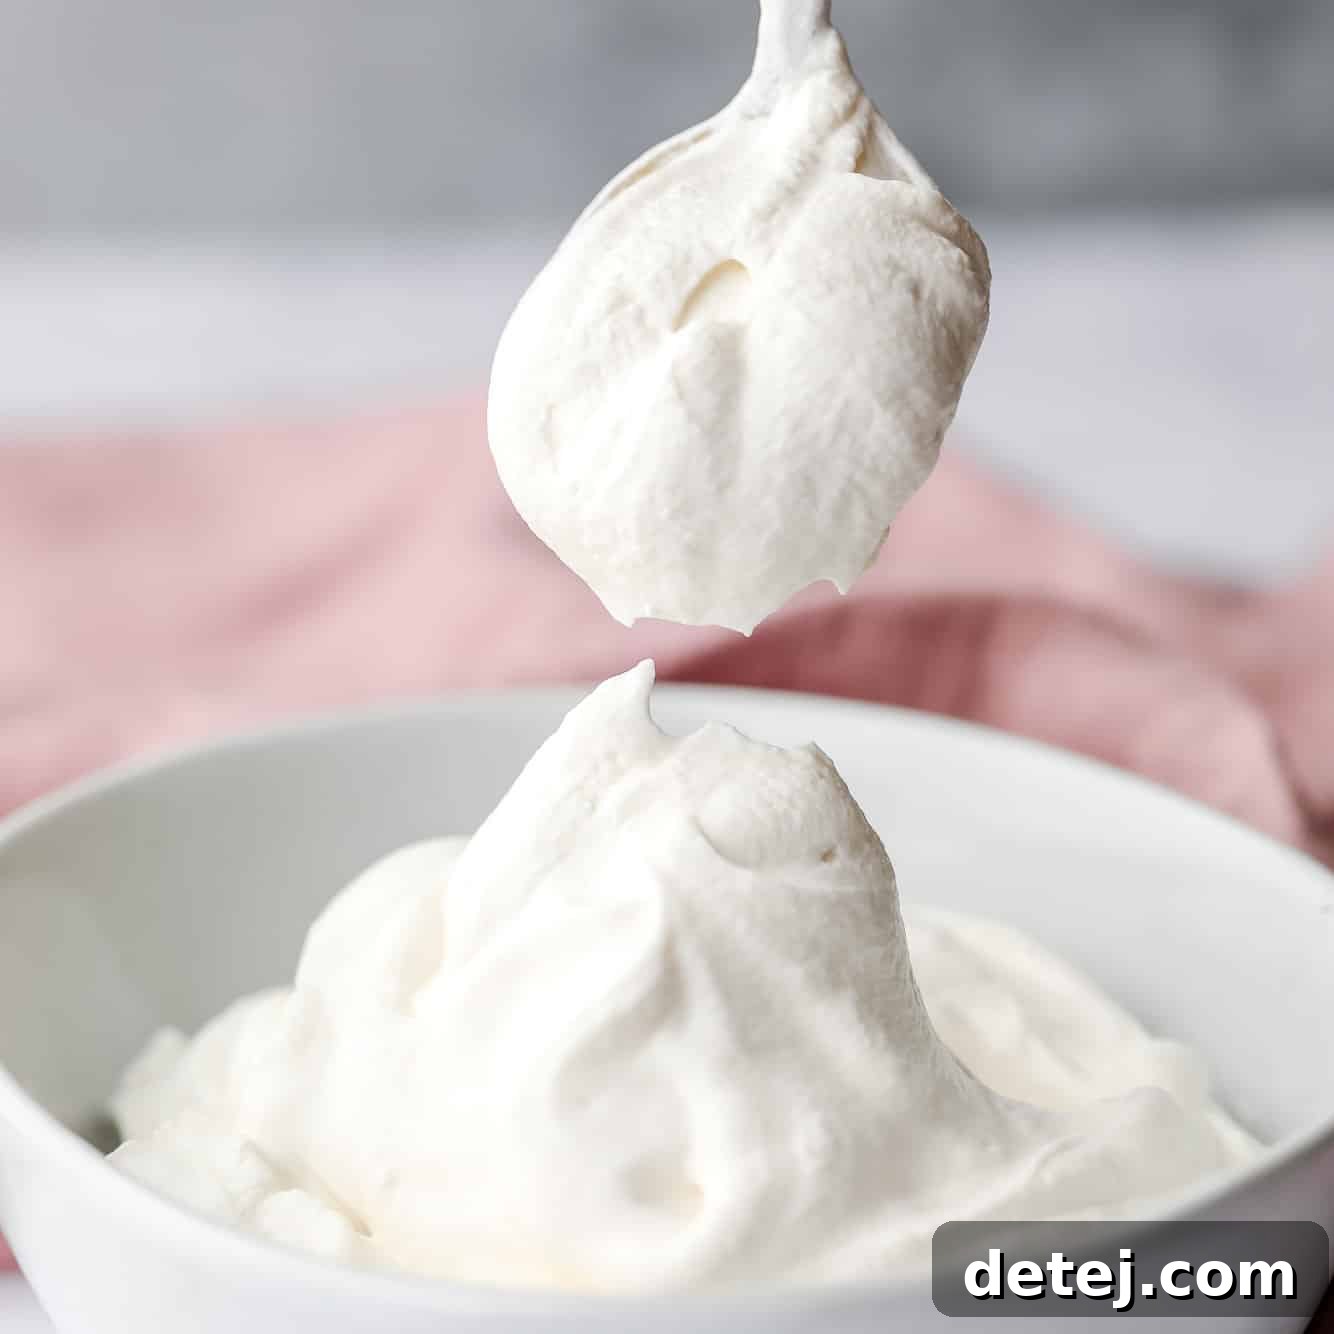
Are you searching for the ultimate dairy-free substitute for heavy whipping cream? Look no further! This incredible Heavy Whipping Cream Substitution, crafted from just four simple plant-based ingredients, whips up into a remarkably light, airy, and undeniably fluffy vegan whipped cream. Prepare to be amazed – its authentic taste and texture are something you truly won’t believe until you’ve tried it yourself!
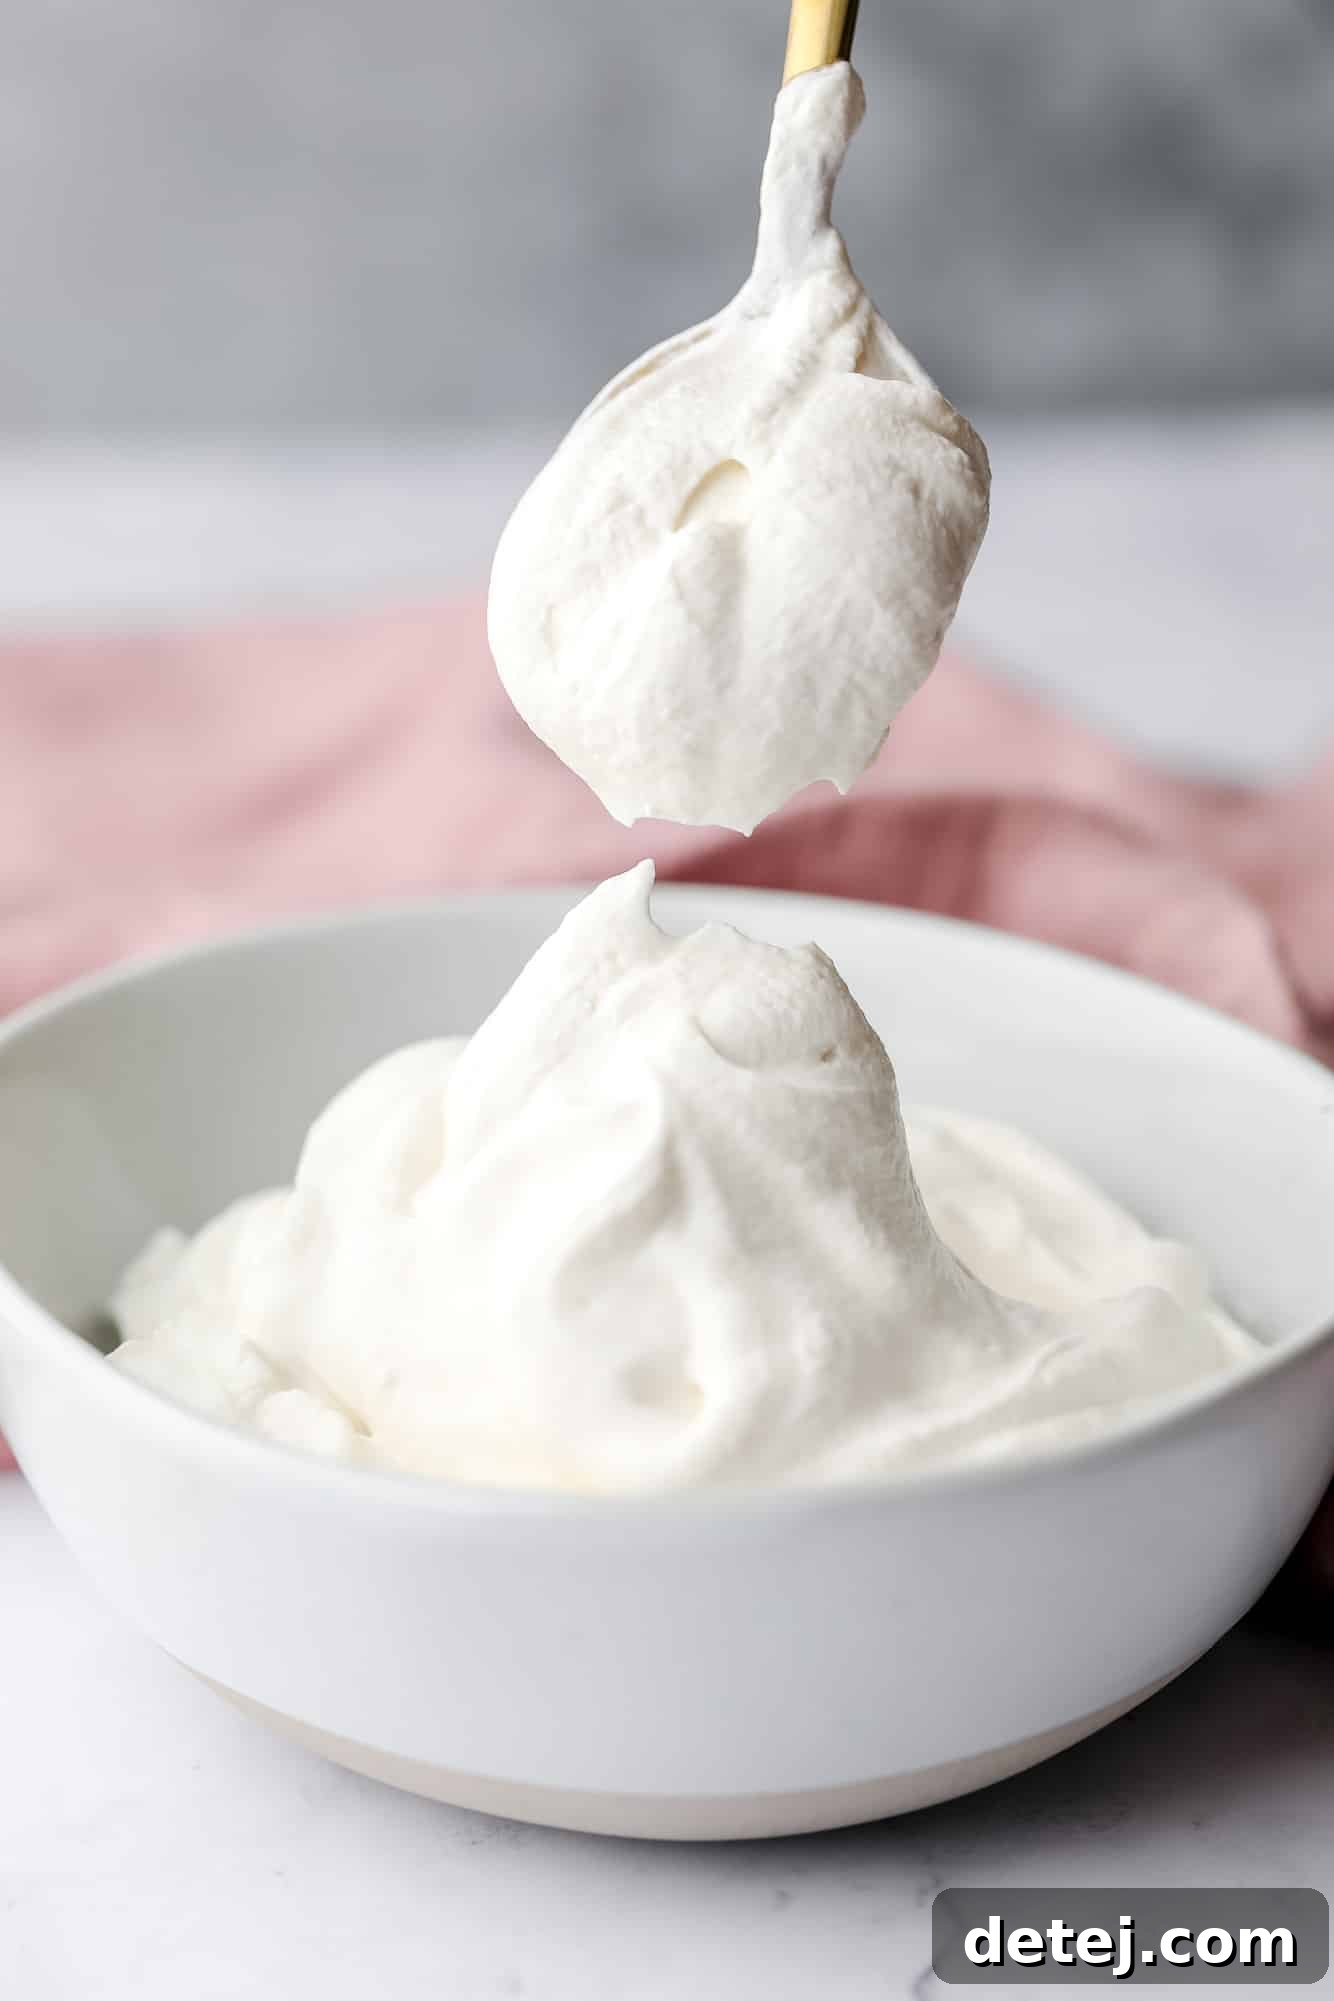
Discover the Secret to Perfectly Light and Fluffy Vegan Whipped Cream
For many, the idea of fluffy, cloud-like whipped cream conjures images of dairy-rich indulgence. Traditional whipped cream, requiring only heavy cream, is a staple for countless desserts. But what if you adhere to a dairy-free or vegan lifestyle? The quest for an equally delightful and reliable alternative can often feel like an endless search. This is precisely where our revolutionary Heavy Whipping Cream Substitution steps in, offering a dairy-free solution that transforms into the most realistic and delicious vegan whipped cream you’ve ever tasted.
Inspired by pioneering recipes from culinary experts like Gretchen’s Vegan Bakery, School Night Vegan, and Berry Baker, and building upon techniques found in Miyoko Shinner’s ‘better than whipping cream and topping,’ this recipe represents the pinnacle of plant-based innovation. While the core concept of emulsifying fats and liquids for a dairy-free whip isn’t entirely new, our refined approach delivers unparalleled results. We’ve rigorously tested this method with various plant milks and different types of coconut oil, perfecting the balance of sweetness with powdered sugar to create a truly superior product.
Unlike simple coconut whipped cream, which often carries a distinct coconut flavor, this unique formulation ensures a neutral, sweet taste and a robust, thick, and incredibly fluffy texture. It’s designed to mimic classic dairy whipped cream in every way, making it the ideal topping for an array of desserts, from coconut cream pie and apple crisp to pumpkin pie and beyond. Forget your previous attempts at vegan whips; this recipe, while requiring a specific combination of ingredients, yields the most authentic dairy-free whipped cream you’ll ever experience. For those exploring other vegan whipped cream options, consider trying our Aquafaba Whipped Cream or Coconut Whipped Cream, but for a truly classic experience, this substitution stands unmatched.
Essential Ingredients for Your Dairy-Free Whipped Cream (and why they work!)
Achieving this light and fluffy vegan whipped cream relies on a precise balance of just four key ingredients. Each plays a critical role in developing the perfect texture and flavor. Understanding their function will help you create a consistently successful batch every time. For exact measurements, please refer to the detailed recipe card below.
- High-Fat Plant Milk: The foundation of our creamy base. We recommend unsweetened soy milk for its naturally higher fat content, which contributes significantly to the richness and stability of the whipped cream. Other excellent choices include high-fat oat milk (especially barista blends) or rich cashew milk. These milks provide the necessary emulsifying properties and fat content for a truly thick and creamy result. It’s important to note that coconut cream, despite its high-fat nature, will not work as a direct substitute here due to its different molecular structure and flavor profile. Always opt for unsweetened and unflavored varieties to maintain a neutral base for your whipped cream.
- Refined Coconut Oil: This is the non-negotiable hero ingredient that enables our mixture to whip and hold its shape. Coconut oil has a unique property of being liquid at warmer temperatures and solidifying when chilled, which is fundamental to the whipping process. There are no substitutions for coconut oil in this recipe. To ensure your vegan whipped cream is free from any discernible coconut flavor, it’s crucial to use refined coconut oil. If you don’t mind a subtle coconut taste, unrefined (virgin) coconut oil can also be used, but for a truly neutral flavor, refined is key.
- Powdered Sugar: Beyond adding sweetness, powdered sugar (also known as confectioners’ sugar) plays a vital role in stabilizing the whipped cream and contributing to its sturdy, yet delicate, texture. The fine particles of powdered sugar dissolve seamlessly, creating a smooth consistency that liquid sweeteners cannot replicate. Therefore, we highly recommend against replacing it with liquid sweeteners, as this can affect both the texture and the whip’s ability to hold its shape. Adjust the amount to your preferred level of sweetness.
- Pure Vanilla Extract: A touch of vanilla extract is essential for enhancing the overall flavor, adding a classic warmth and depth that complements a wide range of desserts. While vanilla is traditional, you can experiment with other extracts like almond or peppermint for different flavor profiles, depending on your culinary creation.
Crafting Your Own Vegan Heavy Whipping Cream: A Simple Guide
Making this dairy-free heavy whipping cream substitute is a straightforward process, but it requires patience and adherence to the steps to achieve that perfect, stable whip. Follow these instructions carefully, and you’ll be enjoying homemade vegan whipped cream in no time. For exact measurements and a printable version, please refer to the complete recipe card found further down the page.
Step 1: Prepare and Emulsify the Base
Begin by gently warming your chosen plant milk (such as soy milk) in the microwave until it is warm to the touch, approximately 1 minute. This warming step helps the milk and coconut oil combine effectively. Pour the warmed milk into a high-speed blender, then add the melted refined coconut oil. It’s crucial that the coconut oil is fully melted before blending to ensure proper emulsification.
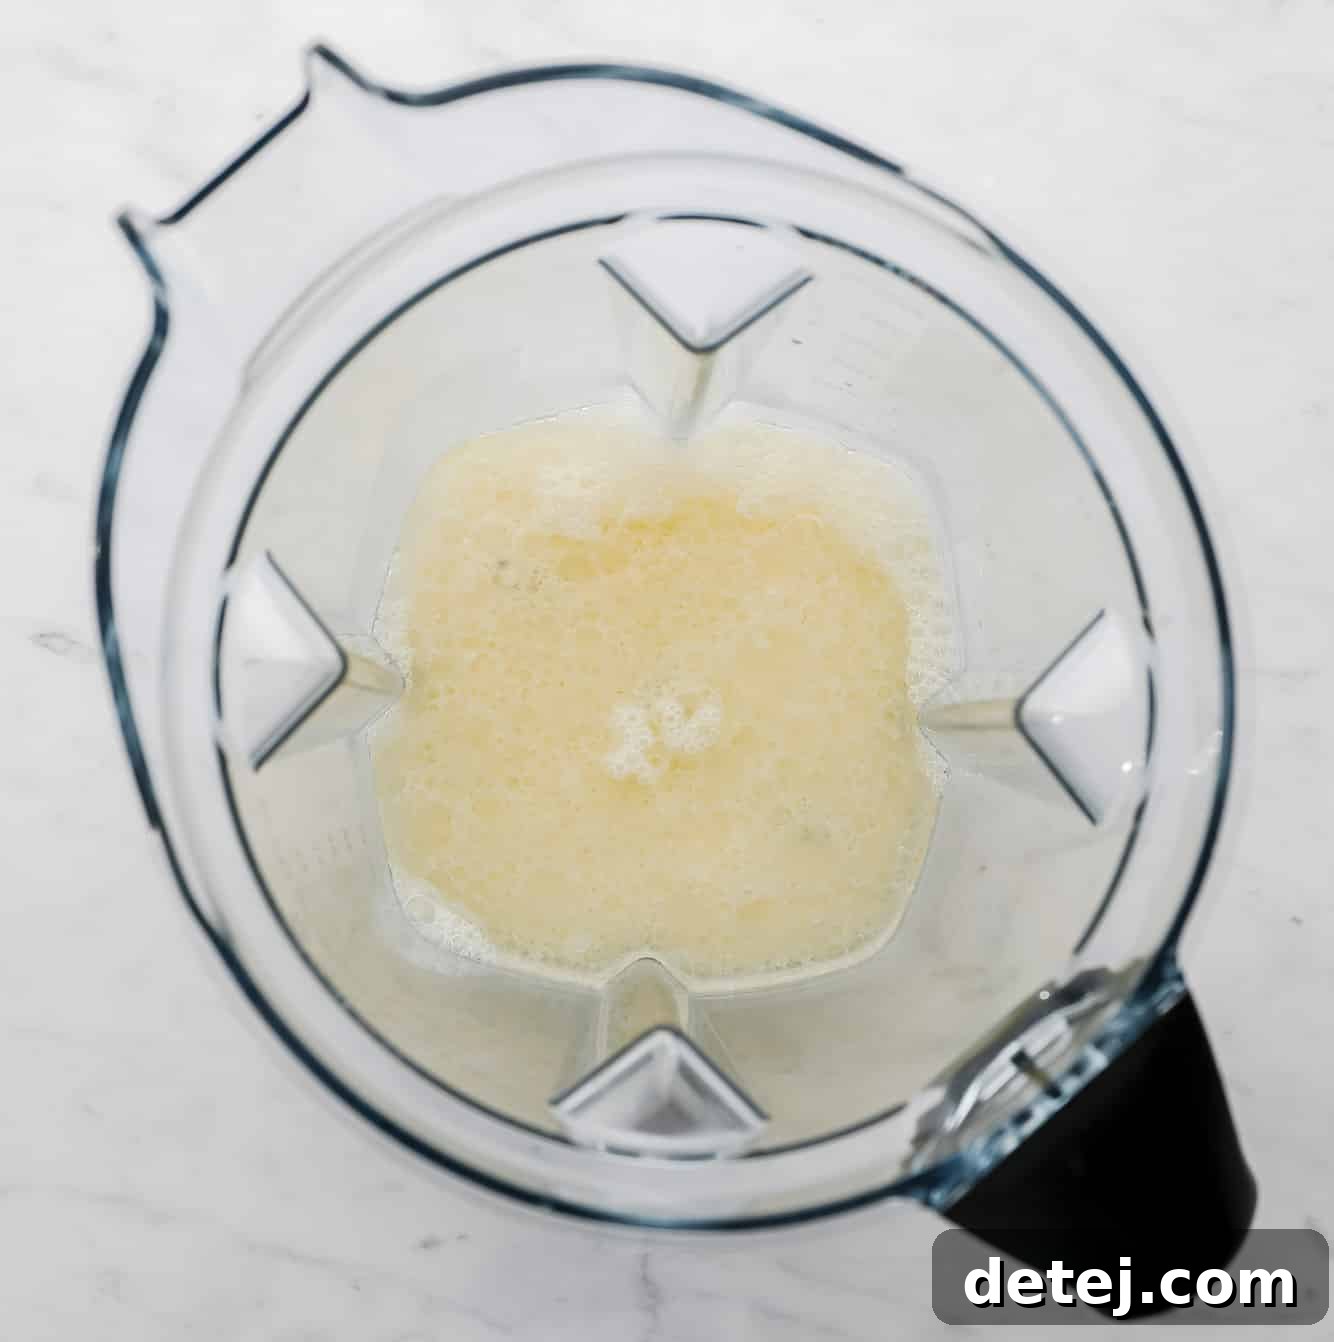
Step 2: Achieve Emulsification
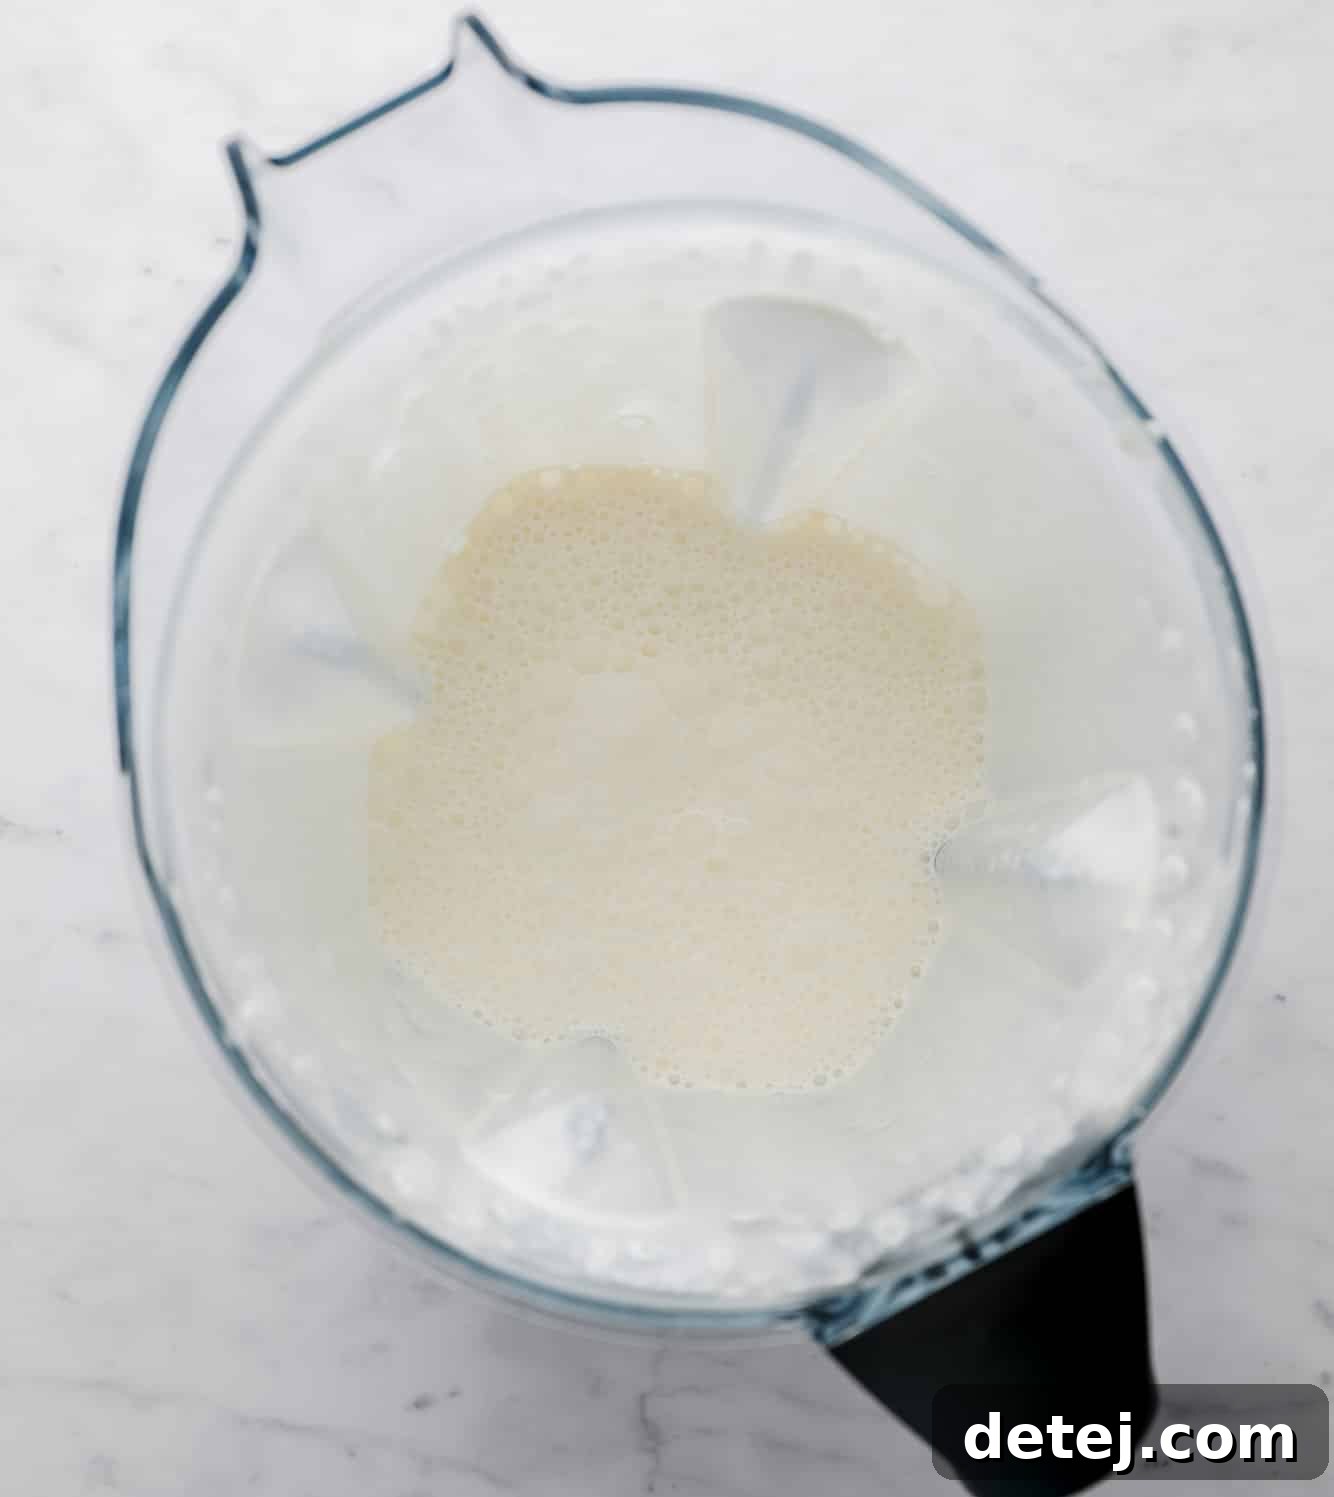
Blend the milk and coconut oil mixture on high speed until it is thoroughly emulsified. This usually takes between 30 seconds to 1 minute in a powerful blender like a Vitamix. You’ll notice the mixture transform into a light and bubbly liquid, indicating that the fats and liquids have been perfectly combined. Proper emulsification at this stage is critical for the final texture of your whipped cream.
Step 3: Chill for Optimal Consistency
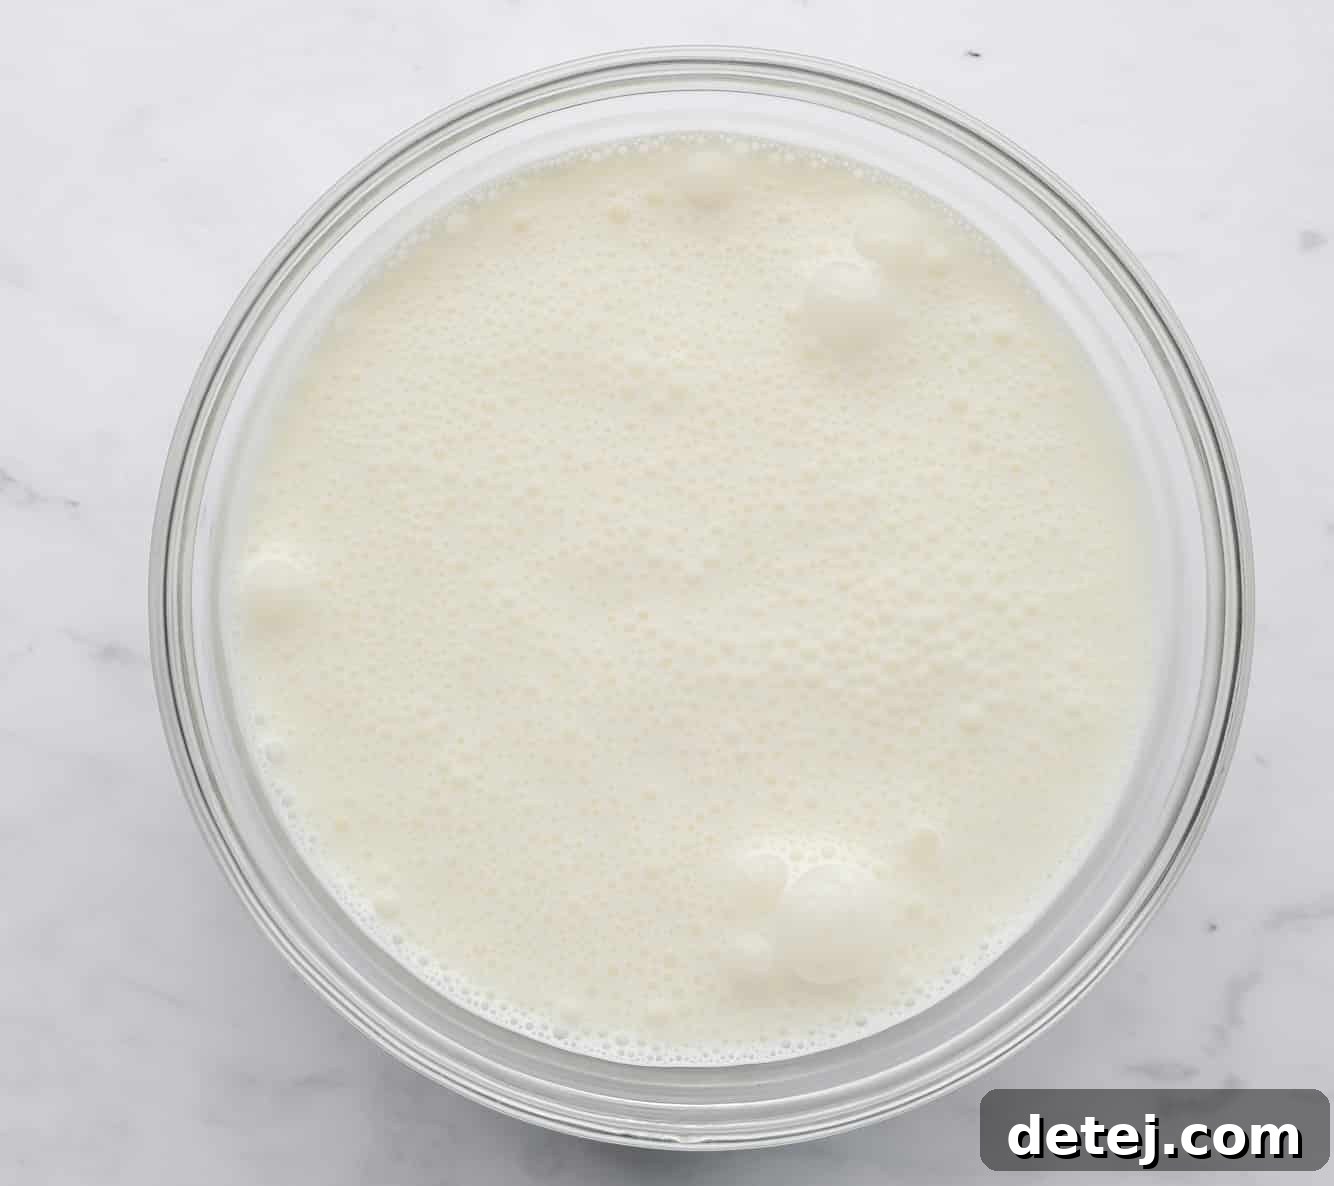
Once emulsified, transfer the mixture from the blender into a clean bowl. Cover the bowl tightly and place it in the refrigerator. This chilling step is absolutely crucial. Allow it to chill overnight, or for a minimum of 4 hours. Chilling allows the coconut oil to solidify and the mixture to set, creating the perfect base for whipping. Overnight chilling is highly recommended for the best results, ensuring the mixture is firm and ready to whip into a stable cream.
Step 4: Whip to Perfection
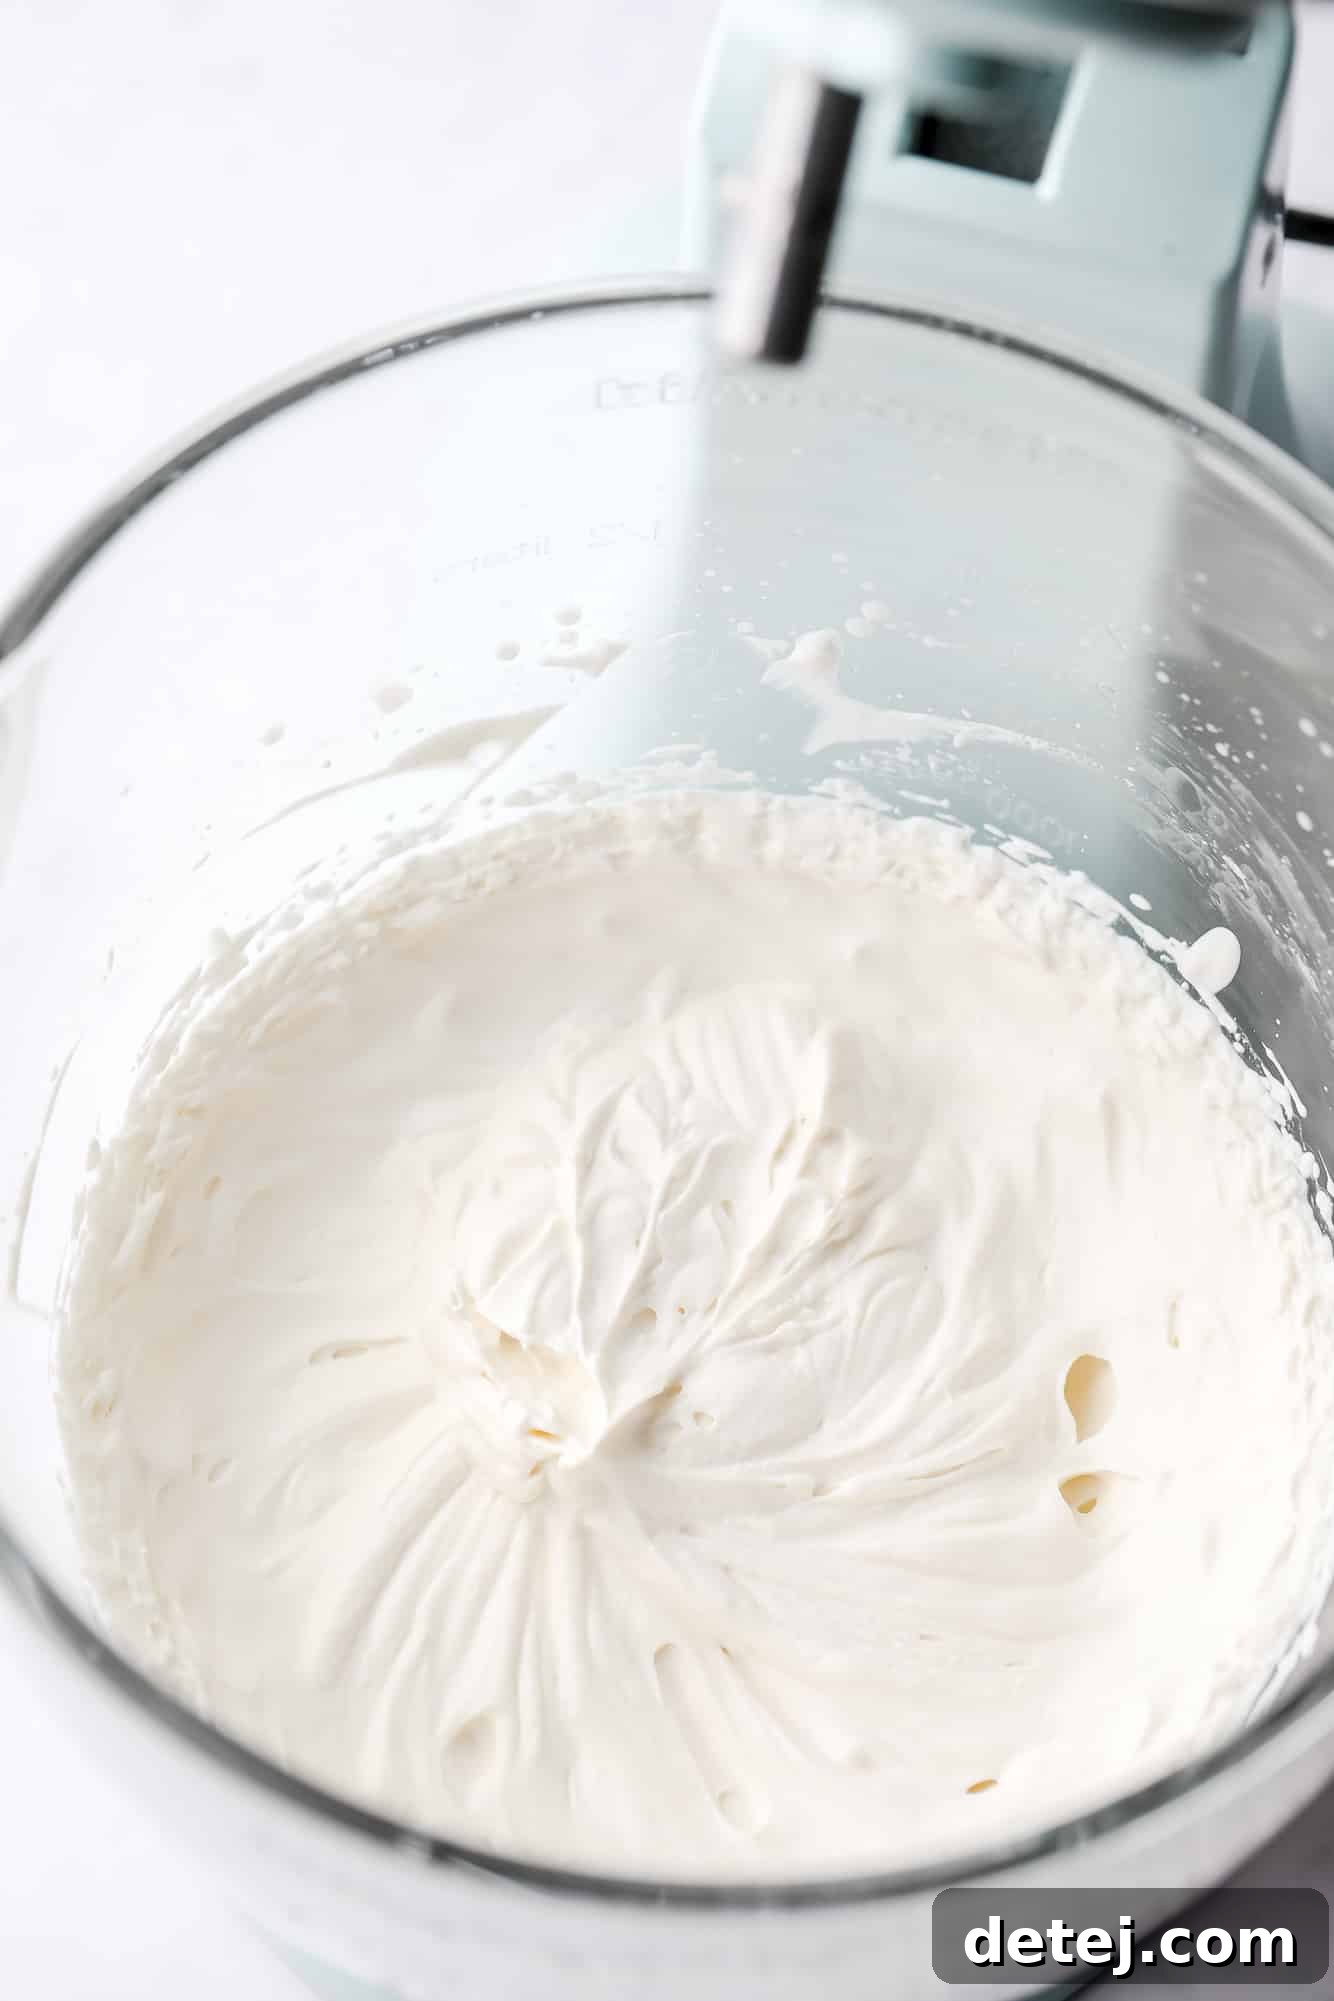
The next day, or after sufficient chilling, transfer the solidified cream mixture to a large mixing bowl or the bowl of a stand mixer fitted with a whisk attachment. Add the powdered sugar and vanilla extract. Begin whisking the ingredients together on low speed, gradually increasing to high speed. Be patient during this stage; it can take anywhere from 5 to 10 minutes for the mixture to begin thickening, but it will happen! The key is consistent whipping at a high speed once it starts to come together.
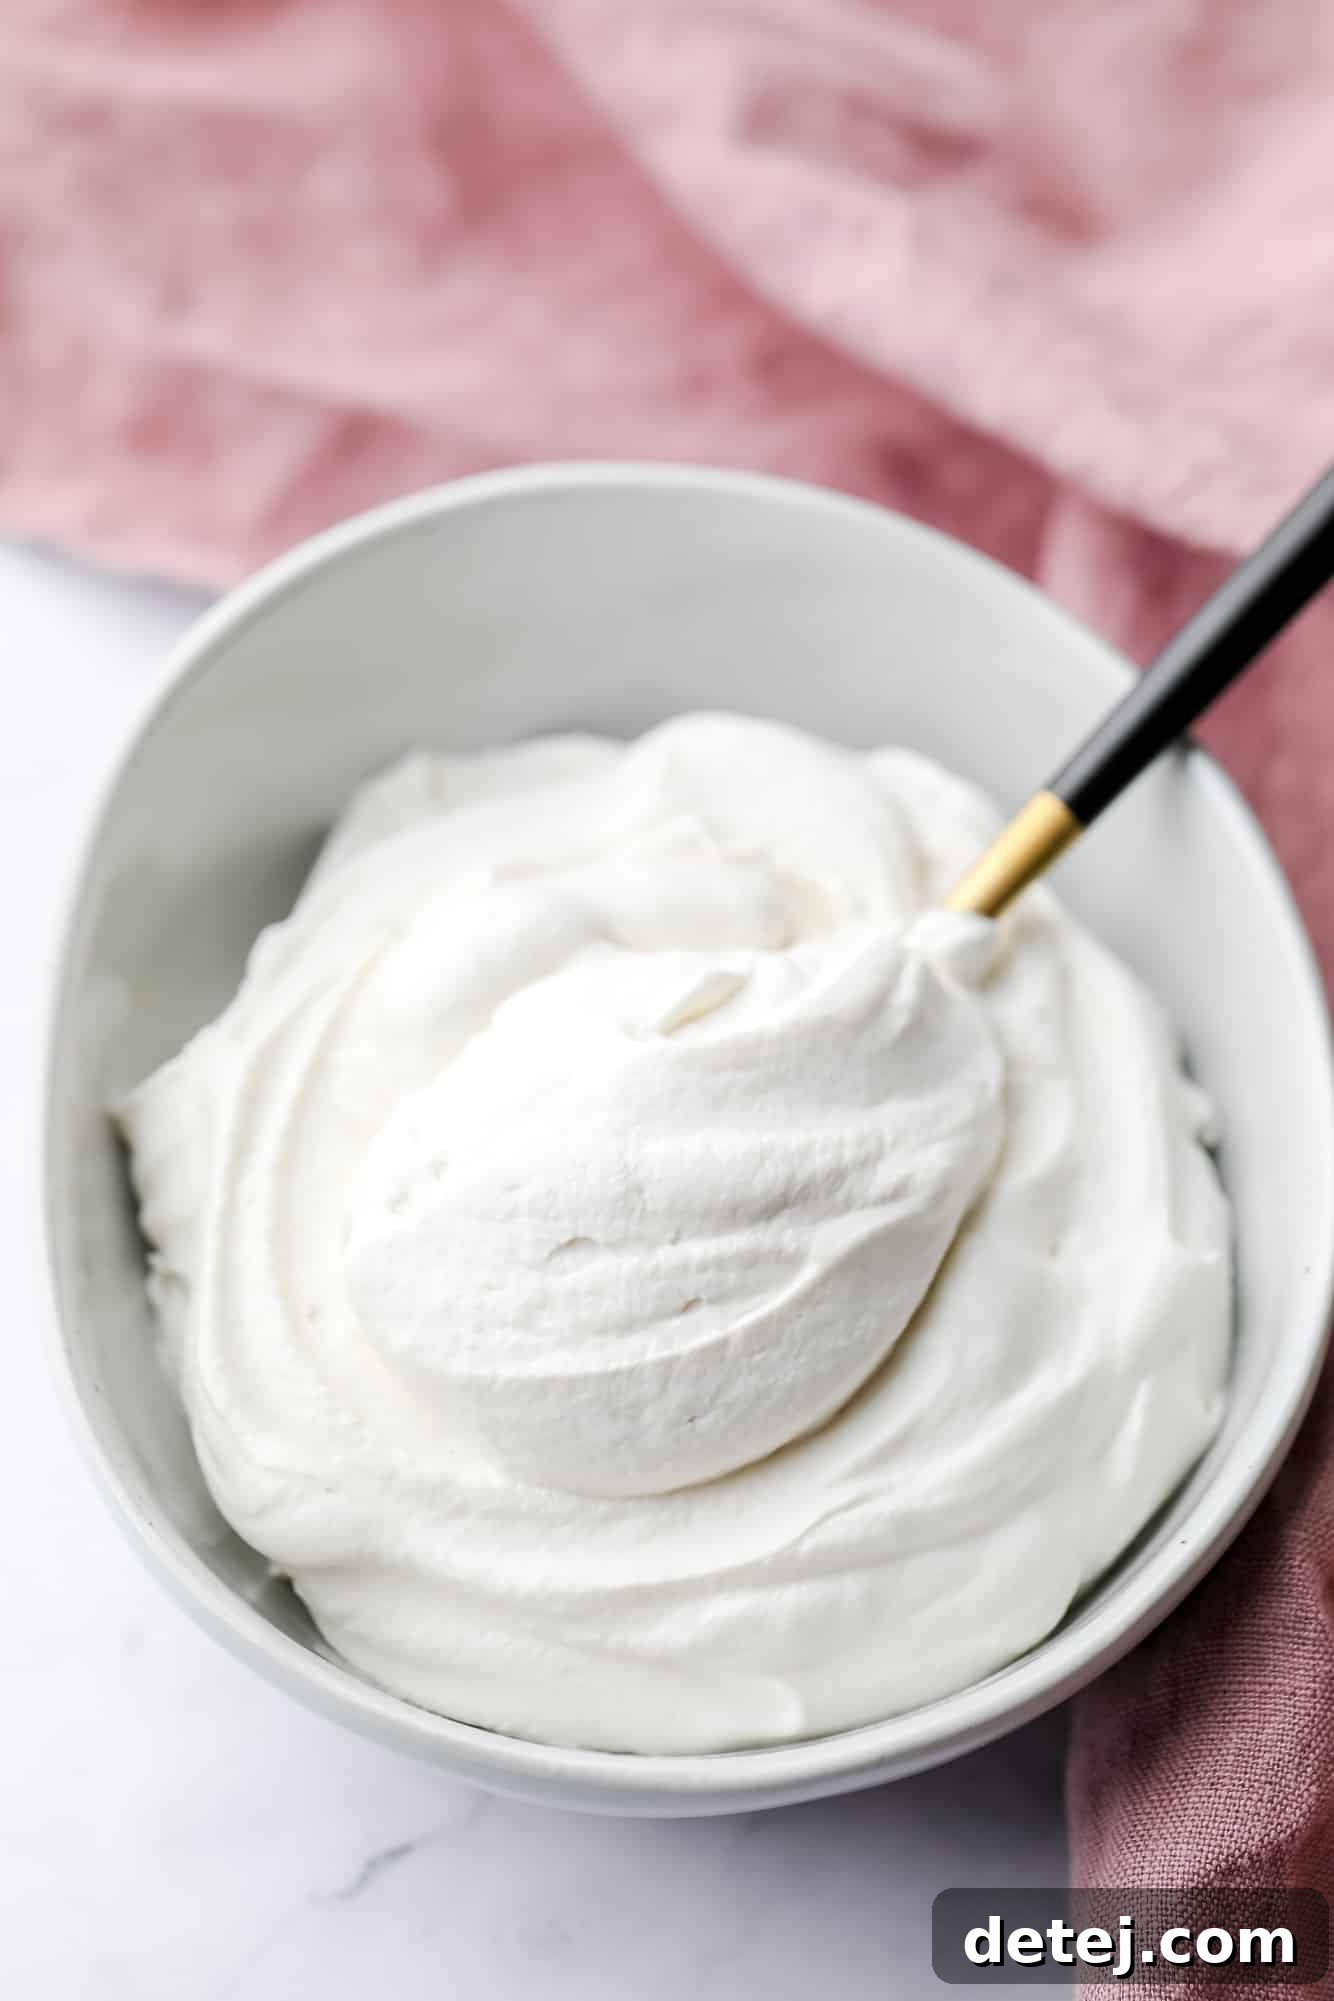
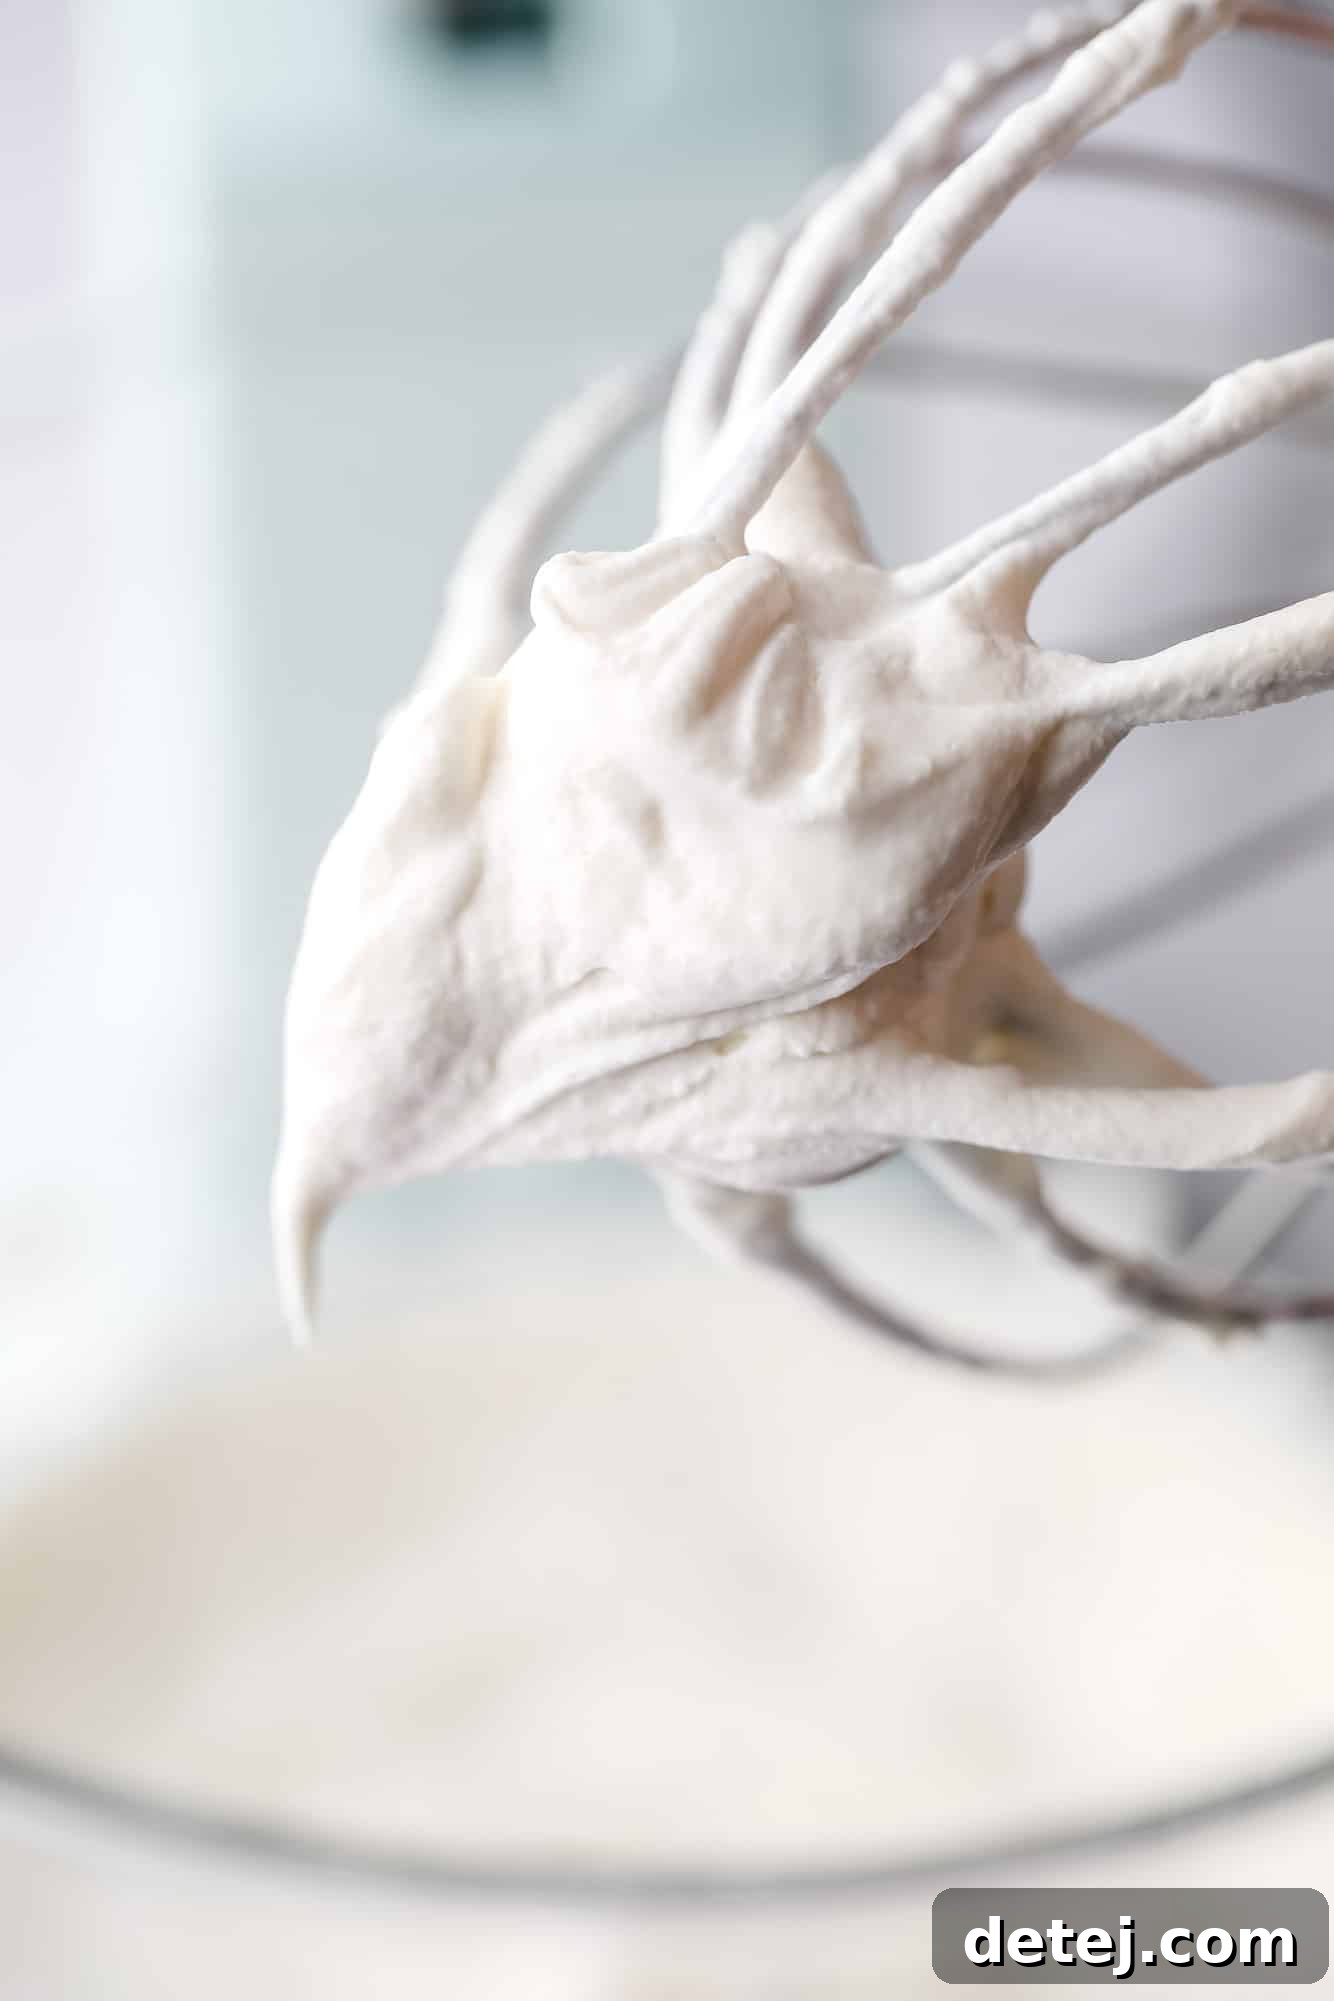
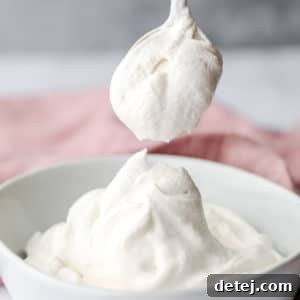
You’ll know your vegan whipped cream is ready when it reaches a thick, creamy, and wonderfully light consistency, forming soft peaks. It should resemble traditional dairy whipped cream in both appearance and texture. Be careful not to overmix, as this can cause the cream to become too dense or even separate. Scrape down the sides of the bowl as needed to ensure everything is thoroughly incorporated. Serve your freshly whipped cream immediately or store it in the fridge for later enjoyment!
Tips for Success and Troubleshooting Your Vegan Whipped Cream
Achieving the perfect vegan whipped cream is easy when you know a few tricks. Here are some expert tips to ensure your success and help troubleshoot common issues:
- Cold is Key: For optimal whipping, ensure your mixing bowl and whisk attachment are thoroughly chilled before you begin whipping. You can place them in the freezer for 15-20 minutes before use. This helps the coconut oil remain solid and promotes a faster, more stable whip.
- Don’t Rush the Chill: The overnight chilling period is non-negotiable. Rushing this step will result in a liquid mixture that simply won’t whip. The coconut oil needs ample time to fully solidify and integrate with the plant milk.
- Refined for Neutral Flavor: As mentioned, refined coconut oil is crucial for a neutral-tasting whipped cream. Unrefined coconut oil will impart a noticeable coconut flavor, which may not be desirable for all desserts.
- Blending Power: A high-speed blender is recommended for the initial emulsification. This ensures the milk and oil are perfectly combined and smooth, preventing a grainy texture in the final product.
- Watch for Overmixing: While you want a thick and fluffy whip, be mindful not to overmix. Overmixing can cause the vegan whipped cream to become too dense, lose its airy texture, or even separate slightly, similar to how dairy cream can turn into butter. Stop whipping as soon as soft peaks form.
- Sweetness Adjustment: Feel free to adjust the amount of powdered sugar to your personal preference. You can also add a pinch of salt to balance the sweetness and enhance other flavors.
- Flavor Variations: Get creative! Besides vanilla, consider adding a tiny amount of almond extract for a delicate nutty note, a spoonful of cocoa powder for chocolate whipped cream, or a dash of cinnamon or pumpkin pie spice for seasonal treats. Lemon zest can also add a bright, refreshing touch.
- Troubleshooting a Flat Whip: If your whipped cream isn’t thickening, it’s likely due to insufficient chilling or warm equipment. Try placing the bowl (with the mixture) and whisk back in the freezer for another 20-30 minutes, then re-whip. Ensure your plant milk is high-fat; lower-fat varieties might struggle to provide enough structure.
Storing and Freezing Your Vegan Whipped Cream
Once whipped, this dairy-free creation holds up beautifully. For optimal freshness and texture, store any leftover vegan whipped cream in an airtight container in the refrigerator for 2 to 4 days. While it’s best enjoyed fresh, it can maintain its delightful texture and flavor for a good amount of time when stored correctly.
If you find yourself with an abundance of whipped cream or wish to prepare it in advance for future use, it can also be frozen. To freeze, dollop the whipped cream onto a parchment-lined baking sheet and freeze until solid. Once firm, transfer the frozen dollops to a freezer-safe bag or container. This method prevents them from sticking together. When ready to use, simply thaw the frozen whipped cream in the refrigerator for a few hours. While freezing may slightly alter the texture upon thawing, it remains a viable option for longer storage. For the most luxurious experience, however, we always recommend serving it freshly made.
Endless Possibilities: What to Serve with Your Vegan Whipped Cream
This versatile vegan whipped cream is a game-changer for dairy-free desserts. Its light, sweet, and neutral flavor profile means it can be used anywhere you would traditionally enjoy whipped cream. Get ready to elevate your culinary creations by spreading it, piping it, or dolloping it onto an incredible variety of treats:
- Pies and Tarts: Transform classics like Vegan Pumpkin Cheesecake, Vegan Chocolate Pie, Vegan Banana Cream Pie, or even Mini Pumpkin Pies into even more decadent experiences. A generous swirl of this whipped cream provides a beautiful contrast to rich, creamy fillings.
- Cakes and Cupcakes: Pipe elegant rosettes or simply spread a luxurious layer onto your favorite vegan cakes, such as Vegan Tres Leches Cake. It’s also perfect for garnishing individual cupcakes, adding a professional touch and delightful flavor.
- Hot Beverages: Elevate a cozy mug of Vegan Hot Chocolate or a warm coffee drink with a dollop of this sweet, creamy topping. It melts slowly, adding richness and a lovely visual appeal.
- Breakfast and Brunch: Make your morning special by adding it to stacks of fluffy Vegan Waffles, pancakes, or French toast. Pair it with fresh fruit for a truly indulgent start to your day.
- Fruit Desserts: Simple fresh berries or fruit salads become extraordinary with a spoonful of this whipped cream. It’s also fantastic atop fruit crumbles, crisps, or baked apples, providing a cool and creamy counterpoint to warm, spiced fruit.
- Puddings and Parfaits: Layer it into parfaits with granola and fruit, or use it as a light topping for vegan puddings and mousses.
No matter how you choose to use it, this dairy-free heavy whipping cream substitute is guaranteed to impress with its authentic texture and delightful taste, proving that going vegan doesn’t mean sacrificing your favorite dessert toppings.
Frequently Asked Questions (FAQ)
Here are answers to some common questions about making and using this dairy-free heavy whipping cream substitute:
- Can I use any plant milk for this recipe? For best results, it’s crucial to use a high-fat plant milk. Unsweetened soy milk is highly recommended due to its fat content and neutral flavor. High-fat oat milk (like barista blends) or cashew milk can also work well. Thinner milks like rice milk or regular almond milk may not provide enough richness to achieve a stable whip.
- Why do I need refined coconut oil? Can I use virgin coconut oil? Refined coconut oil is recommended if you want your whipped cream to have a neutral flavor, as it has had its coconut taste removed. Virgin (unrefined) coconut oil retains a distinct coconut flavor, which may or may not be desired depending on the dessert you’re pairing it with. If you enjoy a slight coconut note, virgin coconut oil is fine to use. The key is that it must be coconut oil for its specific solidification properties.
- Can I make this recipe sugar-free? Substituting powdered sugar can impact the texture and stability of the whipped cream, as powdered sugar also acts as a stabilizer. If you choose to use a sugar substitute, a powdered erythritol or similar blend might work, but results may vary in terms of texture and how well it holds its shape. Start with a small amount and adjust to taste, being aware that the whip might be slightly less stable.
- How long does the vegan whipped cream last in the fridge? When stored in an airtight container in the refrigerator, this whipped cream will stay fresh for 2 to 4 days. While it might slightly firm up from being chilled, it typically retains its whipped texture well.
- Can I re-whip it if it deflates a bit? If the whipped cream deflates slightly over time in the fridge, you can try to re-whip it for a minute or two on high speed. Ensure it’s very cold before attempting to re-whip. Sometimes, a quick whisk can bring back some of its fluffiness, but it may not return to its initial peak volume.
- What kind of blender is best for emulsifying? A high-speed blender (like a Vitamix or Blendtec) is ideal for achieving a smooth and fully emulsified mixture quickly. However, a regular blender can also work; just ensure you blend for a sufficient amount of time until the mixture is light, bubbly, and uniform.
Explore More Vegan Kitchen Essentials
Mastering a few key vegan basic recipes can truly revolutionize your plant-based cooking and baking. If you’ve enjoyed creating this incredible dairy-free whipped cream, you’ll love exploring these other foundational vegan recipes designed to simplify your kitchen and expand your culinary horizons:
- Homemade Vegan Condensed Milk: Perfect for creamy desserts, fudges, and more.
- Dairy-Free Heavy Cream Substitute: Note that this recipe is ideal for enriching soups, stews, and sauces, rather than for whipping.
- Fluffy Vegan Buttercream Frosting: The essential topping for cakes and cupcakes.
- Authentic Vegan Mascarpone: Elevate your tiramisu and other Italian-inspired desserts.
- Easy Shreddable Vegan Mozzarella: A must-have for pizzas, gratins, and cheesy dishes.
- Rich Vegan Custard (Pastry Cream): The versatile base for tarts, cream puffs, and fillings.
By building a repertoire of these vegan staples, you’ll find that transforming your favorite dishes into plant-based delights becomes effortless and even more delicious.
Heavy Whipping Cream Substitution
5
1
4
4 6
12 servings
Pin
Comment
Save
Ingredients
- 1 cup unsweetened, unflavored plant milk I used soy
- 1 cup refined coconut oil, melted
- 1/2 cup powdered sugar
- 1/2 teaspoon pure vanilla extract
Instructions
-
Pour the soy milk in a bowl and microwave until warm, about 1 minute. Place in a blender with the melted coconut oil. Blend until emulsified on high. In my Vitamix this only takes 30 seconds to 1 minute.
-
Transfer to a bowl, cover and place in the refrigerator overnight or at least 4 hours. Overnight is best.
-
Transfer the cream to a large bowl or the bowl of a stand mixer with whisk attachment. Add the powdered sugar and vanilla. Beat the ingredients together, starting on low speed and increasing to high. It will take 5-10 minutes to start to thicken, but it will happen!
-
Beat until it’s quite thick, creamy and light, but be careful not to over mix or it can get too thick. Scrape the sides of the bowl as needed.
-
Serve anywhere you would whipped cream. It also pipes beautifully. Enjoy!
Notes
- Storage – Leftover whipped cream will keep in a covered container in the refrigerator for up to 5 days. It can also be frozen if needed.
- Milk – Soy works best here, but you can use cashew, almond or oat milk. Choose a higher fat variety for richer whipped cream.
- Oil – There is NO substitution for coconut oil in this recipe, it’s what makes it whip!
Nutrition
Did you make this recipe?
Mention @nora_cooks_vegan_ or tag #noracooks!