
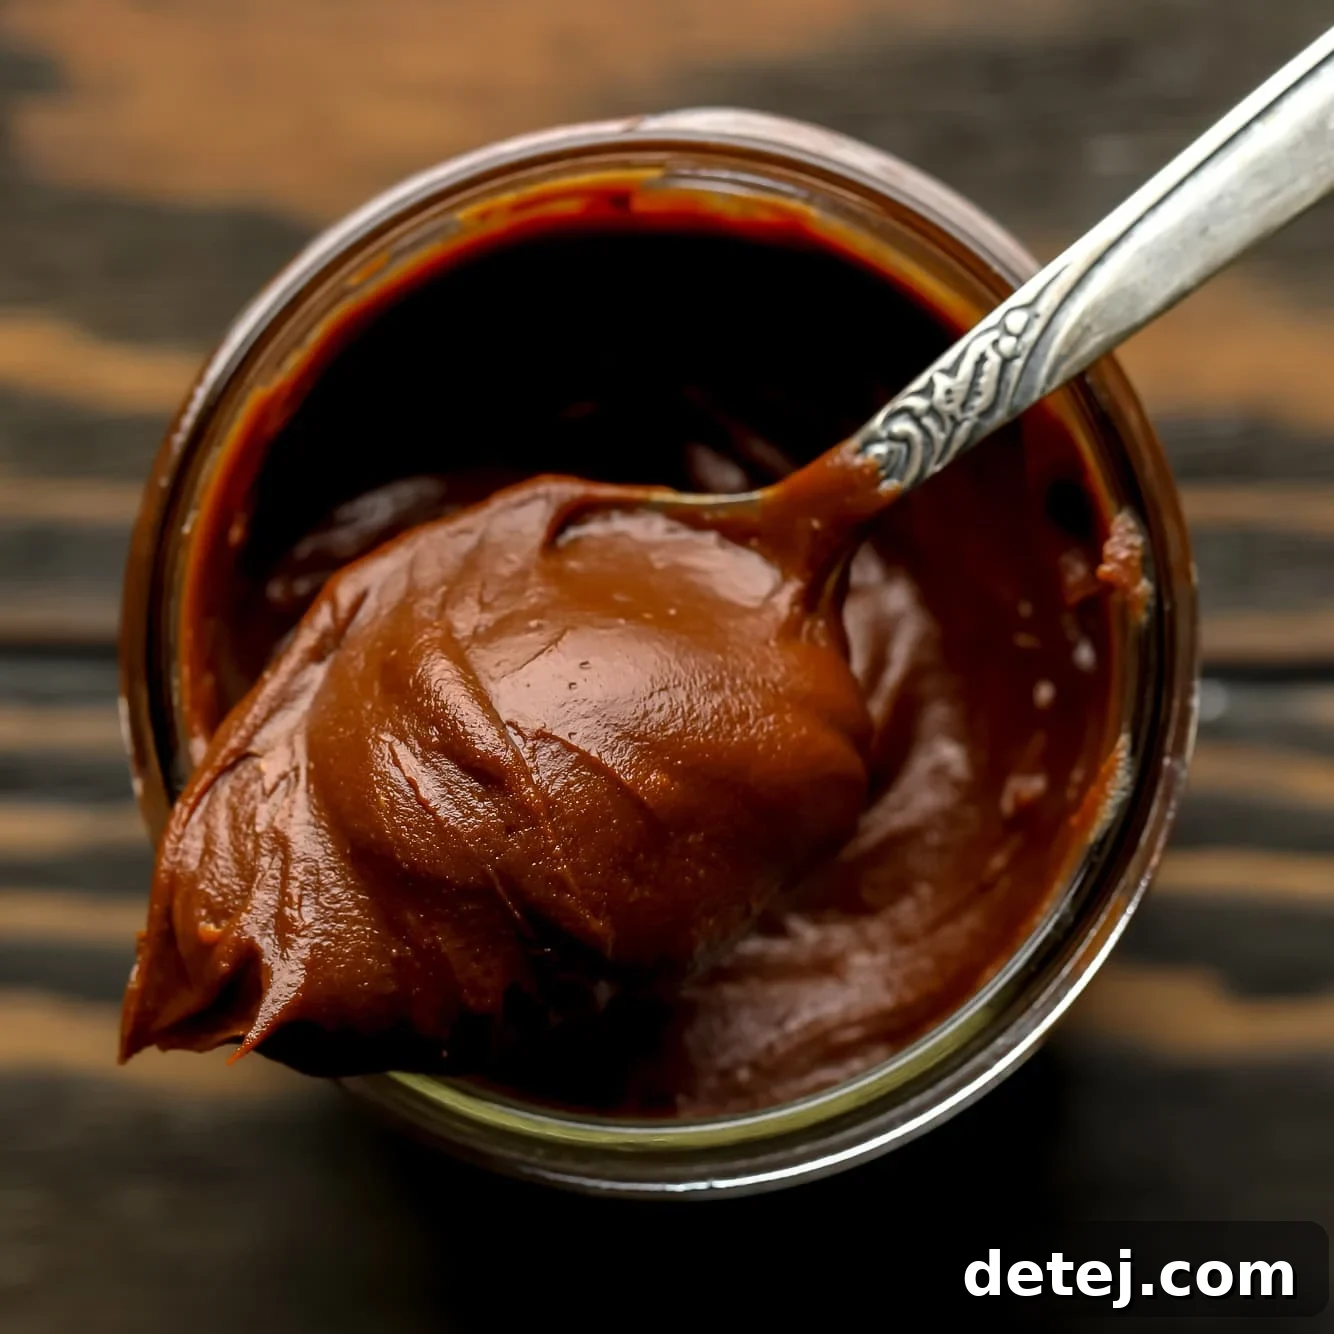
Welcome to the delightful world of homemade treats! If you’re a fan of the rich, creamy, and utterly addictive chocolate hazelnut spread known as Nutella, but prefer or require a plant-based diet, then you’re in for a real treat. This recipe for Vegan Nutella isn’t just a substitute; it’s a revelation. Imagine spreading that irresistible goodness on your morning toast, drizzling it over fluffy pancakes, or simply indulging in a spoonful straight from the jar – all without any dairy!
For those of us who follow a vegan lifestyle or have dairy allergies, the classic store-bought Nutella has always been off-limits due to its dairy content. But thankfully, the craving for that iconic chocolate-hazelnut flavor doesn’t have to go unanswered. This homemade version captures all the magic of the original, delivering a spread that is incredibly flavorful, smooth, and satisfying.
Beyond being dairy-free, this recipe is also naturally gluten-free and offers the wonderful flexibility of controlling the sweetness level to perfectly match your palate. Plus, the satisfaction of creating such a luxurious spread from scratch is truly unmatched. Get ready to transform simple ingredients into a gourmet delight that will quickly become a pantry staple!
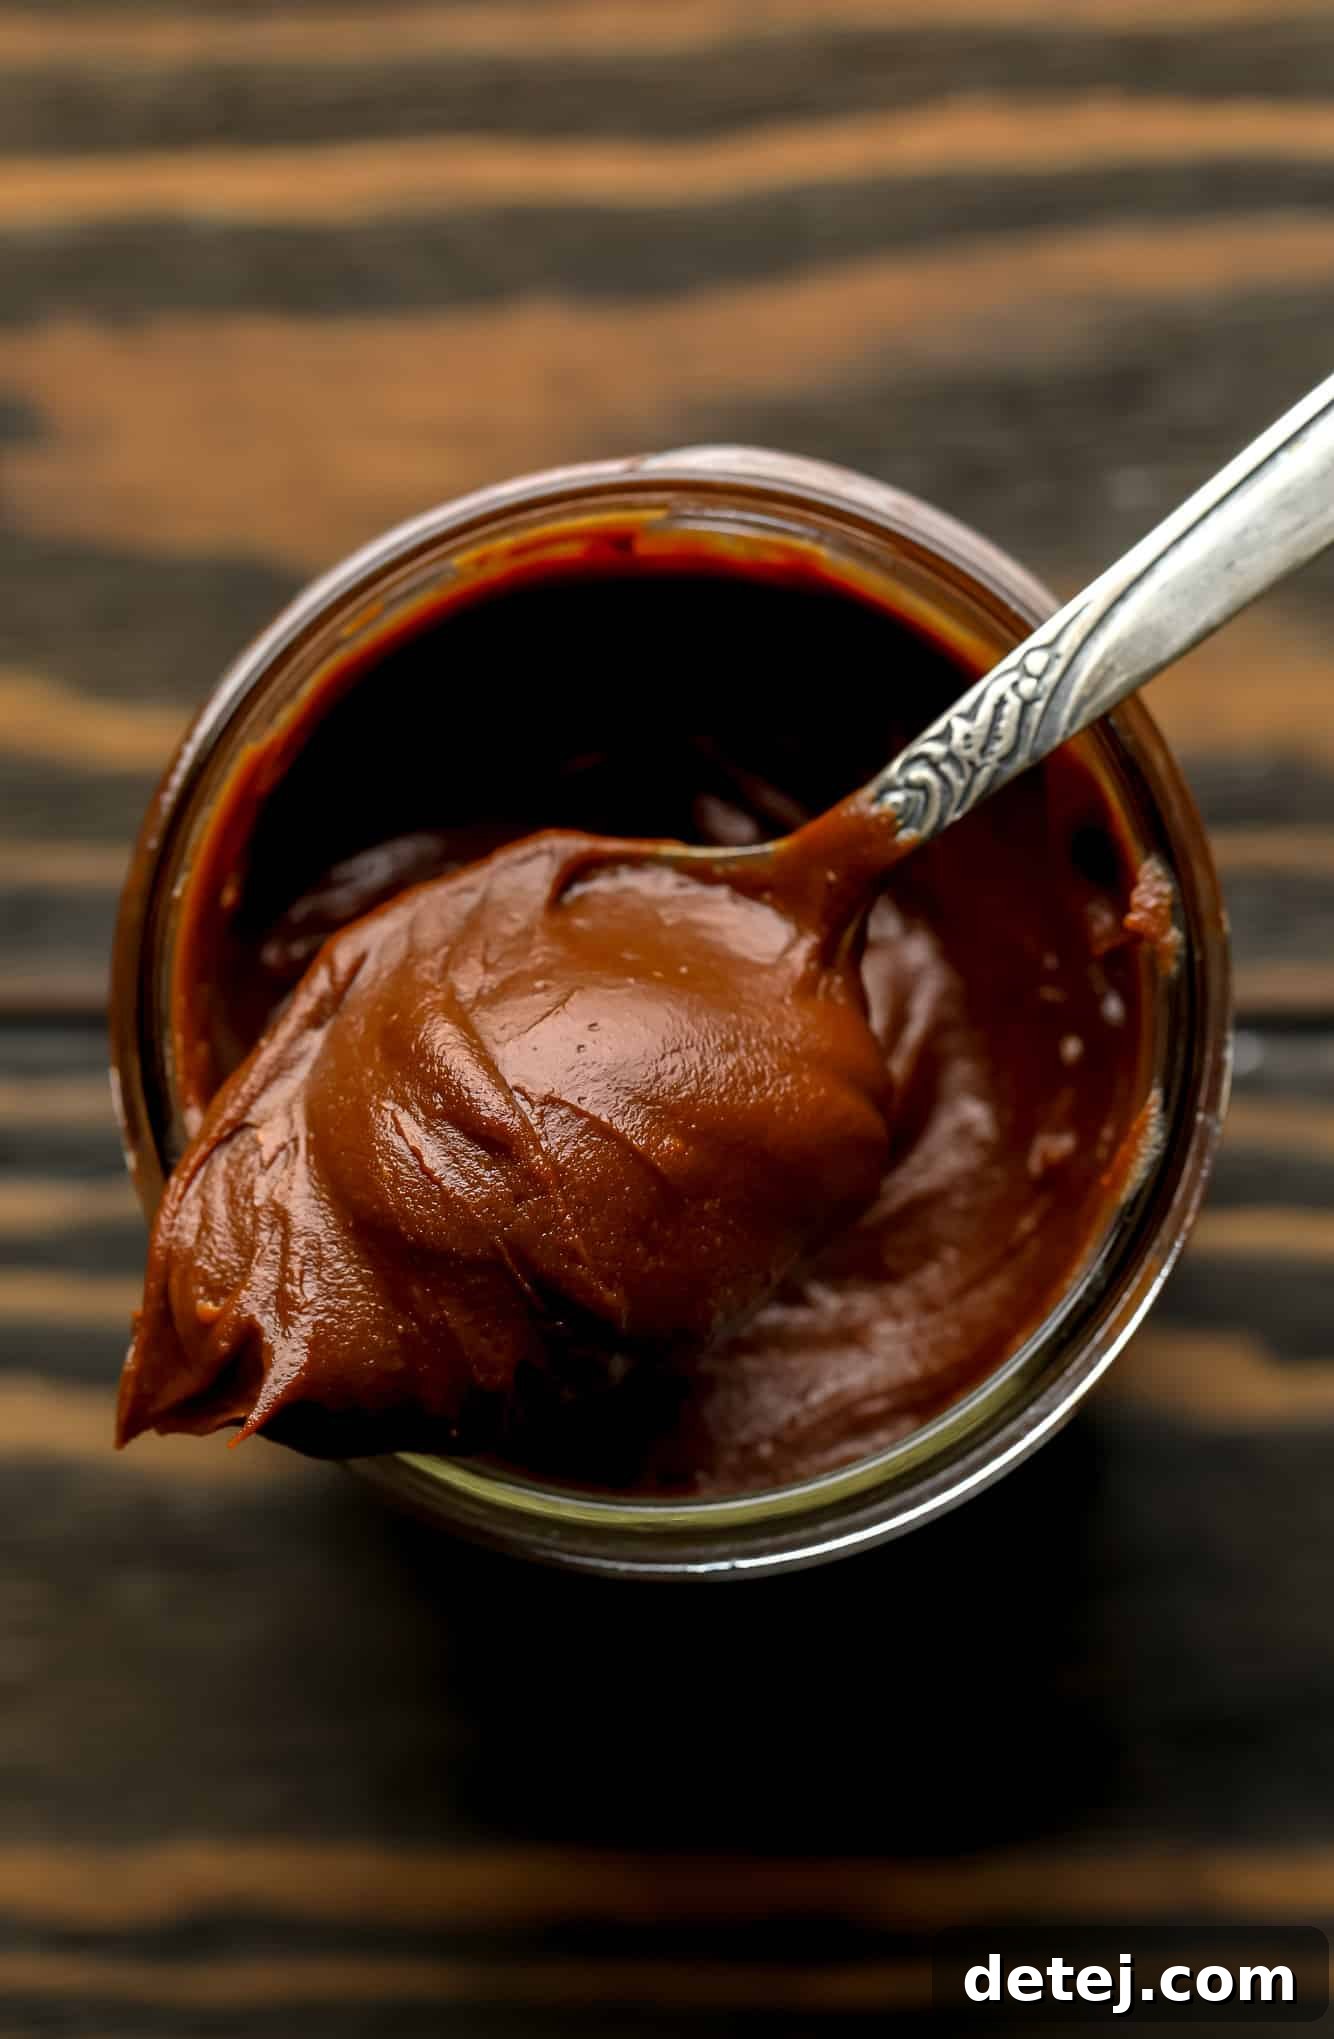
Craving more delicious vegan chocolate creations? Indulge in some of our other favorites:
- Vegan Hot Fudge: Perfect for sundaes or dipping!
- Vegan Truffles: Elegant and rich, ideal for special occasions.
- Crackle Top Eggless Brownies: Fudgy, chewy, and deeply chocolatey.
- 5-Minute Vegan Fudge: Quick, easy, and incredibly satisfying.
Why Homemade Vegan Nutella Reigns Supreme
You might be wondering, “Why go through the effort of making Nutella at home when there are store-bought vegan alternatives?” The answer lies in taste, quality, and customization. While some commercial dairy-free hazelnut spreads exist (like the Nocciolata Dairy Free Spread, which is a great option if you’re in a pinch!), nothing quite compares to the freshness and superior flavor of a homemade batch.
Unbeatable Benefits of Making Your Own:
- Beyond Store-Bought Excellence: This recipe consistently outperforms commercial versions in terms of fresh hazelnut flavor and silky-smooth texture. You’ll taste the difference immediately!
- Ingredient Control: When you make it yourself, you dictate what goes in. Choose organic hazelnuts, high-quality vegan chocolate, and adjust the sugar to your preference. No obscure additives or preservatives, just pure, wholesome ingredients. This means a healthier and more transparent treat for you and your family.
- Dietary Flexibility: Not only is this recipe dairy-free and gluten-free, but it can also be adapted to suit other dietary needs. For instance, you can easily control the type of sweetener used or experiment with different plant milks.
- Cost-Effective: While the initial investment in good quality ingredients might seem like a lot, making your own spread often proves more economical in the long run compared to regularly purchasing premium store-bought vegan alternatives.
- Two Simple Methods: Whether you prefer to roast your own hazelnuts for maximum fresh flavor or opt for a quicker version using store-bought nut butter and plant milk, we’ve got you covered.
- Endless Culinary Possibilities: This spread isn’t just for toast. Its versatility knows no bounds, making it a fantastic addition to countless breakfast, dessert, and snack ideas.
Mastering the Art of Homemade Vegan Nutella
Crafting your own vegan chocolate hazelnut spread is a rewarding process that’s simpler than you might think. The key steps involve properly preparing the hazelnuts and then blending them with a few other quality ingredients to achieve that signature creamy texture and rich flavor.
Step-by-Step Guide to Perfection:
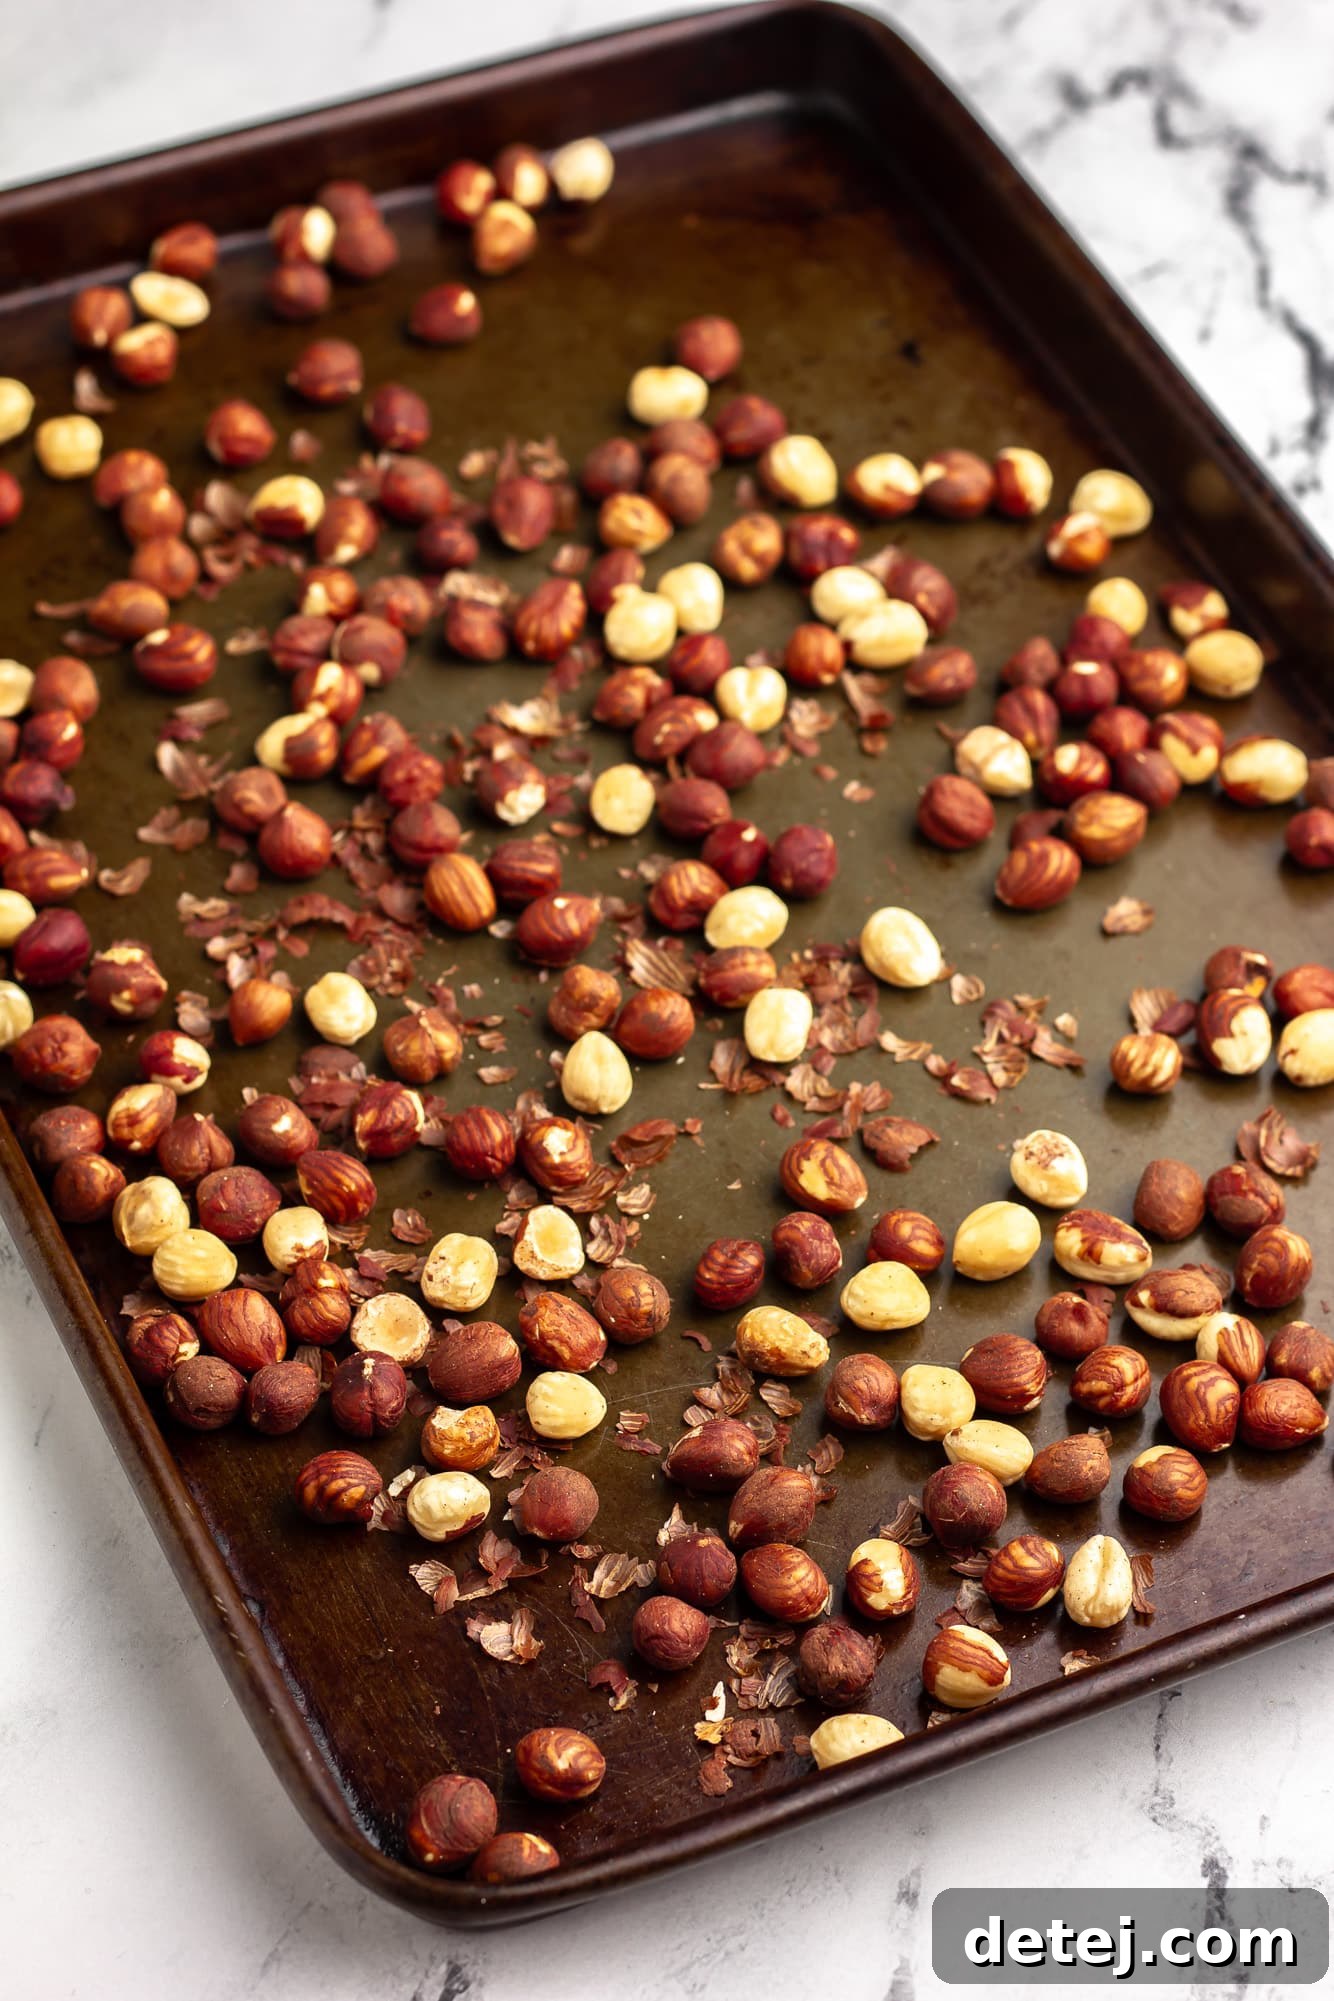
1. Toasting the Hazelnuts: This crucial step unlocks the deep, nutty flavor of the hazelnuts. Spread raw, whole hazelnuts in a single layer on a rimmed baking sheet. Toast them in a preheated oven until they turn fragrant and lightly golden. Keep a close eye on them, as nuts can burn quickly!
2. Removing the Skins: Once toasted, transfer the still-warm hazelnuts to a clean kitchen towel. Wrap them up tightly in the towel and vigorously rub them together for a few minutes. This friction helps loosen and remove the papery skins. Don’t worry if a few stubborn skins remain; it won’t affect the final taste or texture significantly. Removing most of the skins is important for a smoother, less bitter spread.
Time-saving tip: If you’re short on time or prefer to skip the roasting step, you can purchase pre-roasted hazelnuts. Many brands also come with the skins already removed, saving you even more effort!
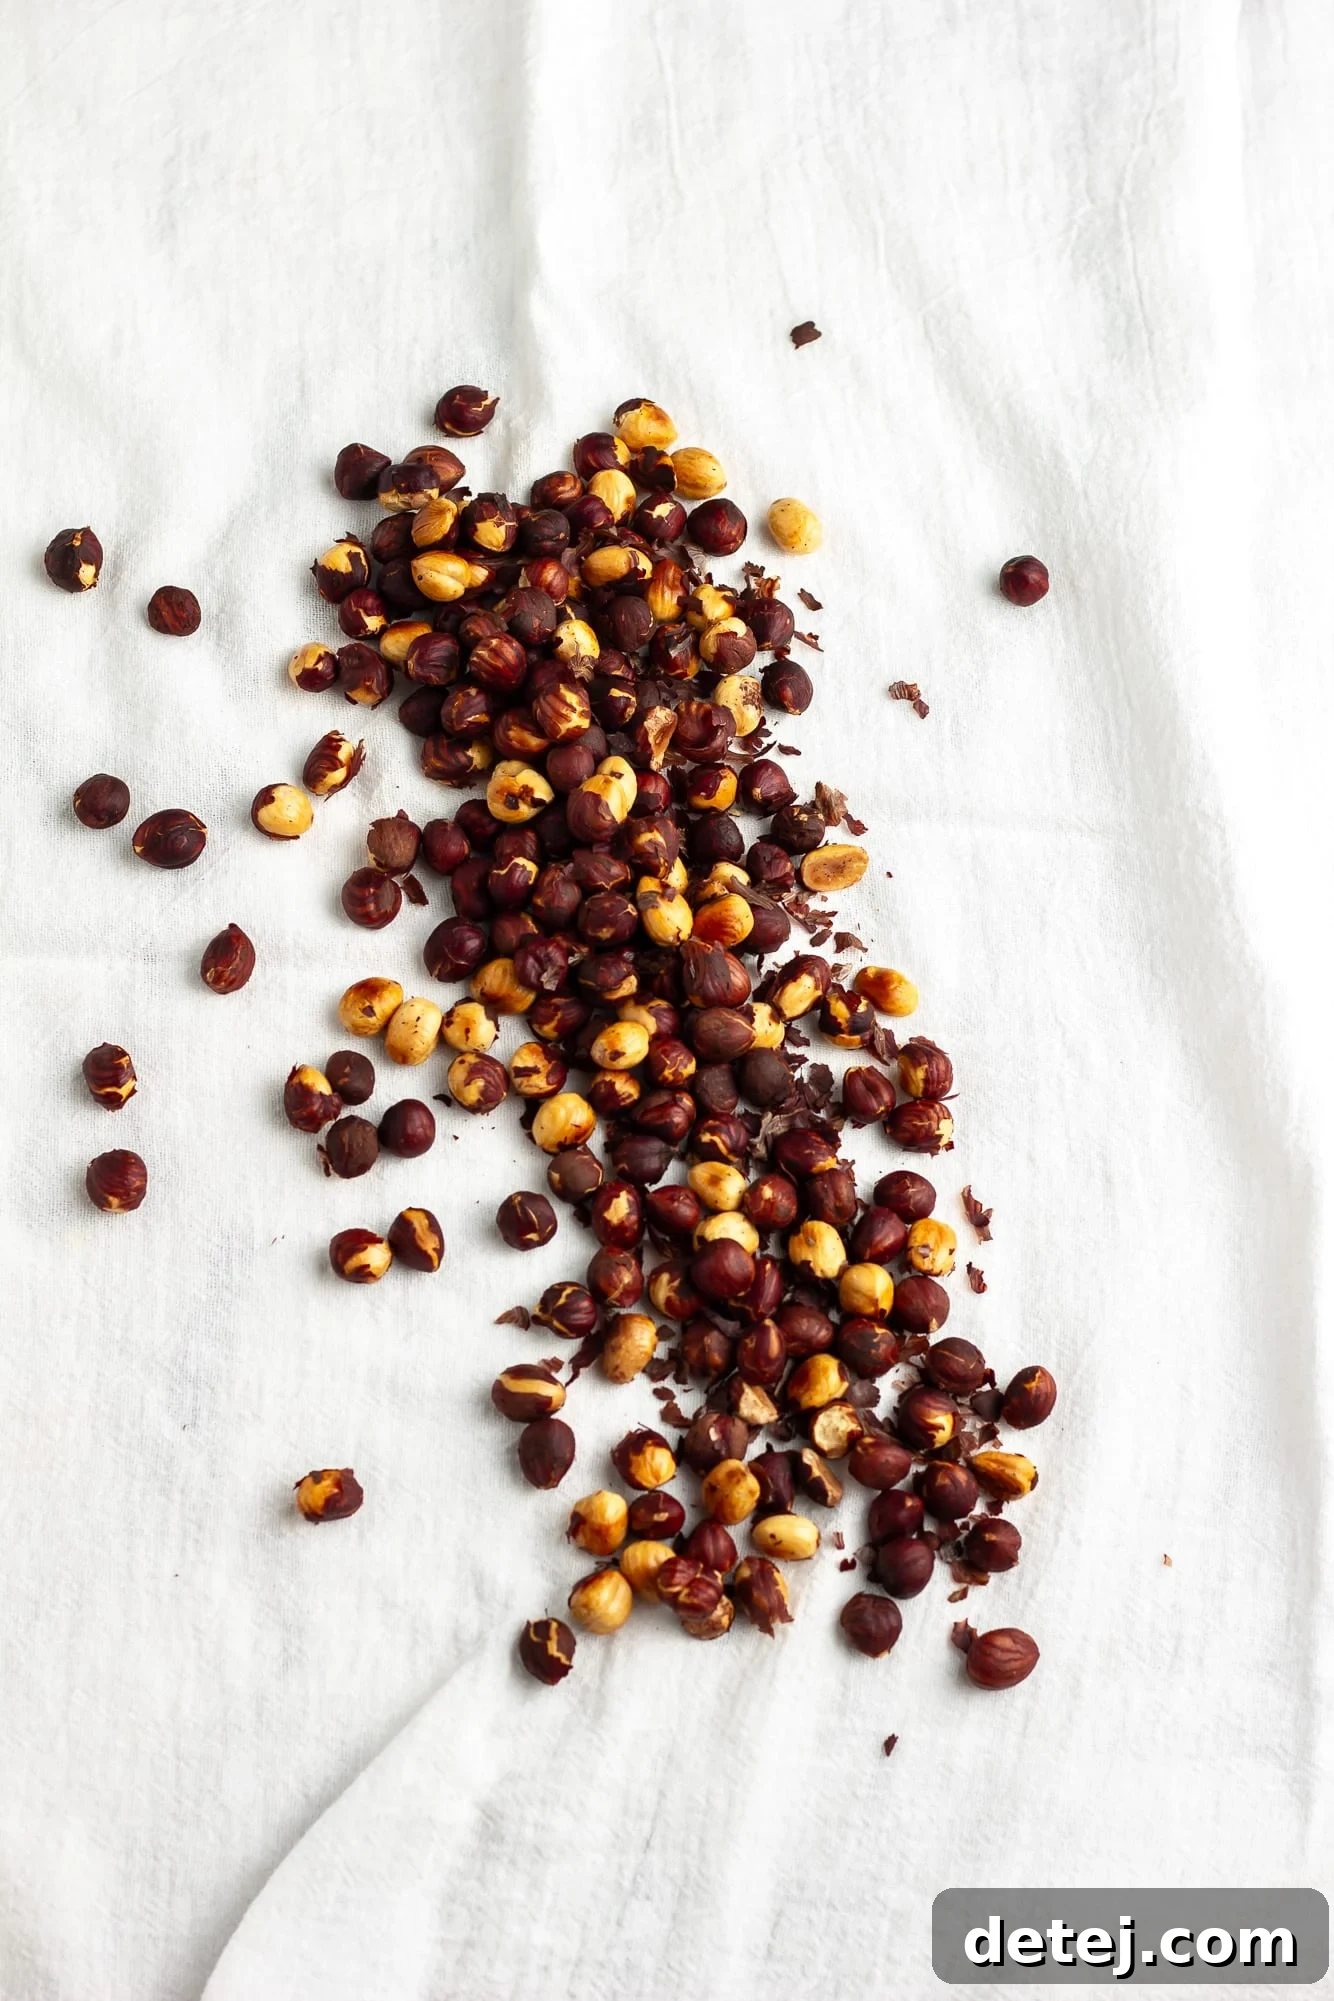
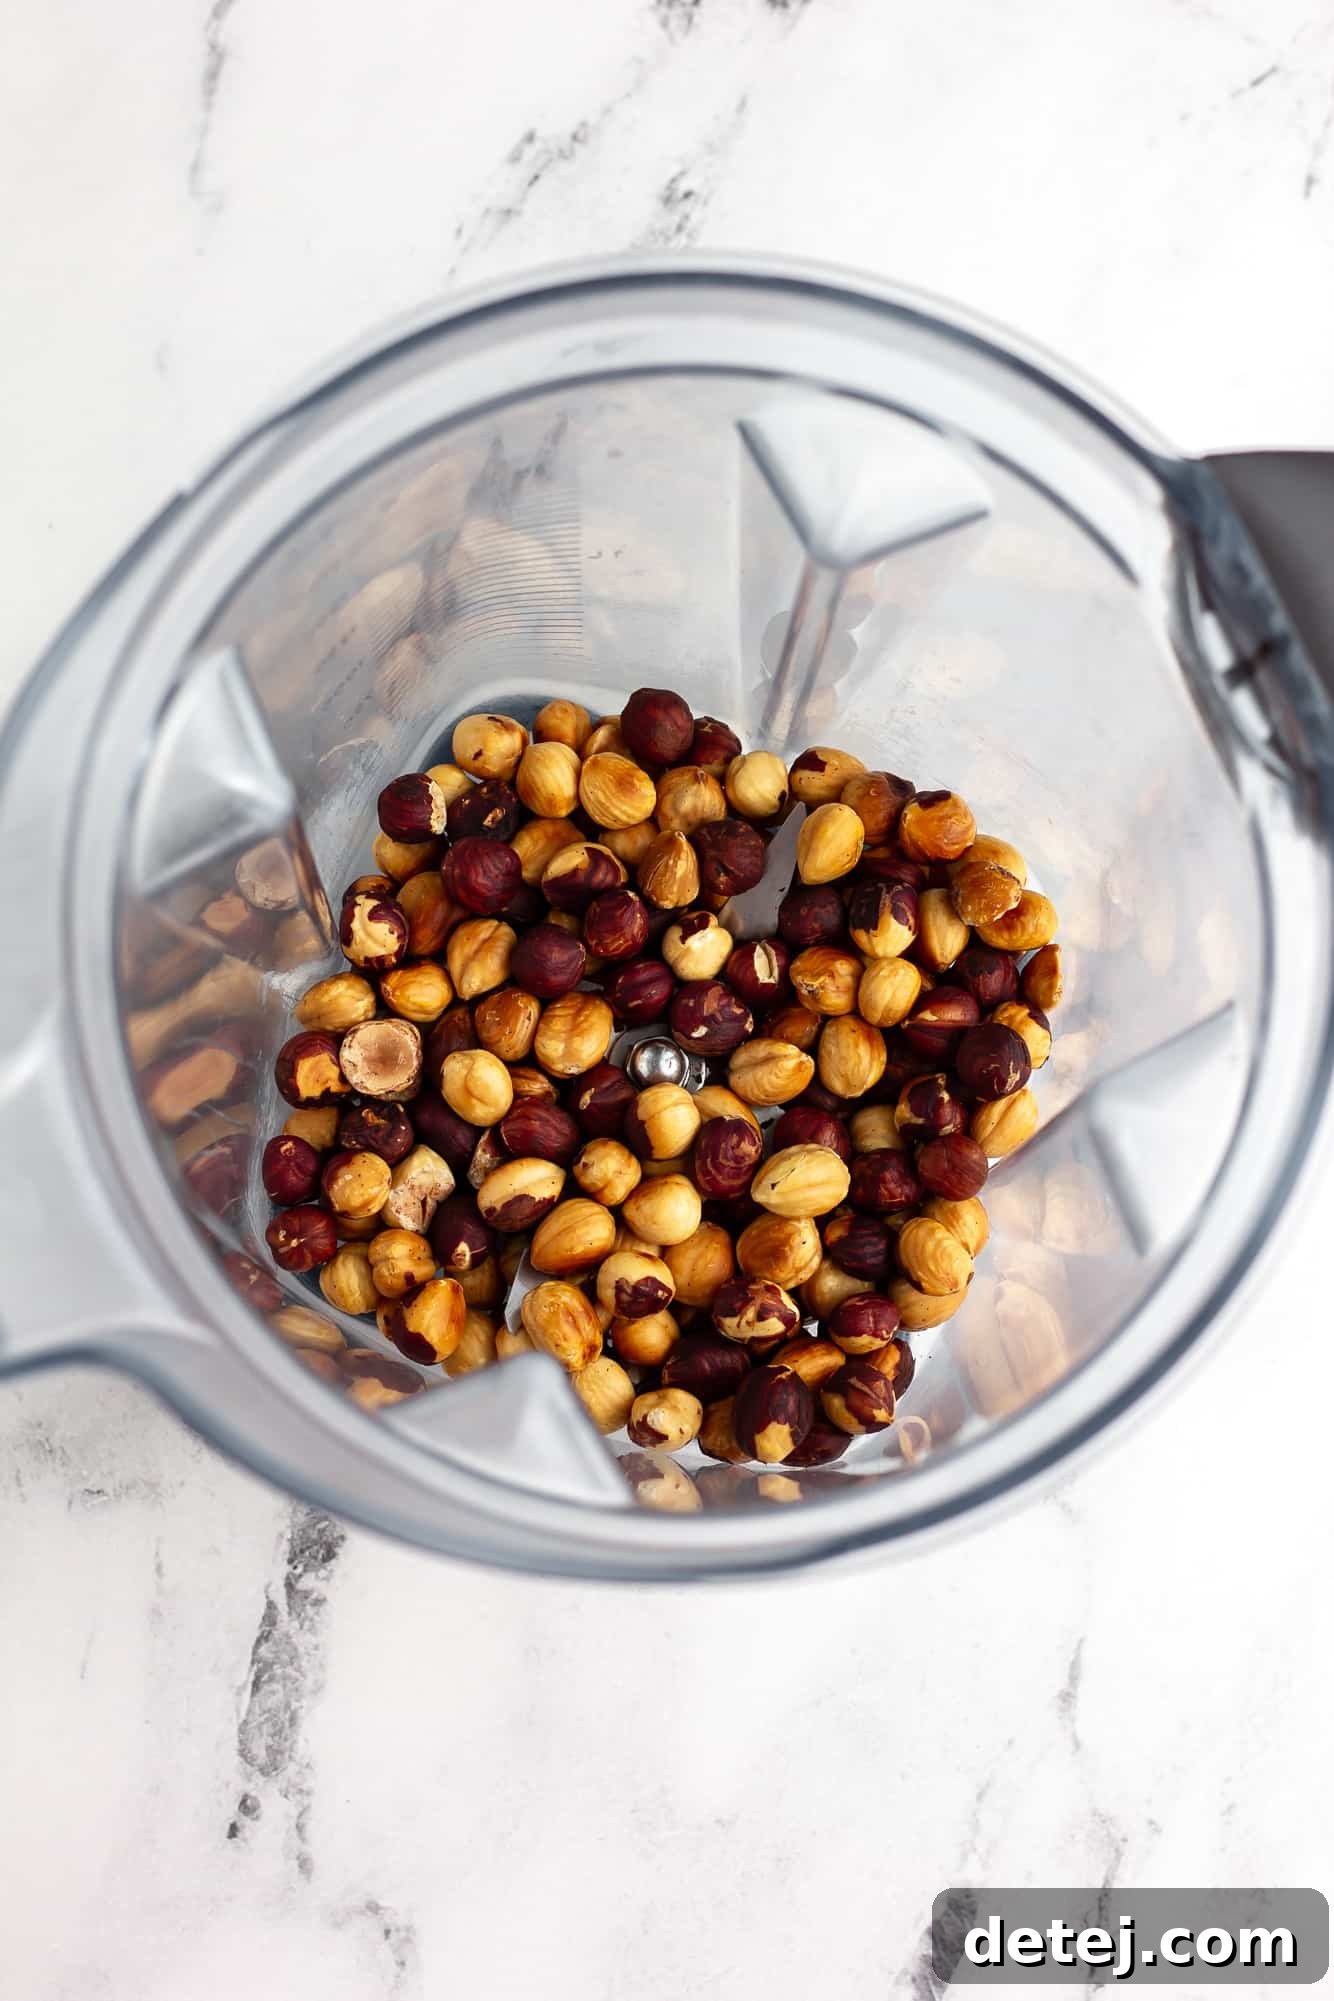
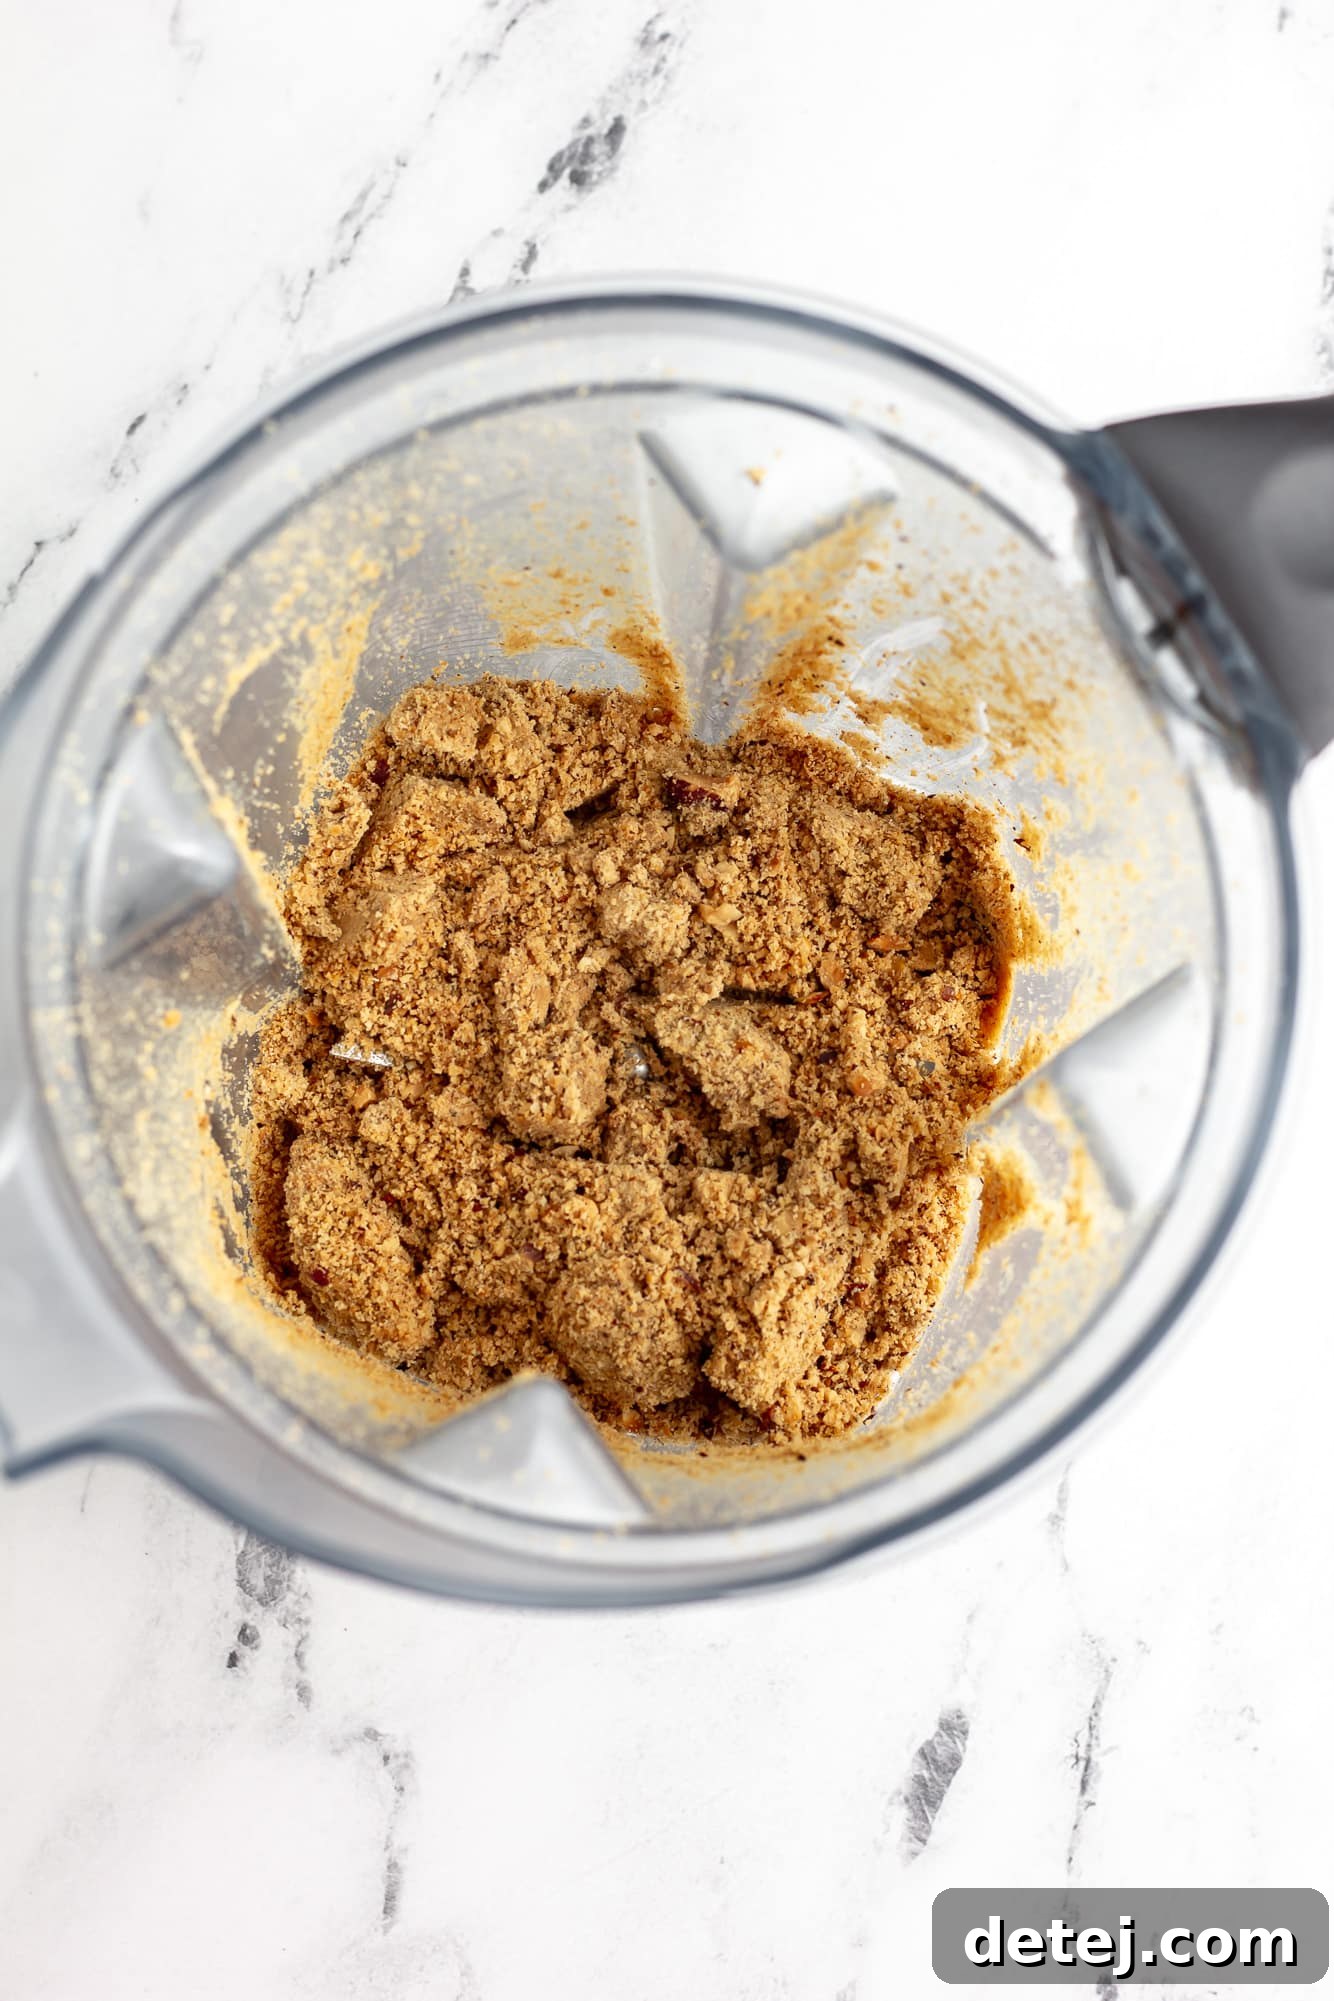
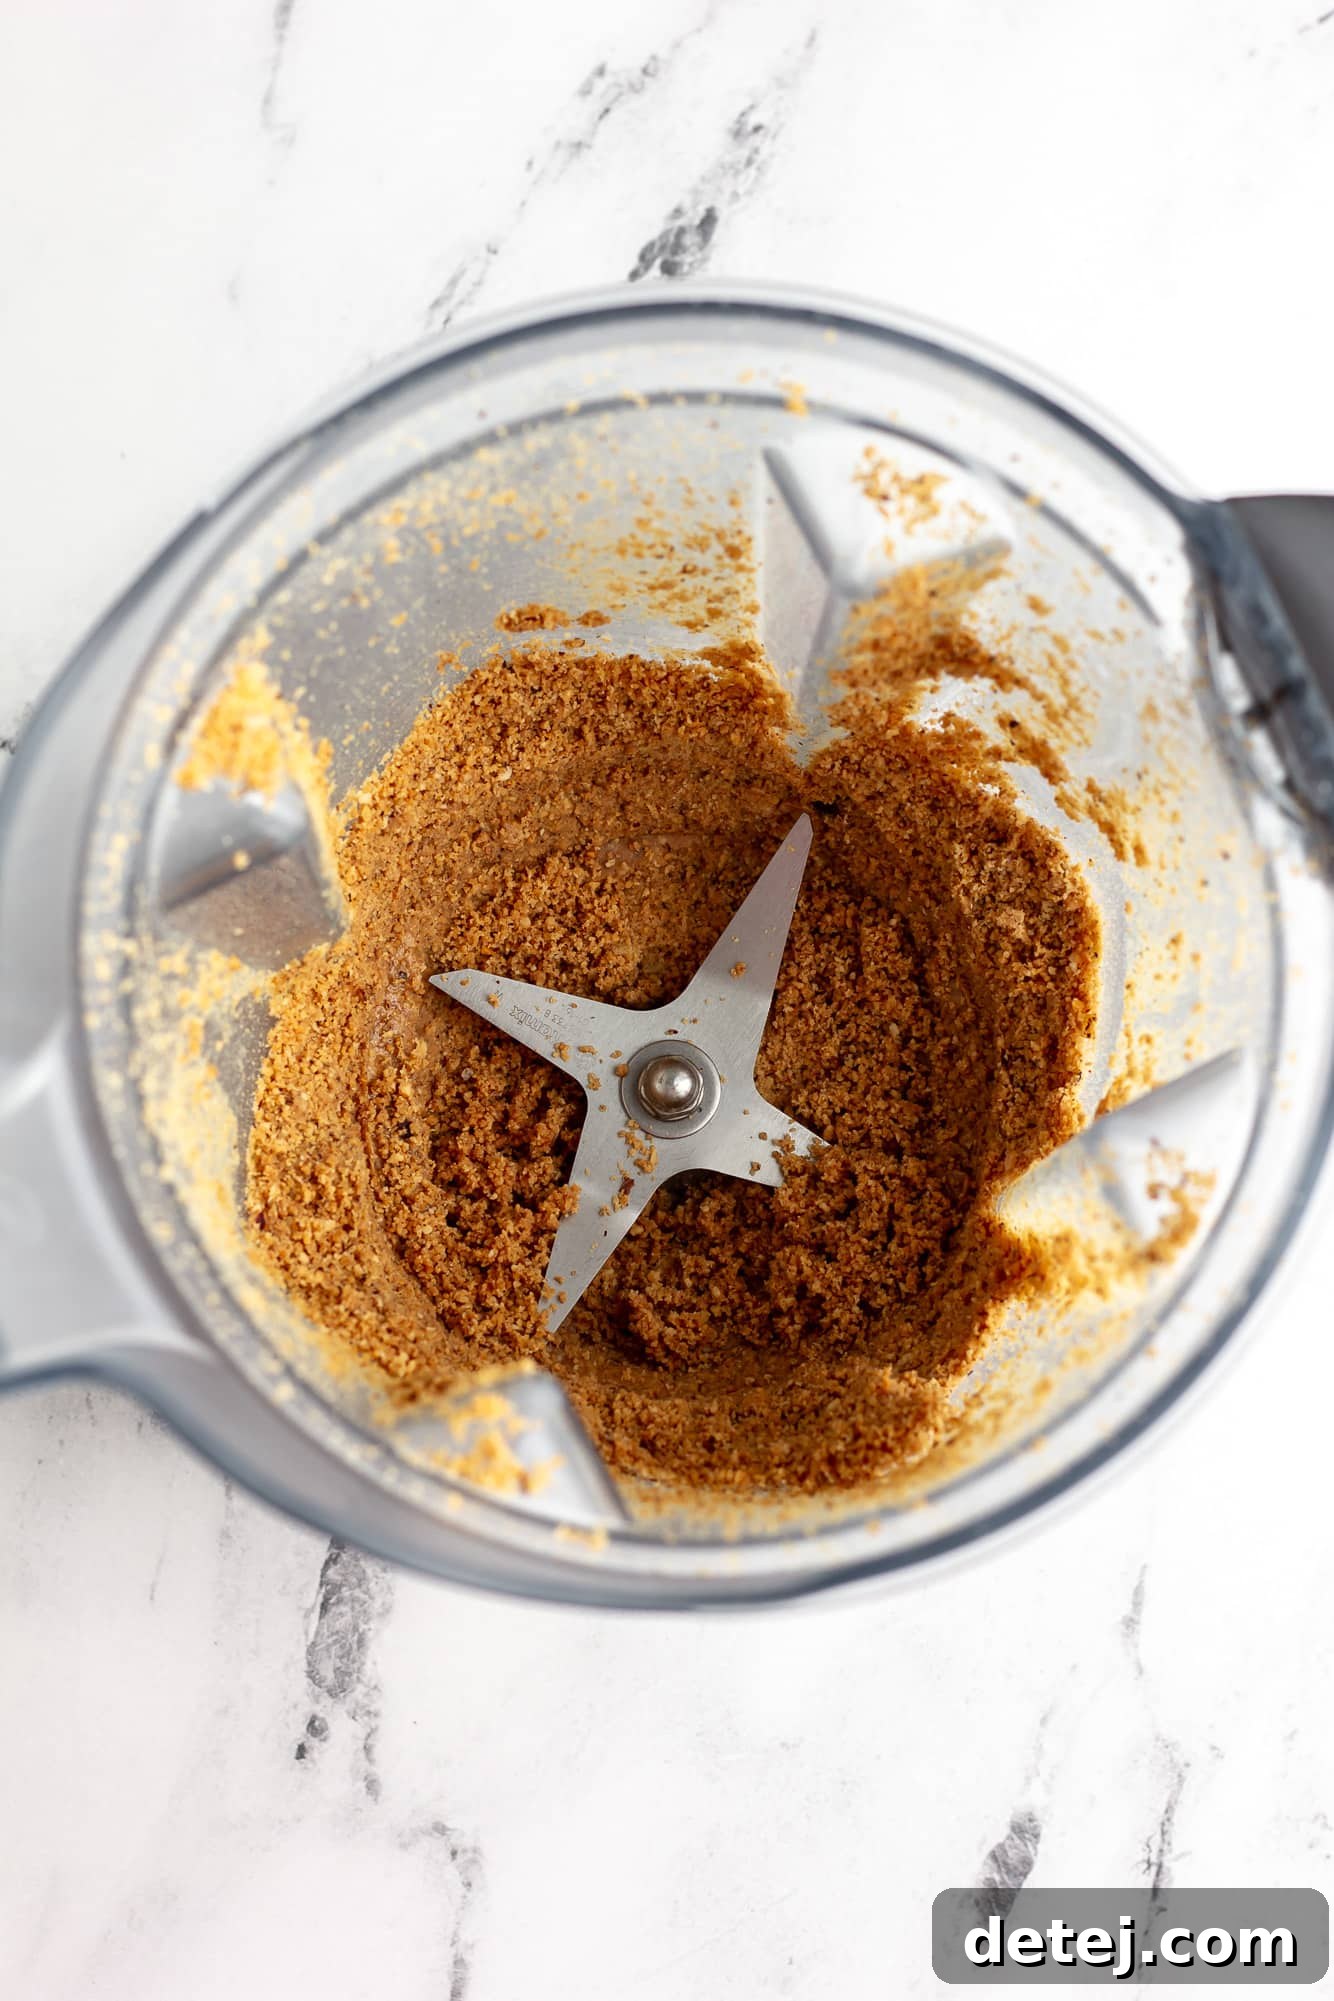
3. Blending to Perfection: Transfer the warm, mostly skin-free nuts to a high-powered blender or food processor. This is where the magic happens! Blend continuously, scraping down the sides as needed. The hazelnuts will go through several stages: from coarse crumbs to a moist, pasty consistency, and finally to a smooth, creamy butter. This process can take anywhere from 3-8 minutes, depending on your appliance. The warmth from the blending process helps release the natural oils, creating a luxuriously smooth base.
Important Note: A high-powered blender (like a Vitamix) or a robust food processor is essential for this step. Attempting to blend whole nuts in a standard blender can lead to motor burnout and an uneven texture.
4. Melting Chocolate and Coconut Oil: In a microwave-safe bowl, combine your favorite vegan chocolate chips with refined coconut oil. Microwave in 30-second intervals, stirring thoroughly after each to prevent burning, until the mixture is completely melted and smooth. Alternatively, you can use a double boiler on the stovetop for gentle, even melting.
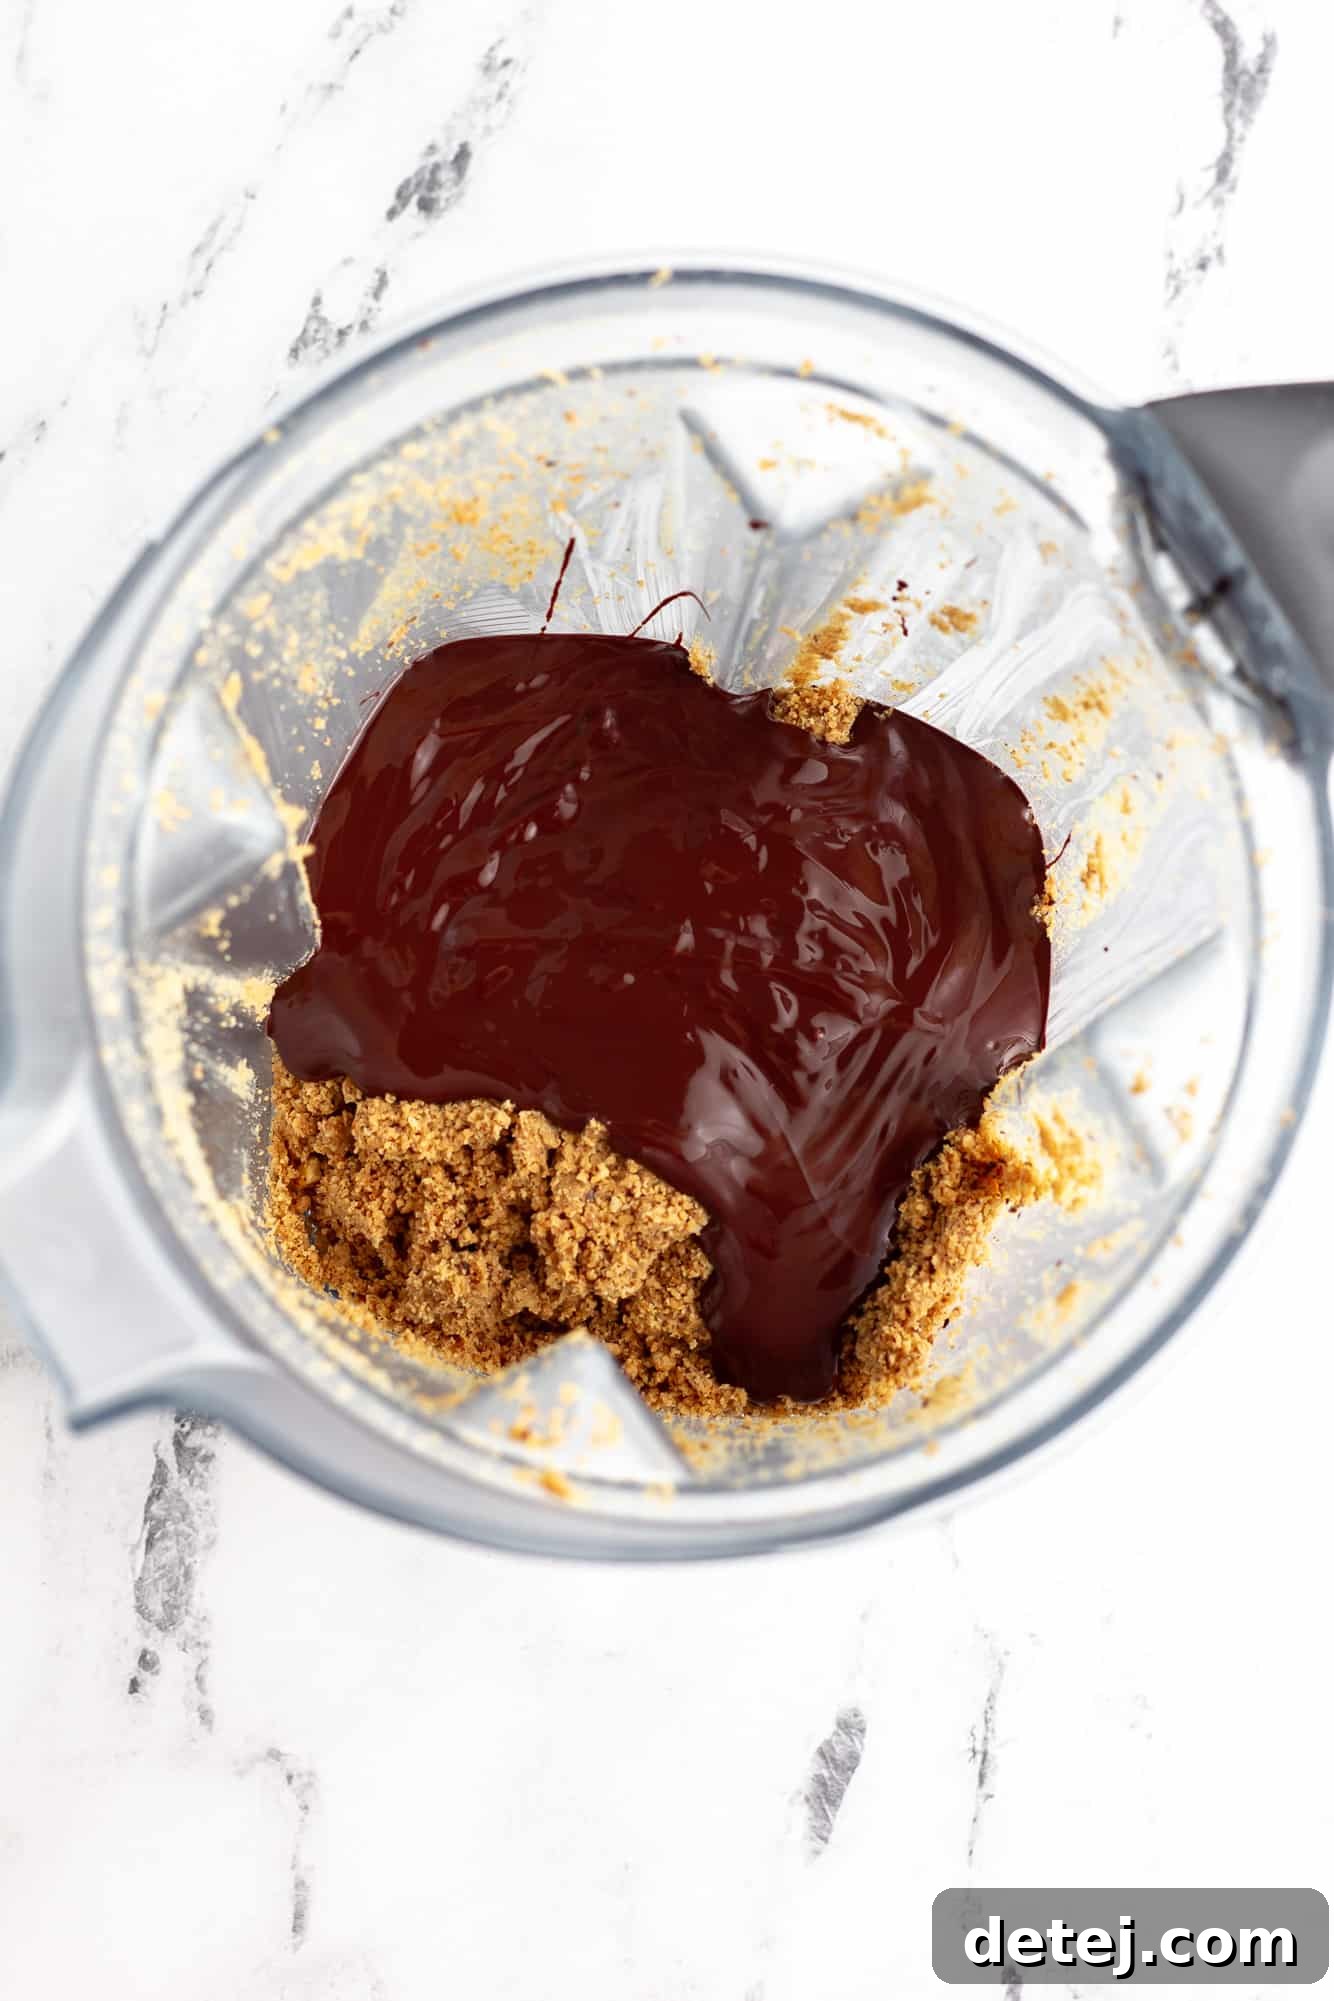
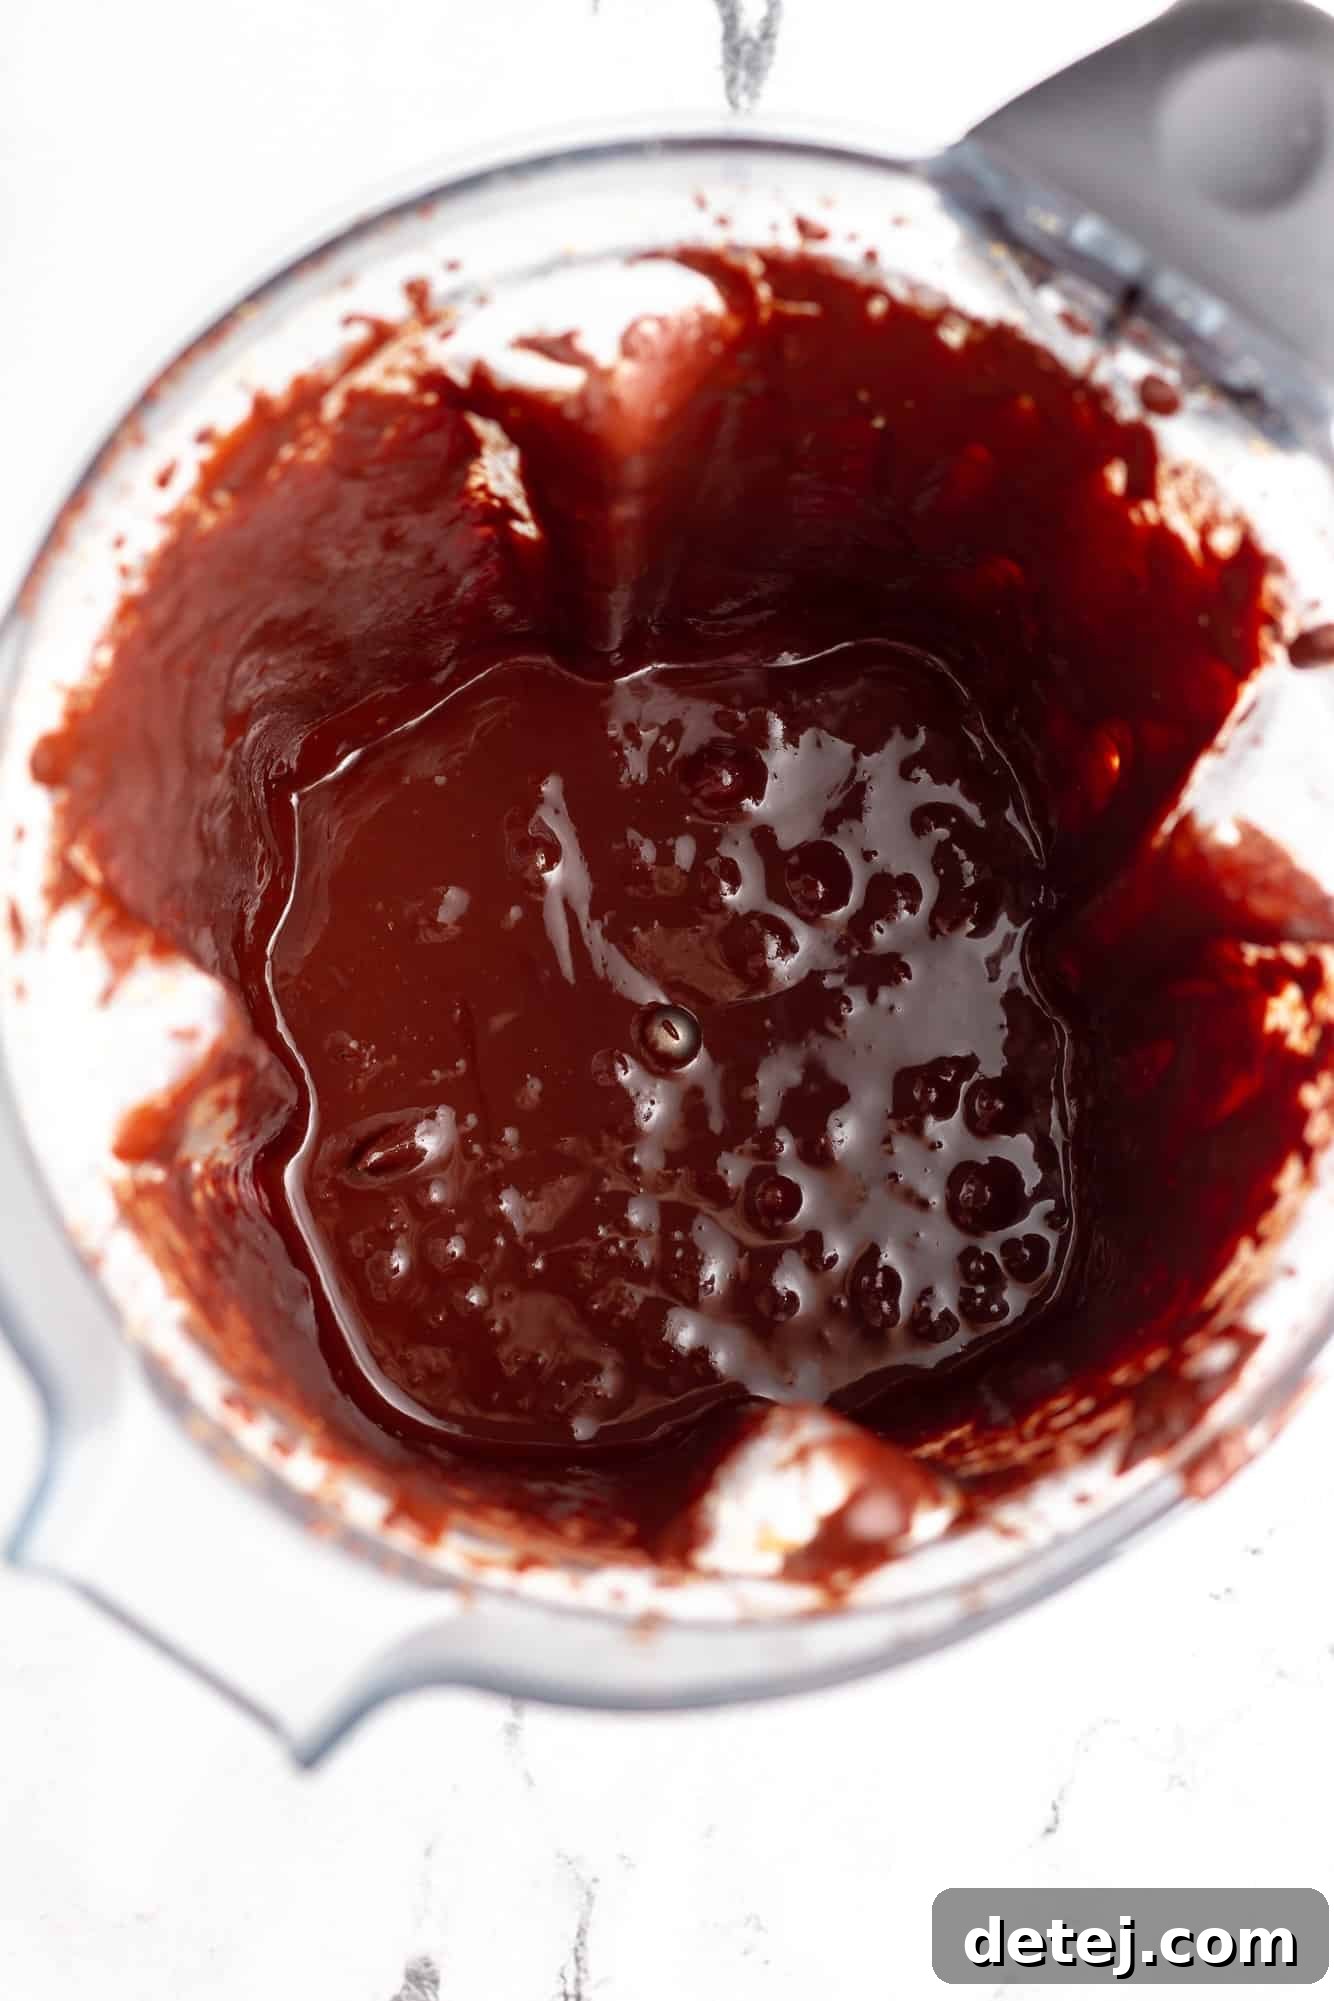
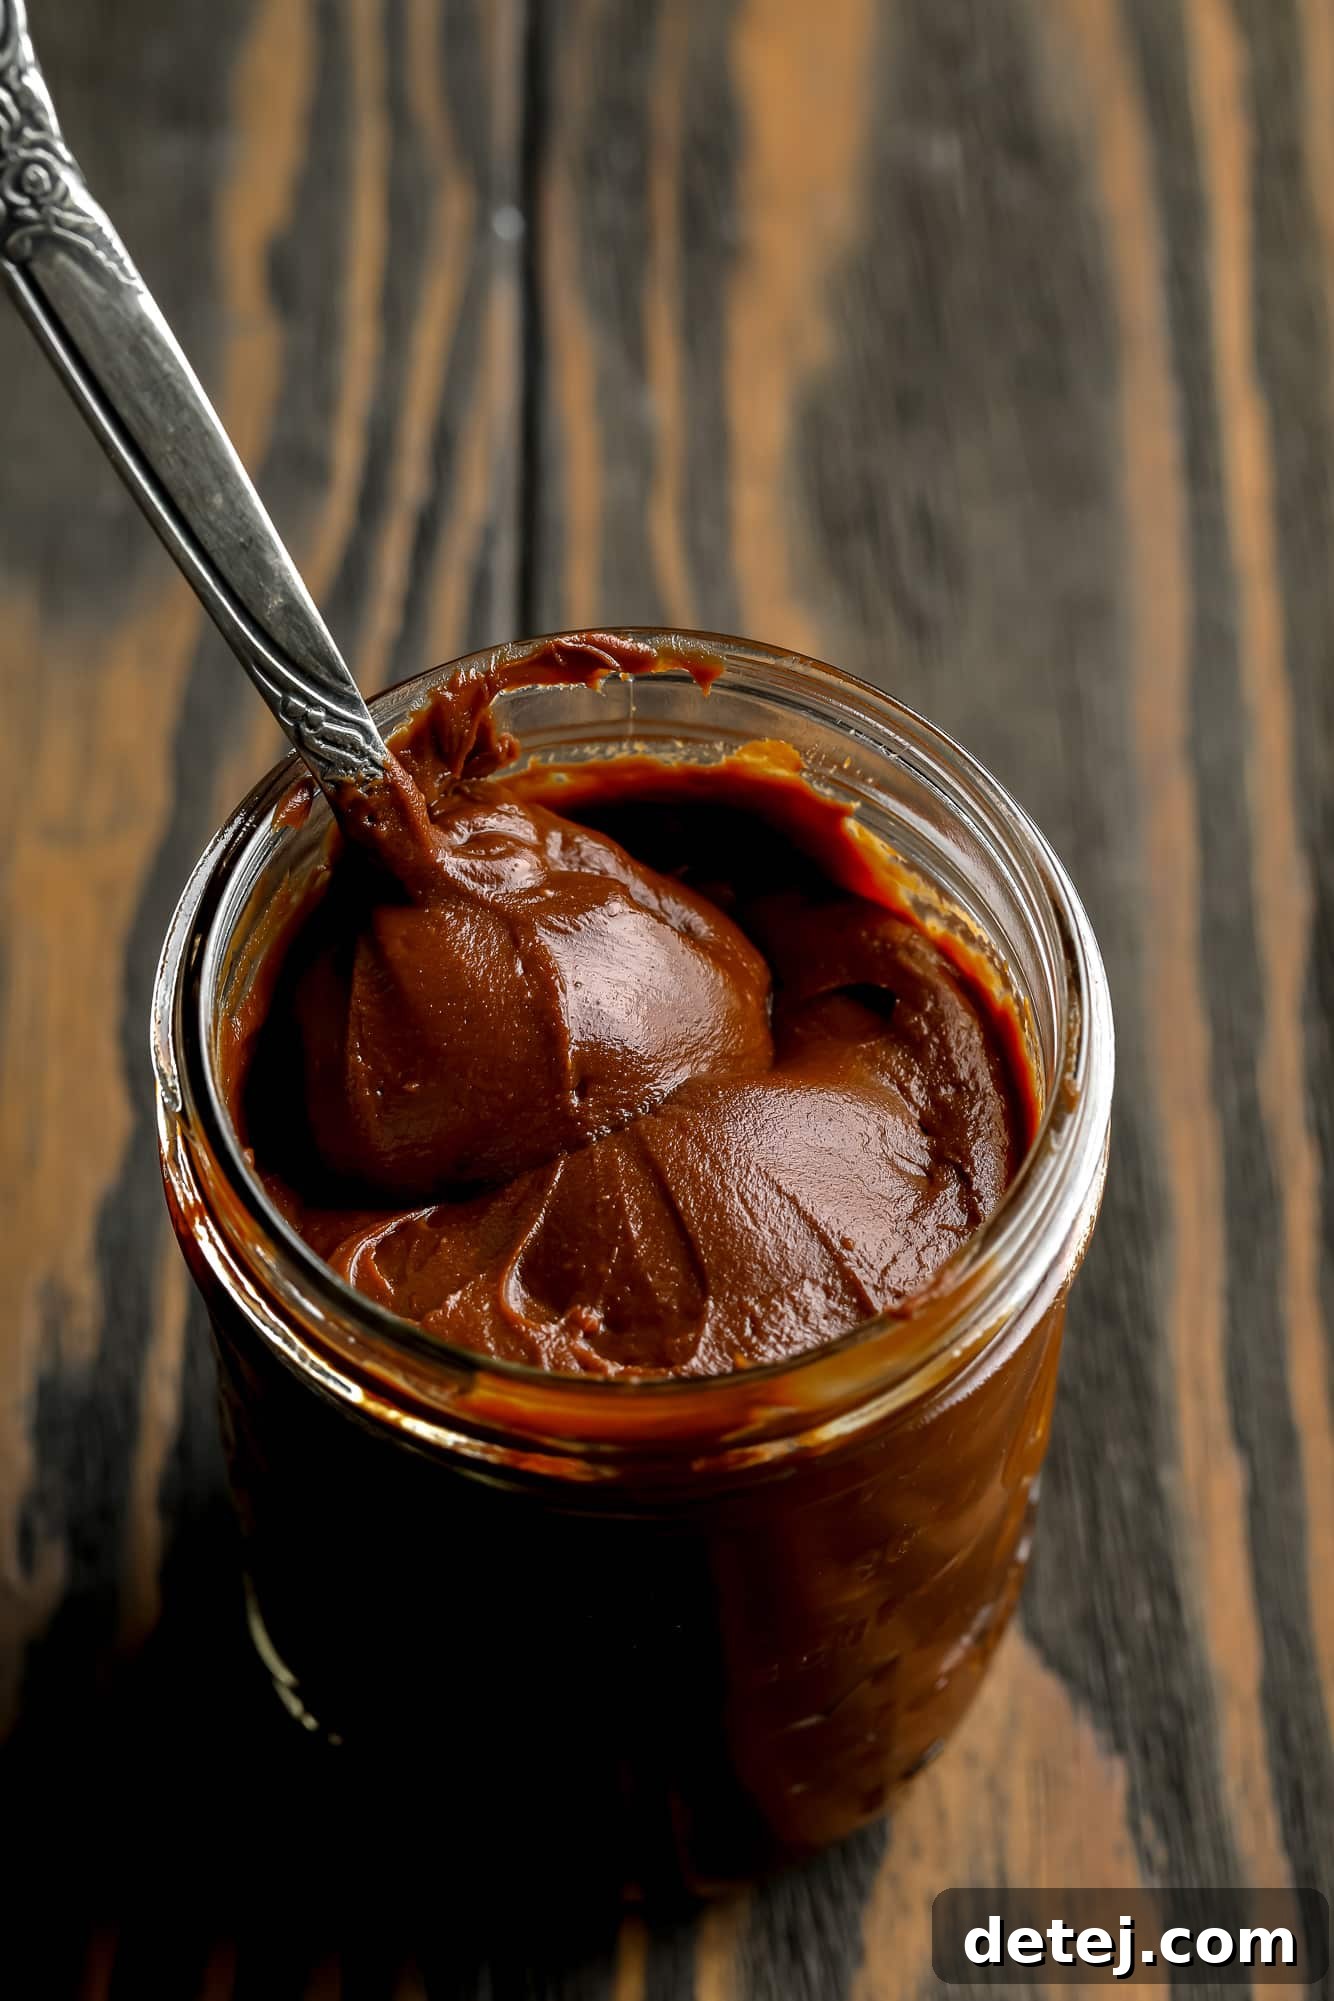
5. Final Blend: Add the melted chocolate-oil mixture to the blender with your freshly made hazelnut butter. Incorporate the plant-based milk, powdered sugar (if using), and a pinch of salt. Blend again until the mixture is incredibly smooth and uniform. Scrape down the sides a few more times to ensure everything is fully combined. The result should be a glossy, rich, and utterly irresistible spread!
Quick & Easy: Vegan Nutella without Whole Hazelnuts
Don’t have a high-powered blender, or simply want a faster way to enjoy homemade vegan Nutella? This alternative method uses creamy nut butter as its base, eliminating the need for roasting and extensive blending of whole nuts. While the flavor profile will differ slightly depending on the nut butter you choose, it still delivers a delicious chocolatey spread.
Ingredients for the “No Whole Nuts” Method:
- 3/4 cup vegan chocolate chips: Choose high-quality chips for the best flavor.
- 2 tablespoons refined coconut oil: Helps achieve a smooth, spreadable consistency.
- 3/4 cup creamy nut butter: Hazelnut butter is ideal for the classic Nutella taste. Almond butter offers a milder, slightly different flavor, and even peanut butter can work for a unique twist.
- 1/4 cup plant milk: Hazelnut milk will enhance the nutty flavor, but oat milk or almond milk are excellent neutral choices.
- 4 tablespoons powdered sugar (or to taste): Adjust based on your preferred sweetness. Powdered sugar dissolves easily for a smooth texture.
- Tiny pinch of salt: A flavor enhancer that brings out the chocolate and nut notes.
Instructions for the “No Whole Nuts” Method:
- Melt Chocolate and Oil: Combine the vegan chocolate chips and coconut oil in a double boiler over simmering water (or in the microwave as described above). Stir until completely smooth and melted.
- Combine with Nut Butter: Remove the chocolate mixture from the heat. Stir in the plant milk and your chosen creamy nut butter until well combined and smooth.
- Sweeten and Serve: Add the powdered sugar and salt, stirring until fully incorporated. Transfer the homemade Nutella to a glass jar and enjoy immediately or store for later!
Frequently Asked Questions About Vegan Nutella
Can vegans eat classic Nutella?
Unfortunately, classic store-bought Nutella is not vegan because it contains skimmed milk powder, which is a dairy product. This is why learning to make homemade vegan Nutella is such a game-changer for plant-based eaters and those with dairy allergies. Our homemade recipe tastes just as rich, chocolatey, and sweet as the traditional version, without any dairy ingredients.
I don’t have hazelnuts. What can I use instead?
While hazelnuts are key to the traditional “Nutella” flavor, you have options! You can use the “no whole nuts” method with pre-made nut butter, or you can try roasting and blending other nuts like almonds, macadamia nuts, or cashews. Each will create a delicious chocolatey spread, though the flavor profile will naturally be different from classic hazelnut. Almonds offer a slightly milder, buttery flavor, while cashews will yield an incredibly creamy texture.
Can I make this without coconut oil?
Yes, you can omit the coconut oil if you prefer. However, it plays an important role in achieving that wonderfully smooth, glossy, and spreadable texture. Coconut oil helps the spread stay a bit softer and more fluid at room temperature. If you leave it out, your Nutella might be slightly thicker or firmer, especially in cooler environments. If you’re sensitive to coconut flavor, be sure to use *refined* coconut oil, which is flavorless.
How long does homemade vegan Nutella last, and how should I store it?
Your freshly made homemade vegan Nutella can be stored in an airtight glass jar at room temperature for up to 2 weeks. It’s important to note that I do not recommend storing it in the refrigerator. When chilled, the spread can become very hard and difficult to spread due to the solidification of the coconut oil and chocolate. If your Nutella becomes too firm even at room temperature, especially in a cooler kitchen, simply warm it gently in the microwave for 20 to 30 seconds, stirring until it reaches your desired consistency.
What if my Nutella is too thick or too thin?
If your vegan Nutella is too thick, you can add a little more plant-based milk (a teaspoon at a time) and blend until it reaches your desired consistency. If it’s too thin, you can try adding a tablespoon or two of additional melted vegan chocolate chips, or blend in a small amount of extra hazelnut butter to thicken it. The consistency can vary slightly based on the type of plant milk and chocolate used, so don’t be afraid to adjust.
Can I use a different sweetener?
Absolutely! Powdered sugar is recommended for its smooth dissolving properties, but you can experiment with other sweeteners. For a refined sugar-free option, you could try maple syrup or agave nectar. Start with a smaller amount and add more to taste, keeping in mind that liquid sweeteners might slightly alter the final consistency.
Creative Serving Suggestions for Your Vegan Nutella
While eating your homemade vegan Nutella by the spoonful is a perfectly valid (and highly recommended!) option, this versatile spread can elevate countless dishes. Here are some inspiring ideas to enjoy your chocolate hazelnut creation:
- Breakfast Bliss:
- Spread generously on slices of perfectly toasted bread, a classic choice.
- Drizzle over warm, fluffy vegan waffles or stacks of pancakes (or even decadent chocolate pancakes!).
- Fill delicate vegan crepes with a layer of Nutella and sliced fruit.
- Top slices of golden French toast for an extra special morning treat.
- Swirl into your morning oatmeal or overnight oats for a chocolatey kick.
- Mix into smoothie bowls or yogurt parfaits for added richness.
- Sweet Dips and Spreads:
- Serve as a delightful dessert dip with fresh fruit slices like apples, bananas, or strawberries.
- Pair with salty pretzels or graham crackers for a perfect sweet and savory snack.
- Use as a sandwich spread with banana slices for a quick and satisfying snack.
- Ice Cream & Frozen Treats:
- Drizzle warm Nutella over scoops of your favorite vegan ice cream or an elaborate ice cream sundae.
- Blend into a vegan milkshake for a rich, creamy, and decadent drink.
- Swirl into homemade vegan popsicles or ice cream base before freezing.
- Baking & Desserts:
- Use as a filling for layer cakes or cupcakes, similar to a rich vegan chocolate ganache.
- Swirl into brownie batter or cookie dough for an added chocolate-hazelnut dimension.
- Spread onto cookies or biscuits before serving.
- Fill mini tart shells for a simple yet elegant dessert.
- Incorporate into no-bake energy bites or truffles for a rich flavor.
Vegan Nutella
Rich and creamy Vegan Nutella is pretty easy to make at home! Spread the chocolate hazelnut spread on toast, pancakes, waffles, and so much more.
Prep: 10 mins
Cook: 10 mins
Total: 20 mins
Servings: 8 servings
Pin Recipe
Leave a Comment
Save Recipe
Ingredients
- 1 cup whole raw hazelnuts
- 1 cup vegan chocolate chips
- 2 tablespoons refined coconut oil
- 1/2 cup plant based milk, room temperature (I used oat)
- 4 tablespoons powdered sugar (optional for added sweetness)
- 1/8 teaspoon salt
Instructions
- Toast the hazelnuts: Preheat the oven to 375 degrees F (190°C). Spread the hazelnuts in a single layer on a rimmed baking sheet. Bake in the oven for 10 minutes, until fragrant.
- Remove skins: Place the toasted hazelnuts in the center of a clean dish towel, then wrap them up and rub vigorously for a few minutes to remove some of the skins. They won’t all come off, and that is fine!
- Make the hazelnut butter: Add the still-warm hazelnuts to a high-powered blender (or food processor). Blend and grind the nuts until moist, crumbly, and almost a paste. Scrape down the sides as needed; this usually takes 2-3 stops to scrape. This process will take a little longer in a food processor (5-8 minutes) than a high-powered blender (3-5 minutes). The blender version will typically be smoother and less grainy.
- Melt the chocolate and coconut oil: In a microwave-safe bowl, add the chocolate chips and coconut oil and microwave in 30-second intervals, stirring in between, until completely melted and smooth. You can also melt the chocolate in a double boiler on the stovetop.
- Blend Nutella: Add the melted chocolate/oil to the blender with the hazelnut butter. Add the plant milk, optional powdered sugar, and salt. Blend until very smooth, scraping down the sides a few times as needed.
- Store: Pour into a jar and store at room temperature for up to 2 weeks. If you place it in the refrigerator, the Nutella will become very hard, so it is not recommended. It may get firm even at room temperature, especially if your house is cold. If it’s too firm, warm it in the microwave for 20-30 seconds, and it will soften right up.
Notes
- Serve vegan Nutella on toast, waffles, pancakes, crepes, vegan ice cream, with pretzels or apples for dipping, and more!
- You can use already toasted hazelnuts if you can find them. Simply skip the toasting step. You probably don’t need to get the skins off if they are pre-roasted.
- You can substitute vegan chocolate bars instead of chocolate chips if desired. Use 6 ounces of chopped and melted chocolate.
- You can leave out the oil if desired, but it helps the spread be a bit smoother.
- DO NOT try to make this in a regular old blender! It will probably break it. Use either a high-powered blender such as a Vitamix, or a food processor. To make it using nut butter, refer to the section above in the post.
Nutrition
Serving: 1 of 8 servings | Calories: 94 kcal | Carbohydrates: 3g | Protein: 2g | Fat: 9g | Saturated Fat: 1g | Polyunsaturated Fat: 1g | Monounsaturated Fat: 7g | Potassium: 102mg | Fiber: 1g | Sugar: 1g | Vitamin A: 3 IU | Vitamin C: 1mg | Calcium: 17mg | Iron: 1mg
Course: Breakfast, Dessert, Snack
Cuisine: American, Italian
Author: Nora Taylor
Did you make this recipe?
Mention @nora_cooks_vegan_ or tag #noracooks!