
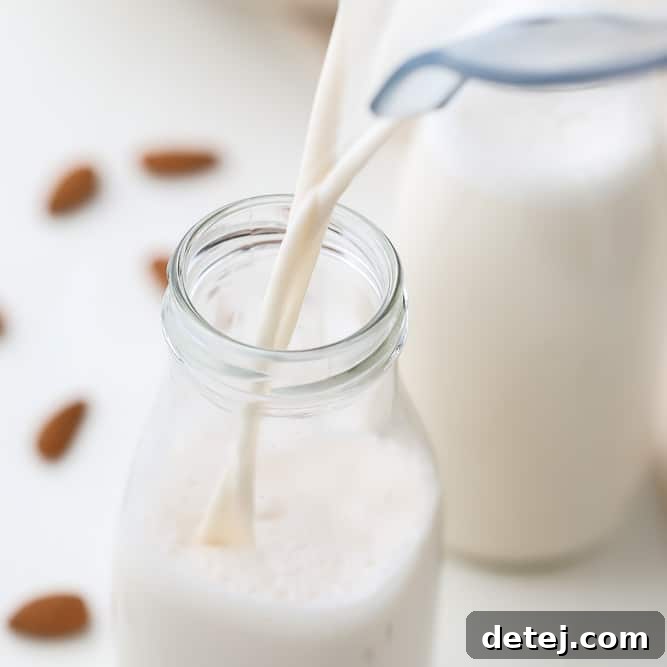
Unlock the secret to crafting delicious, creamy almond milk right in your own kitchen! Forget the notion that homemade nut milk is a labor-intensive chore requiring overnight soaking. With our revolutionary quick soak method, you can enjoy fresh, additive-free almond milk in a fraction of the time, tasting infinitely better than anything you’ll find on supermarket shelves.
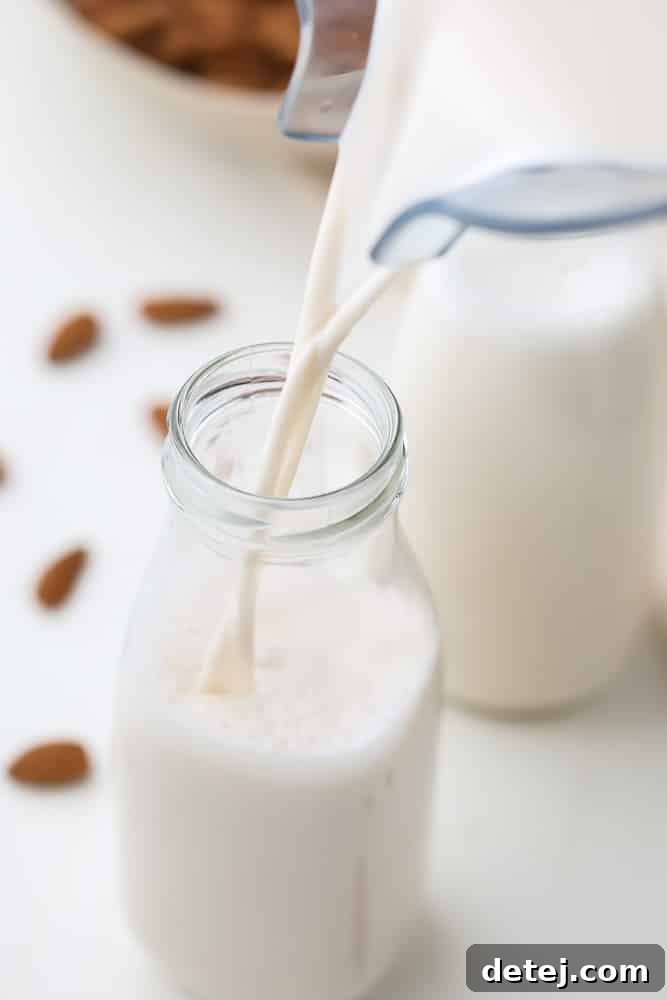
For many, the thought of making homemade nut milk is immediately met with hesitation. The common belief is that it demands foresight, planning, and the dreaded overnight soaking period. If you’re anything like me, spontaneity often dictates your kitchen endeavors. When a craving strikes, or a recipe calls for a specific ingredient, waiting until “tomorrow” simply isn’t an option. This very hurdle kept me from venturing into the world of DIY almond milk for years.
However, my culinary journey led me to a game-changing discovery: the overnight soak for almonds is entirely optional! This revelation opened the door to effortlessly making fresh, vibrant almond milk whenever the mood strikes. All it takes is a quick, simple soak that prepares your almonds for blending in mere minutes, not hours. This article will guide you through crafting the freshest, creamiest almond milk you’ve ever tasted, completely free from stabilizers, gums, and added sugars often found in store-bought versions.
Why Choose Homemade Almond Milk?
Beyond the sheer satisfaction of creating something from scratch, homemade almond milk offers a multitude of benefits:
- Superior Taste: The difference in flavor between homemade and store-bought is astonishing. Freshly made almond milk boasts a rich, nutty, and pure taste that simply cannot be replicated by commercial brands. It’s creamier, more vibrant, and lacks any artificial aftertaste.
- Control Over Ingredients: You dictate what goes into your milk. This means no emulsifiers, thickeners (like carrageenan or gellan gum), preservatives, or excessive sugars. For those with dietary sensitivities or a preference for clean eating, this control is invaluable.
- Cost-Effective: While raw almonds have an upfront cost, making your own milk can often be more economical in the long run, especially if you consume almond milk regularly.
- Reduced Waste: By making your own, you reduce reliance on single-use cartons, contributing positively to environmental sustainability. Plus, the leftover almond pulp can be repurposed into a variety of delicious treats, minimizing food waste.
- Customizable: Whether you prefer it plain, subtly sweet, or infused with flavors like vanilla or chocolate, homemade almond milk allows for endless customization to suit your palate and culinary needs.
Essential Ingredients for the Perfect Batch
Making almond milk requires surprisingly few ingredients, focusing on quality and simplicity. Here’s what you’ll need:
- Raw Almonds: This is non-negotiable. Ensure your almonds are raw and unroasted. Roasting changes the flavor profile and can make the milk taste “toasted” rather than fresh and clean. Raw almonds yield the creamiest texture and purest flavor. Look for whole, unblanched raw almonds for the best results.
- Water: The foundation of your milk. Using filtered water can significantly enhance the final taste, ensuring your milk is free from any tap water impurities or flavors.
- Optional Sweeteners and Flavorings:
- Pure Maple Syrup or Dates: For a touch of sweetness. Maple syrup offers a delicate, natural sweetness, while dates provide a richer, caramel-like flavor and added fiber. Adjust the quantity to your preference, or omit entirely for an unsweetened version ideal for savory dishes.
- Pure Vanilla Extract: A splash of vanilla extract can elevate the flavor, adding a warm, aromatic depth that complements the almonds beautifully, especially for sweetened varieties.
- Pinch of Salt: While not listed in the original, a tiny pinch of sea salt can enhance the nutty flavor of the almonds, similar to how salt brings out sweetness in baked goods.
What Else Do I Need? Essential Equipment
The beauty of homemade almond milk lies in its simplicity, requiring only a few key pieces of kitchen equipment. You likely already own most, if not all, of these items:
- A Blender:
- High-Powered Blender: A Vitamix or Blendtec is ideal for nut milks. Their robust motors and sharp blades break down almonds more thoroughly, resulting in a smoother, creamier milk with minimal pulp.
- Regular Blender: Don’t despair if you don’t have a high-end blender! A standard blender will work perfectly fine. You might just need to blend for a minute or two longer to achieve a similar creamy consistency.
- Nut Milk Bag: This is a crucial tool for straining.
- Nut milk bags are specifically designed with a fine mesh that effectively separates the liquid from the almond pulp, ensuring a smooth, silky milk. They are reusable, easy to clean, and a worthwhile investment for any nut milk enthusiast.
- Alternatives: If you don’t have a nut milk bag, you can improvise with cheesecloth (layered several times for optimal straining) or even a clean, thin tea towel or dishcloth. Just be prepared for a slightly more challenging straining process and potentially less efficient pulp removal.
- Glass Jars or Airtight Containers for Storing:
- Glass bottles or mason jars are perfect for storing your fresh almond milk. They are non-reactive, easy to clean, and allow you to see your beautiful, creamy creation.
- Smaller jars are great for individual servings, perfect for lunchboxes or on-the-go drinks. Larger jars are convenient for bulk storage in the refrigerator.
- Small Pot: For the quick soaking method.
- Large Bowl or Measuring Cup: To collect the strained milk.
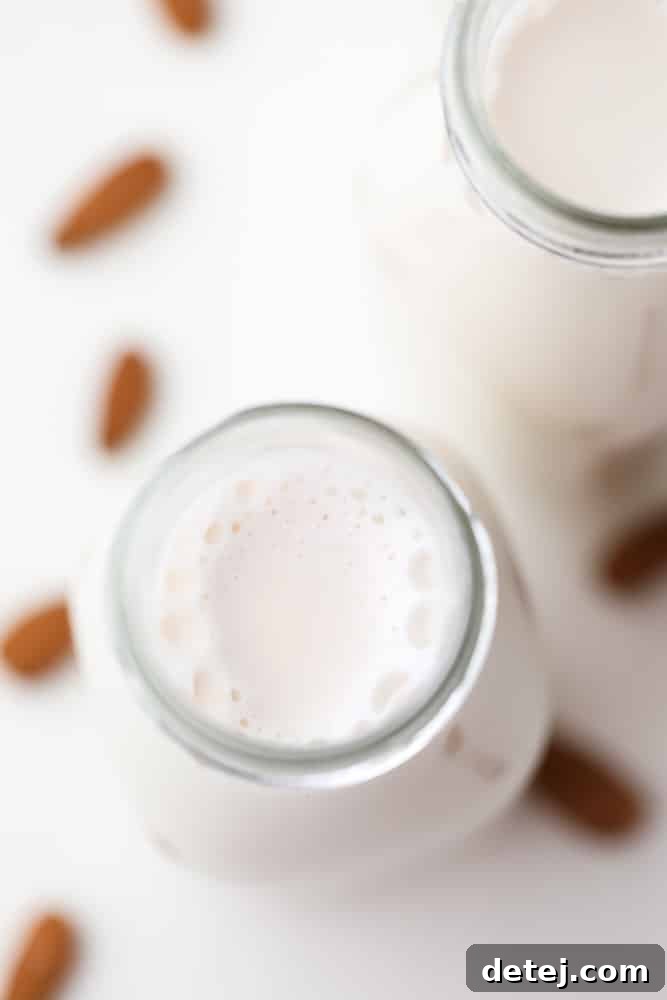
How to Make Almond Milk: The Quick Soak Way
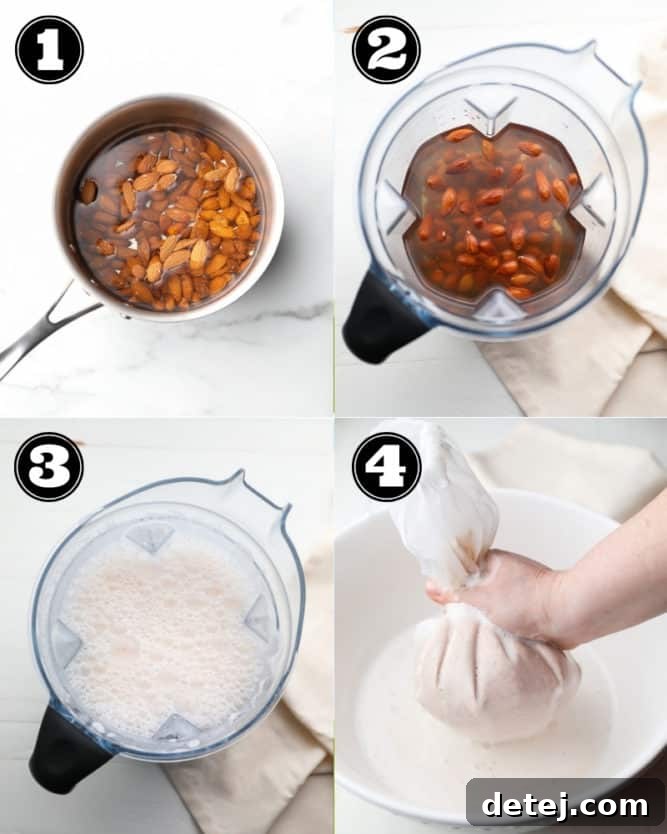
Preparing fresh almond milk with this quick soak method is incredibly straightforward. It boils down to three simple steps: soak, blend, and strain. Below is a detailed overview, complete with tips for achieving the best possible results.
- Quick Soak the Almonds: In a small pot, combine your raw almonds with 3 cups of water. Bring this mixture to a rolling boil over medium-high heat. Once boiling, immediately remove the pot from the heat. Allow the almonds to soak in the hot water for precisely 15 minutes. This quick hot soak effectively softens the almonds, mimicking the benefits of an overnight cold soak, making them easier to blend into a smooth milk.
- Drain and Blend: After the 15-minute soak, carefully drain the hot water from the almonds. You’ll notice they have softened slightly and plumped up. Transfer the soaked almonds to your blender. Add 4 cups of fresh, cold filtered water. This is also the time to add any optional sweeteners (like maple syrup or dates) and vanilla extract if you desire a flavored milk. For an unsweetened, plain almond milk, simply add the water.
- Achieve Creamy Perfection: Secure the lid on your blender and blend on high speed for 1 to 2 minutes. The goal is a creamy, opaque white liquid. If using a high-powered blender, 60-90 seconds should suffice. For a regular blender, you might need to extend blending time to 2-3 minutes to ensure the almonds are thoroughly pulverized and the milk is as smooth as possible. You want to see no large almond pieces remaining.
- Strain for Silkiness: This step is key to a smooth, pulp-free milk. Place your nut milk bag (or cheesecloth/thin tea towel) over a large mixing bowl or a large measuring cup. Slowly pour the blended almond mixture into the bag. Gather the top of the bag securely and begin to squeeze the liquid through the mesh. Apply firm, consistent pressure, working your way around the bag to extract every last drop of milk. You’ll be left with a concentrated almond pulp inside the bag.
- Store and Enjoy: Once all the liquid has been squeezed out, transfer your freshly made almond milk into clean glass jars or airtight containers. Seal them and store in the refrigerator. Your delicious homemade almond milk is now ready to be enjoyed in your coffee, cereal, smoothies, or any recipe calling for milk!
Flavor Variations to Delight Your Palate
One of the joys of making almond milk at home is the ability to customize its flavor. Here are some popular variations:
- Classic Vanilla Almond Milk: Achieve a beautifully fragrant milk by adding 1 teaspoon of pure vanilla extract and 2-3 tablespoons of pure maple syrup (or 2-3 pitted dates) to your blender before processing. Adjust sweetener to your preferred level of sweetness. This makes a fantastic base for lattes, cereals, or simply drinking on its own.
- Indulgent Chocolate Almond Milk: A beloved treat! For a rich chocolate milk, add 3 tablespoons of unsweetened cocoa powder to the blender along with the almonds and water. You’ll likely want to increase the sweetener; I recommend starting with an additional 2-3 tablespoons of maple syrup or a couple more dates, then tasting and adjusting. It’s a perfect dairy-free alternative for hot chocolate or a refreshing cold drink.
- Fruity Strawberry Almond Milk: Revisit childhood memories with this delightful and vibrant milk. Add 1 cup of freeze-dried strawberries (for intense flavor and color) or 1-2 cups of fresh strawberries to the blender. Increase the sweetener to taste, as strawberries can be quite tart. This is excellent in smoothies or as a fun, colorful drink.
- Spiced Almond Milk: For a warming, comforting flavor, especially during colder months, consider adding a pinch of cinnamon, nutmeg, or cardamom to your blender. A small piece of fresh ginger or a dash of turmeric could also create unique, healthful variations.
What to Do with Almond Pulp: Zero Waste Ideas
After straining your milk, you’ll be left with almond pulp. While you can discard it, it’s a valuable byproduct that’s too good to waste! This fibrous, nutrient-rich pulp can be repurposed in numerous ways:
You can easily transform it into almond meal or flour by spreading it thinly on a baking sheet and dehydrating it in a low oven until completely dry, then pulsing in a food processor. This homemade almond meal can then be used in baking. Alternatively, you can use the moist pulp directly in recipes like:
- Energy Bites: Mix with dates, oats, nut butter, and spices for quick, no-bake energy snacks (try these vegan energy bites).
- Cookies: Incorporate into cookie dough for added texture and nutrients (like these banana almond pulp cookies).
- Crackers: Roll out thinly, season, and bake for delicious, healthy crackers (these almond pulp crackers are fantastic).
- Smoothie Boost: Add a tablespoon or two to your next smoothie for extra fiber and thickness.
- Vegetable Burgers or Meatballs: The pulp acts as a great binder and adds texture to vegetarian patties.
Storing Homemade Almond Milk and Freezing Tips
Because homemade almond milk contains no preservatives, its shelf life is shorter than commercial varieties, which typically include stabilizers to extend freshness. This is a small trade-off for a truly natural product!
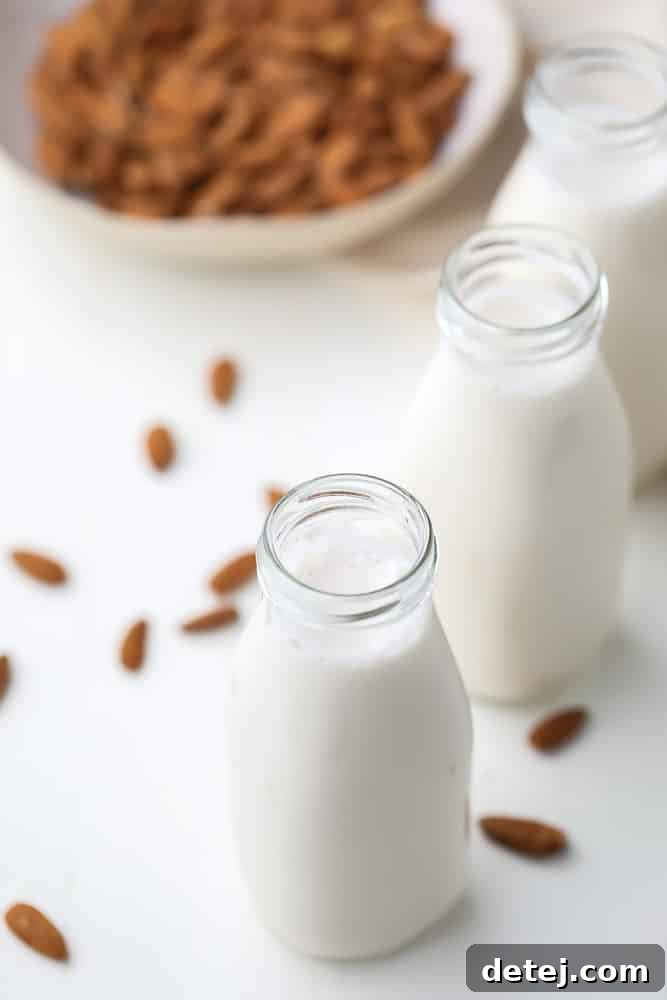
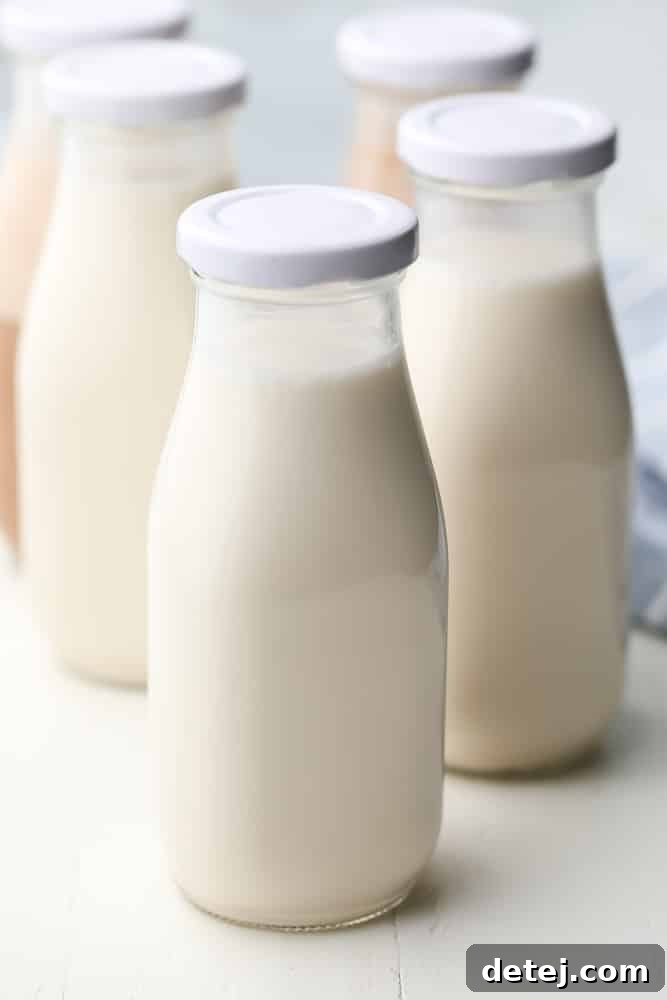
Store your freshly made almond milk in sealed glass jugs or other airtight containers in the refrigerator. It will remain fresh and delicious for up to 4 days. It’s normal for some separation to occur, with a layer of cream forming on top; simply give it a good shake before each use to reincorporate.
If you find yourself with more almond milk than you can consume within four days, freezing is an excellent option. I highly recommend pouring leftover milk into an ice cube tray. Once frozen, transfer the cubes to a freezer-safe bag or container. These almond milk cubes are perfect for:
- Adding to your morning green smoothie for extra creaminess and a chilled temperature.
- Boosting the texture of a peanut butter banana smoothie or other blended drinks.
- Using in recipes where a small amount of milk is needed, preventing waste.
- Chilling iced coffee without diluting the flavor.
Does It Froth for Lattes? The Ultimate Coffee Test
For coffee lovers, especially those who enjoy lattes and cappuccinos, the frothing capability of non-dairy milk is paramount. I’m thrilled to report that this homemade almond milk not only froths, but it froths *amazingly well!*
In fact, many find its frothing performance to surpass that of most store-bought non-dairy milks, even those specifically marketed as “barista blends.” Using a milk frother, whether it’s part of an espresso machine like a Breville or a standalone handheld device, you’ll achieve a rich, creamy, and stable foam that truly elevates your homemade lattes. While I never considered myself a fan of almond milk lattes with commercial brands, this fresh, homemade version is an absolute game-changer. Prepare for a barista-quality experience right in your kitchen!
Where to Use Homemade Almond Milk?
The versatility of homemade almond milk knows no bounds. Use it anywhere you would typically use dairy milk or store-bought alternatives. Its clean flavor and creamy texture make it an excellent choice for a wide array of culinary applications:
- Cereal and Granola: Pour it over your favorite breakfast cereals or a bowl of crunchy oil-free vegan nut granola for a healthy and satisfying start to your day.
- Smoothies: A fantastic base for any smoothie, adding creaminess without overpowering other flavors.
- Coffee and Tea: Perfect for lattes, cappuccinos, or simply a splash in your morning coffee or tea.
- Baking: Substitute it for dairy milk in virtually any baking recipe, from cakes to muffins to bread. Its neutral flavor won’t interfere with your desired outcomes.
- Savory Dishes: Use unsweetened almond milk in savory recipes like creamy soups, sauces, or mashed potatoes for a dairy-free twist.
Here are a few specific recipes where your homemade almond milk will truly shine:
- The Best Vegan Chocolate Cake: For an incredibly moist and rich dessert.
- Vegan Cornbread: To add tender moisture to this comforting side dish.
- Vegan Pot Pie: Creating a creamy, savory filling.
- Easy Vegan Banana Bread: Ensuring a perfectly moist loaf.
- Vegan French Toast: For a delightful, plant-based breakfast soak.
How to Make Almond Milk – Quick Soak Method!
Pin
Comment
Save
Ingredients
- 1 cup raw almonds
- 4 cups water
For vanilla almond milk (optional)
- 2-3 tablespoons pure maple syrup, or more to taste
- 1 teaspoon pure vanilla extract
Instructions
-
Quick soak the almonds: Add the almonds to a small pot and cover with 3 cups of water. Bring to a boil, then remove from heat and let soak for 15 minutes. Alternatively, you can soak the almonds overnight in cold water.
-
Drain the almonds, then add them to a high speed blender, along with the 4 cups of fresh water and maple syrup/vanilla, if desired, for slightly sweetened vanilla milk. Or keep it plain if you plan on using it for savory dishes.
-
Blend on high for 1-2 minutes until creamy and white.
-
Get out your nut milk bag, cheesecloth or even a thin clean dish towel. Over a mixing bowl or large measuring cup, strain the milk through the nut bag, gathering it up and squeezing well to get every last bit of liquid you can. Discard almond pulp, or save for using in other recipes.
-
Transfer strained milk to glass jugs or other airtight containers. It will keep for up to 4 days in the refrigerator, and can be frozen if needed. Enjoy!
Notes
- Sweetener options: While I used maple syrup, you can sweeten the milk with a few pitted dates or even a little granulated sugar. Add to taste, depending on your preferences, or leave out for unsweetened milk.
- Chocolate almond milk: Add 3 tablespoons cocoa powder and more sweetener, to taste. I added an extra 3 tablespoons of maple syrup, or 5 total, and my kids LOVED it!
- Strawberry almond milk: Add 1 cup of freeze dried strawberries (or 1-2 cups fresh strawberries) and increase the sweetener, to taste.
- If you are a smoothie fan, try freezing some almond milk in an ice cube tray, and adding a few cubes to your smoothie.